
1. Memory Reduct DIY Photo Keychain with a real photo edge
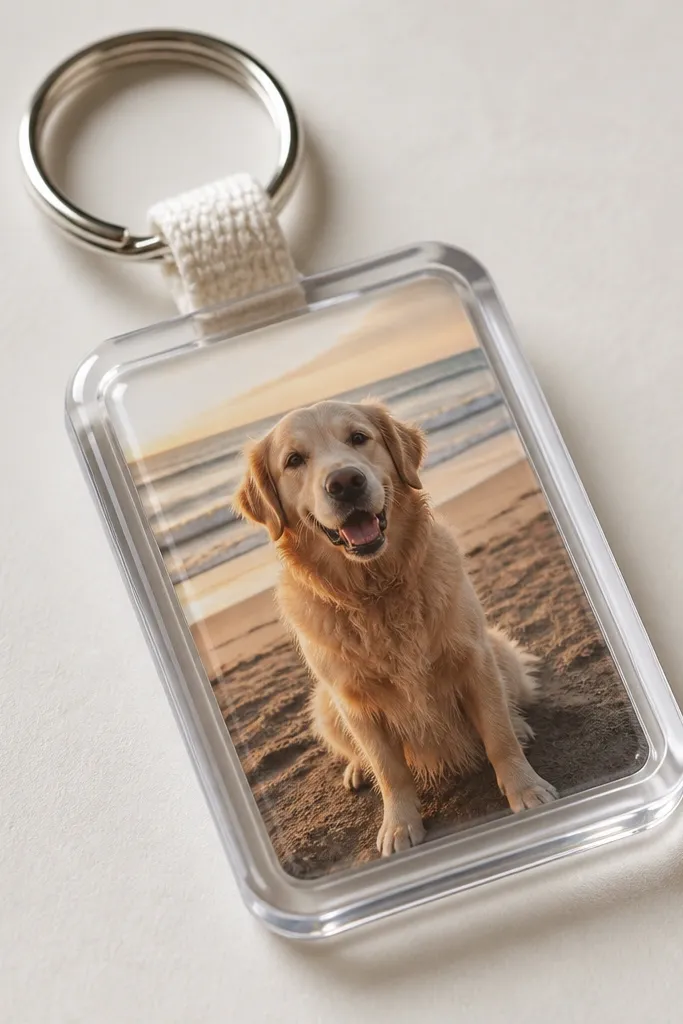
I make these when I want the gift to look custom even if it’s small. The photo should sit in a framed window so the edge looks intentional — I like a rounded rectangle frame in black or dark brown because it makes skin tones and dark hair photos pop. Add a tiny date charm or a thread-wrapped loop if you want it to look “designed,” not craft-store. This works best for boyfriends who actually use their keys daily — the gift gets seen all week, not just on the day you give it.
Step 1: Print your photo at the right size for the insert — I use 4x6 photos and crop to the insert shape, then I print with a matte finish so glare doesn’t ruin it. Trim the photo with a sharp craft knife on a cutting mat, leaving a margin that matches the frame border. Step 2: Seal the photo edge if your insert is resin or laminate — press it down flat so there are no bubbles near the corners. Step 3: Attach the split ring and add a small fabric tab or charm with a strong knot. Finish by wiping the clear cover with a microfiber cloth so the shine looks clean.
Pro tipUse matte photo paper and a dark frame. Glossy paper looks cheap fast in daylight.
AvoidAvoid photos that are too bright or washed out — they look blurry inside the clear cover.
2. Custom Leather Wallet Card with a stitched corner date
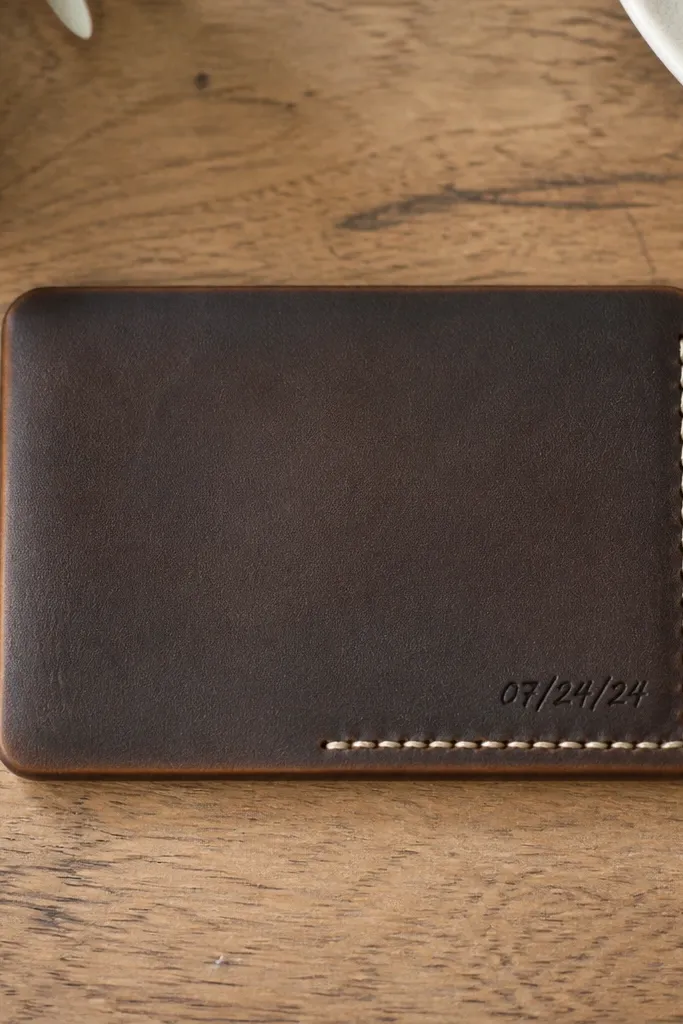
This is one of my favorite handmade gifts for him because it fits his pocket without turning into clutter. I choose dark brown or deep black leather because it ages nicely — scuffs look like character instead of damage. The contrast stitching makes it readable from a distance, even in a quick photo. This fits guys with minimalist wallets or card holders, and it looks especially good on medium to darker skin tones in photos because the warm leather doesn’t wash anyone out.
Step 1: Cut a wallet card blank from thin veg-tan leather, about 2.0 in x 3.25 in (or match your current card size). Round the corners with sandpaper so it slides in smoothly. Step 2: Stitch the corner date — I mark the stitch line lightly, then use waxed thread and a saddle stitch so it stays tight. Step 3: Burnish the edges with a little edge slick or even a scrap of cloth with beeswax. If you want personalization, stamp a small initial on the back instead of cramming it on the front.
Pro tipDo a test fit with his existing card before you stitch — one millimeter too tight is annoying in real life.
AvoidSkip thick leather — it makes the wallet card bulky and it won’t sit flat.
3. Stitched Hoodie Name Patch in two colors (no heat-glue mess)
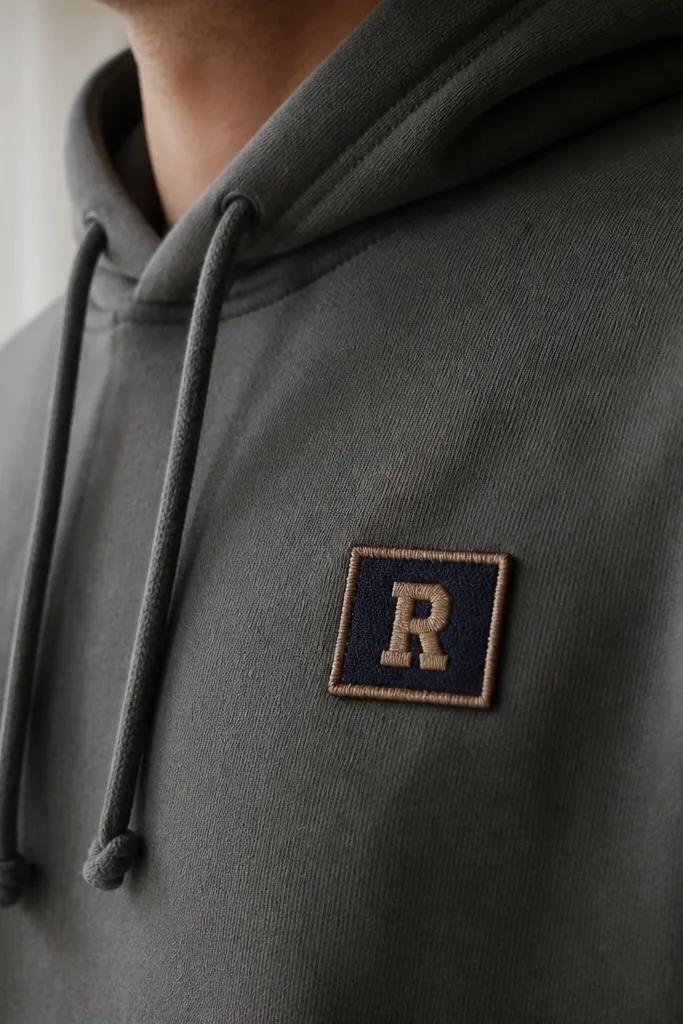
If he wears a hoodie to work or around the house, a name patch looks personal without needing a full DIY costume vibe. I use two colors: one matches the hoodie base (or is close), and one is just bright enough to read. The best look is block letters or a simple outline — too many curves can look sloppy on thick fabric. This is perfect for guys who like clean, practical style, and it photographs well because the texture — the stitching — shows up as a real detail.
Step 1: Choose a patch base fabric like cotton twill or felt and cut it slightly larger than your lettering. Trace the letters with a fabric marker, then stitch the letters first on the patch using a tight running stitch or satin stitch. Step 2: Position the patch on the hoodie where a store patch would land — about 3-4 inches below the collar seam, centered. Then stitch the patch edges down with matching thread using small, even stitches. Step 3: Wash once after stitching to settle the fibers, then inspect for loose threads.
Use a thread color that matches the patch background, not the hoodie color — it makes the patch look “built in.”
Avoid heat-glue patches — they lift at the corners after a couple washes.
4. Handmade scent sachets set with measurable blends
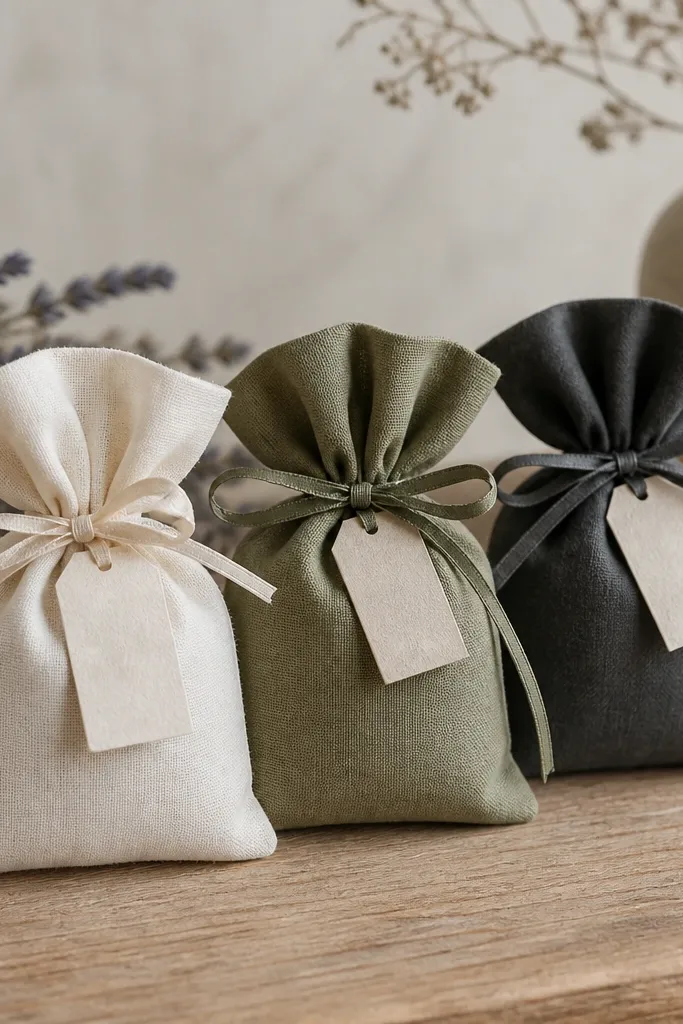
This is the kind of handmade gift that feels thoughtful because it’s personal without being loud. I make sachets in linen or cotton muslin and keep the blend consistent across the set so it smells like one idea. For blends, I like cedarwood + a touch of citrus peel oil, or lavender + rosemary — the combo reads clean, not perfume-y. This works for boyfriends who have a closet, a gym bag, or a car that gets musty. The gift also feels safer than candles for some people because the scent stays contained.
Step 1: Cut small sachet squares, 4x6 inches, and sew three sides, then turn right-side out. Fill with a measured amount of dried herbs or scent beads — I use 1 to 1.5 tablespoons per sachet so it’s noticeable but not overpowering. Step 2: Tie with ribbon and add a tiny label with the blend name and date. Step 3: Place one in the closet, one in the car seat storage, and one in his gym bag. If you’re using essential oils on dried herbs, let it rest 24 hours in a sealed jar before you fill sachets so the scent soaks evenly.
Pro tipMeasure by tablespoon, not “a pinch.” Uneven filling makes some sachets smell strong and others smell dead.
AvoidAvoid synthetic fragrance oils with cheap labels — the smell can turn sharp after a week.
5. Map route wall art with one highlighted street
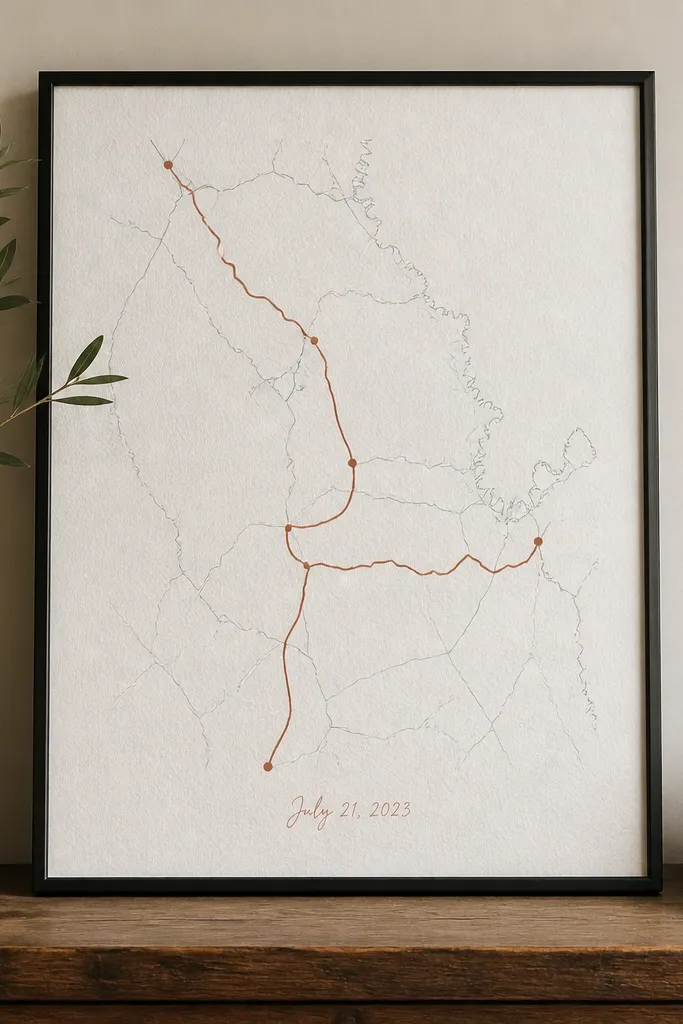
This gift looks like you hired someone, but it’s actually very doable. I pick a real route — the drive between where you met and where you now hang out — then I highlight one street in a warm red or copper so it reads instantly. The rest of the map stays neutral so the highlighted part feels like a story. This flatters boyfriends who like travel, cars, or places — and it also works great for mixed skin tones because the map is mostly gray with a warm accent.
Step 1: Print a clean map layout on heavy paper and simplify it — you want major roads only. Trace the highlighted street on top with a fine brush using acrylic ink or paint marker, then let it dry flat. Step 2: Add location dots with a small circle stamp or a dot sticker, then write the date in pencil or a thin paint pen. Step 3: Mount it under glass if you can — cheap frames without glass get scuffed and fingerprints show. Hang it at eye level for the best “before after handmade gifts for boyfriend” reaction in photos.
Pro tipChoose one highlight color and stick to it. Two accent colors make it look messy fast.
AvoidAvoid printing a full-color map with tiny text — it turns into clutter once framed.
6. Beer or tea tasting label set with a custom "score card"
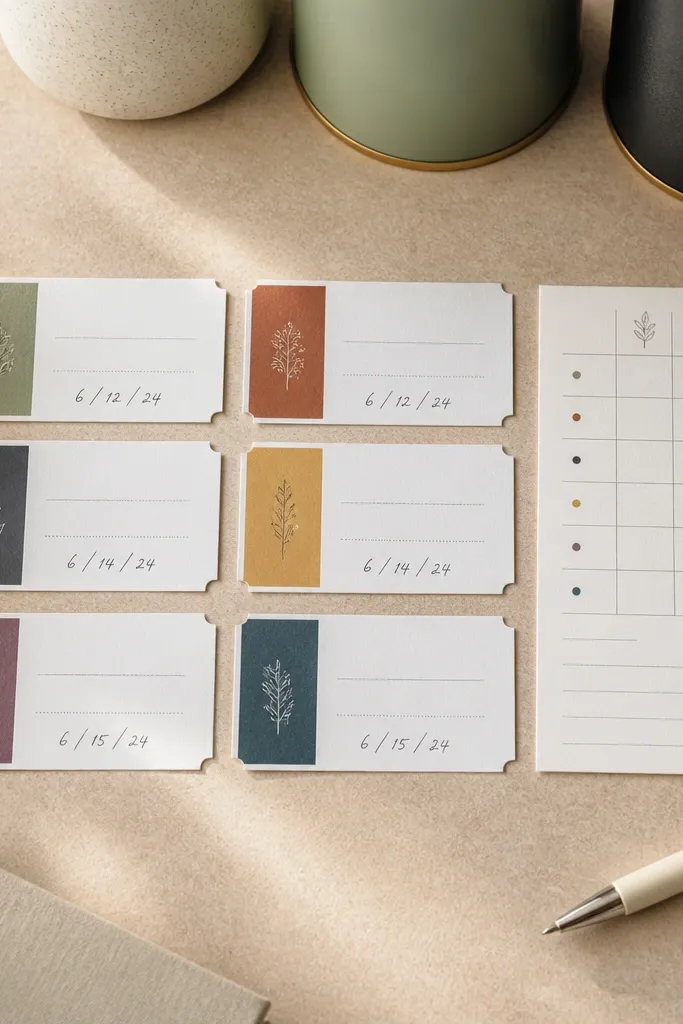
This is a handmade gift for him when he likes trying new drinks but doesn’t want “stuff.” I make labels that match the vibe — warm browns for tea, darker blacks for beer — and I add a score card so the tasting becomes an event. The personalization is the point: names, dates, and one inside joke phrase in small text. This works best for boyfriends who host or who keep track of what they like, because the gift turns into a repeatable ritual.
Step 1: Pick 3-5 bottles or tins that share a theme (all IPA, all herbal tea, or a mix he already likes). Print labels on sticker paper or on thin cardstock with clear label tape — I prefer sticker paper for clean edges. Step 2: Write tasting notes on the score card in a simple grid layout — aroma, flavor, finish — and add a line for “buy again?” Step 3: Attach labels straight and leave the bottle neck clear so caps open easily. Wrap the set with a narrow ribbon and tuck the score card behind the front labels.
Pro tipUse one font style across all labels so it looks intentional, not like multiple print jobs.
AvoidSkip crooked labels — that one detail screams “last minute” more than anything.
7. Knitted scarf panel with a striped end and stitched initials
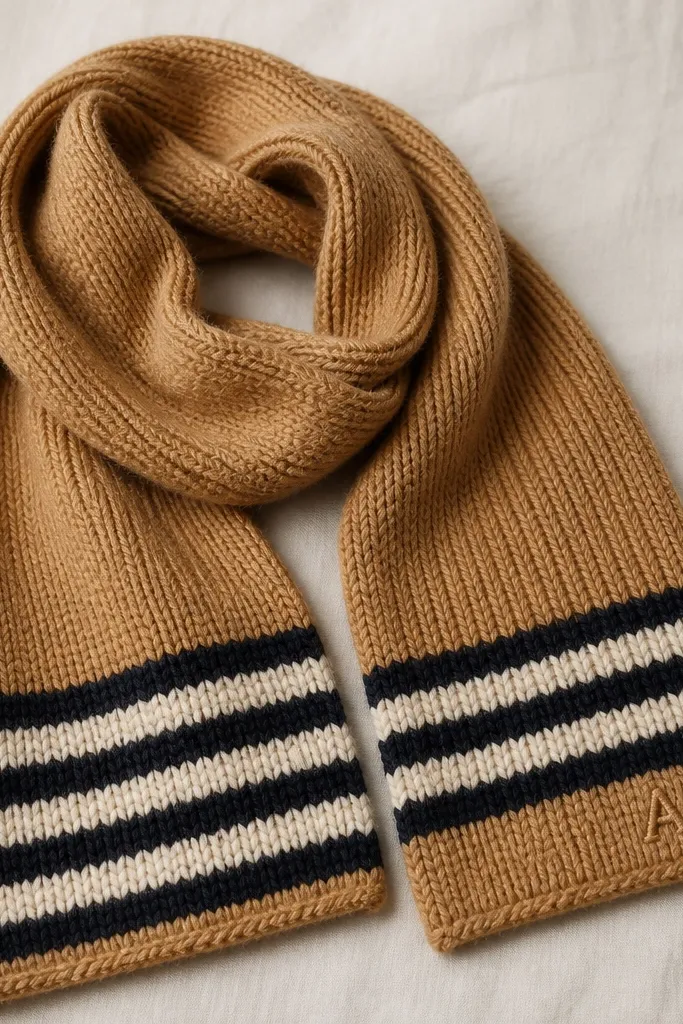
This is the gift I make when I know he’ll wear it for months. I knit a main panel in a neutral he already owns, then add a striped end so it looks like it came from a small brand. The stitched initials at one end make it feel personal without taking over the whole scarf. This flatters most skin tones because the yarn texture is doing the work, and it photographs well against dark coats and light sweaters.
Step 1: Choose yarn weight 4 or 5 for a scarf that looks substantial without being heavy — I use acrylic-wool blend for softness and easy care. Knit a panel about 7-8 inches wide and as long as his preferred scarf length, usually 64-70 inches. Step 2: Add stripes for the last 10 inches — two short stripes, 2 inches each, then a solid finish. Step 3: Sew initials onto the end using embroidery thread and a simple backstitch. Block it lightly by pinning to a towel so edges stay straight.
Pro tipPick one stripe color that matches his favorite jacket zipper or beanie — it ties the whole outfit together.
AvoidAvoid loose ends — fringe that curls makes the scarf look unfinished.
8. Handmade coasters set in cork with stamped initials and a matte seal
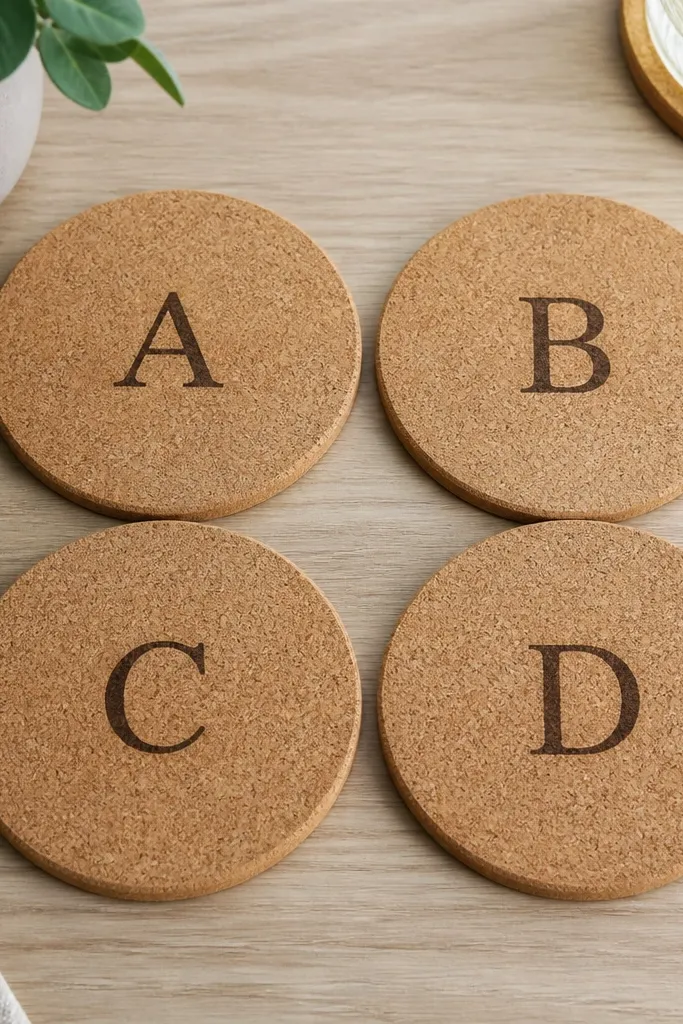
Coasters are one of those gifts that get used immediately, and that means they get photographed in real life. I use cork because it’s forgiving and it doesn’t slide like fabric, and I stamp initials so it feels personal without a big image. A matte seal keeps fingerprints from showing while still letting the cork texture show. This works for boyfriends who have a home office, who game at a desk, or who host — it’s practical and it looks tidy.
Step 1: Buy cork blanks cut to coaster size, usually 4 inches across. Sand the top surface lightly and wipe clean so the stamp hits evenly. Step 2: Stamp initials with a letter press or a craft stamp and ink designed for porous materials. Step 3: Seal with a matte clear sealant in thin coats — let each coat dry fully. Finish by adding felt pads to the bottom if his tables scratch easily.
Pro tipTest the stamp on one scrap cork piece first. Pressure changes the look a lot on porous surfaces.
AvoidDon’t use glossy sealant — it makes cork look like a cheap tabletop protector.
9. Custom car dashboard air freshener pouch (fabric + tied cord)
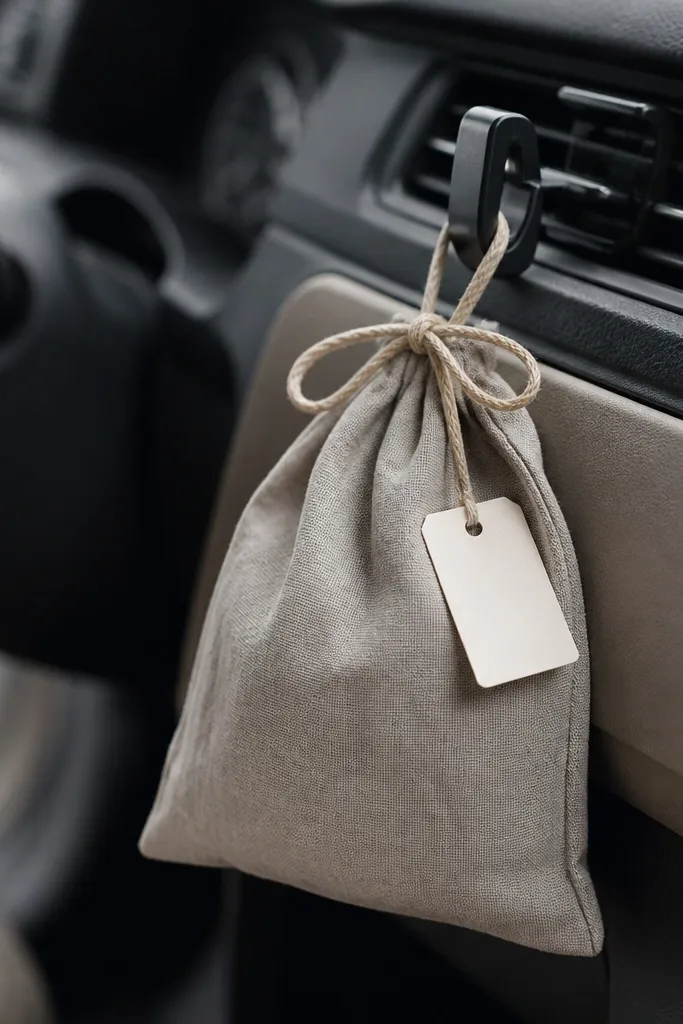
This is a handmade gift that feels like you paid attention to his actual life. I make a small fabric pouch that hangs from a clip so it doesn’t spill and doesn’t get tossed in a drawer. Choose cotton or linen in a neutral like olive, charcoal, or cream; those colors look right next to car interiors. I keep the blend simple — one main scent with a tiny supporting note — so it doesn’t smell like a mystery candle. It’s best for boyfriends who drive a lot and complain about stale air or smells.
Step 1: Sew a pouch about 3x4 inches, leaving a small opening, then fill with dried herbs or scent sachet beads. Step 2: Add a few drops of essential oil to the absorbent, seal the opening, and let it sit in a jar for 12-24 hours so the scent spreads. Step 3: Attach it to a dashboard clip with a thin cord loop, then add a tag with the blend name and date. Keep it away from vents that blow directly or the scent will fade too fast.
Pro tipTie the cord so the pouch hangs flat. A twisted pouch looks messy and can swing into controls.
AvoidAvoid filling too heavy — it droops and looks worn out in a week.
10. Store-bought gift with handmade upgrade: photo insert for a watch box
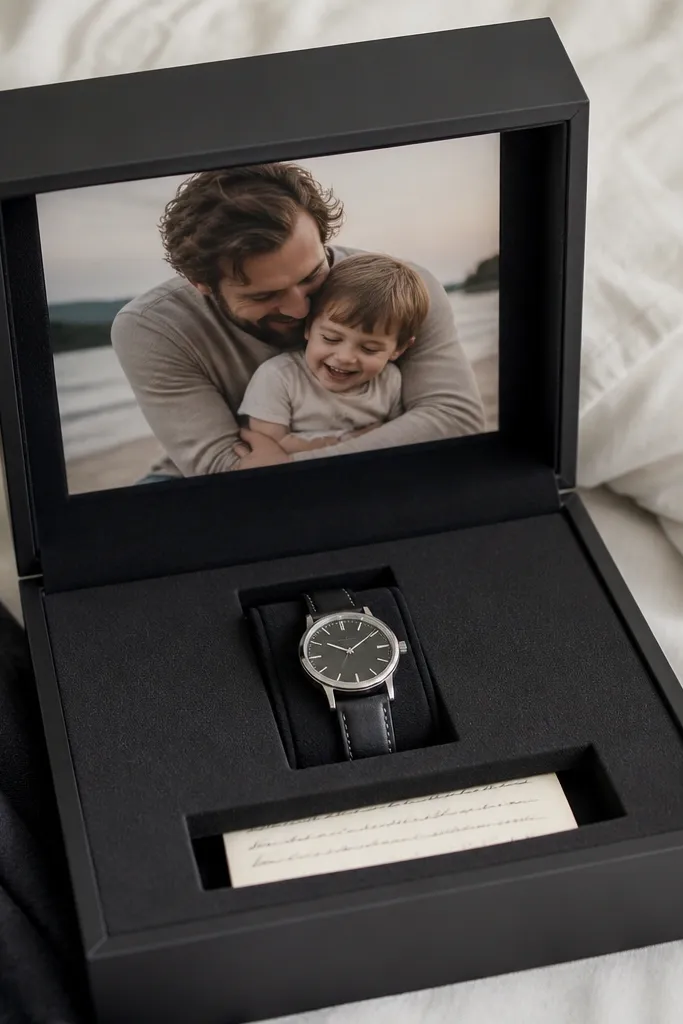
This is the compromise I use when the clock is tight but I still want the gift to feel personal. The watch box or wallet box gives you structure and polish, and your handmade photo insert gives him the emotional detail. I pick a matte print and a simple layout: one photo, one date, and a short line in your handwriting style. This works for boyfriends who already own the “nice stuff” and would rather get something usable than a craft project.
Step 1: Buy the box or organizer first so you know the exact insert size. Step 2: Cut a photo insert to fit the bottom panel, then mount it on thin cardstock so it doesn’t curl. Step 3: Add a single handwritten date or coordinates in the corner — keep it small so it looks like it came with the product. Step 4: Place it under the item so it shows when the lid opens.
Use a corner rounding punch on the insert so it matches the box edges.
Skip glossy prints — reflections in watch boxes make the photo look cheap.



