
1. The "felt" key fob that pills and looks fuzzy
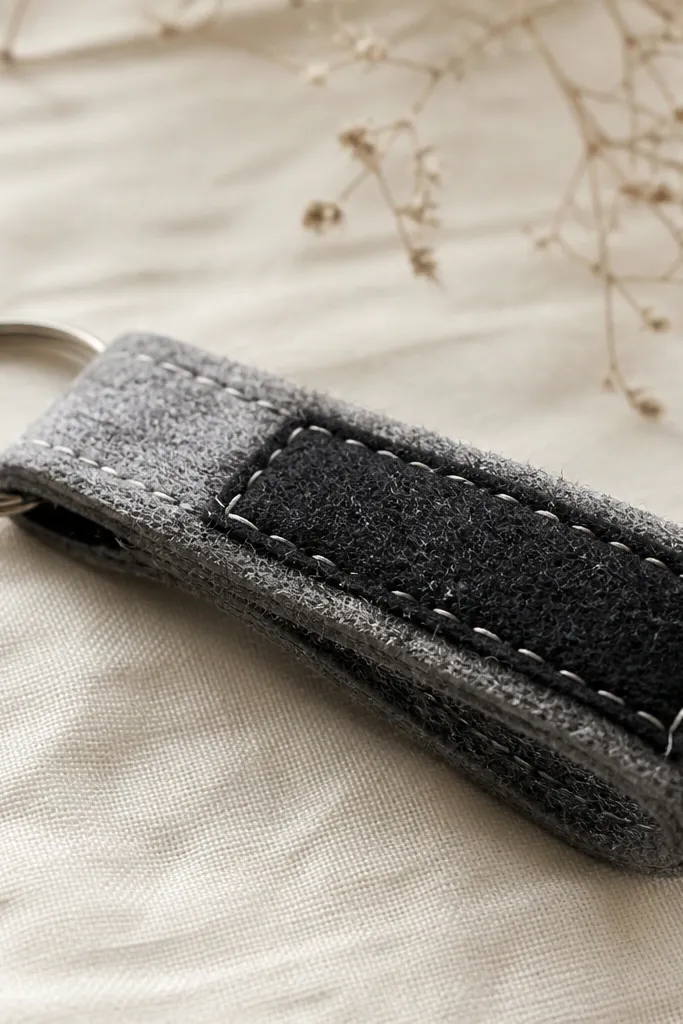
I made a key fob from craft felt and decorated it with a cute stitched icon. In my apartment it looked cozy and soft. In his car, the felt rubbed against keys and the pocket lining, and the surface started pilling within days. That fuzzy texture reads cheap fast because it catches light in tiny highlights and makes the stitching look sloppy.
Start by swapping the base to wool-blend or using a double layer of thicker felt (think 3-4 mm) instead of thin craft sheets. Cut your fob to 2.5 inches tall and 4 inches wide, then fold the edges so the seam sits on the back where it won’t show. Add a topstitch around the perimeter with thick thread like polyester upholstery thread, and backstitch at every corner. Finally, seal the edges with a thin line of flexible fabric glue and let it cure overnight so the layers don’t separate.
If you want felt, use it as the top layer only and fuse it onto a sturdier backing like canvas or thin leather.
Skip thin craft felt — it pills, sheds, and makes your stitching look like it’s already failing.
2. The wood photo block that warped after one humid week
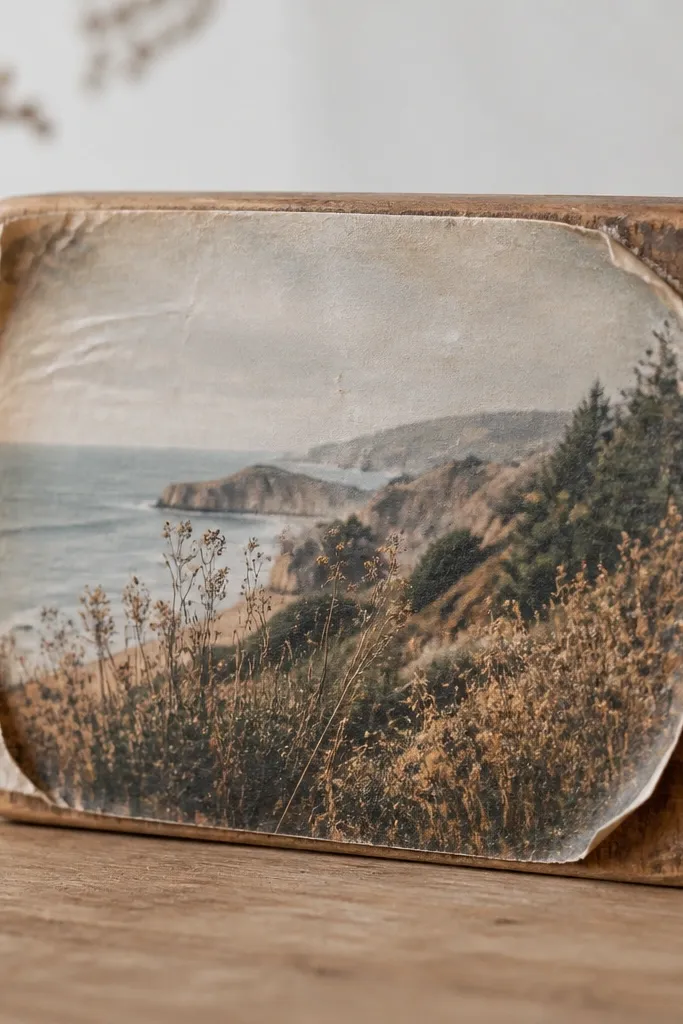
I decoupaged a photo onto an unfinished wood block and sealed it with a quick coat of glossy medium. It looked perfect for a photo shoot — shiny and crisp. Then we hit a humid week and the block bowed just enough that the corners started lifting. Even if the photo is cute, warping makes everything feel careless because the surface no longer sits flat.
Pro tipUse matte or satin sealers for photos — gloss shows every tiny ripple and brush line.
Start with wood that’s already sealed or at least sanded and sealed on both sides — I use a thin coat of water-based polyurethane and let it dry fully. Cut your photo to fit, then apply a matte decoupage layer so you don’t get bubbles from thick glue. Brush in thin coats, pressing out edges with a brayer or a flat plastic card. After the photo layer dries, seal the entire front with two more thin polyurethane coats, and do the same for the back so the board moves evenly.
AvoidDon’t decoupage onto raw, unsealed wood — it absorbs uneven moisture and warps.
3. The scrubby soap-scented candle that stained the jar
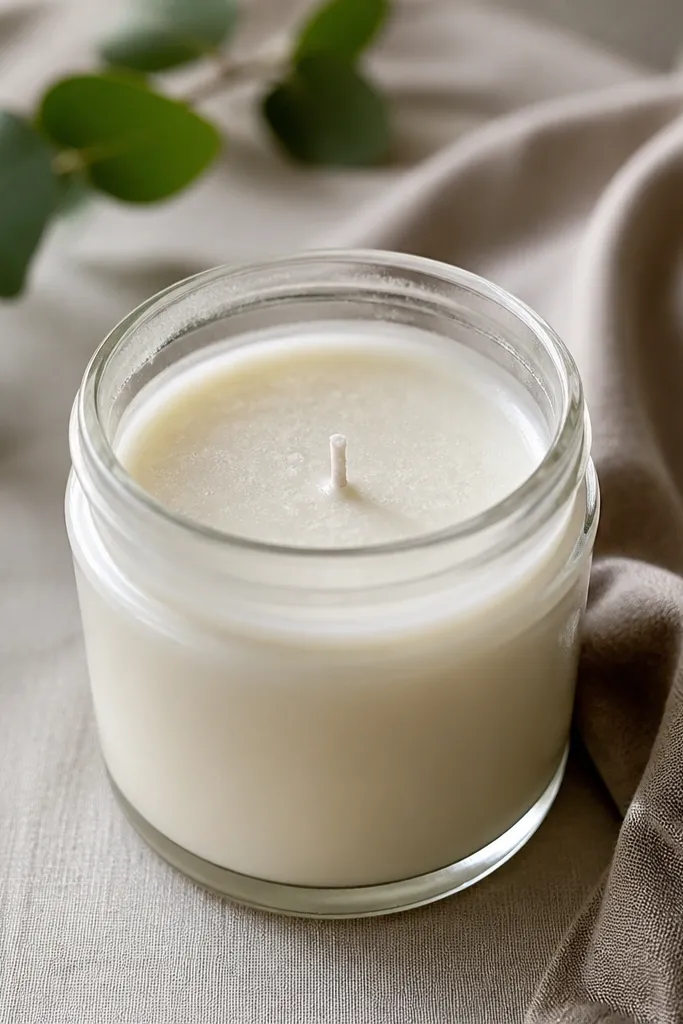
I tried making a “manly” candle using a soap-like fragrance and poured it into a clear jar. The scent was nice, but the wax pulled away from the glass in patches and left a cloudy ring. On top of that, the surface looked grainy after curing. Grainy wax and stained glass make a gift feel unfinished even if the label is perfect.
Pro tipIf you want a clean look, pick a wax that gives a smooth finish and use a frosted jar instead of crystal-clear glass.
Start by choosing a fragrance oil that’s meant for candles, not soap fragrance — I learned this the hard way. Use a thermometer and pour at the recommended temperature on your wax instructions, because the wrong pour temp makes grain. Stir slowly to avoid bubbles, then tap the jar lightly to pop surface air. After it cures, trim the wick to 1/4 inch and burn for at least 2 hours on the first burn so the top melts evenly and doesn’t keep tunneling.
AvoidSkip pouring too hot or too cool — grainy wax is almost always a temperature problem.
4. The mismatched leather cuff that cracked at the fold
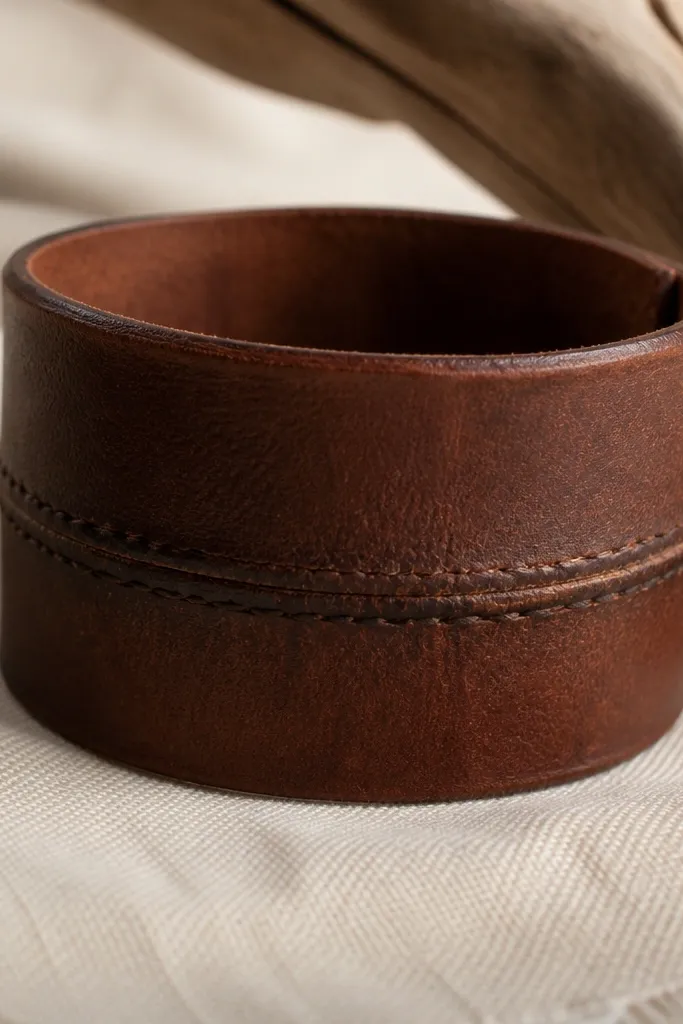
I made a leather cuff with a seam and a decorative fold, and I thought the stitching would hold it together. After a few wears, the fold area cracked — leather hates sharp, repeated creasing without conditioning. When leather cracks, it doesn’t just look worn. It looks like the gift was made from the wrong thickness or skipped the finishing steps that keep it supple.
Pro tipCondition first, wear later — do at least two conditioning sessions a week apart so it stays flexible.
Start with vegetable-tanned leather that’s 3-4 oz thickness, not super thin craft leather. Cut the cuff so the fold line has a gentle radius, and skive the seam allowance so you don’t create a thick ridge that forces a hard crease. Stitch with a 0.8-1.0 mm thread hole spacing using a waxed thread, then edge-finish with an edge slicker or gum tragacanth. Condition the leather with a small amount of leather balm and buff it out after 10 minutes.
AvoidDon’t skip edge-finishing and conditioning — the fold will crack and the seam will look rough.
5. The stretchy fabric tote that bagged out and sagged
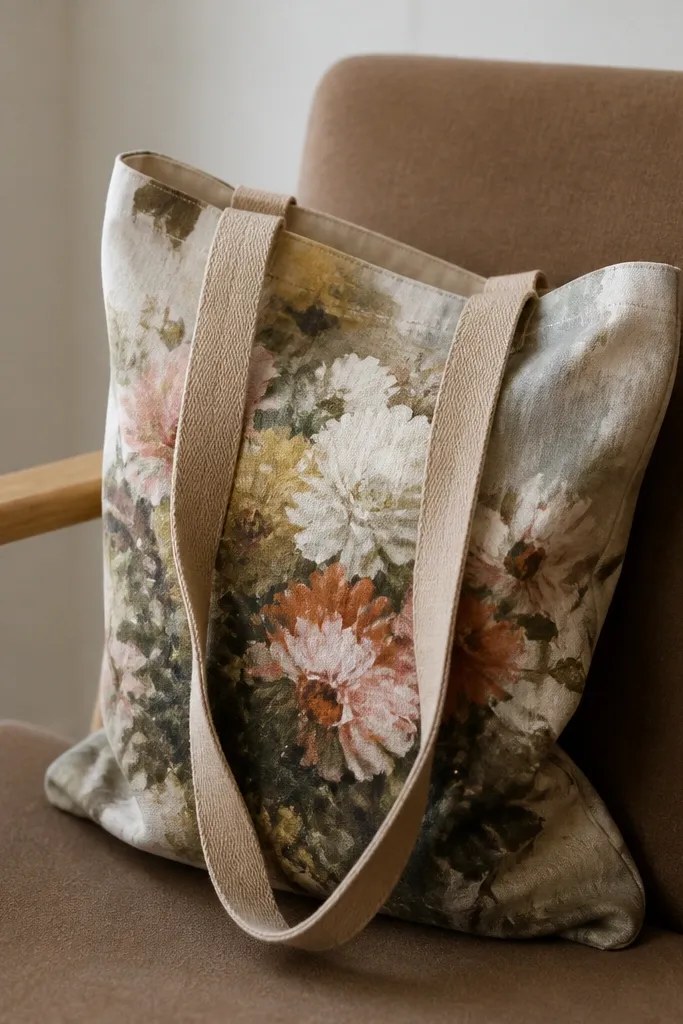
I made a tote from a cute printed home-decor fabric and stitched it into a bag with simple straps. It looked great hung on the chair. The second he used it, the tote sides drooped and the bottom kept collapsing. Stretchy fabric turns a tote into a sad sack because it can’t hold tension or shape.
Start by choosing a stable base fabric — cotton canvas, waxed canvas, or heavy home decor that doesn’t stretch more than a little when you pull it. Add fusible interfacing to the panels before you sew, then reinforce the bottom with an extra layer of canvas cut to the same footprint. Use 1 inch wide straps and stitch them with a box-x pattern so the stress spreads. Finally, press seams flat with steam and topstitch 1/8 inch from the edge so the bag keeps its lines.
Test the fabric by tugging hard — if it stretches with fingerprints, it’s not tote material.
Skip sewing a tote out of stretchy printed fabric — it will sag and look homemade in the worst way.
6. The heat-pressed shirt that peeled after one wash
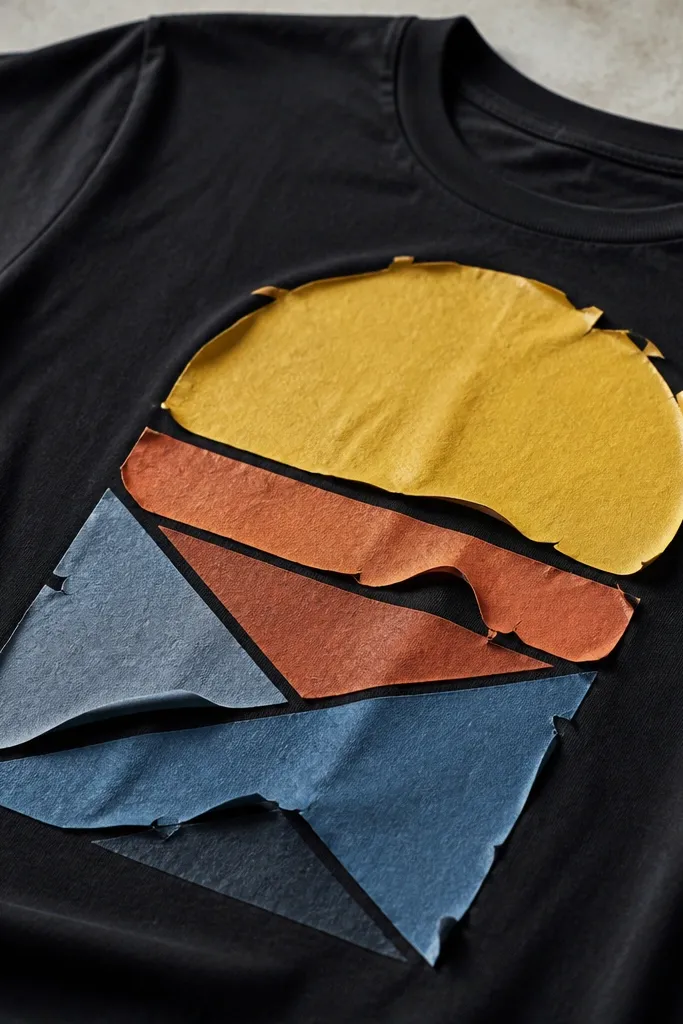
I did a heat-pressed design on a T-shirt and felt proud because it looked crisp at first. The first wash fixed the hype — the edges started lifting and the vinyl cracked. The peel happens when the vinyl isn’t fused long enough, the shirt fabric is wrong, or you wash too soon with heat. It looks like a temporary costume instead of a handmade gift.
Pro tipIf you want it to last, pick a thicker cotton shirt — thin tees flex and stress the vinyl edge.
Start by prewashing the shirt so there’s no sizing left in the cotton. Use the right vinyl type for fabric — HTV that matches the shirt temperature range. Press with firm, even pressure and follow the time/temperature settings for your exact vinyl, not the guess on a random chart. After pressing, let it cool completely, then wait 24 hours before the first wash. Wash cold, turn the shirt inside out, and skip the dryer for the first few weeks.
AvoidDon’t press on a wrinkled shirt — wrinkles create weak spots that peel first.
7. The "scrapbook" card that fell apart from cheap paper
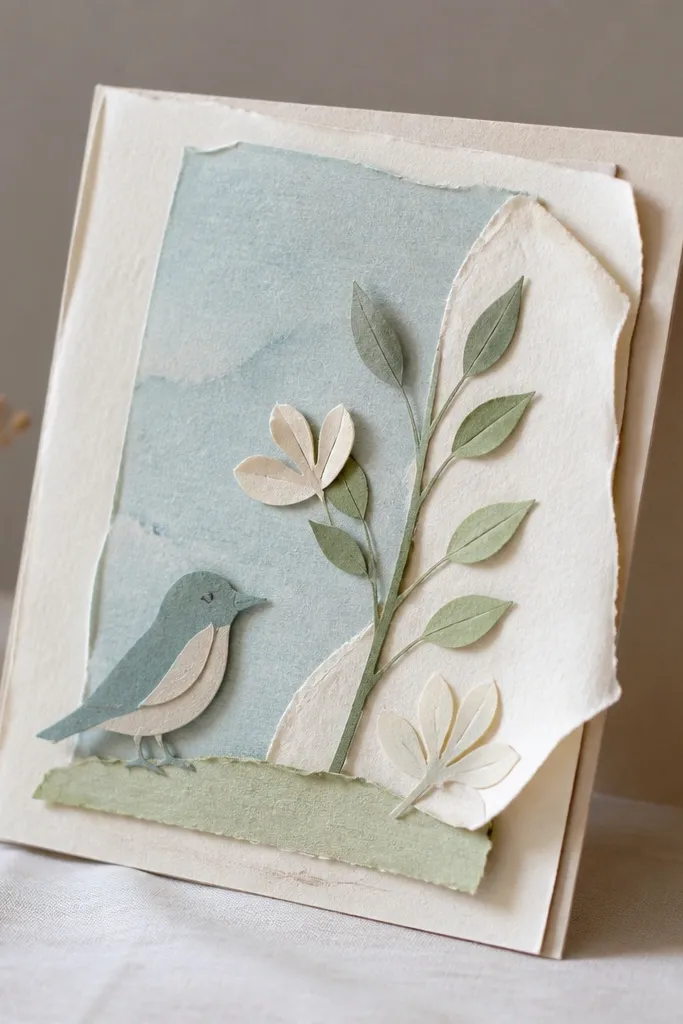
I made a layered card with lots of paper cutouts and glue dots. It looked adorable when I carried it around the house. Then he opened it and the layers started sliding because the paper warped and the adhesive didn’t bond well to heavier textures. A card that falls apart in his hands makes the sentiment feel like it didn’t get the same care.
Start with cardstock that’s at least 110 lb for the base, and use 80-100 lb for layers so they don’t curl. Cut layers with a sharp blade and use a scoring tool to fold cleanly, especially for thick bases. For adhesion, use a thin layer of PVA glue or strong double-sided tape meant for paper — I avoid glue dots because they create gaps. Press the layers under a flat book for 30-60 minutes so they set flat and don’t bow.
Spritz the finished card lightly with a matte paper sealer if it’s going to sit in a hot car.
Skip super thin printer paper — it warps, and the card looks sloppy even if your design is good.



