
1. Laminated Vinyl Cover That Peels at the Corners (and How I Stop It)
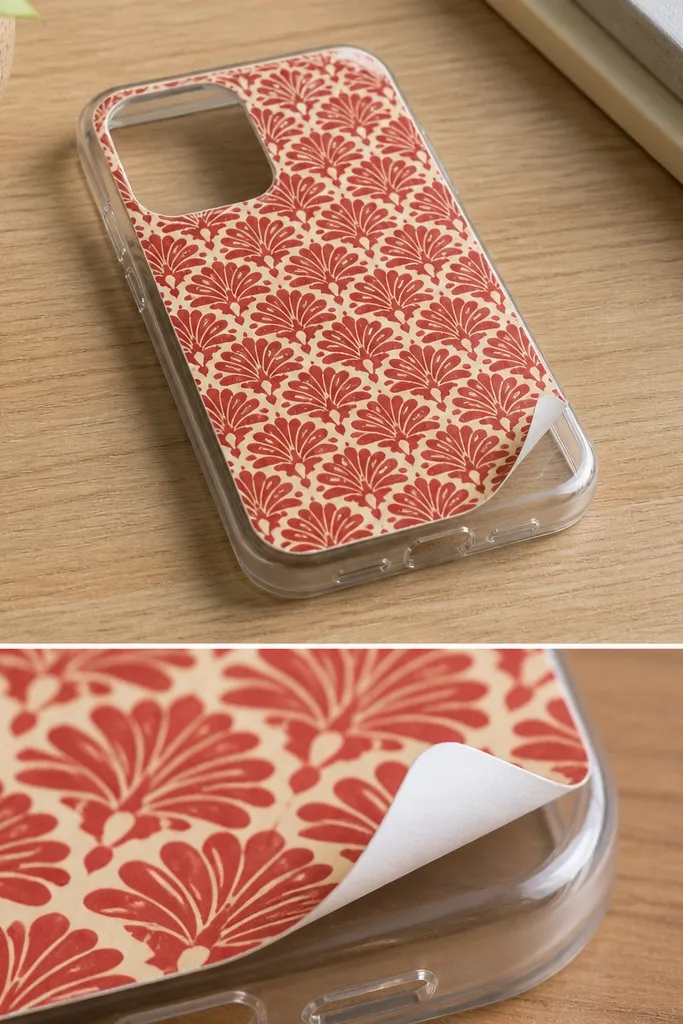
I tried to make a clean, graphic case using laminated vinyl, and it looked sharp until the first week of pocket use. The problem was the vinyl edge took all the friction, so the adhesive layer got stressed and started to lift. I fixed it by sealing the vinyl edge under a thin clear barrier, so nothing is exposed to rubbing. This style looks best on phones with rounded corners because the vinyl sits flat and the sealed edge blends in. If you like bold prints, a red-and-cream pattern hides minor scuffs better than pale pastels.
Start by cutting the vinyl 1 mm smaller than the case outline on all sides, then do a test-fit with the phone blank. Press the vinyl down using a clean brayer or a hard credit card, working from the center outward so you don’t trap air. Next, apply a thin coat of clear top coat only over the vinyl edges and the corners, not the whole surface at first. After it dries, add a second thin coat across the top so the edge is fully locked in. Finally, cure it for the full time on your top coat bottle before you put it in a pocket.
If your vinyl is matte, use a clear coat that matches the sheen you want — matte top coat hides tiny edge lines better than glossy.
Don’t wrap vinyl over the side lip — that stretch is what causes corner lifting.
2. Paper Collage Case That Turns Cloudy (My Real Fix for Clear Coats)
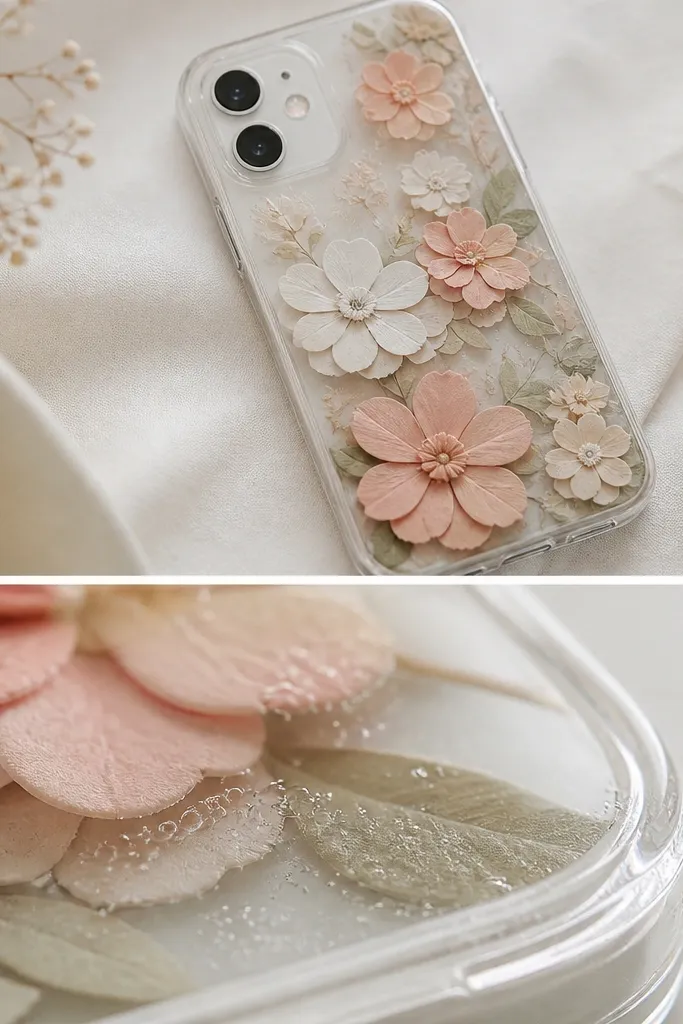
I made a collage case with vintage paper flowers and tried to seal it with a beginner-friendly clear coat. It stayed pretty, then turned cloudy, especially around the edges where the coating dried unevenly. The cloudiness came from either too-thick coats or coating over paper that wasn’t fully dry and sealed. If you want this look and you hate maintenance, you need thin coats and a barrier step so paper doesn’t drink the clear layer. This aesthetic looks great on warm skin tones because the paper colors — peach, terracotta, and antique gold — read softly instead of neon.
Begin by gluing your paper pieces onto the blank with a thin layer of matte decoupage glue, then let it dry until it feels completely firm, not tacky. Seal the whole surface with one very thin clear layer and wait for it to dry fully — I do this overnight for peace of mind. When you add the final top coats, apply them in thin passes, rotating the case so the liquid doesn’t pool at the corners. If you see bubbles, pop them with a pin right after application, then keep the case flat while it cures. After curing, check the edges — if any paper is visible, add one more thin coat only on that spot.
Use a foam brush for clear coats — it leaves fewer streaks than a bristle brush.
Don’t pour or spread a thick first coat — that’s when paper haze and bubbles happen.
3. Resin Over Felt That Cracked (Switching to Low-Stress Layers)
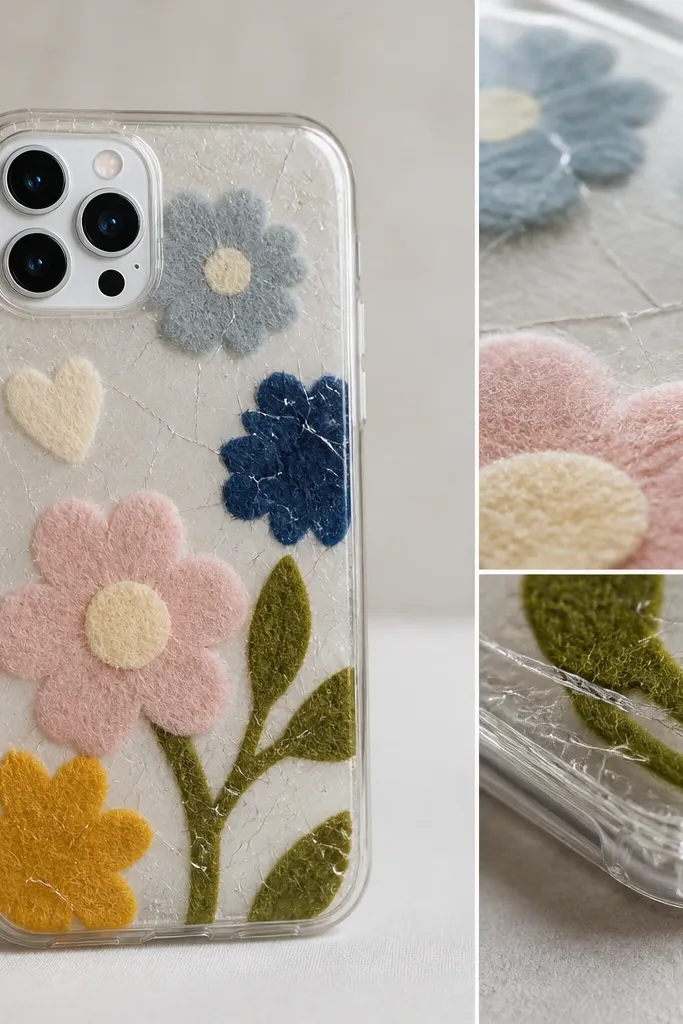
Start by trimming felt pieces so they sit flat and don’t reach the very edge of the case by at least 2 mm. Glue felt down with fabric glue or a flexible adhesive, then press it with a flat tool for 30 seconds to set the bond. Apply a thin flexible clear layer over the felt — just enough to seal the fibers — then let it cure fully. Add a second thin layer only after the first is hard, keeping each layer under the thickness you’d use for a smooth tabletop. Finally, trim any raised edges with a sharp craft knife so the case slides into pockets without catching.
I wanted a cozy felt design under resin because I love the texture, but the resin cracked along the corners after a couple of drops. TPU bends, and thick resin stays rigid, so the stress concentrates where the phone flexes. My fix was to stop using thick resin as the first protective layer and instead use a flexible clear medium. This makes the case look the same — glossy over felt — but it moves with the phone. Felt designs look best with small shapes and limited color — think cream, charcoal, and a single accent like dusty rose.
AvoidDon’t coat felt right to the rim — the exposed edge is where cracking starts.
Pro tipIf you can feel a ridge with your fingernail, it will catch lint and lift later, so shave it down before top coating.
4. Sharpie + Alcohol Smear Disaster (Sealing the Ink the Right Way)
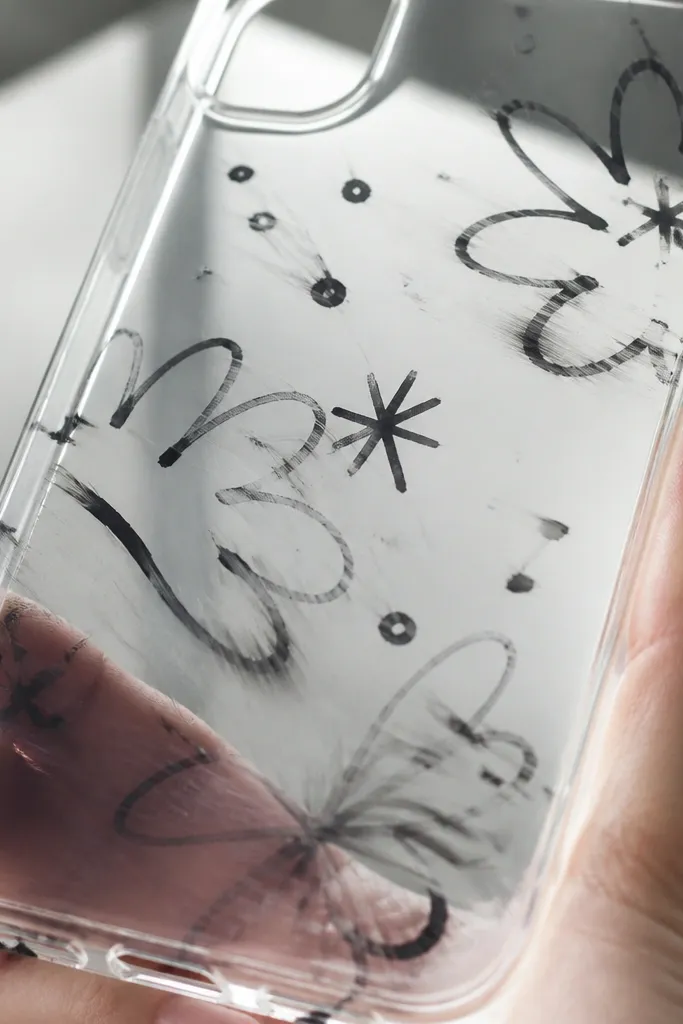
I drew a simple doodle design with Sharpie on a clear case, and it looked great until I wiped it with an alcohol-based cleaner. The ink smeared because marker ink isn’t sealed and alcohol reactivates it. For diy phone case low maintenance easy care, you need a seal that creates a barrier layer, not just a decorative finish. This design works best for minimal line art, like thin stars or a single branch, because the sealed top coat makes the lines look crisp. The black-and-cream version also hides micro-scratches better than bright colors.
Start by drawing on a clean, dry clear TPU blank — no dust, no fingerprints. Let the ink sit untouched for at least 24 hours so it fully sets, then test one small corner with a damp cloth to see if it smears. Next, apply a thin clear top coat over the entire drawing, using light strokes so you don’t drag ink around. After the first coat cures, add a second coat for full coverage, focusing on edges where hands touch. If you want extra protection, put a final matte or satin coat — satin hides fingerprints more than glossy.
Skip alcohol wipes on a DIY case unless you’re sure the seal is fully cured for days, not hours.
Don’t seal marker art with thick glue — it can pool and make your lines look wavy.
5. Sticker Bomb That Looks Great for Two Days (Then Lifts)
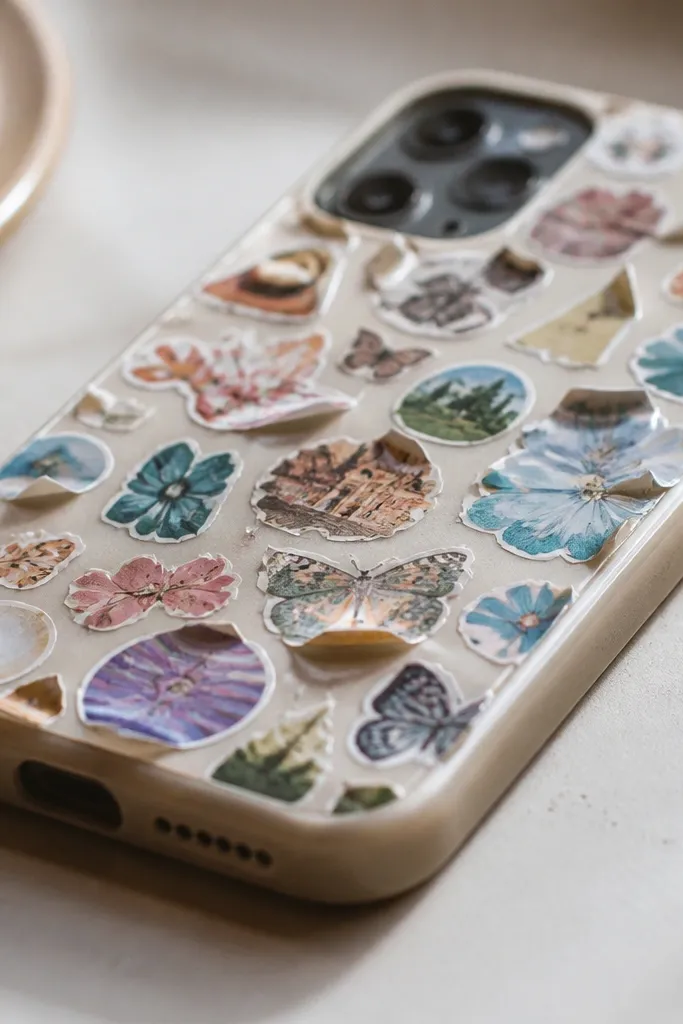
I went full sticker bomb on a clear case because it was fun and fast. The look was cute, but the stickers lifted at the edges and around high-touch spots like the bottom lip. Sticker adhesives don’t like friction and repeated flexing, so they peel even if the center sticks. My fix was to treat stickers like paper: seal them under a protective layer so the adhesive is no longer the only barrier. This works best with flat stickers that don’t have deep texture, so the top coat can smooth over them.
Start by cleaning the case with soap and water, then dry it completely so no residue fights the top coat. Arrange stickers with a small gap — leave about 1 mm between sticker edges so the clear coat can bridge without creating thick ridges. Apply a thin layer of decoupage glue or clear medium over the entire sticker surface, pushing it into the gaps. Let it cure fully, then repeat with a second thin layer for strength. Finally, add a glossy or satin top coat for wipeability, and don’t use the case for 24 hours after the last layer.
Press each sticker for 10 seconds with a flat tool so the adhesive bonds before you seal.
Don’t stack stickers on top of the side seams — corners lift first there.
6. Fabric Trim Case That Frays (My Edge-First Method)
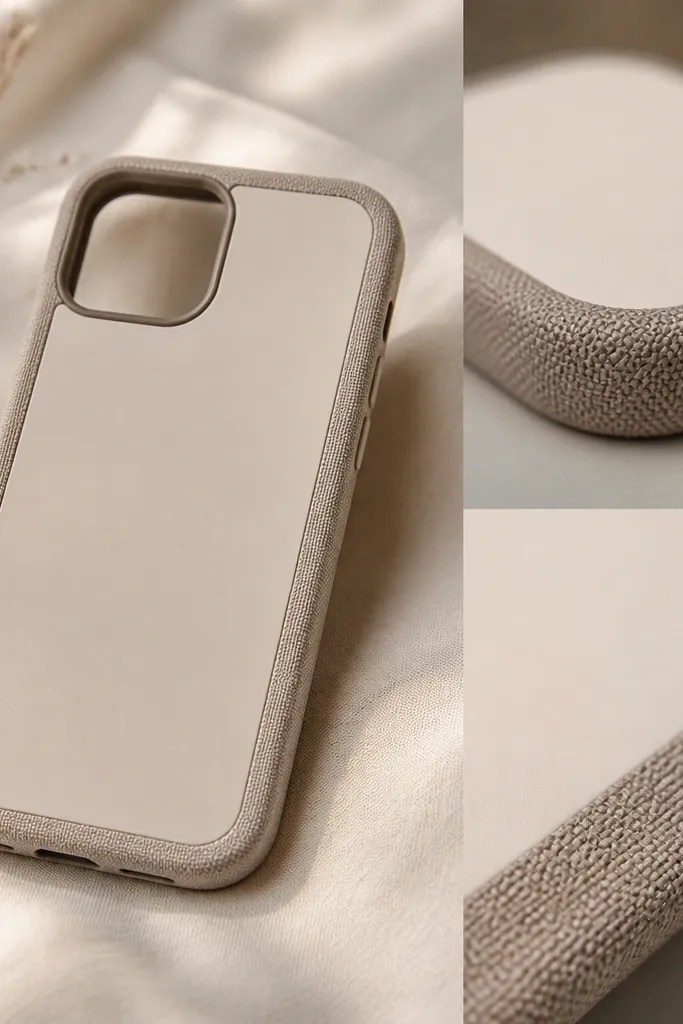
Start by cutting fabric strips slightly longer than the case perimeter, then fold the raw edge under by about 2 mm. Press the fold with a warm iron on low heat if your fabric allows it, then glue the folded edge down with fabric glue. Apply glue to the case in short sections and attach the trim, smoothing as you go so it doesn’t ripple. Once it’s fully attached, seal the trim with a thin clear medium over the top surface and the fold line. After curing, top coat over the whole case so the fabric surface wipes clean.
I added fabric trim because I love the look of brushed cotton and linen against a clear phone case. The first attempt frayed at the edges and the fibers snagged on pocket fabric, so it looked messy fast. For low maintenance, you have to finish raw fabric edges before you glue them down. I use a folded-under edge method so the cut line is hidden and sealed. This style flatters people who like softer, warmer tones — cream, oatmeal, and olive fabric reads calm and looks good against most outfits.
AvoidDon’t glue raw fabric edges — they fray and pull up the trim within a week.
Pro tipUse a fine paintbrush to seal the fold — it keeps glue from soaking through and leaving hard bumps.
7. Glitter Coat That Feels Rough (Sanding + Satin Finish Fix)
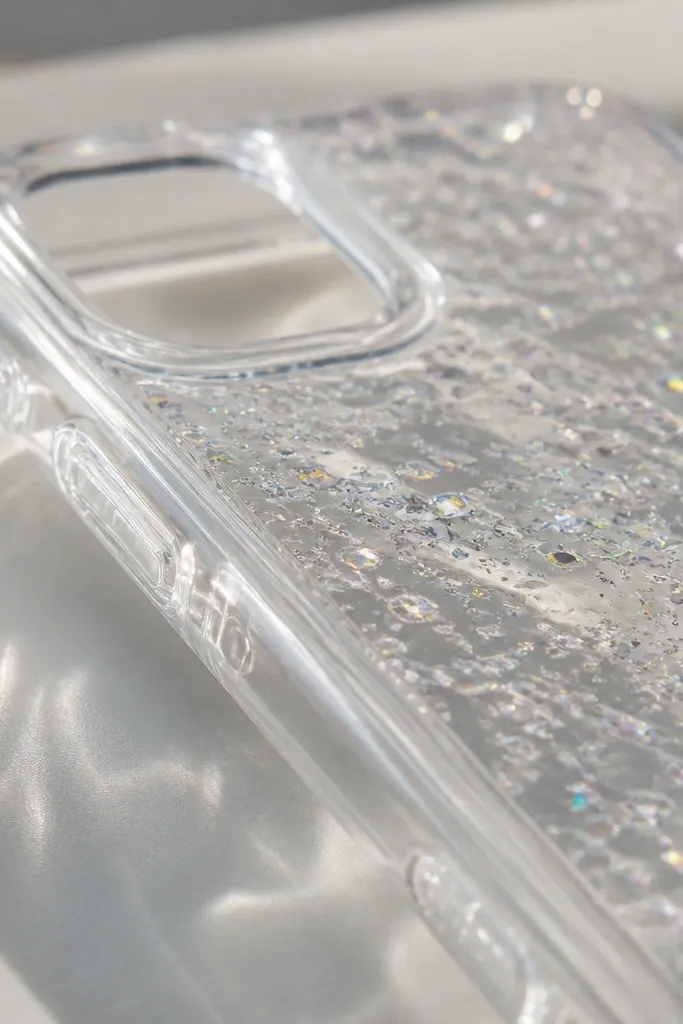
Start by applying a thin adhesive layer where you want glitter, then sprinkle fine glitter lightly so it doesn’t clump. Tap off excess glitter and let it cure fully so it doesn’t shift under the top coat. Add clear coat in thin layers until the glitter is fully covered — you should not feel glitter grains yet. If it still feels rough after curing, sand gently with 800-grit, then wipe clean and add one more clear coat. Finish with a satin top coat if you want fingerprints to be less obvious and the surface to feel smooth.
I tried glitter because it looks amazing in sunlight and it hides small scuffs. My mistake was applying too many glitter-heavy layers, which left the surface rough and snaggy. Rough glitter catches lint and makes the case feel cheap in hand. The fix is to build a smooth base, then lock everything under enough clear coat and sand only if you need to. This look works best for small amounts — a gradient of fine silver or gold glitter along the side looks intentional instead of messy.
AvoidDon’t skip coverage coats — exposed glitter edges are what make the case snag.
Pro tipFine glitter (not chunky) gives a smoother hand feel and needs fewer sanding passes.



