

1. The 3x3 kids faces grid (classic, no drama)
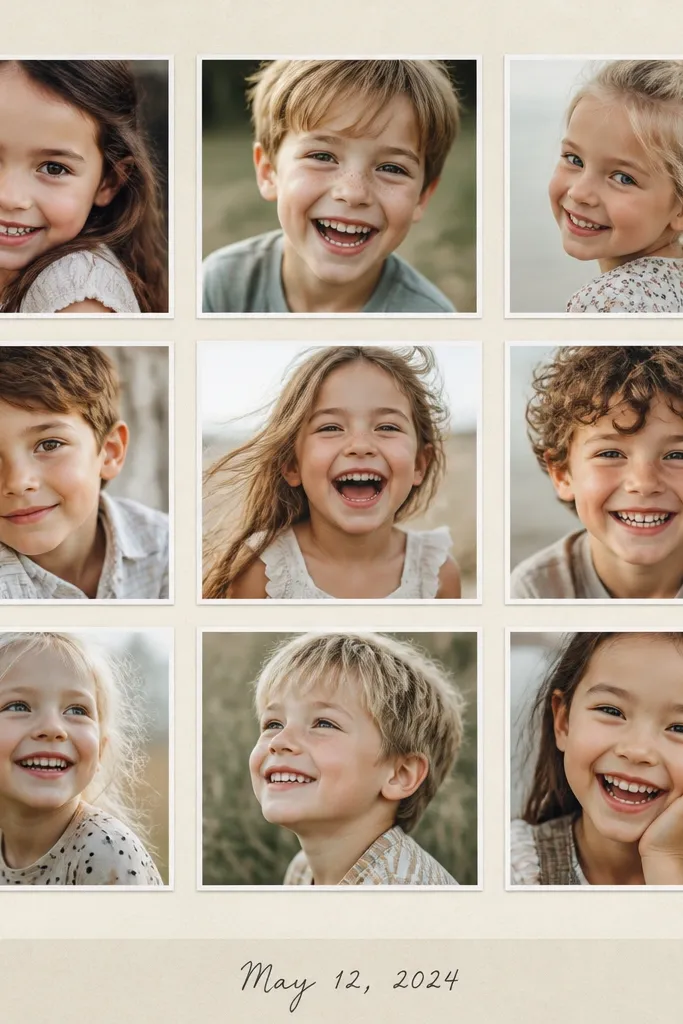
This one looks stunning because it’s predictable. Use nine photos where the subjects are close to the camera — big faces, bright eyes, and similar lighting. Print them as rectangles that are the same size, and keep the background clean so the faces do the work. It flatters almost everyone because you’re not cutting people at odd angles; you’re showing expressions. For skin tones, keep a consistent white border so warm tones (brown, golden, rosy) don’t look washed out next to cooler lighting shots.
Pro tipPick photos with similar brightness — if one shot is much darker, brighten it before printing so the whole grid reads evenly.
Start with an 8x10 inch base. Cut your photos to the same rectangle size and print with white borders if your printer supports it. Measure and mark a 3x3 grid with equal spacing, then place the photos dry first to check alignment. Glue from the center outward so edges don’t lift, then add a bottom strip the width of the collage for the date or name.
AvoidDon’t mix portrait and landscape orientations in the same grid — it makes the layout look accidental.
2. Hero center with 8 supporting shots
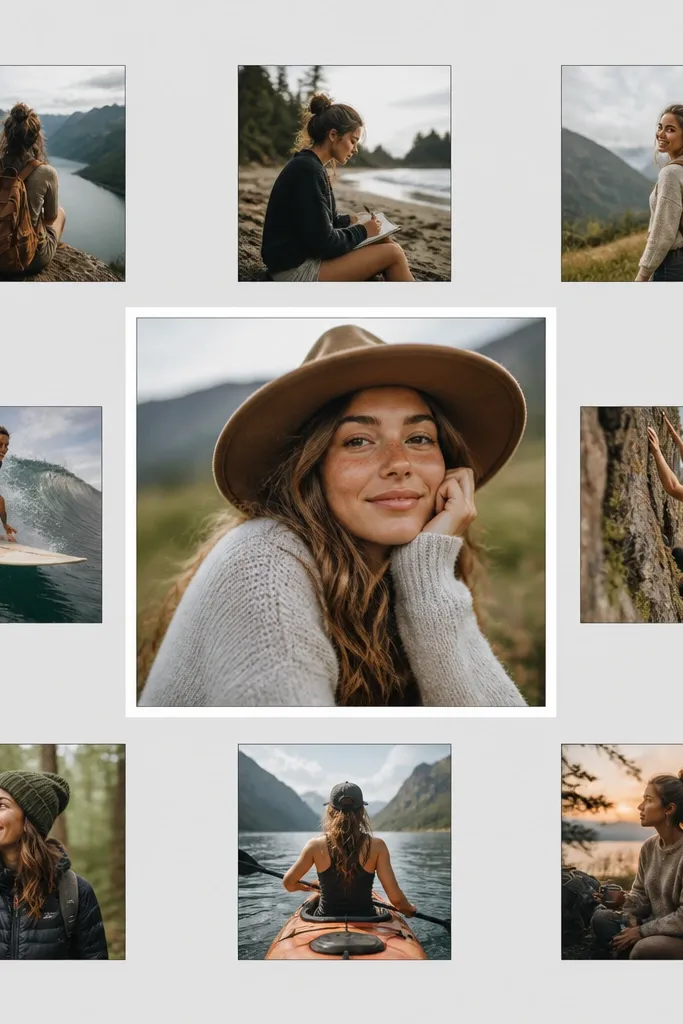
A hero-center layout makes your collage look designed even when the photos vary. Put your best photo in the center — the one with the clearest face or the funniest moment. Then surround it with supporting shots that tell the story: shoes running, cake frosting, classroom activity, or a pet cameo. This works for kids because the center grabs attention and the smaller photos feel like a scrapbook timeline. If your hero photo has warm tones, keep the rest from being too cool by adjusting white balance so everything sits in the same temperature family.
Use an 11x14 base if you want more space, or stick to 8x10 for smaller prints. Cut the hero photo to about 5x5 inches, then size the eight smaller photos to about 2.5x2.5 inches each. Mark a center square for the hero, then map the ring so the gaps stay consistent. Glue the hero first, then place the smaller photos around it, and finally add a thin border strip around the whole collage if you want a finished frame look.
Choose supporting photos that share one background color (like playground green or room beige) so the ring feels cohesive.
Don’t place your darkest photo in the center — the hero should be the clearest and brightest.
3. Polaroid stack with straight edges

This is the collage style that looks like you bought it at a craft shop. Use printed photos with a white mat and make each “Polaroid” frame from cardstock — the photo sits centered with a consistent border. Keep the stack small, like five photos, so it doesn’t turn into clutter. It flatters kids because the white frames brighten faces and make mixed lighting look more uniform. If you have one photo with a yellow cast, the white mat pulls it back visually.
Pro tipWrite the date on the bottom of the Polaroid frame in a single color pen — it looks intentional, not random.
Cut each Polaroid frame to the same outer size, like 3.5x4 inches, and leave a 0.5 inch top margin in the frame. Place each photo centered, then glue the photo to the inner mat so the edges are crisp. Arrange five frames on your base with small offsets (about 1/8 to 1/4 inch). Tape one frame lightly with washi tape, then glue the rest so nothing slides.
AvoidDon’t stack too many frames — more than 7 on 8x10 starts to look like a pile.
4. Washi tape border collage (clean frame effect)
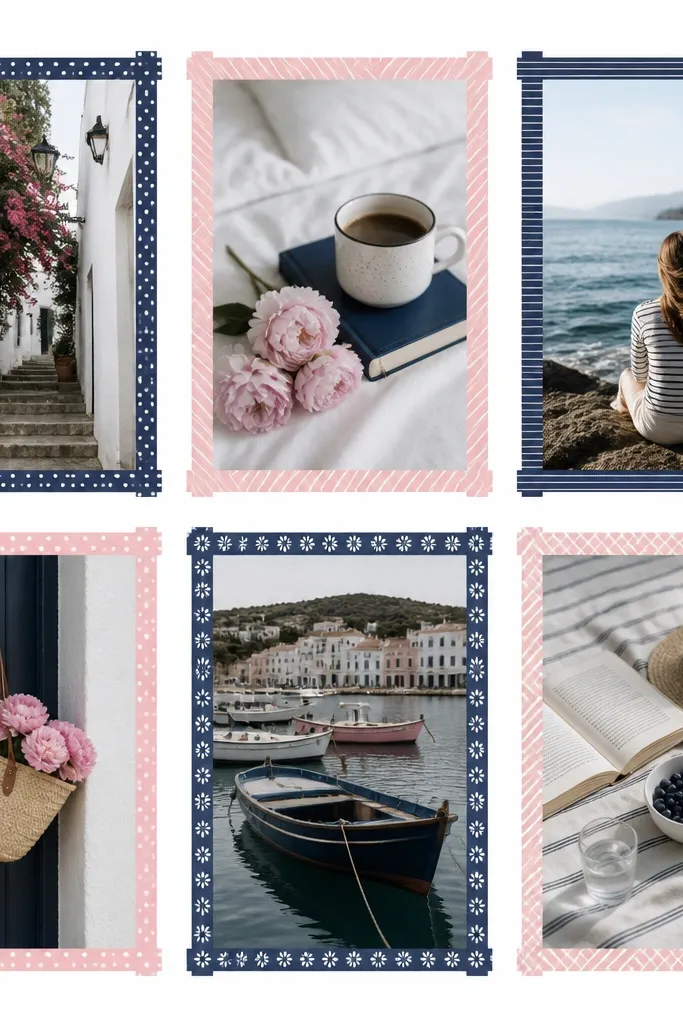
Washi tape borders make your collage look finished without fancy layouts. The trick is to use tape as a divider, not decoration everywhere. Pick two tape patterns or colors max so it doesn’t fight your photos. This works great for kids because the tape adds brightness around faces and covers minor print imperfections. It’s especially flattering when your photos have mixed backgrounds, like a birthday room plus outdoor shots.
Pro tipUse a paper cutter for tape edges so the lines stay sharp.
Print six photos as equal rectangles for a 2x3 grid on an 8x10 base. Place them first with 1/4 inch gaps, then cut washi tape strips to match the gap width. Tape along the top and sides of each photo — leave the bottom gap slightly visible so the layout breathes. Finally, add a thicker washi tape strip along the outer edge of the collage area.
AvoidDon’t use wide tape — it eats space and makes the photos look smaller than they are.
5. Same-color photo strips (one theme, three heights)
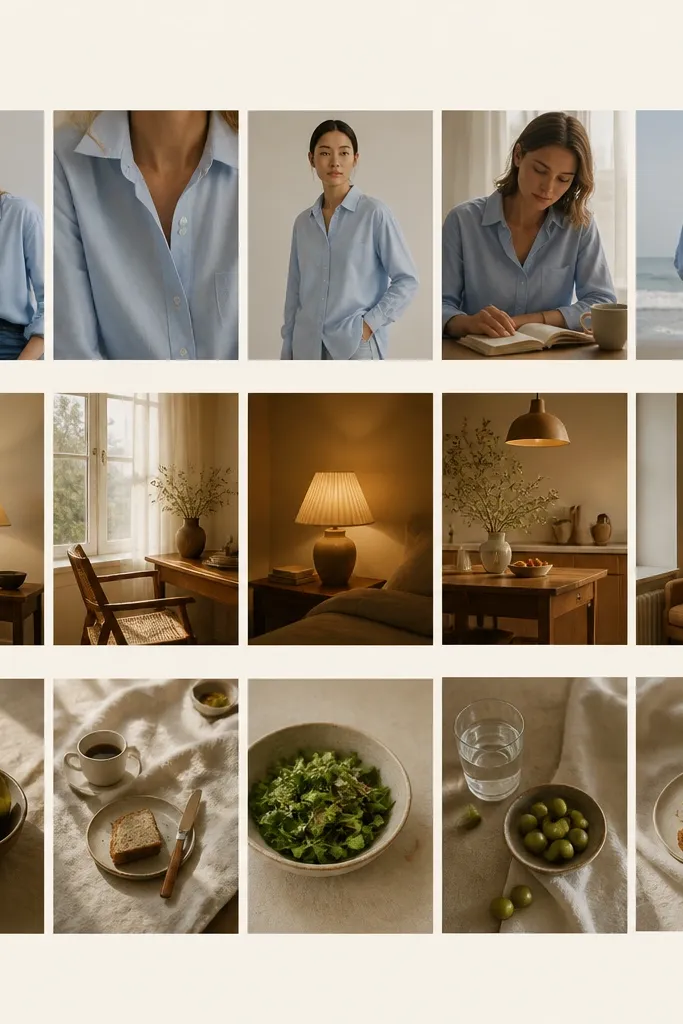
This layout looks stunning because your eye has a color path. Choose photos that share a color theme across the set — for example, all navy outfits for one strip and all red birthday details for another. Then arrange them horizontally in bands, with consistent heights. Kids' collages look extra cohesive this way because kids change outfits fast, but the color story keeps it calm. It also helps when your photos have different camera quality — the color grouping makes them feel like a set.
Pro tipIf you have one off-color photo, place it at the end of its band so it reads like a punctuation mark.
Pick an 8x10 base and decide on three horizontal bands, each about 2.5 to 3 inches tall. Print photos into consistent rectangles, then crop so the color dominates (shirt, wall, playground equipment). Dry-fit the bands first, then glue strip by strip. Add small 1/8 inch gaps between photos within a band so they don’t merge visually.
AvoidDon’t mix three unrelated color moods in one band — it turns into a random scrapbook.
6. Diary page collage with handwritten captions
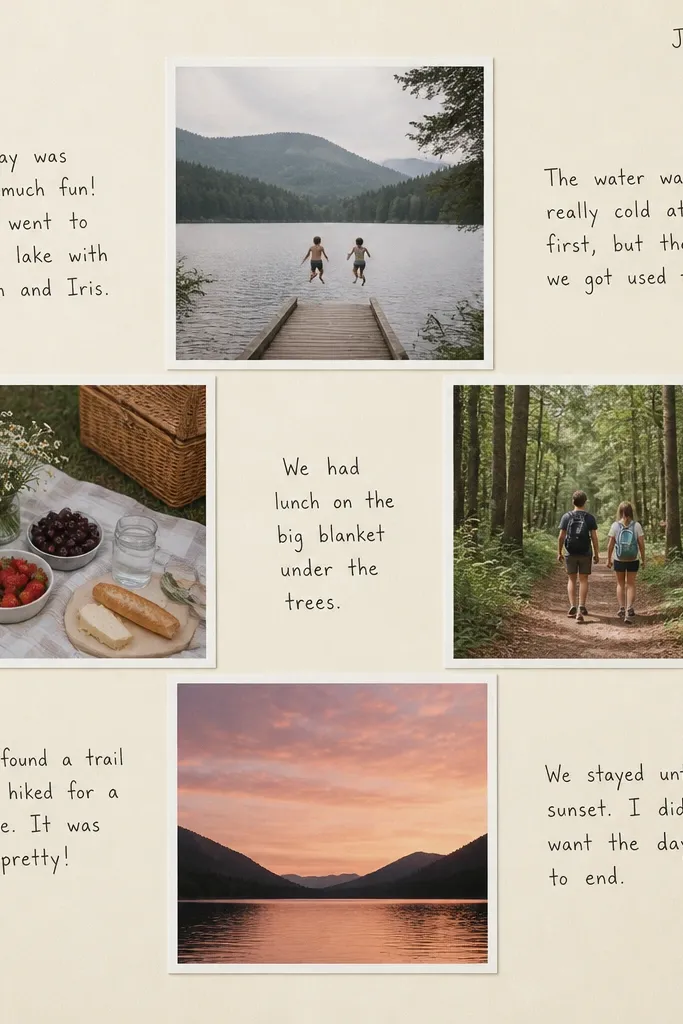
Captions make your collage feel alive, and they also fix a common beginner problem: too many photos with no order. Use four photos — one top, one center, and two lower corners — then label them with short phrases like “First day,” “Recess,” “Cake,” or “Bedtime story.” This flatters kids because it brings focus to moments instead of technical photo quality. It also helps mixed skin tones because the text area gives the eye a rest between images.
Pro tipUse the same caption style for all photos — either all dates or all short phrases.
Start by printing four photos with consistent borders. Arrange them in a cross layout on an 8x10 base and leave space for text: about 1/2 inch between photos and around edges. Write captions with a fine-tip black pen, one line each, and keep font size consistent. Glue photos last after you’re happy with spacing so the text stays readable and not covered.
AvoidDon’t write long paragraphs — anything over one line per photo looks messy.
7. Checkerboard 12-photo collage (two sizes only)
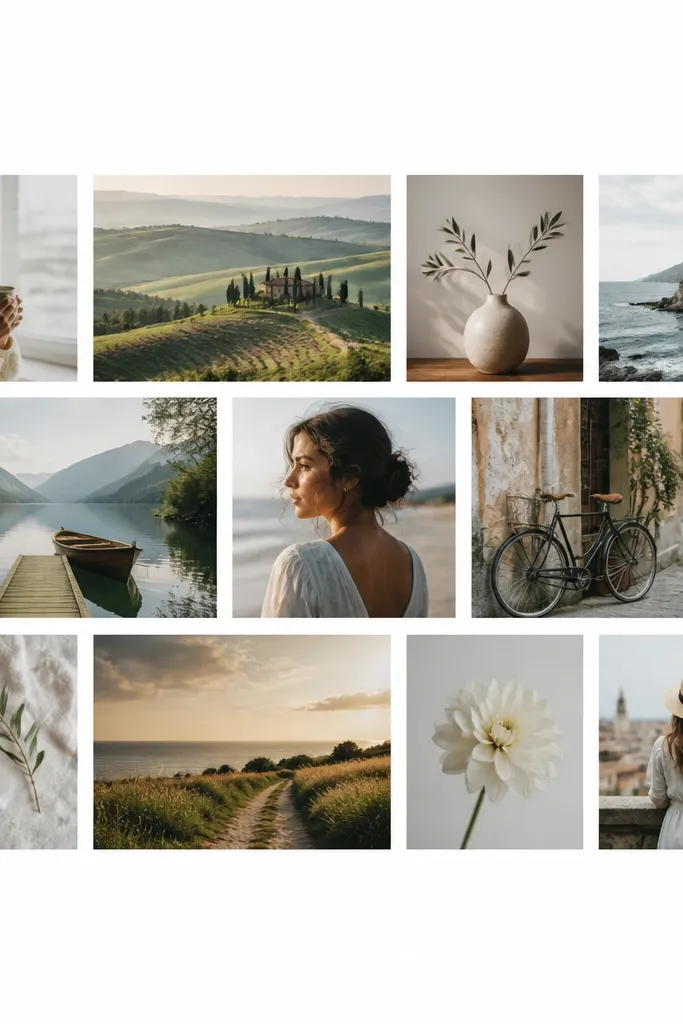
Checkerboard layouts look clean because they create rhythm. You only use two photo sizes, which keeps it from turning into a patchwork of random rectangles. Pick 12 photos that are similar in brightness and crop them so faces sit near the center. This is great for kids because you can include both close-ups and full-body moments without the collage looking chaotic. The alternating sizes also flatter different skin tones because the white gaps keep everything separated.
Pro tipCrop each photo so the subject is within the center 60% of the frame for a consistent look.
Choose an 8x10 base and decide on a centered checkerboard area. Print six small photos and six slightly larger ones, alternating them in a 4x3 pattern. Use a ruler to mark exact placement and keep the gaps at 1/8 to 1/4 inch. Glue the photos in place starting from the center, then work outward so alignment stays tight.
AvoidDon’t mix border thickness — keep all photo borders the same width.
8. Triangle cluster collage (for action shots)

Triangles pull your eye through the collage, and that makes action shots look more energetic. Put your most dynamic photo at the bottom left or bottom center, then place two medium photos to form the other points. Add two small photos along the edges as “supporting beats.” This works well for kids because motion blur and background clutter still look intentional when the layout guides your gaze. It also flatters faces because the largest photo holds attention while the smaller ones fill in context.
Pro tipChoose photos with diagonal movement — running, jumping, swinging — so the triangle matches the energy in the images.
Print five photos: one larger (about 4x3 inches), two medium (about 3x3 inches), and two small (about 2.5x2 inches). On an 8x10 base, sketch a triangle placement lightly with pencil. Glue the largest photo first, then fit the two medium photos to complete the triangle. Finish by placing the two small photos near the triangle edges, keeping gaps equal.
AvoidDon’t center everything perfectly — a triangle should feel slightly directional.
9. Vertical timeline collage (months down the side)
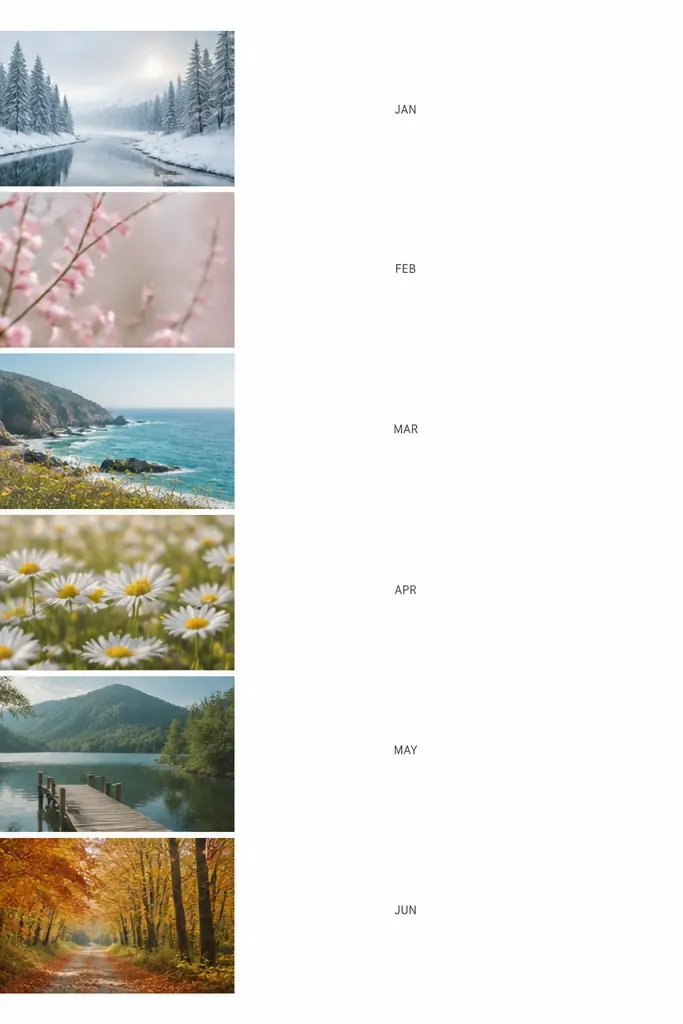
A timeline layout is forgiving because it gives your photos a job: “this happened next.” Use vertical photos where the subject grows or changes — toddler height, school year milestones, or seasonal events. The labels keep it readable even if some photos are busy backgrounds. Kids' collages look especially good with this format because you can show progress without cramming. It also flatters mixed lighting since every photo repeats the same size and spacing down the column.
Pro tipIf you don’t have month-by-month photos, use “Week 1, Week 2” style instead of forcing dates.
On an 8x10 base, reserve a left column about 3 inches wide for photos. Print six portrait-oriented photos at the same height and width, leaving a 1/4 inch gap between them. Add month labels on the right with a fine black marker, one label per photo. Glue photos first, then write labels and finally add a small date line at the bottom.
AvoidDon’t use different font sizes — it makes the labels look like stickers.
10. Heart-shaped photo collage (kids' Valentine style)
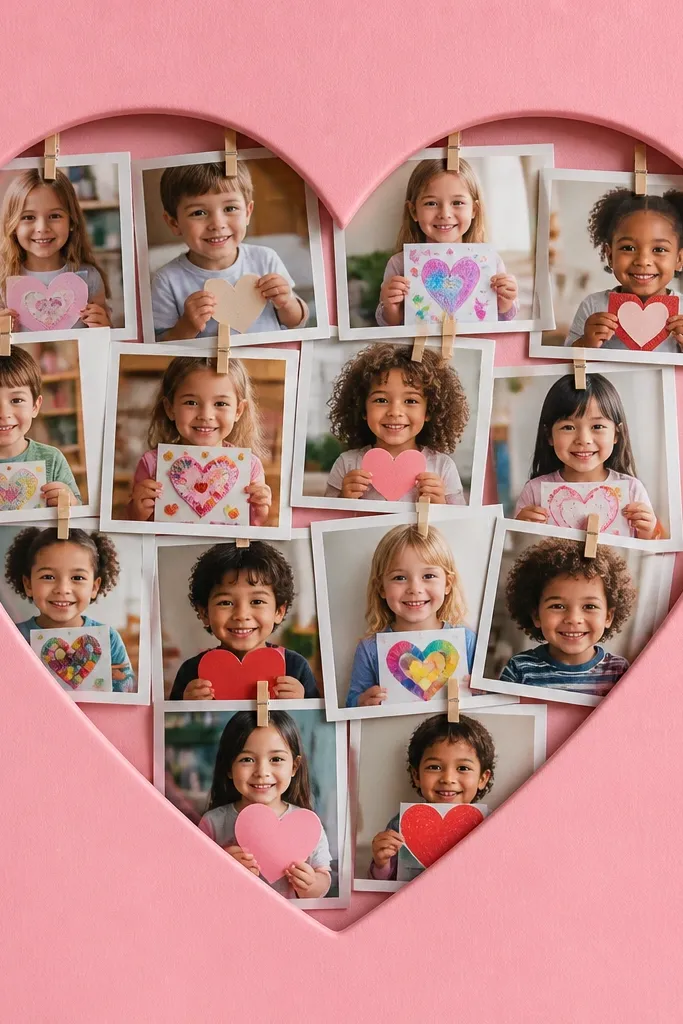
A heart shape gives you an automatic focal point, and it looks cute without needing fancy design skills. Use close-up photos with bright faces and keep the heart filled evenly so it doesn’t look like random scraps. I’ve done this for kids' Valentine cards and it turns out better when the photos are all portrait orientation. It flatters because the heart contour frames the face area and softens harsh lines. Choose warm reds and pinks in the background so skin tones look healthy instead of pale.
Pro tipUse photos where the subject is looking toward the camera — eyes make the heart feel personal.
Start with an 8x10 base and lightly trace a heart shape using a template. Cut the heart out of a piece of cardstock and use it as a guide for photo placement. Print several portrait photos and trim them so each one covers a section of the heart without gaps. Glue photos behind the heart cutout so the heart edges stay crisp, then add a thin border stroke around the heart with a marker.
AvoidDon’t leave big uncovered heart areas — the empty spaces make it look unfinished.
11. Scrapbook strip collage (one long photo ribbon)
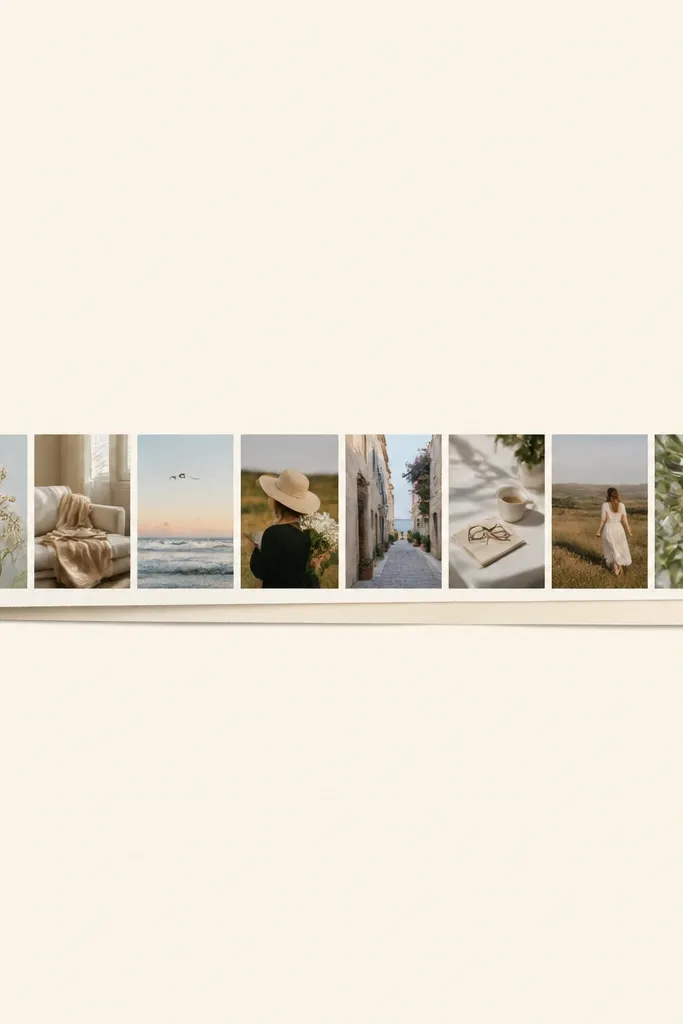
A photo ribbon works because it reads like a story line. Use it for events with lots of small moments: field trip, birthday setup, party games, or a weekend morning. Keep the strip straight and the photo heights equal, and it looks tidy even with many images. This flatters kids because it avoids awkward cropping — you can include hands, faces, and scenery without squeezing. Color stays consistent because the ribbon repeats the same format across all photos.
Pro tipIf your row gets too long, break it into two ribbons stacked with a 1/2 inch gap.
Print 10 to 16 photos as narrow rectangles, about 1.3 inches tall and 2 inches wide, depending on your base size. On an 11x14 base, place the ribbon across the middle, leaving 1 inch margins. Glue the photos in a single row with 1/8 inch gaps. Add a small label strip at the left end with the event name in a dark pen, then finish with a thin paper border around the whole collage.
AvoidDon’t rotate photos in a ribbon — rotation makes it look like a messy attempt.
12. Film strip collage with perforation look
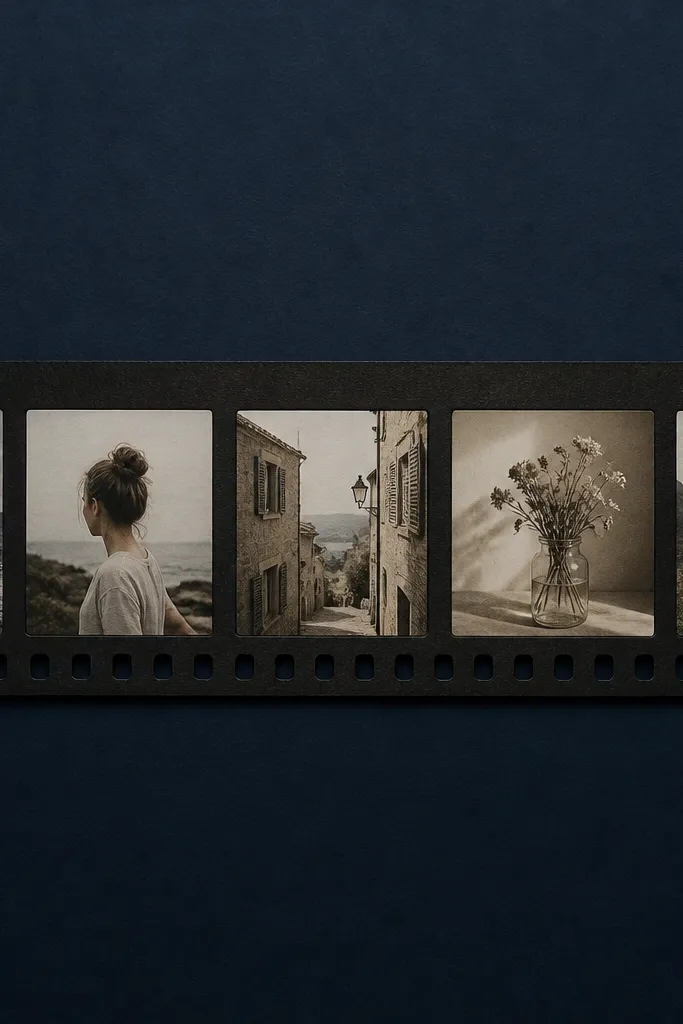
Film strip collages look great because they add a theme through the layout, not through filters. Make the frames consistent so the photos feel like they belong together. This works especially well for kids' school days and trips because the “film” vibe hides minor color mismatches. It also flatters because the darker background makes faces pop without needing heavy edits. Keep your photos bright enough that eyes stay clear against the darker strip.
Pro tipUse a slightly matte photo paper if you can — it keeps the film look from turning shiny and cheap.
Use a black or navy cardstock base for contrast. Cut a film strip rectangle, then add small circles along the bottom edge with a punch or drawn guide (just enough to suggest perforations). Print your photos as small rectangles sized to fit inside the strip frames. Glue photos inside, leaving consistent spacing, then attach the strip to the center of the base. Add a tiny date label in a corner with a white gel pen.
AvoidDon’t choose a background that’s too light — the film effect disappears.
13. Polaroid grid with one accent tape color
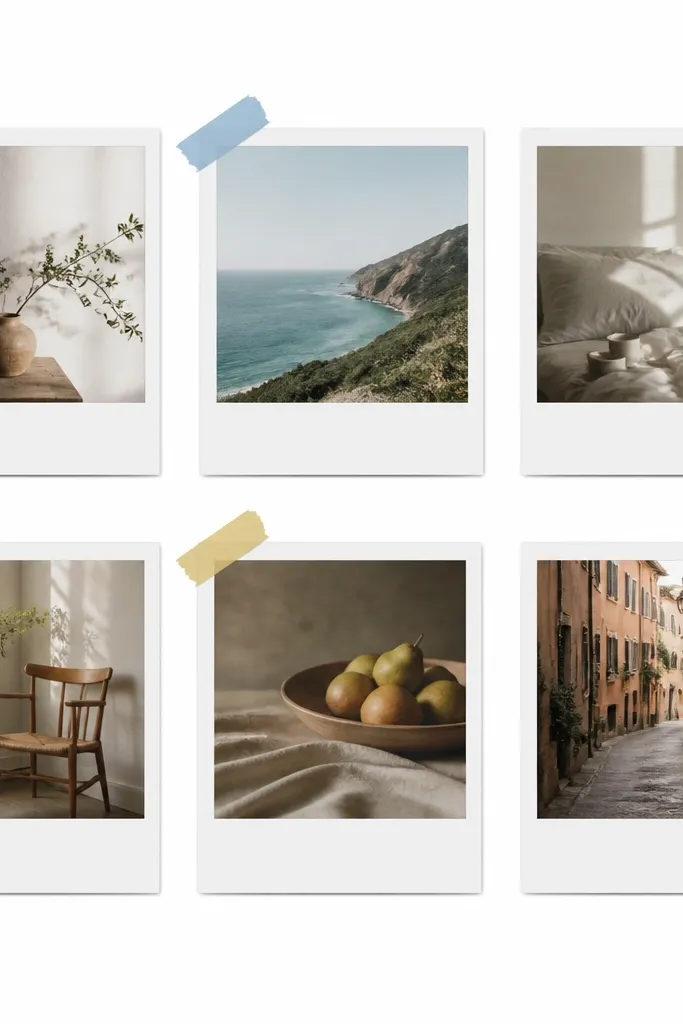
When you want the Polaroid vibe but cleaner edges, use a grid. The photos feel intentional because the frames are consistent, and the one accent tape color ties everything together. This is great for beginners because you don’t need to cut fancy shapes — just consistent cardstock mats. It flatters kids because the white frames brighten faces and make mixed lighting look more uniform. The taped corners also hide tiny alignment issues at the edges.
Pro tipUse the same pen for the dates across all frames so the handwriting looks cohesive.
Cut six Polaroid frames to the same outer size, like 3.5x4.5 inches. Print photos to fit the inner opening with a centered border, then glue each photo to its frame. Arrange frames in a 2x3 grid on an 8x10 base, leaving 1/4 inch between frames. Tape one corner of each frame using the same washi tape color and glue the frames down.
AvoidDon’t use multiple tape patterns — the frames start competing.
14. Color-block margins with photo-only center

Color-block margins make a collage look graphic and modern. You keep the photos in the center, aligned and calm, while the margins provide the style. This is perfect for kids' photos because you can choose a color that matches the theme — birthday teal, school colors, or a favorite hoodie color. It flatters because the margin color frames faces without changing them. If your photos are slightly uneven in brightness, the margin color still looks intentional.
Pro tipPick margin colors from the photos themselves — look for shirt colors or wall paint tones.
Start with an 11x14 base or an 8x10 if you want smaller. Cut a center rectangle for photos and leave a border margin, like 1.25 inches on each side. Choose two solid cardstock colors and tape or glue them as margin strips, keeping corners neat. Print photos in a 3x3 or 4x4 grid and glue only into the center photo rectangle. Finish by adding a thin white strip inside the colored margins if you want extra definition.
AvoidDon’t add pattern in the margins if your photos already have busy backgrounds.
15. Odd-number cluster (5 or 7 photos) with breathing space
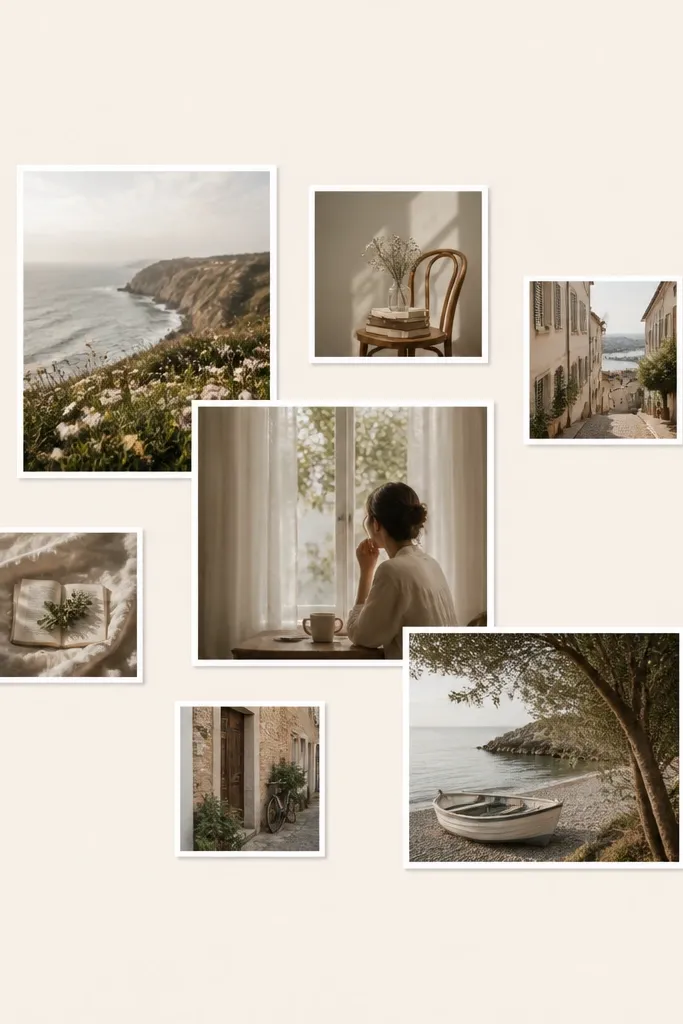
Odd-number clusters look good because your brain reads them as a composition, not a pile. Use five or seven photos and vary sizes slightly — one larger face photo, two medium action shots, and the rest as small details. The blank space is doing work here; it makes the photos feel curated even when you’re using random snapshots. Kids' collages benefit because it avoids the “too many photos” clutter. It also flatters because the photos are spaced enough that different skin tones and lighting don’t clash.
Pro tipUse one detail photo (hands, shoes, craft materials) to anchor the theme when the rest are faces.
Print five to seven photos with consistent border width. On an 8x10 base, place the largest photo first in the upper left or center, then add two medium photos near it. Fill the remaining spots with small photos so the cluster forms a rough oval or triangle shape. Keep at least 1/4 inch between photos and leave visible blank space at the edges. Glue in layers: secure the largest, then medium, then small.
AvoidDon’t fill every inch of the page — blank space makes it look expensive.
16. Diagonal sash collage (one diagonal line)

Diagonal sashes add energy without needing a complicated design. You place photos along one diagonal path so the collage feels dynamic, which is great for sports, dance, and playground days. This flatters kids because you’re not cropping faces at random angles; the diagonal band keeps everything aligned. It also helps when photos have different backgrounds because the diagonal line gives a visual structure. Choose photos with similar brightness so the diagonal doesn’t look patchy.
Pro tipUse a dark pen to lightly sketch the diagonal guide so you can erase pencil lines afterward.
On an 8x10 base, measure a diagonal band width about 4 inches wide. Print four to six photos sized to fit in that band, rotating them by cutting paper so they sit straight along the diagonal. Mark the diagonal line lightly with pencil, then place photos along the band with equal gaps. Add a thin black or dark gray cardstock strip as the band divider if you want a crisp look. Glue photos, then glue the band divider strip last.
AvoidDon’t add a second diagonal — one line is enough.
17. Magazine grid with cutout captions
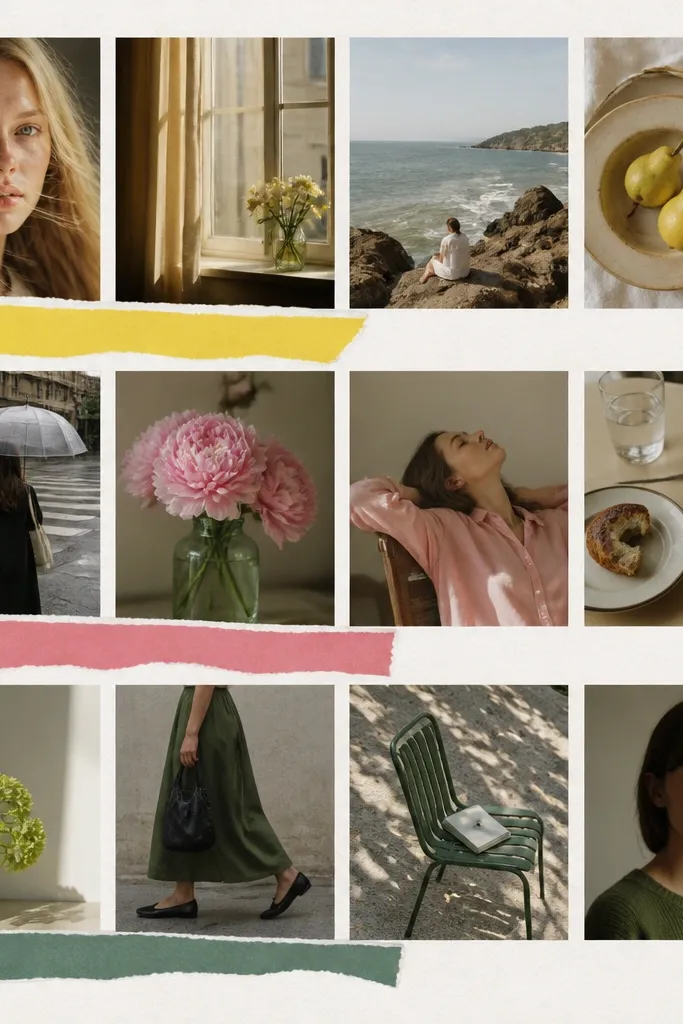
This style looks like you planned a layout in a graphic program. The trick is to keep the grid consistent and let captions add personality. Use photo squares or rectangles in a tight grid, then add one caption per row. It’s flattering because the captions give context and prevent the viewer from judging photo quality — they’re reading the story. Kids' photos also look more cohesive because the colored caption cards unify the page.
Pro tipWrite captions in block letters using a marker that doesn’t bleed — fine-tip black works well.
Pick 12 photos for a 3x4 grid on an 8x10 base. Print them with consistent borders and place them in a tight layout with 1/8 inch gaps. Cut caption tags from colored cardstock, about 1 inch tall and 2.5 inches wide, and write one short phrase per row. Glue caption tags into the row margins, not on top of faces. Use the same two cardstock colors across the whole page so it stays clean.
AvoidDon’t put captions directly over eyes — it reads messy.
18. White mat frames on kraft paper
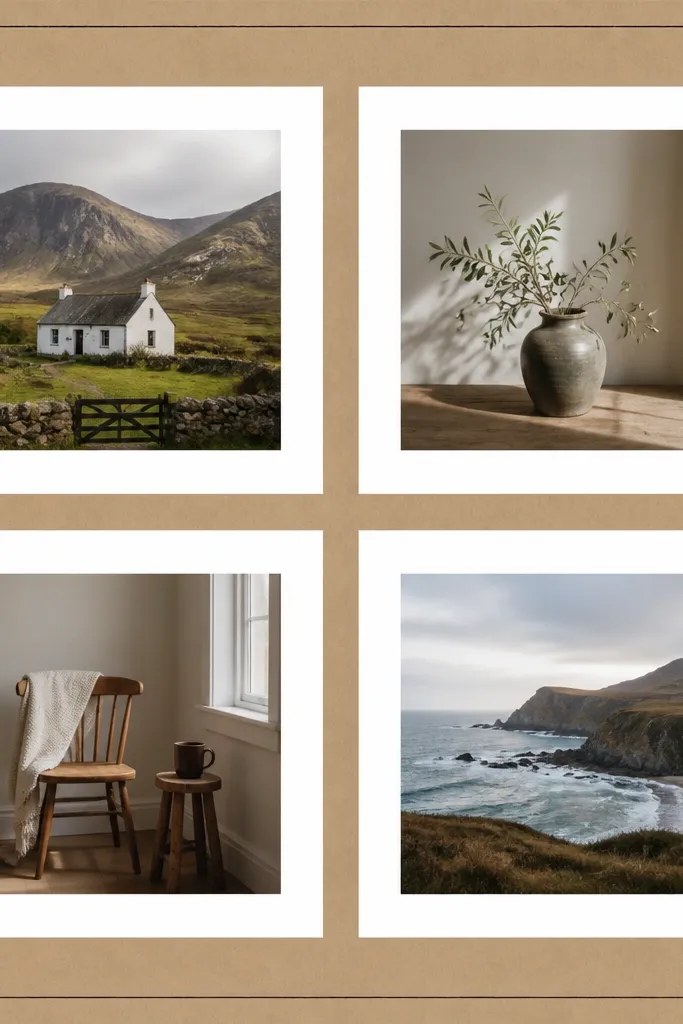
Kraft paper makes your collage look like it came from a handmade store. The white mats give contrast and keep faces bright, which is key for kids' photos where lighting varies. Use only four photos so the mats look intentional and not cramped. This flatters all skin tones because the warm kraft background adds warmth without yellowing faces too much. If your photos are cooler (overcast), kraft makes them feel warmer and more natural.
Use kraft cardstock as the base, like 8x10. Print four photos and cut white mats around each photo, leaving a 0.25 to 0.5 inch border. Arrange them in a 2x2 grid with 1/4 inch gaps between mats. Draw a thin border rectangle around the whole collage using a black pen. Glue photos into mats, then glue mats onto the kraft base.
Use a ruler for mat borders — crooked mats are what make kraft collages look amateur.
Don’t use glossy photo prints on kraft — glare looks off in daylight.
19. One-page collage with photo corners only
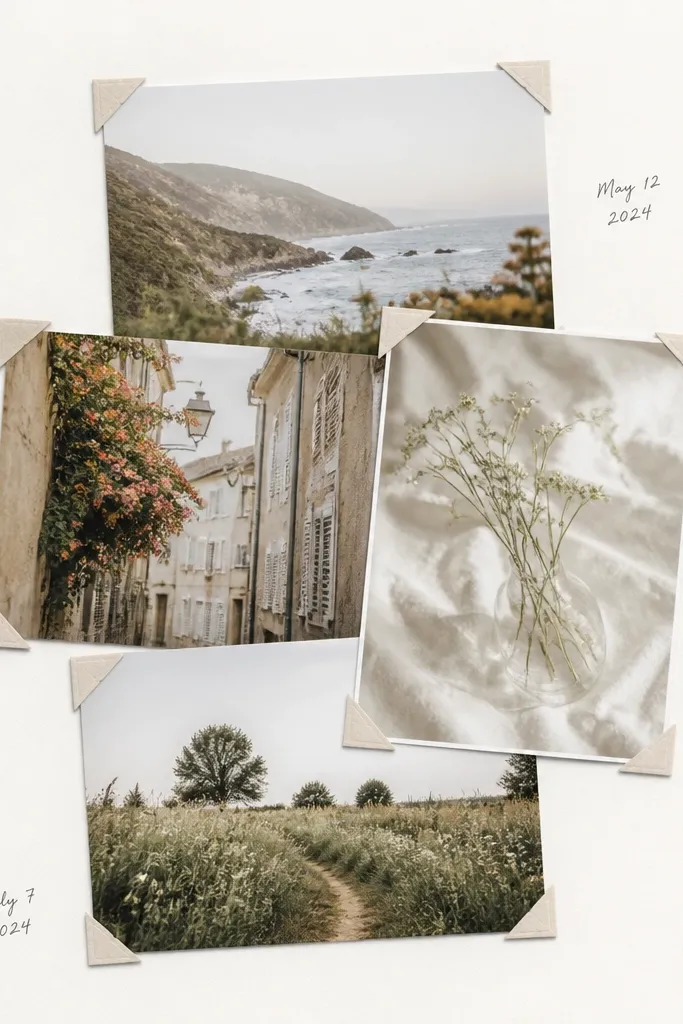
This corner-attach method looks modern and casual. It also hides small photo imperfections because the photos aren’t fully glued down flat. I like it for kids' collages because it handles wrinkly prints or slightly uneven trimming better than full gluing. It’s flattering because the images still read clearly, and the overlapping corners create a soft layered look. Keep the overlaps small so it stays neat and doesn’t turn into a mess.
Pro tipUse matte double-sided tape — it disappears better than shiny tape.
Print 6 to 9 photos and cut them to similar widths, like 2.5 inches. Place them on an 8x10 base to map overlap areas, then use tiny paper tabs or double-sided tape at the corners only. Press the corners down firmly so they hold. Add a thin strip of washi tape on one corner of the top photo for a playful anchor. Write a date note in the open space so the layout has an ending point.
AvoidDon’t overlap so much that faces get covered — leave at least one clear face per cluster.
20. Frame-within-frame collage (mat + inner grid)
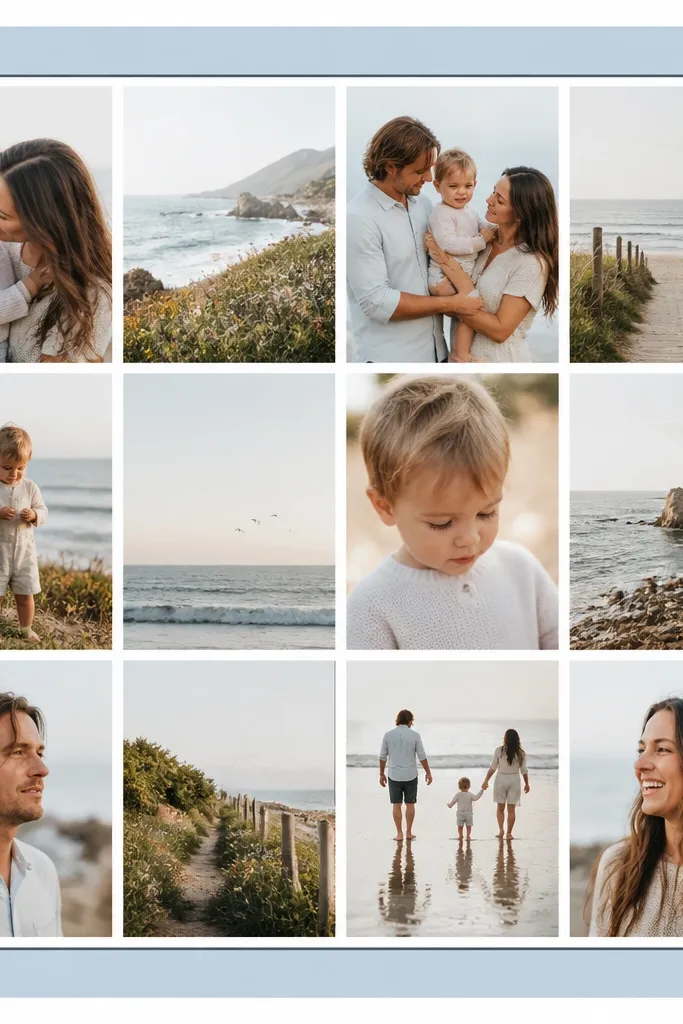
Frame-within-frame layouts look polished because they create depth. You get a clean outer boundary for hanging, then the inner grid stays organized. This is great for beginners because it’s hard to mess up once the borders are cut to size. Kids' photos look better too since the inner border keeps attention on faces while the outer border adds structure. It also flatters because the color border can be chosen to match a kid’s favorite sweater or room walls.
Start on an 11x14 base. Cut a light blue cardstock mat that leaves a 1-inch border around the center photo area. Inside the center, create a 4x3 grid using photos sized to match — keep them all the same width and height. Add an inner border line with a fine marker, then glue photos into the grid area. Glue the photo grid onto the blue mat, then attach the whole thing onto the base.
Choose border colors that appear in at least two photos so the set feels cohesive.
Don’t make borders too thick — over 1.5 inches on 8x10 can swallow the photos.
21. Sticker-bomb but controlled (3 sticker zones)
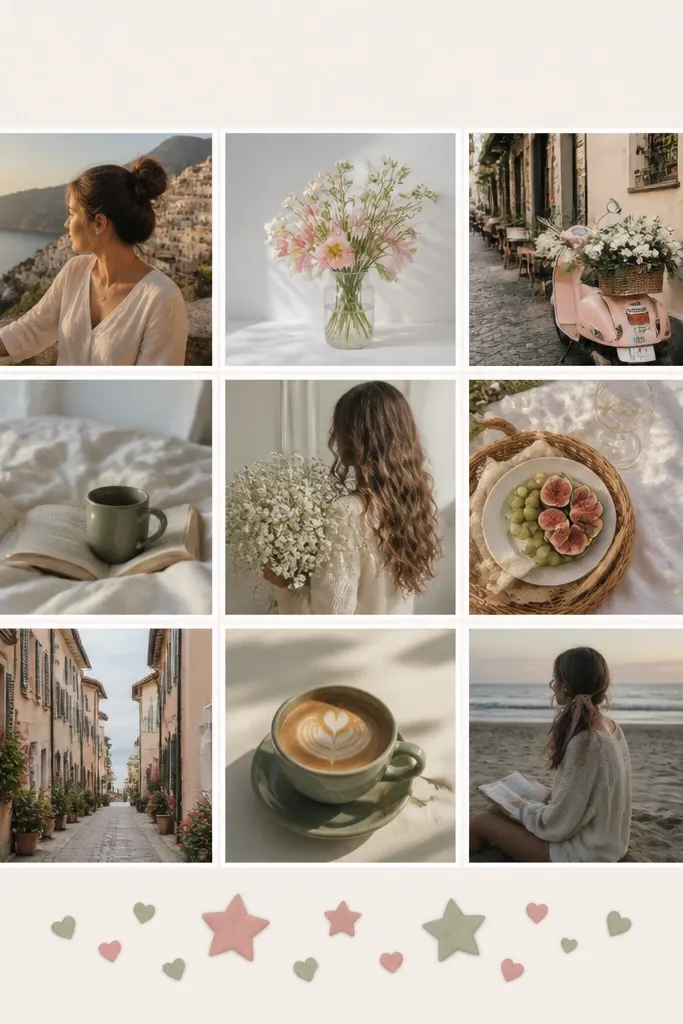
Sticker-bomb looks great when it’s controlled. The grid keeps the photos organized, and the stickers add personality without making the whole page chaotic. I use this for kids because they love stickers, and the stickers can also cover tiny print flaws. It flatters because stickers sit in the corners and margins, not over faces. Choose sticker colors that match two photo tones — like red and navy — so everything stays connected.
Print nine photos for a 3x3 grid with consistent borders on an 8x10 base. Glue photos first and make sure gaps are even. Then place stickers only in three zones: one near the top left edge, one near the top right edge, and one near the bottom center. Keep sticker size similar so it looks like a planned cluster. If the stickers are glossy, press them down firmly so they don’t curl.
Use the same shape repeated — stars only, or hearts only — so the page reads intentional.
Don’t put stickers on the face area — it looks like a last-minute fix.
22. Matte monochrome collage (black-and-white photos)
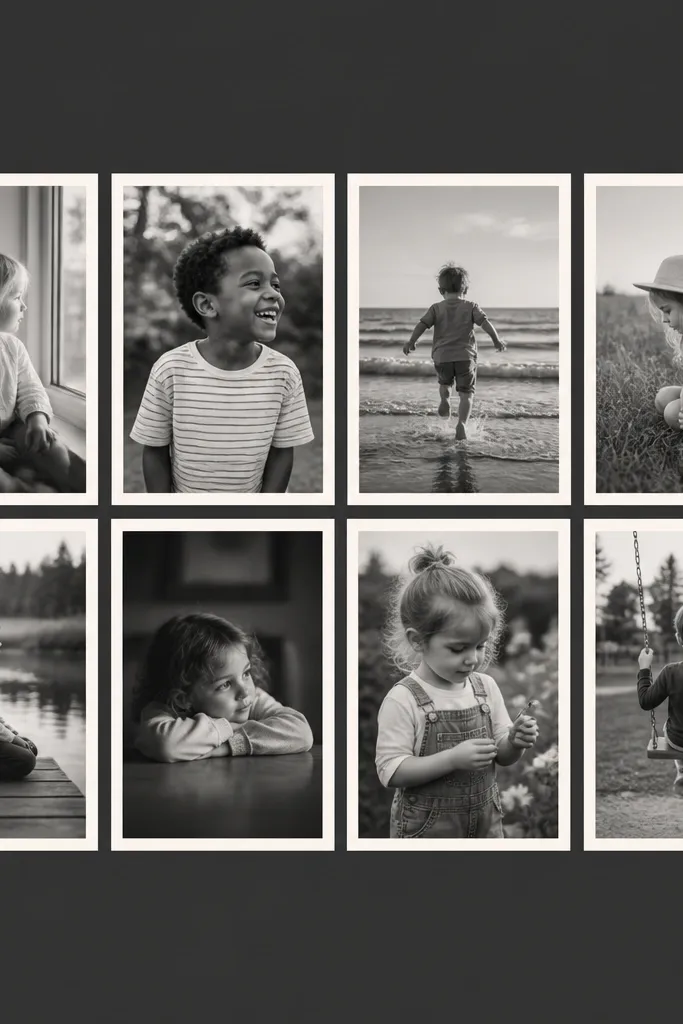
Monochrome photos make messy lighting look intentional. When you convert kids' photos to black-and-white, skin tones and backgrounds stop competing for attention. This is flattering because faces keep contrast and you can see expressions clearly even when one shot was underexposed. I use this layout when I have a mix of indoor and outdoor photos that don’t match. The cream mat keeps the collage from feeling too harsh against dark backgrounds.
Pro tipBefore printing, adjust contrast so eyes are bright — black-and-white fails when faces look gray.
Print your chosen photos in black-and-white with consistent contrast. Use an 8x10 base in charcoal or deep navy and cut cream mats around each photo with a 1/4 inch border. Arrange them in a 2x4 grid so each photo is the same size. Glue photos into the mats, then glue mats onto the base. Add a thin cream border line around the collage area with a ruler and pencil first.
AvoidDon’t use glossy black-and-white prints — reflections make it look cheap.
23. Rainbow corner collage (one photo per color corner)
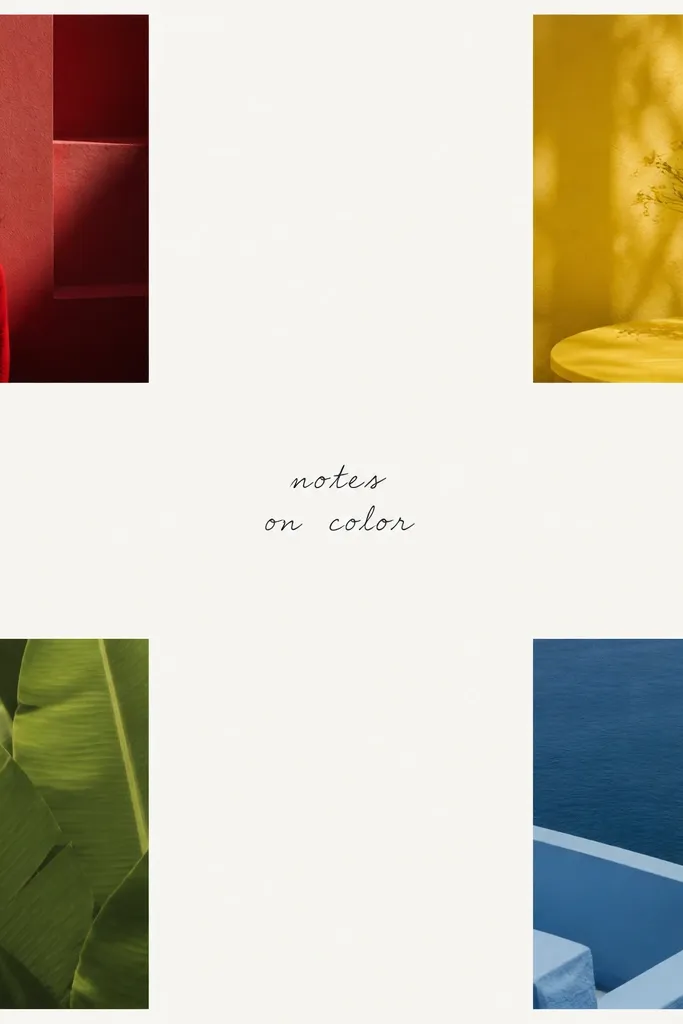
This looks stunning because the layout is simple and the color cues do the work. You pick one photo per corner and crop it so a color dominates — a red shirt, yellow sunlight, green playground, blue sky. The center stays calm, which makes faces stand out and keeps the collage from feeling crowded. It flatters because each corner color frames the subject without fighting the rest of the page. This is also great for beginners because you’re not trying to balance 15 photos.
Pro tipCrop tighter than you think — the color dominance makes the corner effect work.
On an 8x10 base, cut four corner squares about 3 inches wide in solid cardstock colors. Print four photos and crop them so the dominant color fills most of the frame. Glue each photo onto its matching corner square, then place the squares in the corners of the base. Leave a wide blank center and write a short title at the top center using a black marker. Finish by adding a small date line under the title.
AvoidDon’t add extra photos in the center — it breaks the color-corner balance.
24. Grid with one handwritten "story" line
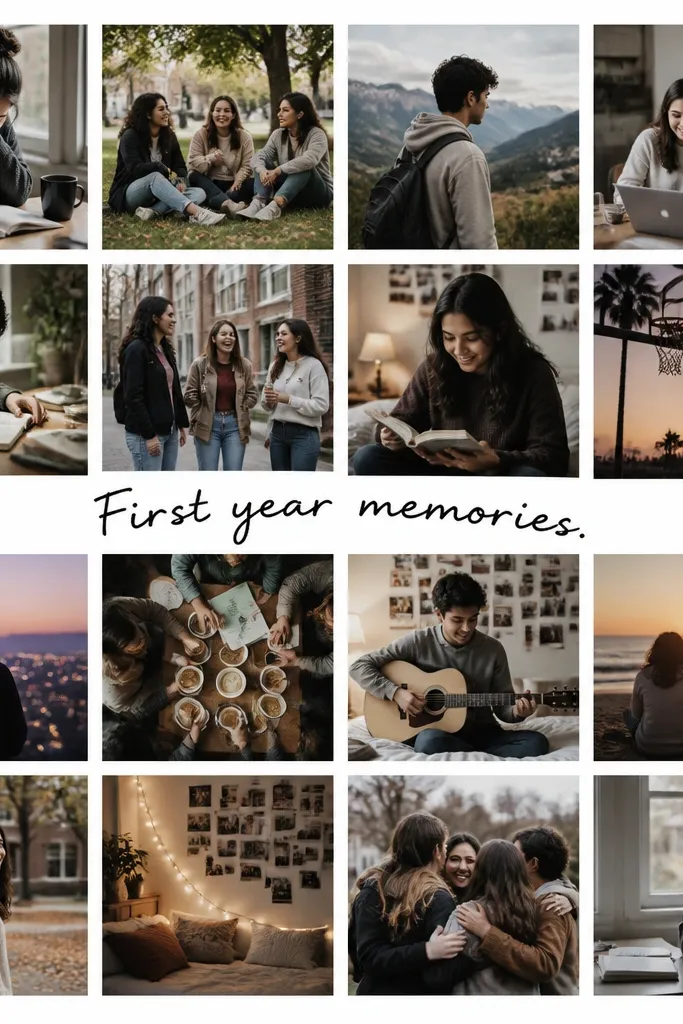
This layout is clean and emotional at the same time. The grid gives structure, and one handwritten story line gives personality. Use it for events like “Summer camp,” “Birthday week,” or “Our first year together.” It flatters because the text is placed in the negative space between photos, so it doesn’t cover faces. Kids' collages feel more like keepsakes when there’s one clear message instead of lots of clutter.
Choose a 4x4 grid on an 11x14 base so you have space for text. Print 16 photos with equal size and consistent borders. Glue photos in the grid with even gaps. Leave a strip of blank space for the handwritten line — around 1/2 inch tall across the center between rows. Write the line with a fine black pen, then add a small date in the bottom right corner.
Keep the message short enough to fit on one line — if it wraps, it looks like a label.
Don’t put text over photos — it makes the collage look like a worksheet.
25. Overlapping circles collage (soft, playful)

Circles make a collage feel friendly and less rigid than rectangles. Use circles for kids because it softens the edges and keeps the focus on faces and expressions. Overlapping circles also hide minor trimming mistakes since the overlaps create a buffer. It flatters because faces don’t look cut off abruptly — you get a gentle frame around each subject. Keep the circle sizes consistent within your set so it looks intentional.
Pro tipUse a black fine liner to outline the circle edges if your printer borders disappear.
Print photos and decide on three circle sizes: small, medium, and one larger hero circle. Cut circle templates from cardstock using a craft punch or traced template, then cut photos to fit the circle openings with clean edges. Arrange the circles on an 8x10 base in a cluster, leaving some blank space around them. Glue the circles down first, then glue photos inside each circle opening. Finish by adding a small caption tag near the bottom of the cluster.
AvoidDon’t use too many circle sizes — five sizes max so it doesn’t look chaotic.