
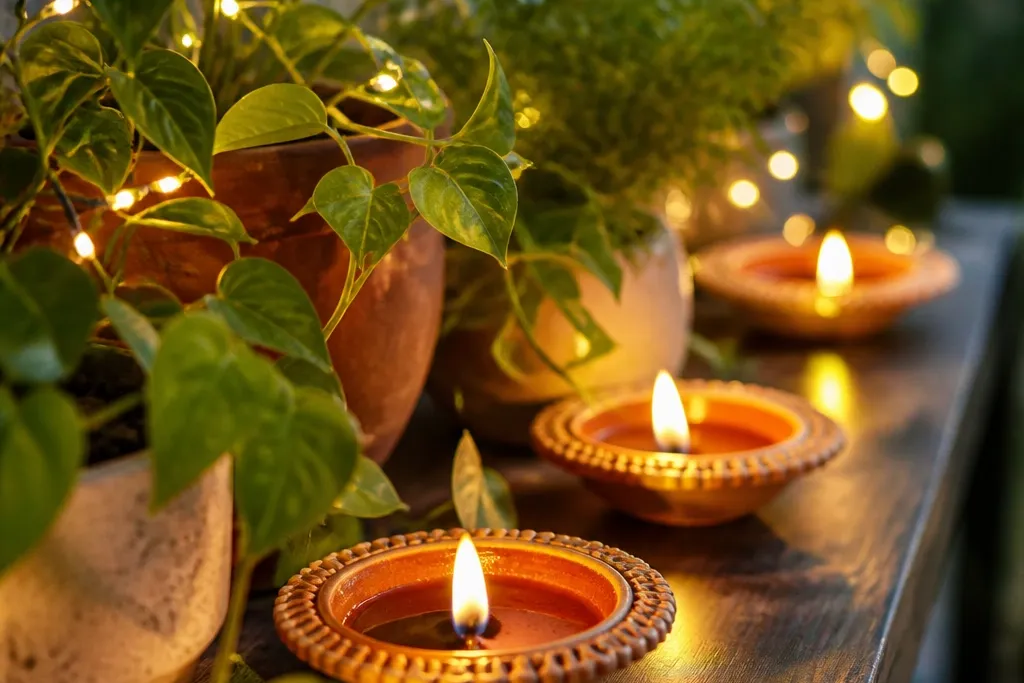
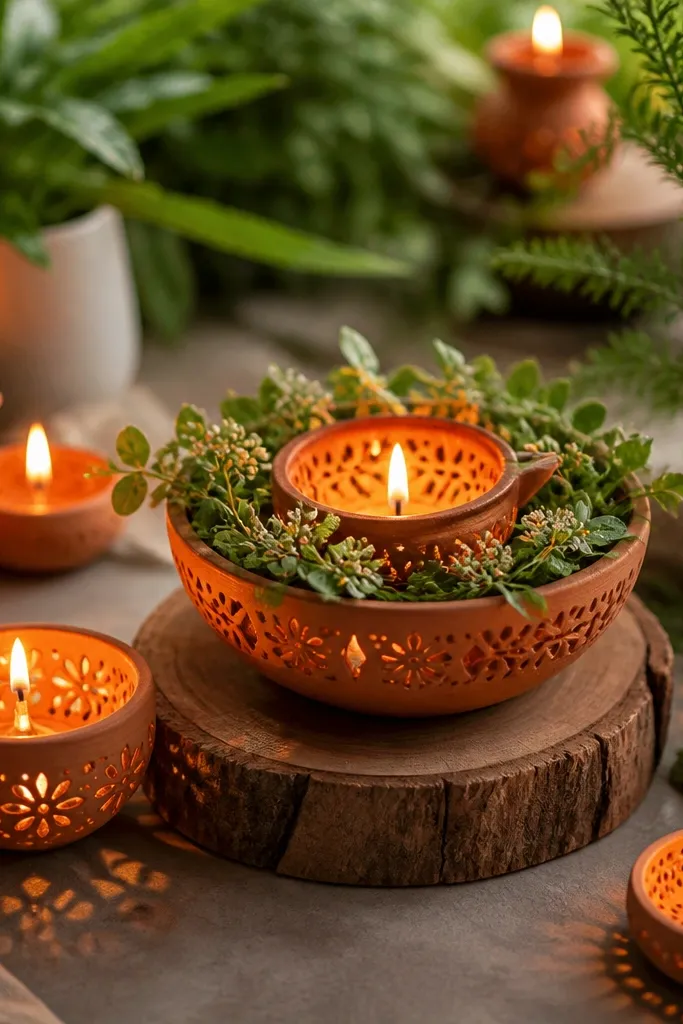
1. Tray-Back Diya Line With Hidden Cord Route
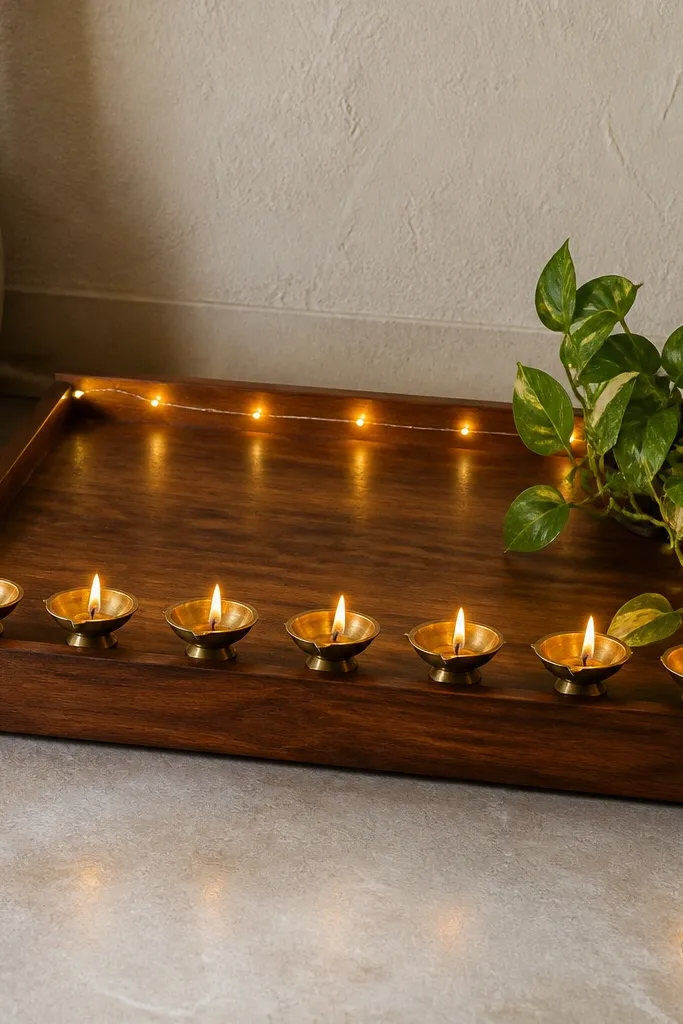
This setup makes the lights look like part of the decor instead of an add-on. I use a wooden tray because it gives a warm base color that makes brass diyas look intentional, even under yellow light. The trailing money plant hides the cord and adds movement, so the line of diyas stays the main focus. It flatters small rooms because the scene stays low and wide, not tall and crowded. If your home has darker corners, the tray reflects light softly, so the glow looks fuller without adding more bulbs.
Start by placing your tray where you want the display, then set the diyas along the front edge in one straight line. Add the plant last: position the pot at the back-right so the vines naturally fall over the tray edge. Next, run the warm white fairy lights along the back lip of the tray, keeping the bulb spacing about 2-3 inches apart. Finally, tuck the plug end behind the tallest pot or into the tray’s back gap so you don’t see a cord loop in the front. Turn it on and step back — if you see the bulbs directly from eye level, shift the lights slightly deeper under the plant.
Tape the fairy light wire to the back lip with a strip of masking tape, then remove it later without damaging the tray finish.
Don’t wrap lights around the front of the diyas — it creates glare and makes the whole thing look like a party prop.
2. Marigold-Accent Corner With Two Heights of Green
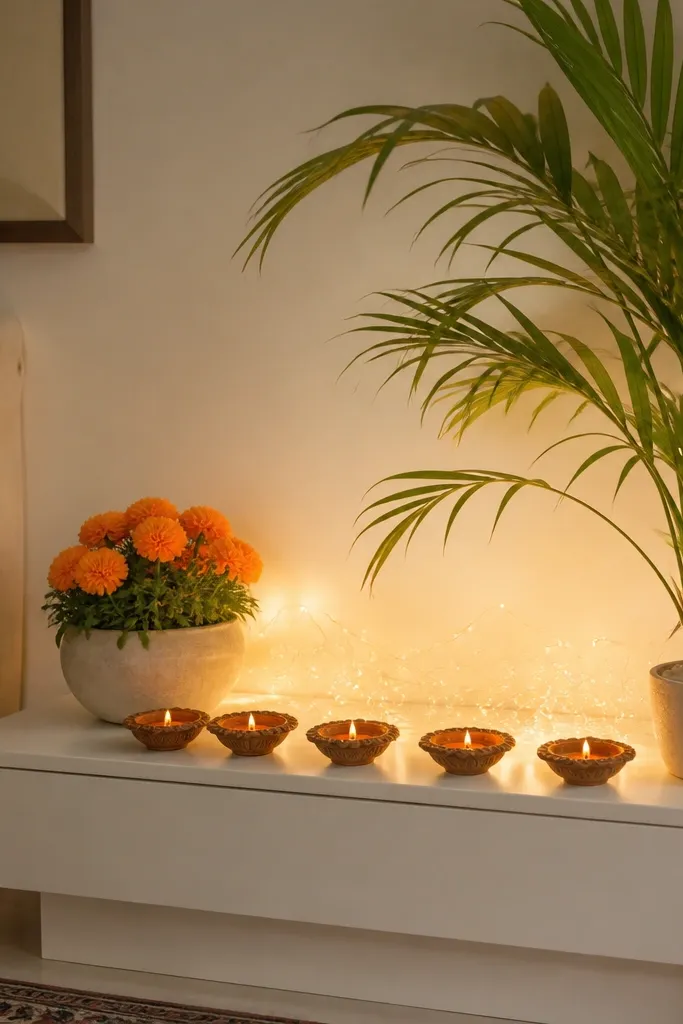
This is the setup I use when I want “festive” without turning the place into a cluttered craft corner. The marigold accent gives you one warm color that matches the diya glow, while the green in two heights adds depth. I prefer a white side table because it makes brass and clay diyas look crisp, and it prevents the scene from blending into a dark wall. It looks best on medium-height furniture — not too low, not too tall — because you can see the marigold and diyas together. If you have brown or warm-toned skin undertones in the room (like wooden furniture), the orange marigold reads extra flattering under warm lights.
Place the low table in the corner and set your diyas first, using a semicircle so the center stays open for the light glow. Put the areca-like plant on the right rear corner, slightly behind the diya cluster, so the leaves frame the lights. Add the small round pot with marigold on the left, keeping the blooms at roughly the same height as the diya flames. Then tuck fairy lights behind the diya cluster, aiming the light upward and inward instead of outward. Finish by adjusting plant angles: tilt the marigold pot 5-10 degrees so the flowers face the room.
Pro tipUse a drip tray under the marigold pot so accidental watering doesn’t hit the lights or leave marks on the table.
AvoidAvoid using three different flower colors — the orange marigold gets overwhelmed and the scene looks busy.
3. Pothos Waterline Separation for Safe Light Placement
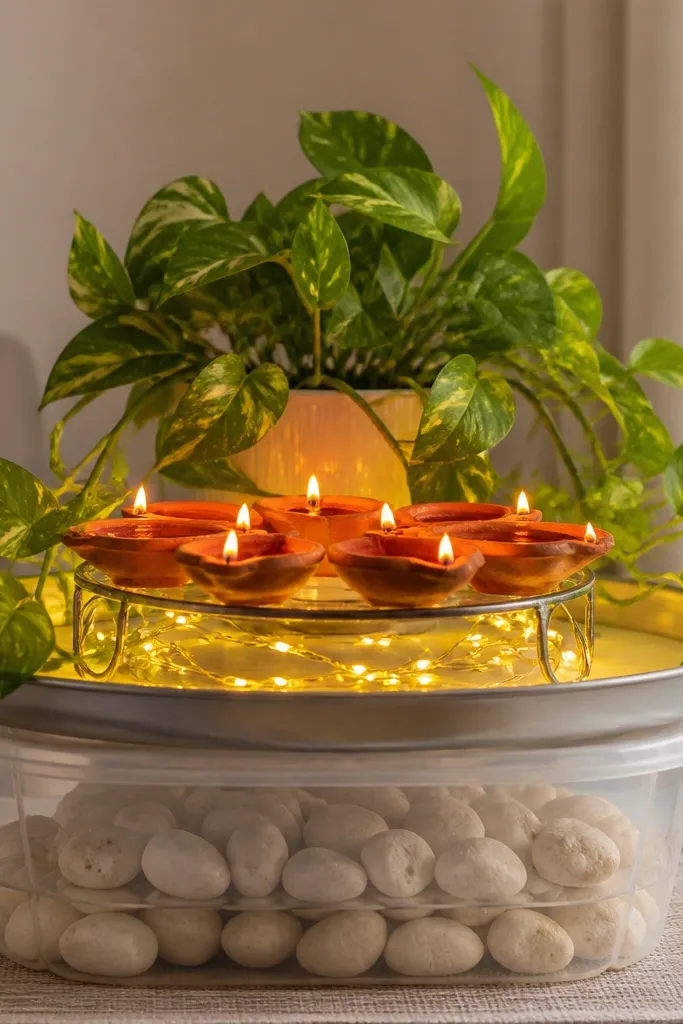
This one is about staying safe and clean, because my first attempt ended with wet soil splashing near the lights. Using a clear tub as a base keeps water contained and makes cleanup easy. The shallow metal stand elevates diyas so the light glow reads through the plant vines instead of getting blocked by the pot rim. Pothos is forgiving — it bounces back after slight adjustments — and its trailing leaves soften the edges of a metal stand. Under warm lights, pothos looks deep green instead of neon, which makes the diyas feel warmer and more grounded.
Set the clear plastic tub on a flat floor and place a shallow tray inside it to catch any drips. Put the metal stand on the tray and arrange diyas on top, leaving a small gap between diyas so the light isn’t covered. Wrap warm white fairy lights under the stand or around the stand’s base where they won’t touch soil. Place the pothos pot behind the stand so the vines drape forward, covering the cord area. Water the plant lightly before the lights go on, then wait 10 minutes so excess moisture stops before you turn the display on.
If your pothos sheds a few leaves, pluck them before Diwali night — wet leaves on the tray look messy fast.
Don’t place live plant pots directly next to the battery pack or adapter — moisture plus electronics is a bad combo.
4. Glass Vase Dyas With Floating Candle-Style Glow
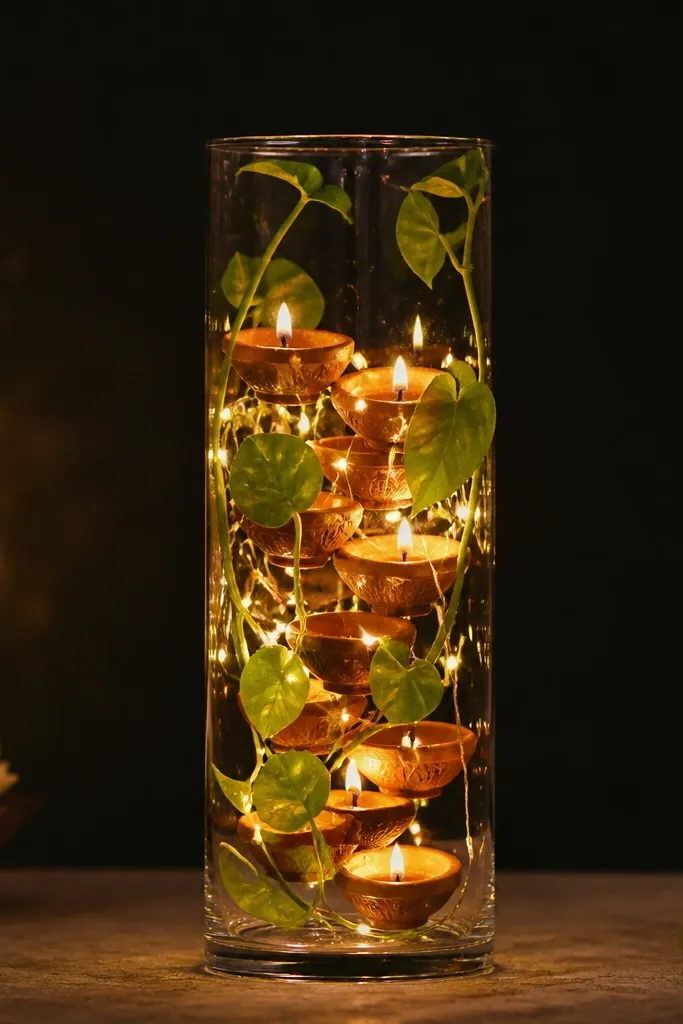
This look is for evenings when you want the diya glow to look bigger without adding more diyas. A tall clear vase creates a “light column,” and it also keeps the diyas grouped so you don’t end up with random spacing. I like adding a few fresh green leaves around the outside of the vase because they look like they’re part of the glow, not stuck on. It flatters small spaces because it takes vertical space and draws the eye up. If your wall lighting is dim, the vase helps the glow read clearly from across the room.
Choose a clear glass vase with a wide opening and place it on a stable tray or plate. Arrange small diyas inside the vase so their flames sit about 1-2 inches below the rim. Tuck warm white fairy lights behind the vase, not inside it, so you don’t get a tangled mess near the flames. Add plant cuttings or small greenery around the vase exterior, keeping them 2-3 inches away from the light line. Turn on the lights first, then place the diyas so you can see if any glare hits your eyes from the glass.
Pro tipUse battery-powered lights for this setup — you’ll avoid a cord running across the table.
AvoidAvoid placing lights too close to the flame area — it looks risky and can scorch plastic light covers.
5. Terracotta Steps With Layered Green and One Red Diya
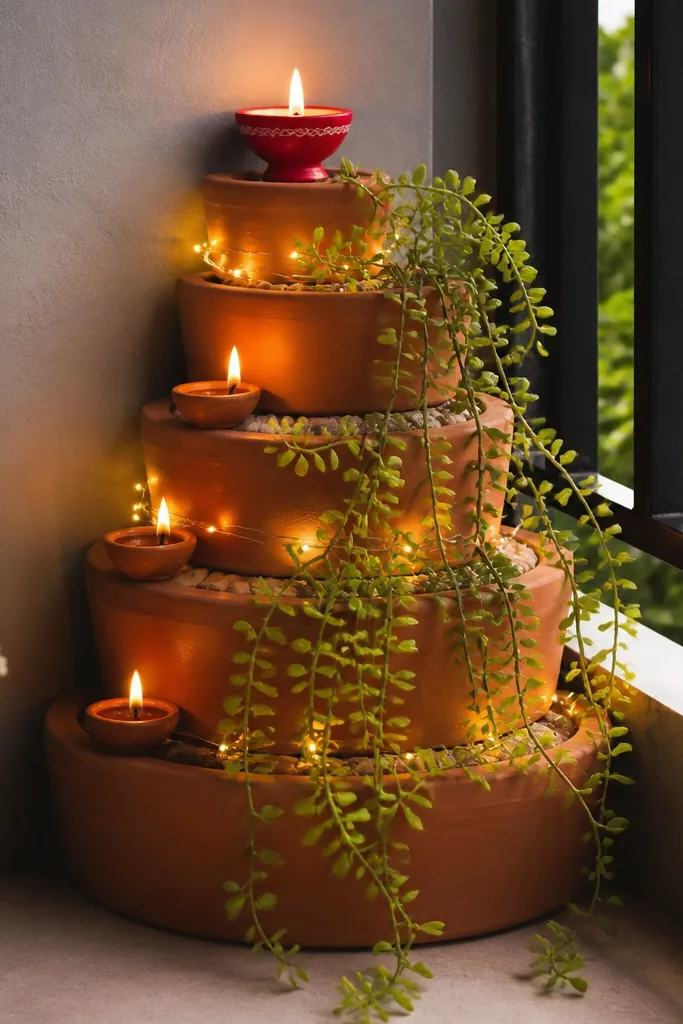
This is the “wow” setup that’s actually easy once you accept one rule: you need one clear focal point. I use stacked terracotta because it matches clay diyas and makes warm lighting look natural. The trailing plant gives you vertical-to-horizontal movement, so the steps don’t look like separate pieces. One red diya holder works as the visual anchor, especially if your other diyas are brass or plain clay. It flatters balconies because it uses corner space and reads well against brick or neutral walls.
Place two terracotta planters stacked or use three step-like planters so you get levels. Put the bottom pot with a plant that has wide leaves, then place a trailing plant higher so vines spill down. Add warm white fairy lights along the edges between levels, keeping the bulbs facing inward toward the diyas. Arrange diyas on each level with consistent spacing, and place the single red diya holder at the top center. Finally, adjust vine direction — pull vines forward slightly so they frame the red without covering the light line.
Pro tipIf your vines are too thin, tie them loosely with green floral wire to guide the fall before Diwali night.
AvoidSkip random multi-color diyas — the whole stack looks like a market stall instead of a designed corner.
6. Green Wreath Ring With Plant-Behind Light Halo
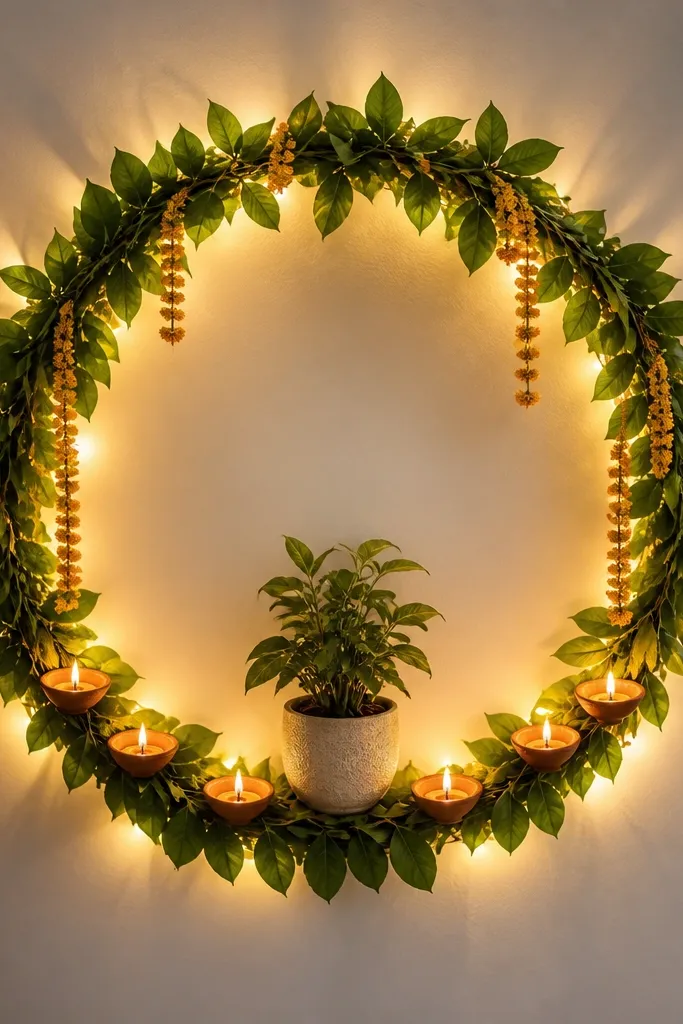
A wreath-style diya setup looks good because it controls spacing. When you place diyas in a ring, you stop yourself from adding “just one more” and ruining the symmetry. The plant behind the lights acts like a diffuser, so the fairy lights look soft instead of pointy. I use a mix of fresh green leaves and a few dried marigold strands for texture that doesn’t look plastic. This is flattering for medium walls because it frames the doorway or main wall area without blocking furniture.
Create a ring base using a foam wreath or a thick circular wire frame, then wrap it with green leaves or vine garland. Place diyas along the bottom arc on small holders or a tray that fits the circle. Tuck warm white fairy lights behind the foliage so the bulbs are hidden and only the glow shows. Put a small pot at the bottom center to support the garland and hide any base attachment points. Turn it on and check from two angles — if you see bright bulbs, slide the lights deeper behind the leaves.
Pro tipUse two garland thicknesses — one tighter at the top, one looser at the bottom — so the halo looks even.
AvoidDon’t hang a wreath with visible zip ties — they show in the warm light and cheapen the look.
7. Shelf-Edge Diya Tray With Plant Fringe Cover
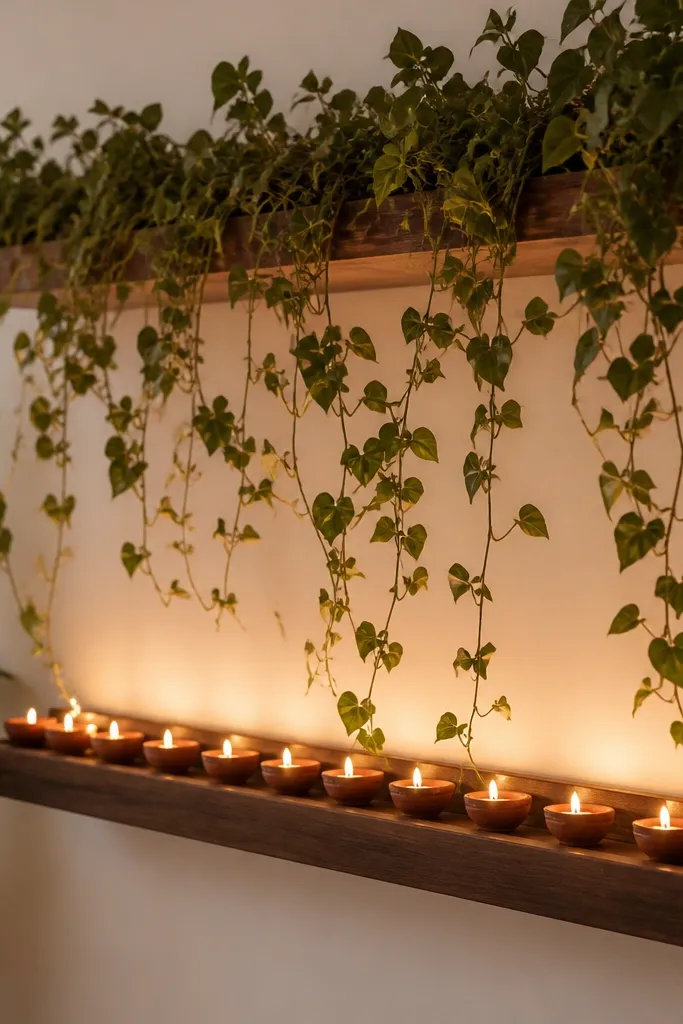
This is my go-to for small living rooms where you don’t want a floor setup taking space. The shelf edge gives you a built-in straight line for diyas, and the tray keeps everything from sliding around. A trailing plant fringe hides the back area where the lights and power cord usually show. Under warm lights, the plant fringe looks layered instead of flat, because the leaves overlap at different depths. It also photographs well because the shelf creates a clean background.
Place a long shallow tray on the shelf with the front edge aligned to the shelf’s front. Put diyas along the tray front in a single row, leaving 1-2 inches between holders. Run warm white fairy lights along the tray back edge, then tuck the wire into the back corner of the shelf. Add a trailing plant above the tray so vines naturally fall over the front area, covering the wire line. Adjust the plant so the longest vine stops just above the diya flames height, not into the light area.
Pro tipUse clear command hooks or small shelf clips for the vine — it holds the drape shape for days.
AvoidAvoid thick, bushy plants on shelf setups — they block the glow and make the diyas look buried.
8. Bamboo Mat Base With Alternating Light and Leaf Spots
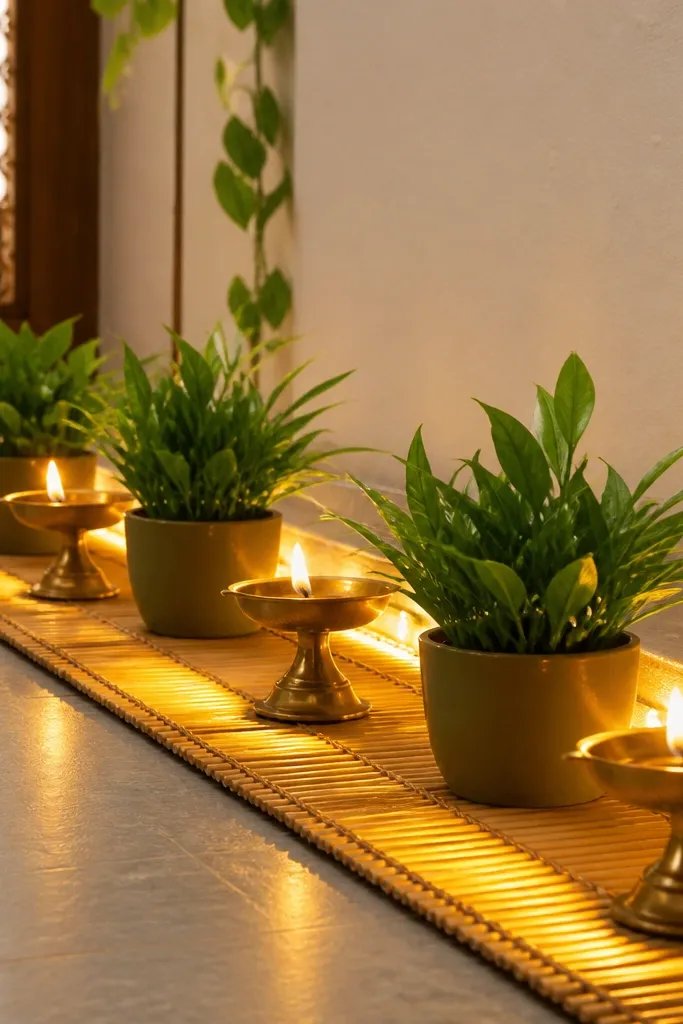
Bamboo mat bases make the whole display look grounded because the texture matches clay and brass finishes. The trick I use is alternating light and leaf spots so your eyes keep moving instead of getting stuck on one big cluster. Small potted plants at intervals keep the scene from looking like only diyas and only lights. Warm white lights under the mat edge glow upward softly, which reduces glare on faces during visits. This works well in open floor spaces because it defines a “zone” without needing a table.
Lay a bamboo mat flat and decide your pattern: for example, diya, plant, diya, plant. Place diyas in the marked spots and keep their positions consistent so the pattern reads clean. Add small pots between diyas, using pots with similar height so the arrangement looks planned. Tuck warm white fairy lights under the mat edge so bulbs face upward between the diyas and plants. Plug in and do a quick walk-around check — if you see direct bulbs, shift the light strand slightly deeper under the mat.
Pro tipUse one pot size for the plants in this pattern — it makes the alternating look intentional.
AvoidDon’t place the lights on top of the mat — you’ll get shiny bulb reflections that look messy.
9. Hanging String Lights With Two Plant Stacks on Either Side
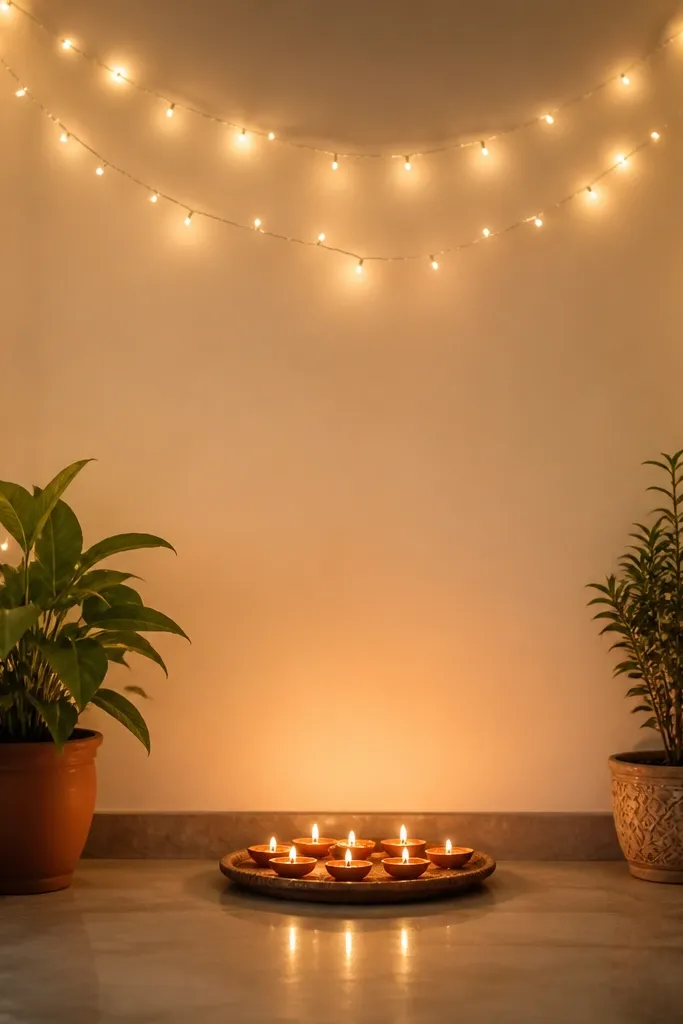
When you hang lights across a doorway, you stop the lights from competing with the diyas. The plant stacks on both sides frame the center, so the viewer’s eye goes straight to the diya tray. I like using two plants of slightly different leaf shape — one with long leaves, one with broader leaves — because it creates texture without extra colors. Under warm light, leaf shapes look crisp, and the center diya glow looks brighter even with fewer bulbs. This arrangement is great for entryways because it reads festive from the moment people walk in.
Hang a warm white string of lights across the doorway or a small frame at head height, then keep the string line above your diya tray line. Place a plant stack on the left and right, with the leaves reaching inward toward the center. Center a low tray of diyas between the plants, keeping diya holders about 4-6 inches below the hanging light line. Tuck the light wire ends behind the pots so they don’t hang loose. Turn on the lights and adjust plant angles until their leaves block any direct glare from the string line.
Use plant saucers even indoors — it stops water marks when you adjust leaves and watering during the week.
Avoid placing diyas directly under the hanging light string — it creates a harsh bright spot.
10. Terrarium-Style Open Frame With Mini Diyas
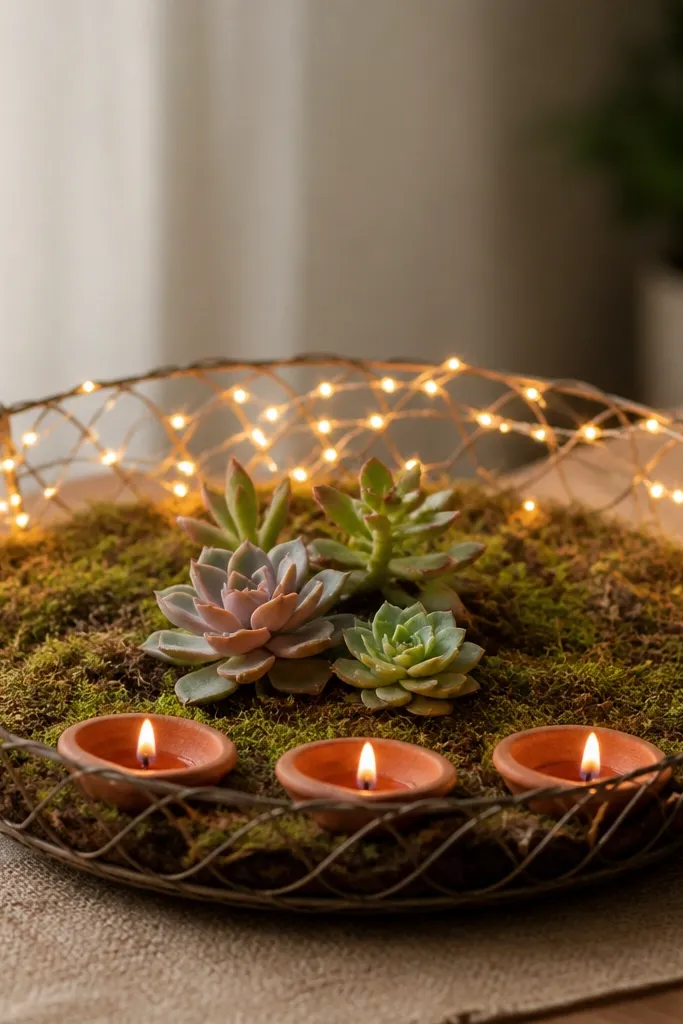
This one looks like a terrarium, and it’s the most forgiving way to use lights without tangling wires in a live plant pot. An open wire frame gives you structure, while the warm lights behind it create a soft “depth” effect. I use mini diyas because the scale stays believable — big diyas look out of place inside a frame. Succulents or small hardy greens work best because they don’t need constant watering. It’s flattering for coffee tables because it stays compact and reads clean even when you walk past it quickly.
Build or buy a shallow open wire frame, then place it on a tray. Add a thin layer of soil or a moss base, keeping the front edge clear for mini diya placement. Weave warm white fairy lights along the back frame and clip them so they don’t sag over plants. Place succulents or hardy greens in the middle, then set mini diyas on the front edge with even spacing. Turn on the lights, then adjust the frame angle slightly so the glow hits the diyas and not the wall behind.
Pro tipKeep succulents slightly dry before Diwali — wet soil darkens fast under warm lighting.
AvoidDon’t use thirsty plants in a sealed-looking frame — they look droopy the first night.
11. Rangoli Base With Lighted Edges and Plant Corners
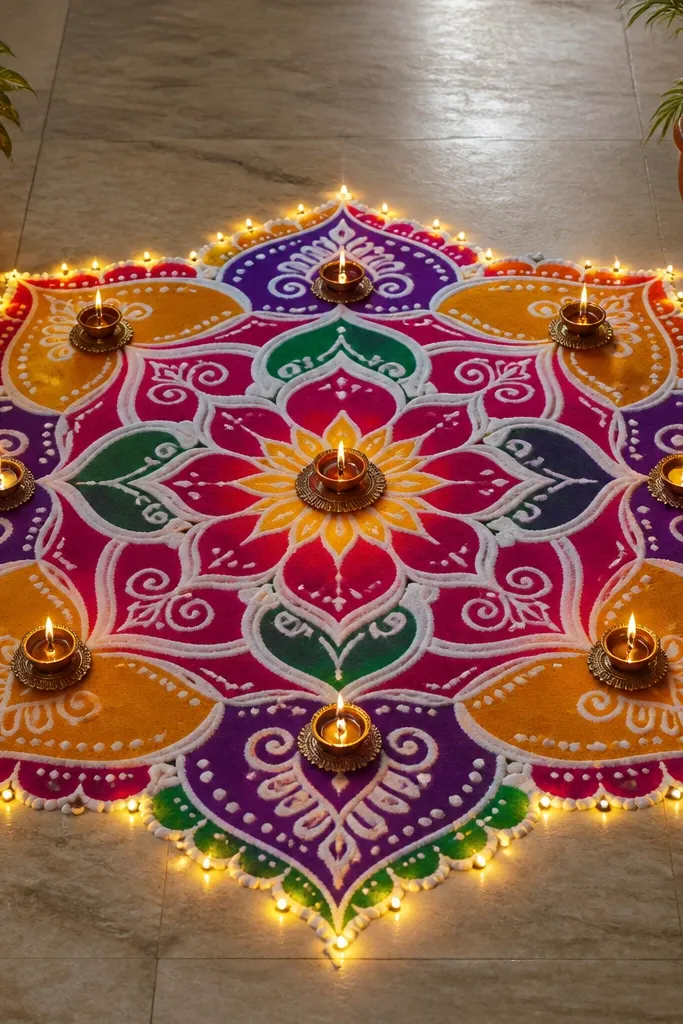
This mistake-proof setup uses the rangoli as the layout guide. When you add lights only at the perimeter, you prevent glare and keep the diya flames visible inside the design. Plant pots in corners add height and soften the hard edges of the rangoli powder. I like this look when I want a strong visual center without building a tall structure. It also works in homes where you want to keep guests away from fragile items — the plants sit at the corners, not near the diya path.
Make your rangoli first so you know the exact working area. Place small warm white LED tea light style lights or fairy mini bulbs along the rangoli perimeter, pointing inward. Set diyas inside the rangoli in a neat line or a simple grid, keeping at least 2 inches between holders. Put plant pots in opposite corners, with the pots slightly behind the rangoli edge so the vines don’t fall into powder. Test the lighting by turning it on before placing diyas — if you see direct bulbs, move them further outward.
Pro tipPut a thin sheet of plastic under the rangoli powders if you’re using live plants nearby — it makes any spills easy to clean.
AvoidAvoid placing plants directly on top of powder — one accidental leaf drop makes it look stained.
12. Ceramic Planter Sleeve With Brass Diya Cluster
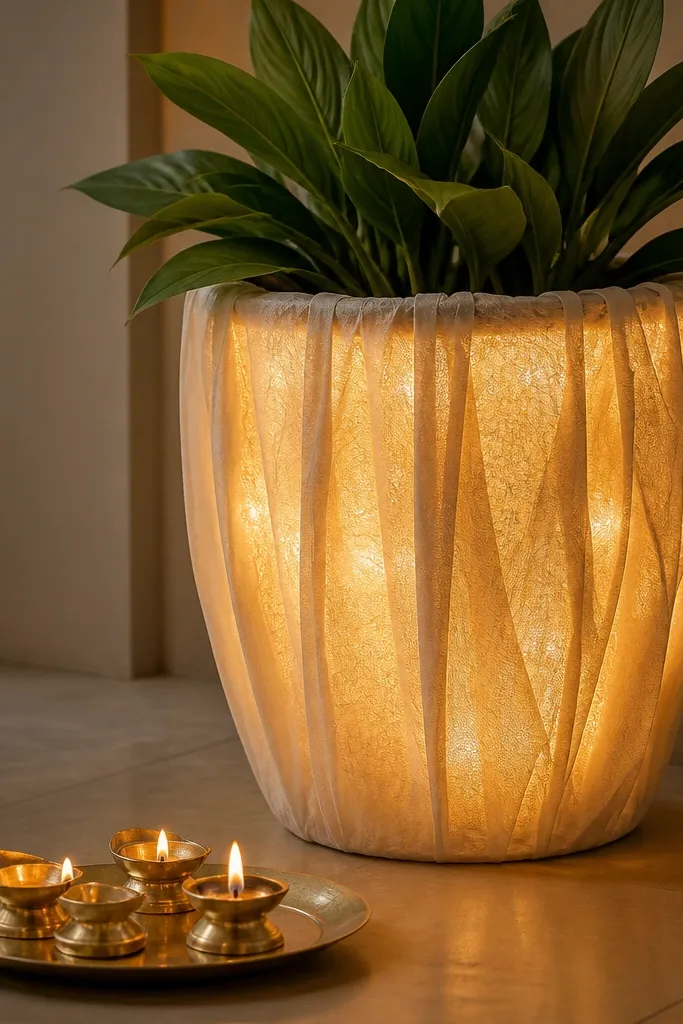
This is the cleanest way I’ve found to hide lights without building a complicated frame. A ceramic planter gives you a solid color base, and the sleeve or drape makes the glow look like it’s coming from the decor, not a random light string. I cluster brass diyas in front because brass catches the warm light and looks consistent even when the room lighting changes. The single plant behind adds a calm green backdrop, so you don’t get a busy look. It flatters people with small spaces because it’s table-friendly and doesn’t crowd the floor.
Place the ceramic planter on a stable base and add a drape sleeve or fabric wrap around the outside, leaving the front open. Wrap warm white fairy lights around the inside edge of the planter sleeve where you can hide the bulbs from direct view. Set a small plate in front of the planter and cluster brass diyas on the plate, leaving a gap around the center so the plant can peek through. Put one green plant behind the plate, slightly taller than the diya cluster. Turn it on and adjust the sleeve so the light glows outward toward the diyas, not behind the planter.
Pro tipUse cotton or jute fabric for the sleeve — it looks warm under diya light and doesn’t look shiny.
AvoidDon’t use thin shiny satin for the sleeve — it throws harsh reflections.
13. Ceiling-to-Floor Light Column With Potted Plant Base
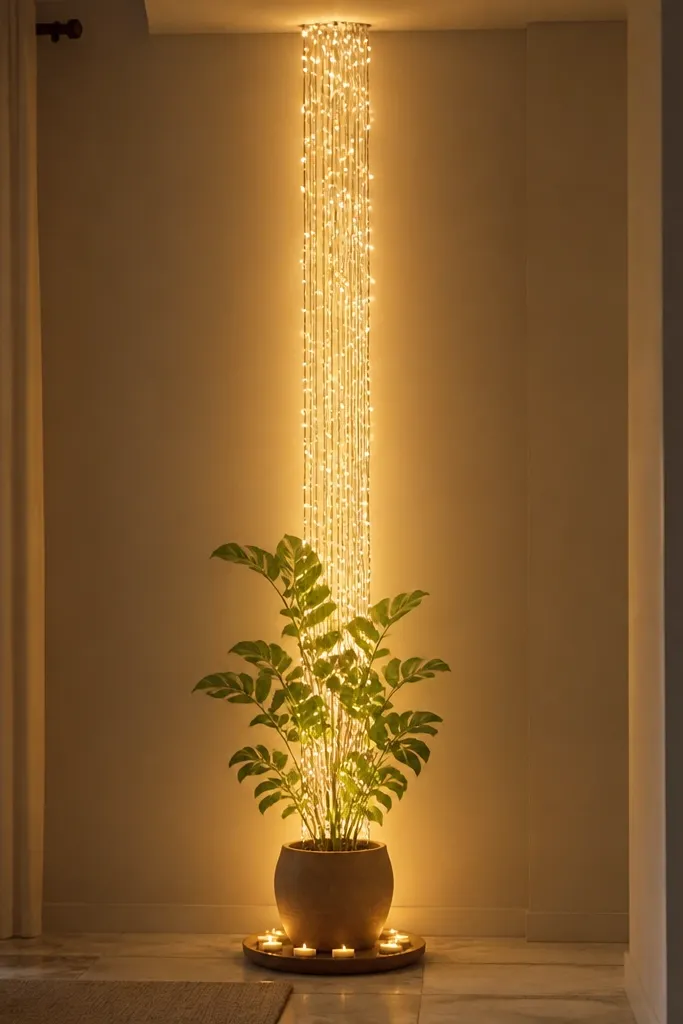
Vertical columns make the whole setup feel planned, even when you only have a small number of diyas. The plant base keeps the column from looking like a standalone string, because the leaves blend the light into the room. I use a single potted plant with upright growth, so the light wraps feel intentional rather than tangled. Under warm white lights, the leaves look layered, and the diyas glow reads as “part of the same scene.” This is flattering for dining rooms where you want festive energy without cluttering the tabletop.
Attach the warm white string lights to a ceiling hook and bring it down toward a plant pot base in the center. Place the plant pot on a saucer and set a small tray of diyas around the base, keeping the diyas 3-4 inches away from the light string. Guide the string so it stays behind the plant leaves and doesn’t cross in front of the diyas. Add one small trailing vine if you want softness, but keep it below the light line. Turn on the lights, then adjust the plant position so the light column is partially hidden behind leaves from the main seating angle.
Pro tipUse a cable clip on the wall or behind furniture so the string line stays straight all night.
AvoidAvoid letting the light string hang too low — it can block the diya flames and looks cramped.
14. Bowl Cluster With Water Tray and Floating Light Effect
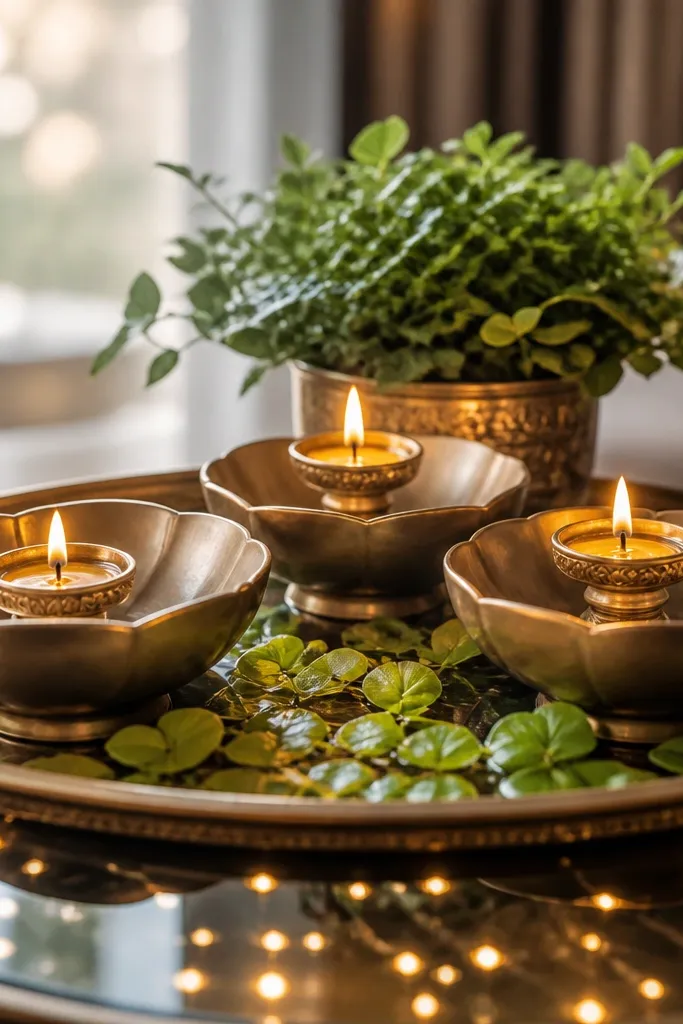
This setup looks like a floating glow because you create reflection without drowning the electronics. The water tray area gives you that soft shimmer, and the diyas in shallow bowls keep flames stable and contained. Green leaves near the water add a natural layer that makes the reflection feel intentional. I use this when my home lighting is bright during the day and the evening needs extra warmth. It flatters guests because the glow reads clearly from a distance, even if they stand near the sides.
Place a large tray down first, then create a dry zone for the diyas using a smaller insert plate or bowl stand. Put diyas in shallow bowls on the dry zone, keeping them centered and spaced evenly. In a separate lower section of the tray, add a thin layer of water for reflection and float a few green leaves on top. Add warm white fairy lights under or behind the dry zone so their light reflects on the water surface. Position a small plant behind the bowls so the leaves frame the glow and hide the light wire end.
Pro tipDo a test run with only the lights for 5 minutes — if the reflection looks too bright, reposition the light deeper under the bowls.
AvoidDon’t splash water onto the diya bowls — it makes the setup look rushed and slippery.



