
1. Cherry-Red Lid with Hidden Clip Tray
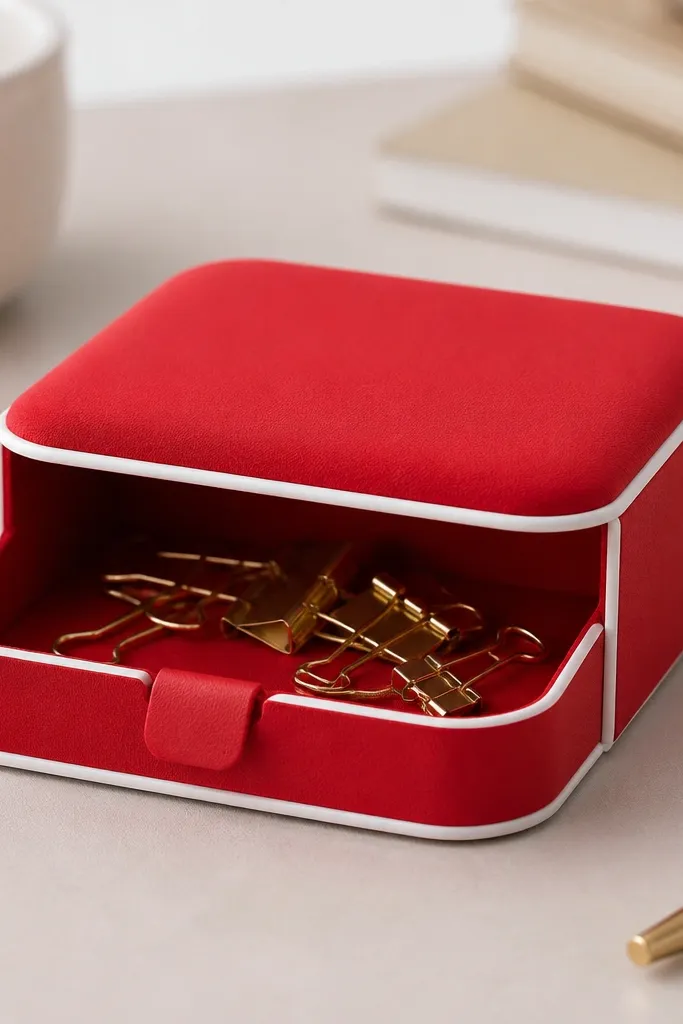
This is the one I reach for when I need a desk piece that still looks cute when it’s open. Use cherry-red cardstock for the outside and a thin off-white liner inside so the storage area reads clean, not messy. The squishy top flatters hands because it presses in evenly — you can tap it with one finger and it springs back. I like this look for light to medium skin tones because the red pops without looking harsh, and it fits desks, vanity tables, and craft rooms where you want color but not clutter.
Start with a base cut to 12 cm x 8 cm from 250-300 gsm cardstock, then mark and score fold lines 2 mm in from each side wall. Cut foam to 11.6 cm x 7.6 cm and glue it to the lid panel only, keeping foam off the side edges. Wrap the outside with cherry-red scrapbook paper, smoothing from the center outward so there are no bubbles at the corners. Make a small closure tab: cut a 2.5 cm x 1 cm tab from matching paper, fold it, and glue it to the front so it catches a tiny paper loop on the inside front wall. Finally, line the inside tray walls with off-white paper and trim 3 mm from the corners so the liner doesn’t buckle.
Pro tipIf your tab feels loose, add a tiny strip of self-adhesive felt (3-4 mm wide) where it meets the loop for a soft, satisfying snap.
AvoidDon’t glue foam right up to the paper fold — it makes the hinge area too thick and the lid won’t sit flat.
2. Pastel Stripes Squishy Organizer for Hair Ties
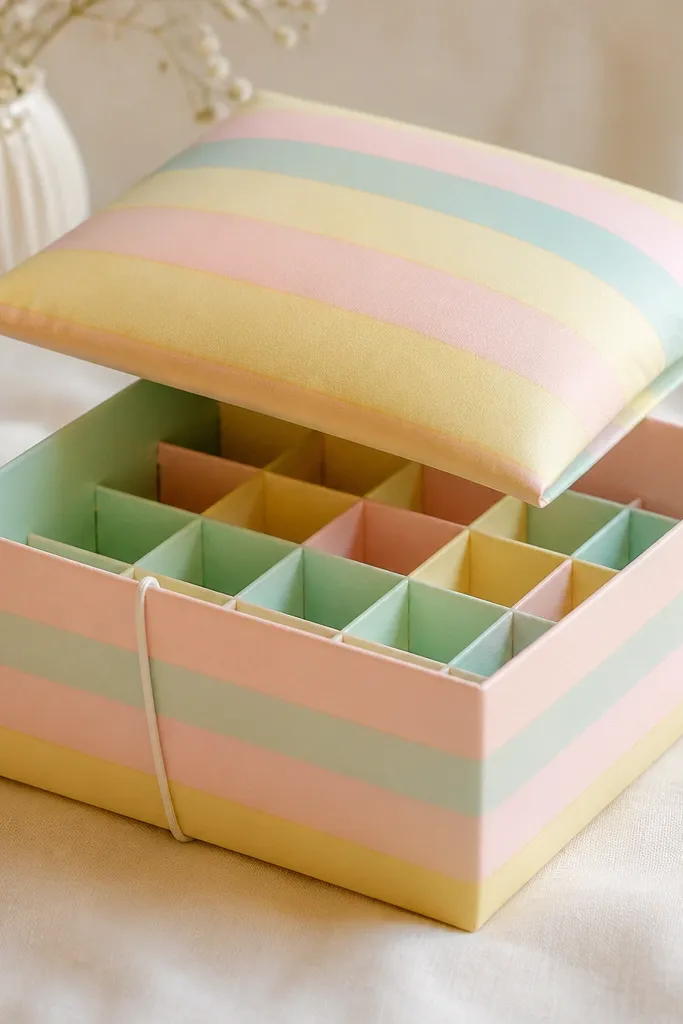
This one looks adorable on a nightstand because it reads like stationery, not storage. Use pastel striped scrapbook paper for the outside and keep the inside a plain cream so the stripes don’t fight the contents. The squish feels extra satisfying when the foam layer is centered and not too thick — 3 mm craft foam gives a gentle press that doesn’t look swollen. It flatters cooler color palettes and works well for bedrooms with white bedding, because the mint and blush tones sit cleanly against the light.
Cut your base from 220-250 gsm cardstock to 10 cm x 10 cm, then score a lid flap so it opens from one side like a clamshell. Cut foam to 9.5 cm x 9.5 cm and glue it to the lid panel, leaving a 2-3 mm margin around the foam edge. Layer the outside stripes by wrapping the paper over the lid and base, then trim the overlap so the pattern lines up at the front edge. For storage, add two paper dividers inside using 2 cm wide strips so hair ties don’t become one tangled pile. Close it with an elastic band: loop a thin hair elastic around two small paper anchors on the sides, so opening requires a deliberate pull.
Pro tipUse a ruler and pencil to align stripe lines at the front edge before you glue — it changes the whole look from “handmade” to “planned.”
AvoidSkip thick foam here — too much padding makes the lid bulge and the stripes warp near the corners.
3. Matte Black and Gold Minimal Squishy for Cords
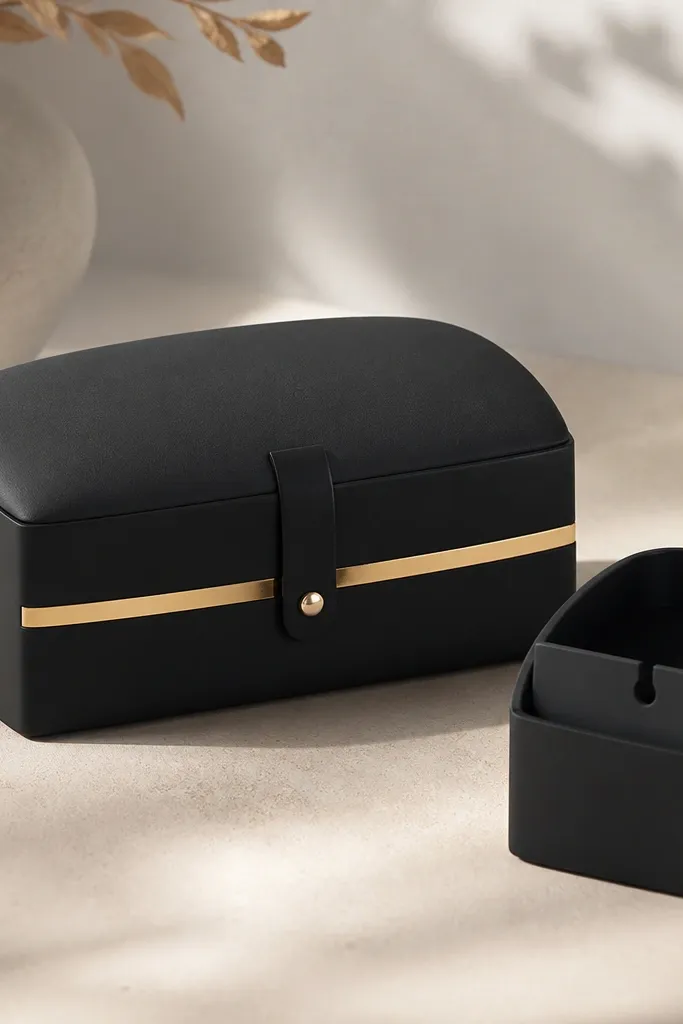
If you hate loud crafts, this is the version that still feels playful. Matte black cardstock hides fingerprints, and a single gold foil strip gives you that “clean desk” vibe without extra decoration. The squishy top is subtle: use thin foam and keep the corners crisp so it looks intentional, not like a squashed pillow. It looks best with neutral outfits and warm lighting — the gold reflects softly instead of screaming under overhead bulbs.
Cut the base from 250-300 gsm cardstock into a rectangle 14 cm x 7.5 cm, then score a fold line 1.5 cm from one long side to create the lid hinge. Cut foam to 13.5 cm x 7 cm and attach it to the lid panel, then cover the lid with matte black paper. Wrap the base in matte black and add a gold foil strip (about 1 cm wide) across the front so it aligns with the lid edge. Inside, build a cord divider using a 0.5 cm wide strip of board glued vertically 4 cm from one end, creating two compartments for charger cable and earbuds. Add closure with a slim paper strap tab on the front and a small magnetic dot (or magnetic snap) so it closes flat.
Burnish the black paper with a dry cloth after gluing — it knocks down glue shine and makes the finish look uniform.
Don’t use glossy paper on the outside — it shows glue smears and edge lifting under light.
4. Toffee Brown Kraft Squishy for Stationery Minis
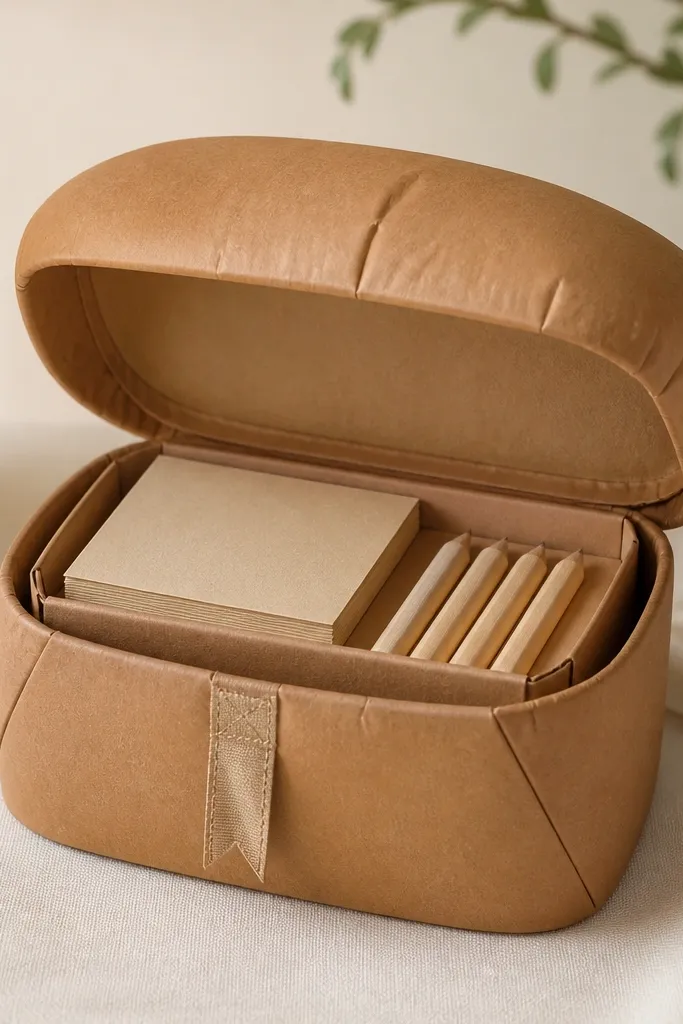
This is the squishy box I make when I want paper texture to do the decorating. Use kraft paper or kraft cardstock for the outside, then add a toffee-colored ribbon or paper tape detail so it feels warm and handmade. The squish reads nicer on kraft because the fibers hide tiny glue lines at the seam. It works for everyone because the palette is neutral, and it pairs well with cream stationery, brown pens, and even soft green planners.
Cut a base tray from 250 gsm kraft cardstock to 11 cm x 9 cm. Build walls by scoring and folding two 3 cm side panels, then glue corners with a thin line so the tray stays square. Cut foam to 10.5 cm x 8.5 cm and glue it to the lid top panel only. Cover the lid with a slightly darker toffee-brown scrapbook paper so the lid looks like a padded cover, not flat paper. Inside, line the walls with a thin cream paper and trim 3 mm from the top edge so it doesn’t peel when you slide notes in. Tie closure with a small ribbon loop on one side and a ribbon knot tab on the other so you can open it fast.
Pro tipUse a craft knife to bevel foam edges by 1 mm — it prevents paper from puckering at the seam.
AvoidAvoid thick glue blobs on kraft seams — they stay visible and make the kraft fibers look stained.
5. Blue Marble Paper Squishy with Sliding Storage Drawer
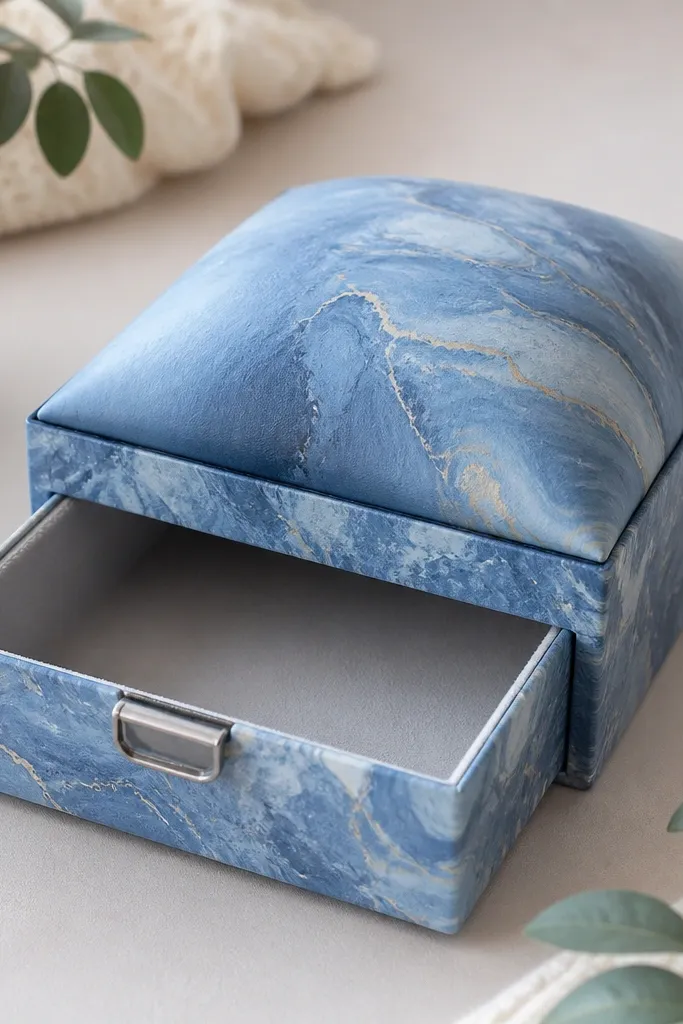
Marble paper makes the squishy top look like it has depth, even though it’s just foam under cardstock. I use a blue-gray marble print on the outside and a light gray liner inside so the drawer feels calm. This design is perfect for small items you grab daily: lip balm, mini lip gloss, or charging adapters. The sliding drawer keeps the contents tidy without making the lid do all the work, and it looks great on a dresser because the drawer face stays visible.
Cut the main body from 250-300 gsm cardstock: base 13 cm x 8 cm, with a lid panel that matches 13 cm x 8 cm on top. Score the lid fold line 2 mm in from the edge so it closes cleanly, then hinge it with a narrow paper strip. Cut foam to 12.6 cm x 7.6 cm and glue it to the lid panel, keeping foam off the hinge strip. Build the drawer from 220-250 gsm cardstock: drawer box 12 cm x 7 cm with 2 cm side walls, and line it with light gray paper. Add drawer rails by gluing two thin strips (about 3 mm wide) inside the main base walls so the drawer slides without scraping. Finish with a small silver-looking handle cutout using metallic paper or a silver sticker, glued to the drawer front center.
Pro tipTest the drawer slide before you decorate — shave 1 mm from a rail if it drags, then glue the handle after it moves smoothly.
AvoidDon’t make the drawer walls taller than 2 cm — it blocks the lid from closing all the way.
6. Rainbow Confetti Squishy with Stackable Lid Lock
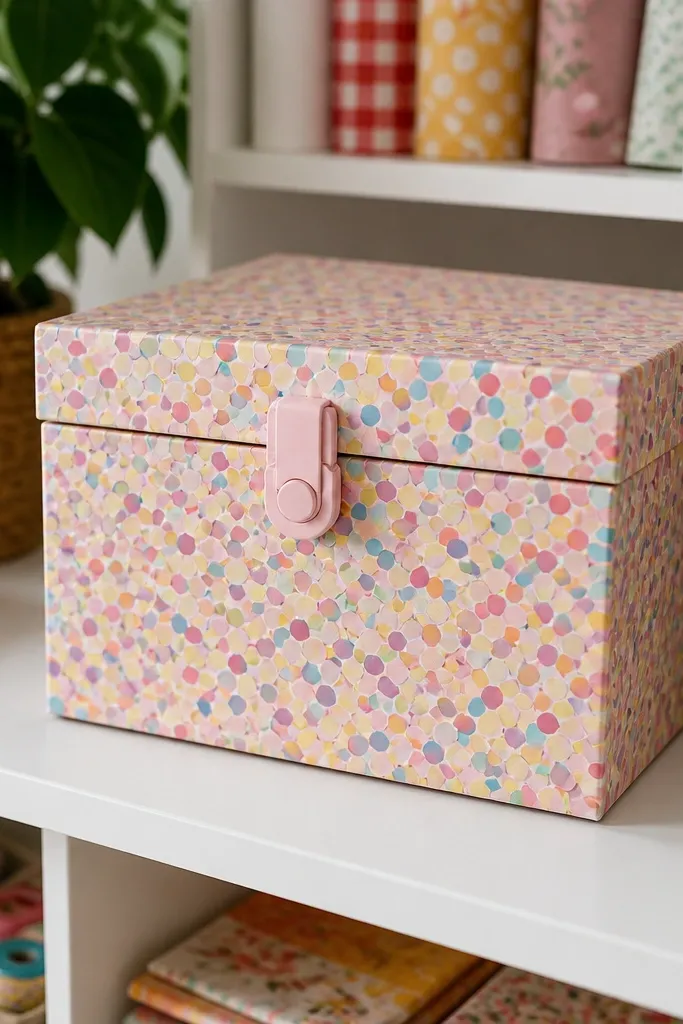
This is the one I make for craft-room supplies because it stacks cleanly and still feels fun. Use confetti-pattern scrapbook paper for the outside and a white liner so the rainbow doesn’t turn into visual noise inside. The squish is medium: 4 mm foam gives a satisfying press, but the lid lock keeps it from sagging when you stack them. It works for people who like color accents but want order — you get both when the lids lock in place and don’t slide off each other.
Make three boxes from the same template size so they stack: base 9 cm x 9 cm from 250-300 gsm cardstock. Score 3 cm side walls, then glue corners and keep the base flat while drying. Cut foam to 8.6 cm x 8.6 cm and glue it under the lid panel, centered with a 2 mm margin around the perimeter. Cover the outside with confetti paper and add a lid lock: cut a 1 cm wide tab on the lid front and a matching notch on the base front so one box catches the next. Add inside compartments by gluing a single divider strip into a 4.5 cm x 9 cm section so small items don’t roll across the bottom. Use a bone folder to sharpen the lock notch edges so they don’t fray.
Pro tipAlign confetti pattern placement by marking the center with a pencil dot on the base — it keeps every box looking intentional when stacked.
AvoidAvoid random sizes — if one box is even 1 mm off, the stack won’t lock and you’ll see gaps.



