
1. Strawberry Wrapped Candy Squishy
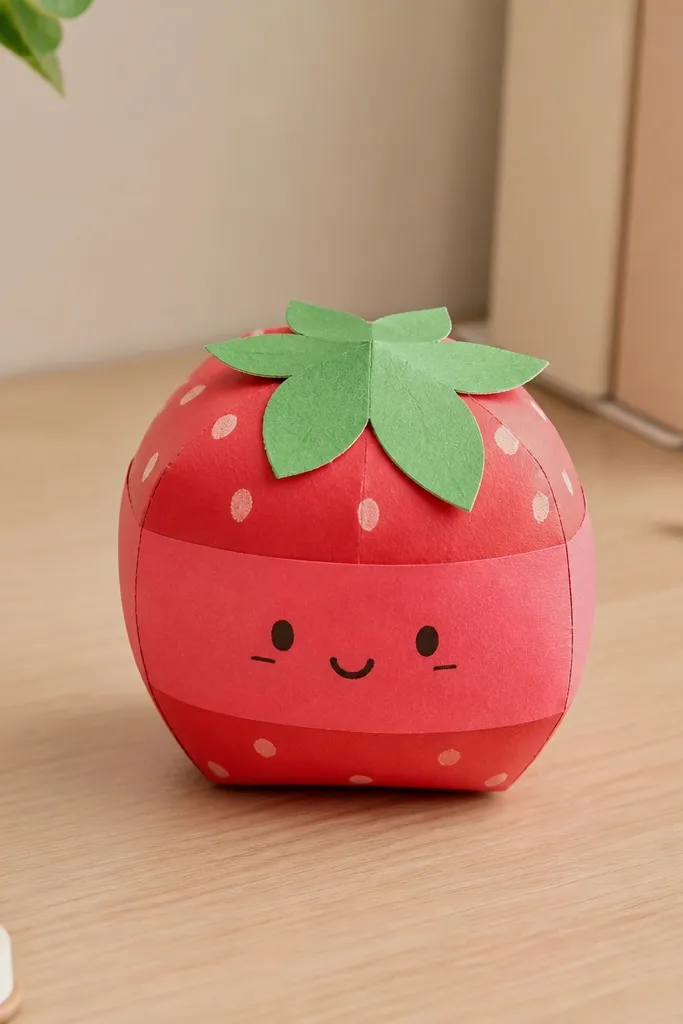
I like this one because it reads as candy even from across the room. Use red cardstock for the main wrap and add a lighter red band around the middle so it looks like a real wrapper twist. For the top, cut two green leaf shapes and glue them flat — no curling needed — so the top stays tidy. This works for kids of any skill level because the shape is basically a folded pocket with a stuffed middle. It also looks best in bright rooms since the red catches light and the leaves give it that “fresh” feel.
Start by cutting a rectangle about 10 cm by 8 cm from red cardstock. Place a small tissue puff or a strip of thin foam tape (about 1 cm wide) in the center, then fold the rectangle into a pocket and glue the side seam only. Wrap a lighter red strip around the pocket like a band, and glue it so it covers the seam line. Finally, add two green leaf pieces on top and draw a tiny strawberry face with 2 small dots and a short curved smile.
Pro tipUse a metallic red gel pen for two small highlight dots — it makes the wrapper look glossy without adding extra steps.
AvoidDon’t overfill the middle or the wrapper corners buckle and look messy.
2. Lemon Slice Squishy with Paper Rind
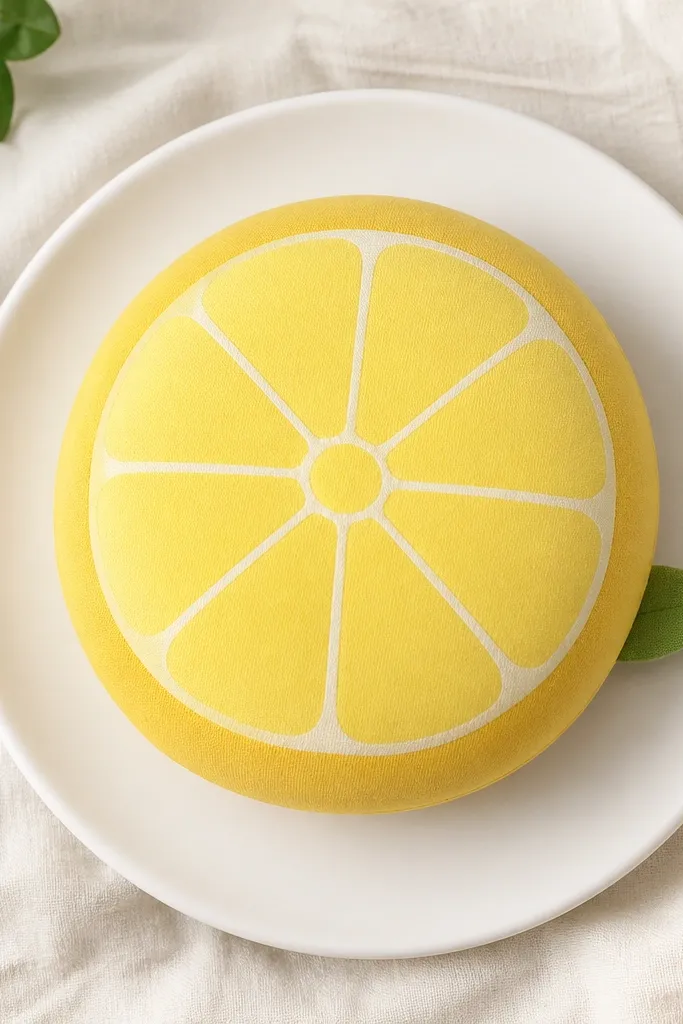
This is the squishy I make when I want something that looks clean and cheerful. The yellow center with a darker rind ring gives instant depth, and the segment lines keep it from looking like a plain circle. I use matte yellow cardstock so the marker lines stay crisp and don’t smear. It looks great on light wood desks and on white shelves because the lemon pops without needing glitter. Kids also love it because you can draw the “segments” in their own style.
Cut two circles from yellow cardstock: one at about 7 cm diameter and one ring at about 8 cm diameter with the center removed. Glue the ring to the edge of the smaller circle to form a rind look, then place a thin tissue puff between the two layers (or add a foam tape ring). Close it by gluing the back circle to the front, keeping the edges aligned. Draw 6-8 segment lines with a white gel pen, then add a tiny green paper leaf at the top.
If you want extra squish, use a thin sponge strip cut into a ring — it holds shape better than tissue.
Don’t use wet glue near the marker lines or the paper feathers and the segments blur.
3. Watermelon Wedge Squishy with Seed Dots
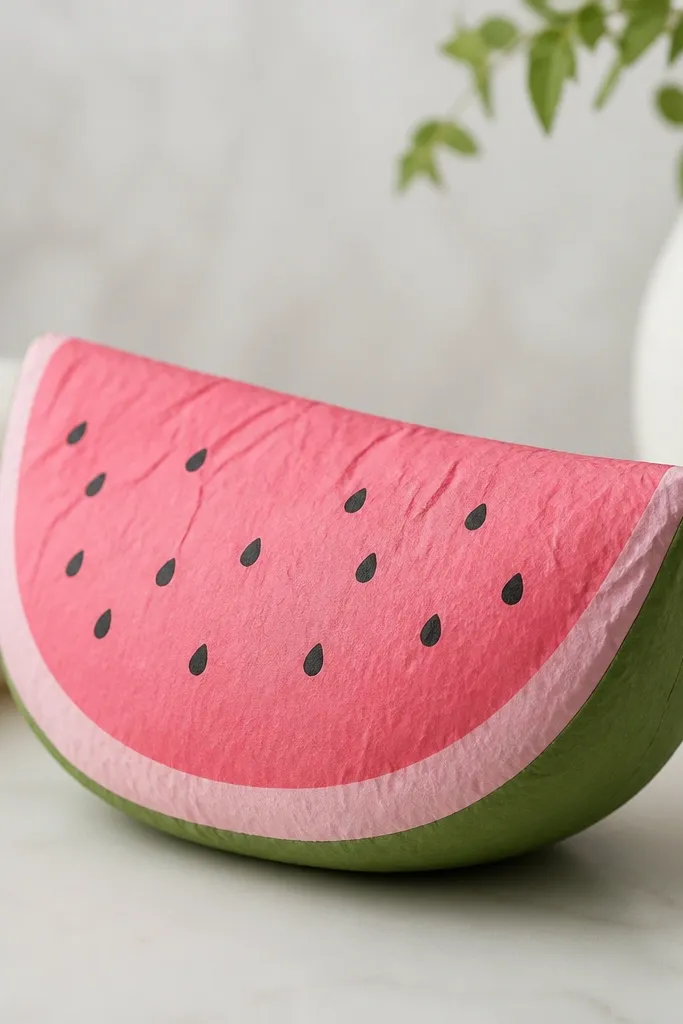
Watermelon squishies look amazing because the color layers do most of the work. I use green cardstock for the rind, then pale pink for the outer fruit and a slightly darker pink band for the inner edge. The seed dots are the finishing touch, and a black fine-tip marker makes them look like real seeds. This one fits kids who like drawing because they get to place seeds however they want. It also looks great in a summer party set because it’s bright without being overwhelming.
Cut a wedge shape from green cardstock about 10 cm long with a pointed tip. Cut two more wedges from pale pink and darker pink paper, slightly smaller each (about 1 cm shorter on both edges). Glue the darker pink wedge onto the pale pink wedge, then glue the pale pink wedge onto the green wedge. Add a thin foam tape strip behind the pale pink layer before closing the back with a second pale pink wedge for puff.
Pro tipUse a white gel pen to draw a tiny curved highlight line on the rind — it makes the wedge look shiny.
AvoidDon’t glue the seed dots directly — draw them after the glue dries so they don’t smear.
4. Ice Cream Cone Squishy with Waffle Pattern
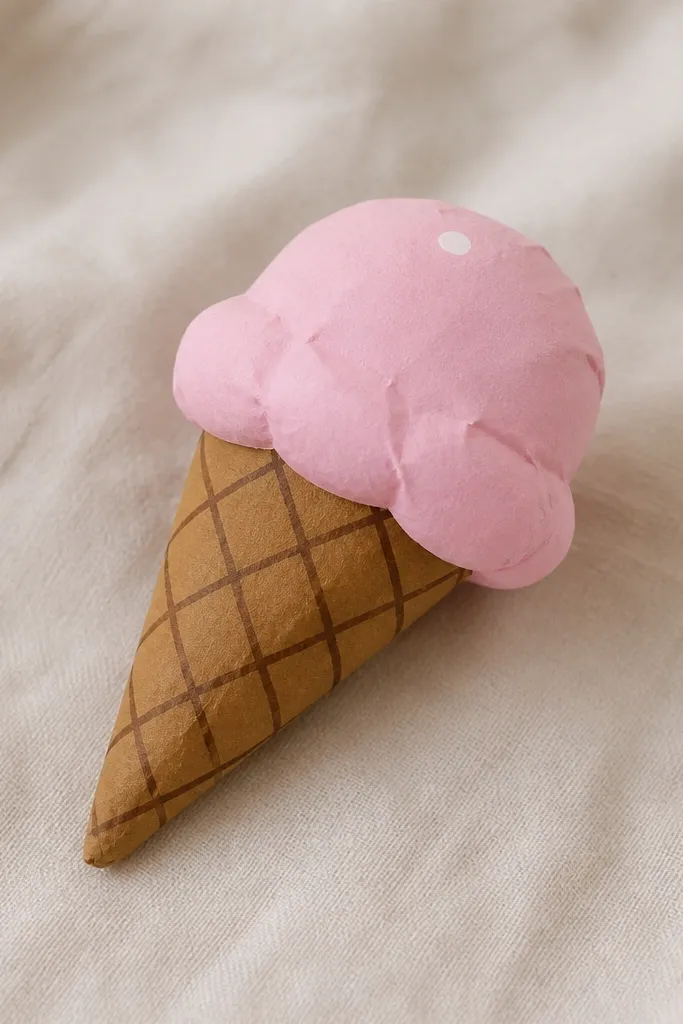
This one is a crowd favorite because the cone shape feels like a real toy. I make the cone from brown cardstock and draw a simple crisscross waffle pattern with a darker brown marker. For the scoop, I use pastel cardstock (pale pink or mint green) so the colors look sweet, not harsh. The squish sits behind the scoop so it has that “soft serve” bounce when you squeeze. It also looks good for photo corners because ice cream reads instantly in pictures.
Roll a brown cardstock triangle into a cone that’s about 6 cm tall, then glue the seam and trim the bottom flat. For the scoop, cut a circle about 7 cm diameter and fold it slightly into a dome, then glue a thin foam tape strip behind it. Attach the scoop to the top of the cone with glue at the edges only, so the center stays puffed. Draw waffle lines on the cone: 3 vertical stripes and a few diagonal crossovers, then add one small highlight dot on the scoop.
Make the cone seam on the back so it doesn’t show when kids hold it up.
Don’t use glossy paper for the cone if you’re drawing waffle lines; marker ink can smear.
5. Wrapped Lollipop Squishy on a Stick
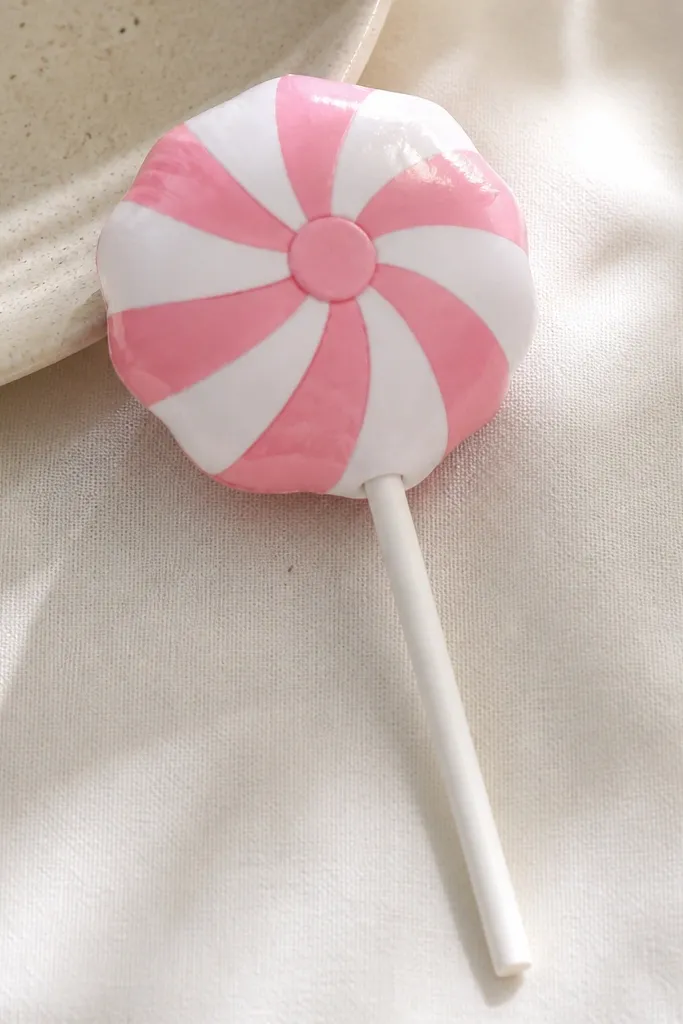
Lollipops look fancy but build fast, and they’re great for kids who want something that feels like a “real” treat. The wrap stripes make the candy look dimensional, and the stick gives it a toy-like silhouette. I use pink and white striped paper or make stripes with a marker on white cardstock. The top cap hides the glue line so the whole thing looks neat. This one looks best in a set because you can do different flavors by changing the stripe colors.
Cut a circle about 6 cm diameter from striped paper and a second circle from plain white cardstock for the back. Add a small tissue puff in the center and glue the striped circle to the white back, keeping edges aligned. Cut a thin stick strip about 12 cm long, wrap it with a tiny dab of glue at the top, and glue it behind the candy. Make a small tiny cap circle from a matching color and glue it over the stick-candy join.
If you want stronger squish, use foam tape just in the center, not around the whole circle.
Avoid gluing the stick across the front — it makes the candy face look crooked.
6. Chocolate Bar Squishy with Foil Lines
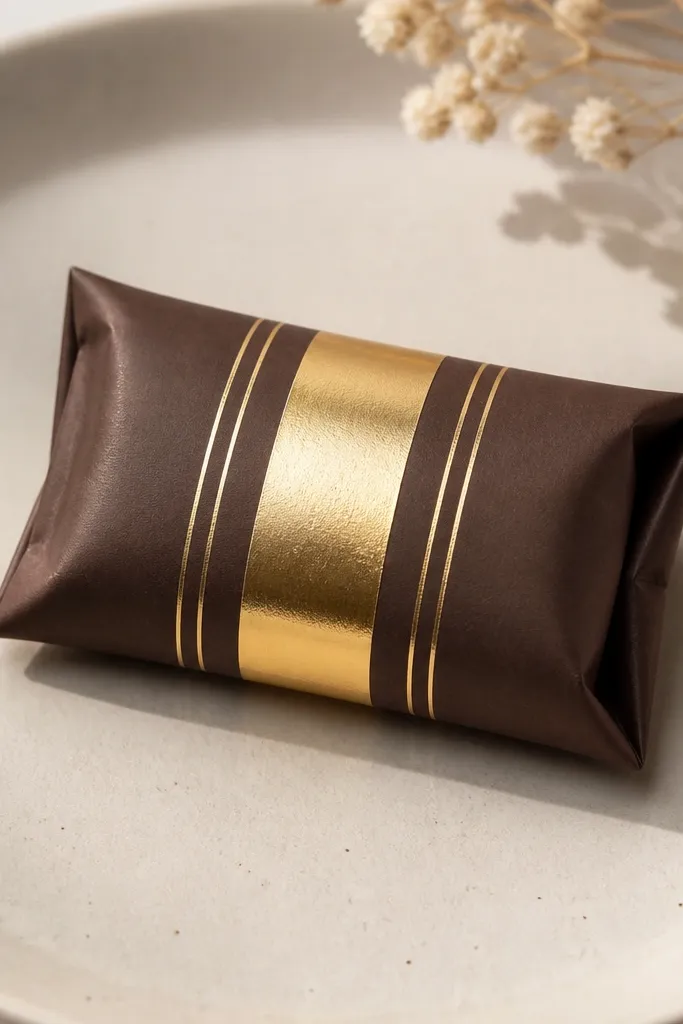
Chocolate bars look grown-up even when they’re made of paper. I use brown cardstock and add a gold strip across the middle like a foil label, then draw 3 thin vertical lines with a gold gel pen. The squish sits in the center so the bar doesn’t collapse when kids squeeze it. This works great for older kids who like clean lines and for gift bags where you want something that looks like a mini snack. The gold accents catch light and make it feel “real” without adding extra materials.
Cut a rectangle about 12 cm by 6 cm from brown cardstock. Cut a second rectangle slightly smaller to be the back and add a tissue puff or foam tape strip in the center. Glue the back on, leaving the edges flat, so the puff stays in the middle. Add a metallic gold strip about 2 cm wide across the center, and draw three vertical foil lines using a gold gel pen. Fold tiny side flaps inward (about 1 cm) and glue them to make wrapper creases.
Use a ruler for the gold strip edge so the label looks straight.
Don’t make the puff too thick or the wrapper folds won’t meet.
7. Rainbow Macaron Squishy Pair
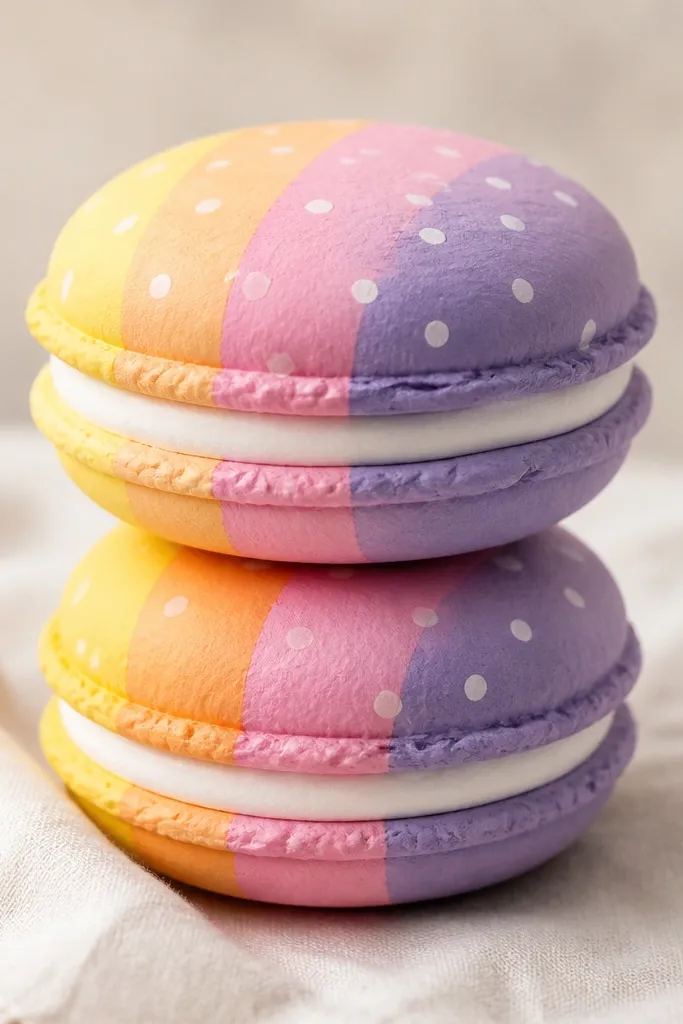
Macarons look adorable because the shell colors are soft and the “filling” gives you instant layering. I cut two matching shell shapes and separate them with a thin cream band, so the squishy has a stacked look. Pastel cardstock keeps the result sweet, and a few tiny white dot highlights make the shells look slightly glossy. This idea suits kids who love color because you can let them pick two shell colors and keep the filling the same. It also looks great in a mini gift box because it’s small and pretty.
Cut two identical macaron circles about 6 cm diameter from two pastel colors, plus two cream circles about 5.2 cm diameter. Add a thin tissue puff behind one shell, then glue the cream circle on top as the filling. Glue the second shell on last, aligning the edges so the cream band shows evenly. Use a white gel pen to add 3 tiny dot highlights and draw a simple curved line on the shell for texture.
Make the filling band consistent by trimming the cream circle with a paper cutter, not scissors.
Don’t glue the shells with thick glue in the center or it squishes out and stains the edges.
8. Blueberry Muffin Paper Squishy
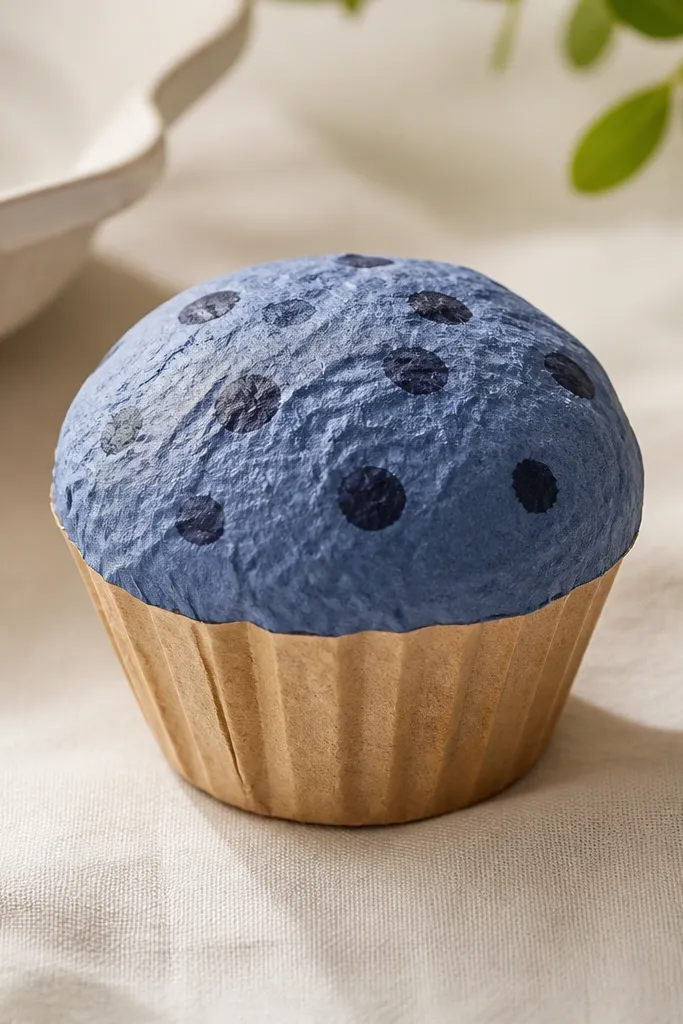
This muffin shape is a fun change from candy-only squishies. The wrapper is tan cardstock with a subtle darker tan rim, and the top is a domed layer that makes the squish feel like baked goods. I draw blueberries as small blue circles with tiny highlight dots, and it looks cute even with simple marker work. Kids like it because it feels like food they can “eat” with their imagination. It also looks good on a breakfast-themed paper tray display.
Cut a tan wrapper rectangle about 10 cm by 7 cm and fold it into a shallow cone, then glue the seam. Cut a circle about 7 cm diameter from brownish tan for the muffin top and add a thin foam tape strip behind it. Glue the top to the cone opening. For blueberries, cut small blue circles (or draw them) and add tiny white dots to each, then place them across the top in a loose cluster. Finish with a darker brown marker line around the rim for the baked edge.
If your cone keeps opening, pin it with a binder clip for 2 minutes while glue sets.
Don’t use wet paint markers on the top; they bleed into the paper fibers.
9. Banana Slice Squishy with Soft Curve
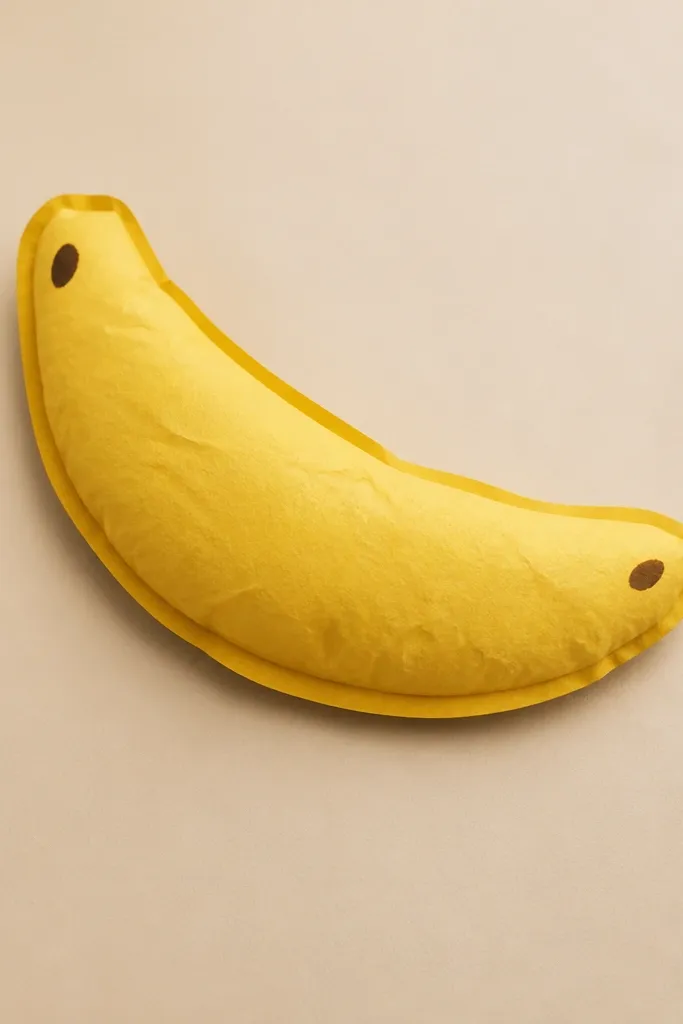
Banana squishies have that playful, curled shape that looks real even with simple materials. I use two shades of yellow so the banana edge looks thicker, like the peel. The brown spots are tiny and placed off-center, which makes it look less cartoon and more like a snack. This one works well for kids because it’s forgiving — a slightly uneven curve still looks cute. It also looks great as a set next to strawberry and lemon for a fruit cluster.
Cut a banana outline from yellow cardstock about 12 cm long and 4 cm tall at the widest point. Cut a second outline from a slightly darker yellow for the edge layer. Glue the darker outline behind the lighter one so it shows like a peel. Add a thin tissue puff behind the lighter layer, then glue a second lighter outline to the back to create a squishy center. Draw two brown peel spots with a fine marker and add a tiny highlight line near one edge.
Cut the banana from cardstock first, then trace it once as a template — you’ll get cleaner matching layers.
Avoid sharp corners at the ends; round the tip with your scissors for a natural look.
10. Candy Cane Pocket Squishy
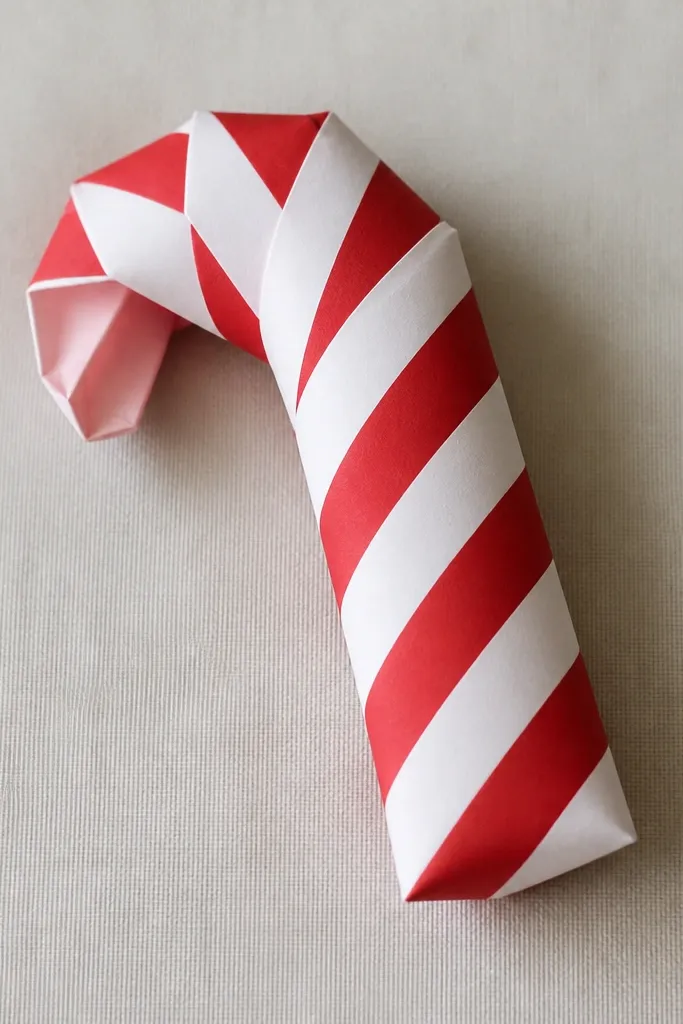
This candy cane is my go-to when I want something that looks dimensional but uses almost no fancy cutting. The pocket shape makes the squish, while the stripes sell the candy cane vibe instantly. I use diagonal stripe paper or I draw stripes on white cardstock with a red marker, then seal it with a thin layer of clear glue if needed. Kids love it because it holds together well and doesn’t collapse. It looks best with a red-and-white theme shelf or holiday party table.
Cut a long rectangle about 14 cm by 5 cm from red-and-white striped paper. Fold it into a pocket by bringing the long edges together and gluing only the side seam. Add a thin foam tape strip inside before closing the top edge. Shape the pocket into a gentle candy cane curve by bending carefully, then glue the ends down to keep the curve. Make the top and bottom ends neat by folding 1 cm inward and gluing.
Pro tipUse a pencil to lightly mark the curve before bending so it doesn’t crease in the wrong place.
AvoidDon’t over-glue the seam — excess glue makes the stripes look bumpy.
11. Cherry Cola Cup Squishy
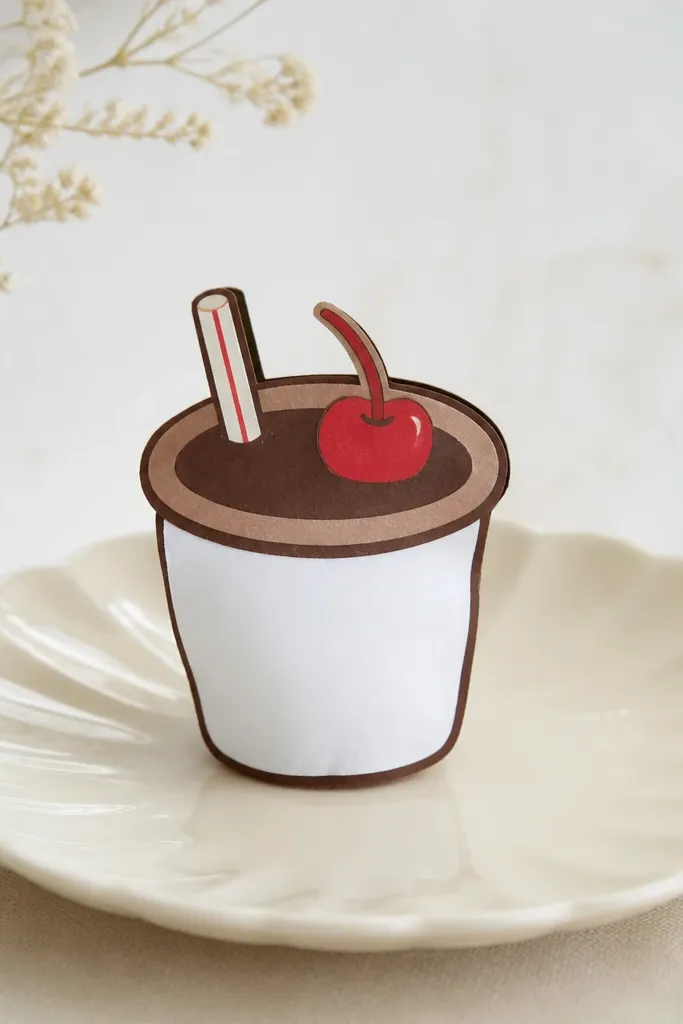
This one is fun because it looks like a mini drink toy, not just a flat character. Use dark brown cardstock for the “cola” and a red circle for the cherry, then add a lighter brown rim so it looks like a cup. I cut a tiny straw from beige paper and glue it at a slight angle so it looks like it’s leaning in. The squish comes from a tissue puff inside the cup walls so kids can squeeze it without crushing the top. It’s a great pick for summer birthday crafts and snack-themed party favors.
Cut a cup shape from cardstock like a trapezoid with a flat bottom, about 10 cm tall. Glue the sides into a cup and leave the top open. Add a tissue puff or foam tape strip inside the cup, then glue a flat circle top from dark brown cardstock. Cut a small red cherry circle and glue it near the center, then add a tiny green leaf. Insert a paper straw at a slight angle and glue it behind the cherry so it looks attached.
Pro tipMake the rim by gluing a thin lighter brown strip around the top edge after the cup sets.
AvoidDon’t make the cup too tall or the top circle pops off when squeezed.
12. Popsicle Sticker Style Squishy
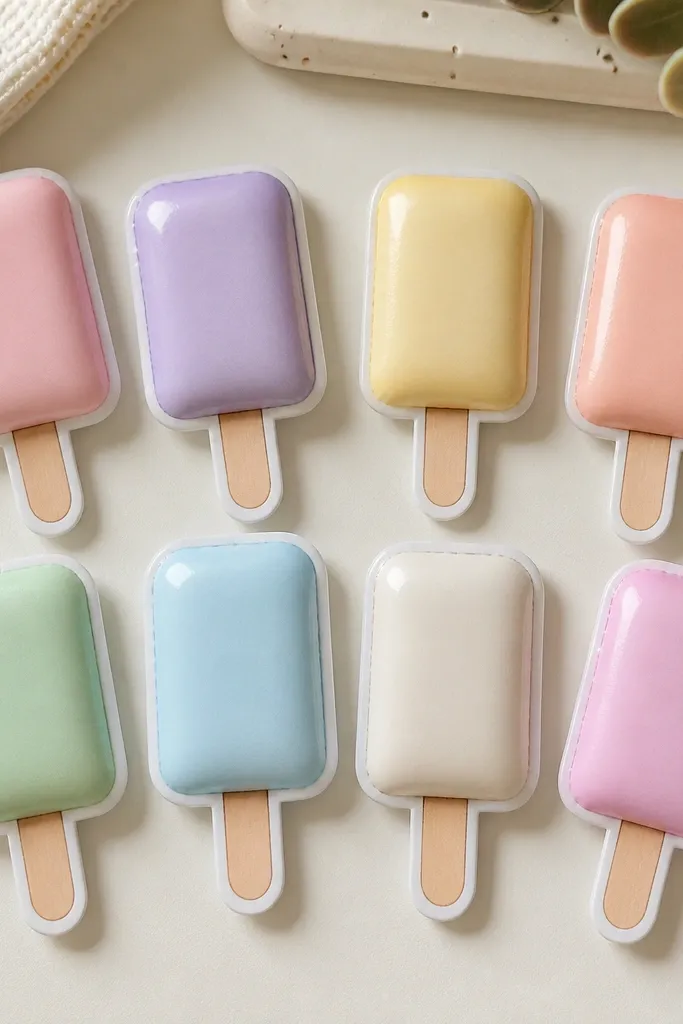
Sticker-style squishies are perfect for kids who want something simple and flat-looking. You get the squish by putting a thin foam tape strip behind the center, but the front stays clean like a sticker. I use pastel paper for the popsicle shapes and add a few white “drip” lines with a gel pen so they look frosty. This works for party packs because you can make a bunch at once with the same template. It also looks good on backpacks or pencil cases if you add a small loop later.
Cut popsicle rectangles about 9 cm long with rounded corners from pastel cardstock. Cut a matching back piece from plain white or matching pastel paper. Add a thin foam tape strip in the center of the front piece, then glue the back on so the foam is trapped. Glue a small paper stick strip to the bottom and cover the joint with a tiny notch-shaped tab. Add 2-3 frosty drip lines with white gel pen across the top half.
Pro tipUse the same popsicle size for a set and kids will line them up like a mini collection.
AvoidAvoid thick foam tape; it makes the popsicle front warp and look uneven.
13. Gummy Bear Pocket Squishy
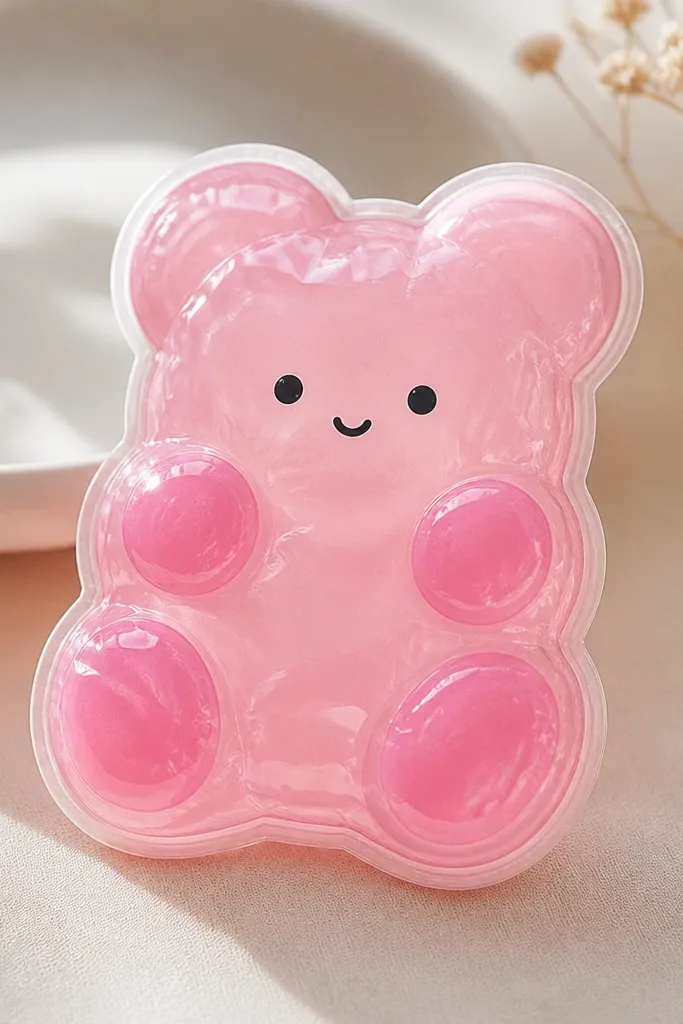
Gummy bear squishies look instantly cute because the shape is recognizable even with simple features. I use pastel cardstock and keep the outline thick so it reads as a bear silhouette. The puffy center gives it that “chewy” vibe, and the face makes it friendly. This works for kids who want to draw eyes and smiles but don’t want lots of tiny parts. It also looks great in a candy-themed display since it sits like a little toy.
Trace a simple bear outline onto pastel cardstock and cut two identical bear shapes. Cut a small tissue puff and place it between them, then glue the bears together along the edges only. For the paws and ears, cut tiny darker pastel shapes and glue them on after the main bear is assembled. Add eyes with a black marker dot and a small curved smile. If you want extra squish, add a second thin foam tape strip behind the belly area before sealing the back.
Pro tipDraw the face before gluing if you want it perfectly centered — it’s easier on flat paper.
AvoidDon’t add glitter glue all over; it makes the surface rough and harder to squeeze.
14. Starburst Candy Squishy with Crease Texture
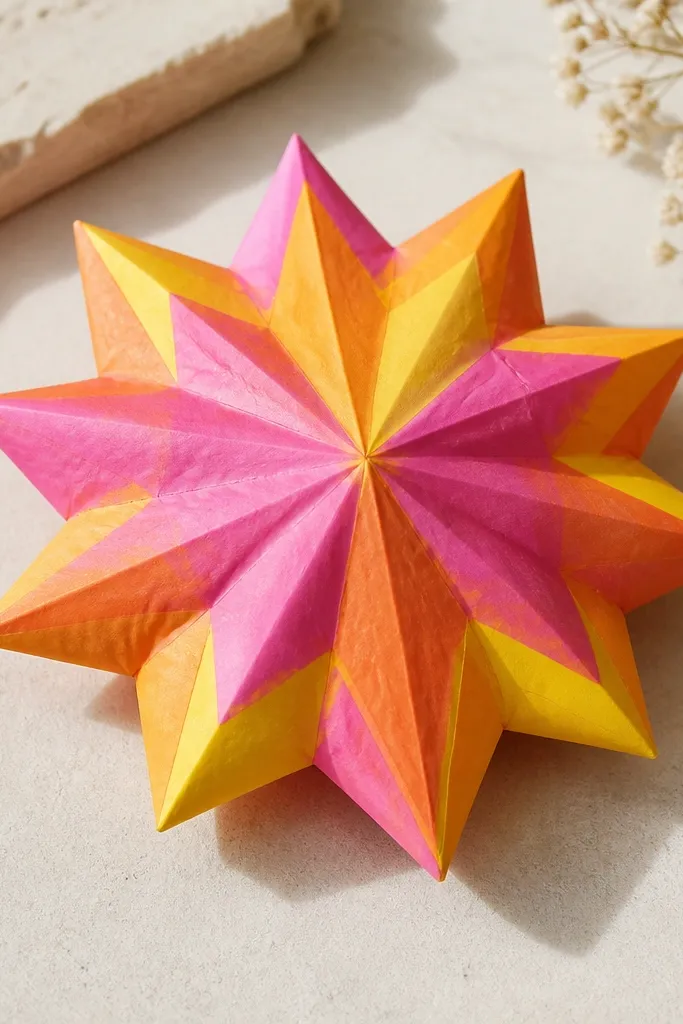
Starburst candies look like real candy because the points catch light. I make mine with a folded crease texture so the surface isn’t flat, even though it’s still paper. Use 3-color layers: bright yellow base, orange middle, and pink tips, then outline the edges with a dark marker to make the points pop. The squish sits in the center, so when you press, the points stay crisp instead of collapsing. This is a fun one for kids because it feels like making a party decoration.
Cut a starburst shape from yellow cardstock and another from orange, both the same outline size. Cut a third starburst from pink but slightly smaller. Glue the pink onto the orange, then glue the orange-yellow stack together, leaving the center hollow for puff. Add a small tissue puff in the center and glue a second yellow starburst back on to seal it. Use a bone folder or the back of a spoon to lightly press creases along each point before assembly.
Outline each point with a fine marker — it makes the layers look sharper even when the paper flexes.
Don’t skip the back layer; without it the points fold and the starburst looks flat.
15. Cotton Candy Cloud Squishy
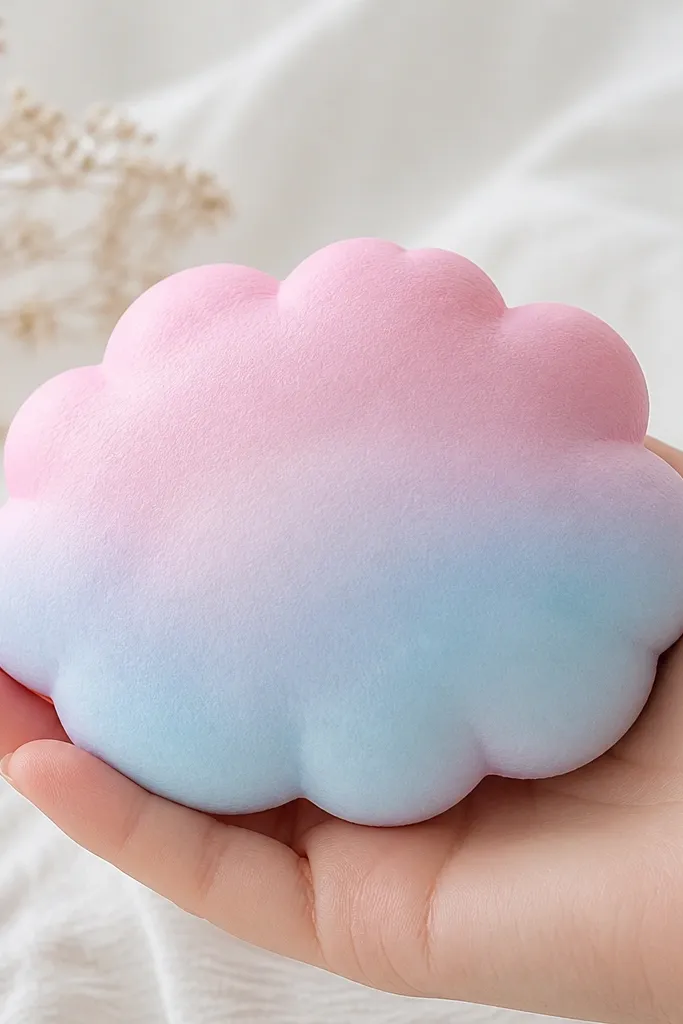
Cotton candy squishies feel airy, and paper can do that if you build a fluffy edge. I cut a cloud outline with little rounded bumps so it looks like cotton strands. Use pastel pink and light blue — I alternate panels so you get a soft gradient when you squeeze. The squish comes from a tissue puff inside, and the outer cloud layer hides the seams. This one is perfect for baby showers and spring birthdays because it looks gentle and sweet.
Draw a cloud outline about 9 cm wide with 6-8 rounded bumps. Cut two identical cloud shapes from pastel pink and light blue (one color for the front, the other for the back). Add a tissue puff in the center of the front cloud, then glue the back cloud on so the seam disappears. If you want a gradient look, cut a small inner cloud shape from a lighter shade and glue it onto the front before sealing. Use a white gel pen to add a few swoopy strand lines across the surface.
Cut the cloud bumps with scissors in one smooth motion so the edges look “fluffy,” not jagged.
Avoid heavy glitter on the edges; it flakes when kids squeeze.
16. Chocolate Truffle Ball Squishy
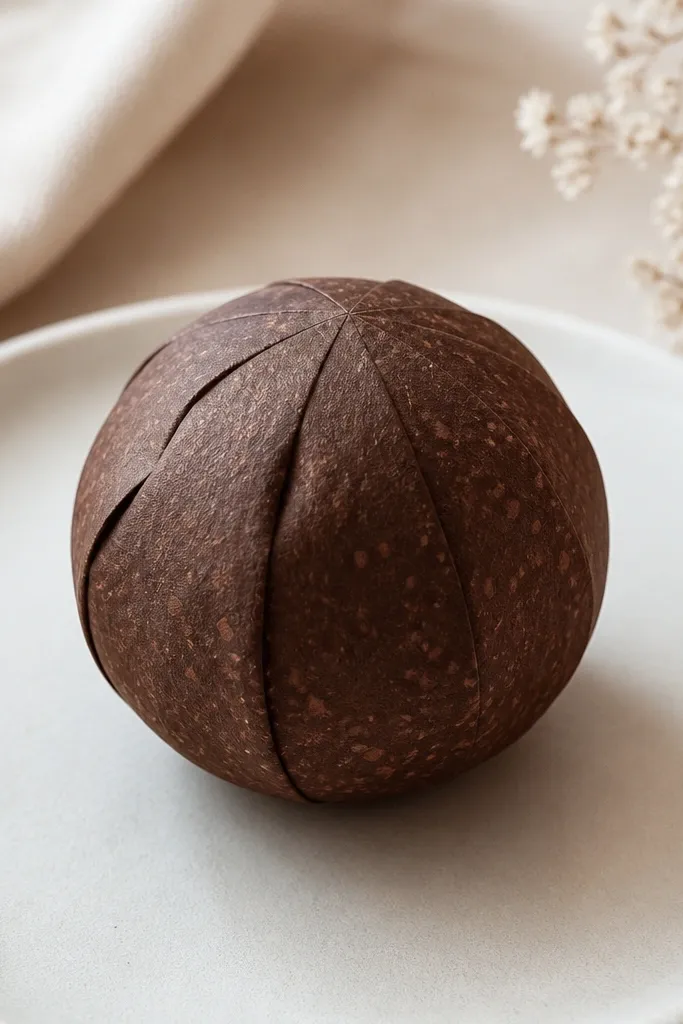
Truffle balls are the easiest way to make something look expensive. The round shape reads as candy instantly, and the speckled dots make it look like real chocolate. I use dark brown cardstock, then add lighter brown dot patterns with a marker or paint pen. The squish is trapped in the center between two circles, so it stays round even after repeated squeezes. This is great for kids because there’s no complicated cutting — just circles and dots. It also looks nice for a dessert table because it matches other chocolate-themed crafts.
Cut two circles about 6 cm diameter from dark brown cardstock. Add a tissue puff in the center of one circle, then glue the second circle on top to seal it. For the speckle, tap a lighter brown marker tip lightly across the surface — don’t press hard or you’ll flood the paper. Add a tiny highlight dot with a cream gel pen near the top left. If you want it extra round, add a thin foam tape ring around the tissue before sealing.
Pro tipUse a paper punch to make the circles faster — it saves time when making a whole set.
AvoidDon’t use large blotches of glue at the center or the ball looks shiny and uneven.
17. Strawberry Shortcake Cup Squishy
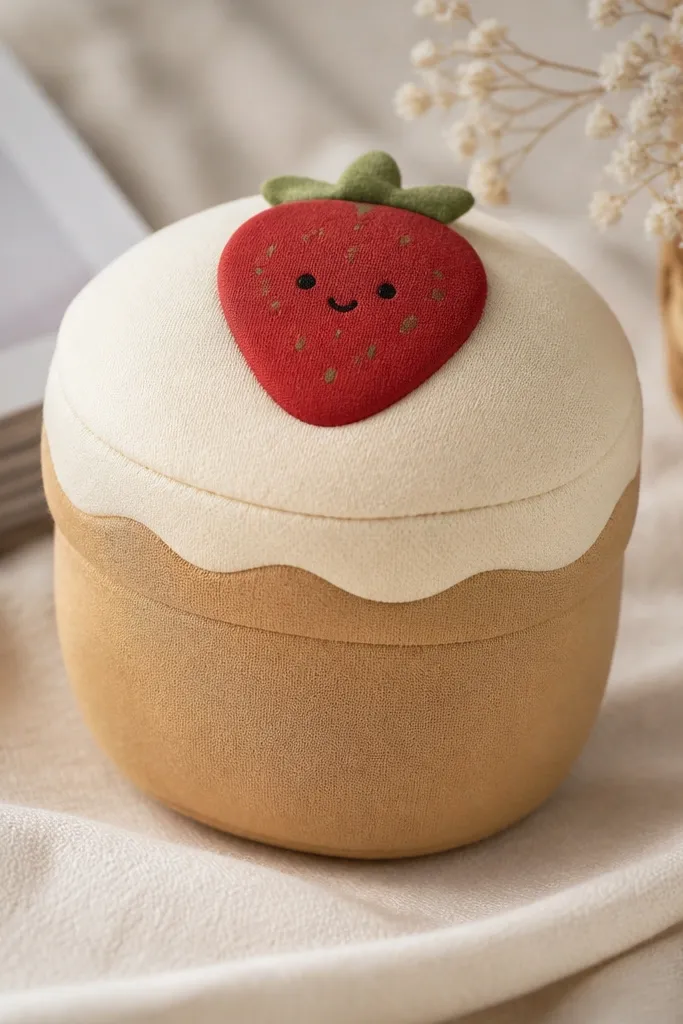
This one looks layered like a real dessert cup, but it still builds fast. I use a tan wrapper for the cup, then a pale cream circle on top to act like whipped topping. The strawberry cutout sits on the cream layer and keeps the whole thing from looking generic. The squish is in the cup center so it feels like a soft toy. This is a good pick for kids who like food themes and for anyone making a small “dessert” display for a shelf or table.
Cut a cup wrapper rectangle about 10 cm by 6.5 cm, fold into a cup, and glue the seam. Add a tissue puff inside and leave the top open. Cut a pale cream circle about 7 cm diameter and glue it over the top edge so it covers the puff. Cut a strawberry shape from red cardstock and glue it on the cream circle. Add tiny green seed dots and draw a small smiling mouth with a fine marker.
Make the cup seam on the back so the front looks clean when it’s sitting on a table.
Avoid placing the strawberry too close to the edges or it lifts when kids squeeze the cup.
18. Blueberry Lemonade Mini Cup Squishy
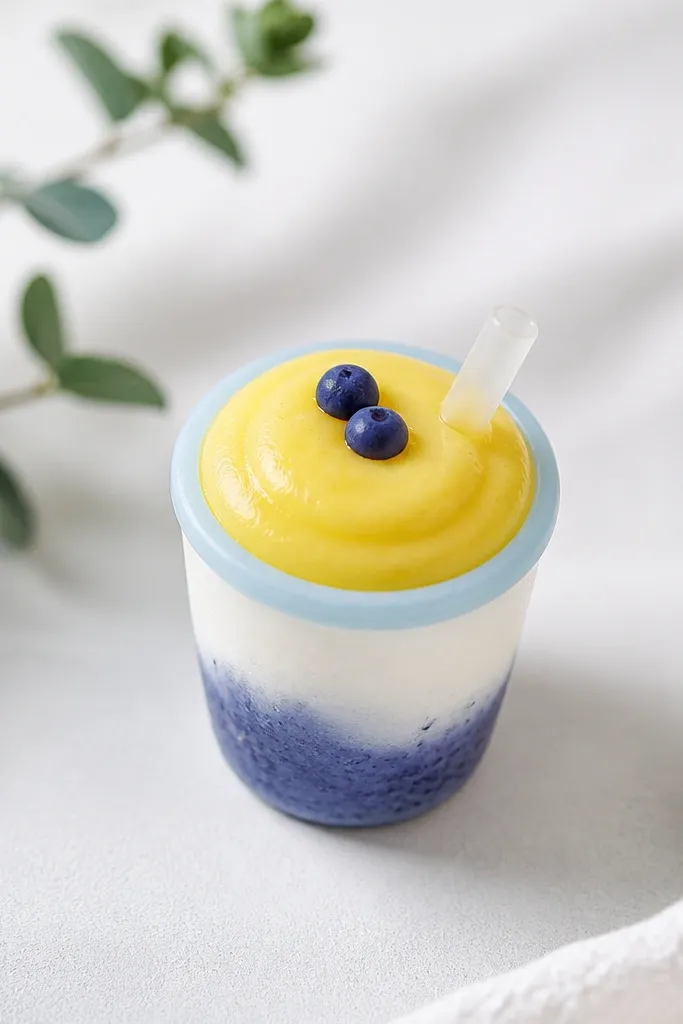
This is the one I make when I want a drink look without using paint or markers that bleed. The yellow lemonade layer gives you the bright base, and the blue berry layer makes it look like it has mix-ins. I keep the cup mostly white with a light blue rim so it looks like a real disposable cup. The squish feels playful because the top is puffed slightly, like a sealed drink lid. Kids love it because it’s colorful and still simple enough to repeat quickly.
Cut two mini cup side panels from white cardstock and glue them into a cylinder about 7 cm tall. Add a thin foam tape strip around the inside top edge so the lid area gets a puff. Cut a yellow circle lid and glue it on top, then add a slightly smaller blue circle layer on top of the yellow. Glue a tiny paper straw at an angle and add two small blueberry dots with a fine marker. If you want more squish, add a tiny tissue puff under the yellow lid before sealing it.
Pro tipUse a circle template made from a bottle cap for perfect lids across multiple cups.
AvoidDon’t use thick glue for the lid; it creates lumps that show through the colored layers.
19. Cherry Pop Star Lollipop Squishy
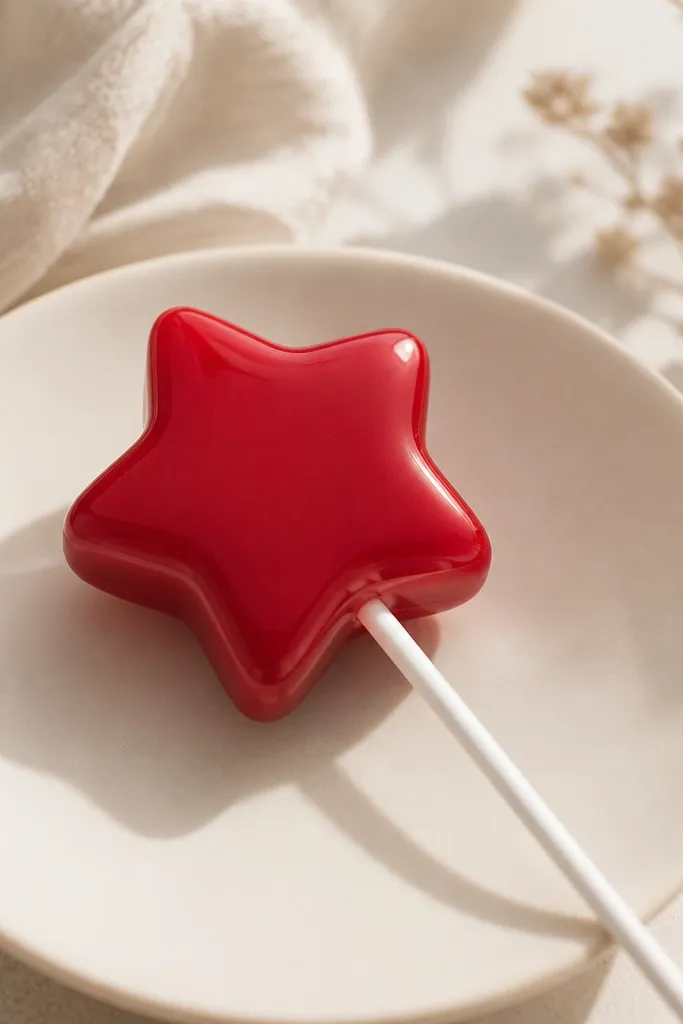
Star lollipops look playful and a little magical, and the shape makes them easy to spot in a pile. I use cherry-red cardstock and add one tiny highlight dot to fake shine. The squish is inside the star so the points don’t flatten when kids press it. This works well for parties because stars feel like celebration, not just candy. It also suits kids with steadier hands who can cut clean star points, but you can still make it beginner-friendly with a simple star template.
Cut two identical 5-point star shapes from red cardstock, about 7 cm wide. Place a thin tissue puff in the center of one star and glue the second star on top, sealing the edges. Add a small highlight dot with a white gel pen near the top point. Cut a stick strip about 10 cm long and glue it behind the center back of the star so it doesn’t show through the front. For extra stability, glue a small circle behind the stick to reinforce the attachment point.
Pro tipIf star points curl, press them under a heavy book for 10 minutes before assembling.
AvoidAvoid cheap thin paper; star points fold and look ragged.
20. Candy Corn Tri-Fold Squishy
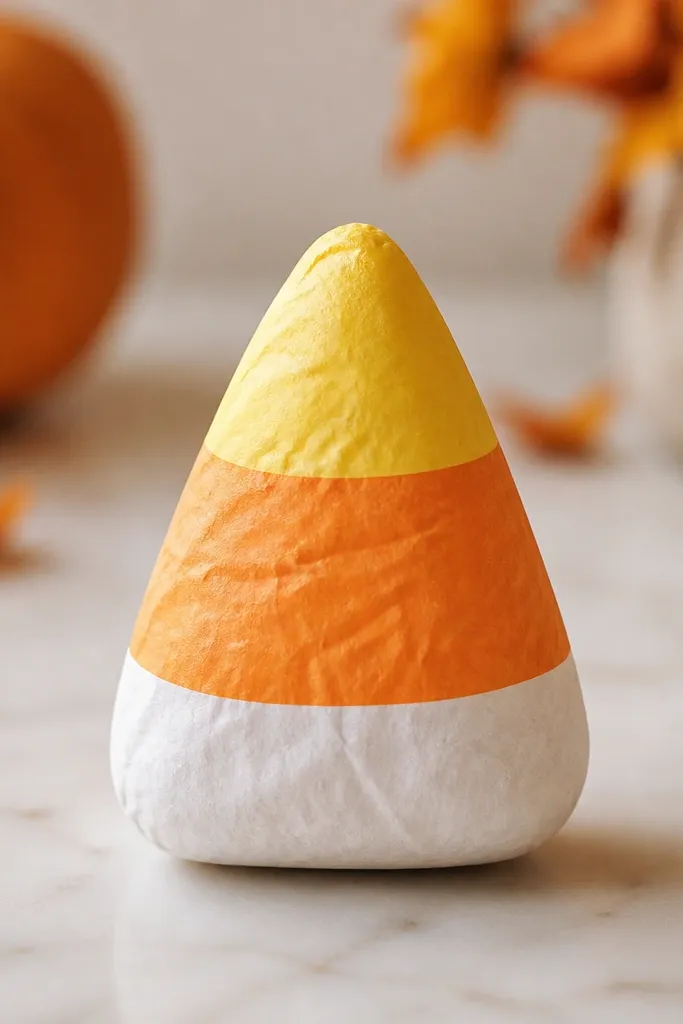
Candy corn is one of the easiest shapes to make look “correct” because the three colors guide your eye. I cut the shape as a single piece but add the three-color bands so it looks layered even when it’s paper. Use matte yellow, orange, and off-white so the colors look like real candy. The puff sits in the center so it feels soft, but the edges stay sharp so it doesn’t look like a melted blob. This one is great for Halloween crafts and for kids who like bold color blocks.
Cut a candy corn outline about 9 cm tall from white cardstock as the base. Cut a yellow top section and an orange middle section slightly smaller each, then glue them on in order from bottom up. Add a thin foam tape strip behind the orange band for puff. Glue a second white outline to the back to trap the squish. Use a fine marker to lightly define the color boundaries so the edges look clean.
Pro tipKeep the color boundaries straight with a ruler before gluing the bands.
AvoidDon’t add extra shading with dark markers — it makes the paper look dirty instead of candy-like.



