
1. Pastel Bento Box Squishy
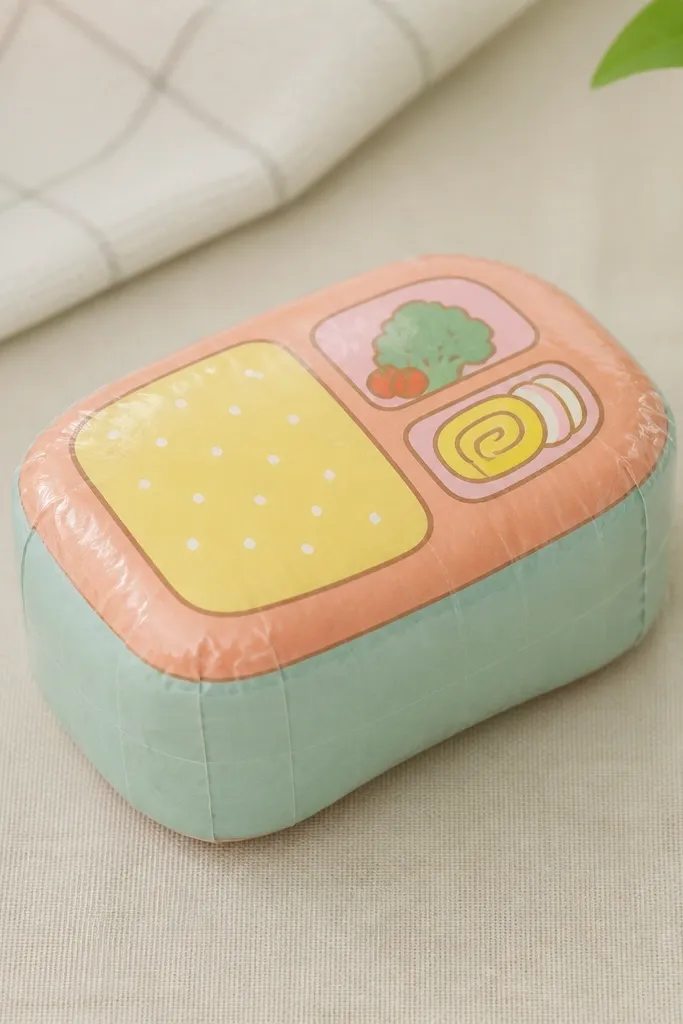
This one looks adorable on a desk because the rounded lid reads like a soft cushion instead of a flat craft. I make it with pale mint and blush paper so it matches the “morning light” vibe — it looks good under warm bulbs. The compartments are drawn or cut from slightly thicker paper so they don’t buckle when you press the squishy. If you like cute but clean, this is the safest style: simple shapes, no tiny details to get messy. It also flatters small spaces because it’s a single object with clear color blocks.
Start by cutting a rectangle about 6 x 4 inches from 180 gsm cardstock and folding it into a shallow box shape with two short sides and one long side. Glue or tape the seam, then cut a second rectangle for the lid about 6.5 x 4.5 inches and score gentle fold lines so it domes when compressed. Wrap a thin strip of tissue around the fiberfill so it stays evenly distributed, then fill the base until it feels plush but not hard. Seal the lid edges with clear tape, pressing the tape only on the paper — not on the fiber. Finally, add compartment lines with a fine black marker and color them with pastel pencils.
Use matte pastel paper for the sides and a slightly shinier paper for the lid so the dome catches light.
Don’t overfill — if it’s too stuffed, the paper creases will split when you squish.
2. Strawberry Milk Cup Squishy
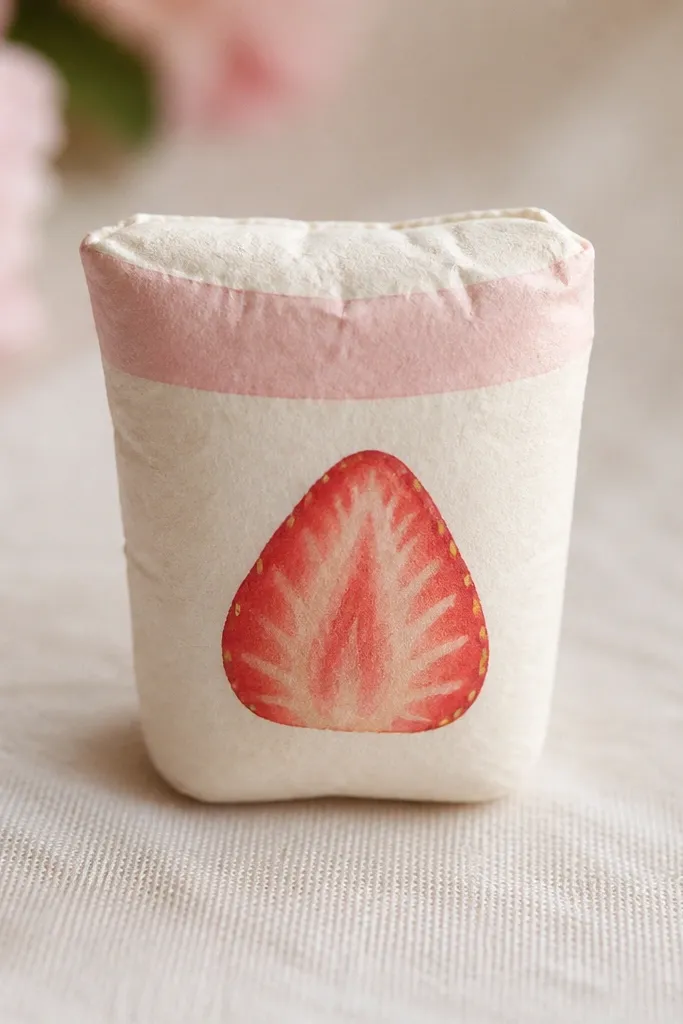
This squishy works because the cup shape naturally creates a rounded front, which reads as “squishy” even at a small size. I use cream paper and a translucent-looking pink for the band, which makes it look like it has a glassy coating. The strawberry slice is drawn in warm red with tiny seed dots, so it pops without needing actual stickers. It’s also great for warm skin tones on your hands when you hold it — the red looks lively next to your fingers.
Pro tipFor the strawberry slice, add a tiny highlight line with a white gel pen on the upper curve.
Cut a 7 x 5 inch cardstock strip, then form it into a tube by rolling it around a pencil and taping the seam. Make a flat oval base from cardstock and glue it to the bottom of the tube. Cut a domed top piece from a circle about 4 inches wide, then fold small pleats around the edge so it sits like a cup rim. Fill with fiberfill plus a thin tissue wrap, then close the top with tape on the inside rim. Draw the pink band and strawberry slice using gel pens for smoother color.
AvoidAvoid cheap thin paper here — it collapses and makes the rim look flat.
3. Mini Donut with Sprinkles Squishy
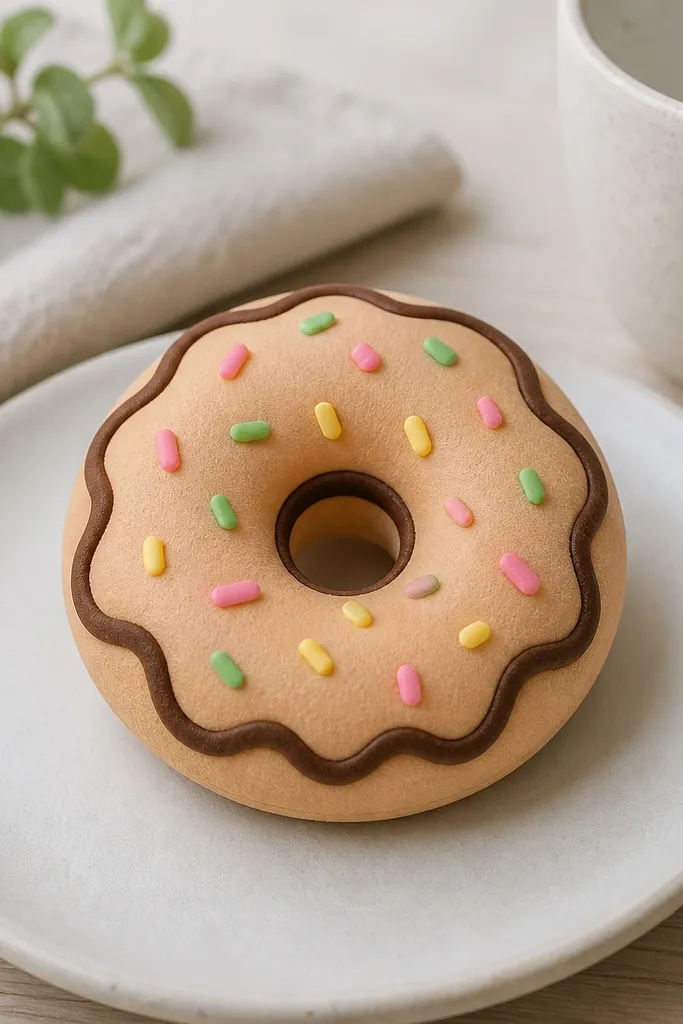
Donut squishies are the easiest way to get a cute, high-impact look in a tiny space because the ring shape reads clearly from one foot away. I like a two-tone donut: warm tan for the base and cocoa brown for the outer glaze, which makes the center hole look crisp. Sprinkles are what sell the squish — add them in a slightly raised texture using tiny paper dots or short strips. This style fits any room color since you can pick sprinkles that match your decor.
Cut two identical ring shapes from 180 gsm cardstock, about 3.5 inches outer diameter and 1.2 inches inner diameter. Score a shallow curve on each ring so they bend outward slightly when assembled. Cut a tissue wrap strip and roll it into a donut-shaped “cushion,” then add fiberfill and press until the ring feels springy. Glue one ring to the other around the edge, leaving a small gap to adjust stuffing, then seal the gap. Add glaze by coloring the outer ring with brown marker, then attach sprinkles with small pieces of paper or punch-out dots.
Press the sprinkles lightly after gluing so they sit flatter and won’t snag on fabric.
Don’t use glitter paper for sprinkles — it sheds and looks messy fast.
4. Cozy Cat Paw Paper Squishy
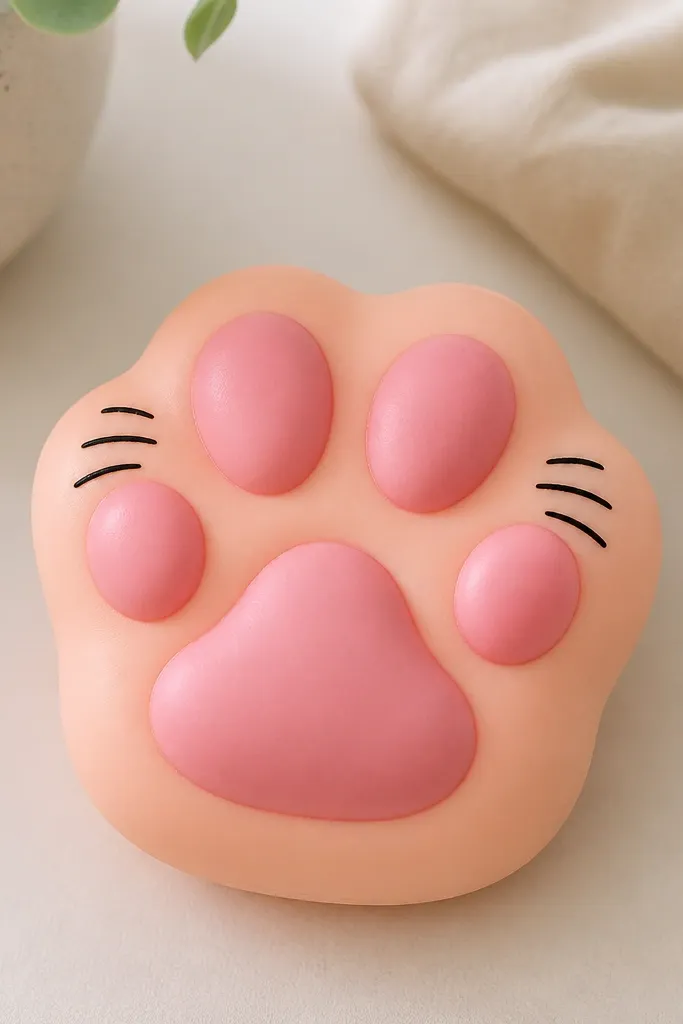
This one is perfect for small shelves because the paw shape has big, readable curves. I make the outer color peach or light beige so it looks warm, then I use muted rose for the toe pads. The paw pads give you a natural focal point, and the rounded edges keep it from looking like a cutout. It also looks good in photos because the toe pads create contrast you can’t miss.
Draw a paw outline on 180 gsm cardstock and cut two copies. Cut a third layer slightly smaller for the toe pads and glue it centered on one paw piece. Score the main paw pieces lightly along the toe pad edges so the silhouette puffs forward. Place a tissue-wrapped fiberfill blob in the center, then sandwich the two paw layers and tape around the perimeter. Add toe pad lines with a fine marker and add tiny black dots for claws if you want it extra cute.
Use a soft pink pencil for the shading around toe pads so it looks airbrushed instead of harsh.
Don’t stack too many tiny details — paw crafts look cheap when the lines are crowded.
5. Rainbow Cloud Squishy
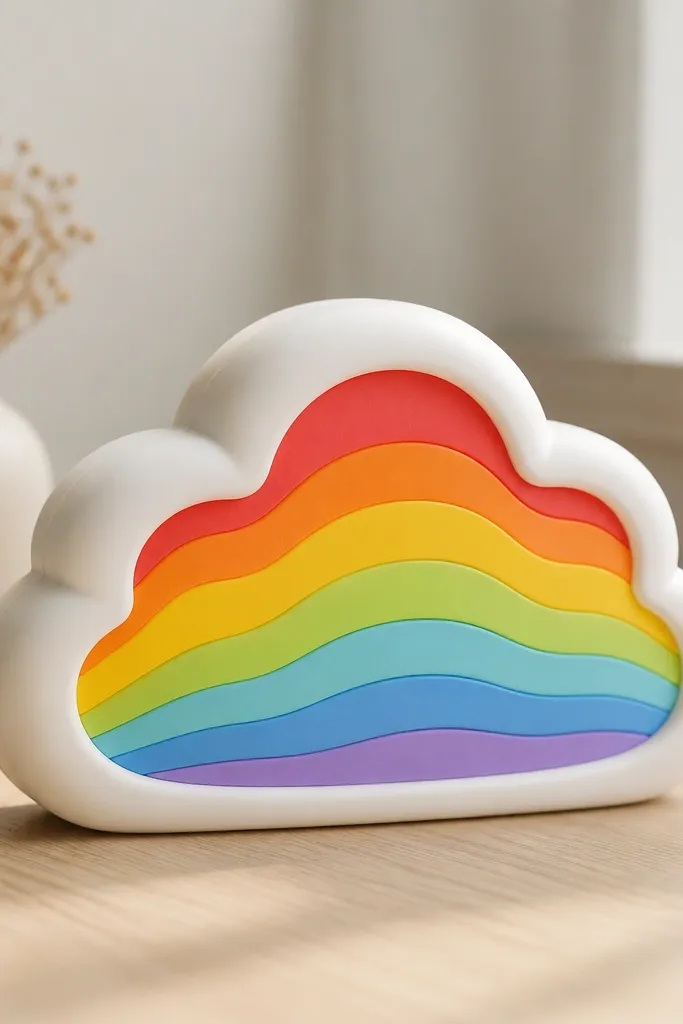
A rainbow cloud is a small space cheat code because it reads as “decor” even when it’s only 4-5 inches wide. I build it with a white outer cloud so the inside colors feel brighter, especially under daylight. The layered rainbow bands create depth, and the squish makes the cloud look like it’s floating. This looks great in nurseries, craft rooms, and any corner where you want color without cluttering the wall.
Pro tipMatch the rainbow order to how your room light falls — I like red at the top so the brightest color faces the window.
Cut a cloud outline from white cardstock, two pieces for the front and back. Cut five inner cloud layers from colored paper strips, trimming each layer slightly smaller than the last. Glue the colored layers centered on the front cloud piece, then add a thin tissue sheet over the top so the fiberfill doesn’t press through. Put fiberfill inside between the front and back cloud layers and seal with tape along the edges. Finish by drawing a tiny outline line on the outer edge with a light gray marker for definition.
AvoidAvoid overly thin paper for the inner layers — it wrinkles when compressed.
6. Bubble Tea Cup Squishy
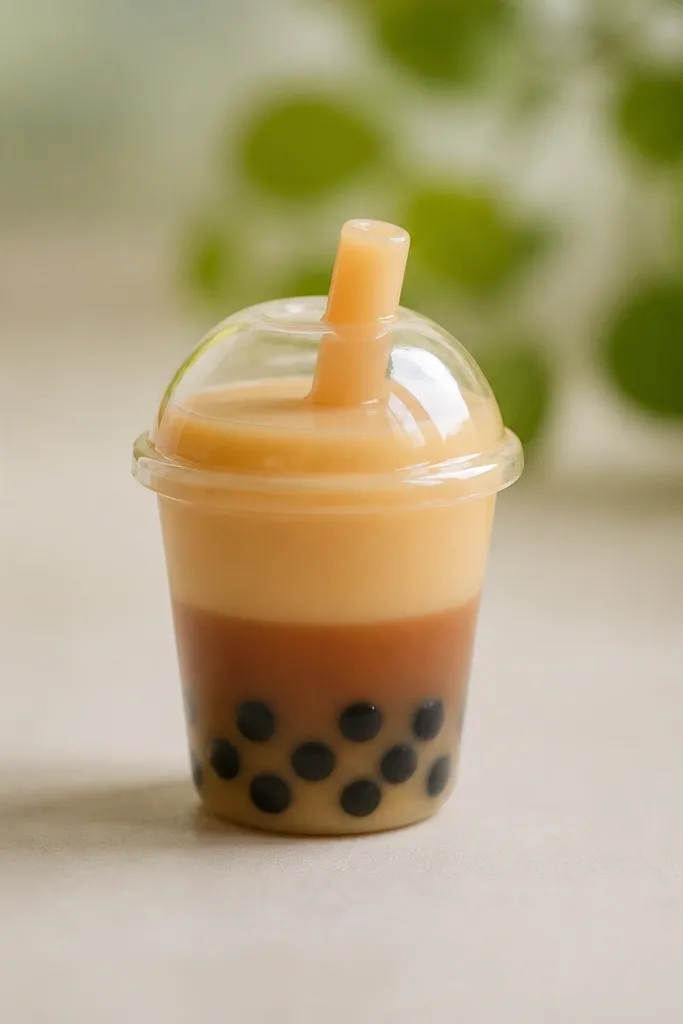
Bubble tea looks fun in a small space because it’s instantly recognizable, and the cup shape makes it easy to press without deforming. I use caramel and milky white paper so it looks like the drink has depth. The pearls are drawn with a marker and tiny circles, which keeps it clean and not messy like real beads. This squishy also looks good next to books because the warm browns match paper spines.
Pro tipFor extra realism, use two brown tones: one for the band and one for the pearl shadows.
Cut a cup body template about 5 inches tall, then roll it into a cylinder and tape the seam. Make a domed lid from a circle cut into a ring shape with pleats at the edge. Wrap fiberfill in tissue and place it inside the cup until it looks plush when you tap it. Seal the lid to the rim with clear tape. Draw the tea band, then add 10-14 tapioca pearls on the front with a black marker and a white gel pen highlight on each dot for shine. Add a straw strip from thin cardstock or paper and tape it to the lid.
AvoidDon’t make the straw too long — it droops and makes the whole piece look sloppy.
7. Sunflower Seed Packet Squishy
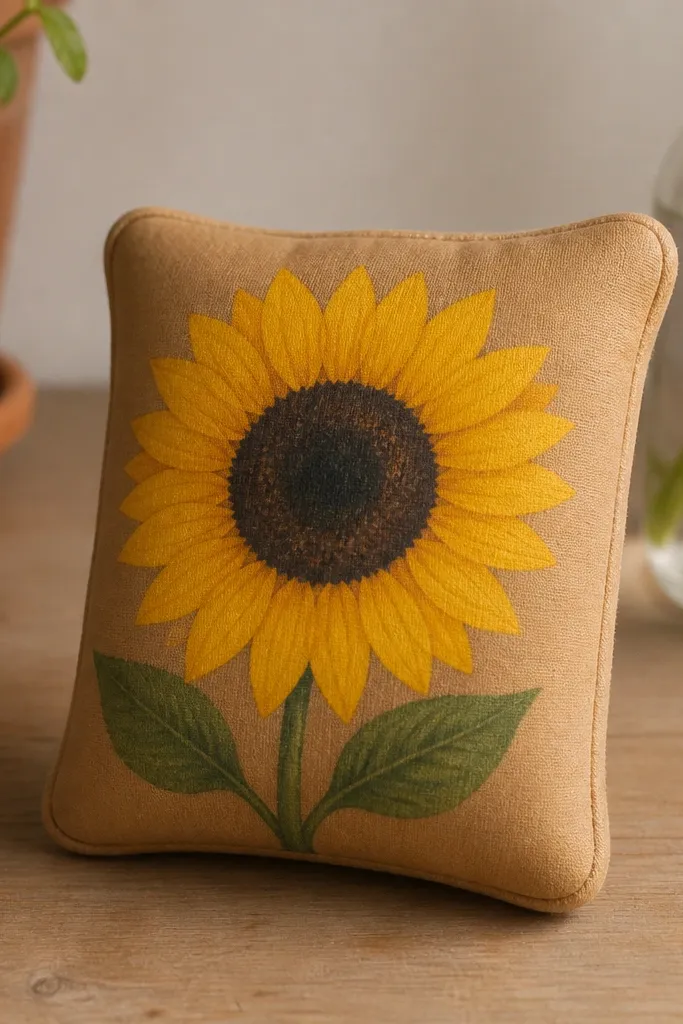
This looks great on a desk because it reads like a tiny prop and it adds warm color without being loud. Kraft brown base paper gives a grounded look, and the sunflower yellow pops under both warm and cool lighting. The squish makes the packet seem like it’s stuffed with something, which is the whole charm. It flatters people who like earthy tones and it also hides slight imperfections because the illustration takes attention away from edges.
Cut a seed packet shape from kraft cardstock, two identical pieces with a top flap that folds inward. Cut a thin inner lining from plain white paper and glue it to one outer piece so the inside looks neat. Fill the packet with fiberfill plus a tissue wrap, then tape the side seams first and adjust stuffing. Close the bottom seam with tape, then fold the top flap and secure it with a small strip of tape at the edges only. Draw a sunflower on the front using colored pencils, then add tiny seed dots with a dark brown gel pen.
Color the sunflower petals with a yellow-orange gradient by blending pencil layers from the center outward.
Avoid glossy kraft paper — it reflects light and makes pencil shading look flat.
8. Chocolate Truffle Heart Squishy
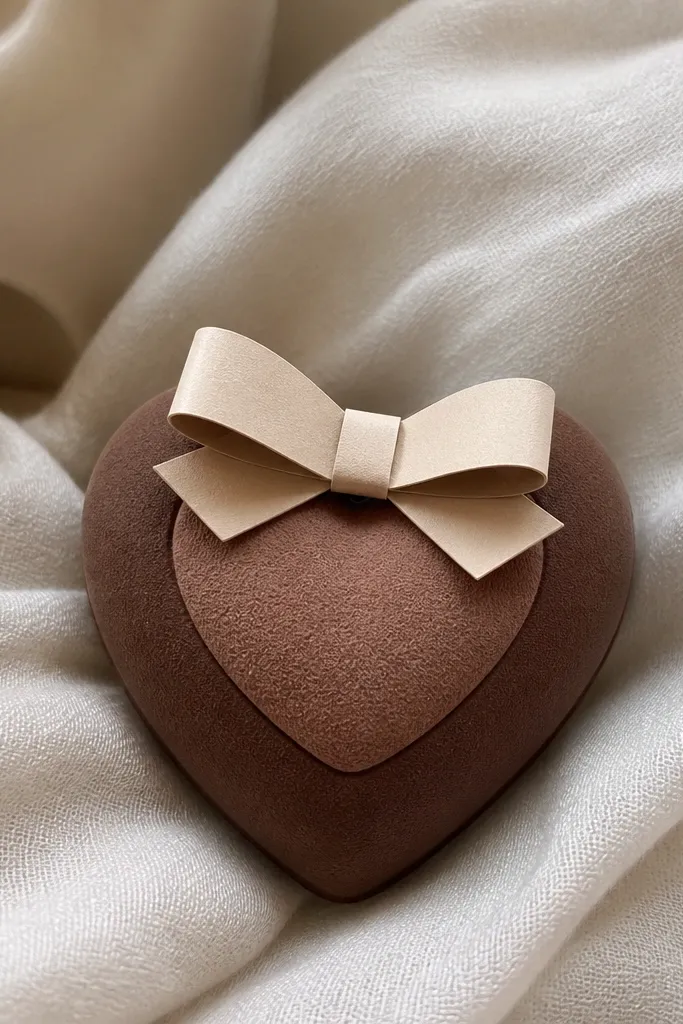
Heart squishies look sweet in small spaces because they have strong silhouette shape and they hold their charm even when they’re not big. I make this one in chocolate brown with a lighter center so it feels like a truffle. The muted cream bow adds a “gift” vibe without making the whole piece too pink. It’s also great for romantic decor seasons because it doesn’t look like a kids craft — the color palette keeps it calm.
Cut two heart shapes from 180 gsm cardstock, about 4.5 inches tall, and cut one smaller heart for the center. Lightly score the hearts along the outer curve so they bend into a puffed shape when assembled. Glue the smaller heart center onto one outer heart, then place tissue-wrapped fiberfill between the two hearts. Tape around the edges, pressing gently so the seam stays invisible. Fold a tiny bow from cream paper and tape it to the top, then add a small highlight line on the brown with a light tan pencil.
Use matte brown paper and a pencil highlight instead of shiny markers for a more realistic truffle look.
Don’t use super thick foam inside — it makes the paper seam split.
9. Ocean Wave Mini Squishy
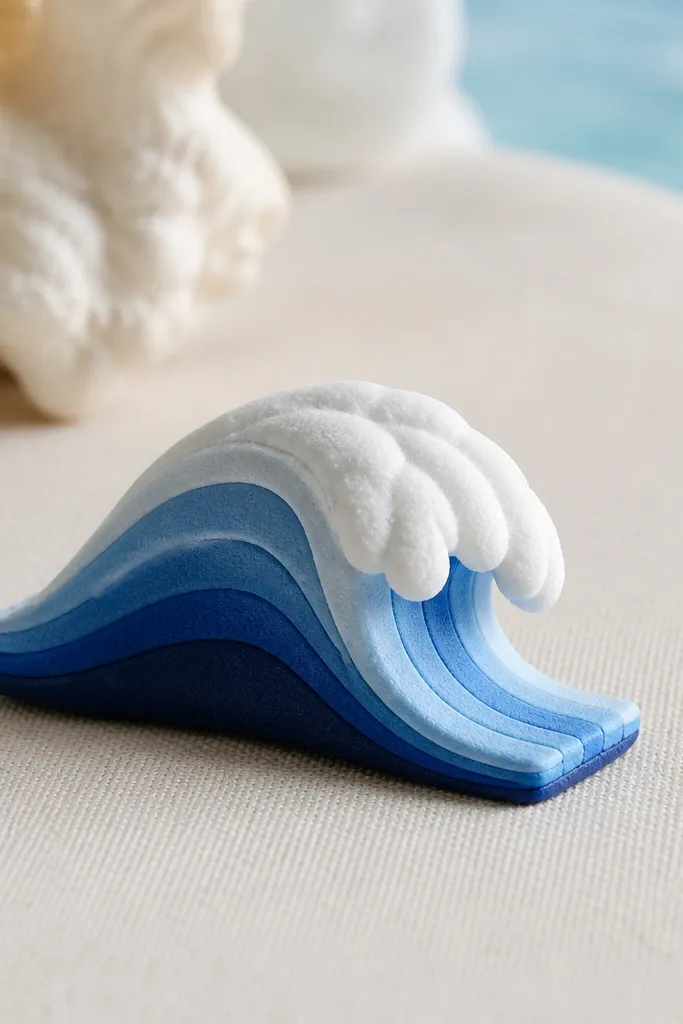
A wave squishy is a good choice when you want something calming that still looks handmade. I use three blues: seafoam, sky blue, and deep navy, then cap the top edge with white “foam” paper. The layered effect gives it depth, and the squish makes the wave look like it’s mid-bounce. This one looks especially good in bathrooms and laundry rooms because the colors feel clean.
Pro tipKeep the deep navy layer thin — it makes the wave look layered instead of chunky.
Trace a wave shape and cut it twice from white cardstock for the base outline. Cut three wave layers from blue papers, each slightly smaller and aligned to the top edge. Glue the blue layers onto the front wave piece, then add a tissue sheet over them. Fill with fiberfill and sandwich the back layer, sealing with tape along the perimeter. Finish by drawing small foam swirls with a white gel pen on the foam edge paper.
AvoidAvoid over-inking the foam lines — heavy marker makes it look like a coloring page.
10. Peachy Spiral Snail Squishy
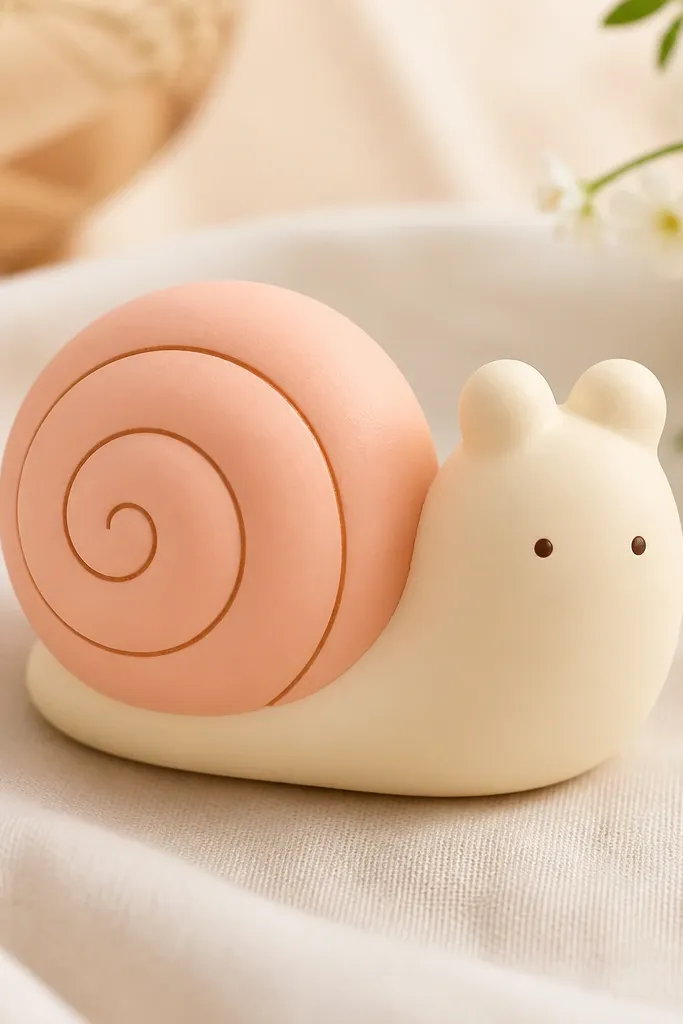
Snails fit small spaces because they’re cute without needing height. I pick peach and cream because they look warm and they photograph well against neutral walls. The spiral shell gives you a built-in pattern, so you can keep the body simple and still look intentional. When you press it, the shell puffs first, then the body follows — that’s the satisfying squish.
Pro tipUse a ruler to keep the spiral spacing even — uneven spacing is what makes DIY snails look rushed.
Cut a snail outline from 180 gsm cardstock, two copies for front and back. For the shell, cut a spiral strip from darker peach paper and glue it onto the front in a tight coil. Add a thin tissue layer over the shell so the fiber doesn’t distort the spiral lines. Fill the body cavity with fiberfill wrapped in tissue, then tape the two halves together around the edges. Draw eyes and a small mouth with a fine black marker.
AvoidDon’t use cardstock that’s too stiff — it won’t squish and the snail looks like a flat cutout.
11. Mint Leaf Cup Squishy
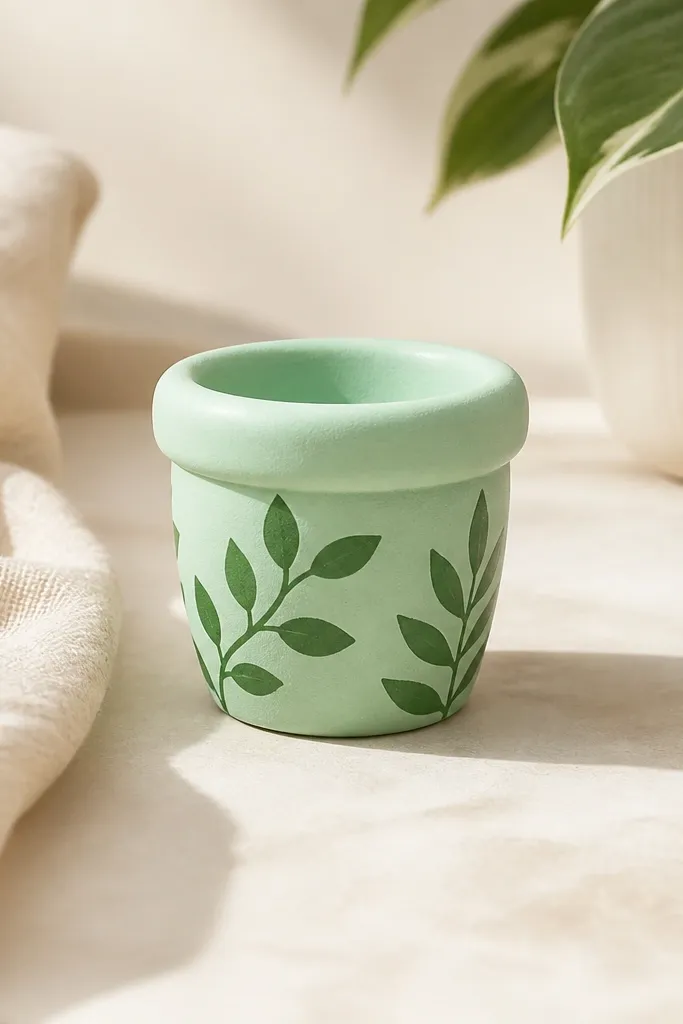
This is my go-to when someone wants “nature vibes” but doesn’t want a full planter mess. Mint green looks clean, and darker leaf prints keep it from looking like plain packaging. The cup shape makes it easy to hold, and it sits nicely on a nightstand or desk corner. The squish adds a soft contrast to sharp furniture edges.
Pro tipStamp leaf prints on the lower half only so the top rim stays crisp.
Cut a cup template from mint cardstock and roll it into a cylinder, taping the seam. Make a base circle and glue it on, then fill with tissue-wrapped fiberfill. Cut a rolled rim piece from darker mint paper and glue it around the top edge so it looks like a finished pot. Seal the top with a tissue sheet under the rim so fibers don’t poke. Add leaf prints by stamping with a cut-out leaf shape or drawing with a fine marker, then gently press the cup to test squish.
AvoidAvoid thick paint on paper — it stiffens the fibers and ruins the squish.
12. Galaxy Star Pillow Squishy
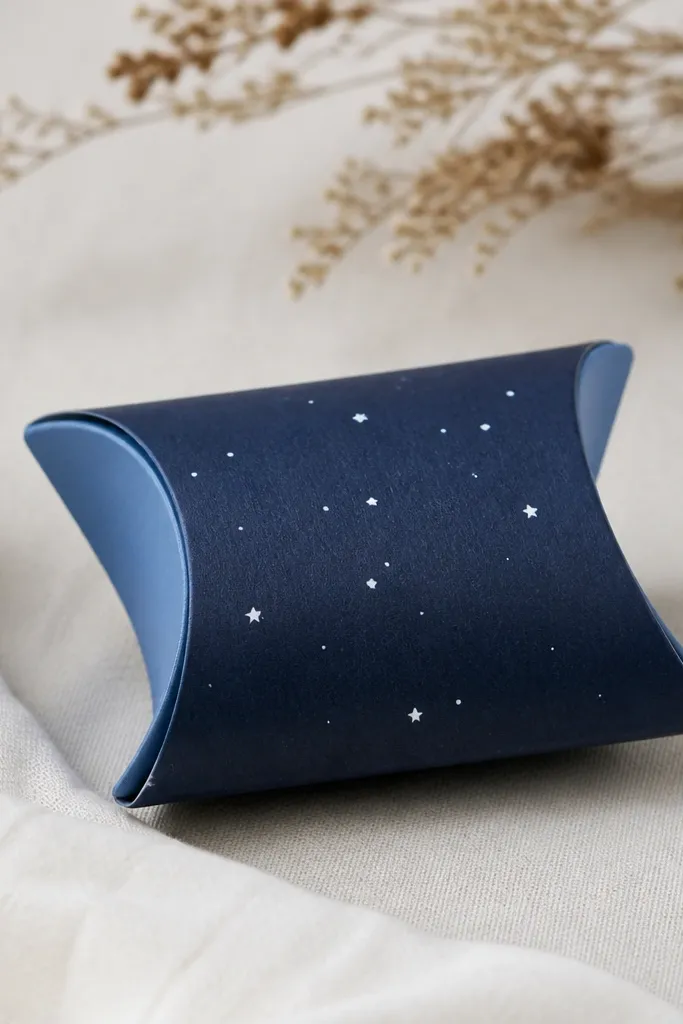
This is the one I make when I want a nightstand piece that looks cool even in low light. Deep navy and icy blue look like a mini sky, and the star dots make it readable from across the room. The pillow shape is forgiving for beginners because it doesn’t require a complex character — just clean edges and even stuffing. It’s also great for people who like dark decor but still want something soft to touch.
Pro tipMake your stars in three sizes by changing how long you press the gel pen tip.
Cut two rectangles about 5 x 3.5 inches from deep navy cardstock and round the corners. Cut two smaller inner panels from medium blue and glue them centered on the front rectangle. Add tissue over the front panel, then place fiberfill inside and tape the back on. When sealing, keep the edges aligned so the pillow looks symmetrical. Add stars with a white gel pen — tap the pen for tiny dots and drag it lightly for a few short streaks.
AvoidDon’t use metallic craft glitter — it sheds onto your clothes.
13. Rainbow Popsicle Stick Squishy
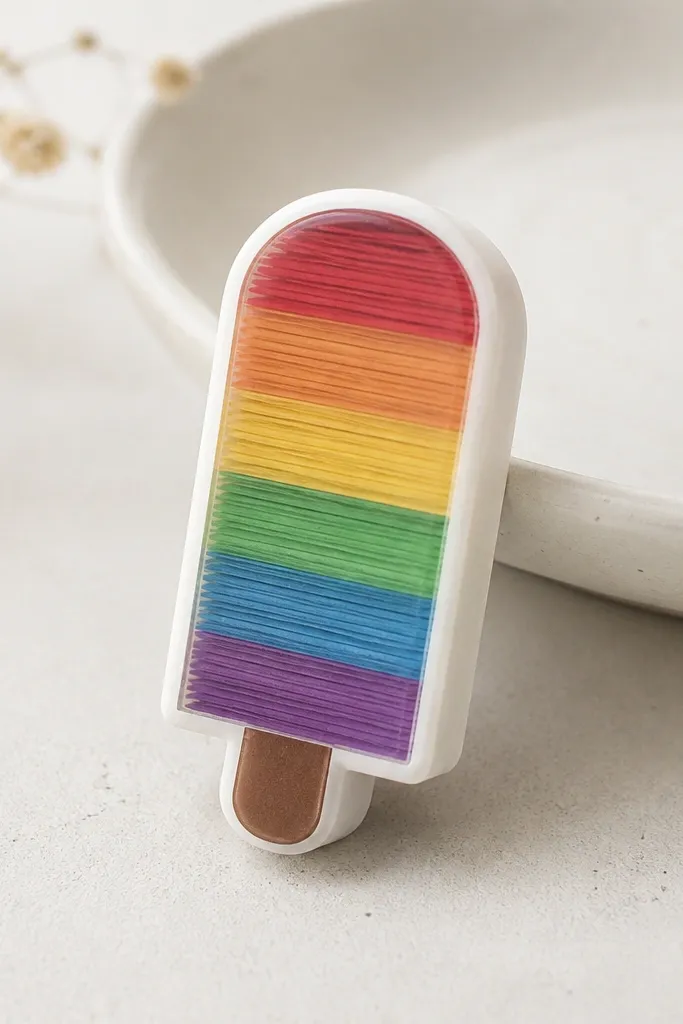
Popsicle squishies look bright without taking up vertical space, which is why I love them for small desks and narrow shelves. I build them with stacked color layers so the squish shows through like a cross-section. The white outline makes everything look crisp and “clean craft” instead of messy cut paper. It’s also a fun option for teens — it reads playful but still tidy.
Pro tipKeep the internal layers dry-glued only — wet glue warps the paper and ruins the stacked look.
Cut a popsicle outline from white cardstock twice, about 5 inches long. Cut 4-5 internal layers from colored paper strips, each slightly shorter in width than the previous so you see a clean stack. Glue the internal layers onto one popsicle outline, then cover with a tissue sheet to protect the fibers. Fill with a small amount of fiberfill wrapped in tissue, then tape the second popsicle outline on top. Add a brown paper strip for the stick, taping it to the bottom edges.
AvoidAvoid making the popsicle too thick — thick edges make it hard to close cleanly.
14. Mini Lemon Slice Squishy
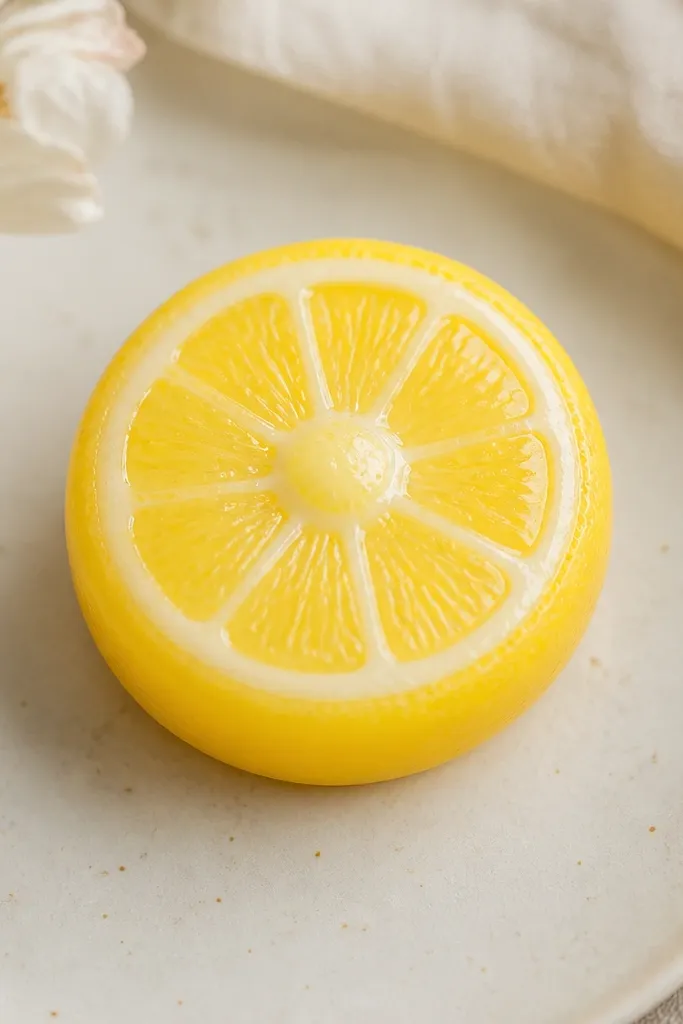
Lemon slice squishies are the fastest way to get a “fresh” look in a small space because yellow is high-visibility. I use bright yellow for the outer ring and pale cream for the center so it looks like light is coming through. The segment lines are thin and few — that’s what keeps it from looking like a cheap sticker. It’s also great on neutral desks because it adds color without competing with everything else.
Cut two circles from 180 gsm cardstock, about 3.5 inches wide. Cut a ring panel from bright yellow paper and a smaller center circle from pale cream paper, then glue them onto the front circle. Place tissue over the front, then fill with a thin layer of fiberfill so the squish is springy but not bulky. Tape the back circle on and seal the perimeter. Draw 8-10 segment lines with a light white gel pen or very pale gray pencil, then add a tiny dot cluster near the center for texture.
Use pencil for the segment lines first, then go over only the ones you like with a gel pen.
Don’t use thick paint for the segments — it feels raised and makes the paper crack when you press.
15. Pink Heart Keychain Squishy
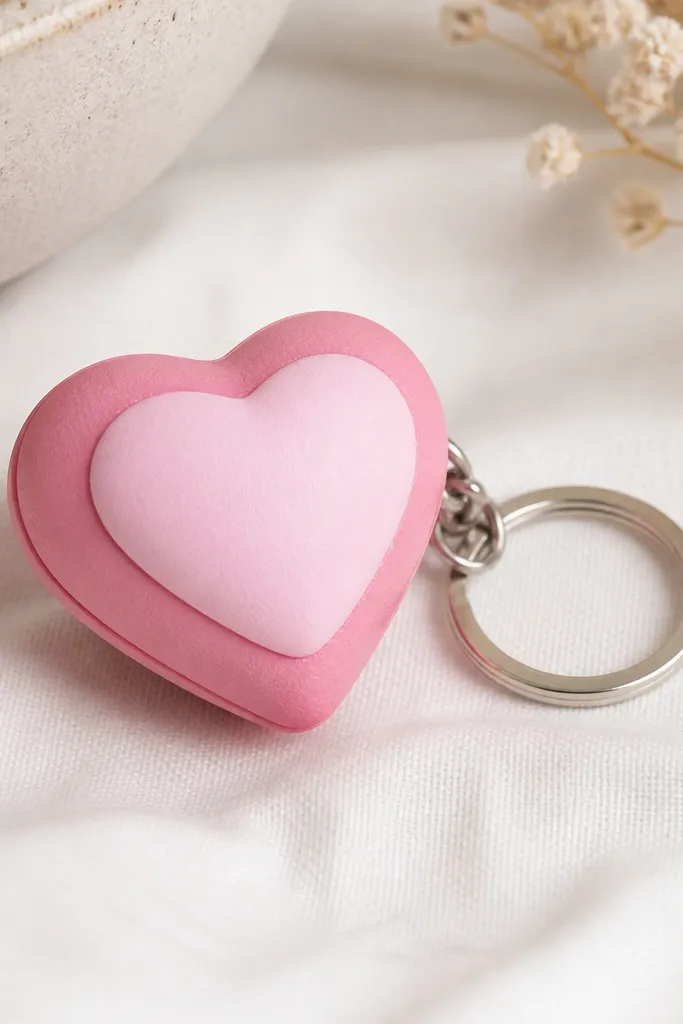
This one is practical because it’s small enough for your keys, but it still looks cute because the heart shape is instantly readable. I use two shades of pink so the inner heart looks like it’s glowing. The keychain ring makes it fun to pick up, and the squish helps it stand out from flat charms. It’s also flattering for warm-toned outfits because pink sits nicely next to denim and cream.
Cut two heart shapes from 200 gsm cardstock, slightly larger than a standard keychain charm, about 2.5 inches tall. Cut a smaller inner heart from lighter pink paper and glue it onto the front. Add a tissue sheet over the front, then fill with a small fiberfill ball so it domes gently. Tape the hearts together around the edges. Punch a hole at the top before sealing fully, loop a keychain ring through, then tape the inside edge to lock the ring in place.
Use a hole punch and reinforce the hole with a tiny square of tape on the inside.
Avoid fabric keychains with paper squishies — the friction wears the paper fast.
16. Kawaii Rice Ball Squishy
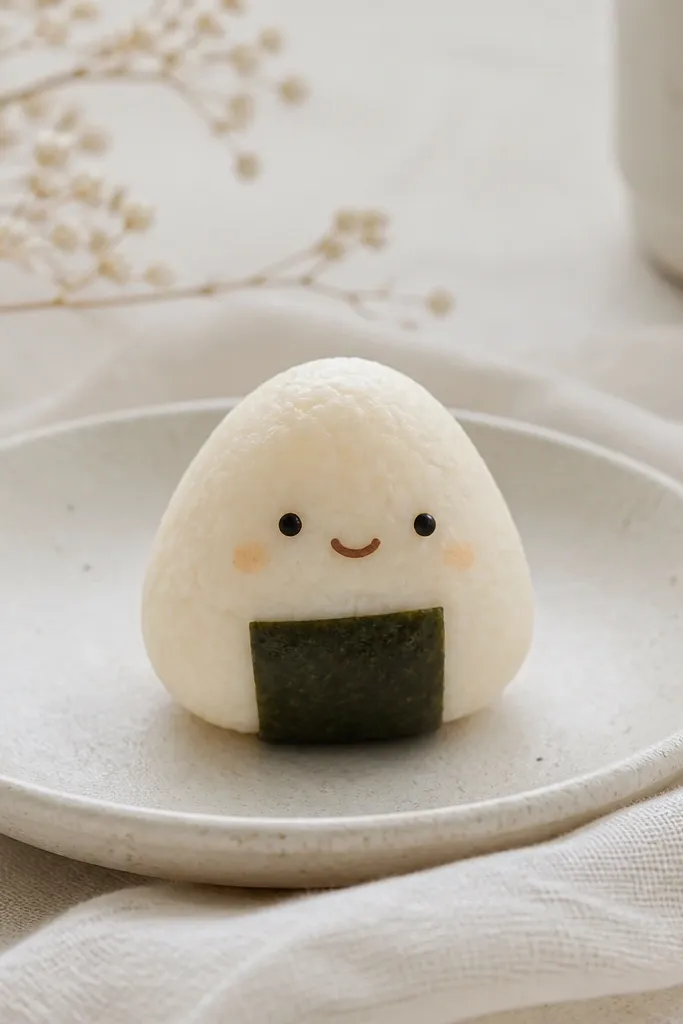
Rice balls look adorable in small spaces because they’re compact and the shape is forgiving. The seaweed strip gives you a clear outline, so the squishy doesn’t need a lot of extra decoration. I use cream paper with a slightly warm tone so it looks like cooked rice, and I use dark green paper for the seaweed. The face is minimal, which keeps it from looking childish. This one also looks good on desks because it matches the neutral tones of notebooks and planners.
Cut two rounded triangle shapes from 180 gsm cream cardstock, then round the corners by trimming the edges. Cut a seaweed band from dark green cardstock and wrap it around the front triangle, leaving a small opening at the bottom. Glue the seaweed band in place, then add a thin tissue sheet over it. Fill with fiberfill wrapped in tissue, then tape the back triangle onto the front around the perimeter. Draw a simple face with a fine marker — two small dots for eyes and a tiny curved mouth.
Draw the face last and keep the mouth small — big mouths make it look stretched when you squish.
Don’t use glossy seaweed paper — it makes the band look like cheap packaging.
17. Autumn Pumpkin Mini Squishy
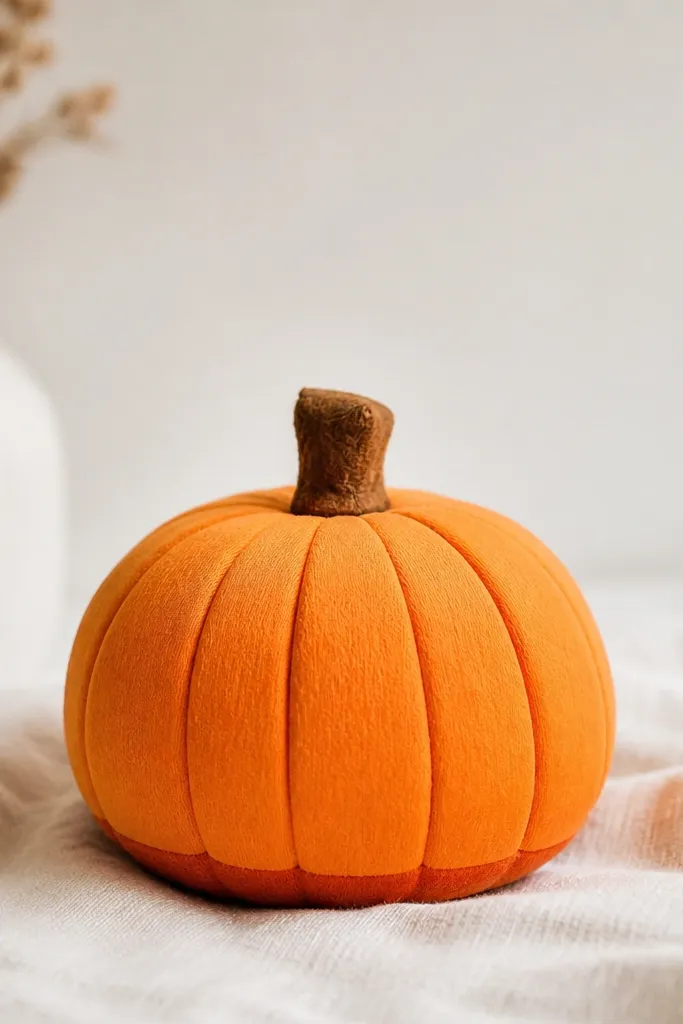
Pumpkin squishies are a win for seasonal decor because they add warmth without needing a shelf full of items. I make the ridges by layering paper strips, which looks more handmade than drawing lines. The brown stem is a small detail, but it makes the whole thing feel finished. This is also one of the best shapes for small spaces because it’s compact and still clearly “pumpkin.”
Cut two pumpkin outlines from 180 gsm orange cardstock, about 4 inches tall. Cut 6-8 thin vertical strips from slightly darker orange paper and glue them onto the front, spacing them evenly from top to bottom. Add a tissue sheet over the ridges so fiberfill doesn’t blur the lines. Fill with fiberfill wrapped in tissue and tape the back layer on, aligning the stem area. Make a stem from small brown cardstock and tape it at the top, then add a few quick shading strokes with a darker orange pencil.
If your pumpkin looks flat, add a bit more fiber toward the center so the ridges puff outward.
Avoid thin orange paper — ridges collapse and the pumpkin looks like a folded card.
18. Mint and White Macaron Squishy
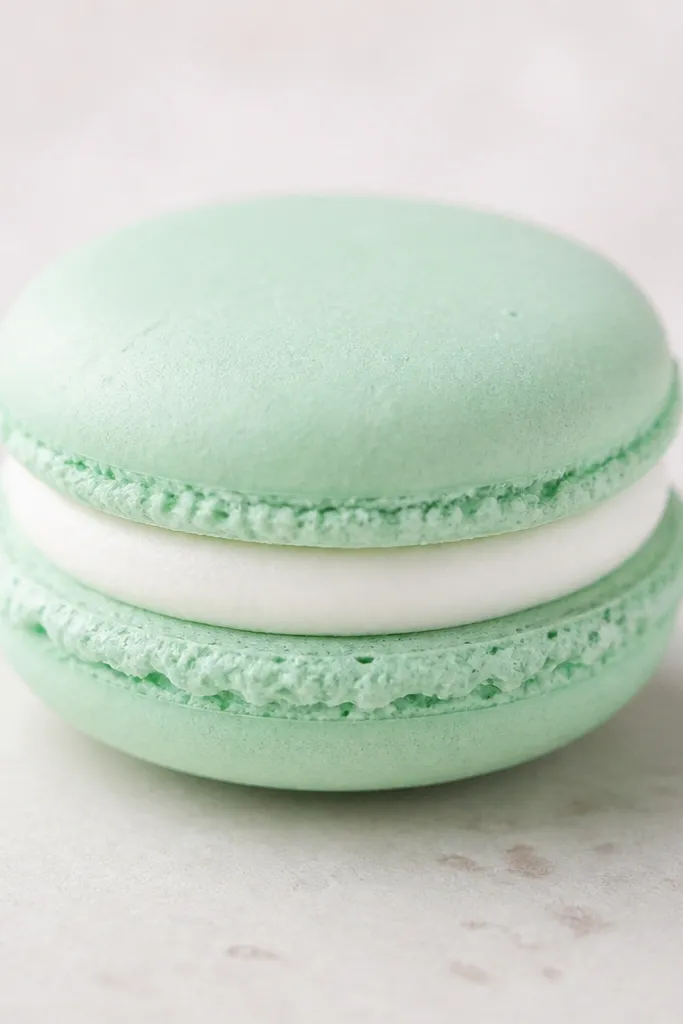
Macaron squishies look fancy even when they’re small, because the shape is symmetric and the color contrast does the work. I use mint green shells with a white filling band so it looks like a pastel dessert. The squish makes the shells feel like soft cookie tops instead of flat paper circles. This style flatters people who like clean, minimal decor — it adds sweetness without loud characters.
Pro tipUse a light pink pencil blush on the edges of the shells to mimic baked warmth.
Cut two circles for the top shell and two circles for the bottom shell from 180 gsm mint cardstock, each about 3 inches wide. Cut one slightly smaller circle from white cardstock for the filling and glue it between top and bottom shells. Add tissue over the filling circle, then place a small fiberfill amount and tape the remaining shell on. If you want extra squish, add a second thin tissue layer under the filling so it cushions. Trim scalloped edges with scissors or trace a wavy pattern before cutting.
AvoidDon’t over-glue the filling — squeeze pressure makes glue lines show through.
19. Tiny Coffee Cup Sleeve Squishy
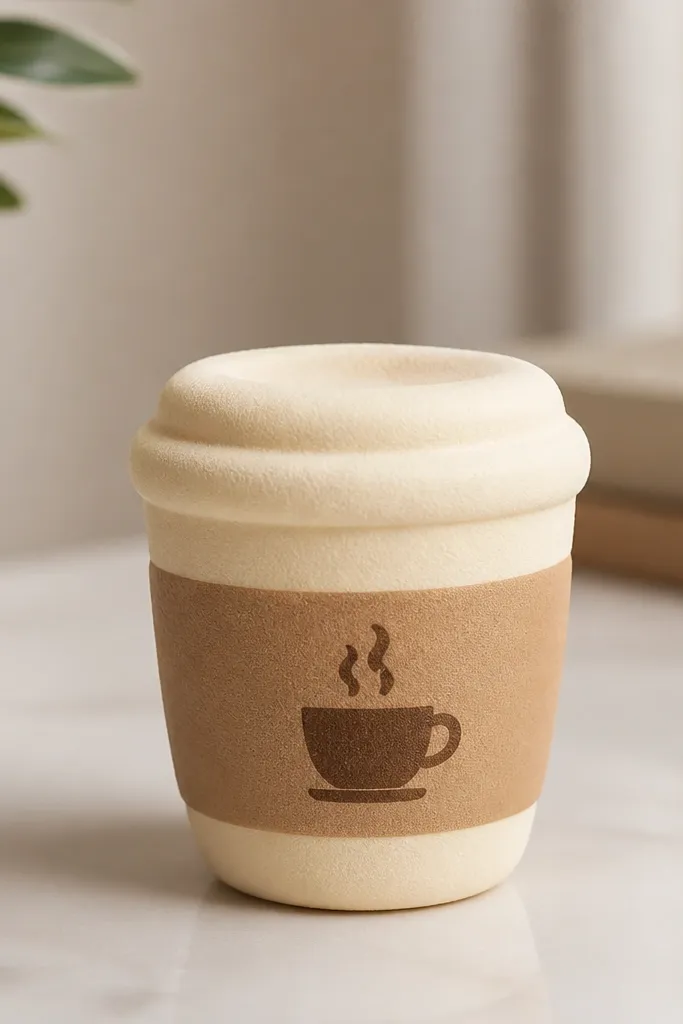
This is one of my favorite small space paper squishy ideas because it looks like a real desk accessory. The sleeve color hides dirt better than bright colors, and the cream top makes it look tidy. I keep the design minimal: one coffee icon and a thin line for the cup lid. When you press it, the sleeve compresses and the top stays rounded, so it still looks like a cup.
Pro tipAdd a thin strip of darker tan around the bottom edge — it makes the sleeve look layered.
Cut a cup sleeve rectangle about 7 x 3 inches from tan cardstock and roll it into a cylinder, taping the seam. Cut a cream top circle and a shallow domed piece from cream paper by scoring gentle pleats around the edge. Tape a tissue layer inside the sleeve, then add fiberfill so it sits under the top dome. Glue or tape the top dome into place. Draw the coffee icon on the front with brown marker, and add a tiny line for the lid edge.
AvoidAvoid very bright white for the sleeve — it stains from handling.
20. Confetti Party Popcorn Squishy
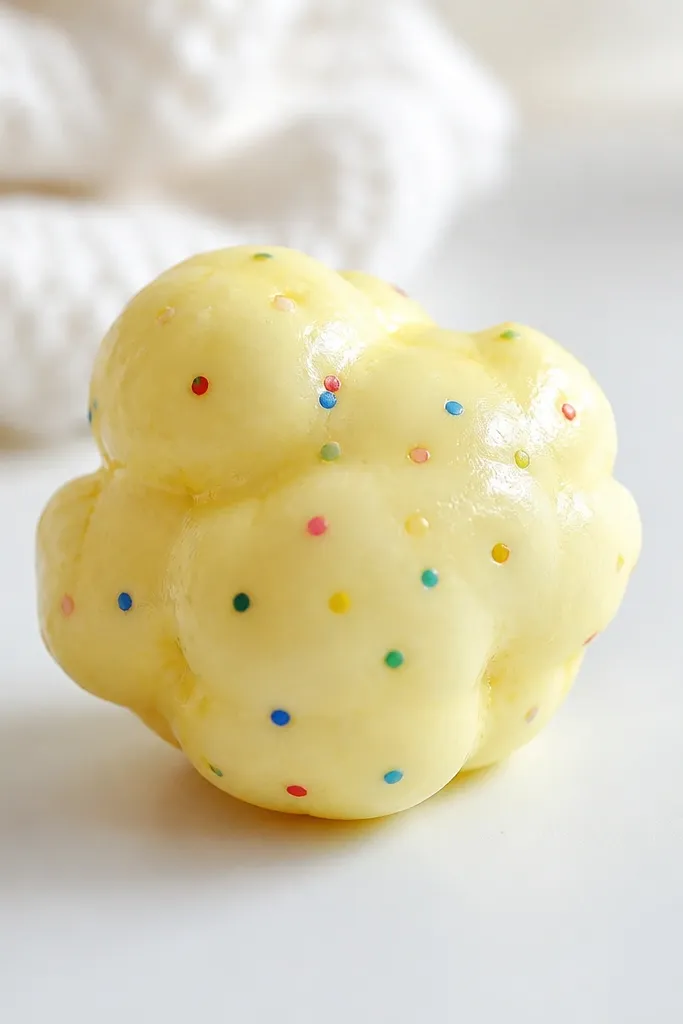
Popcorn kernels are weirdly perfect for small spaces because they look playful but still stay compact. I paint or color the kernel base buttery yellow, then add confetti dots so it looks like it’s been tossed in seasoning. The squish is subtle here — you want a gentle bounce, not a balloon. This one works for craft rooms and snack-themed decor because the colors feel fun without needing a big sign.
Cut two irregular popcorn shapes from 180 gsm yellow cardstock, using a freehand outline so it looks natural. Add a tissue sheet to the front, then dot confetti colors on the tissue side after cutting, or decorate the front before assembly. Place a small fiberfill piece in the center, then tape the two halves together around the edges. For the best squish, keep the fiber amount small and centered so the kernel doesn’t bulge unevenly. Add a few darker yellow strokes near one side to create depth.
Use colored pencils for confetti dots — the texture stays soft instead of glossy.
Skip real glitter — it catches in your fingers and looks messy after a week.



