
1. Black Tray + White Pebble Centerline
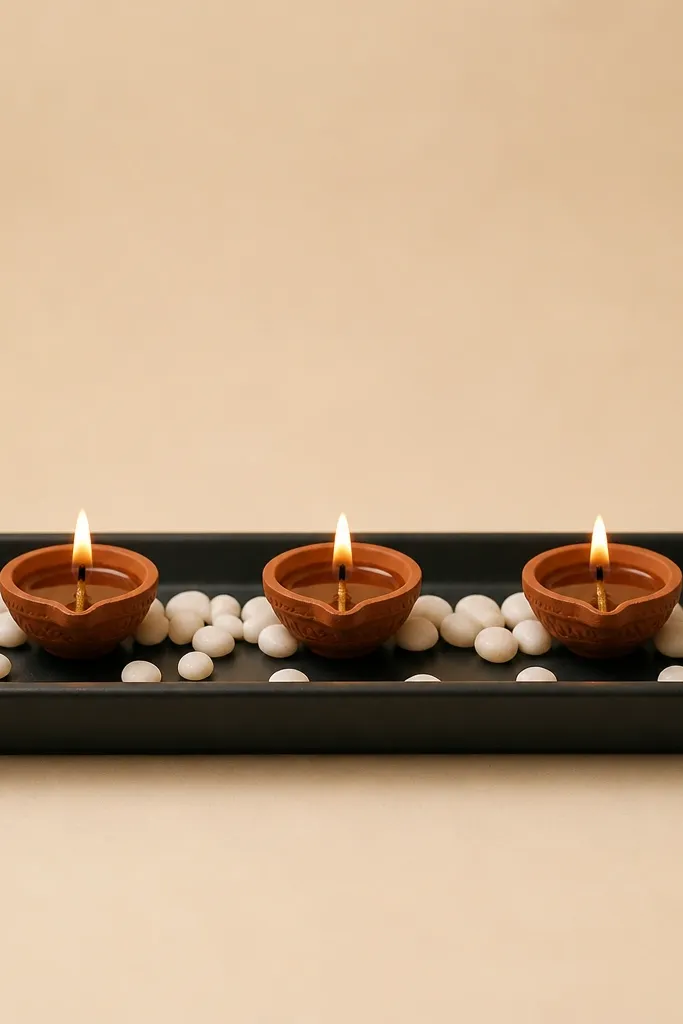
This setup is my go-to when I want modern minimalist diya decoration ideas that look styled from the doorway. The black tray grounds everything and makes the flame stand out without extra props. White pebbles give a soft, organic texture that doesn’t compete with the flame. It flatters warm and neutral spaces — cream, beige, and light wood look best because the white pebbles stay bright instead of gray. For occasions like Diwali dinner or a housewarming, this reads clean and grown-up, not festival-chaotic.
Start by placing your tray on a flat table and measuring the tray’s center. Lay a thin strip of white pebbles (or small aquarium-style stones) in a straight line that’s slightly longer than your diya row. Place three diyas so their wicks sit centered on the pebble line, leaving 2-3 cm between each diya. Add a few pebbles only near the corners so the middle stays airy. Finally, wipe the tray edges so no glue smudges or dust show through.
Use pebbles that are mostly matte, not wet-looking, so the flame doesn’t look harsh.
Avoid putting pebbles all over — a full pebble blanket makes it look like a craft project.
2. Linen Runner with Brass Dot Holders
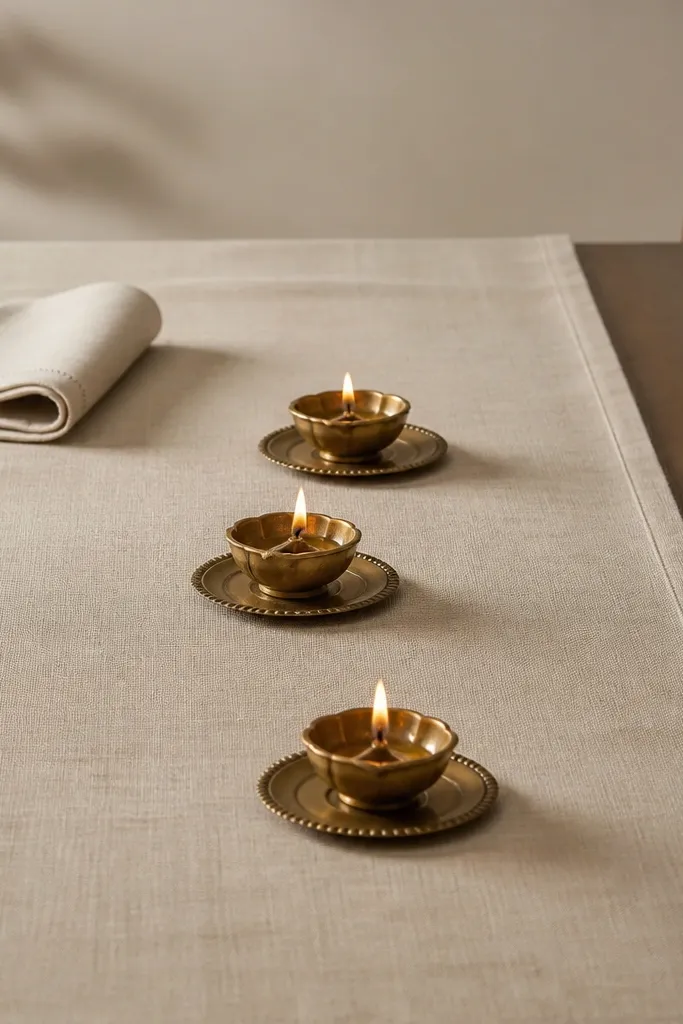
Start by cutting or folding a linen runner so it sits centered under the diya row, leaving 5-8 cm visible on each side. Place three diyas on brass-toned round bases or small metal discs, spacing them 4-5 cm apart. Keep the diya row straight — use a ruler or even the tray edge as a guide. Fold a napkin into a tight rectangle and place it at one end of the runner, not behind the diyas. Finish by gently brushing any lint off the linen so it stays crisp.
Linen is the secret weapon for minimalist diya decor because it adds texture without adding color clutter. The brass-toned dots reflect light in tiny bursts, so the flame looks extra warm and “intentional.” This design flatters people who like neutral outfits and home decor — it looks right with beige, taupe, and off-white interiors. I’ve used it for evening dinners where guests wear darker colors; the warm brass and linen pairing makes the whole table feel cohesive. It also works well on dining tables because the runner gives you a clean frame.
AvoidSkip colorful napkins — one loud color steals attention from the flame.
Pro tipIron the linen lightly so it doesn’t bunch; creases that are too deep make the look feel sloppy.
3. Monochrome Clay Risers in Three Heights
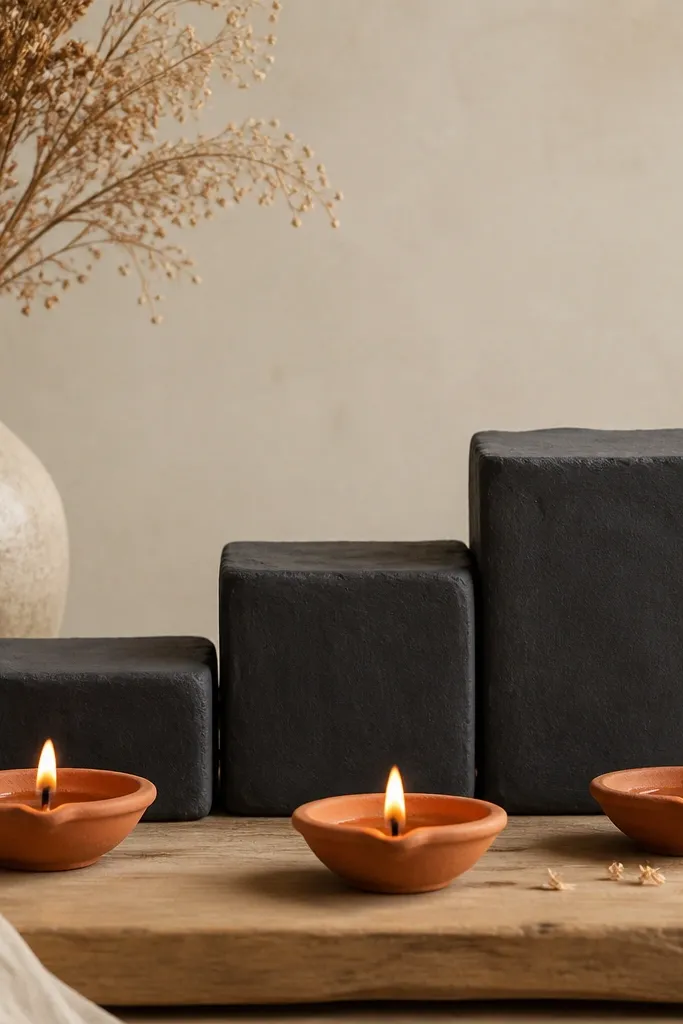
Start by making or buying three matching clay blocks in different heights — for example 2 cm, 4 cm, and 6 cm. Place the lowest riser directly behind the center diya, then put the medium one behind the left and the tallest behind the right to create a diagonal balance. Keep the diyas in front on a clean board so the risers don’t crowd the flame. Leave 1-2 cm gaps between risers so the shape stays sharp. Paint with matte charcoal acrylic or clay paint, and let it dry fully before lighting candles.
This is the easiest way to get depth in modern minimalist diya decoration ideas without adding lots of items. A staircase of risers gives you a height ladder that makes the flame readable from far away. Matte charcoal clay makes the setup look modern and grounded, especially if your room has light walls. It flatters minimal interiors and also looks great for photos because the textures show up even in low light. I like it for smaller puja spaces because it uses compact pieces and keeps the table surface tidy.
AvoidDon’t use glossy paint on risers — it looks shiny and cheap under warm diya light.
Pro tipSeal the paint with a matte varnish so it doesn’t scuff when you move the pieces.
4. Single-Sheet Kraft Paper Backdrop with Cutout Window
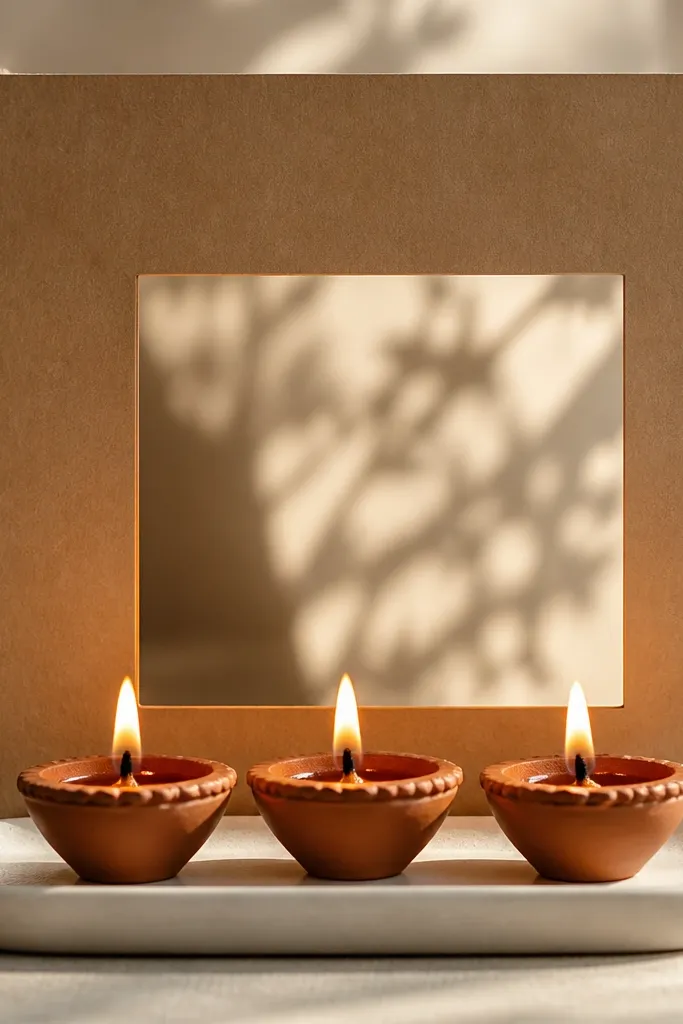
This one looks styled because it creates a frame. The kraft paper backdrop adds warm brown tone without turning the setup into a full craft collage. The cutout window pulls the eye straight to the flame and makes the whole scene feel designed even with only three diyas. It flatters warm skin tones and cozy interiors because kraft paper reads naturally under candlelight. I use this when I’m short on time and want the decor to look intentional in photos.
Start by cutting a kraft paper rectangle and propping it upright using a book or a small stand behind it. Cut a clean rectangle window in the center — keep it about 10-12 cm wide so it frames the three diyas nicely. Place a white tray in front of the kraft paper and set three diyas centered under the cutout. Leave a 3-5 cm gap between tray and paper so the window stays readable. Trim any ragged edges and flatten the paper with your hands so it doesn’t curl.
Use a craft knife and a metal ruler for the cutout; straight edges make it look expensive.
Don’t add extra cutouts — one window is enough for a minimalist look.
5. Clear Glass Cylinder with Floating Marigold Petals
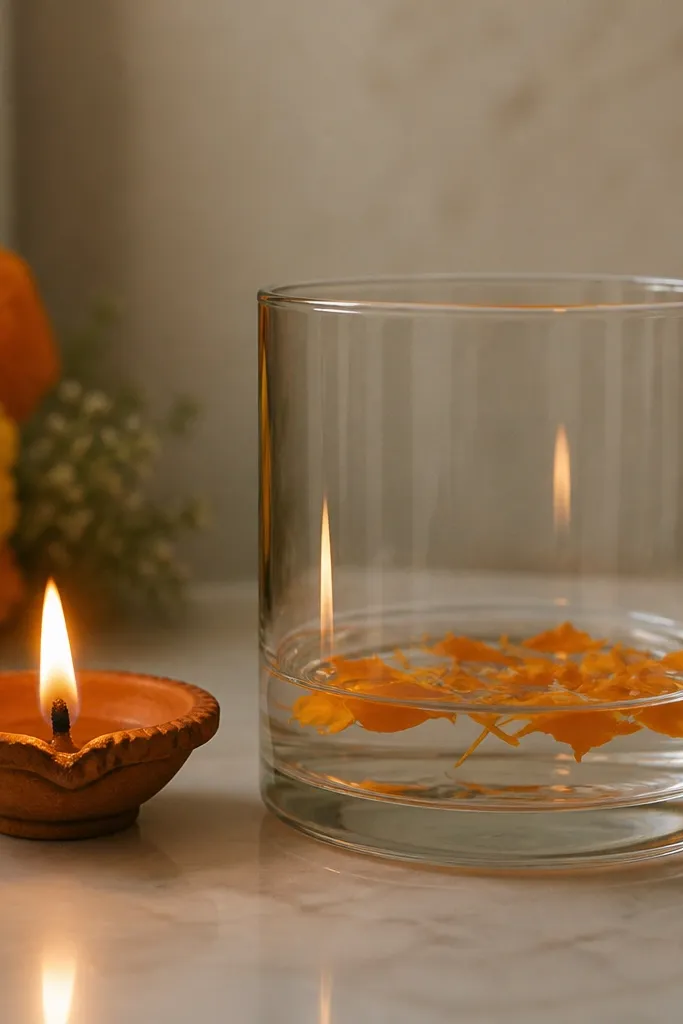
Start by pouring a thin layer of water into a clear glass cylinder or hurricane-style glass (1-2 cm deep). Add 6-10 marigold petals so they float but don’t pile up. Place the glass cylinder slightly behind one diya, not directly in front, so the flame isn’t blocked. Use a matching base tray and keep the rest of the table empty. Light the diya last and position the setup so you can see the reflection in the glass from where guests stand.
Floating petals in a clear cylinder look modern because the glass gives you crisp lines and the petals add controlled color. I like marigold because it’s bright but not neon, and it reads warm under diya flame. This design flatters spaces that already have glass or mirrors, because the reflections make it feel like part of the room. It also looks great on side tables where you want a focal point without clutter. If you’re doing a small setup for guests, this gives you “wow” without stacking ten items.
AvoidSkip thick petal heaps — they look like floating trash instead of a clean accent.
Pro tipPat petals dry before adding so the water doesn’t turn cloudy fast.
6. Matte White Tile Board with One Green Leaf Line
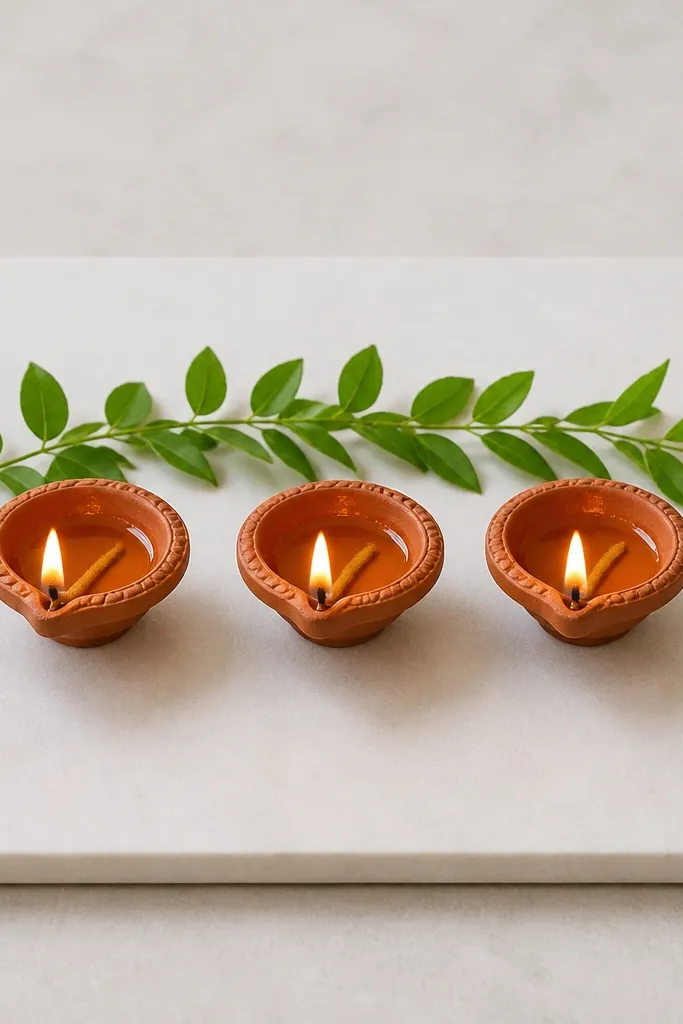
A matte white tile is the cleanest base for modern minimalist diya decoration ideas because it turns everything into a simple composition. The single green leaf line is your only “color,” and it gives the flame a natural companion. This works especially well if you have a kitchen or living room with white walls or white furniture — the tile disappears into the background. It’s also flattering for people who like greenery in decor because the leaf line looks intentional, not random. I’ve used this for weekday puja when I want it to look neat even without elaborate rangoli.
Start by wiping the tile so it’s dry and dust-free. Place three diyas across the tile with equal spacing, keeping them centered. Add one line of leaves behind the diyas, curving slightly so the composition feels soft, not stiff. Leave at least 2-3 cm of blank tile around the leaves so it stays minimalist. Replace leaves if they wilt — crisp leaves look clean under warm light.
Use leaves with a strong stem (like mango leaf type) for a cleaner line.
Don’t pile multiple leaf clusters — it turns into a jungle instead of a line.
7. Candle-Height Diya Trio with Monochrome Tape Markers
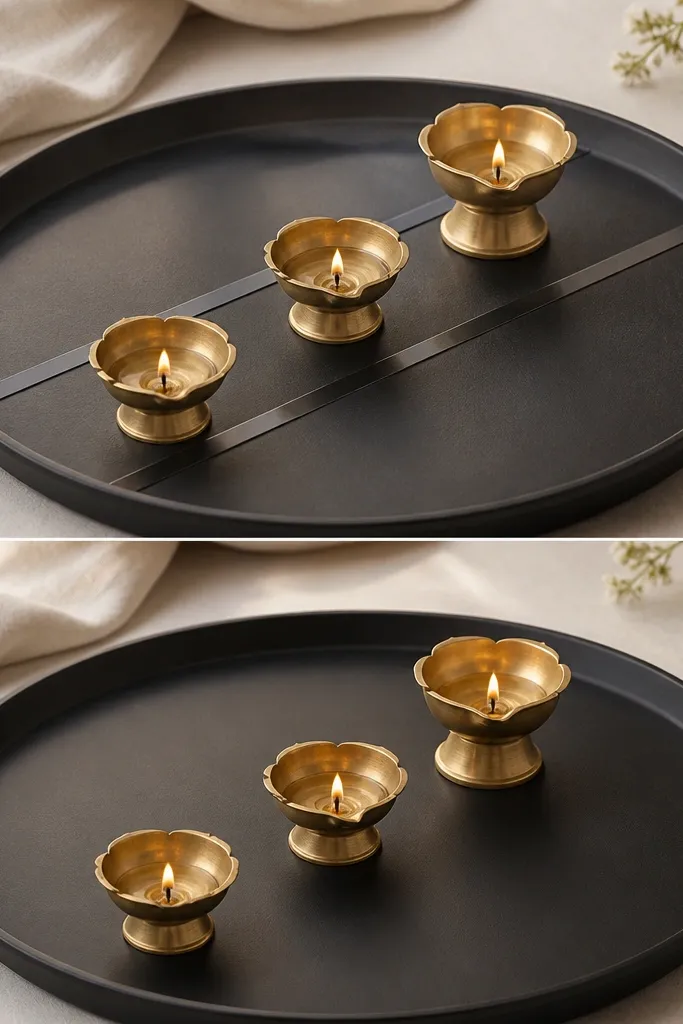
Start by placing your empty tray on a table and using painter’s tape to mark where each diya will sit (center points only). Arrange your diyas and note which one needs a riser — stack tiny clay discs or use a small metal candle holder so each diya has a clear height tier. Remove the tape, then glue or place the risers in the marked spots. Put the diyas back and check spacing — aim for 4-6 cm between each center. Finally, cover any visible riser edges with the same color base material (matte black felt or thin cardstock).
This idea is for beginners who struggle with spacing. When you plan the layout using tape markers, the final look is crisp and modern because the diyas sit in a controlled grid. The height difference makes the flame stack readable, and monochrome tape/black accents keep the setup from looking busy. I’ve done this on small trays where a single mistake makes the whole thing feel off. It’s also great for mixed diya sizes because you can make the layout look deliberate instead of accidental.
AvoidAvoid guessing spacing by eye; it’s the quickest path to a “homemade” look.
Pro tipUse painter’s tape, not masking tape — the adhesive residue can stain trays.
8. White Cotton Pom-Pom Garland Behind the Flames
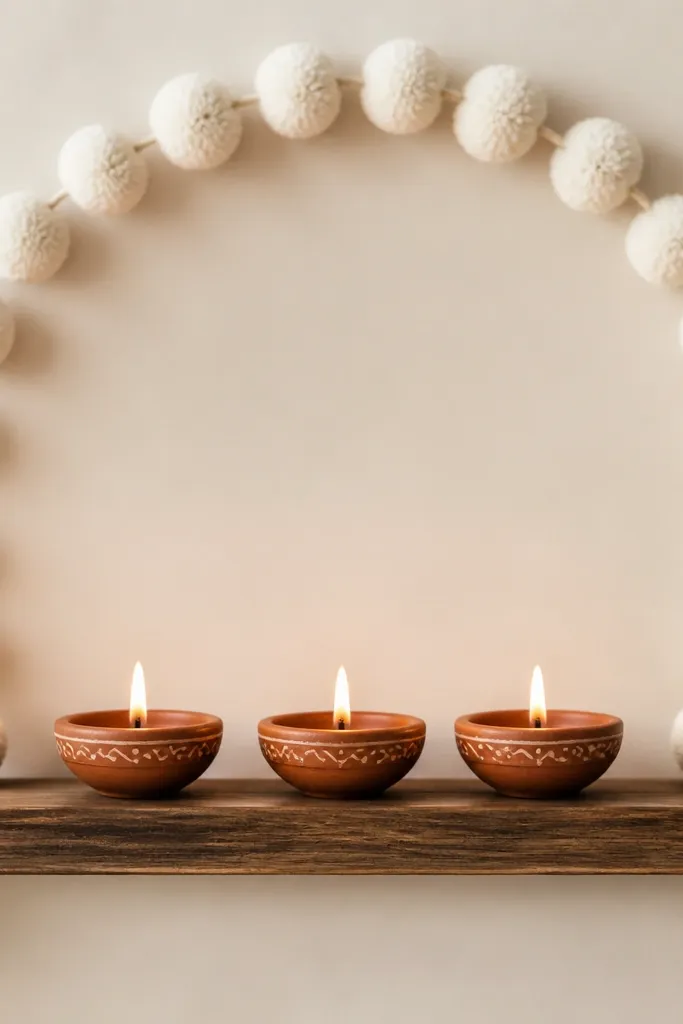
Soft pom-poms look modern when you keep them monochrome and place them behind the diyas, not around them. The garland adds a gentle, cloud-like texture that frames the flames without making the setup look like a party kit. This works well for light brown, beige, and gray interiors because white stays clean under warm light. It flatters small spaces since the decoration sits vertically, saving table surface. I used this during a small family gathering and people kept asking where I bought the garland.
Start by placing three diyas on a shelf or tray, spaced 6-8 cm apart. Hang a string of white pom-poms behind them so the pom-poms sit about 10-15 cm higher than the diya flames. Keep the garland centered and avoid letting it drape too low into the flame area. If your shelf is narrow, cut the garland string so it doesn’t spill sideways. Light the diyas and adjust the garland angle so the pom-poms don’t block the wicks.
Use pom-poms made of cotton or yarn that don’t shed — falling fibers make the setup look messy fast.
Don’t add any other colors once the garland is in — white-only keeps it minimalist.
9. Mirror-Backed Tray with One Gold Line
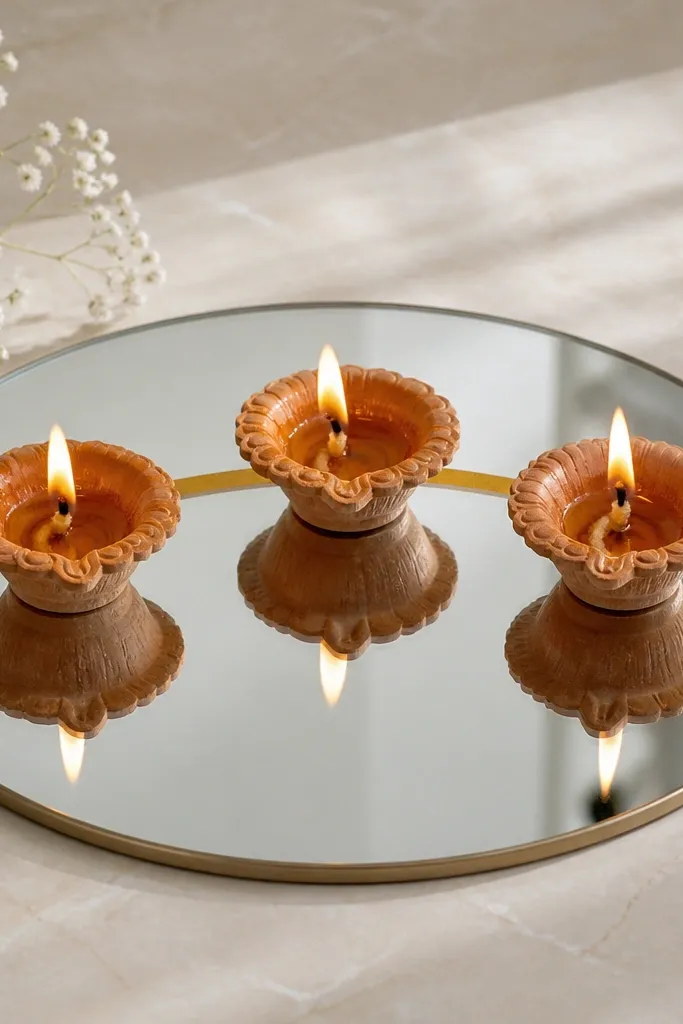
Mirror-backed trays can look tacky if you scatter decor, but they look sharp when you use one simple line. The reflection doubles the flame and makes the setup feel taller without adding height pieces. This design flatters modern interiors with metal accents because the mirror and gold line look intentional together. It’s great for dinner tables because it looks good from multiple angles. I like it for evening shots because the reflections make the flames look extra steady and bright.
Start with a mirror tray or place a mirror sheet under a clear tray. Tape a thin gold line behind where your diyas will sit — I use 0.5 cm gold tape or paint a line after measuring with a ruler. Place three diyas so the flame centers line up with the gold mark. Keep the rest of the tray empty so the mirror reflection does the work. Wipe fingerprints off the mirror before lighting so it doesn’t look cloudy.
Use a cotton swab with glass cleaner to remove smudges; finger marks show up instantly under flame light.
Avoid silver and gold together — reflections make mixed metals look chaotic.
10. Stoneware Bowl with Sand Base and Single Walnut
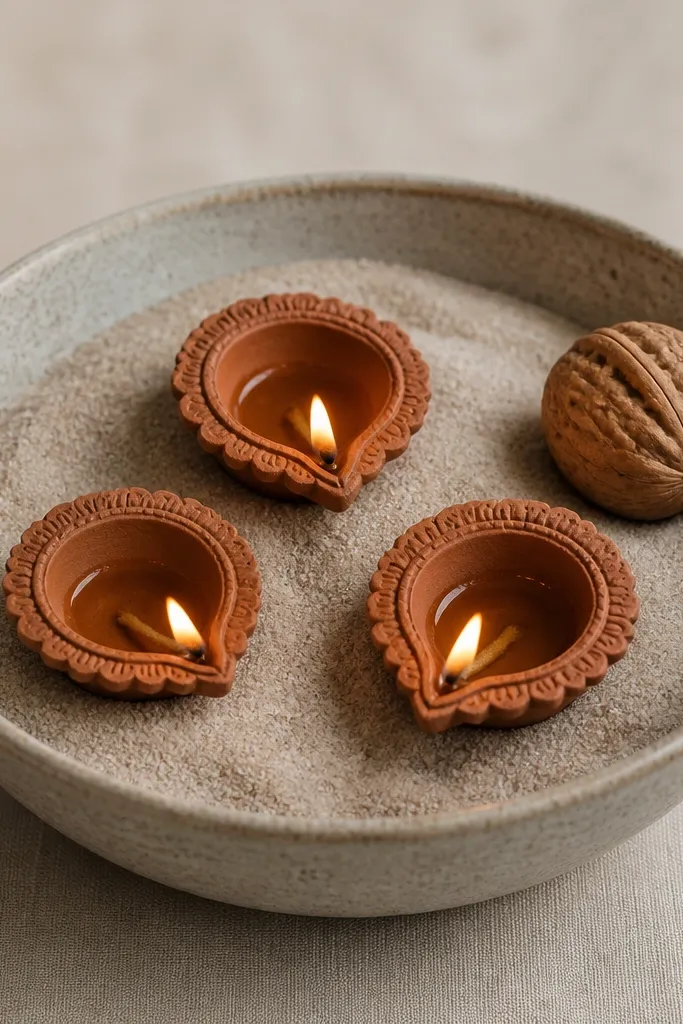
Start by choosing a stoneware bowl with a wide rim so the sand doesn’t spill. Pour in clean dry sand to about 2-3 cm deep and level it with the back of a spoon. Place three diyas into shallow sand pockets so they stand upright without wobbling. Keep one walnut near the rim on the sand surface, not in the center. Light the diyas and adjust their position so they form a gentle triangle.
This is minimalist diya decoration ideas for people who like earthy textures. Sand creates a matte, natural base that makes the flame glow without extra color. A single walnut acts like a sculptural accent — it reads like decor, not a random snack. This setup flatters rustic-modern homes and looks good on coffee tables with wood and neutral textiles. It also works for small batches of diyas because the bowl shape keeps everything contained.
AvoidDon’t add multiple nuts or seeds — one is enough for a clean minimalist look.
Pro tipChoose sand that stays light-colored; darker sand makes the whole bowl look grimy under warm light.
11. Single-Color Flower Petal Confetti on Tray Liner
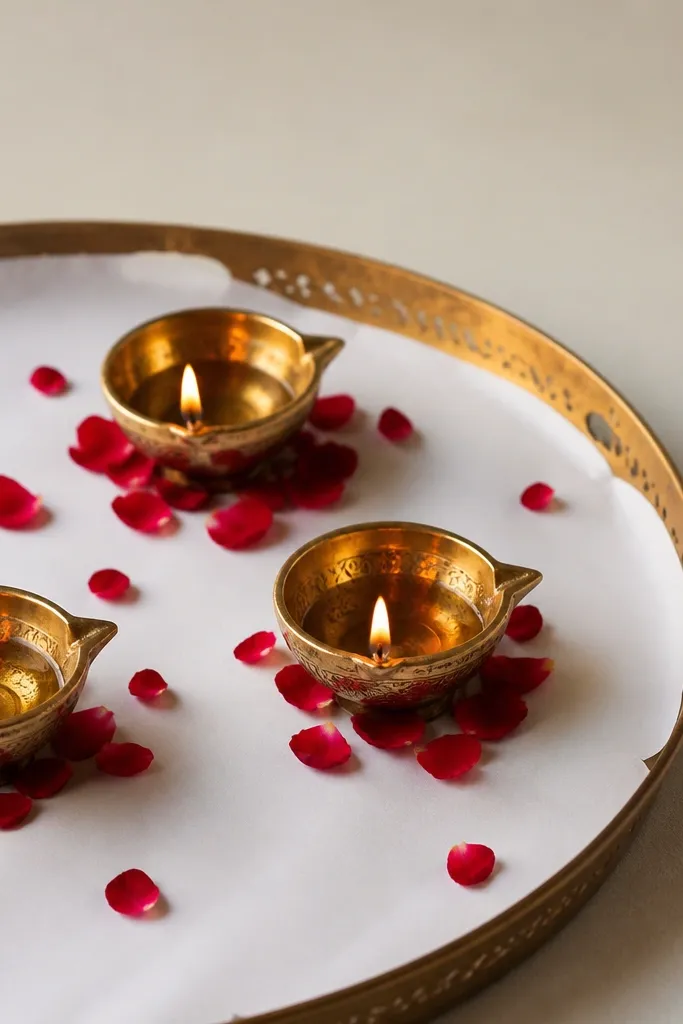
Start by lining a tray with plain white paper or thin white fabric that won’t catch fire. Place three diyas centered on the liner, leaving 5-6 cm between them. Tear petals into small pieces and scatter them lightly around the edges of the diya triangle, leaving the center mostly clear. Keep the petals only in one color family — no mixed pink and red. Light the diyas and check from the side so petals aren’t drifting into the flame.
Petals look minimalist when you treat them like confetti, not a carpet. The liner keeps the composition clean and the single color keeps the setup modern. I like using petals from one flower color because it stays controlled — pink petals look softer, while red petals look dramatic. This design flatters photo setups because the petals catch the flame light and create tiny highlights. Use it when you want a festive vibe without building a full floral arrangement.
AvoidDon’t use real loose petals right next to the flame; they curl and look messy quickly.
Pro tipCut petals smaller than you think; larger petals make the mess obvious.
12. Minimal Bamboo Stick Holder with Two Diyas
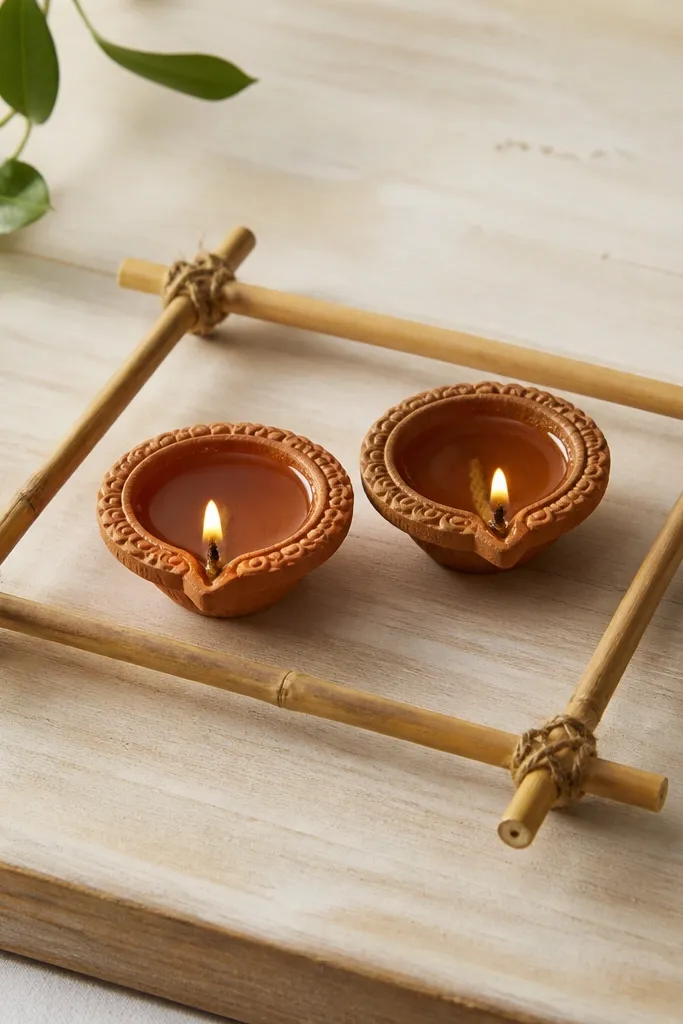
Bamboo frames look modern when they’re simple and symmetrical. The tied stick holder creates a boundary, so the setup looks intentional even with only two diyas. This flatters small balconies and shelves because bamboo adds structure without taking over. It also works for people who don’t want to paint or glue lots of pieces. I like it for everyday evenings because it feels calm, not overly decorative.
Start by cutting or using four bamboo sticks to form a square or rectangle frame. Tie the corners with twine and keep the frame size about 15-18 cm wide. Place the frame on a wooden board and set two diyas inside, centered front-to-back. Add a thin liner under the diyas if needed so wax drips don’t stain the board. Light the diyas and adjust their position so the flames are not too close to the twine.
Use a slightly thicker twine so it looks neat in photos.
Avoid uneven stick lengths; crooked frames read sloppy fast.
13. Monochrome Fabric Flower Ring Around a Single Diya
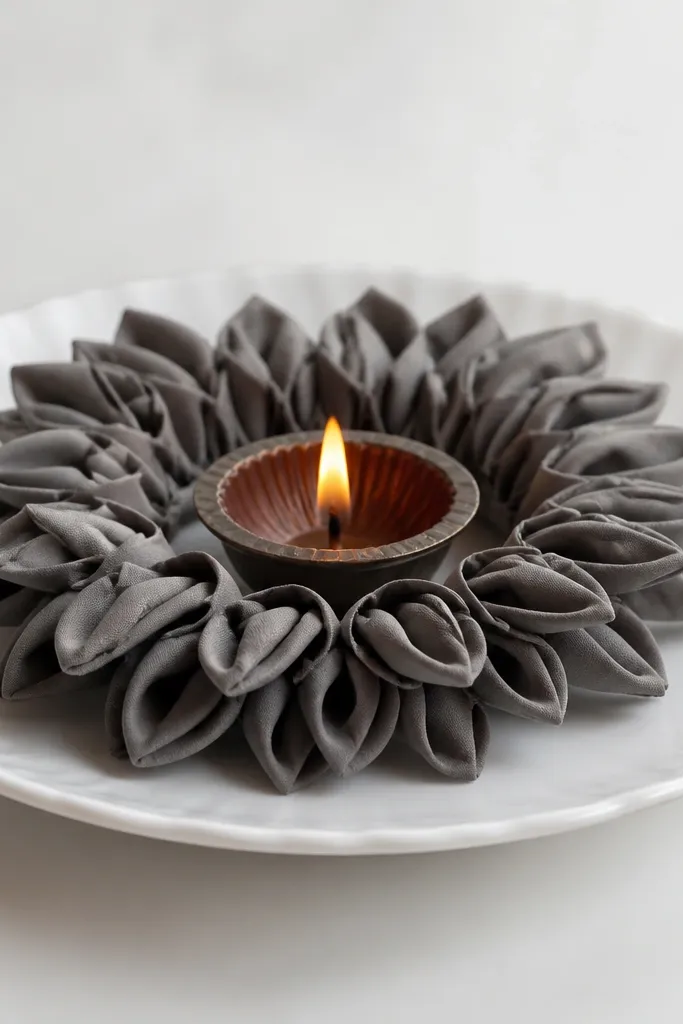
Start by placing a single diya on a white plate or ceramic saucer. Cut small fabric petals from matte cotton or felt — about 6-7 cm long each. Fold each petal so the bottom edges touch and form a ring around the diya holder, leaving a 1-2 cm gap between petals and flame. Glue only the outer base edges to keep the inner ring light. Light the diya and gently fan the petals so the ring shape stays open.
This is a minimalist single-focal-point option when you only want one diya to look special. Fabric petals create a soft circle that frames the flame and hides any imperfect diya holder edges. Matte gray or beige fabric looks classy under warm light, and it flatters neutral clothing and home decor. I’ve used this on small puja plates when family members want “less stuff” on the table. It also looks good on mantel shelves because the ring shape reads from a distance.
AvoidSkip shiny satin fabric — it reflects too much and looks cheap under flame.
Pro tipUse felt for the ring if you want zero fraying and a clean edge.
14. Geometric Paper Fans Behind a Diya Pair
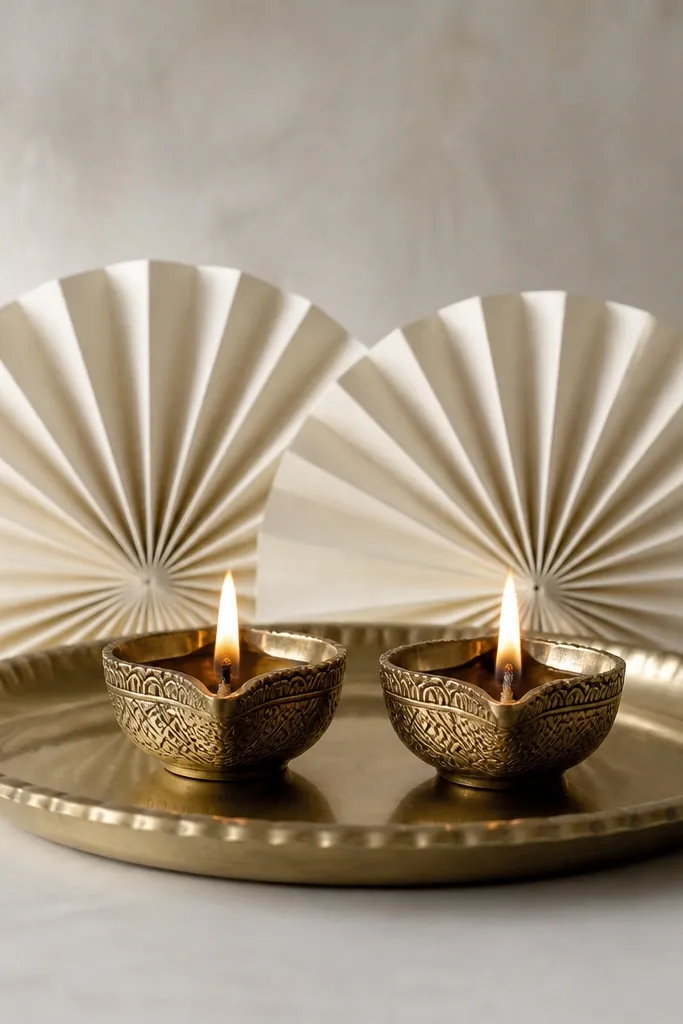
Paper fans make the flame look like part of a designed backdrop. The accordion fold gives movement, but keeping the color off-white keeps it minimalist. This flatters clean, modern rooms because geometric shapes read crisp. It’s also a great beginner project because you’re only making two fans, not a complicated craft. Use it for birthdays or small gatherings where you want a calm festive look without heavy decor.
Start by folding two strips of off-white cardstock into accordion pleats — each strip about 25 cm long and 6-7 cm tall. Glue or tape the pleats so each fan opens like a semicircle. Place the two diyas on a tray, spaced 10 cm apart, and center the fans behind them. Position one fan behind each diya so the fans form a symmetrical V shape. Light the diyas and keep the paper fans at least 20 cm away from the flame.
Use cardstock that holds pleats well; thin paper collapses and looks messy.
Don’t use bright patterned paper — the flame loses its focus.
15. Black Felt Runner with Gold Thread Stitch Line
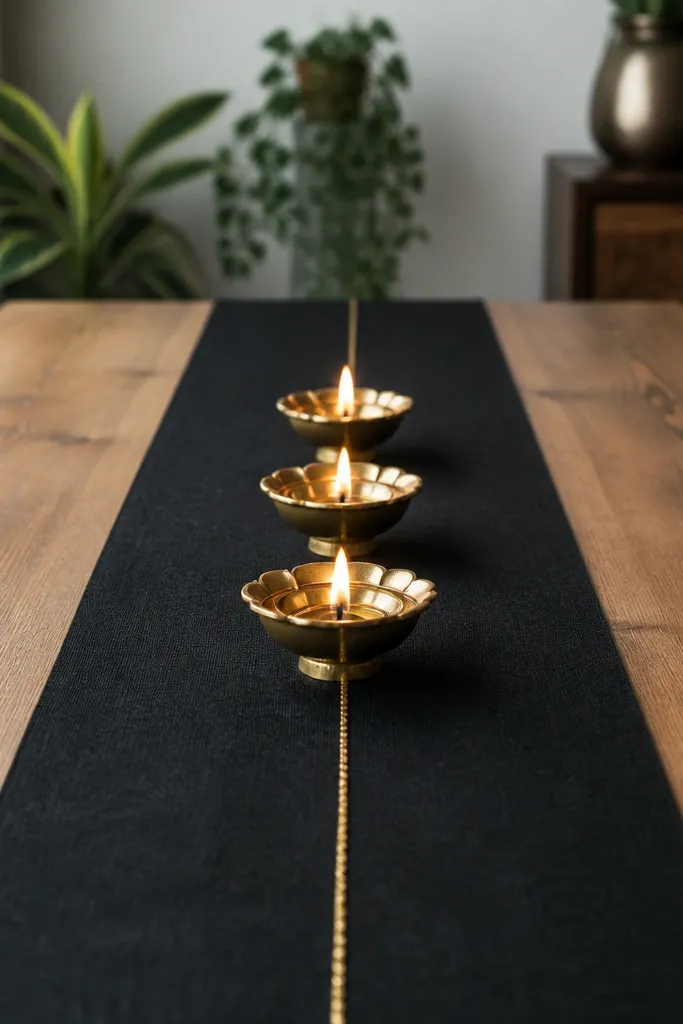
Felt looks expensive when it’s clean and matte. A gold thread line is a tiny detail that makes modern minimalist diya decoration ideas look intentional without adding clutter. This works best for people who like darker palettes because black felt hides wax drips better than light cloth. It also flatters warm-toned wood tables and makes the flame look brighter and more golden. I used it for a night puja on a low table and it looked neat even after a few moves.
Start by cutting a black felt runner about 20-25 cm long and 8-10 cm wide. Tape or stitch a single straight gold thread line down the center. Place three diyas on the runner so their wicks align with the gold line — keep 4-6 cm spacing between diyas. Leave equal felt margins on both sides so it looks centered. Light the diyas and check that the felt is dry and not near the flame directly.
If you don’t stitch, use thin gold tape instead — it keeps the line crisp.
Avoid frayed felt edges; trim them so the runner looks finished.
16. Wood Slice Base with Two Diyas and One Thin Leaf
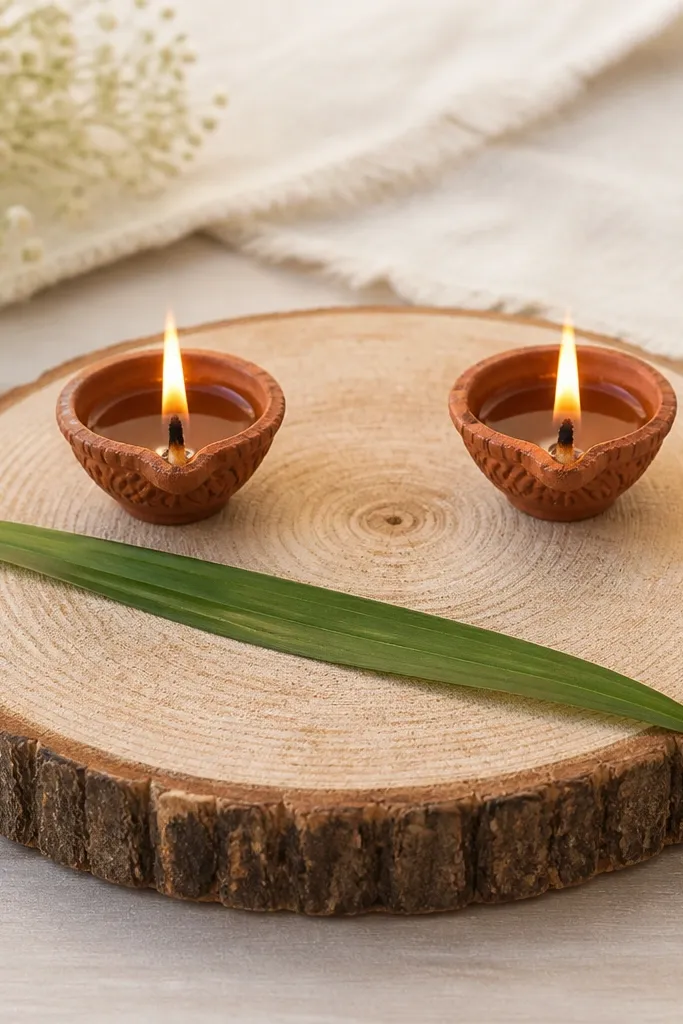
Wood slices bring warmth and a handmade feel without becoming rustic mess. Using only one thin leaf keeps it modern and keeps the flame as the star. This flatters homes with wood shelves or natural fibers like jute and cotton. It also works for small spaces because the entire decor fits on one slice. I like it for simple evenings when you want something that looks like you planned it, not like you grabbed random leaves.
Start by drying your wood slice so it’s not damp. Place two diyas on the slice, leaving about 6-8 cm between them. Lay one thin leaf diagonally across the slice so it visually connects the two diyas, but keep the leaf base away from the flame. If the leaf is long, trim it so it doesn’t spill off the slice. Light the diyas and rotate the leaf slightly until the flame reflection looks balanced.
Use a leaf with a strong spine so it stays flat instead of curling up.
Don’t add multiple leaves; two becomes a cluster and loses the clean line.
17. Terracotta Ring Tray with Three Tiny Diyas
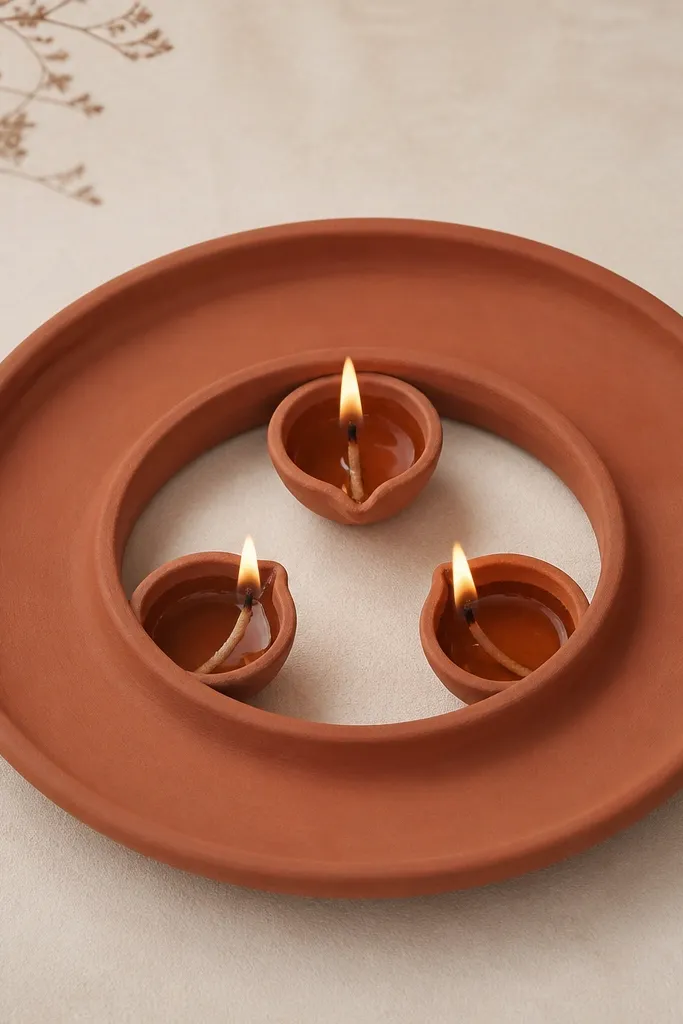
A terracotta ring tray makes the layout automatic. The circular boundary guides the eye and keeps the diyas from looking scattered. Tiny diyas look best here because the ring has a lot of negative space, which is what makes it minimalist. This flatters earthy interiors and also looks good against light walls because terracotta stays warm. I use this when I want a clean, traditional nod but with modern spacing.
Start by placing the terracotta ring tray on a stable surface. Put three tiny diyas evenly around the inner circle, aiming for equal spacing of about 4-5 cm between them. Keep the outer ring empty so it frames the flames. If your diyas wobble, add a small pinch of sand or a paper shim under the base. Light the diyas and check the symmetry by looking from above.
Use a tray with a smooth inner rim so the diyas sit straight.
Avoid using large diyas in a ring tray; they crowd the space and look cluttered.
18. Single Color LED Diya Pair + Real Diya Accent
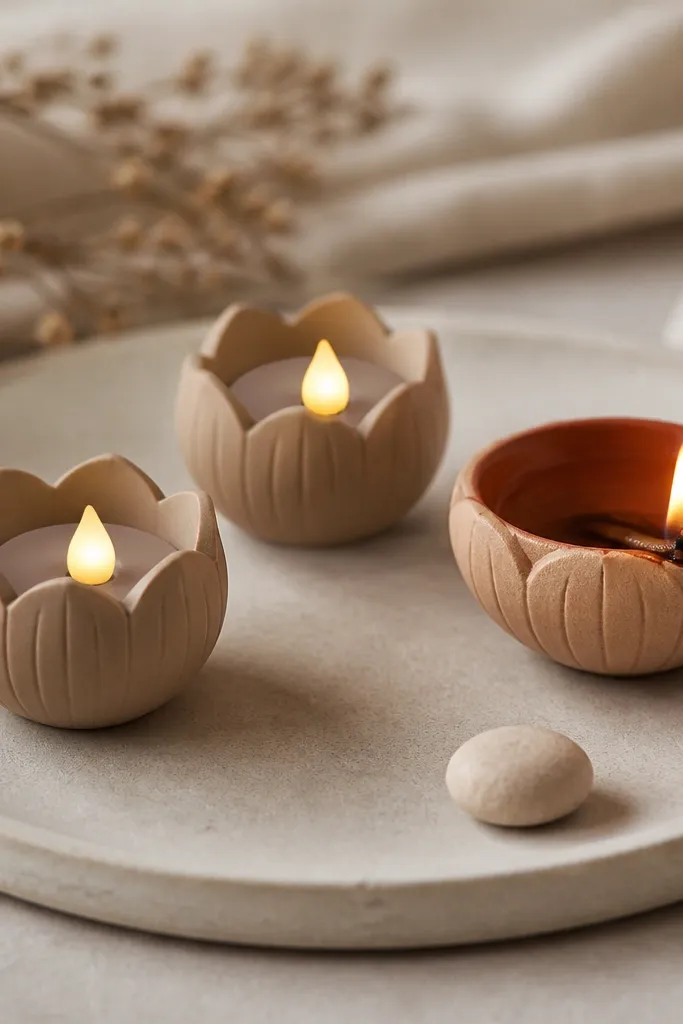
When you want modern minimalist diya decoration ideas for daily use, a mixed real-and-LED setup helps you keep the look consistent. The pair of LED diyas gives you symmetry and a steady glow for photos even before the real diya is lit. Keep everything in one matte color so the LED doesn’t look toy-like. This flatters apartments and small homes where you want decor that doesn’t require constant lighting. I’ve used this for weekday evenings when I still want the aesthetic without the mess of wax everywhere.
Start by placing a neutral tray on the table and arranging two matte LED diyas symmetrically. Add one real diya slightly behind or between them so it becomes the accent, not the main. Use one small stone or pebble near the front — just one — to keep the decor minimal. Keep spacing consistent: 6-7 cm between each diya. Light the real diya last and turn off overhead lights so the setup looks intentional.
Choose LED diyas with warm flicker, not white steady light, so it matches the real flame.
Don’t mix glossy LED finishes with matte decor; the mismatch looks cheap.
19. Two-Tone Tray Liner with Center Negative Space
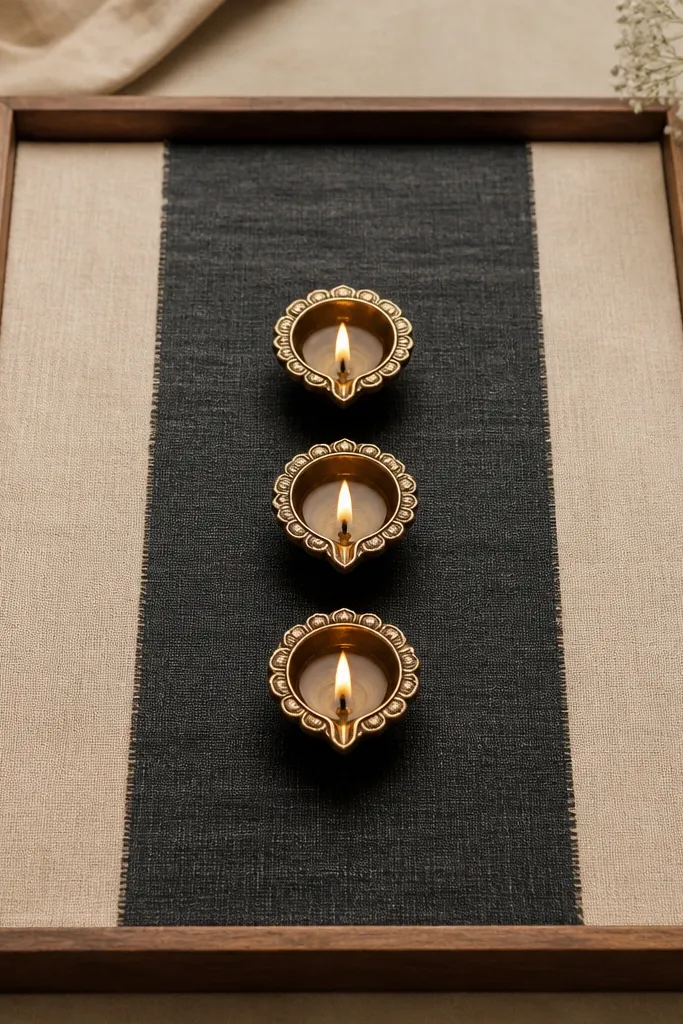
Negative space is the minimalist superpower, and this liner trick makes it easy. Two-tone fabric creates a clean frame while keeping the center area controlled for the diyas. The charcoal center makes the flames pop, and the beige sides keep the setup from feeling too heavy. This flatters modern living rooms because the colors read like “designed” rather than handmade. It also works for beginners who worry their decor will look too empty — the liner gives structure.
Start by cutting two fabric rectangles or using felt sheets: beige for the sides and charcoal for the center strip. Place the charcoal strip in the middle so it’s about 8-10 cm wide, then lay beige pieces to fill the tray edges. Set three diyas on top of the charcoal strip, keeping them centered and spaced evenly. Leave 2-3 cm of uncovered fabric around the diyas so the flame area stays uncluttered. Light and adjust any diya bases so they sit flat on the felt.
Use felt or cotton that won’t shed to avoid lint sticking to the wax.
Avoid full-coverage fabric linings; total coverage removes the negative space that makes it look modern.
20. Minimal Floating Shelf Backdrop with Painter's Tape Frame
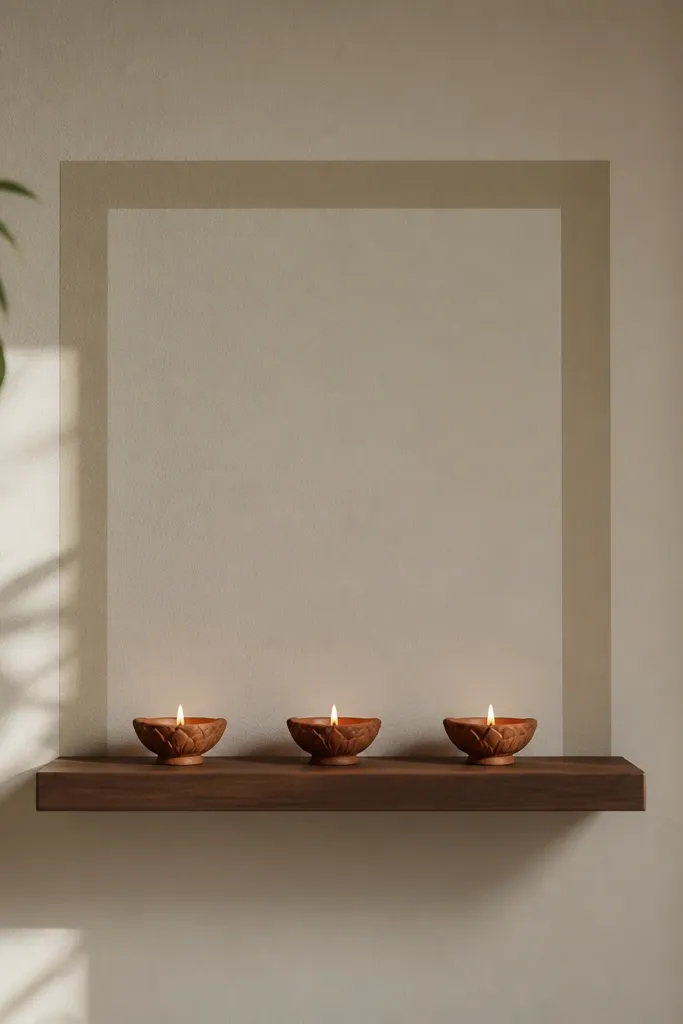
Start by cleaning the wall area behind your shelf. Apply painter’s tape in a rectangle around where you want the diya backdrop, keeping it centered behind the middle diya. Place three diyas on the shelf in a straight row with equal spacing, and check alignment with the taped rectangle. Light the diyas and step back to see if the flames sit inside the frame. When you’re happy, remove the tape carefully or leave it if you’re using removable tape only.
This idea uses framing, not extra decor. A painter’s tape rectangle on the wall behind the diyas gives you instant “photo backdrop” structure, even when your shelf is small. The flames become the focal point because the frame is the only other strong visual shape. It flatters modern homes with simple wall colors because the frame reads clean and graphic. I like it for beginners because it doesn’t require glueing tiny parts — you’re just setting a boundary.
AvoidDon’t use duct tape — it leaves residue and ruins the clean minimalist finish.
Pro tipKeep the rectangle height about the same as the diya flame zone so the frame feels balanced, not oversized.



