1. Faux-leather key fob that cracked at the fold
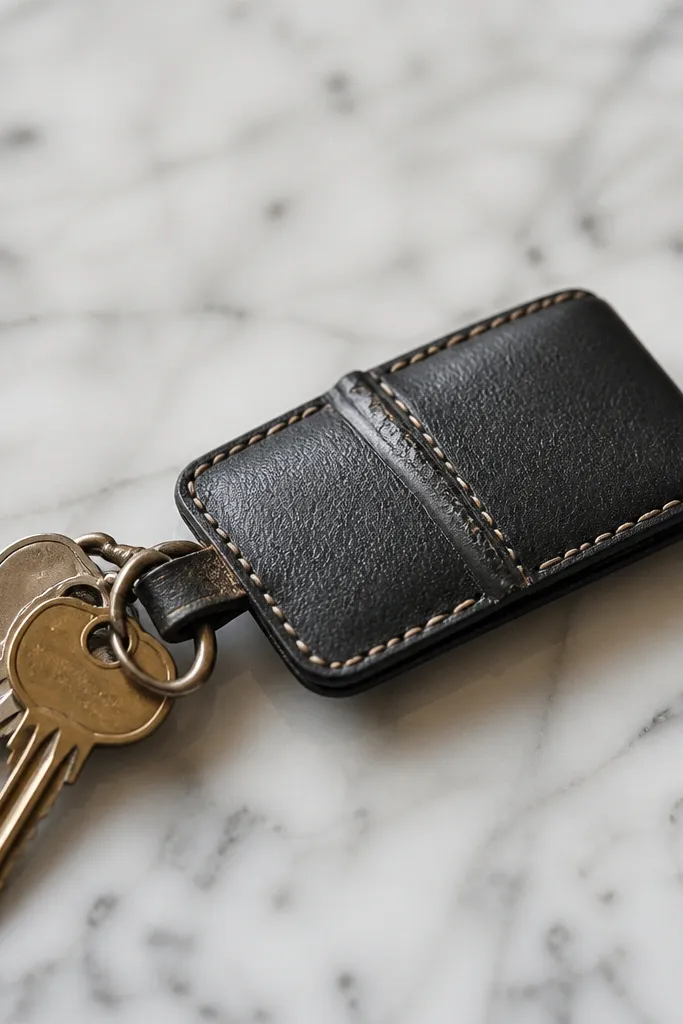
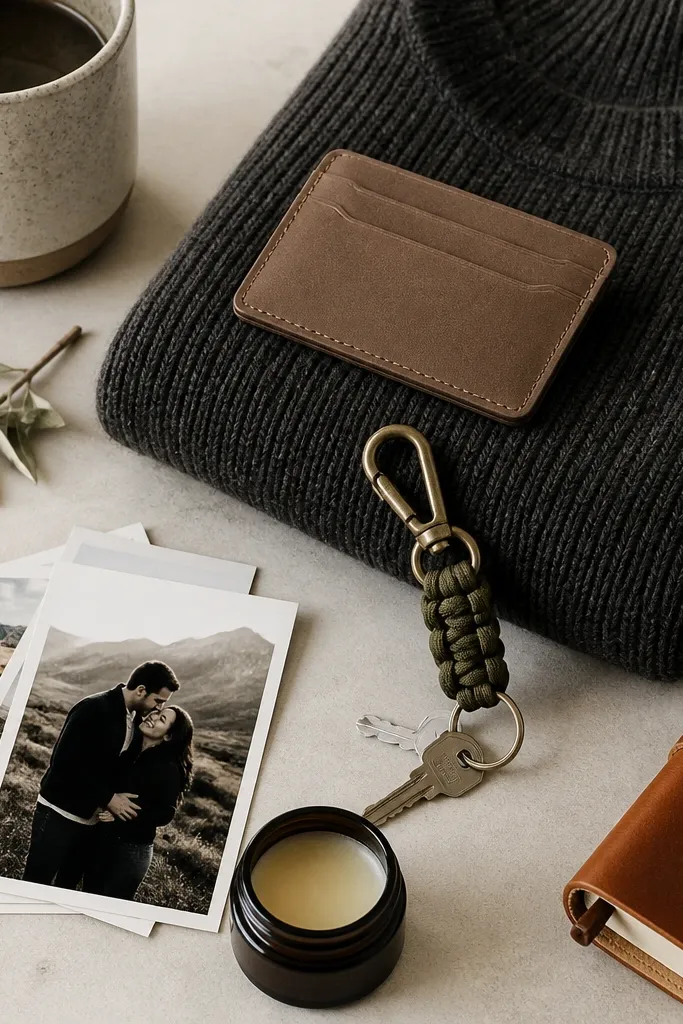
I made a black faux-leather key fob with a tan topstitch and a loop that folded every time my boyfriend grabbed his keys. It looked sharp for about a week, then the fold line started to split where the material creases — that spot gets punished daily. The color combo was good on him, though: the tan stitching matched his lighter belt and the black hid scuffs. For a boyfriend who keeps keys in a front pocket, you want a strap that bends without fighting the material. I’d still do the same look, but I’d change the construction so the bend happens in a softer area.
Start by cutting two identical strap pieces from waxed canvas or thick cotton webbing, each 10 cm wide by 18 cm long. Layer them with the right sides together, stitch around the edges with a 1 cm seam allowance, and turn it right-side out using a chopstick so the corners stay crisp. Then add a simple topstitch 3-4 mm from the edge to lock the layers. Finally, attach a metal key ring through the loop using a small swivel clasp so the strap flexes without tearing at a hard fold.
Do a “pocket bend test” before you gift it — fold it at the exact spot 30 times, then check for whitening or cracking.
Avoid folding faux leather at a tight 90-degree crease — it fails right where the keyring flexes.
2. Embroidered mug wrap that puckered after one wash
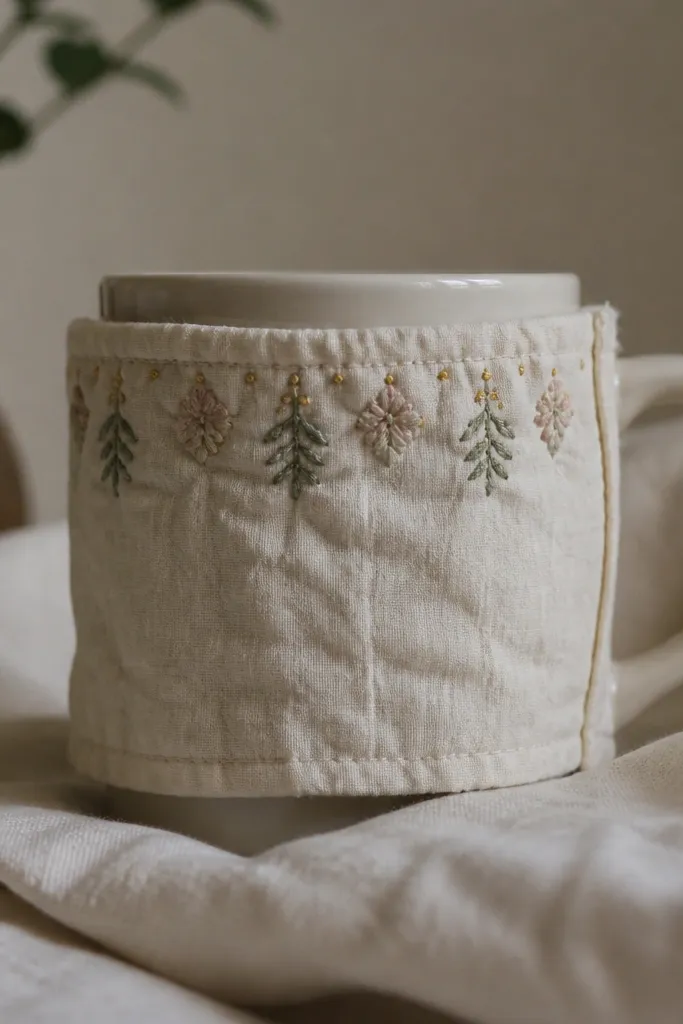
I stitched a cute little embroidered design onto a mug wrap and thought it would be “gentle handmade charm.” The problem is the embroidery adds stiffness, and hot water plus tumbling friction pulls the fabric into puckers. My boyfriend likes his coffee strong and reheats it, so the mug wrap got heat cycles fast. The sleeve also sat against his palm, so any puckering felt scratchy. If you want embroidered detail on a mug gift, you need a fabric that can take heat and a construction that stays flat even when it’s washed.
Start with a pre-washed cotton twill or linen blend for the sleeve so it shrinks before you stitch. Embroider on a stabilizer-friendly area, then remove the stabilizer per the pack directions so the thread doesn’t stay raised. Sew the sleeve using a flat seam: stitch the side seams first, press them open with a warm iron, then hem the opening with a narrow 6 mm fold. Add a simple Velcro dot closure inside the overlap so you can take it off for washing instead of trying to wash the whole mug wrap as one piece.
Before gifting, wash the sleeve twice and iron it — if it puckers during testing, it will do the same on day one.
Don’t glue embroidered fabric to another layer — the glue softens with heat and you get bubbles.
3. Screen-printed tote with peeling edges
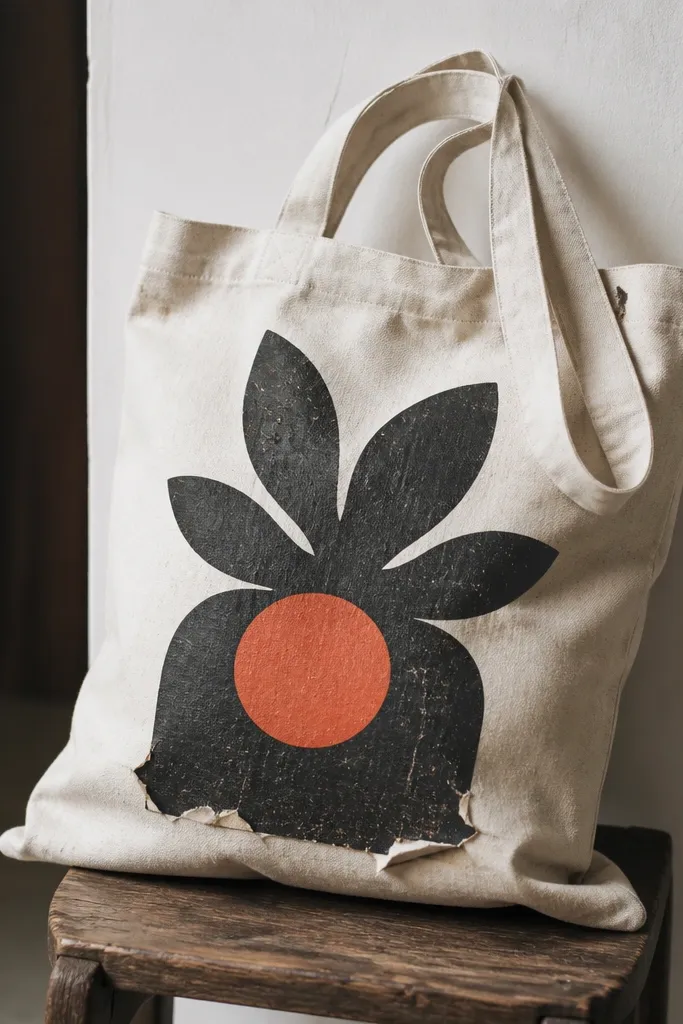
I made a tote with a bright graphic using fabric paint and a home setup, and it looked awesome straight out of the studio. The issue showed up after a few days: the print edges started lifting where the bag folds, especially near the bottom handles. My boyfriend hauls groceries in it, so the tote gets creased and rubbed constantly. The color still matched his wardrobe, but the peeling made it look worn instead of handmade. For low maintenance handmade gifts for boyfriend, you want a print method that bonds under heat and stays flexible with the fabric.
Pro tipTest cure by bending the tote in half right after the cure — if the print lifts when bent, re-cure for 10 more minutes.
Start with a thick cotton canvas tote (at least 12 oz if you can find it). Clean the fabric with a lint roller and wipe with a damp cloth so there’s no dust for paint to sit on. Apply your graphic with heat-set transfer vinyl or screen print using a fabric medium meant for your exact method, then cure it using a household iron set to the transfer’s required temperature with a pressing cloth on top. After curing, stitch or tape-seal the bottom edge of the design area so the print doesn’t get pulled by seams under load.
AvoidAvoid painting heavy layers — thick paint cracks at folds and looks cheap fast.
4. Knot bracelet that tangles in pockets
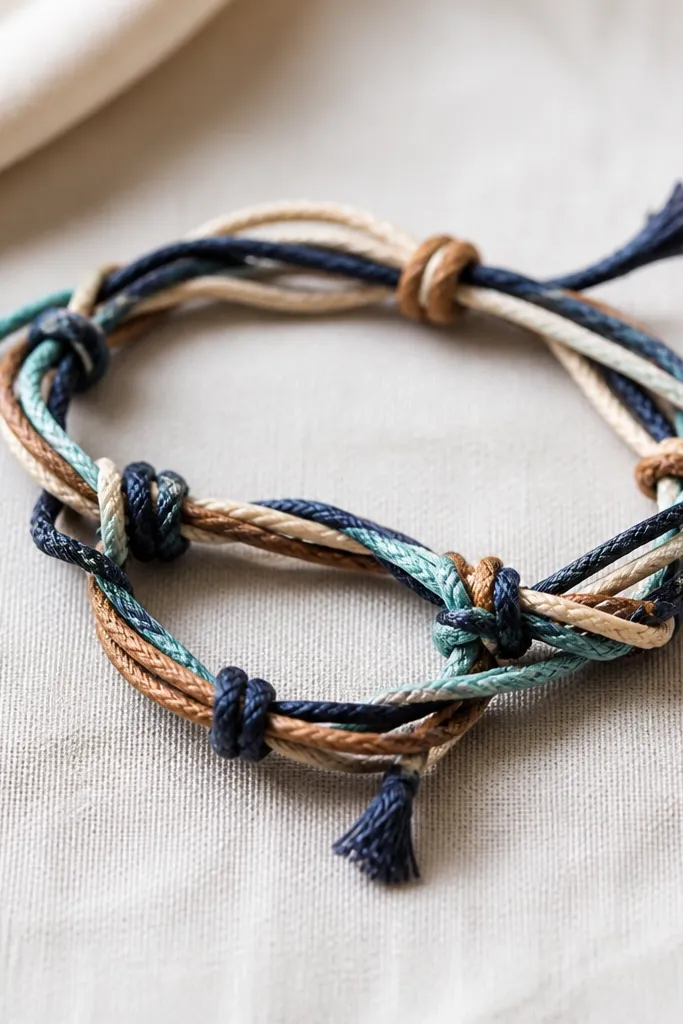
I tried to make a “rough and rugged” cord bracelet with lots of knots. It looked great on his wrist in the mirror, but he kept taking it off when driving or working out, then it ended up in his pocket. That’s when the knots started tangling and the ends frayed. The style suited him — he has a darker skin tone and the natural tan cord looked warm against his wrist — but the maintenance was too high. A low maintenance handmade gift needs to survive being thrown in a bag without turning into a knot disaster.
Start with a smooth, medium-thickness paracord or waxed cotton cord, about 3 mm, and cut one continuous length. Use a simple sliding knot closure instead of multiple decorative knots — I like a small overhand knot stopper that you can tighten quickly. After tying, seal the ends with heat (for paracord) or a fabric fray-stopper gel (for cotton) so they don’t fuzz. Finish by adding a small metal bead cap near the closure to keep the knot from catching on fabric when it’s tossed in a pocket.
If he takes it off often, make it a wrap bracelet with a sliding closure so he can re-tie in 10 seconds.
Skip tiny knots and loose ends — they tangle and fray the moment the bracelet leaves his wrist.
5. Hand-stamped belt tag that rubbed off
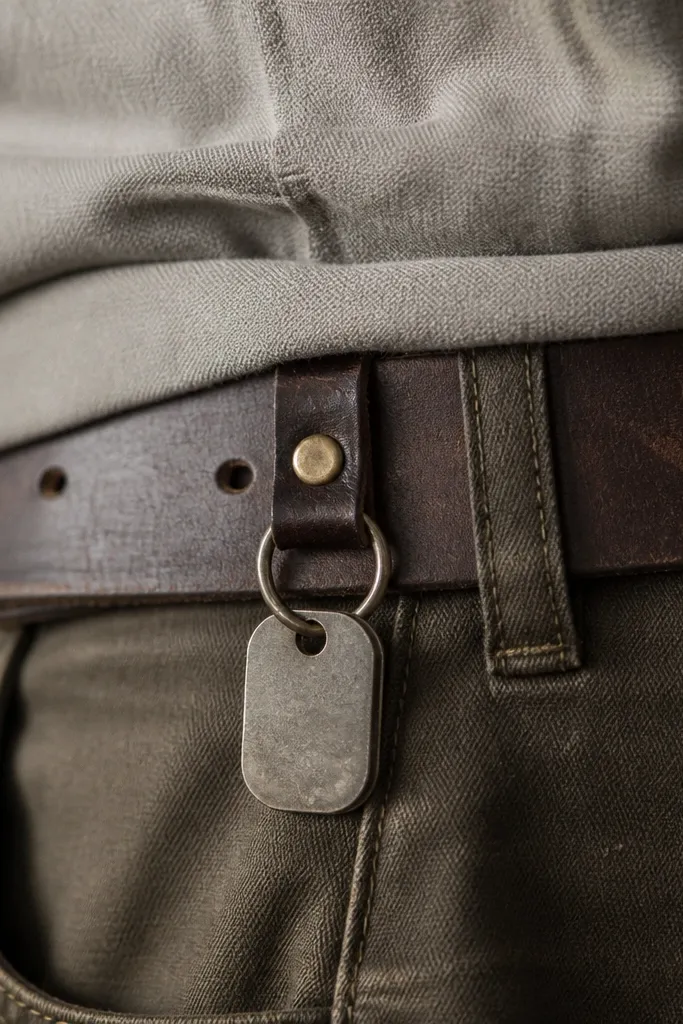
I stamped his initials into a small metal tag and hung it on a belt loop with a leather strip. The first day looked perfect. The second week, the edges rubbed against denim and the stamped marks went pale, like the ink or coating never bonded to the surface. He wears his belt daily, so constant friction is the enemy. The tag idea was right — simple, personal, and visible — but the execution needed a finish that grips metal under abrasion. For low maintenance handmade gifts for boyfriend, avoid anything that relies on surface coloring without a durable top coat.
Pro tipRub-test it with a damp white cloth for 30 seconds — if pigment transfers, you need a better seal.
Start with a brushed metal blank made for engraving or stamping, then stamp deeper than you think — shallow letters disappear under wear. After stamping, fill the letters with a metal enamel or pigment made for that blank type, then let it cure fully. Seal with a clear matte or satin protective coat designed for metal, and bake or cure it per instructions. Attach it to a belt loop using a riveted leather strip or a small split ring so the tag can rotate slightly instead of grinding one edge against fabric.
AvoidDon’t rely on regular acrylic paint or nail polish on metal — it wipes off under belt friction.
6. Crocheted phone cozy that stretched out of shape
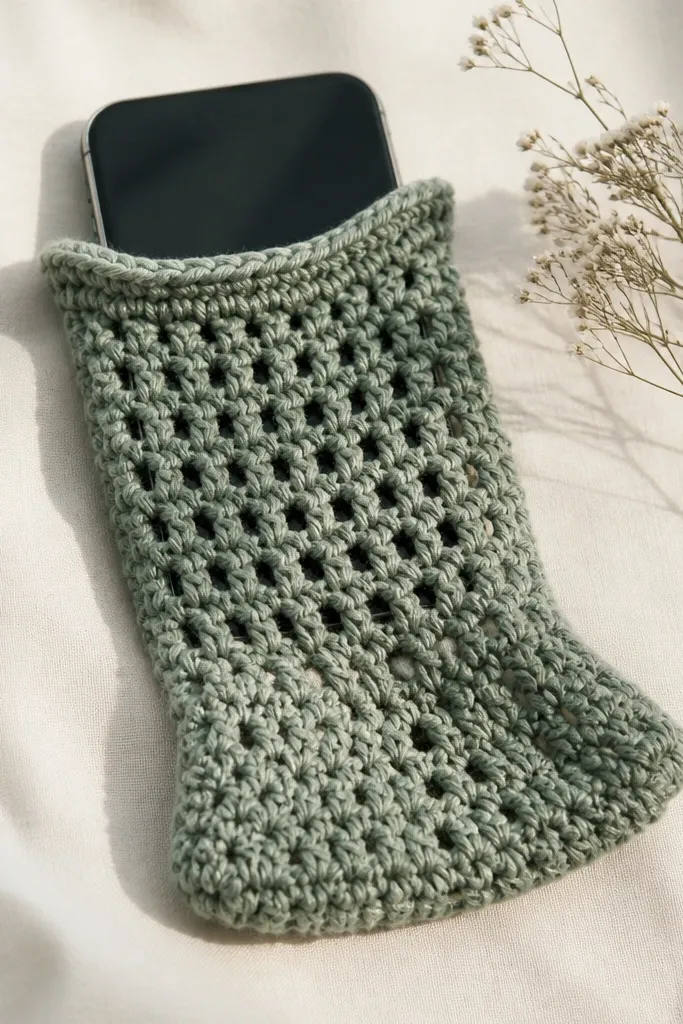
I crocheted a phone cozy with a cute stitch texture and a snug fit. It fit perfectly the day I wrapped it, then the first week of use changed everything — the cozy stretched and sagged because the yarn had no structure. My boyfriend kept his phone in and out constantly, and the cozy pulled on the edges with every swipe. He liked the look, especially the color — a deep olive that matched his hoodie — but it turned into a floppy sleeve instead of a “grab-and-go” accessory. If you make crochet for daily carry, you need yarn and stitch tension that holds shape.
Start by choosing a yarn with structure: cotton-cotton blend or a tighter spun acrylic, and crochet a tighter gauge than you normally would. Block it aggressively before assembly: soak, shape it to your phone dimensions, and let it dry completely flat. Use a simple seam where the cozy closes: stitch the sides with mattress stitch so the edges line up, then add a small button or snap at the top edge. Finally, line the inside with a thin felt sheet so the cozy slides in and out without stretching the crochet.
Measure your phone after you put on a case — the cozy needs clearance for the exact thickness he uses.
Don’t use super soft chenille or fluffy yarn for daily carry — it stretches and looks messy fast.
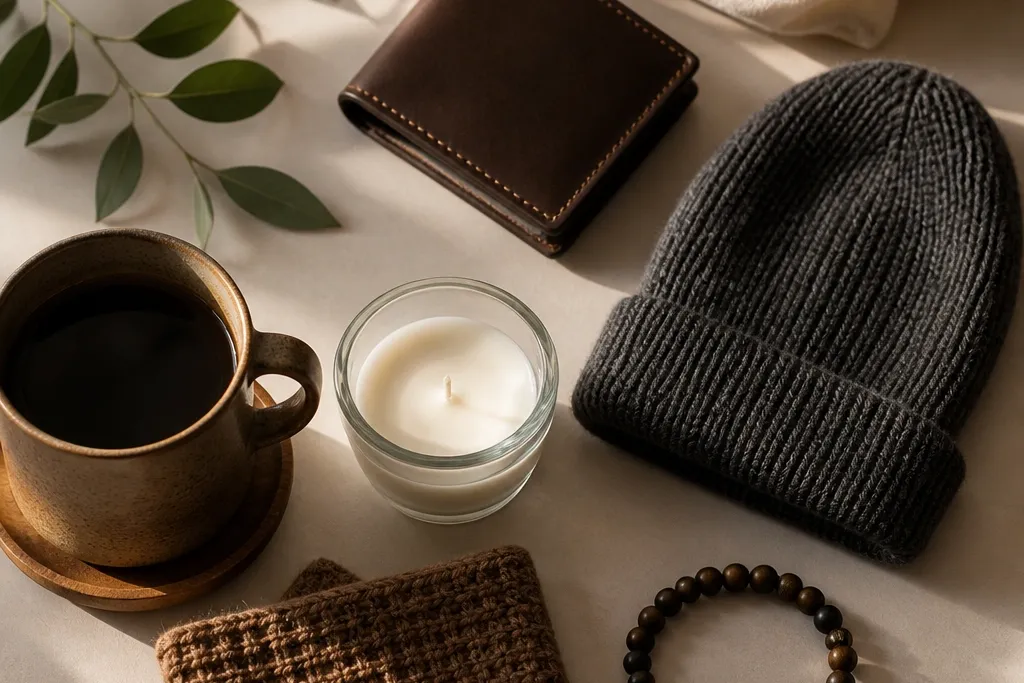
7. Lumpy candle jar that sweats and smokes
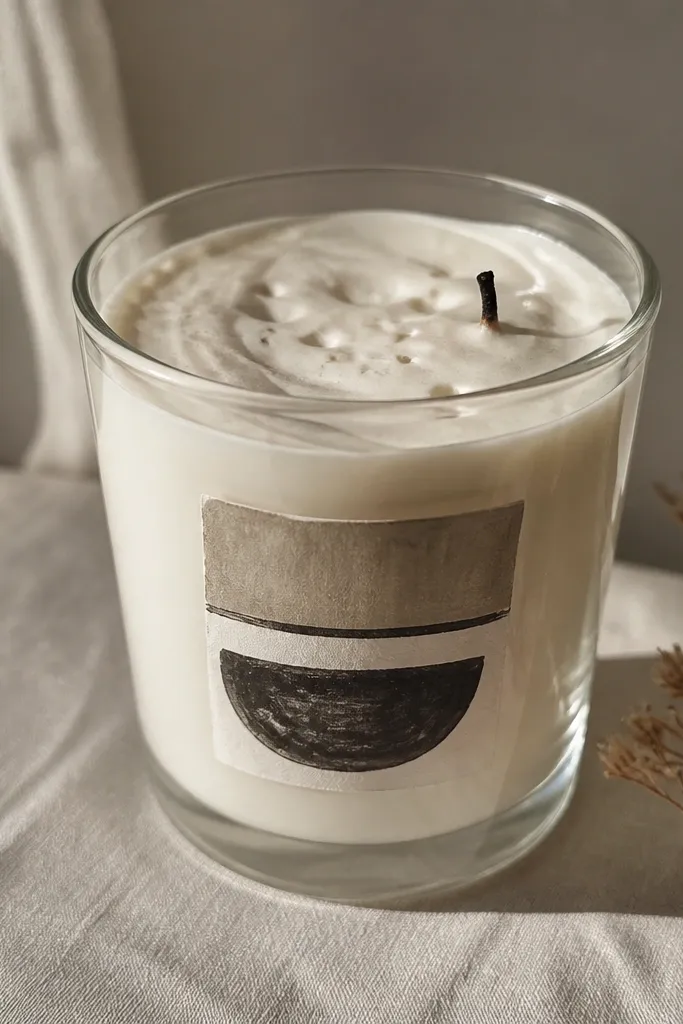
I made a candle in a cute jar with a hand-lettered label and felt so proud. Then my boyfriend lit it and the top looked cratered, with a smoky wick and a sweaty ring around the glass. The jar was pretty, but the burn quality was the issue: wick size and pour temperature were wrong for that wax and that container. He doesn’t baby things, so he used it like a normal person — short burn, then longer burn later. For low maintenance handmade gifts for boyfriend, candles need to burn clean on the first tries, or they become an awkward gift you feel bad about.
Start by matching your wick to the jar diameter. Measure the inside diameter in millimeters, then choose a wick that corresponds to that range from the wax vendor chart. Use a thermometer and pour at the recommended temperature for your wax blend so the top stays smooth. Center the wick using a wick sticker, then let it cure for the full time — I give mine 72 hours before the first burn. Trim the wick to 1/4 inch before lighting and do a first burn long enough to melt to the edges of the jar.
If you see frosting or a ring after the first burn, don’t gift it yet — fix wick size and cure time before it goes out the door.
Avoid guessing wick size — a too-small wick tunnels and a too-large wick smokes.