

1. Thin belly glaze that turns coffee-stained
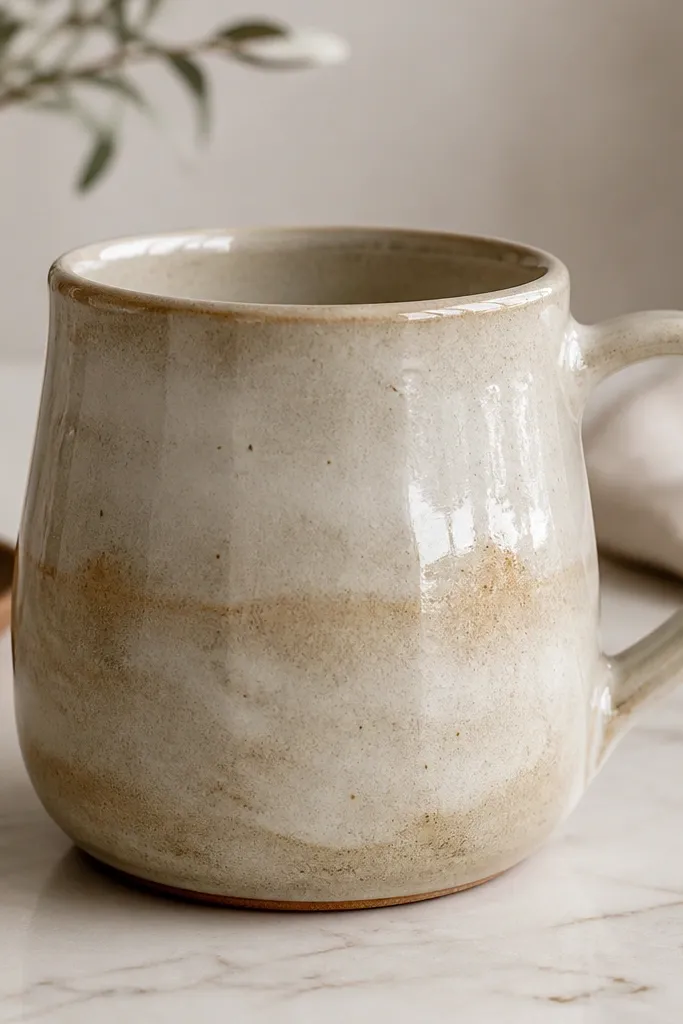
I made this mistake when I was rushing. I dipped the mug once, got impatient, and didn’t build enough glaze on the belly where your thumb and coffee oils sit. The result was a mug that looked fine on day one, then turned speckled and stained after a week of daily use. A low maintenance handmade mug needs that belly glaze to be thick enough to seal the surface, so it wipes clean instead of absorbing oils. If you like darker clay bodies, this matters even more because the pores show through when the glaze is too thin.
Start by inspecting your bisque under bright light — if you can see patchy dull areas, your glaze is going to thin there. Dip or brush your glaze with an even rhythm, then add a second dip only after the first coat stops dripping and looks uniformly wet. Focus extra attention on the belly curve and the transition to the foot ring, because those spots often get missed. Finally, wipe the base ring clean before firing so you don’t glue your mug to the kiln shelf.
Pro tipRun a quick “wipe test” on a fired test tile: smear coffee oil for a minute, wipe with a damp cloth, then check if it leaves a shadow.
AvoidDon’t do a single thin coat and call it done — coffee oils will find the weak spots.
2. Rim glaze that's glossy but feels sharp
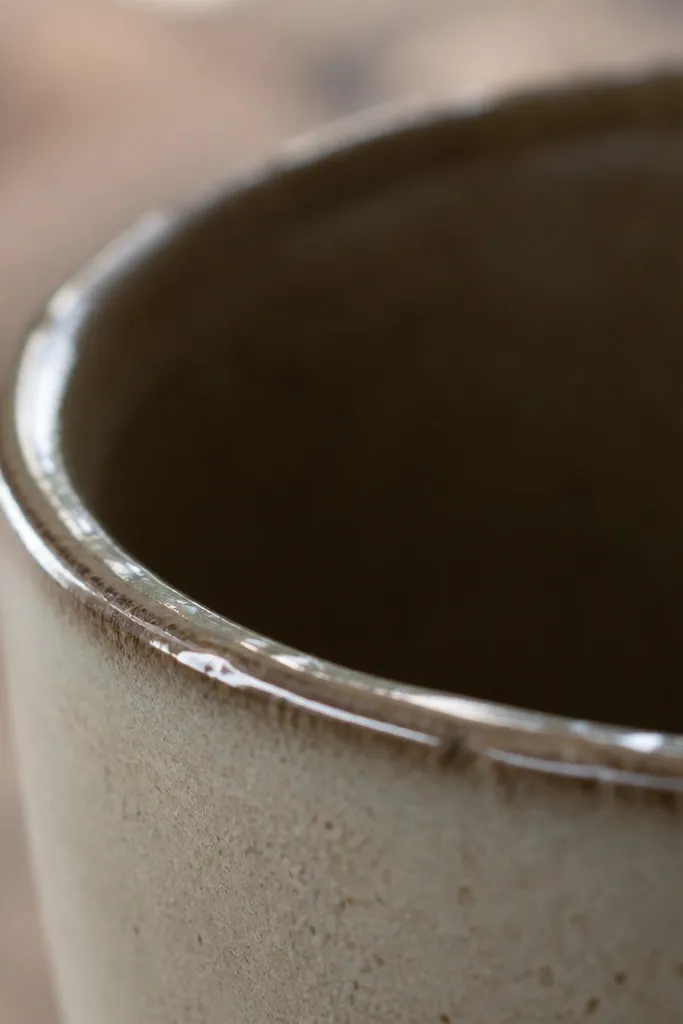
I thought a shiny rim meant I had nailed it. What I actually had was too much glaze build-up right at the lip — it created a tiny ridge that feels sharp when you sip. That’s not a comfort issue only; it also traps coffee residue in the micro-gaps between ridges. For a low maintenance handmade mug, your rim needs to feel smooth to the tongue without losing the protective glaze layer. If you have a smaller mouth or you drink tea often, a sharp rim will bother you fast, and you’ll end up avoiding the mug.
Start by dry-fitting the handle and making sure your rim line is level, because a lopsided rim makes glaze pool in one side. When glazing, keep your brush or dip level so the inner lip gets a thin, even coat rather than a thick puddle. After firing, check the rim with your fingertip while it’s dry — if you feel a ridge, sand lightly with 600-grit wet/dry sandpaper and clean the dust off. Then re-glaze only if you sand into bare areas, and fire again so the rim stays sealed.
Pro tipIf you can feel a ridge dry, you’ll feel it after a week of use. Fix it before you start relying on the mug daily.
AvoidDon’t pile glaze on the inner rim and hope it self-levels.
3. Underglaze that ghosts through the topcoat

This happened when I used underglaze and assumed the clear glaze would “lock it in.” If your underglaze is too dry or too thin, the topcoat doesn’t fully cover it, and the design looks washed-out or uneven. Even worse, some tones fade faster because the underlayer isn’t sealed properly. A low maintenance handmade mug needs graphics that are fully covered — they should look crisp even after you wipe them with a damp cloth. If you pick a bright color like cobalt or turmeric-yellow, you’ll notice ghosting first.
Start by applying underglaze in thin layers, letting each layer dry completely before adding the next. Then apply your clear glaze with full coverage, brushing slowly so you don’t leave holidays (missed spots) around the edges of the design. If you’re dip-glazing, do two dips instead of one so the clear layer becomes a consistent thickness over the artwork. Finally, inspect the fired mug under light from the side — if you see faint outlines, do a targeted recoat on the affected areas and fire again.
Make one “sacrificial” mug with the exact same underglaze-to-clear glaze combo before you commit to the final design.
Don’t put clear glaze on top of a patchy underglaze — ghosting is a coverage problem.
4. Dusty bisque before glazing (hello pinholes)
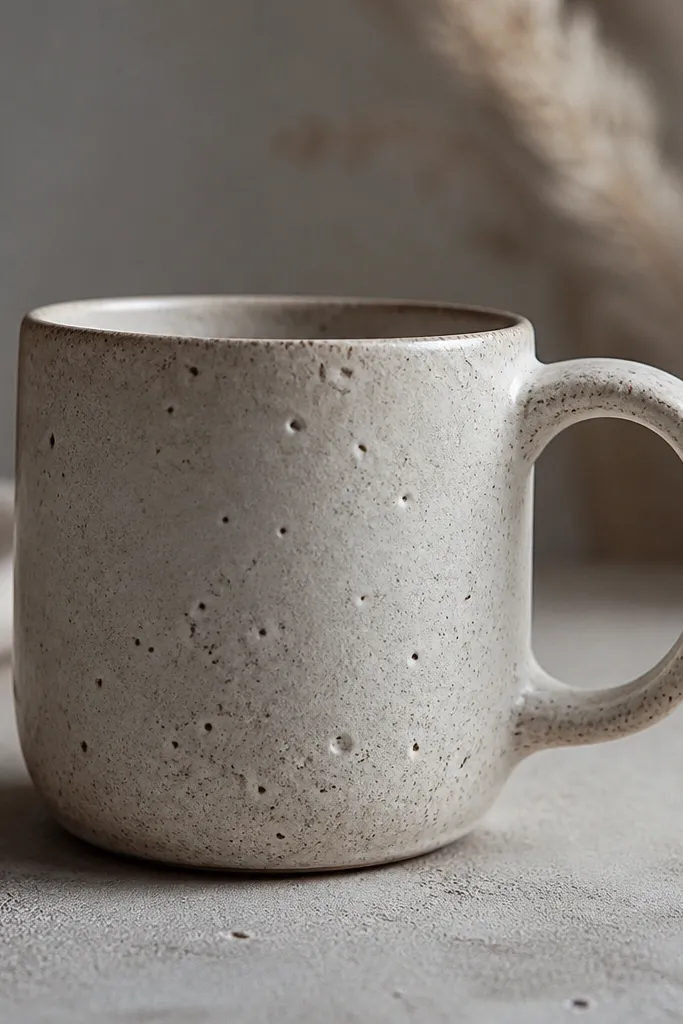
Pinholes are the fastest way to turn your handmade mug into a scrubbing project. I learned this after I glazed straight after sanding and didn’t wipe the bisque properly. The dust creates little gas escape points, and the glaze surface forms tiny craters that catch coffee residue. A low maintenance handmade mug needs a glaze surface that wipes clean, so you want no crater holes and no rough micro-texture. This is especially noticeable on light glazes and white clay bodies.
Start by sanding your bisque and then vacuuming the piece and your work surface. Wipe the mug with a dry, clean microfiber first, then do a final wipe with a slightly damp cloth and let it dry fully before glazing. When glazing, strain your glaze and stir thoroughly so you don’t drag in little clumps that become pinholes. After firing, check the handle area and foot ring closely — those are the zones where dust hides and glaze thins.
Pro tipKeep a dedicated kiln-wipe rag and don’t use your regular shop rag — it’s where grit sneaks back in.
AvoidDon’t glaze a dusty mug — pinholes are almost always preventable.
5. Handle glaze mismatch that makes the handle stain

My first handles stained faster than the mug body because I treated them like an afterthought. The handle got less glaze, and the curve trapped coffee residue where it meets the mug. If the glaze on the handle is thinner or different (like more matte), it absorbs oils and looks tired sooner. For a low maintenance handmade mug, the handle needs the same sealed feel as the body — smooth, even, and wipeable. If you have a matte preference, keep the handle glaze consistent so it doesn’t contrast in a “dirty patch” way.
Start by glazing the body first, then handle next so you can control thickness around the handle base. Use a soft brush to push glaze into the seam where handle meets mug, then smooth it out so you don’t create drips. Dip or brush the handle with the same glaze you used on the body, and do a second coat if it looks translucent. Finally, clean the underside of the handle and the foot ring before firing so you don’t get kiln sticking or weird glaze pooling.
Pro tipAfter firing, rub the handle with a damp cloth and dry it — if it leaves a shadow, it’s not sealed enough.
AvoidDon’t glaze the handle lightly and hope the body coat will cover it.
6. Firing schedule that leaves the glaze under-cured

I blamed the clay the first time my glaze felt rough. It wasn’t the clay — it was my firing and cooling. Under-cured glaze can look fine in a photo but feel dry under your fingers, and it drinks up coffee oils. The mug still “works,” but it doesn’t stay low maintenance because residue hangs on. A low maintenance handmade mug needs a glaze that has actually melted and sealed. If you’re doing low-temp glaze work or using a small kiln, this mistake happens fast.
Start by checking your kiln cone or temperature target and make sure you’re firing to the glaze’s recommended range, not just “high enough.” Then let the kiln cool naturally to room temperature before you touch or wash the mug. If you’re using a test strategy, fire a small batch at your usual schedule and compare gloss and smoothness on the body belly and rim. If the glaze still feels dry, don’t keep using the same schedule — adjust firing time or temperature and re-test with the same glaze thickness.
Pro tipDo a finger-drag test after full cooling: smooth glide beats shine. Rough glide means the glaze needs more heat work.
AvoidDon’t wash or handle the mug while it’s still cooling — you can damage a finish that isn’t fully cured.
7. Skipping a proper base ring cleanup (glaze stuck to kiln)
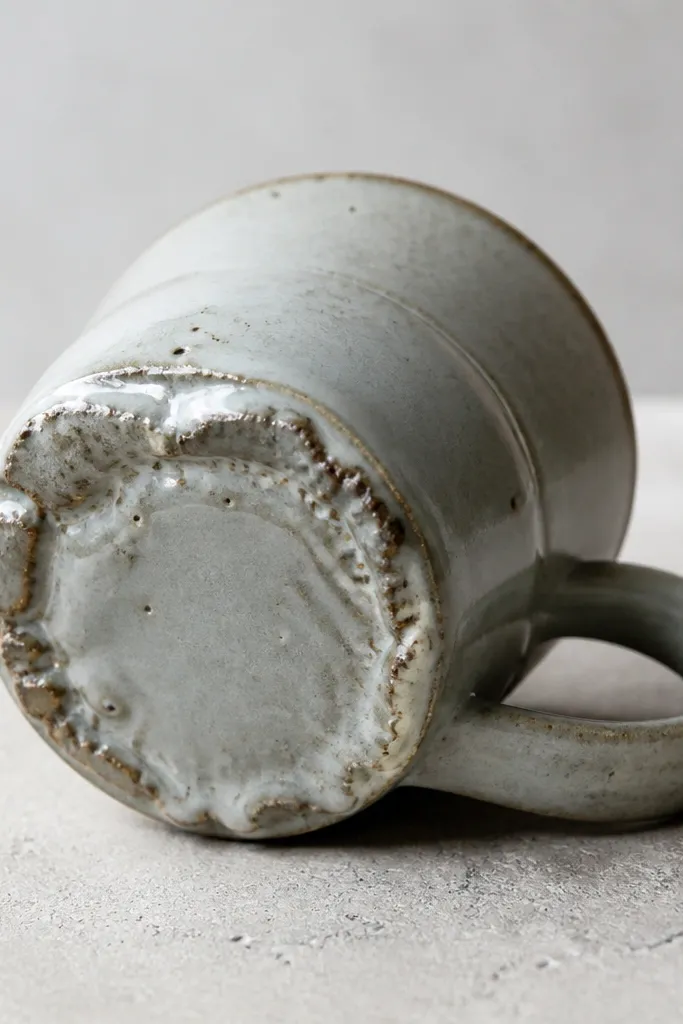
This one is annoying because it ruins your mug even if the rest looks perfect. If you leave glaze on the base ring, it can fuse to the kiln shelf and either chip off the ring or create a rough bottom that holds grime. Once the bottom is rough, your mug is harder to clean and it looks “off” even when you’re not thinking about it. A low maintenance handmade mug needs a clean foot ring that wipes easily and sits flat. If you’ve ever had to scrape burnt glaze off a shelf, you know how messy this gets.
Start by masking the base ring area before glazing — even a careful hand brushing can miss a hairline spot. When you glaze, wipe the bottom ring with a damp sponge or cloth right away, before the glaze dries. If you dip, use a steady lift so glaze doesn’t flood the underside. Finally, inspect the bottom under a bright light — you want clay or a clean base surface where the shelf contact happens, not glaze.
Keep a small bowl of water for clean-up and change it often. Dirty water smears glaze instead of removing it.
Don’t glaze the entire mug bottom unless you’re intentionally doing a kiln-friendly foot design.
8. Rough sanding marks under satin glaze
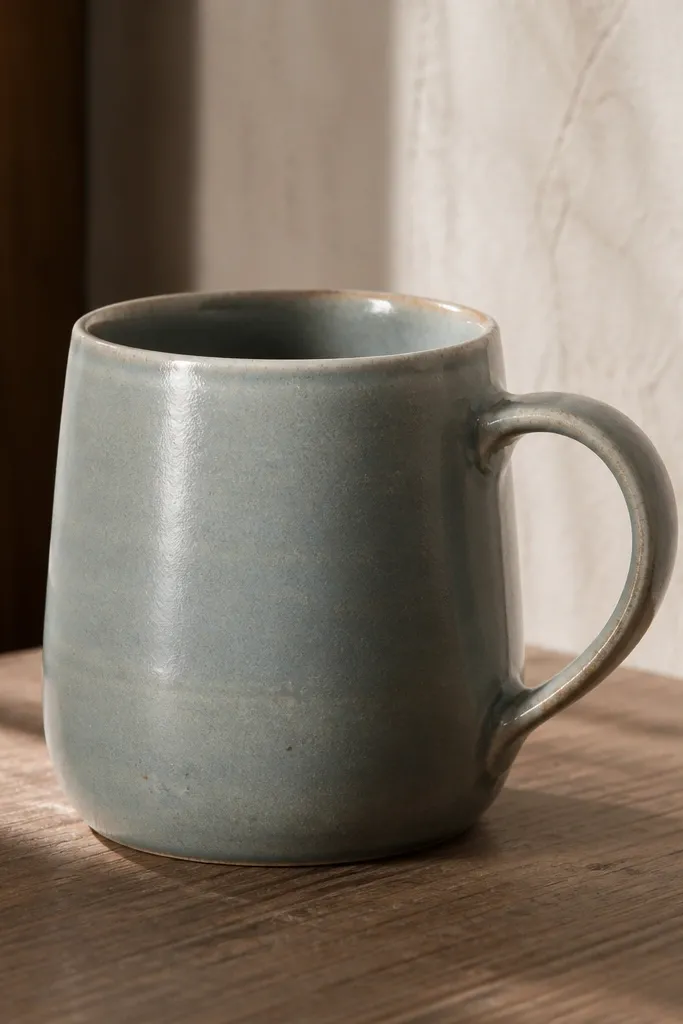
Satin glazes look calm and modern, but they show sanding marks more than glossy glazes. I used a coarser grit than I should have and didn’t fully smooth the bisque before glazing. The fired mug ended up with a faint streak pattern that collects residue faster because it isn’t perfectly smooth. For a low maintenance handmade mug, satin is fine, but it needs the surface prep to match the finish. If you like a soft matte look, this is the step that keeps it from looking tired.
Start by sanding your bisque with a grit progression — I use 220, then 400, then 600 on the belly and handle where you touch it. Wipe dust away between grits, not just at the end. When glazing satin, apply a smooth coat with a brush you don’t fight — if the glaze drags, your surface texture will show. After firing, feel the mug in a dry hand and in a damp wipe — if it feels gritty, you need more bisque smoothing or a different glaze recipe.
Use raking light (a flashlight at a low angle). If you see streaks at that angle, you’ll feel them later with coffee residue.
Don’t apply satin glaze over sanding scratches and call it a “handmade texture.”
9. Washing too soon after firing
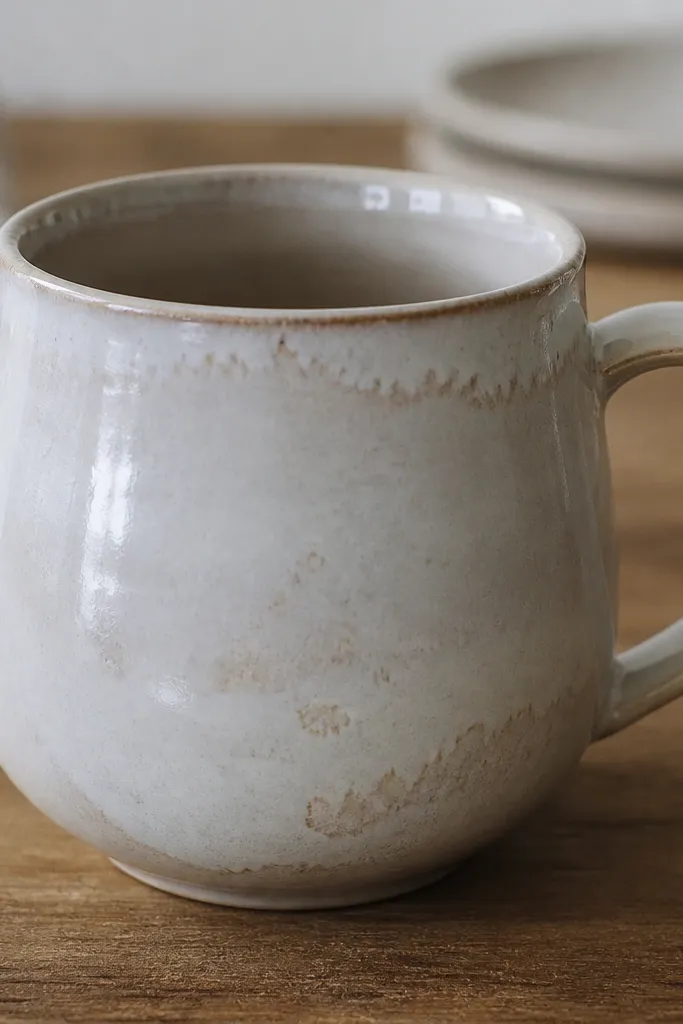
I was impatient and washed my newest mug the same day it came out of the kiln, thinking it would just get cleaner. The glaze hadn’t finished stabilizing through the cooling cycle, and the surface ended up looking slightly uneven. It wasn’t dramatic chipping — it was the kind of dulling that makes you feel like the mug isn’t “clean” even when it is. A low maintenance handmade mug needs a fully stable glaze surface before water and soap touch it. If you use strong dish soap, the effect shows faster.
Start by leaving the mug in the kiln until it reaches room temperature. Then remove it and let it sit on a shelf for another hour so ambient humidity and temperature equalize. Wash with warm water and a soft sponge for the first clean, no scouring pads. If you want to be extra careful, skip soap on the first wash and just rinse and wipe, then wait a day before using it with coffee. This keeps the surface looking even and wipeable.
Pro tipIf your glaze looks perfect in the kiln but dull after the first wash, your cooling timing is the problem.