1. Warm Linen Mat Grid with 16 Photos
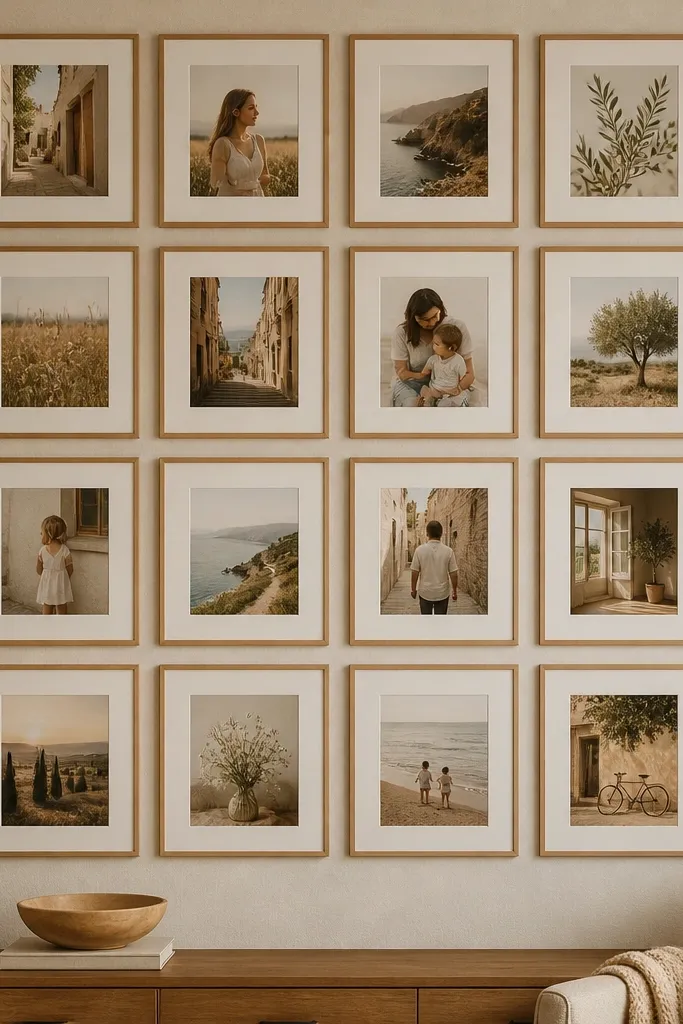
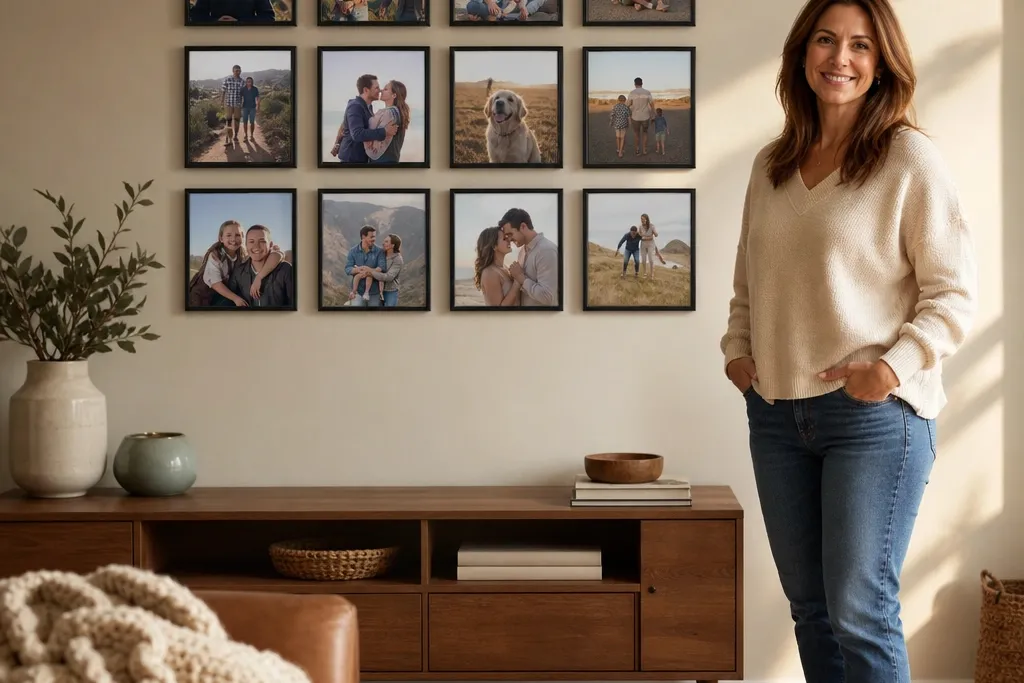
Start by cutting a linen-texture board or thick foam core to the final size, like 24x36 inches. Lay out 16 photos in 4 rows of 4, and keep a consistent 1/2 inch gap between images. Print photos at the same ratio so faces don’t get squeezed — I stick to 4x6 and 5x7 mixes only if the mat size stays identical. Add a 1 inch white mat border around every photo, then mount each photo flat to the board before you frame. Finish by aligning the grid so it’s perfectly centered, then hang with two picture hooks on studs or use a heavy-duty wall anchor if you’re on drywall.
This layout is cozy because the linen-texture background looks soft even when your photos are sharp. I use it when the family pictures include a mix of indoor and outdoor shots, because the warm cream mat keeps skin tones from looking gray under cool lighting. Thin light-wood frames add warmth without turning the wall into a heavy furniture piece. It flatters most homes because the grid makes everyone look “contained” — no photo feels like it’s fighting for attention. If you have kids with busy backgrounds, the mat border gives the eye a calm edge to land on.
AvoidAvoid mixing multiple frame finishes like black, chrome, and gold — it reads messy fast.
Pro tipUse a warm-white mat (not bright optical white) because it makes cheeks look healthier in warm indoor lamp light.
2. Thrift Frame Cluster with One Big Center Photo
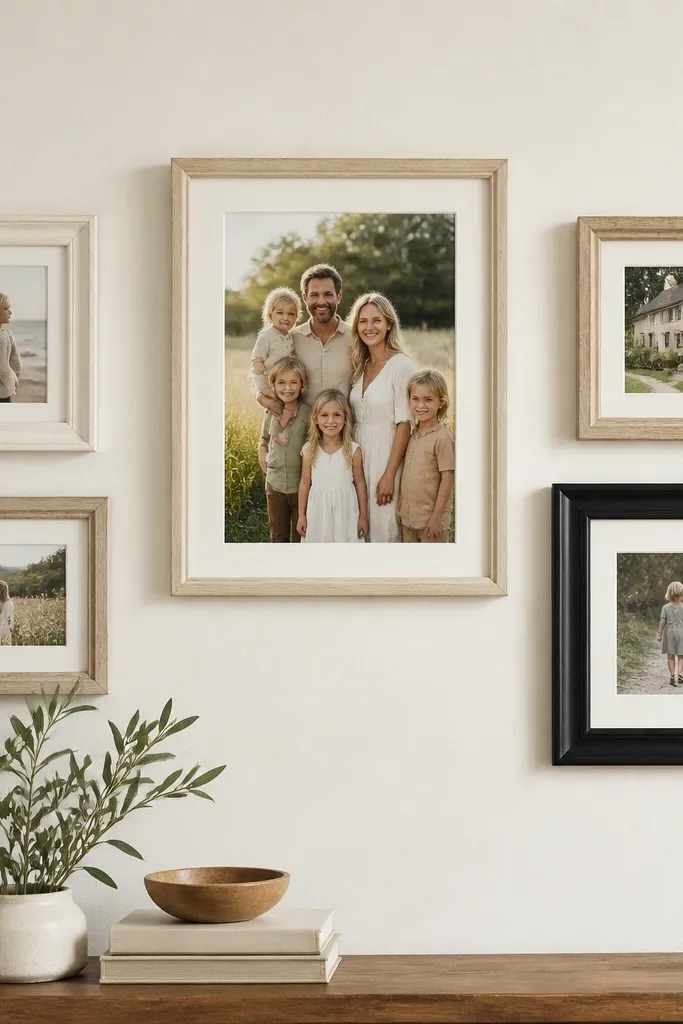
Pick one hero photo and print it larger, like 8x10 or 11x14, then choose four smaller prints that match the same color temperature (warm indoor or warm outdoor). Use mats in the same off-white color for every frame so the cluster looks intentional. Arrange the frames on the floor first: place the big center photo, then stagger two frames slightly higher on the left and right. Keep each frame’s outer edge about 2-3 inches apart so you can see the spacing. Finally, hang using a paper template taped to the wall so the cluster doesn’t drift when you remove the frames.
This is the most forgiving collage for real-life family mess. It works when your photos vary in size because the center photo becomes the anchor and the smaller frames feel like supporting cast. I like pale oak and cream frames because they soften the look, and one matte black frame adds definition without going harsh. The cozy vibe comes from the imperfect mix — but only if you keep one thing consistent: the frame depth and mat color. It flatters most rooms because clusters create visual movement instead of a flat rectangle.
AvoidSkip glossy frames if you’re using overhead lighting — glare makes kids' faces look washed out.
Pro tipDry-fit the frames with tape on the wall for 10 minutes before you drill — your eyes catch imbalance faster than your measuring tape.
3. Polaroid-Style Overlap with Warm Brown Tape Border

Print your photos in a consistent Polaroid ratio, like 4x6 with a simulated 3.5x5.0 photo area and a 1.25 inch white border. Cut each print with the same outer size, then rough-trim slightly if you want a more lived-in look. Lay them on craft paper first and overlap so the corners peek out — about 1/2 inch overlap is enough. Use brown craft tape as a thin outer border, not covering faces, and tape only the corners of the prints. Mount the full paper sheet to the wall so the tape stays flat and the edges don’t curl.
If your family photos are mostly candid — birthday mess, beach hair, school plays — this overlap style feels natural. The white Polaroid border makes everything look cozy because it adds a paper-like edge that hides print imperfections. Warm brown craft tape adds that “handmade” touch without going childish. This layout flatters busy photos because the overlap creates a visual rhythm, so your eye moves across faces instead of scanning backgrounds. It’s also great for homes with kids under 8 because it doesn’t require perfectly measured spacing.
AvoidDon’t stack photos with equal weight everywhere — leave one photo slightly higher so the collage has a focal point.
Pro tipUse matte photo paper for these prints; it kills glare and makes the tape look more believable.
4. Cream Paper Banner Layout with 12 Photos in a Line
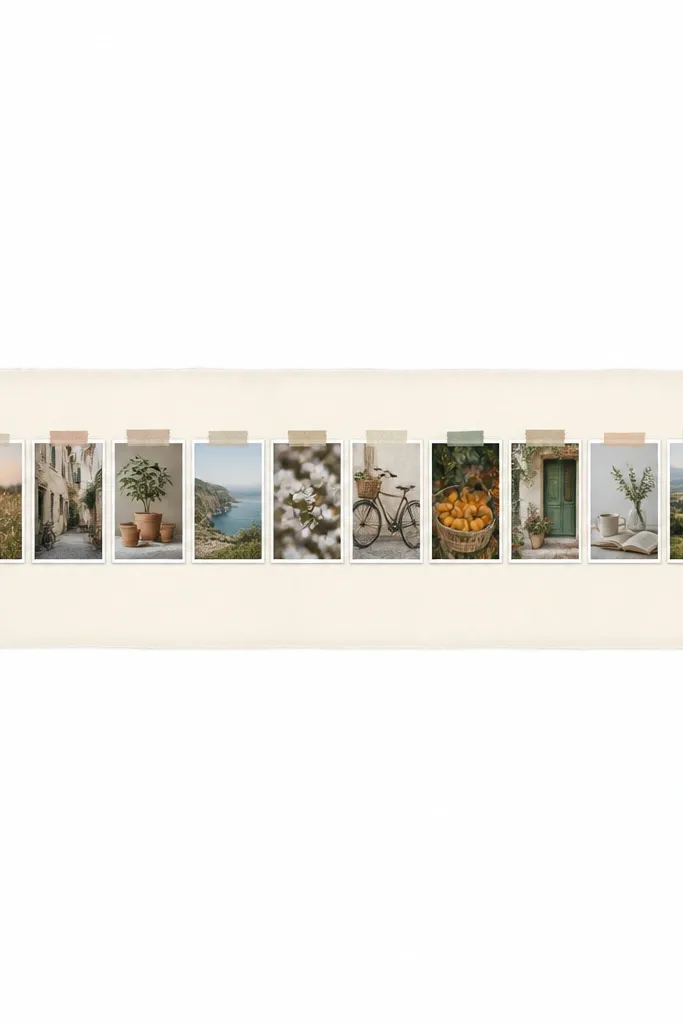
This one is my go-to for above-a-dresser or a narrow hallway wall. A horizontal photo line looks cozy because it reads like a timeline, and the cream paper background softens the look under hallway lighting. The spacing is what makes it work — even kids' photos don’t feel chaotic when each one has a consistent mat edge. I’ve used it with grandparents' photos too, because it gives everyone the same “moment” weight. It flatters small spaces because it doesn’t take over vertically.
Choose a banner width based on the wall, like 36-48 inches long. Print 12 photos at the same size, usually 4x6, and add a 3/4 inch white mat around each. Lay them out in a straight line with 1/2 inch gaps, then mark the positions on the banner paper. Cut small tabs of cream paper and tuck them behind each photo top edge so each photo sits slightly raised. Mount the banner to the wall with two French cleat supports if it’s over 40 inches, or use heavy-duty picture hooks for smaller sizes.
Keep the top edges of all mats aligned — that single straight line makes the whole collage look intentional.
Avoid mixing portrait and landscape photos in a single row unless every mat is the same size.
5. Felt Board Photo Strip with Mini Clips
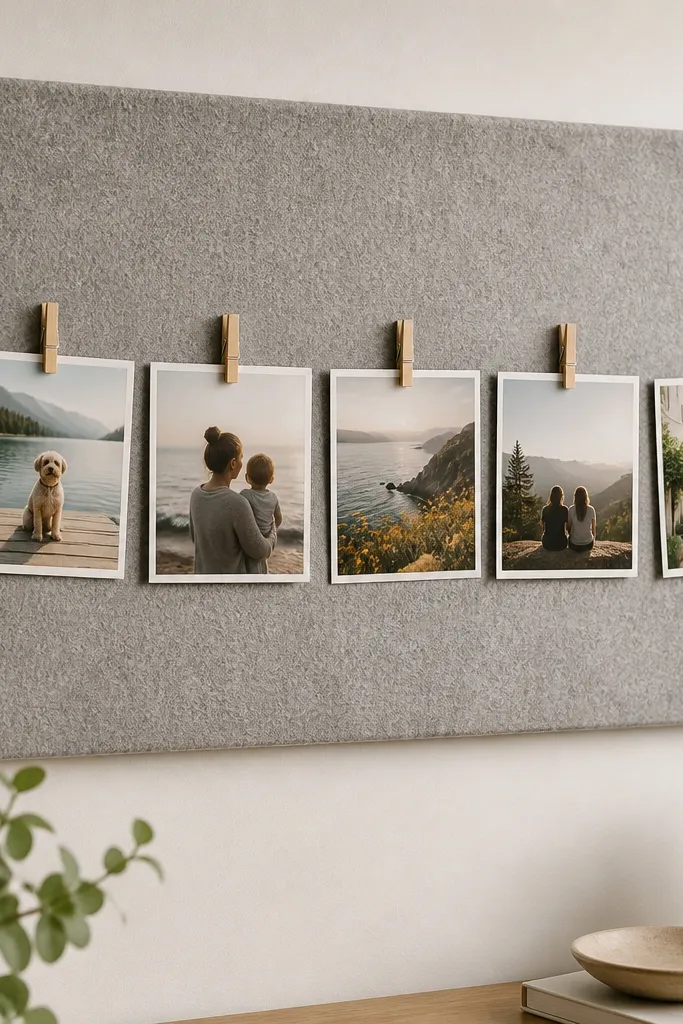
This is cozy because felt makes everything feel softer, and it’s also practical for kids who change photos constantly. I use it in kitchens and entryways where families walk by every day and want the latest school picture up. Mini clips let you swap without remaking the layout, which means you actually keep using it. The gray felt is a neutral that makes skin tones look warm, especially when your photos include both shade and indoor light. It flatters homes with busy decor because the felt background calms the wall.
Buy a felt board or cover a foam board with thick felt in gray or warm taupe. Cut photos to a consistent size like 3.5x5, then add a thin white border by printing with a white frame or using cardstock mats. Mount the felt board horizontally, and mark clip positions every 3-4 inches. Clip each photo with wooden mini clothespins — I place one clip at the top corners to keep it secure. Leave a small gap on both ends so the board doesn’t look crowded.
Use clothespins in natural wood, not painted — they blend with every photo color and don’t fight the images.
Skip thin felt that droops — it makes the photos look like they’re sagging.
6. 2-Tone Frame Stack with 9 Square Photos
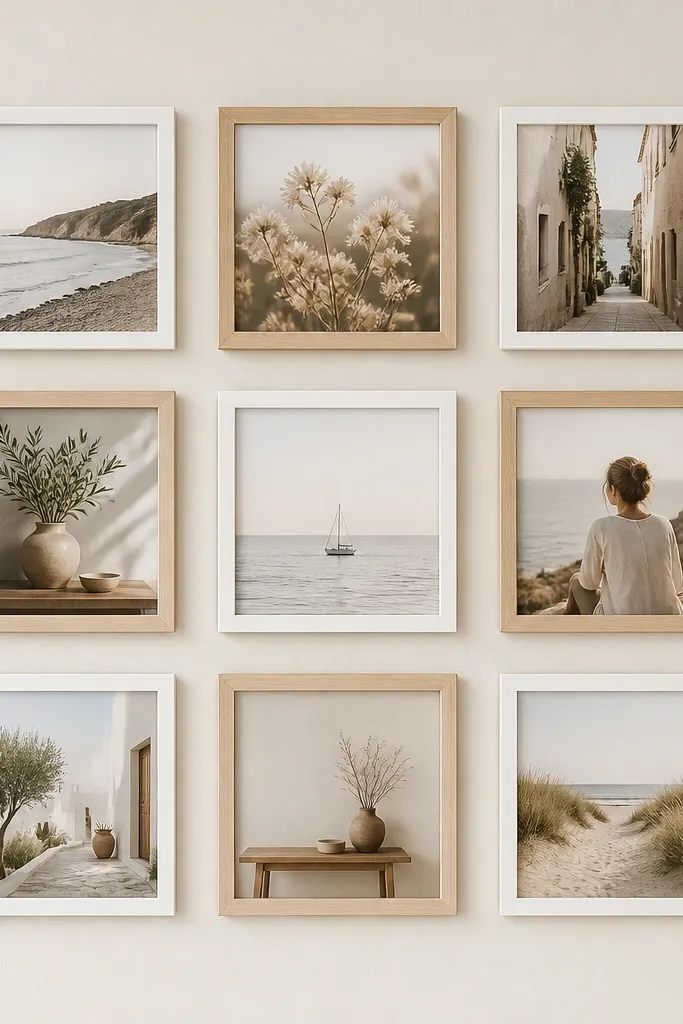
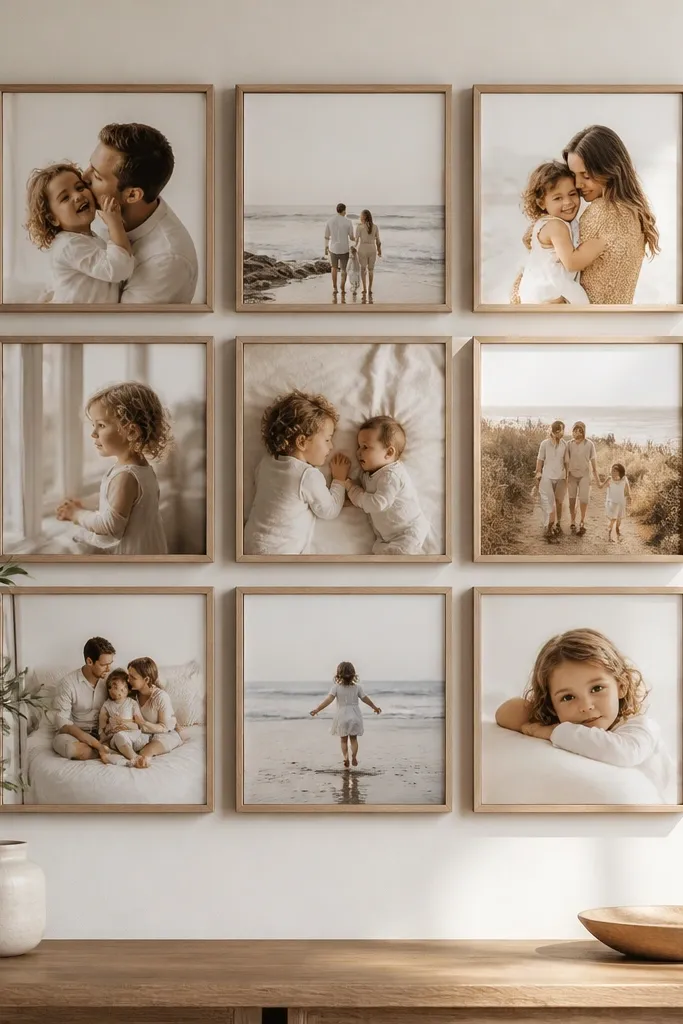
Square photos make a collage feel modern but still cozy because they frame faces evenly. Alternating two frame colors keeps it playful without looking random. I love this for families with lots of similar shots from the same day — school portraits, holiday minis, or a set of birthday photos taken in one spot. It flatters people of all ages because square cropping keeps eyes centered and reduces distractions from long backgrounds. If your kids have busy hair or clothing patterns, the consistent crop makes the whole wall calmer.
Print nine photos as squares, like 5x5 or 6x6, and choose one crop style across the set (eye-level close-ups look best). Use two frame colors with the same outer dimensions, like white frames and light oak frames. Arrange in a 3x3 grid with 2 inches between outer edges so the alternating look reads. Mount each frame with the same hook height so the grid lines up. If you’re making the wall feel extra cozy, add a warm gray mat behind the frames with a large backing board behind them.
Crop so each photo has a bit of headroom above eyes; it keeps the collage from feeling “too tight.”
Don’t change frame depth between the two colors — it creates shadows that make the grid look crooked.
7. Brown Kraft Paper + White Mat Photo Corner
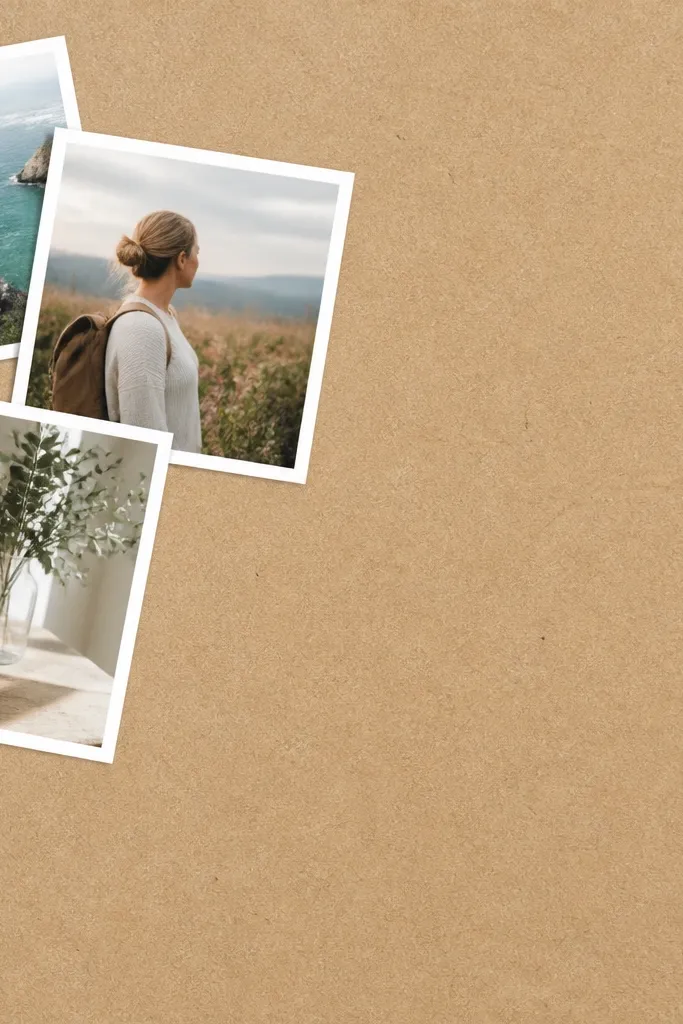
A kraft paper corner feels cozy because it looks like a handmade package, not a store-bought frame wall. It’s especially good if you have a few “best moments” you want to highlight — first day of school, a candid hug, a holiday baking shot. The thick white mat gives contrast so the kraft texture doesn’t swallow faces. This style flatters homes with warm neutrals because kraft blends with wood, rattan, and beige walls. It also works when you don’t have space for a full grid.
Cut kraft paper or kraft wrapping paper to a larger rectangle than your photo cluster, like 18x24 inches. Print three photos with the same mat size, like 4x6 photos with a 2 inch white mat border. Arrange the three photos into a triangle, with the biggest photo at the bottom right and the smaller ones above. Use glue dots or double-sided tape on the back corners only so the paper stays flat. Mount the kraft backing to the wall, then add a simple top hanger so the cluster stays aligned.
Lightly tap the kraft paper with a dry brush before mounting if it looks too flat — it brings out the texture under light.
Avoid dark ink prints on kraft — use photos printed in warm tones so skin doesn’t look muddy.
8. Holiday Sweater Fabric Photo Panel
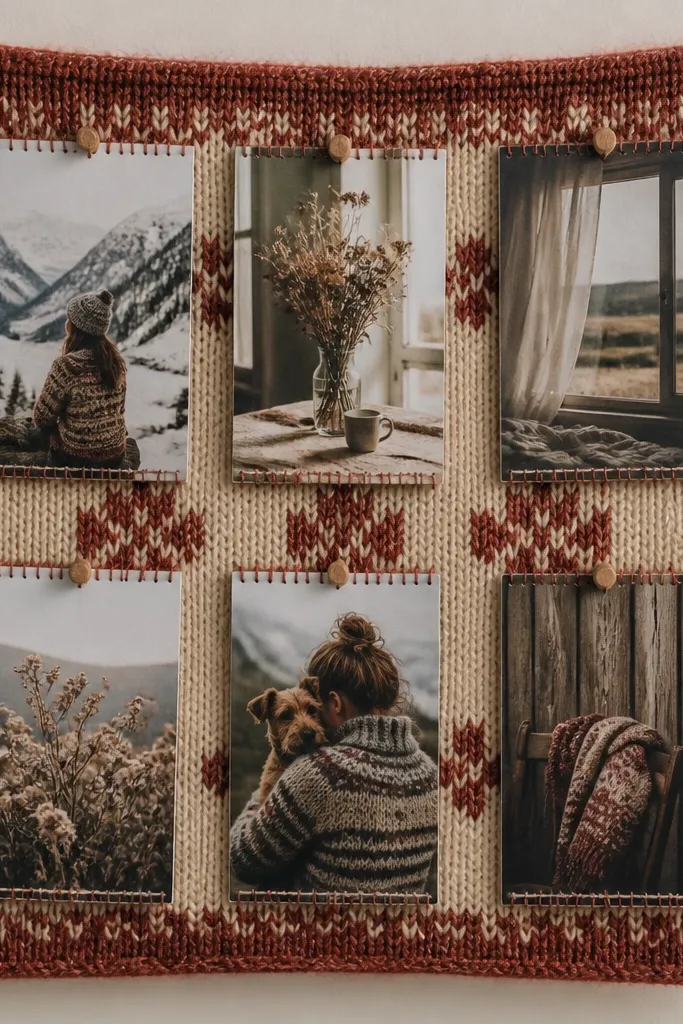
Cut a backing panel from foam core, then cover it with knit fabric, leaving at least 1 inch fabric wrap on all sides. Stretch gently so it doesn’t ripple, and staple the fabric on the back. Print photos to a consistent size, like 3.5x5, and add a thin white border so the knit doesn’t blend into the photo edges. Pin photos using small wooden or metal push pins at the corners — I use four pins per photo if the fabric is stretchy. Hang the finished panel using a picture hanger rated for lightweight crafts.
This one is pure cozy. Knit fabric adds warmth even when the photos are simple, and it’s a great use for a thrifted sweater that you don’t wear anymore. I’ve done this with muted red, olive, and cream knits — the colors look soft under daylight and warm under lamps. It flatters your family because the background texture makes skin tones look warmer and less flat. It also works well for kids' portraits since the knit texture hides tiny print imperfections.
AvoidDon’t use slippery satin-like fabric — photos slide and the edges look sloppy.
Pro tipUse a lint roller before assembly — knit fabric shows fuzz and your photos will look less sharp against it.
9. Washable Chalkboard Frame with Photo Magnet Squares
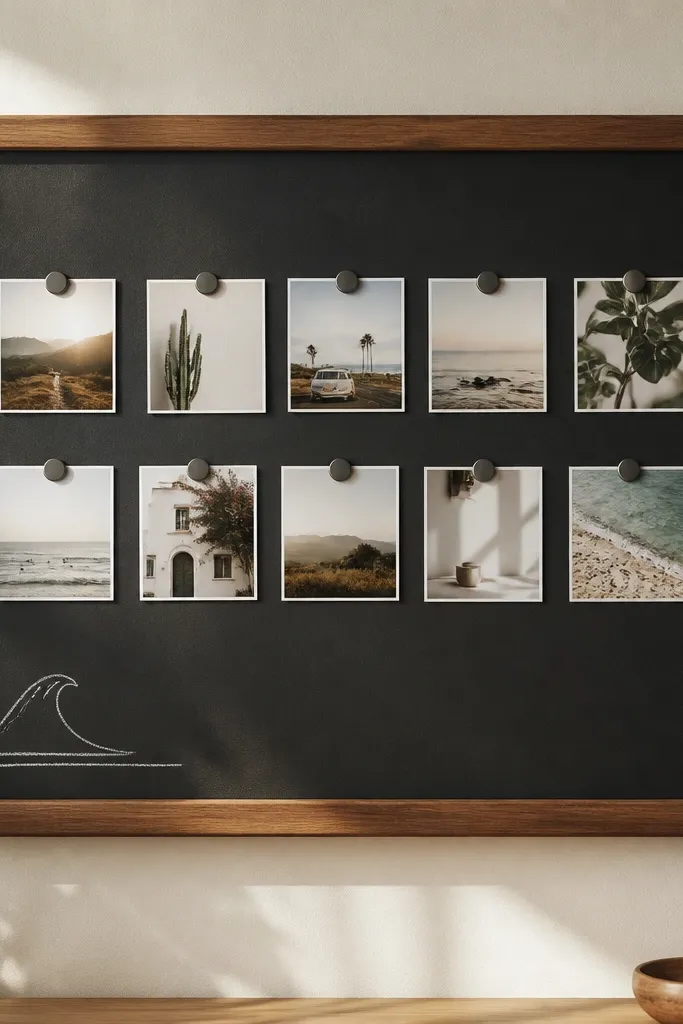
Paint a board with washable chalkboard paint, then frame it with a simple wood trim. Print photos on matte paper and cut them into squares, like 3.5x3.5 or 4x4. Attach sheet magnets to the back with strong craft adhesive, then place the photos in a grid. Use a ruler to keep rows aligned — chalkboard surfaces trick your eye. Add one small chalk caption in the corner, like a year or a kid’s nickname, and leave the rest blank so it still feels cozy.
If your kids love changing things, this collage stays fun. The chalkboard background makes your photos pop because it’s matte, and the magnet squares let you swap without re-gluing. I’ve used this in playrooms and mudrooms where you want photos visible but also easy to update. The magnet layout is also forgiving if you don’t have perfect print sizes; magnets cover the edges and keep the spacing neat. It flatters bright photos and keeps them from looking too glossy.
AvoidAvoid heavy photos — magnets sag and your rows start to look droopy.
Pro tipChoose matte photos and matte magnets; shiny surfaces reflect light and make the chalkboard look uneven.
10. Floating Shelf Photo Ledge with 10 Mini Frames
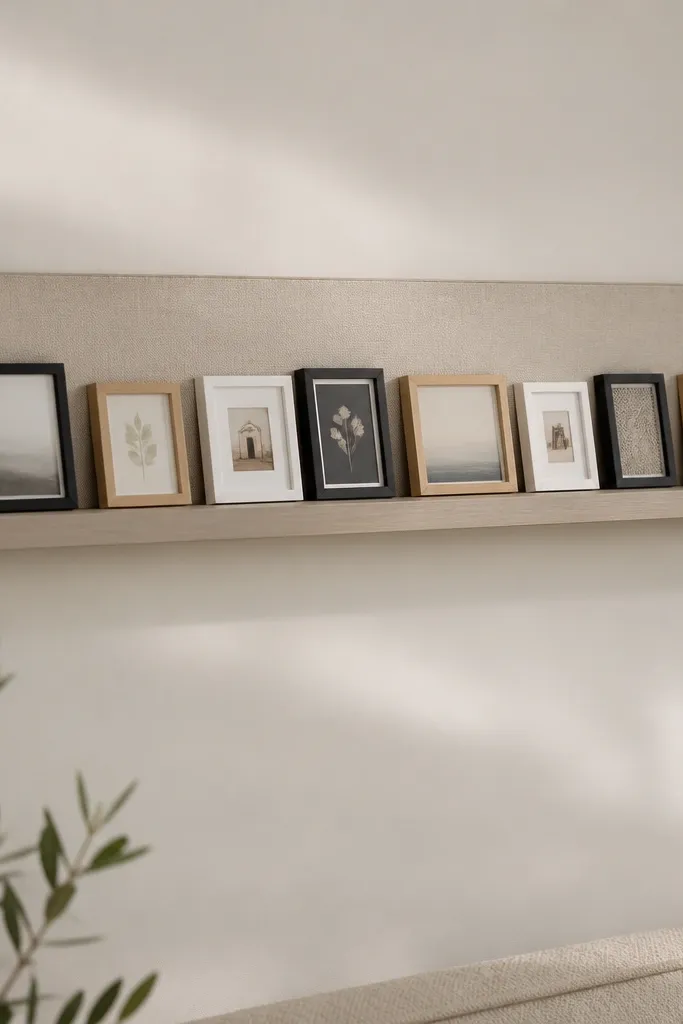
A floating shelf collage feels cozy because it adds depth. You’re not staring at a flat wall; you’re seeing layers, and the frames catch light from the side. I like this when your home has limited wall space or when you want a photo display that looks good even from across the room. The mini frames work well with kids' photos because you can crop tighter and keep faces large. It also flatters narrow hallways because you can keep the display at a comfortable viewing height without a huge wall piece.
Install a floating shelf at about 5-6 inches above a console or at eye level if it’s in the living room. Use mini frames that are the same height, like 4x6 mini frames, and keep the shelf depth at least 5 inches so frames don’t hang off. Arrange 10 frames in two rows of five, then add one small leaning frame at the end for movement. Behind the shelf, place a piece of warm paper or fabric as a backing so the wall color doesn’t show through gaps. Dust the frames before you place them; fingerprints show up on glass fast.
Use the same mat color across all mini frames to make the shelf look styled, even with mixed frame colors.
Don’t mix frame sizes that change height — it makes the shelf look cluttered.
11. Picture Rail with Twine and Clothespins
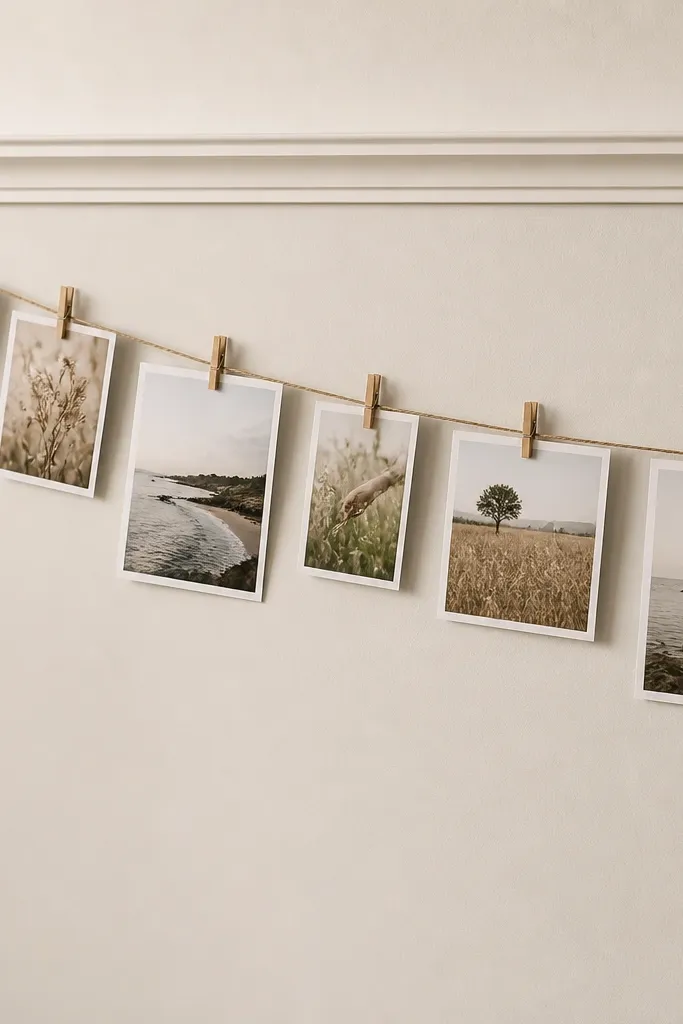
Picture rails are the easiest way to keep a cozy collage flexible. I use this in rooms where we’re constantly swapping out school and seasonal photos, because the twine system takes minutes instead of hours. The twine adds a handmade feel, and the clothespins make it look like a family keepsake display. It flatters kids' photos because you can clip portrait shots without stretching them into awkward frames. It also works in rentals since you can mount into the existing molding.
Install a picture rail (or use an existing one) and tie two lengths of twine from the hooks, one slightly higher than the other. Clip photos onto the twine with clothespins — I use mini clothespins for small prints. Print a mix of sizes but keep a consistent border, like white mat borders, so everything feels cohesive. Arrange in a gentle diagonal, leaving 1-2 inches between photos so faces are readable. Add a small cluster of 2 photos near the center for a focal point, then adjust until the diagonal looks balanced.
Wipe twine with a dry paper towel before hanging so it doesn’t pick up dust and look dingy.
Skip glossy photo paper — it reflects ceiling lights and makes the twine look messy.
12. Fabric Scrap Frame Collage with 14 Mini Prints
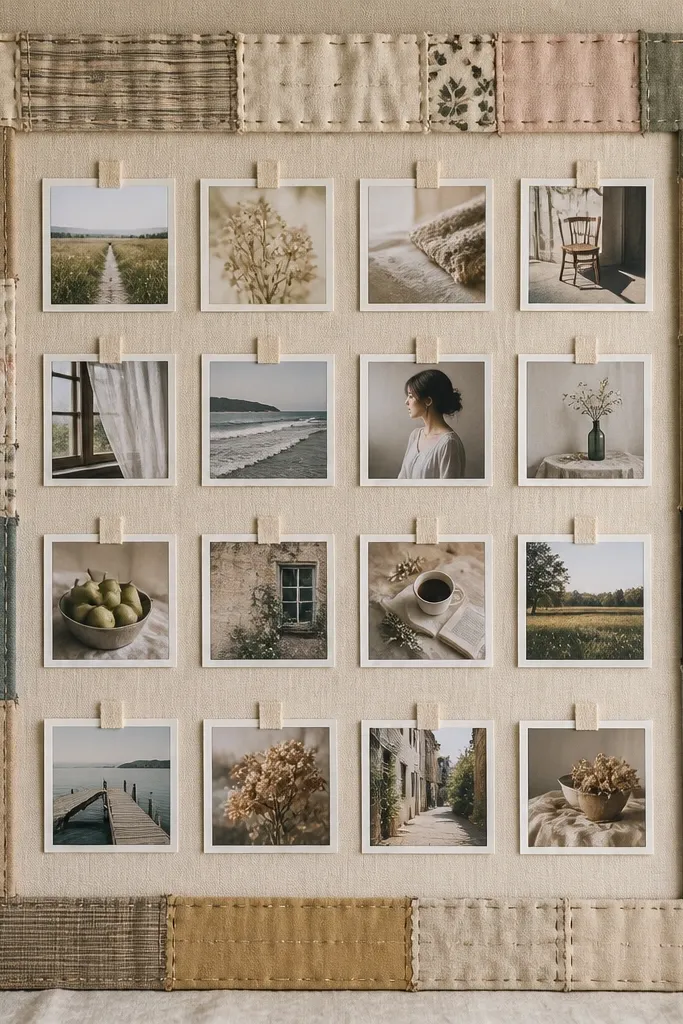
Make a fabric border by cutting scraps into strips, then stitch them into a rectangle on a simple backing like cotton or canvas. Press it flat with a warm iron and trim edges clean. Mount the fabric border onto a foam core board the size you want, like 18x24 inches. Print 14 mini photos, like 3x4.5 or 4x6 minis, and mount them in two rows of seven with consistent spacing. Use double-sided tape behind the corners and add small tape tabs at the top edges to mimic a scrapbook feel without covering faces.
This one feels cozy because it borrows from quilting without needing real quilting skills. The fabric scraps add warmth and cover the “hard edge” feel of printed photos. I like muted plaids, linen-like solids, and a little denim because they hold up visually against colorful kids' pictures. This style flatters families with mixed photo lighting because the fabric border softens contrast. It also works well for a mantel or dining room wall where you want something that looks handmade even from a distance.
AvoidAvoid stretchy knit scraps on the border — they warp and the photos end up misaligned.
Pro tipChoose one dominant fabric color (like cream) and let everything else support it so the collage doesn’t look random.
13. Black-and-White Photo Grid with One Color Accent Frame
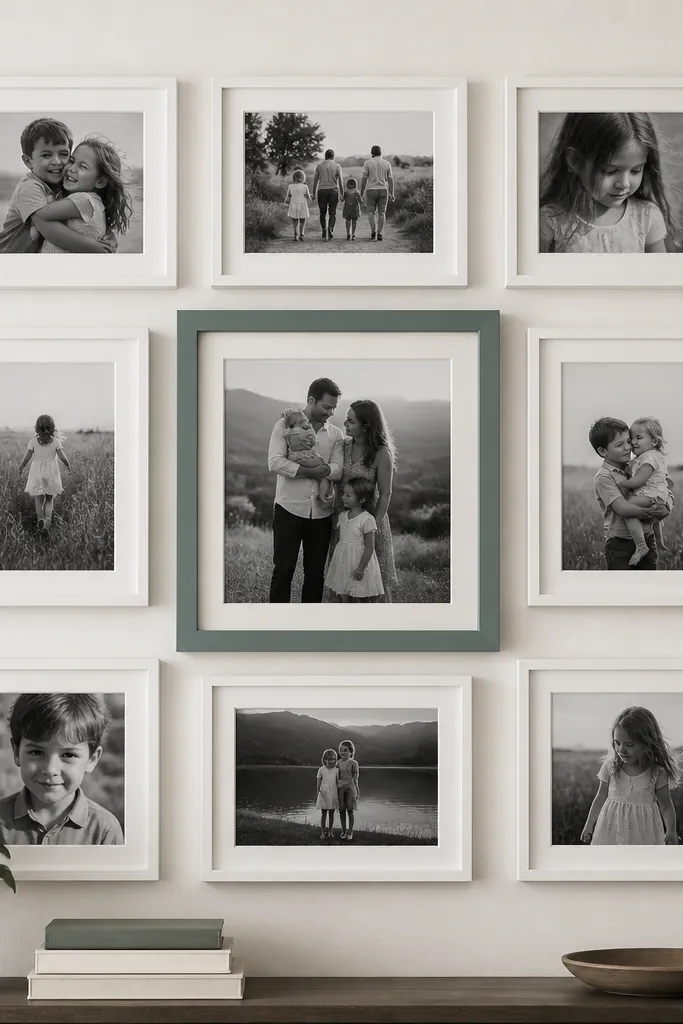
This layout is cozy because black-and-white photos feel timeless, and the single color accent makes it feel intentional rather than bland. I do it when family photos include a lot of bright colors that clash with your couch or curtains. By converting most images to black-and-white, you reduce visual noise and keep faces crisp. The one accent frame adds warmth because it ties into a real color in your room, like a throw pillow or rug. It flatters anyone because it reduces distractions and makes expressions stand out.
Print 12-16 photos in black-and-white on matte paper, all the same size, like 5x7 with a white mat. Choose one hero photo and print it in color, then place it in the center with a slightly larger frame opening, like 8x10. Use all white frames except the accent one, which should match a room color — I’ve used muted teal and burnt rust with great results. Keep the spacing consistent at 1 inch between frames or mats. Hang the grid centered, then step back and adjust so the accent photo sits at eye level.
Pick the accent color from something already in the room, not from the photo itself.
Don’t add more than one color frame — two accents make it look like you ran out of matching supplies.
14. Window Light Shadow Box with 8 Seasonal Photos
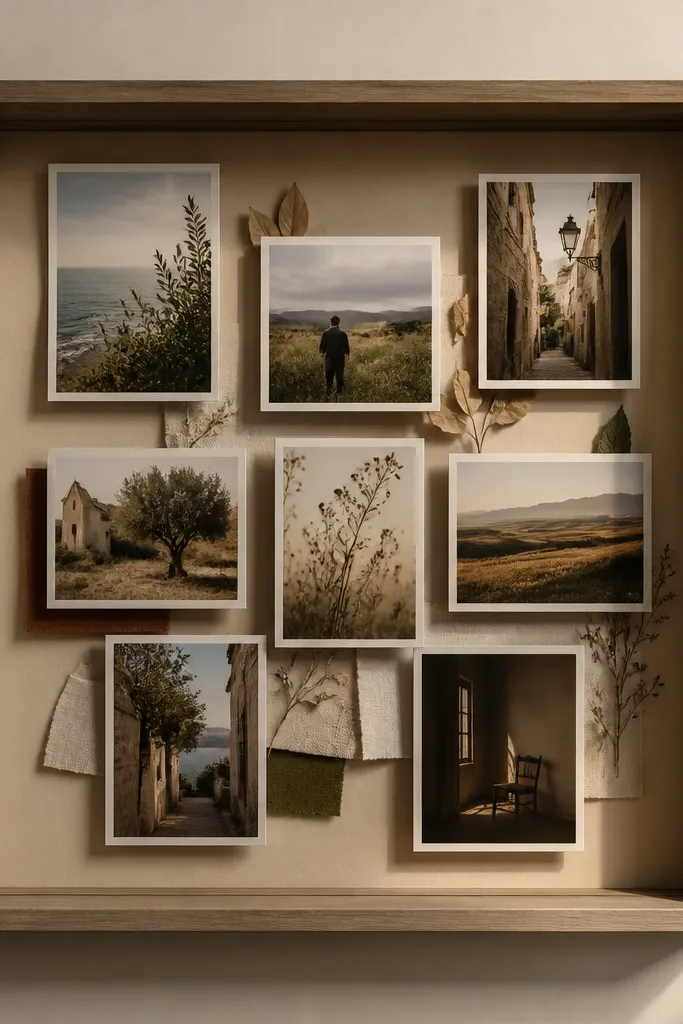
Buy a deep shadow box frame, like 2-3 inches deep, and cut a warm backing paper to fit inside. Print 8 photos at the same size, like 4x6, and add a consistent white border. Layer the photos using foam squares so each photo sits 1/4 to 1/2 inch above the backing. Arrange them in two columns with a little overlap so it doesn’t look like a boring grid. Add one small seasonal element behind the top layer, like a thin strip of fabric or a few dried leaves, then seal the box and hang it with the included hardware.
A shadow box collage feels cozy because it creates depth and soft shadows. I like it for seasonal photos because the layers make the wall feel like a living memory without needing a full scrapbook. Warm paper backing — like kraft or tan — keeps everything looking inviting. This layout flatters families because it turns small photos into a display you can read from across the room. It also hides minor print imperfections because the depth makes edges less noticeable.
AvoidAvoid packing the box too full — the depth effect disappears when everything touches.
Pro tipUse matte backing paper and matte photos; glass and glossy paper fight for attention in window light.
15. Cozy Entryway Photo Landing with 20 Polaroid Minis
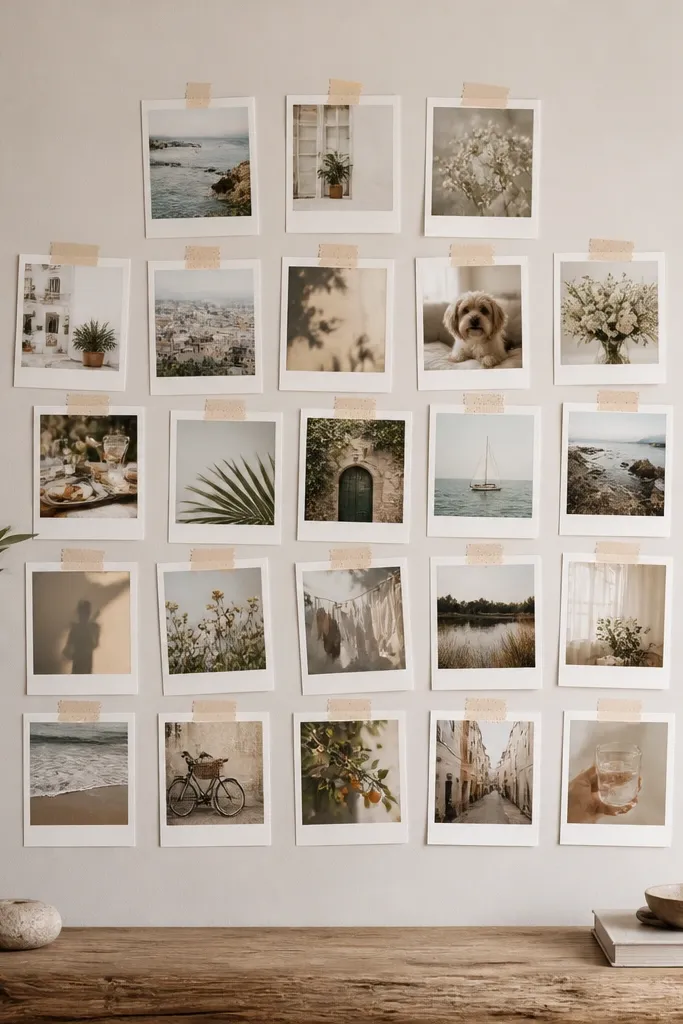
This layout is cozy because entryways are where you feel the house the most, and it turns “coming and going” into a warm routine. Polaroid minis look cute without feeling childish when you keep the color palette consistent. I use this when I want a collage that can handle a lot of photos — school days, park trips, random family selfies — without looking messy. The thick white border makes every face readable, even when the background of the photo is busy. It also flatters homes with light walls because the white borders brighten the whole area.
Print 20 photos in Polaroid-style format, each with the same outer size, like about 3x4. Print on matte photo paper for less glare. Arrange them in a vertical rectangle, staggering the overlap slightly so corners show, but keep the outer edges aligned. Use washi tape in one color family — cream and light brown — as tiny corner strips, not big covers. Mount everything to a backing board so the washi tape stays flat and the collage doesn’t warp. Hang at the height where you naturally look when you grab keys, usually around 62-65 inches to the center of the collage.
Stick to one washi tape pattern; two patterns makes it look like a craft store aisle.
Avoid mixing glossy and matte prints — the shine difference jumps out in entryway lighting.