
1. The 1/4-Inch Gap Disaster (Why My Frames Looked Like a Sticker Sheet)

Start by choosing one frame width for most frames, like 1 inch or 1.5 inches, and stick to it. Then set your target gap to 1/2 to 3/4 inch — I measure with a scrap mat board strip I cut once and reuse every time. Arrange your frames on the floor and place the strip between them; if the strip doesn’t fit cleanly, your frames won’t sit right on the wall. Finally, mark the wall with painter’s tape around each frame edge, then drill and mount using the same method for every frame.
My first collage used a 1/4-inch gap because I thought “closer looks more modern.” Up close, it read messy because the different frame widths created tiny shadows that varied from frame to frame. The effect made the whole set look like it was assembled in a hurry, even though the pictures were great. For a low maintenance framed photo collage, you want small, predictable shadows — that only happens when the gap is wide enough to look intentional. This works for family walls, too, because kids photos are visually busy already. When the frames are evenly spaced, your eye lands on the photos instead of the spacing.
AvoidAvoid ultra-tight gaps like 1/4 inch — they make mismatched widths look accidental.
Pro tipCut one spacer strip from leftover mat board and keep it in your collage kit — it prevents “eyeballing” gaps that creep bigger or smaller.
2. Glossy Photo + Shiny Glass = The Window Glare Problem

I learned this the hard way when I used glossy photo prints inside frames with shiny glass. In daylight, the glare created bright blotches that moved as I walked past the wall. It made the skin tones look uneven and it hid details in the kids' faces. Matte or semi-matte prints fix this fast because they don’t reflect as strongly. Non-glare glass or acrylic helps too, but you still need the print finish right. This is especially noticeable with beach days, sports photos, and any image with bright highlights.
Start by replacing glossy prints with matte or semi-matte. If you print at home, set your printer to matte photo paper settings and use the correct paper type in the driver. Then choose frames with non-glare acrylic or glass — if the frame listing mentions “UV” but not non-glare, it still might reflect. Finally, wipe the glass with a microfiber cloth before mounting so you don’t trap dust that turns into extra shine under light.
Test glare before you commit: tape one finished frame to the wall and check it in morning and evening light.
Avoid glossy prints under shiny glass — it turns your collage into a glare map.
3. The Cheap Frame Warping Moment (Why My Grid Got Crooked)

My first frames were the bargain kind with thin backing and a glossy finish. After a humid week, two frames bowed just enough that the grid looked off even when the hanging hooks were level. The photos were fine, but the structure wasn’t — you could see it in the way the frame edges sat. For low maintenance framed photo collage ideas, you need rigid frames and sturdy backing so nothing shifts with temperature swings. This matters most in kitchens, near bathrooms, and any room that gets morning sun. When the frame stays straight, you stop re-adjusting it every couple months.
Start by checking the frame backing thickness — if it feels flimsy when you lift it, plan to upgrade. Look for frames that have solid backing boards and a secure way to hold the print flat, like clips or a tight turn-button system. Then use the same frame type across the collage so they expand or contract similarly. Finally, mount one “test frame” in the room for a few days before you finish the whole wall if you’re in a humid space.
If you already bought thin frames, add a rigid backing board behind the print before re-seating it.
Avoid ultra-thin frames with weak backing — they warp and your collage slowly drifts.
4. The Overcrowded Layout That Made My Photos Hard to Read

Start by measuring the wall space and picking a collage block size, like 36 inches wide for a small grouping or 48 to 60 inches wide for a family wall. Lay out your frames on the floor and count how many you can fit while keeping 1/2 to 3/4 inch gaps. Then choose one photo to be the biggest, like a 5x7 or 8x10, and make the rest match a smaller size. Finally, keep the collage centered at eye level — I use about 57 to 60 inches from the floor to the center of the middle frame.
I stacked too many frames into one tight rectangle. From a distance it looked cute, but up close the photos competed with each other — especially when the images had different brightness levels. The result was that nothing felt like the “main” photo, and the whole wall looked noisy. A low maintenance framed photo collage needs breathing room so your eyes can scan quickly. If you want it to feel calm, keep the collage area proportional to the wall space. This works best for hallways and kid playrooms where the wall is already busy with backpacks or height charts.
AvoidAvoid cramming too many frames into one small block — it reads chaotic, not curated.
Pro tipIf you’re unsure, remove two frames and re-check from the doorway — your eyes should land on faces quickly.
5. Mismatched Frame Heights That Looked Fine on the Floor

Start by finding the center of where the collage should go and mark it with a pencil dot. Then use a laser level or a simple bubble level to draw a straight horizontal line across the wall at the height of the middle frame center. Place painter’s tape on the wall where each frame top or hook should land, using the frames themselves as templates. Finally, mount the middle frame first, then align the surrounding frames to your tape marks and spacer strip.
I did all the right things on the floor, then hung it and realized the heights were off. The issue wasn’t my eyeballing — it was the wall. Baseboards and uneven drywall make frames look level when you’re measuring on carpet. Once mounted, the collage had a subtle wave. Low maintenance framed photo collage ideas need a reference line that matches the wall, not your floor. This is especially common in older homes where floors slope a bit. When frames sit on a proper level line, you stop the “tiny corrections” that take an hour every time.
AvoidAvoid relying on floor-level measurements for vertical alignment — walls are rarely perfectly even.
Pro tipHang the middle frame first — it becomes your anchor so the rest of the grid doesn’t drift.
6. The 'One Frame Straight, Everything Else Drifts' Hanging Method
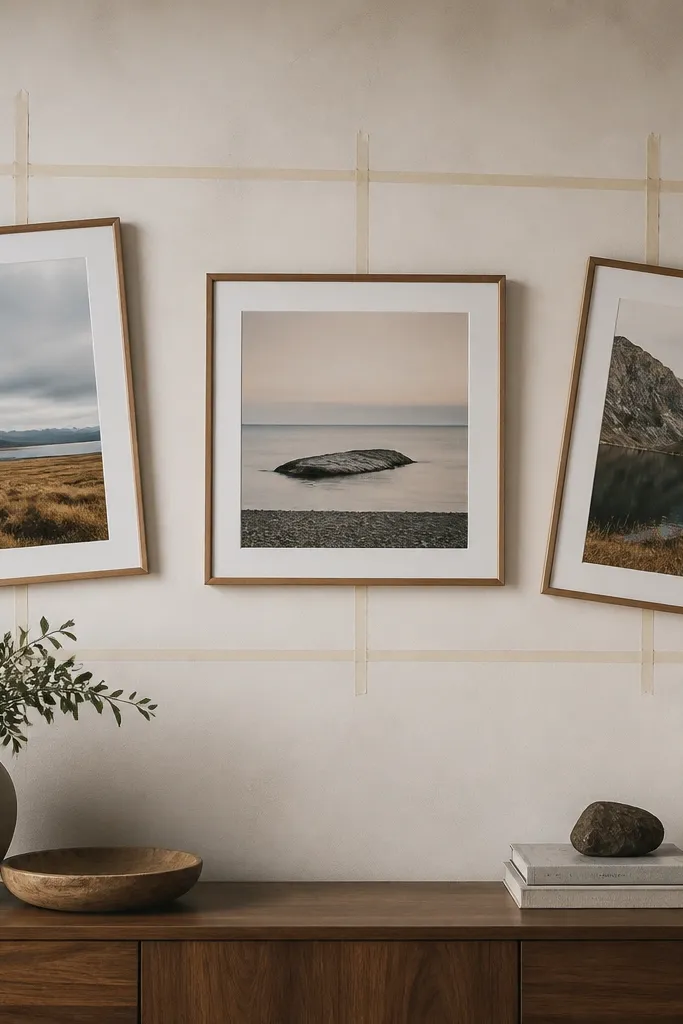
Start by removing the hanging hardware and checking what each frame uses — sawtooth, wire, or D-ring bracket. If you can, standardize by switching to the same type of wall anchor and using the same hook style for all frames. Use the same measurement point on each frame, like the top edge or a specific hook notch. Then mount the middle frame, hang the next one using your spacer strip, and adjust until both frames match the level line. Finally, tighten everything once and don’t loosen it again — that’s when the tilt creeps in.
This happened because I used different hanging hardware for different frames. One had a sawtooth hanger, another used a wire, and another had a bracket. Even if the hooks looked similar, the frames settled at different angles once the weight pulled them down. That’s why the collage looked off even though I “eyed it.” For low maintenance framed photo collage ideas, you want every frame to hang the same way so they settle predictably. It also makes future adjustments faster because you know how each frame will behave.
AvoidAvoid mixing hanging hardware types across frames — the frames settle at different angles.
Pro tipIf you keep the original hardware, measure from the top edge to the hook point and match that distance across frames.
7. Wrong Print Size Inside a Frame (The 'Floating Border' Look)
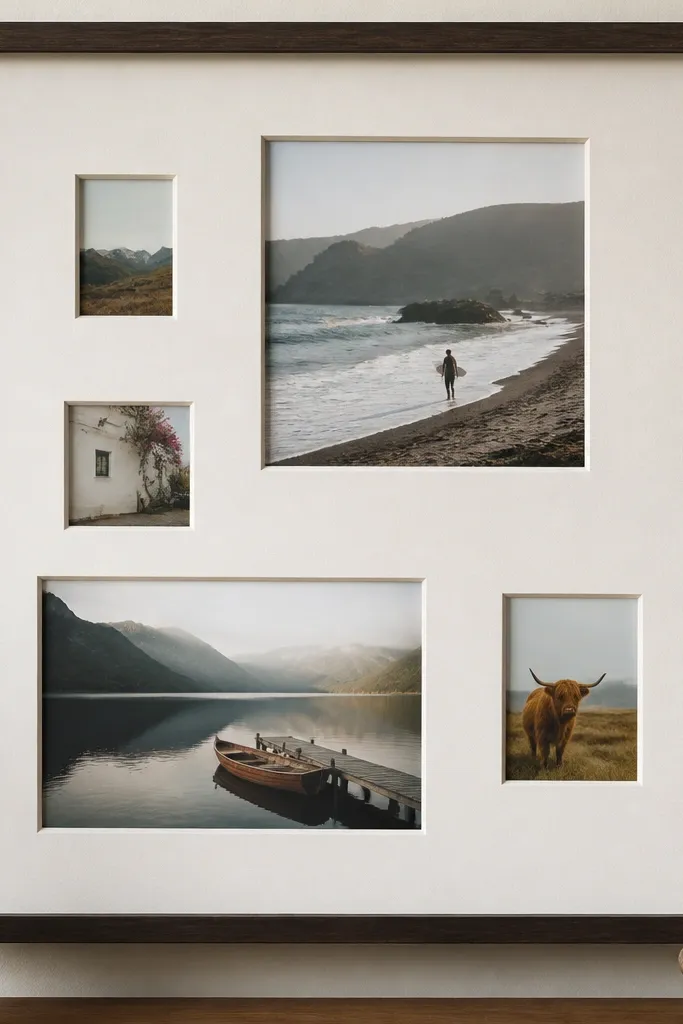
Start by checking the frame’s mat opening size, not the frame’s outer size. Measure the opening width and height with a ruler and write it down. Then order prints to that exact size and choose a matte paper finish. If the frame has no mat, you need to account for how much glass overlaps the photo area, so print slightly larger and trim carefully if needed. Finally, assemble one frame first and confirm the border thickness looks even before you print the rest.
I ordered prints the exact size of the photo, but the frame had a mat opening that needed a different dimension. The result was that some photos looked like they were floating with uneven borders, and it made the collage feel sloppy. Low maintenance framed photo collage ideas look best when the photo sits consistently within the frame opening. When borders match, your eye reads it as one design, not separate pieces. This also helps with kids photos because you don’t end up cutting off heads when you’re rushing. Consistent sizing is the difference between “this looks planned” and “this looks like a weekend project.”
AvoidAvoid guessing print size based on the frame’s outer dimensions.
Pro tipKeep a small strip of the first finished photo print — it helps you verify sizing before you print the whole batch.
8. The 'No-Test-Layout' Mistake That Cost Me a Whole Extra Drill Hole
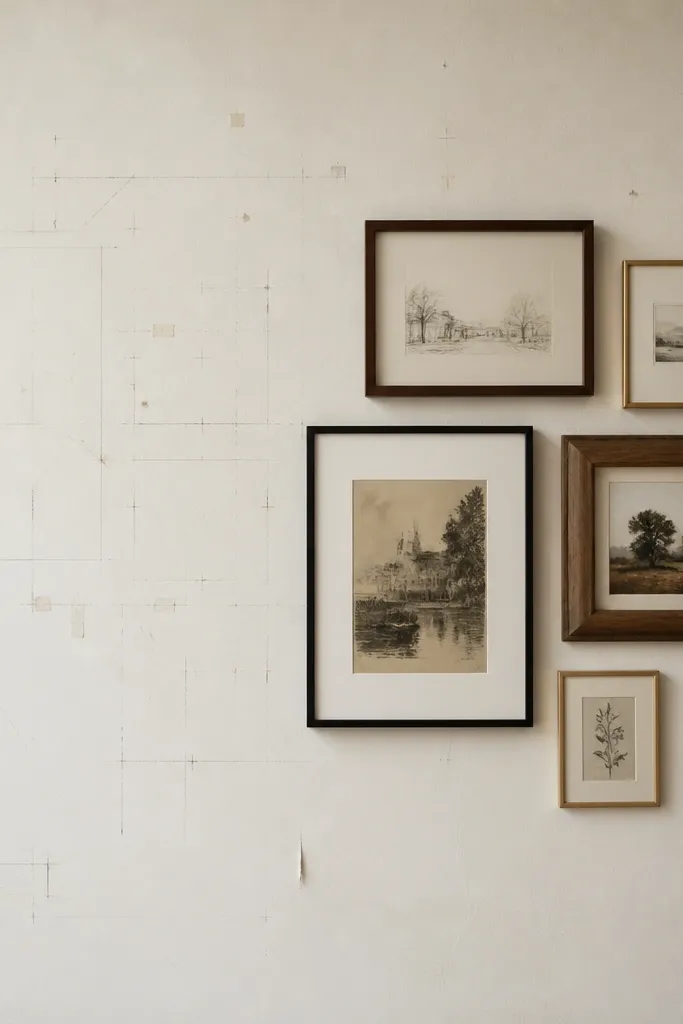
I tried to hang my collage by measuring the first frame and then quickly placing the rest. It worked until I got to the last two frames, where the spacing drifted just enough that I had to move them. That meant extra drill holes and a wall full of pencil dots. Low maintenance framed photo collage ideas need a dry-run layout so the math is correct before you commit. This is the part that saves you time because the wall doesn’t forgive mistakes. Kids walls are also a magnet for scuffs, so fewer drilling attempts keeps the wall looking clean.
Start by laying every frame on the floor in the exact final arrangement. Use your spacer strip to set gaps and put the “hero” photo in the center or top row based on where you want attention. Then measure the width and height of the whole block and transfer those dimensions to the wall. Use painter’s tape rectangles to map each frame location and mark only the mounting points. Drill once per frame location, mount, and stop — no re-drilling because you changed your mind halfway through.
Before drilling, hold the full taped layout up to the wall and step back 6 to 8 feet to confirm the spacing reads right.
Avoid drilling before you tape the full layout — you’ll end up repainting small mistakes.