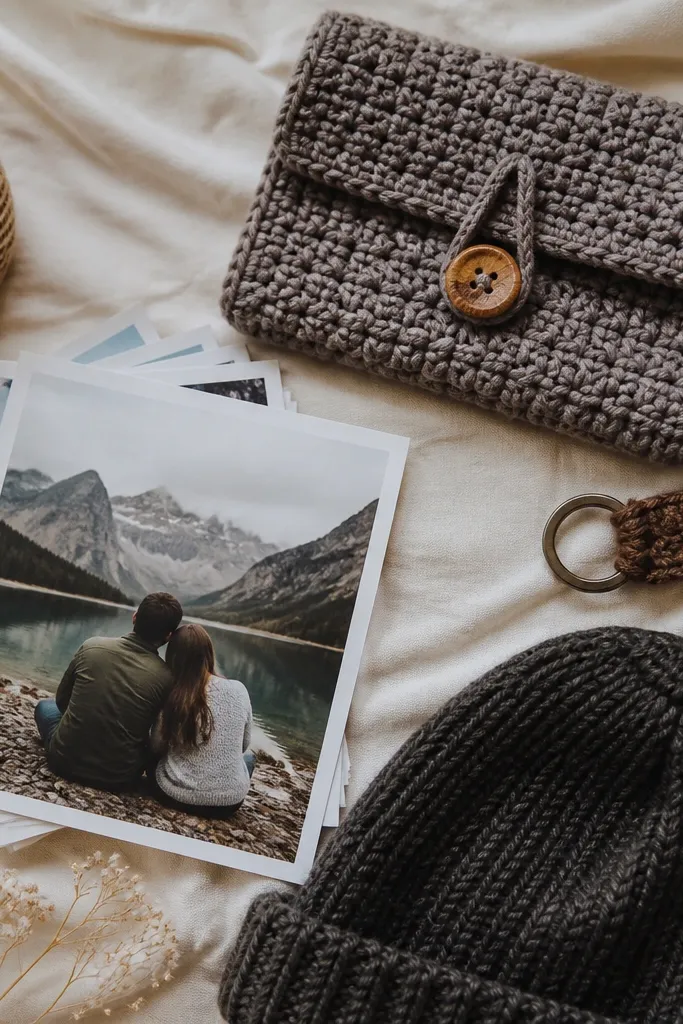
1. Denim Key Fob with Leather Edge Stitch
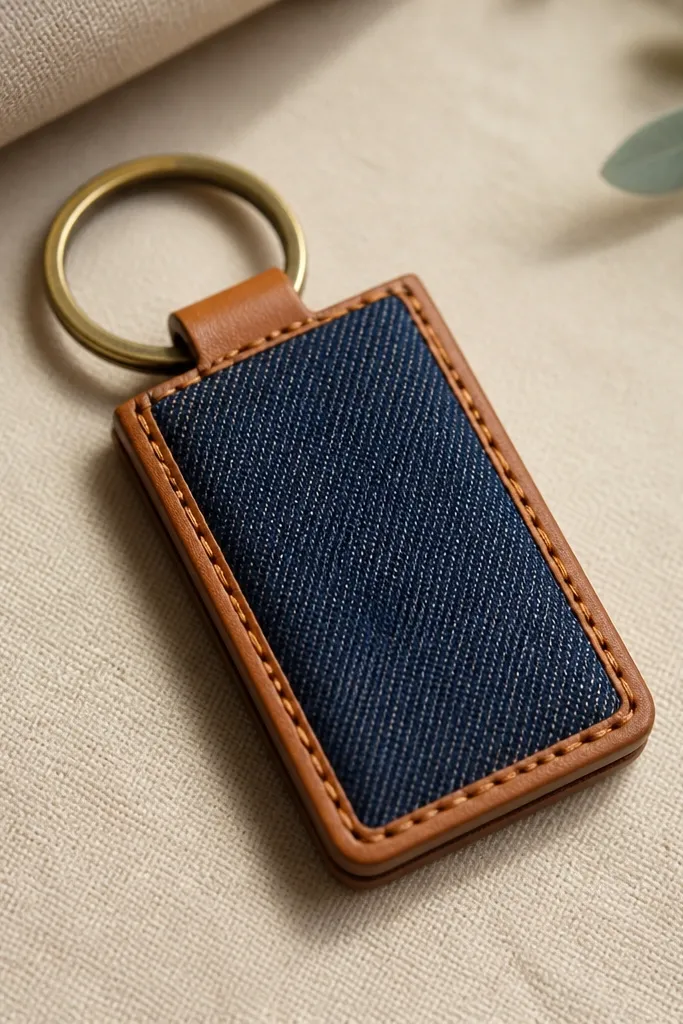
This is one of my favorite creative handmade things for boyfriend because it solves the annoying key jangle and looks better the more he uses it. I make it from a ripped-back or thrifted pair of jeans, then fold the denim so the seams hide inside. The tan leather edge gives it a sharp outline and makes the denim look intentional instead of patchy. It looks great on guys who wear black boots or dark jeans, and it also pops against lighter jackets. The texture is tactile — denim grain plus leather — so it feels “real,” not flimsy.
Start by cutting a rectangle about 4.5 inches long and 2 inches wide from denim, then fold it in half so the finished fob is roughly 4.5 x 1 inch. Use a dab of fabric glue to hold the fold, then stitch along the fold line with strong polyester thread. Next, trim a thin leather strip the same length as the fob edges, and glue it down before stitching through both layers for a crisp border. Finally, punch a small hole near the top fold, thread a jump ring through, and stitch around the hole once so it won’t tear out.
Pro tipIf his keys are heavy, add a second layer of denim inside the fold so it stays thick after a week.
AvoidDon’t use hot glue alone — it peels at the edges when keys rub against pockets.
2. Upcycled Hoodie Pocket Phone Sleeve
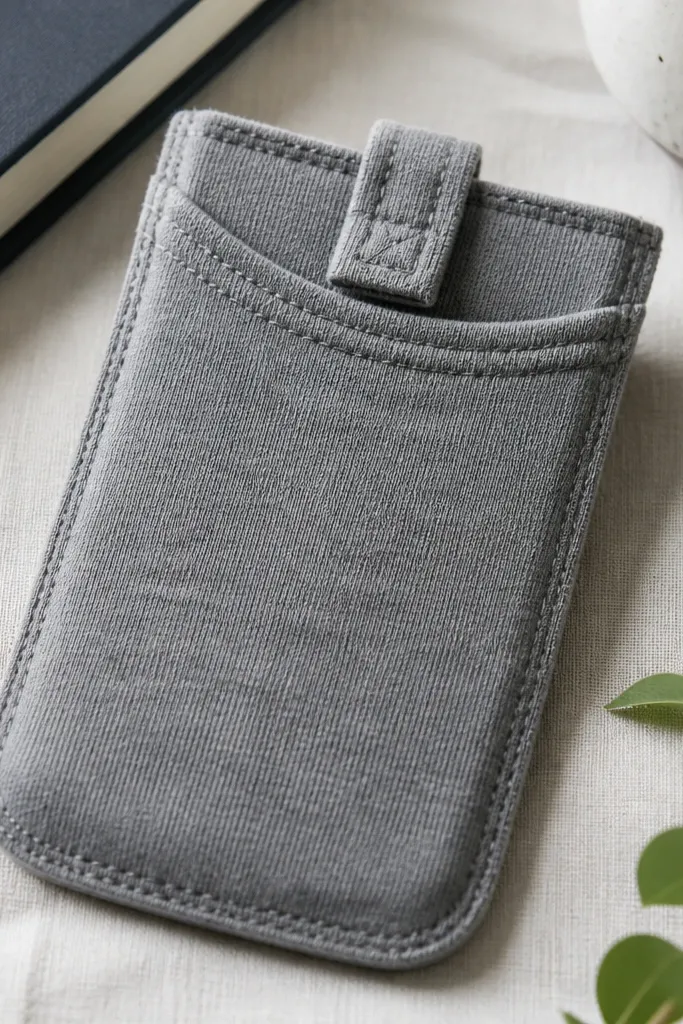
This gift feels personal because it turns his existing hoodie into a practical accessory. I use the hoodie pocket fabric itself so the sleeve already matches his comfort level. Knit fabric grips the phone slightly, which reduces the “sliding around” feeling in bags. It flatters anyone because it’s low-profile — especially good for slimmer guys who don’t like bulky cases. The sleeve also looks good with a watch and bracelet because the knit texture reads cozy instead of techy.
Start by tracing his phone on the hoodie pocket panel, leaving 1/2 inch extra around for seam allowance. Cut two matching pieces and pin them right sides together, then sew around leaving the top open for the entry. Turn it right-side out, press the edges flat, and topstitch 1/4 inch from the opening to make the rim hold its shape. Add a fabric tab closure using a small button or a snap, then test-fit the phone before trimming any excess.
Pro tipUse a stretch stitch or zigzag on the knit so the seam doesn’t pop when he flexes it in a pocket.
AvoidDon’t cut too tight on the sides — knit stretches, but a cramped sleeve makes the phone scrape.
3. Thrifted Sweater Coaster Set with Felt Backing
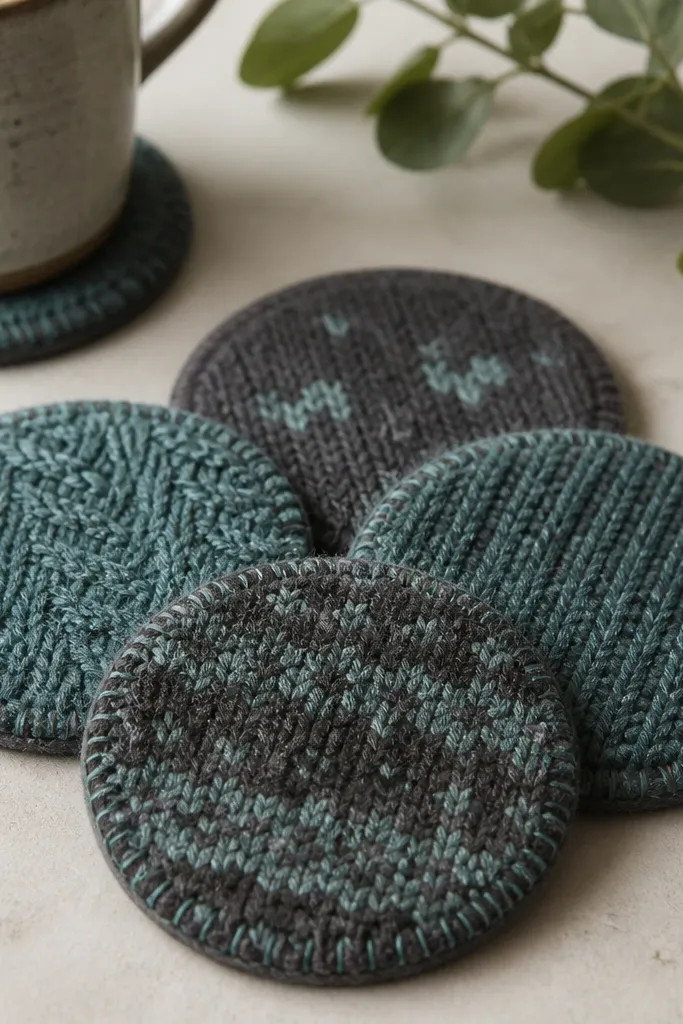
Coasters are one of the cleanest creative handmade things for boyfriend because they’re useful and they instantly upgrade his space. I cut them from thrifted sweaters with interesting patterns — like diagonal ribbing or subtle heather flecks — then back them with craft felt so they don’t soak moisture. The knit surface looks cozy on a coffee table, especially in rooms with wood tones. Felt backing also makes them feel “finished” and prevents sliding on glass or laminate. If he’s a beer or coffee guy, this gift gets used right away.
Start by washing and completely drying the sweater so it stops shrinking later. Cut four circles using a bowl or coaster template, about 4 inches wide, then cut felt circles the same size. Sew around the edge with a simple blanket stitch — it looks handmade but stays neat. Finally, seal the sweater edges by trimming any long fuzz with small scissors, then give each coaster a quick press with a warm iron through a thin towel.
Pro tipPick one sweater color for the set and keep the other details subtle — it looks intentional instead of patchwork.
AvoidDon’t skip felt backing — knit-only coasters get soggy and leave damp rings.
4. Wood Slice Desk Stamp Pad Tray
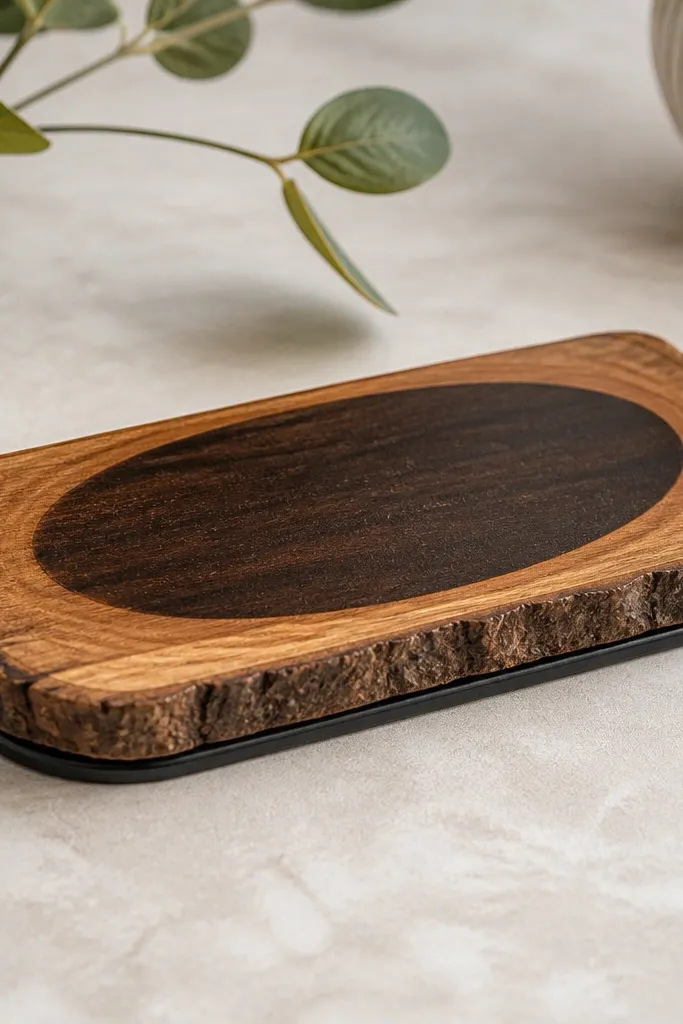
This is a desk gift that makes him stop and notice what he’s doing. I use a small wood slice or a thin cut from a thrifted cutting board, then sand the top until it’s smooth enough to touch without splinters. The finish is what makes it look store-bought: I stain lightly and seal with clear matte so it doesn’t look shiny and cheap. It fits guys with minimalist setups because the shape is simple and the texture is natural. It also works for anyone who uses a stamp, ink pad, or even a small roller for art.
Start by sanding the wood slice with 120 grit, then 220 grit, wiping dust with a dry cloth. Stain with a single thin coat, wipe off excess after 2 minutes, and let it dry fully. Cut a base from thin plywood or a scrap board, then glue the wood slice centered on top using wood glue. Seal with two light coats of matte clear, letting it dry between coats. Add felt pads underneath so it doesn’t scratch his desk.
Pro tipIf you want a sharper look, use painter’s tape to mask the edges before staining so you don’t get blotchy rings.
AvoidDon’t rush the seal — water spots and ink stains show up fast on unfinished wood.
5. Resin Photo Keychain with Ticket Stub Background
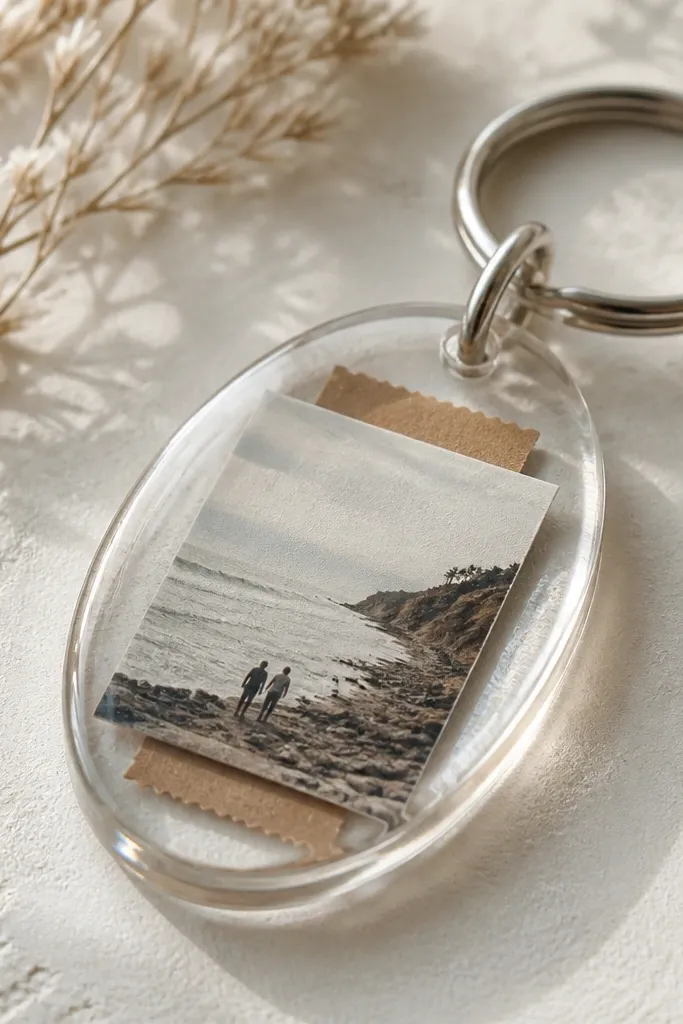
If you want a personal gift that looks polished, resin is the move — and ticket stubs make it feel lived-in. I layer a small printed photo on top of a background made from a vintage paper stub or receipt, then encase it so it stays protected in his pocket. The clear finish makes the colors pop, especially browns and muted reds. It’s flattering for any style because it’s small, shiny, and readable from a distance. Guys who carry keys everywhere actually keep these longer than you’d think.
Start by printing a wallet-size photo and trimming it to about 1.25 x 0.75 inches. Cut a paper background from a ticket stub in the same shape, then dry-fit the layers inside an oval resin mold. Mix resin slowly and stir for 2 minutes, then pour a thin base layer, place the paper stack, and pour again until it covers completely. Pop bubbles with a toothpick and let it cure fully — usually 24-48 hours depending on your resin. Finally, sand the edges lightly if needed and attach a jump ring to the hole or top loop.
Pro tipUse a matte photo print (not glossy) so glare doesn’t wash out the picture.
AvoidDon’t overfill the mold — resin domes catch on pockets and can chip at the edge.
6. T-Shirt Yarn Bracelet from Old Tees
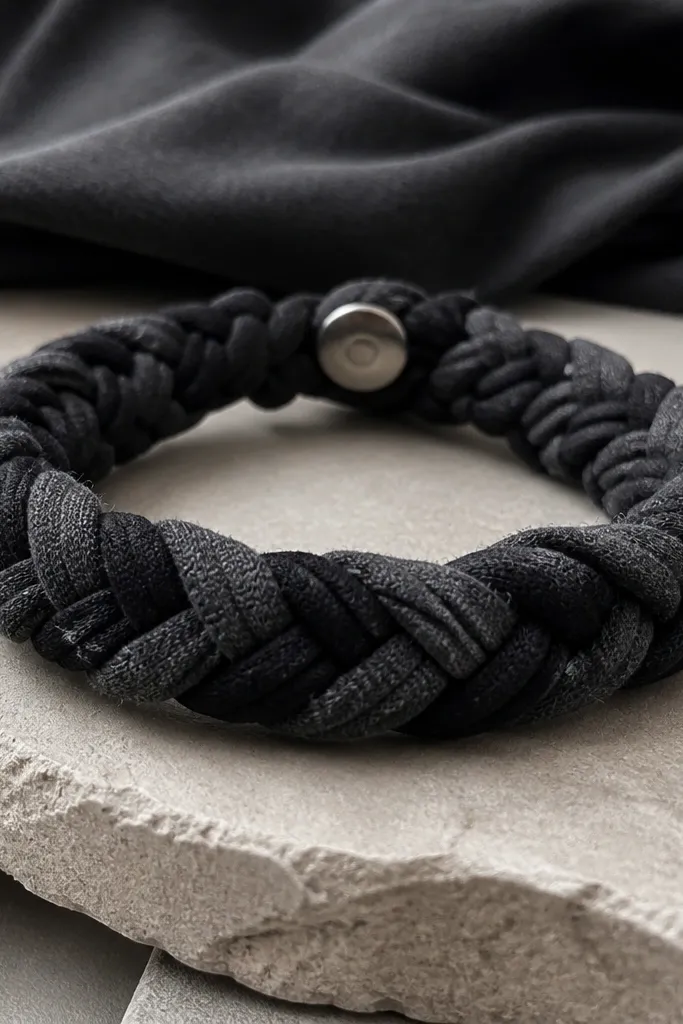
This one is for the boyfriend who wears bracelets or likes casual textures. I cut strips from an old T-shirt and braid them into a bracelet that feels cozy on the wrist. Because it’s fabric, it has stretch and doesn’t pinch like some rope bracelets. It looks best with neutral outfits — black jeans, gray hoodies, and white sneakers — where the texture becomes the focal point. The braid shape also hides uneven strip edges, so it stays forgiving if you’re not a perfect cutter.
Start by cutting the T-shirt into 1/2 inch strips, then stretch each strip slightly while you roll it to create a “yarn” effect. Braid three strands for a bracelet length of about 7-8 inches, then wrap it around his wrist to check fit. Add a closure by stitching a small fabric loop at one end and a snap or button at the other. Trim loose ends, then tuck them under with a needle so they don’t snag. Give it one quick tug test — if it holds, it’s ready.
For a cleaner finish, use a rotary cutter or scissors with a sharp tip and keep the strips the same width.
Don’t use thick seams from the T-shirt — they make the braid lumpy and uncomfortable.
7. Candle Jar Label Redo with Fabric-Covered Top
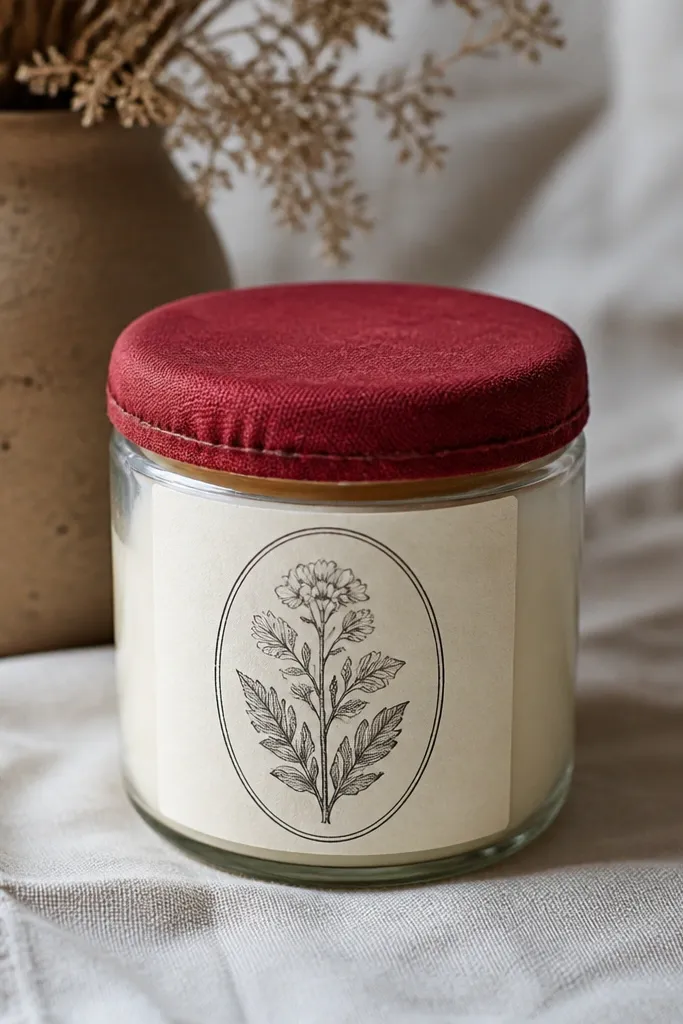
This gift is for the boyfriend who likes his room to smell good or who keeps candles on a shelf. I reuse the jar so it looks like a real product, then swap the label with something handmade and clean. The fabric-covered lid top adds warmth and hides any ugly lid scratches. It looks great in a space with wood shelving and black frames because the cream + deep red combo reads classic. It also lasts longer than you expect because the jar is reusable after the candle is gone.
Start by cleaning the empty candle jar and removing old residue with rubbing alcohol. Print or hand-write a label sized to the jar — about 3 inches wide — then wrap it with a thin layer of mod podge or clear tape for durability. Cover the lid top by cutting a fabric circle the diameter of the lid plus 1/2 inch, then fold edges under and glue them to the underside. Press flat and let it dry without moving the lid. Add a small twine bow only if the label is minimal; otherwise skip it.
Pro tipUse black ink on cream paper and keep the font simple — the label looks intentional instead of scrapbook-y.
AvoidDon’t skip alcohol cleaning — the label peels if the jar still has wax oils.
8. No-Sew Felt Wall Key Hook from an Old Coat
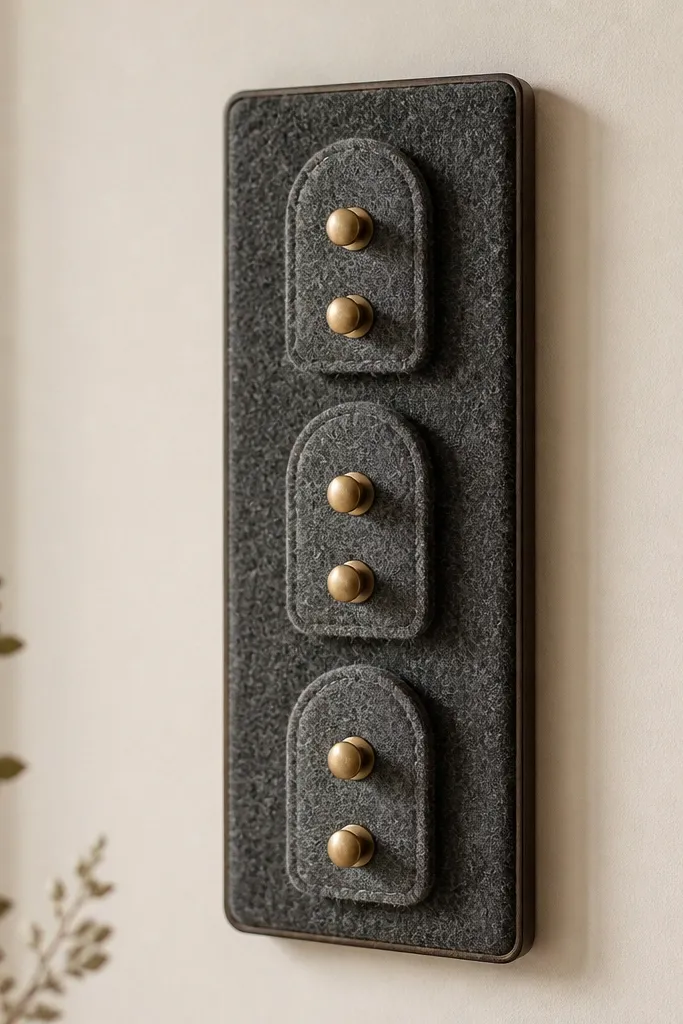
This is a practical creative handmade thing for boyfriend that fixes the “keys everywhere” problem fast. I make hooks from wool coat felt because it holds shape without fraying like cheap craft felt. The backing board keeps it stable, and the brass knobs add the part he actually uses. It looks best in entryways, bedrooms, or garages where he drops keys after work. Wool also feels expensive — thick, soft, and slightly textured under your fingers.
Start by cutting a backing board about 6 inches wide and sanding it lightly. Cut wool coat pieces into three hook shapes, each about 2 inches tall, with a rounded top and a narrow bottom. Glue the felt hooks onto the board in a straight vertical line, then glue brass knobs or screw-in hooks into the felt openings. Let it dry flat under a weight for an hour. Mount it with two wall anchors and test pulling the hooks before you trust it.
Use hot glue for the felt to board, but stitch or screw the hardware — glue alone can pull under repeated key weight.
Don’t mount with just one screw — the board twists and keys swing.
9. Leather Scrap Card Holder with Stamped Coordinates
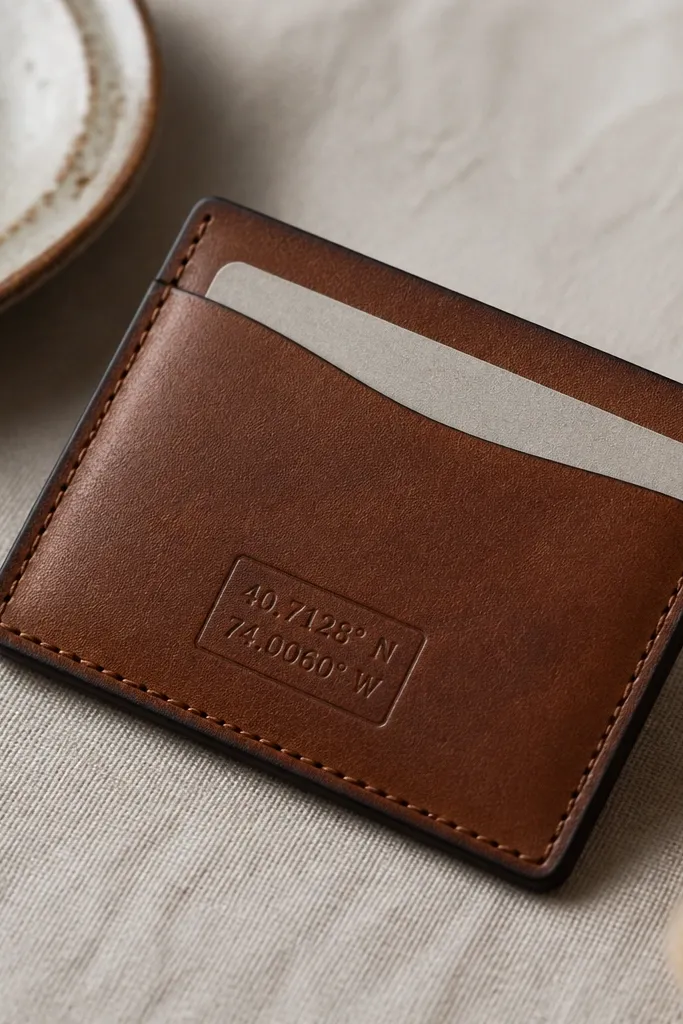
If he likes minimal wallets, this card holder hits the sweet spot. I use leather scraps from belts or thrifted bags, then stamp coordinates that mean something — like where you met or a favorite trip spot. Stamping reads classy even when the leather is imperfect, and the slim shape keeps it from feeling bulky. It’s flattering because it sits flat in a pocket and doesn’t add a thick “lump.” The warm brown tones look good on every skin tone because the leather color is neutral.
Start by cutting two leather panels, each about 4 inches wide and 3.5 inches tall, then skive one edge if your leather is thick. Mark a center fold and stitch or glue the side seams, leaving an opening for cards. For the stamped coordinates, lightly stamp a small rectangle on the front panel before assembly so you can press firmly. Burnish the edges with a damp cloth and a little wax if you have it. Finish by punching a small slit for a card pull tab and stitching over the slit to reinforce it.
Pro tipStamp on scrap leather first to get the pressure right — too hard cracks thin pieces.
AvoidDon’t rely on glue-only seams for leather — it separates when bent.
10. Patchwork Denim Wall Art for His Favorite Band Shirt
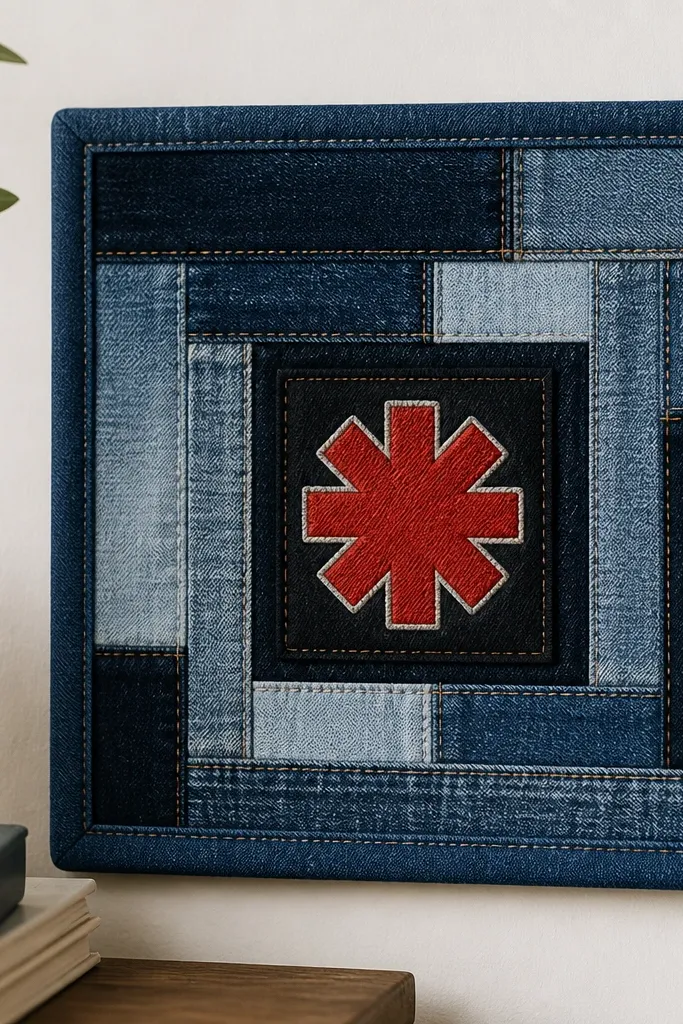
This is for the boyfriend who wears band tees and likes to keep his interests visible. I take a favorite shirt patch or logo and sew it onto denim squares, then frame it with a clean border. The denim background makes the logo feel grounded, and the stitching lines create structure so it doesn’t look like random scrap fabric. It looks best in his bedroom or office because it gives the wall a texture you can’t get from printed posters. The patchwork also flatters because it hides uneven shapes — denim is forgiving.
Start by cutting a background piece of denim about 10 x 12 inches, then wash and dry it so it doesn’t warp. Cut 3-5 smaller denim strips or squares and arrange around the logo patch like a simple layout. Sew the pieces down with a straight stitch and 1/4 inch seam allowance, then place the logo patch in the center and topstitch it around the edges. Fold and sew a border strip around the whole piece, then attach a hanging sleeve made from denim at the back. Iron gently through a thin cloth to keep it flat.
Choose one dominant denim shade and keep the other scraps within the same color family so it reads cohesive.
Don’t use stretchy knit patches alone — they ripple unless you stabilize with interfacing.
11. Macramed Rope Key Organizer with Driftwood Bead
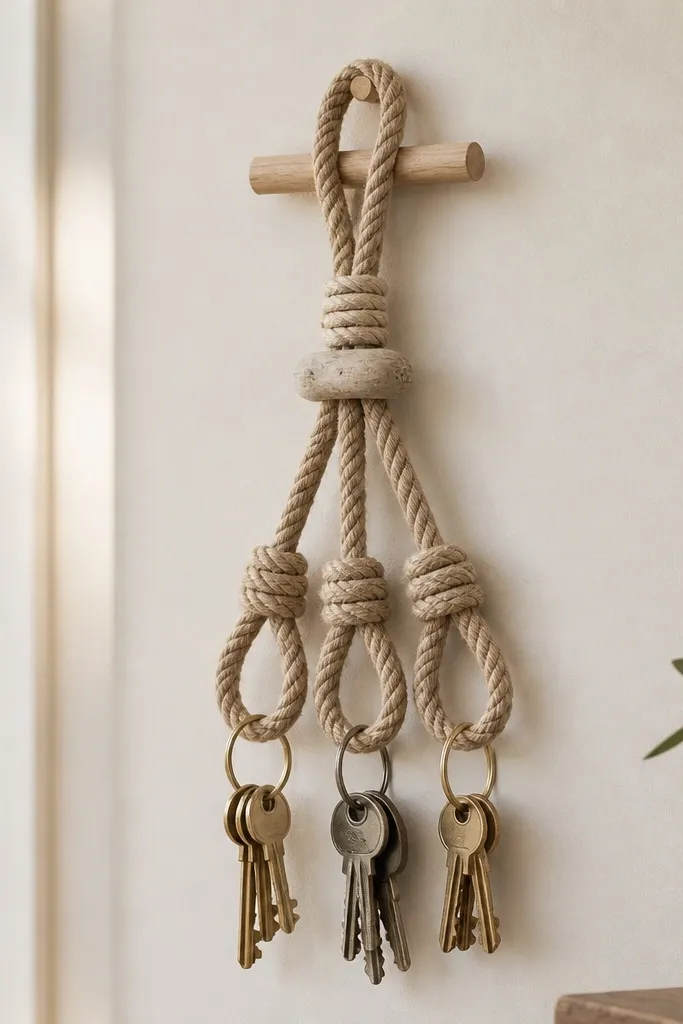
This one is for a boyfriend who likes handmade decor without looking like a hippie craft. I use thick natural rope and keep the design simple: three hanging loops and one small bead accent. The rope hides scratches from key rings and looks good against white walls or wood panels. It flatters a clean aesthetic because the knots are consistent and the shape is vertical. It also works if he has a lot of small items — keys, earbuds case, a car fob — because the loops separate them.
Start by cutting three rope strands each about 24 inches long, plus one extra for the top hanger. Tie a secure knot around a small wooden dowel or a metal ring, then create three identical hanging loops using half-hitch knots at the same height. Add the driftwood bead by sliding it onto the rope strand before you lock the knot at the top of the loop. Keep the spacing about 1.5 inches between loops so keys don’t tangle. Finish by trimming frayed ends and melting with a lighter carefully if your rope allows it.
Pro tipUse a ruler to mark knot heights so all three loops hang evenly — uneven loops look messy fast.
AvoidDon’t use thin twine — it stretches and keys slowly pull it out of shape.
12. Upcycled Tie Watch Band and Bracelet Combo
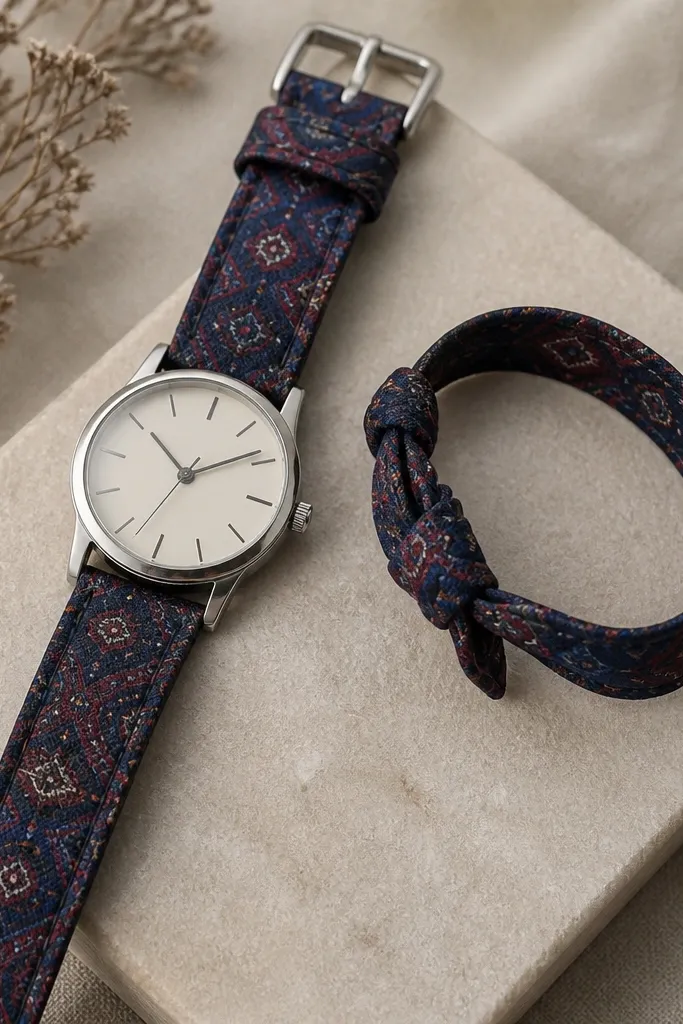
If he wears a watch, this is one of the most satisfying creative handmade things for boyfriend because it looks like a designer upgrade. I use the fabric from a thrifted tie — it has a tight weave that holds shape and doesn’t feel floppy. The watch band looks sharp with button-downs, and the matching bracelet gives you a coordinated set without needing a full outfit. It flatters guys with medium to darker hair because the tie colors show up against skin nicely. I also like it for date nights because it looks intentional and not overly cute.
Start by removing the old watch strap if you have a quick-release style. Cut tie fabric strips about 1.25 inches wide and length to fit the strap area, then iron it flat on low heat through a cloth. Use interfacing or thin fusible web on the back so it doesn’t stretch. Sew along the long edges or glue and stitch for security, then attach to the watch hardware. For the bracelet, cut a matching strip and wrap it around his wrist, then stitch or tie it with a small button snap for closure.
Pro tipChoose ties with subtle diagonal lines — they hide wear and keep the band looking clean over time.
AvoidDon’t skip interfacing — tie fabric alone collapses and looks wrinkled.
13. Paper Map Wrap Wallet from Old Books
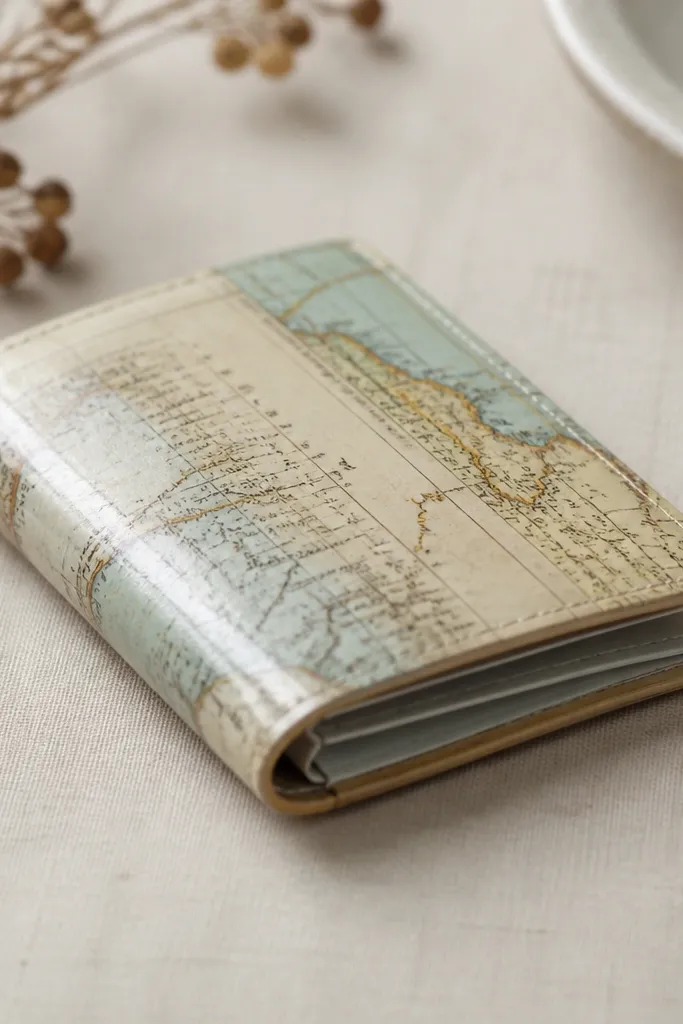
This is a creative handmade thing for boyfriend that looks like stationery but works like gear. I use old book pages mixed with map fragments so the cover has depth — not just one flat print. The trick is sealing: paper needs a protective layer or it softens. When sealed, it looks smooth and slightly glossy, like a premium notebook cover. It suits guys who carry slim wallets and prefer lightweight items. The color palette — browns, off-whites, and faded blues — looks good against dark jeans and jackets.
Start by tearing or cutting book pages into panels and layering them on a card-sized base, about 3.75 x 2.5 inches. Glue layers with white glue diluted slightly with water so it soaks evenly without warping. Wrap the layered paper around the base and press flat under books overnight. Trim edges with a craft knife, then apply 2-3 coats of clear varnish or Mod Podge gloss, letting it dry between coats. Finally, add card slots by gluing thin paper strips inside and sealing the edges again so they don’t peel.
Seal the corners with extra varnish — that’s where paper wallets fail first.
Don’t use heavy glue in thick blobs — it creates bumps that show through.
14. Hot Cocoa Coffee Sleeve with Buttoned Denim Cuff
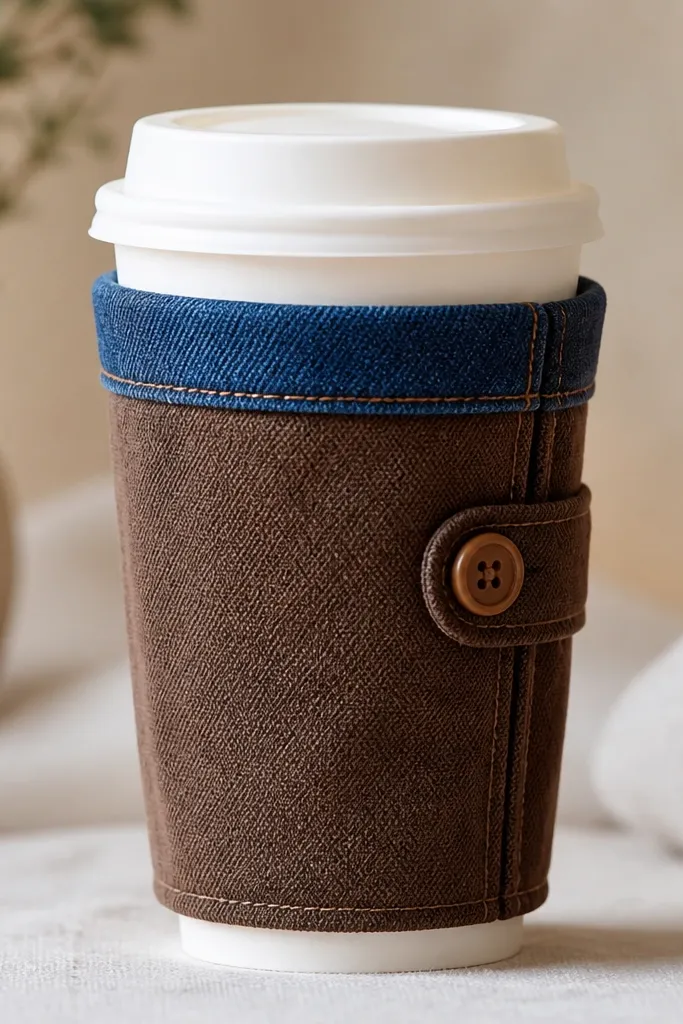
This one hits hard for winter and it feels thoughtful without being sentimental. I sew a sleeve from thick fabric like canvas or an old jacket lining, then add a denim cuff with a button so it stays closed in his hand. The cuff keeps the sleeve from flopping and makes it easy to grab. It looks good on anyone because it matches the casual outerwear vibe — denim and canvas go together. The sleeve also keeps drinks warmer for longer because the double fabric layer slows heat loss.
Start by measuring his cup diameter and height, then cut two matching fabric rectangles with 1/2 inch seam allowance. Sew around the sides and bottom, leaving the top open, then turn right-side out. Add a denim cuff strip about 1.5 inches tall, fold it around the top edge, and topstitch to lock it in place. Sew a button on one side and a small buttonhole tab on the other. Test fit with a real cup and adjust before trimming.
Pro tipUse a thicker thread and a tight stitch length so it holds up after repeated washes.
AvoidDon’t make it too loose — a wobbly sleeve slides and looks unfinished.
15. Fabric Bookmark Set with Waxed Thread Tassels
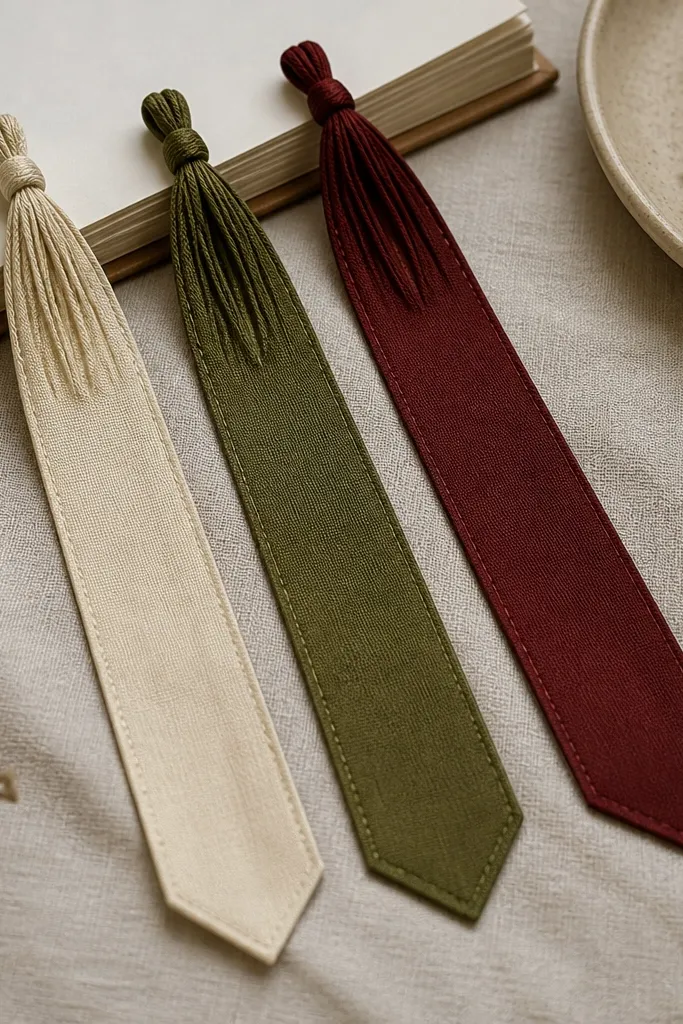
Bookmarks are small, but they’re one of the best creative handmade things for boyfriend if he reads or studies. I make mine from leftover cotton scraps and add waxed thread tassels so they don’t fray into a messy ball. The waxed thread holds its shape and looks neat even when tossed in a bag. It’s flattering because it doesn’t depend on body type or style — it just sits in his books. I’ve given these to guys who don’t wear accessories, and they still used them because they’re practical and pretty.
Start by cutting fabric rectangles about 2.5 x 7 inches, then fold them lengthwise and sew along the long edge. Turn it right-side out and press, then taper the bottom by trimming before topstitching across the tip. For tassels, wrap waxed thread around a small piece of cardboard 25-30 times, then tie off and cut. Sew the tassel to the top of the bookmark or tie it in a small knot and glue it under the seam. Finally, trim stray threads and iron gently through a towel.
Pro tipPick fabric with a tight weave — quilting cotton looks cleaner than thin bedsheet material.
AvoidDon’t skip tapering — rectangular bookmarks look cheap and catch pages.
16. Thrifted Belt Leather Coaster Holder
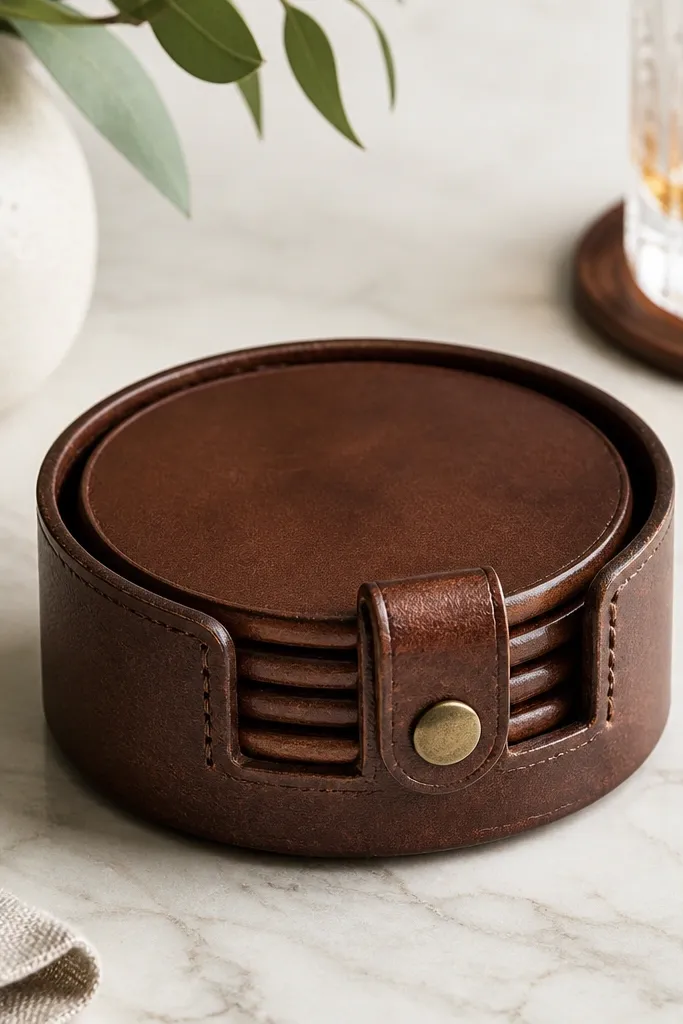
A coaster holder is the kind of handmade gift that feels organized, not random. I cut circles from a thrifted belt and stitch them into a matching set, then build a small holder with a snap strap so it stays together. Leather coasters look great with whiskey glasses because the leather darkens slightly with oils and develops a soft patina. It flatters a rugged style — think boots, denim, and leather jackets. If he hosts friends or has a messy desk, this keeps everything in one place.
Start by cutting a belt panel into a holder base strip about 5 inches long and 3 inches tall. Cut four leather circles, each about 3.75 inches wide, and rough up the underside lightly with sandpaper so glue holds. Stitch or glue the circles into a folded holder pocket, then use a snap or a small buckle for closure. Apply a thin leather conditioner after assembly to darken and soften the edges. Let it sit flat overnight so the holder keeps its shape.
Pro tipBurnish the edges with a little beeswax — it makes even thrift leather look polished.
AvoidDon’t use overly thin belt leather — it bends and coasters slide on tables.
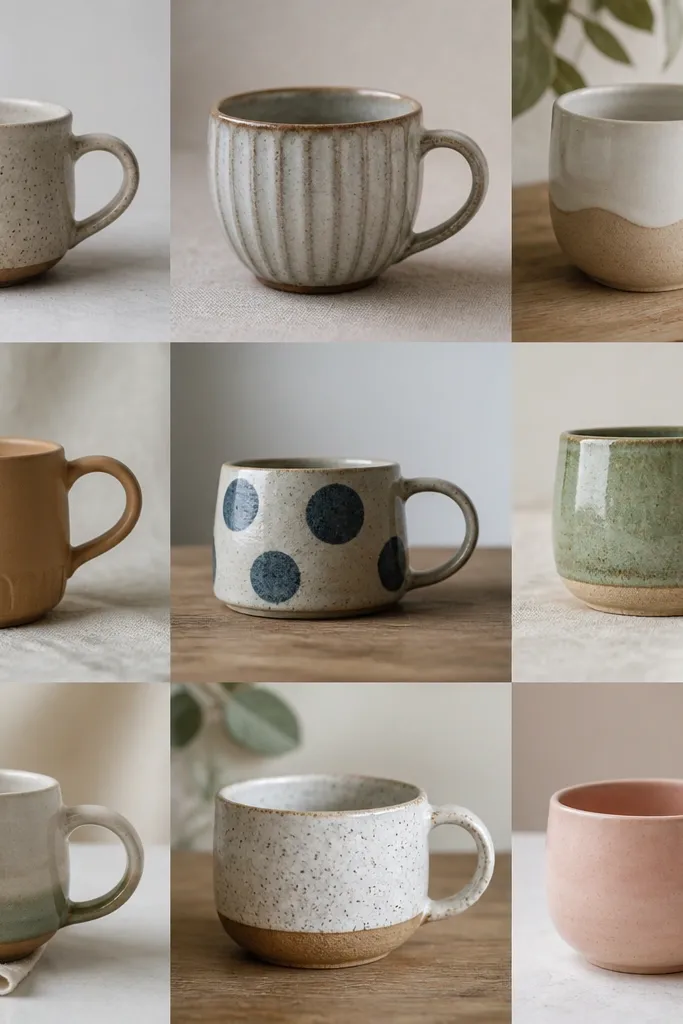
17. Hand-Painted Mug with Masked Color Bands
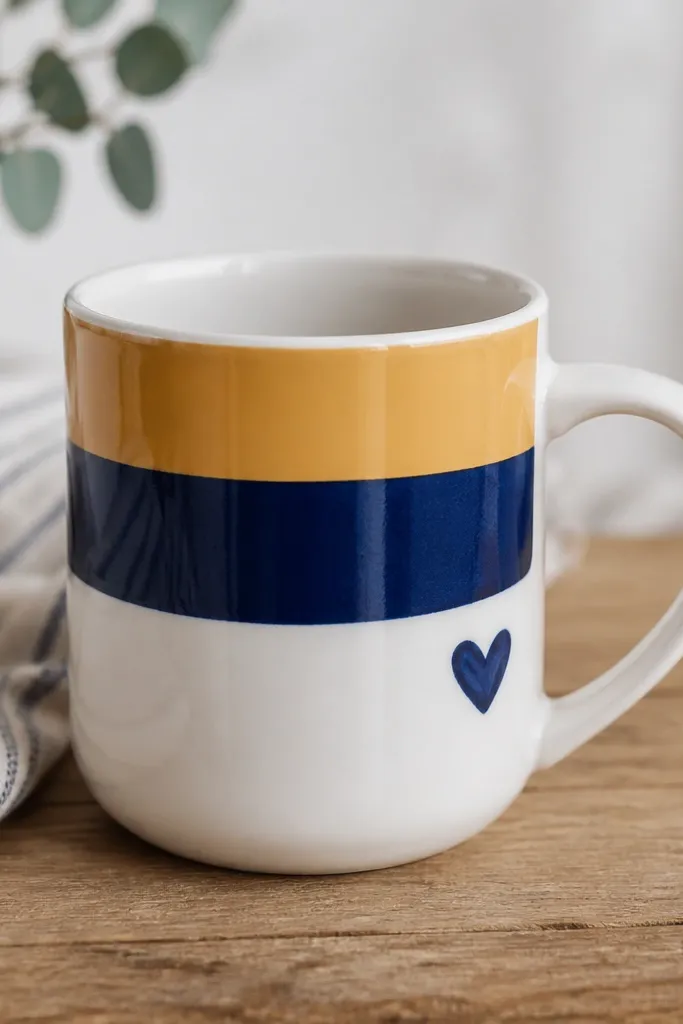
This is one of my go-to creative handmade things for boyfriend because it looks like art, but he uses it every day. I use ceramic paint and mask straight bands with painter’s tape so the lines stay crisp. The colors I pick are mustard or rust against navy or black because they look good with denim and knitwear. It flatters anyone — the mug shape is universal and the color blocks read clean instead of childish. If he’s a coffee or tea guy, this becomes his “his mug” immediately.
Start with a plain white mug and clean it with rubbing alcohol so paint sticks. Tape off two straight bands with painter’s tape, then paint inside the lines using ceramic paint. Let the paint dry, remove tape carefully, and paint a small detail near the handle — I use a tiny heart or initials, about 1 inch wide. Bake according to your paint brand instructions, then apply a final clear glaze coat if your product recommends it. Test with a quick warm-water rinse after curing.
Pro tipUse two thin paint coats instead of one thick one so the finish stays smooth.
AvoidDon’t paint over grease or residue — it makes the design look patchy after baking.
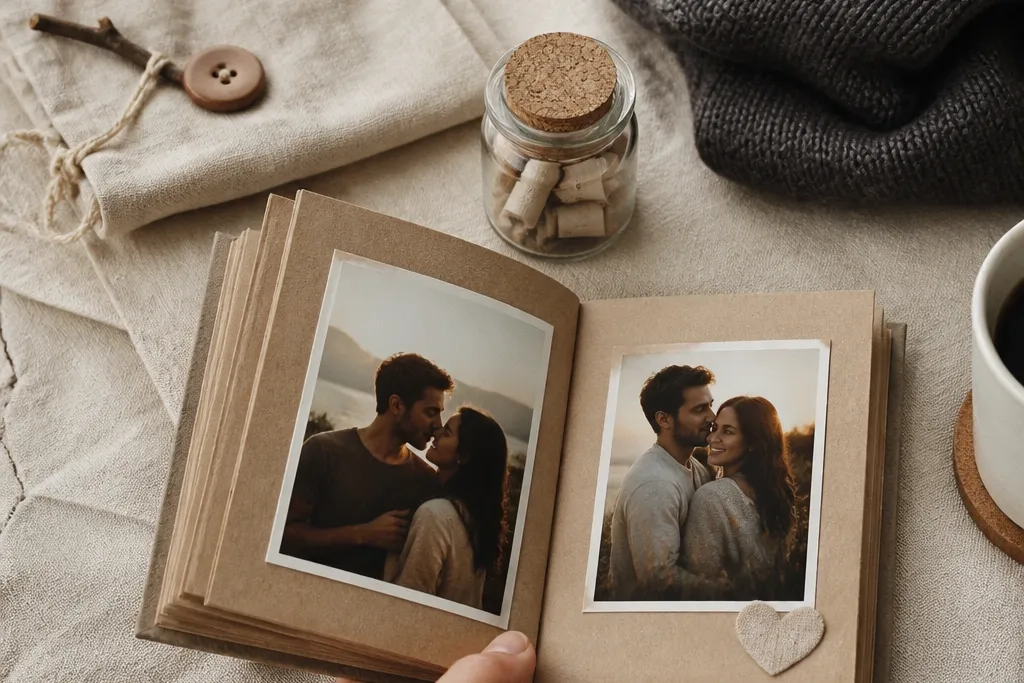
18. Mini Photo Strip Wall Frame from Popsicle Sticks
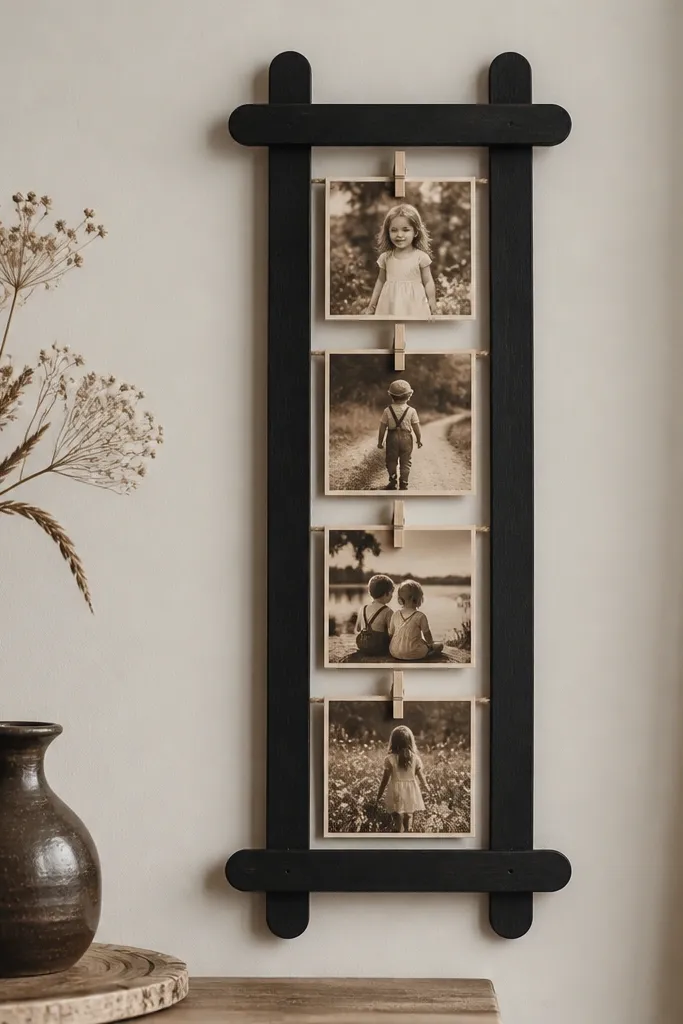
This is a fun, low-cost creative handmade thing for boyfriend that still looks intentional. I build a tiny frame from popsicle sticks, paint it matte black, and use clothespins to hold a photo strip. The clothespins let you swap photos without breaking the frame, which is great if you want it to keep changing. It looks sharp in a bedroom corner or above his desk because the matte black is clean. The photo strip format also flatters because it makes multiple memories look organized instead of cluttered.
Start by arranging popsicle sticks into a rectangle about 7 x 9 inches and glue them with wood glue. Paint the frame matte black and let it dry fully. Print four small photos and trim them into a vertical strip, then glue a thin paper backing behind them or leave them clipped. Attach two small clothespins along the top inside edge so the photos hang straight. Mount the frame with a picture hook and check level before you hang it for real.
Use sepia photos or one consistent color filter so the strip looks cohesive.
Don’t use glossy paint — it reflects light and makes the frame look cheap.
19. Waffle-Knit Beanie with "You" Embroidered Patch and Secret Pocket
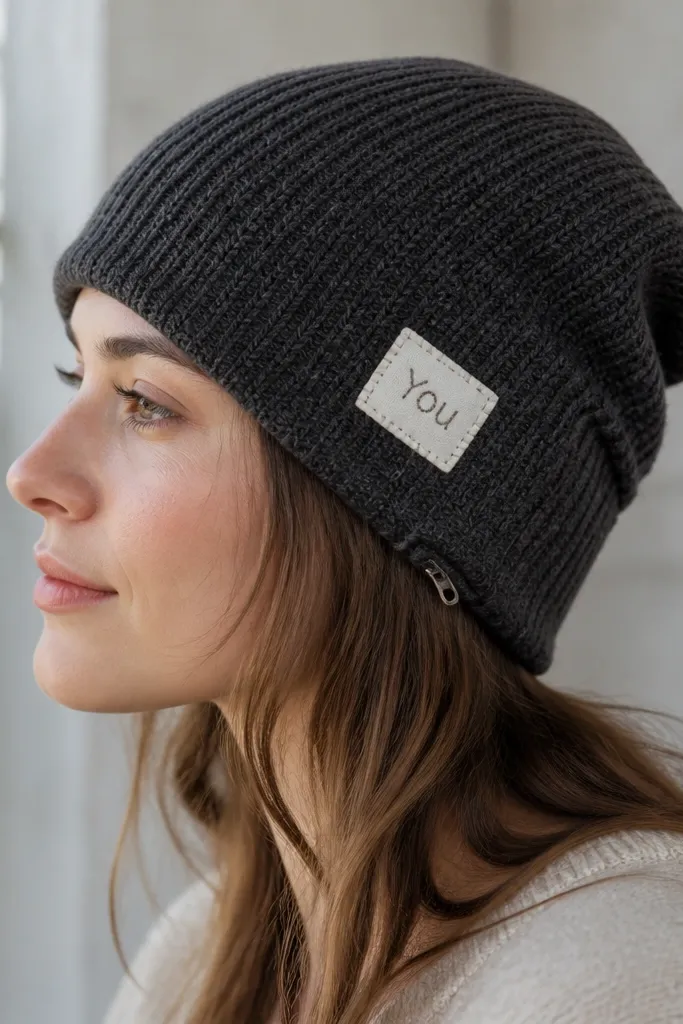
This gift works because he gets something he actually wears, and you add a little surprise he discovers later. The waffle-knit texture hides small stitch lines so your embroidery looks intentional, not homemade. I’ve made these with a secret pocket for a folded note, a couple photos, or a bus/train ticket for the next time you see him. The “You” patch keeps it sweet without needing a whole speech. It’s also fast enough to finish in an evening if you already have a plain beanie and scrap fabric for the patch.
Step 1: Buy or thrift a plain waffle-knit beanie in a dark neutral (charcoal, navy, or forest green). Cut a patch from sturdy cotton or felt about 2.5 inches wide, then baste it to the beanie side where the seam naturally sits so it won’t warp. Step 2: Embroider the word “You” using a backstitch or running stitch with 2 strands of embroidery floss, then knot and bury the thread under the patch edge. Step 3: Make the secret pocket by turning the inner hem up about 1 inch, then sewing a small curved pocket bag from matching fabric — keep it narrow so it doesn’t bulge under the fold. Step 4: Leave a small opening at the pocket top and stitch it shut after you slide the note in, or add a tiny snap if you want him to open it himself later.
Pro tipUse embroidery floss that matches the beanie’s undertone — navy floss on charcoal looks more natural than bright white.
AvoidSkip using stiff vinyl or thick leather for the pocket fabric — it makes the beanie feel lumpy when he wears it.
20. Leather-Button Photo Key Fob with Heat-Foil Coordinates
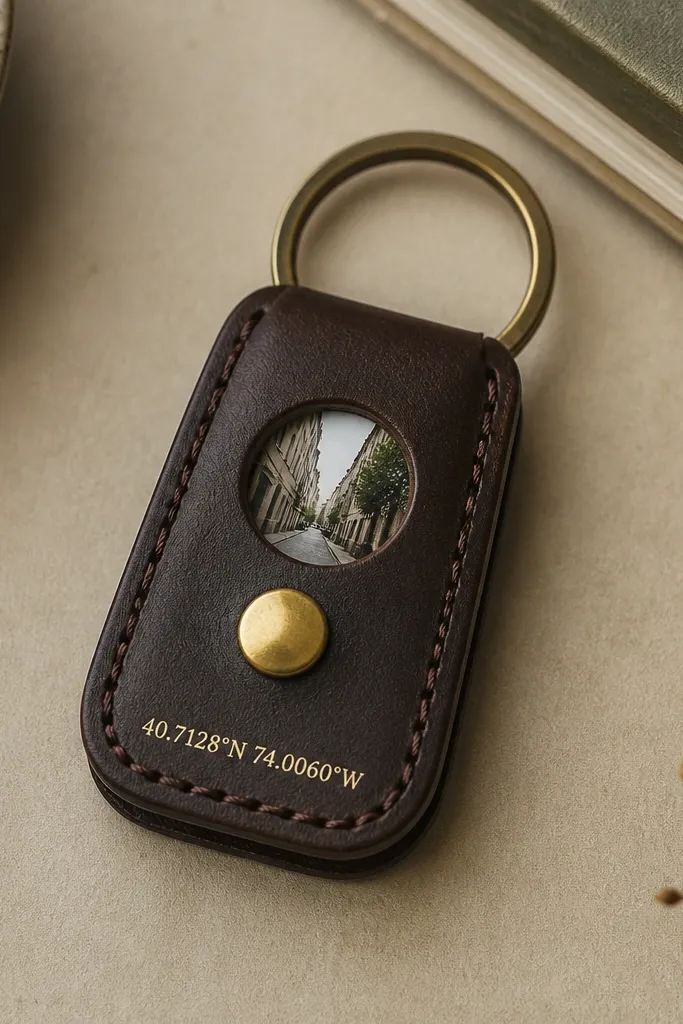
This is one of those gifts that looks finished even if you’re not a leather pro. The leather-button closure keeps keys from scratching the photo, and the little window makes it personal without being bulky. Heat-foil coordinates hit harder than a generic “I love you” because it points to a specific memory. I’ve given this to my boyfriend for birthdays and it stays on his key ring for months — he keeps flipping the fob to read the coordinates. It’s also easy to customize with a photo you already have on your phone printed small.
Step 1: Cut two leather rectangles about 3.25 inches by 2 inches. Round the corners with scissors, then punch a line of holes for hand stitching around the perimeter — I do 4 holes on each long side and 3 on each short side. Step 2: Print a mini photo at about 1.2 inches tall, then trim it and seal it behind a small clear plastic window cut from an old photo protector or clear packaging. Place the photo window between the two leather pieces, then stitch the layers together with waxed thread — start at a corner and keep tension even so the edges line up. Step 3: Attach a round brass snap or button on the front — sew it through the leather layers so it holds the fob closed. Step 4: Add heat-foil coordinates by using a foil transfer sheet and a small heat tool set to the leather-safe temperature, pressing for short bursts so the foil doesn’t smear.
Pro tipBefore you foil-stamp the final coordinates, test on a scrap piece of the same leather so you know the pressure and heat won’t dull the foil.
AvoidSkip glossy leather — heat foil can skid on it and the stamped numbers look patchy.