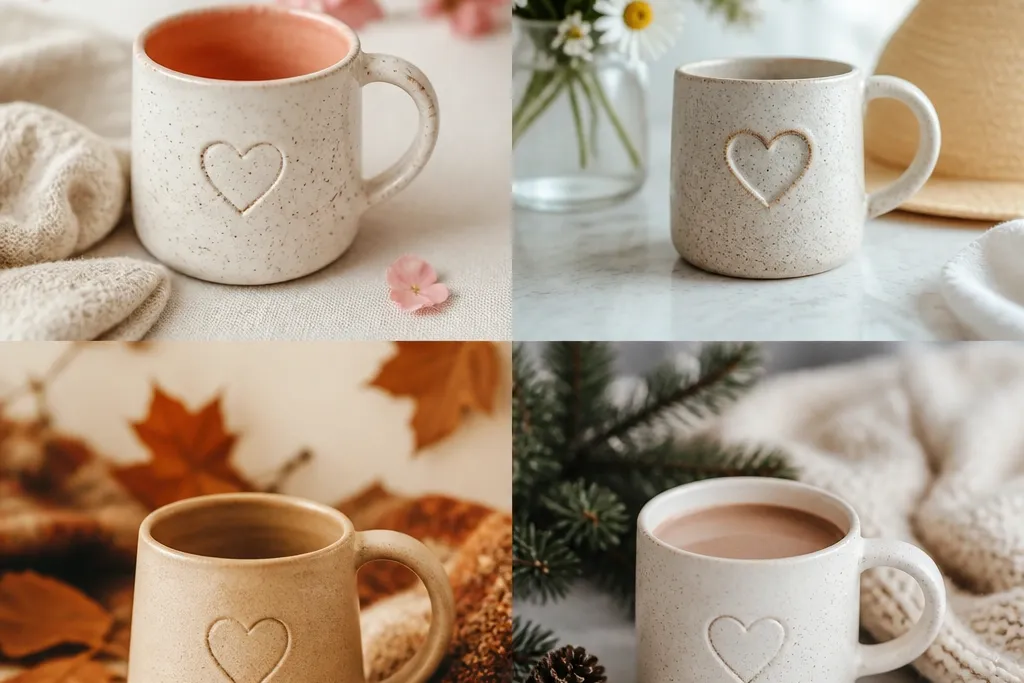
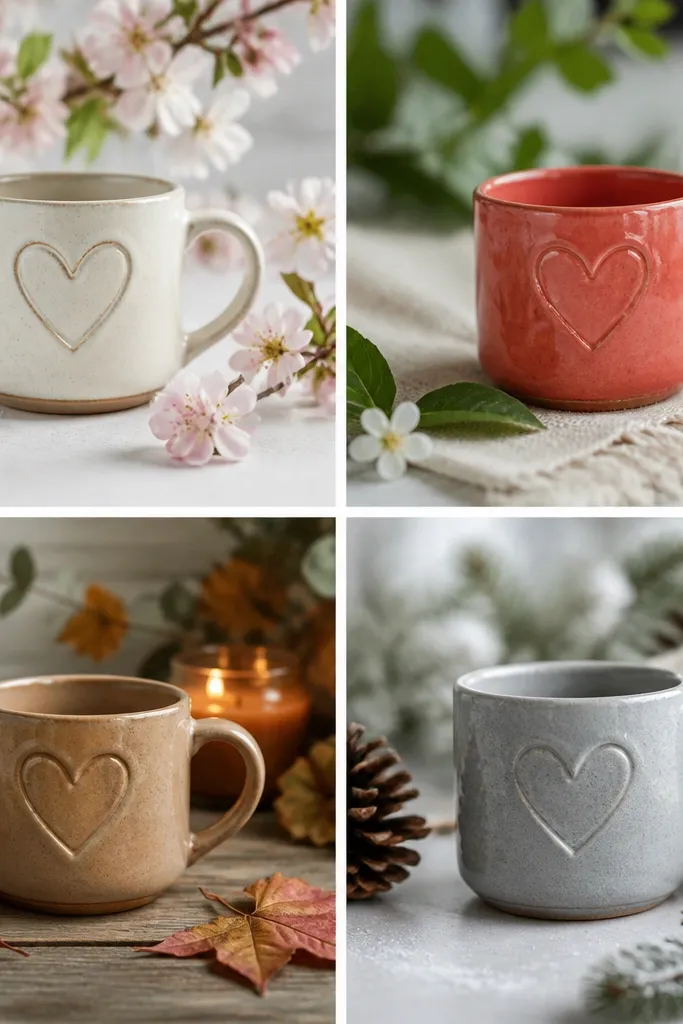
1. Classic red heart with speckled glaze ring

This one is my go-to when someone says they want “cute but not childish.” The raised true-red heart pops against a white mug, and the speckled glaze ring keeps it from looking flat. I use air-dry clay or epoxy to form the heart, then paint the ring with a mix of oxblood and terracotta so it looks like fired ceramic. It flatters most kitchens because the palette stays warm, and it reads well on fair to deep skin tones when you’re holding the mug for photos. Style it like a Valentine mug in January, then swap in a softer heart paint (rose or plum) later while keeping the speckled ring the same.
Start by positioning a heart template on the mug front — aim for the heart centered at about 2 inches above the bottom rim. Shape a small raised heart (about 1.5 inches wide) using air-dry clay, then let it dry fully or cure the epoxy per label timing. Paint the heart with two thin coats of red ceramic paint, letting each coat dry to a matte finish. Then create the speckled ring by tapping a stiff brush over a stencil circle around the heart and layering dark red specks with lighter terracotta ones. Seal the whole front with a food-safe ceramic sealer in thin coats.
Use a stencil for the ring so the speckles form a clean boundary around the heart.
Skip one thick coat of paint — it looks like brush blobs and chips sooner.
2. Blush heart with gold leaf outline
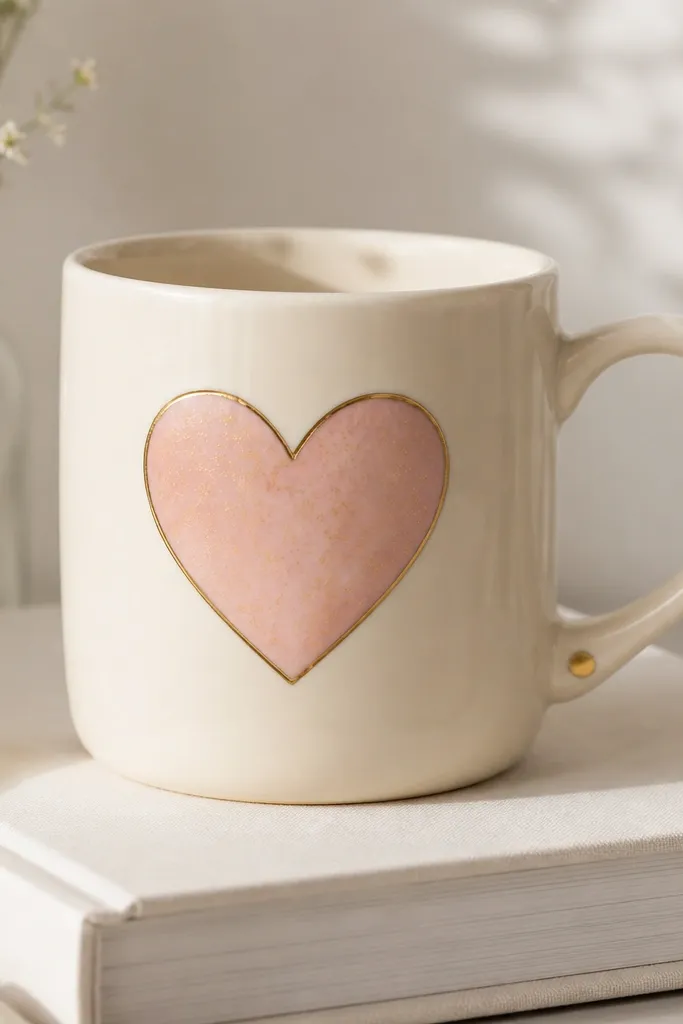
Start by painting the heart shape with blush ceramic paint using a small round brush, then let it dry completely. Press gold leaf along the heart outline with a gold-leaf adhesive (or gold leaf pen made for ceramics) so the edges look crisp. Add a few tiny gold flecks inside the heart with the leaf leftover or a watered gold paint for control. Finish with a clear food-safe sealer, using two light coats rather than one heavy coat to avoid dulling the gold. Place the heart slightly higher than center so it sits above the hand grip line.
This is the “soft romance” look that still feels grown-up. The blush heart is light enough to work year-round, and the gold leaf outline adds a clean sparkle without turning into glitter. I like this for gifts to friends who wear neutrals and don’t want bright red on their counter. It photographs beautifully under warm kitchen lighting, and it looks flattering on mug-holding hands because the gold catches highlights. Keep the rest of the mug calm — no extra icons — so the heart stays the focus.
AvoidDon’t seal too early — if the adhesive is tacky, the sealer will smear the leaf.
Pro tipIf your gold leaf tears, use the torn pieces — random flakes make the heart look more natural.
3. Deep plum heart with stitched-look lines
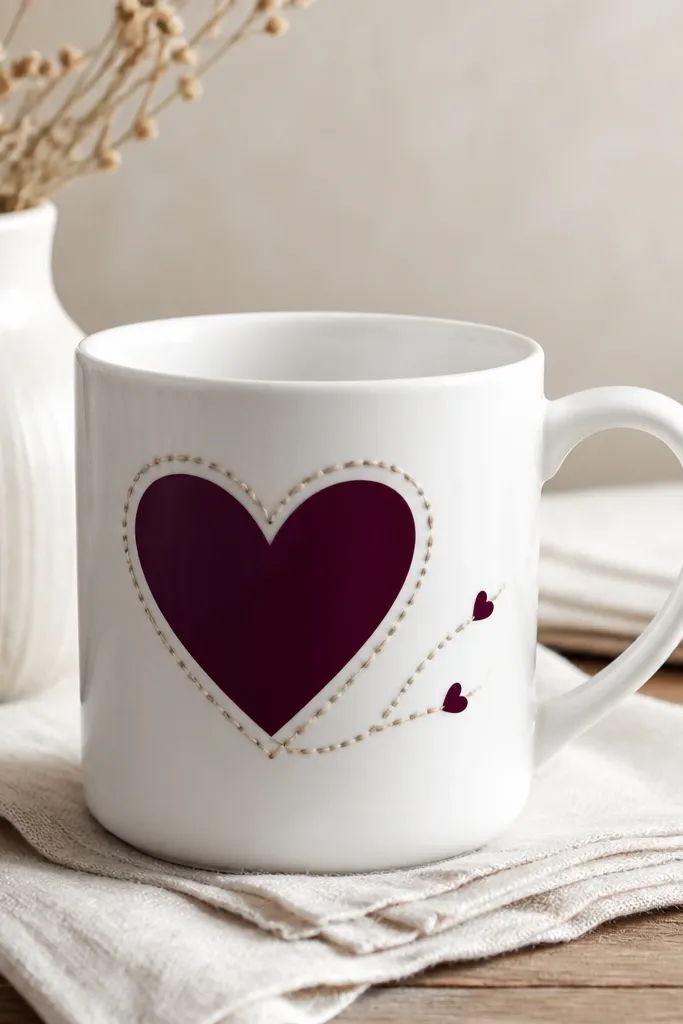
This design looks like you embroidered it, but it’s faster. The deep plum heart feels autumn-friendly and still looks romantic in spring because the stitch lines add a cozy craft vibe. I use a flat cream paint for the “thread,” then add tiny dots along the stitch path to mimic needle holes. It’s flattering for people who like darker tones and it looks great with black, navy, or burgundy winter sweaters. The stitched style also hides small hand-drawn imperfections because the “thread” gives structure.
Start by sketching the heart lightly in pencil so you can erase before paint. Paint the heart in deep plum ceramic paint with two thin coats. While it’s still slightly tacky (or after it fully cures, depending on your paint), draw stitched-look lines around the heart — use a ruler edge to keep the loop spacing even. Add small dot “needle holes” along each line with a toothpick dipped in cream paint. Seal with a food-safe ceramic topcoat, and keep the stitch lines thin so they don’t feel raised when you drink.
Use a toothpick for the dot holes so they stay consistent and round.
Skip thick raised stitch lines — they catch on lips and feel rough.
4. Pastel rainbow hearts in a vertical stack
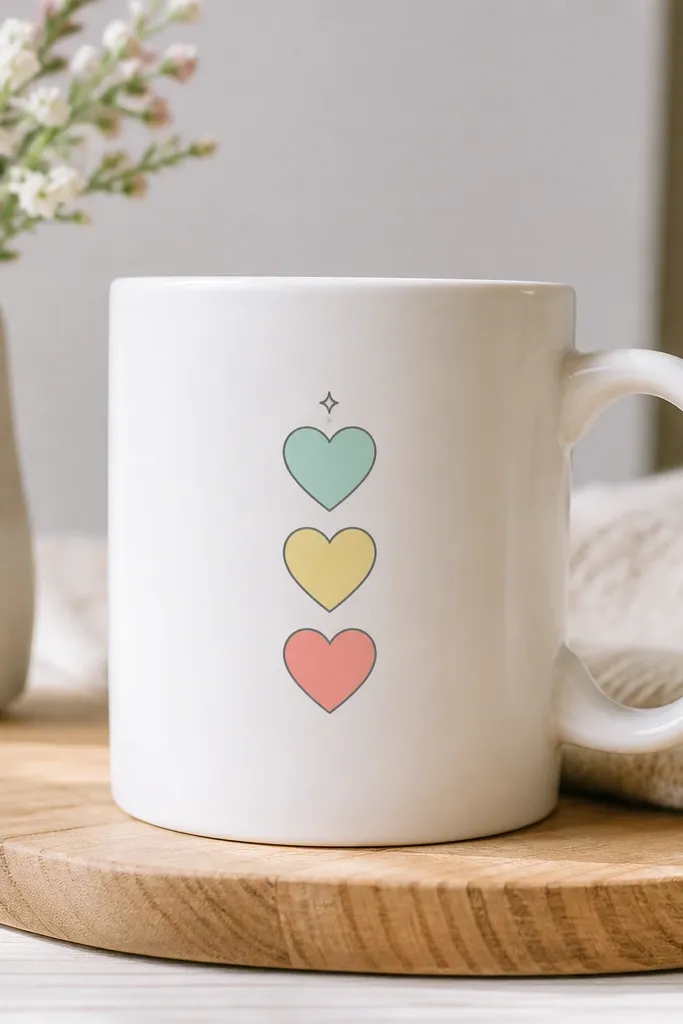
This is the “birthday all year” mug. The vertical stack reads like a cute charm bracelet, and pastel hearts keep it from feeling seasonal-only. I use light gray outlines so the colors don’t bleed into each other, especially on glossy mugs where pigments can spread. This looks great for gifts to people who love color but don’t want loud patterns. It’s also a smart choice for photos because each heart catches light differently, even under overhead lighting.
Start by masking each heart area with painter’s tape strips so your colors stay clean. Paint the top heart mint, the middle heart pale yellow, and the bottom heart soft coral, letting each color dry before the next. Outline each heart with a thin light gray line so the stack looks intentional rather than messy. Add one tiny sparkle dot near the top heart with a white gel pen made for ceramics or a dab of acrylic paint sealed later. Seal the mug front with a clear food-safe topcoat.
Outline after the fills dry — it gives you sharper edges than trying to outline while paint is wet.
Don’t mix pastel colors directly on the mug — they turn muddy quickly.
5. Monochrome black heart with white speckle wash
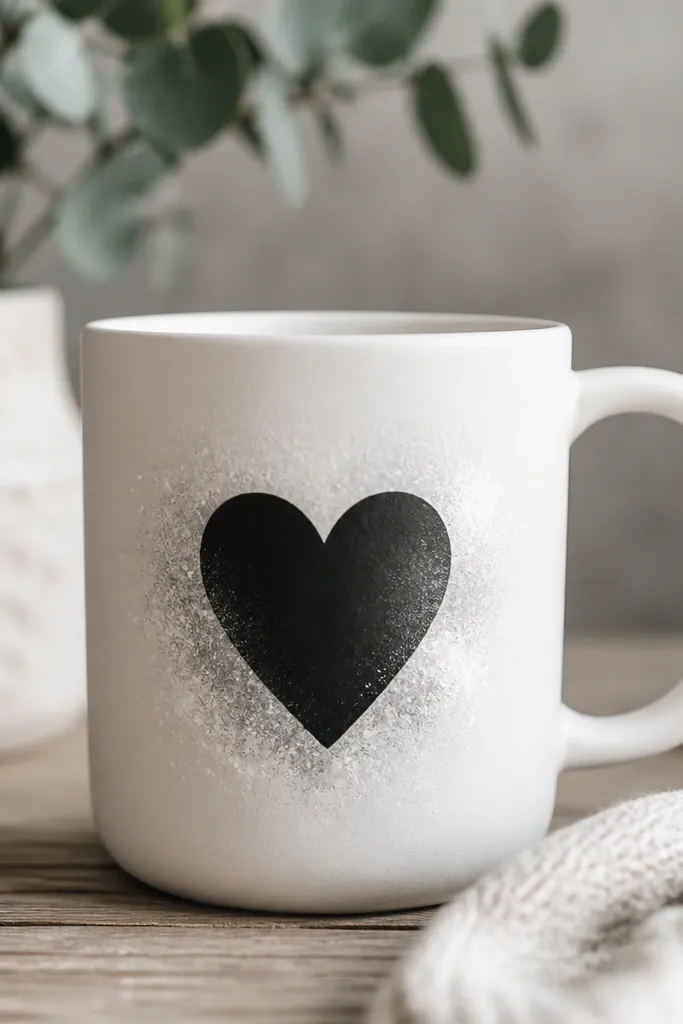
If you want a heart mug that looks good in any season, go monochrome. The black heart is bold without being loud, and the white speckle wash gives texture so it doesn’t look like a sticker. I do this when I’m gifting to someone who likes minimal décor — it still feels warm because the speckles soften the edges. It also hides minor brush strokes better than smooth gradients. Under different lighting, the speckles shift and make the mug feel handmade.
Start by painting a clean black heart using a template or printed heart outline under your mug. Let it dry fully, then create the speckle wash by flicking a small brush loaded with white paint around the heart edges. Keep the speckles lighter near the center and heavier near the outer border so the heart looks grounded. Add a faint gray shadow under the heart by lightly dry-brushing gray paint just beneath the bottom curve. Seal once the paint cures, using thin coats to keep the matte texture.
Use matte sealer if your mug is matte — gloss sealer makes speckles look greasy.
Avoid glossy paint on matte mugs — the contrast looks like a patch job.
6. Tiny hearts border around the handle
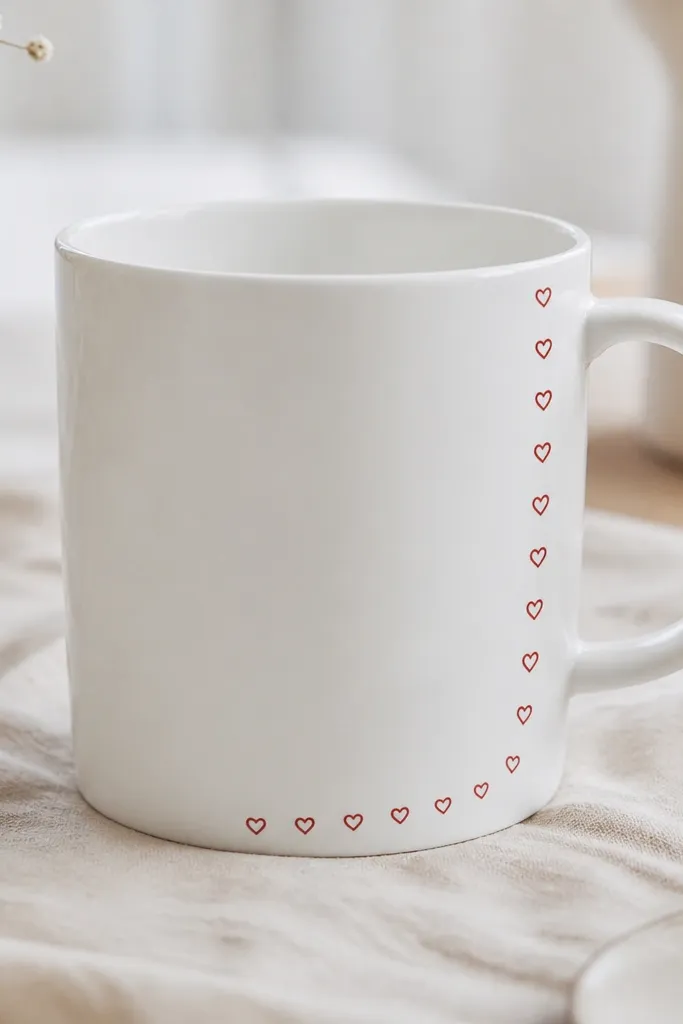
This one is for people who want a heart mug that doesn’t take over the whole front. The tiny hearts border frames the handle area where your hand naturally rests, so it feels personal every time you pick it up. I keep the main front clean so it looks mature on a desk, not like a craft project. This design is flattering for any home style because the hearts are small and tidy. It also works great for men’s gifts since the front stays minimal and the heart detail stays subtle.
Start by drawing a light pencil guide line around the handle side where the border will sit — about 1 inch below the handle top curve. Paint tiny hearts using a fine liner brush, spacing them evenly with the same width each time. Outline each heart with a slightly darker red for definition, then fill with one consistent red shade. Let everything dry, then seal the mug carefully around the border so it doesn’t smear. Keep the border height narrow so it doesn’t interfere with how the mug sits on a coaster.
Dip your brush in paint, then wipe it on scrap paper so your hearts come out crisp instead of blobby.
Skip freehand spacing — uneven hearts look like a rushed pattern.
7. Hearts made from upcycled fabric scraps
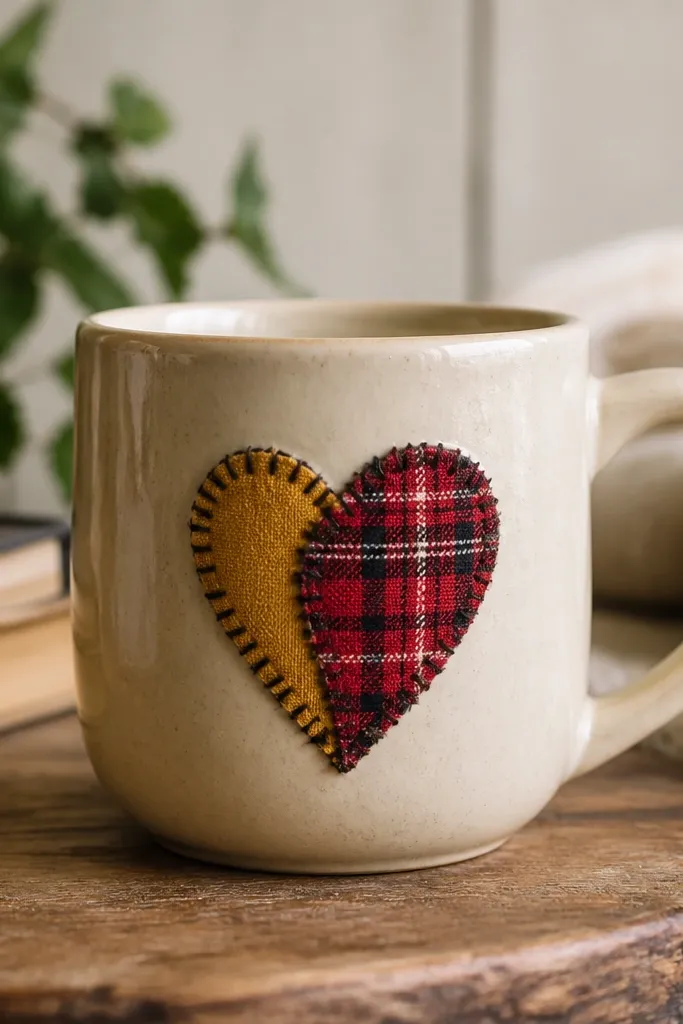
Start by cutting a heart template out of paper and tracing it onto your fabric scraps. Layer two or three fabrics for thickness, then stitch around the heart edges with a simple running stitch using embroidery thread. Glue the finished fabric heart onto the mug using a fabric-safe adhesive made for ceramics or a strong craft glue, then press with clothespins while it sets. Add a thin fabric trim line if you want a finished border — I use narrow bias tape in matching cream. Seal the mug front with a food-safe sealer, applying it in thin coats so it soaks into the fabric instead of pooling.
Fabric hearts make the mug feel warm and personal, and they’re forgiving if you’re not confident drawing. I use old scraps — flannel from a thrifted shirt, cotton from a broken bedsheet, even a small lace edge — and stack them so the heart has depth. This design looks great in kitchens with wood tones because fabric texture matches the warmth of natural materials. It’s also a nice gift for someone who likes handmade textures and cozy décor. The heart shape reads clearly even from across a room because the fabric layers create shadow.
AvoidDon’t use slippery satin — the heart lifts at the edges after a few washes.
Pro tipChoose fabrics with a tight weave — loose knits pill and look messy once sealed.
8. Resin heart with embedded micro pearls
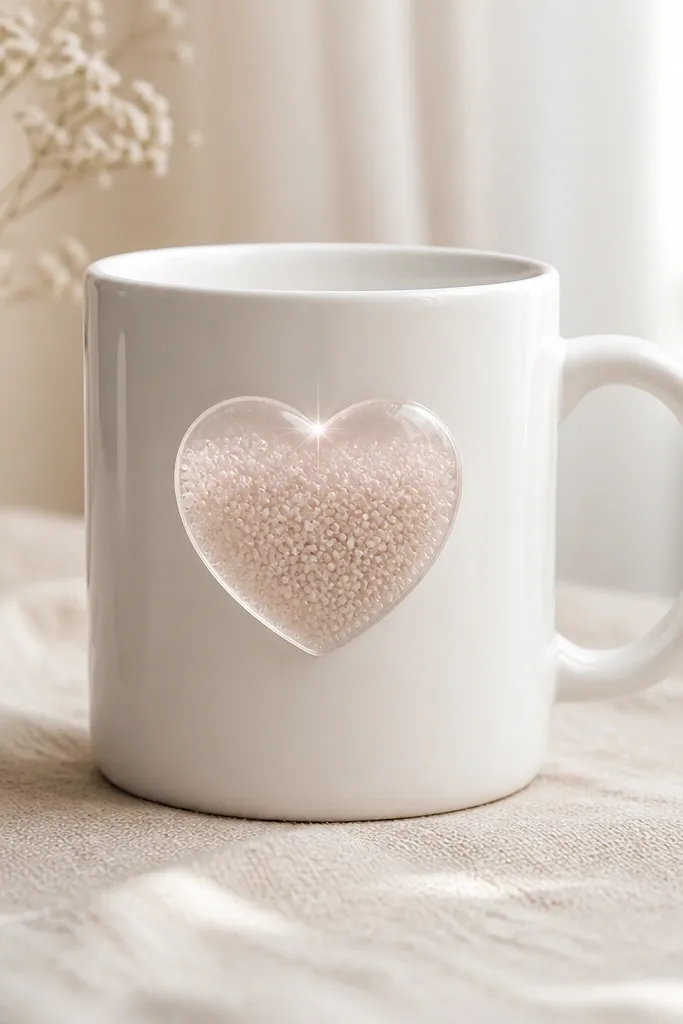
Start by forming a heart mold using silicone or a pre-made resin heart mold. Mix clear resin and add micro pearls plus a tiny amount of blush pigment, stirring until the tint is consistent. Pour the resin into the mold and pop bubbles with a toothpick. Once cured, sand the back lightly so it sits flat, then attach it to the mug with a strong ceramic-safe adhesive. Seal around the edges with a thin layer of clear topcoat so water doesn’t creep under the resin.
This is the “I want it to look expensive” option. A clear resin heart with micro pearls catches light like jewelry, but it stays clean and not flashy. I like using a faint blush tint so it still reads as a heart, not a random blob. It’s a great gift for people who keep their décor simple because the heart is the only major decoration. It also photographs well because the micro pearls move slightly in the resin and create depth.
AvoidSkip too much pigment — the heart turns opaque and loses the jewelry effect.
Pro tipUse a silicone mold — demolding is cleaner and your heart edge stays sharp.
9. Heart-shaped decal made from print-and-seal paper
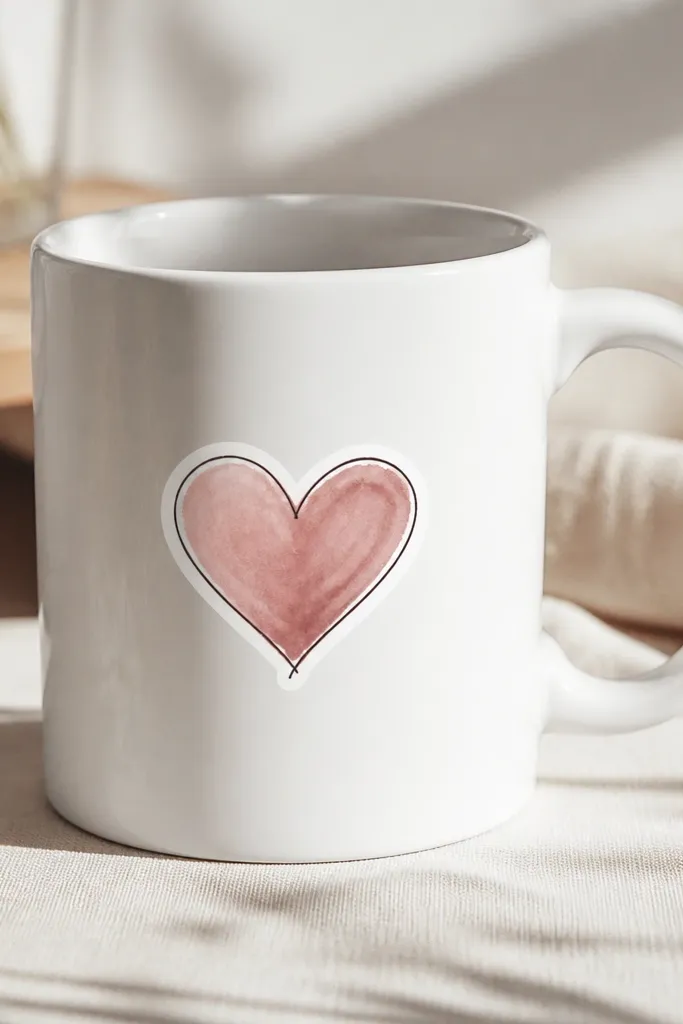
If you want a heart mug that looks like it came from a design store, this is the method. You print or hand-draw the heart on paper, then seal it into a decal that grips the ceramic surface. The dusty rose watercolor fill stays gentle for year-round use, and the charcoal linework makes it readable even from a distance. I do this when I need a clean result fast for multiple gifts with matching style. It’s flattering because the design is light and doesn’t bully the rest of the kitchen.
Start by drawing a heart in a simple illustration style and printing it onto decal paper made for ceramics. Cut closely around the heart edges with sharp scissors so the border stays invisible. Soak or activate the decal per the paper instructions, then position it on the dry mug front. Smooth it down from center outward to push out wrinkles, then let it set for the recommended time. Finish with a clear food-safe seal over the decal area.
Print one test heart on scrap mug surface or an old plate first to check scale.
Don’t leave a thick paper border — it lifts and looks like a sticker.
10. Terracotta heart with hand-drawn vine lines
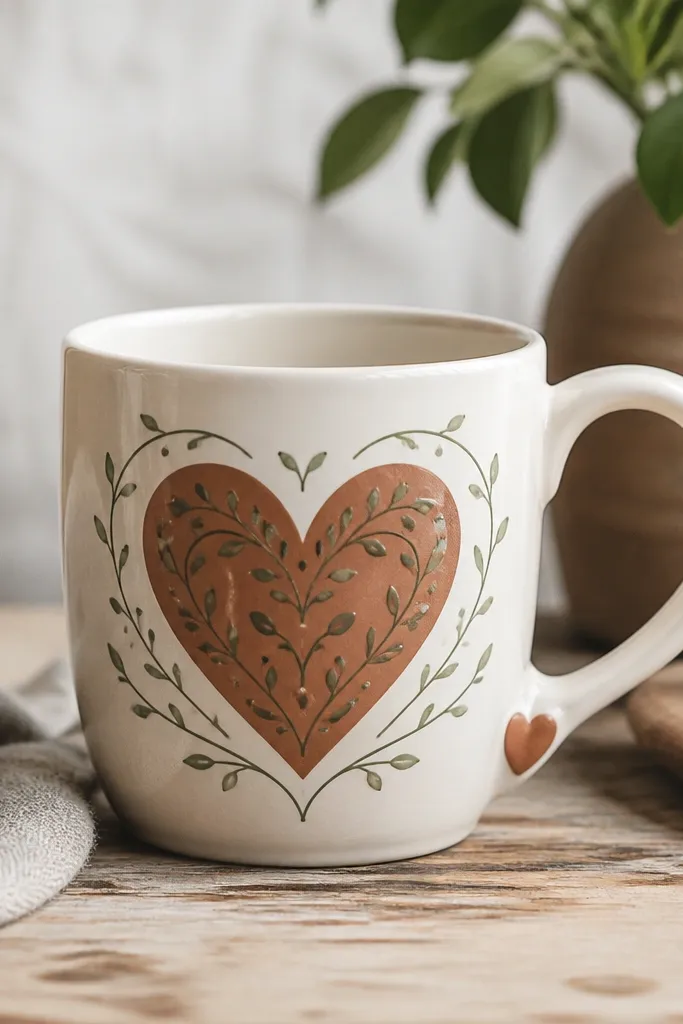
Start by painting the heart terracotta with two thin coats. Then draw vine lines inside the heart using a fine liner brush and olive paint — keep them thin and slightly uneven like real ink. Add small leaf dots at the ends of the vines with a dotting tool or toothpick. Paint a tiny matching leaf or micro heart near the handle base for a balanced look. Seal after everything cures fully, especially around the vine lines.
Terracotta hearts feel grounded and warm, which makes them work in fall without looking like you’re stuck in one month. The hand-drawn vine lines add movement and make the heart look like part of a plant — not a flat sticker. I use muted green and olive instead of neon, so it blends with wood countertops and earthy dishware. This design suits people who like botanical décor and it looks good with warm skin tones because the colors are cozy. It’s also a great way to cover a slightly imperfect heart outline since the vines guide the eye.
AvoidAvoid heavy vine lines — thick strokes look cartoonish on a mug.
Pro tipLet the terracotta fully dry before adding vines so the lines stay sharp.
11. Tiny heart window frame with "season swap" paint dots
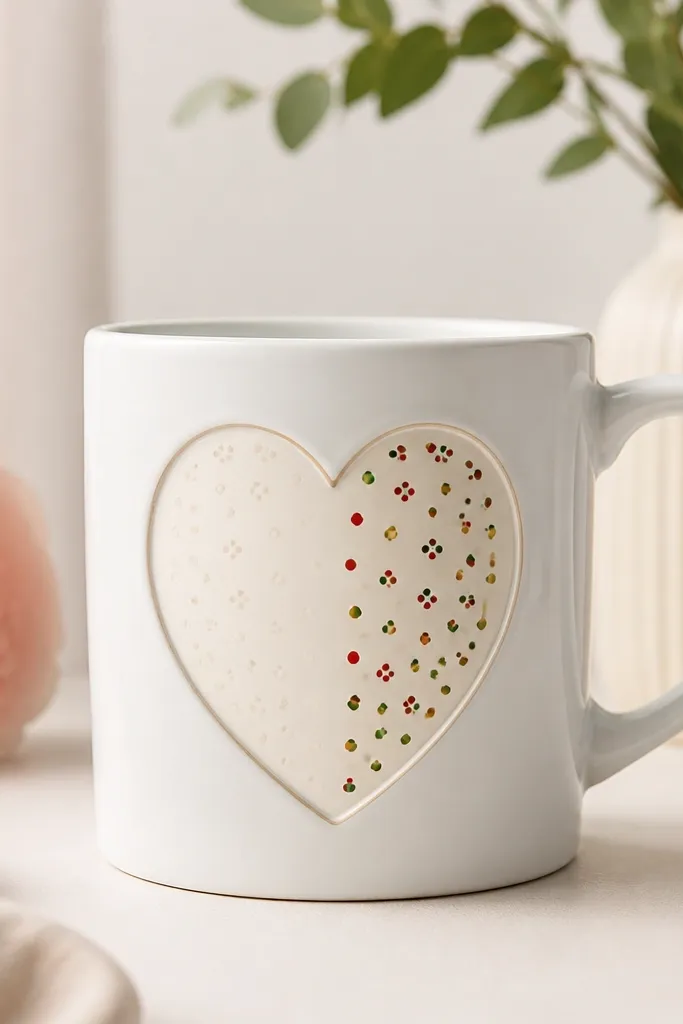
This is the idea that makes the seasonal all year handmade heart mug part feel real. You paint the heart window frame once, then add small dot clusters inside it for each season or gift recipient. It’s minimal on purpose: the dot clusters make it feel new without repainting the whole mug. I use a heart window about 1.5 inches wide so it stays readable and doesn’t crowd the handle. It also looks great on busy counters because the design is controlled and not too busy.
Start by painting a heart-shaped outline on the mug front using dark charcoal or black ceramic paint. Leave the inside mostly blank — only add a light cream base if your mug is not bright white. Create dot clusters inside the heart window using a small brush: for example red dots for winter/Valentine, green and gold dots for holiday, and pastel dots for spring. Seal the whole design with a food-safe topcoat after the final dot color set you want. For future seasons, repaint only the dot area and re-seal that section.
Keep your dot sizes consistent by using the same brush tip for every dot.
Don’t seal over fresh dots too soon — they smear and lose the dot edges.
12. Heart made from rolled paper and glue-gilded edges
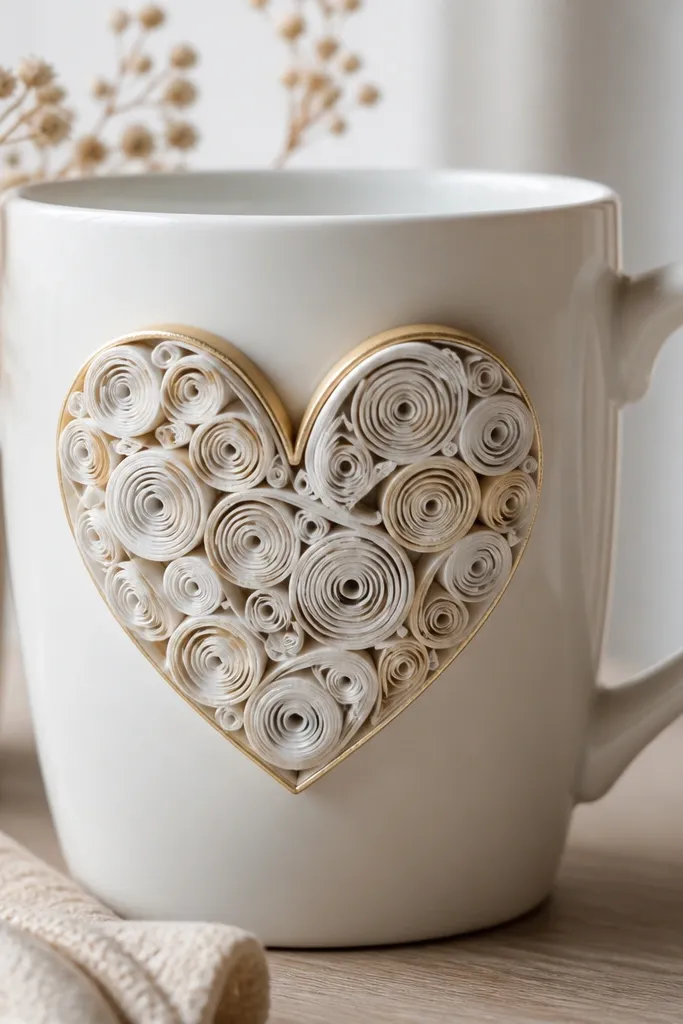
Paper coils look like tiny crafts, but when you seal them right they hold up surprisingly well. The rolled paper heart gives you a sculpted texture that looks good in every season because the shape is the hero. I keep the paper in warm cream and soft blush, then paint the edges with a gold metallic for contrast. This is a great choice for desk gifts because it feels handmade even from far away. It also looks flattering for people who like warm neutrals and gentle sparkle.
Start by cutting thin strips of paper and rolling them into tight coils, then glue the coils into a heart outline on baking parchment. Build the heart in layers until it’s about 1.5 inches wide and slightly raised. Let the heart harden fully, then paint the coil edges with gold metallic paint. Attach the heart to the mug with strong craft glue, pressing it flat so it doesn’t rock. Seal the entire front with several thin food-safe topcoat layers, letting each dry fully.
Use paper from a book or scrapbook with a matte finish — it seals cleaner than glossy pages.
Skip glitter glue — it flakes once sealed.
13. Hearts in watercolor wash with fine black line accents
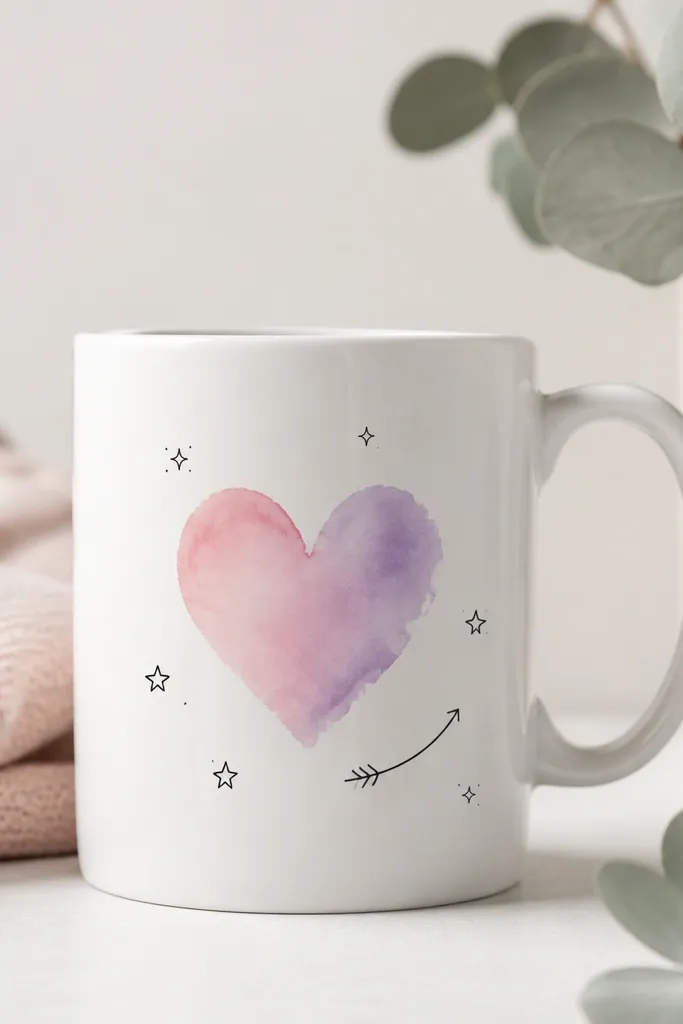
Watercolor-style hearts feel airy and good for spring, but they still work in winter because black line accents anchor the look. I do a soft wash in two tones, rose and lilac, then add tiny black doodles like specks or one star. It’s flattering for anyone who likes light décor because the heart never looks heavy. Under bright kitchen light, the wash stays translucent and elegant. The line accents also hide minor unevenness in the watercolor edge.
Start by wetting the inside of the heart area with a damp brush, then apply rose watercolor paint and let it blend into lilac. Work fast and keep the wash thin — you want it to look like pigment spread, not paint filling a shape. After it dries, add fine black line accents with a ceramic fine liner or a permanent paint marker made for ceramics. Keep the doodles small: one star, a few dots, and a short curved line. Seal with a food-safe clear coat in thin layers so the watercolor doesn’t fade.
Practice one heart on a paper towel first so you know how quickly the wash blooms.
Don’t overwork the watercolor — repeated strokes make the heart look muddy.
14. Satin ribbon heart tied to a ceramic bow clip
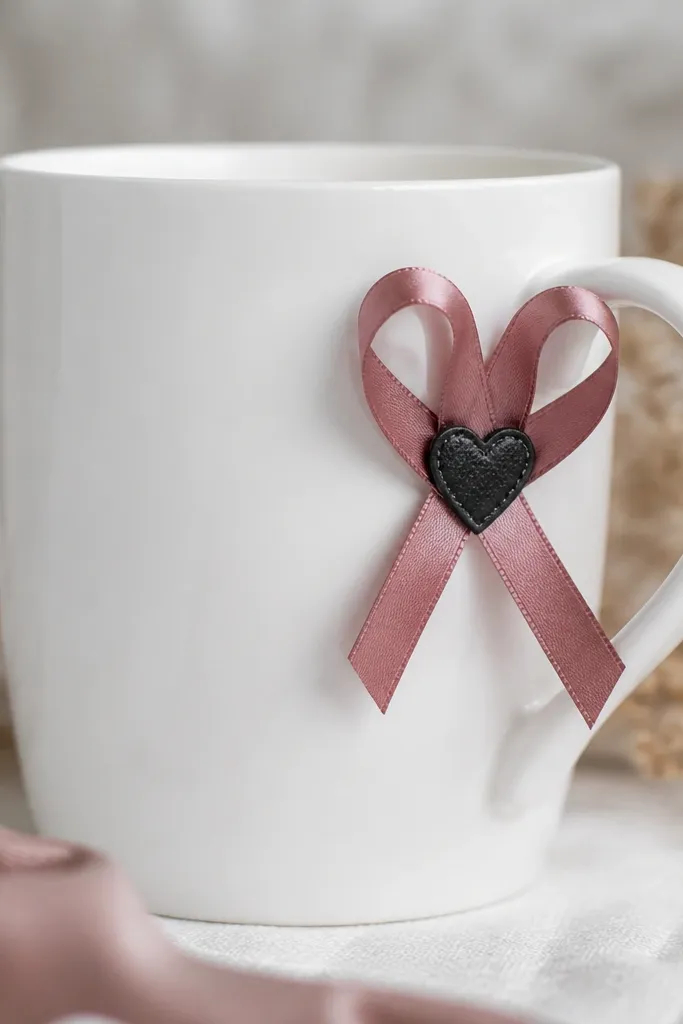
Start by choosing a satin ribbon width around 3/8 inch and cut a piece about 10 inches long for a small bow. Fold into loops and knot, then stitch or glue the center to hold the shape. Add a tiny heart charm or fabric heart patch at the bow center with a single stitch or strong glue. Attach a removable clip mechanism near the handle using a ceramic-safe removable adhesive pad, then slide the bow into place. When you’re ready to change seasons, remove the bow and swap ribbon.
This one is for people who don’t want to commit to permanent paint or glue. You get a heart look that feels gift-ready, and you can remove the ribbon for cleaning. I attach a heart-shaped ribbon bow to a small ceramic-safe clip or a ribbon loop fastened with a removable adhesive pad, so the mug stays usable. The dusty rose satin feels soft and looks fancy in photos without being too much for everyday. It’s flattering for any décor because the ribbon is the only color pop. You can also swap ribbon colors monthly without repainting the mug.
AvoidSkip superglue on ribbon — it turns shiny and can stiffen the bow badly.
Pro tipUse a satin ribbon that doesn’t fray easily — edges look cleaner after trimming with a hot knife or fray-check.
15. Cottage stripe heart with tiny buttons
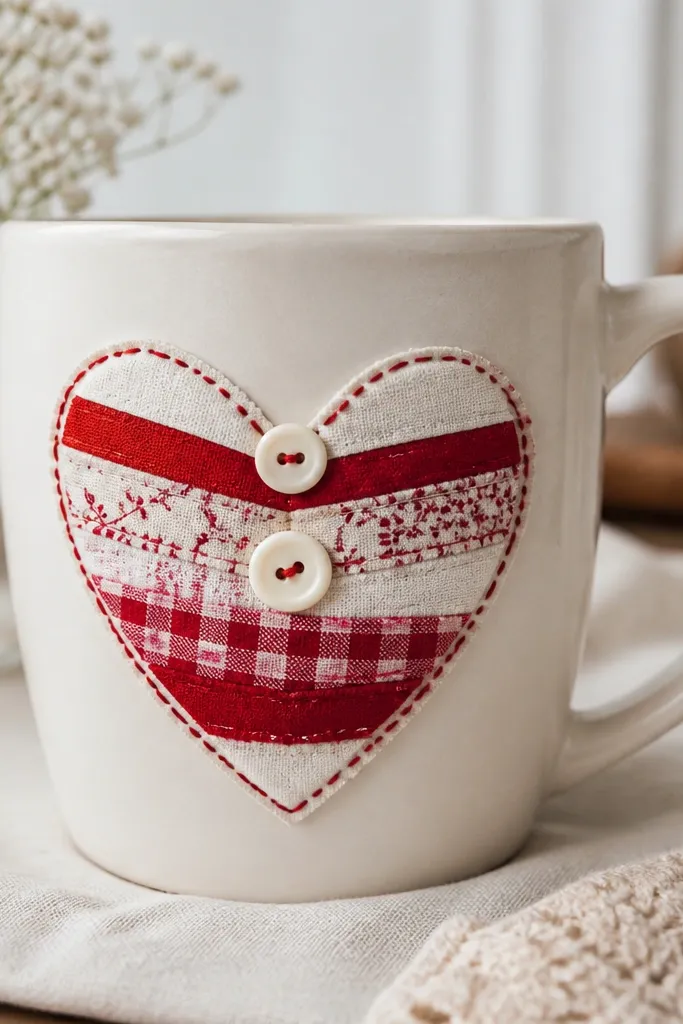
This feels like a kitchen sewing project, but it’s surprisingly fast. The red and white stripes give you that “classic” look without needing bright glitter or heavy paint. The tiny buttons add dimension and a satisfying texture when you run your thumb over the mug front. I like this for gifts that go to people who enjoy farmhouse décor, but it also works for modern kitchens because the palette is simple. It flatters most kitchens because the colors match common dishware, and the heart shape stays clear even at a distance.
Start by cutting a heart template and tracing it onto two fabric layers: one striped layer and one backing layer in cream. Cut both, then stitch around the edges with thick embroidery thread in matching red. Glue the heart to the mug front, then sew or glue two small buttons onto the top point and center. Add one tiny thread tail detail at the side to mimic button thread loops. Seal around the fabric edges with a thin food-safe topcoat so the fabric doesn’t absorb moisture unevenly.
Choose buttons that are smooth on top so the surface feels comfortable in-hand.
Don’t use large shank buttons — the raised back makes the seal crack.
16. Chalkboard heart with erasable seasonal messages
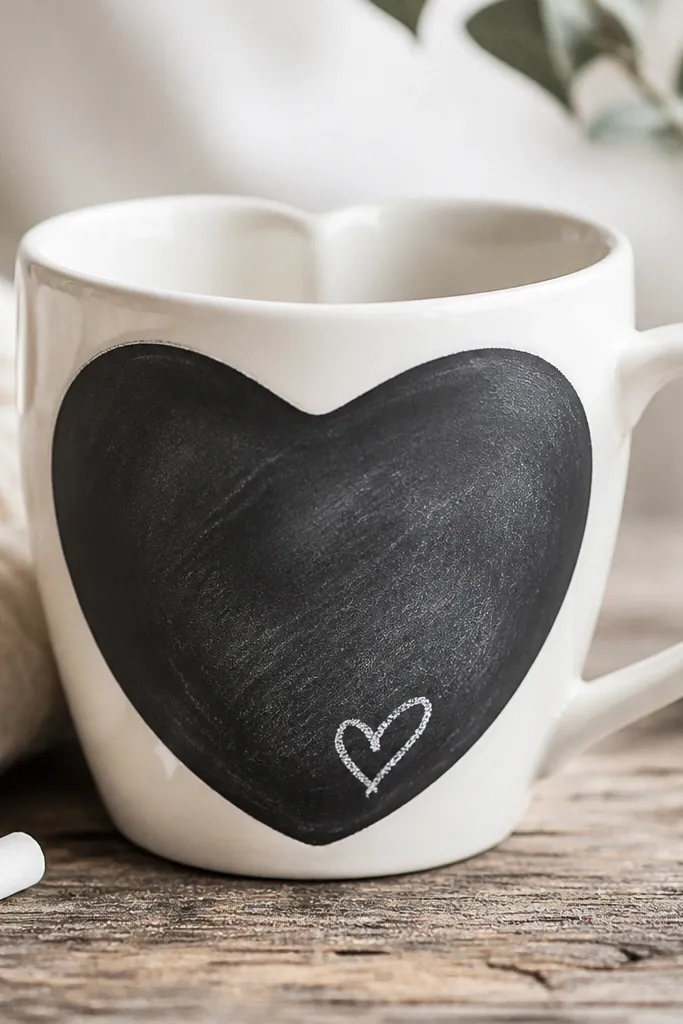
Start by masking a heart outline on the mug front with painter’s tape. Apply chalkboard coating inside the heart and let it cure per instructions, then remove tape carefully. Seal the mug around the heart edges with a thin clear topcoat, but keep the chalkboard surface unsealed so chalk stays erasable. Write your first seasonal message with chalk pens or white chalk, then buff gently with a dry cloth. When you change seasons, wipe with a damp cloth only if your coating instructions allow it; otherwise use a dry eraser.
A chalkboard heart is the most practical “seasonal all year handmade heart mug” idea because you can change the message without repainting. I paint or apply chalkboard coating in a heart shape, then seal the edges so moisture doesn’t soak under the coating. For winter, I write “stay warm” or “you’re loved” in white chalk; for summer, I switch to “sunshine” or just a tiny heart. It’s great for gifts because you can include a quick note that matches the recipient’s moment. The black heart also looks sharp against white dishware and reads well in any lighting.
AvoidDon’t seal the chalkboard surface — it kills the erasable effect.
Pro tipUse a fine-tip chalk pen for crisp lettering that doesn’t smear.
17. Felt heart with gradient edge and stitched border
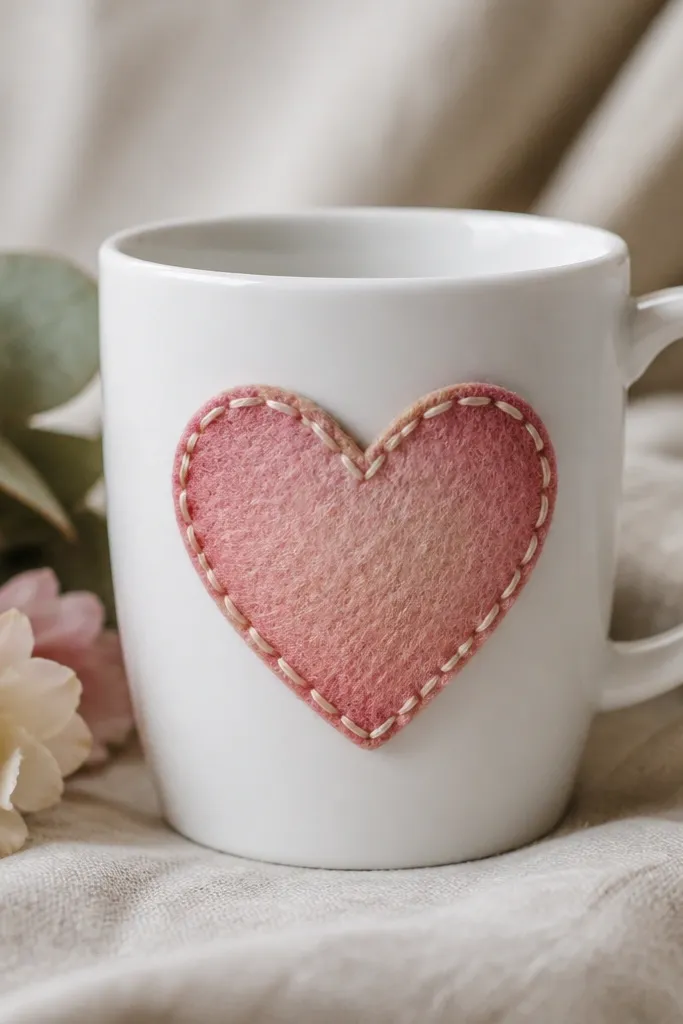
Felt hearts make the mug look cozy year-round, and the stitched border gives it a finished, handmade look. I use felt in two shades and cut one slightly smaller so you get a soft gradient edge where the layers meet. The cream stitched border adds contrast, which makes the heart read clearly even on mugs with busy patterns. This design flatters people who like soft textures and it looks good with warm-toned kitchens. It also works for beginners because felt hides tiny cutting mistakes.
Start by cutting two heart layers from felt: one in blush and one in slightly darker dusty rose, with the darker layer about 1/8 inch smaller. Glue the darker layer onto the blush base so the edge peeks out evenly. Then apply a stitched border using embroidery thread — a simple blanket stitch works great. Place the heart on the mug front so it sits centered and slightly above the midpoint, then glue down the felt edges. Seal with a thin food-safe sealer over the felt border area, avoiding soaking the whole heart.
Use a blanket stitch with even tension so the border looks uniform from every angle.
Skip thick glue blobs under the felt — they create lumps that show after sealing.
18. Ombré heart with tiny heart confetti dots
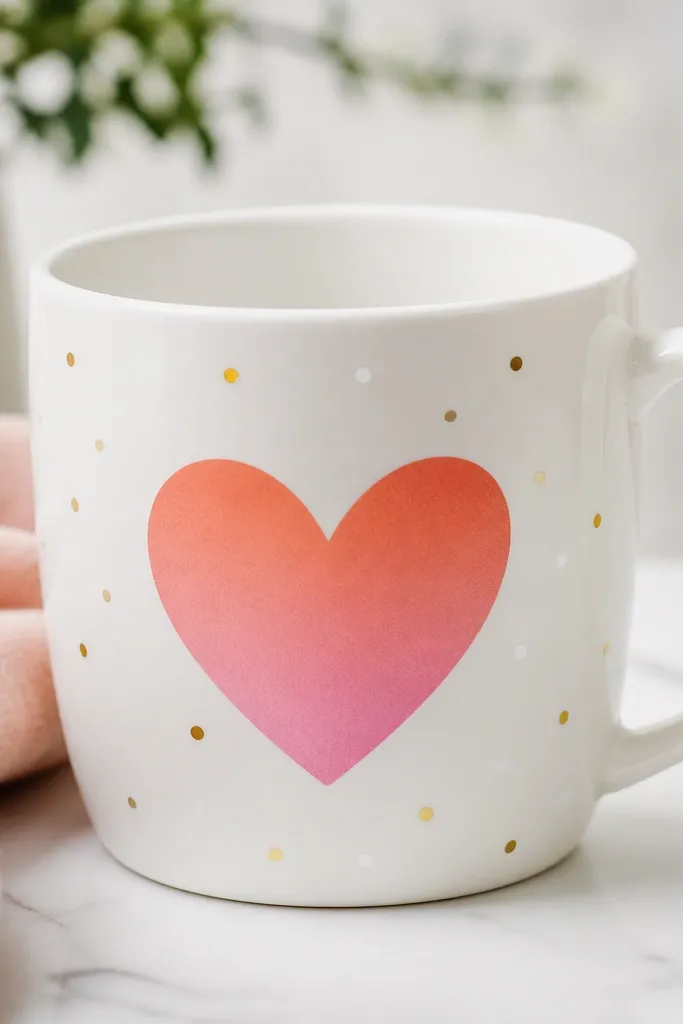
This heart looks playful without being chaotic. Ombré gives you movement and keeps it from feeling like a single flat sticker, and the confetti dots add festive sparkle that still looks tasteful year-round. I use coral-to-pink so it stays warm in winter and fresh in spring. Gold confetti dots are small and sparse, so it doesn’t look like a party favor. This is a good option for gifts when you want “cute” but you also want the mug to match neutral dish sets.
Start by painting the heart with an ombré technique: paint the top half coral, then blend down into pink using a damp brush. Work in thin layers and let each dry a few minutes before the next so colors don’t smear. Add tiny confetti dots around the heart using a toothpick dipped in white paint and a separate toothpick for gold. Keep the dots mostly near the heart edges so the center stays clean. Seal the mug front with a food-safe topcoat, using multiple light coats to protect the dot paint.
Blend the ombré with a dry brush after the first layer for a smoother gradient.
Don’t overdo gold — too many dots make it look cheap and messy.
19. Decoupage heart with vintage book page texture
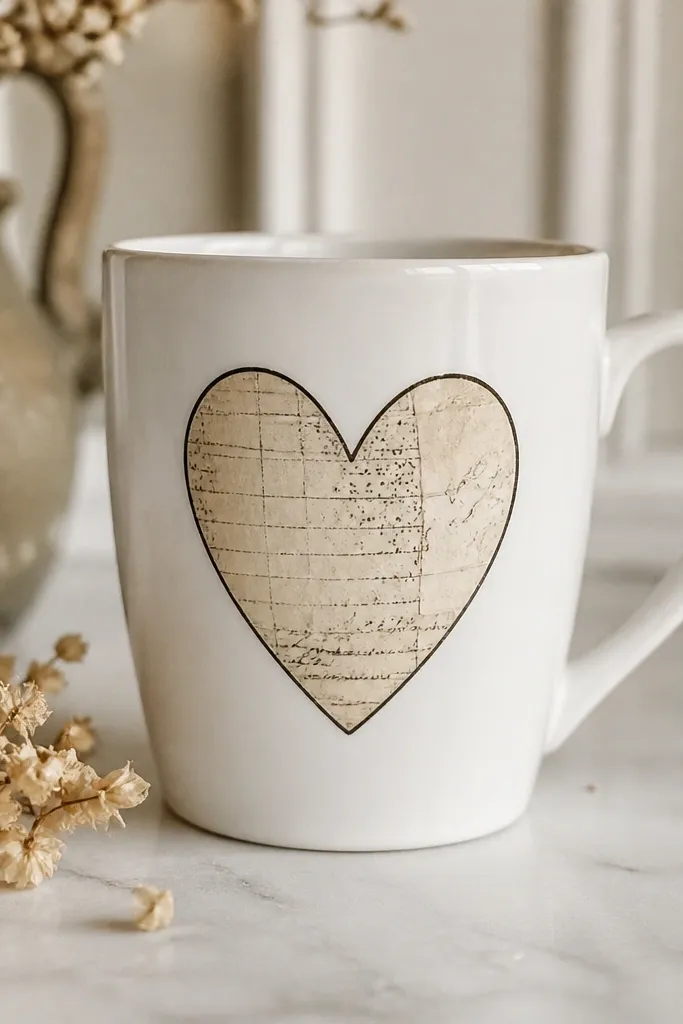
Start by cutting a heart shape from thin book page paper, leaving a tiny border for trimming. Brush a thin layer of decoupage medium (Matte Mod Podge works well) onto the mug front where the heart will go, then lay the paper down. Smooth carefully from center outward and trim any overhang with a craft knife once it’s slightly set. Add a thin black outline around the heart using ceramic paint to sharpen the edges. Seal over the heart with at least two coats of decoupage medium, letting it dry fully between coats.
Decoupage hearts look like keepsakes because the texture shows through. I like using vintage book page paper for a warm, aged look that fits fall and winter, but the black outline keeps it clean enough for spring. This is a great gift for readers, and it also hides small tears in paper because the sealer makes everything uniform. It flatters people who like neutral décor and it looks good with wooden trays and ceramic canisters. The heart outline makes it readable even when the text pattern is busy.
AvoidSkip thick paper layers — they lift at the edges and peel.
Pro tipUse matte medium for a softer look — gloss makes paper texture look plasticky.
20. Salt-dusted heart texture with thin red wash
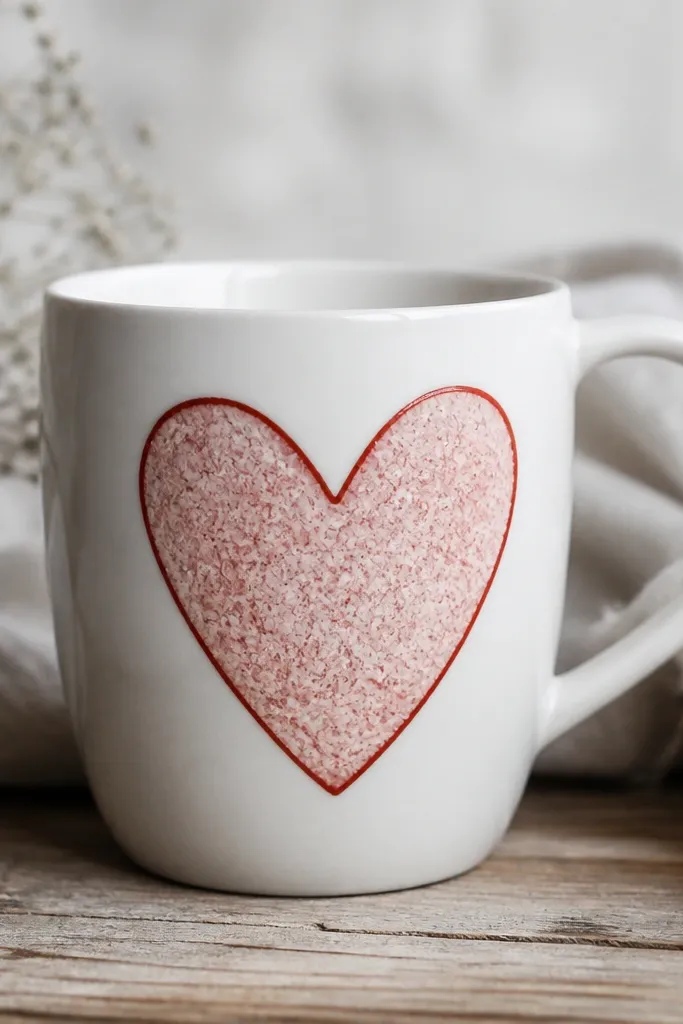
Start by masking a heart area with painter’s tape, then paint a light red wash inside the heart. Sprinkle coarse salt lightly over the wet paint so you get speckled texture instead of a full crust. Let it dry until the salt releases naturally, then brush off gently. Outline the heart with a darker red ceramic paint using a fine brush for crisp edges. Seal the surface with a clear food-safe topcoat, adding two thin coats to lock the texture.
This heart has a handmade texture that looks like it came from a pottery studio. The salt-dusted look adds visual interest without adding extra colors, so it stays year-round. I do this when someone wants something cozy but not overly cute. The red wash is thin, so the white mug glow still shows through, which keeps it from looking heavy. It’s flattering on any skin tone in photos and it looks great in winter because the texture reads like frost.
AvoidDon’t press salt into wet paint — it creates chunky, uneven lumps.
Pro tipUse coarse salt (like kosher salt) instead of table salt for a more visible texture.