
1. Cracked star from uneven drying
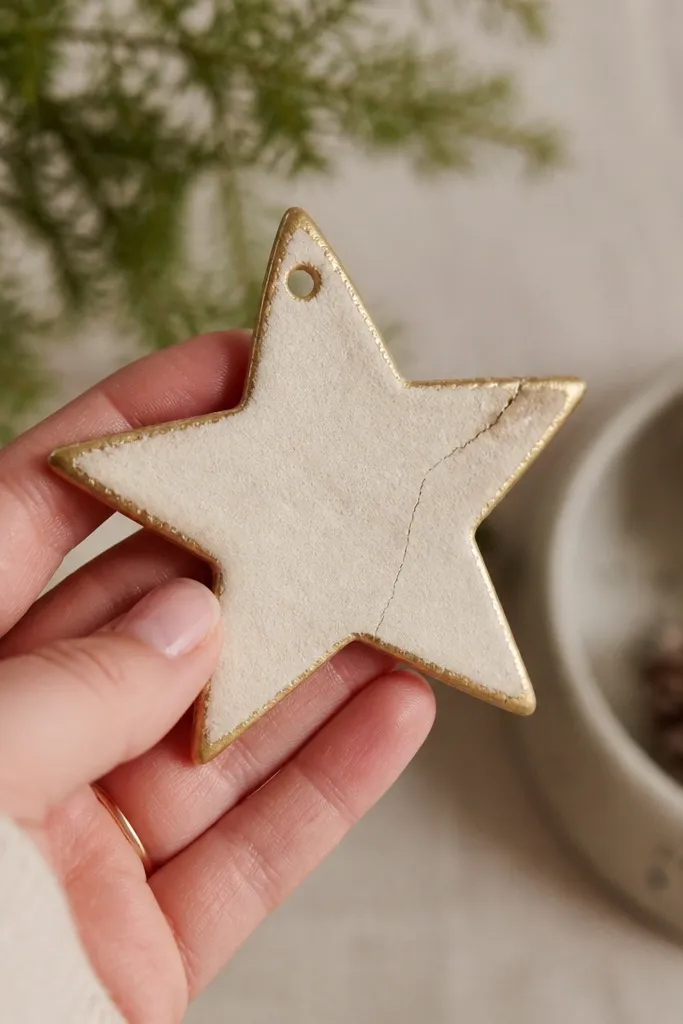
This is the kind of mistake-looking ornament that actually still photographs well. I painted the star in warm cream and brushed a thin gold line only around the outer points, which pulls attention away from the crack lines. Warm cream is forgiving on most skin tones when you hold it in photos because it reads soft, not chalky. If you’re making holiday-only decor, a glossy finish hides cracks; for year round ornaments, I prefer matte so the surface doesn’t look plasticky in daylight.
Start by sanding the crack area lightly with 220 grit so the edges feel smooth instead of sharp. Then mix a thin paste from a splash of water and a pinch of flour, press it into the crack, and smooth it with a fingertip. Bake the star at 250°F (120°C) for 20-25 minutes, then turn the oven off and leave it inside with the door cracked open for 30 minutes. Once it’s fully cool, seal it with matte acrylic sealer in two light coats before you paint the cream and gold.
Pro tipIf you see cracks during baking, rotate the tray halfway through instead of waiting for the full time.
AvoidAvoid painting over wet or slightly soft dough — the paint traps moisture and the crack widens later.
2. Blown-out bubble spots on the surface
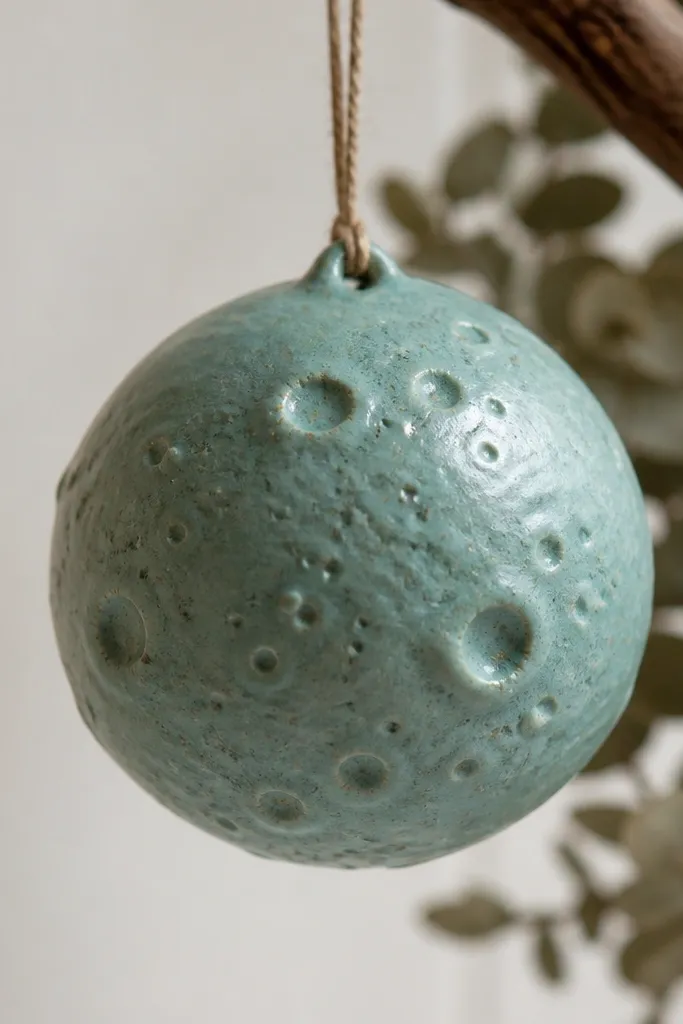
Bubbles happen when the dough traps air or when you press too hard into details. For a bubble-prone piece, I go with a color that forgives texture — pale turquoise looks intentional when the surface has bumps. This works best for ornaments you plan to hang low where they catch side light, because the texture creates a soft sparkle without looking messy. If you like a clean, flat look, you’ll hate bubbles; that’s why the fix matters more than the color choice.
Start by rolling the dough on a floured surface until it’s 1/4 inch thick and then smooth it with your palm in one direction, not back and forth. After cutting, pop any visible bubbles by poking them gently with a pin and smoothing the spot with a damp finger. Bake at 275°F (135°C) for 25-35 minutes depending on diameter, and let it cool completely before painting. After cooling, fill any tiny craters with a thin skim of flour paste, let it dry for 10 minutes, then seal.
Press your stamp or cutter straight down and lift straight up to keep edges crisp.
Avoid kneading the dough too long after you add water — that traps air and leads to bubbles.
3. Warped ornaments that won't sit flat
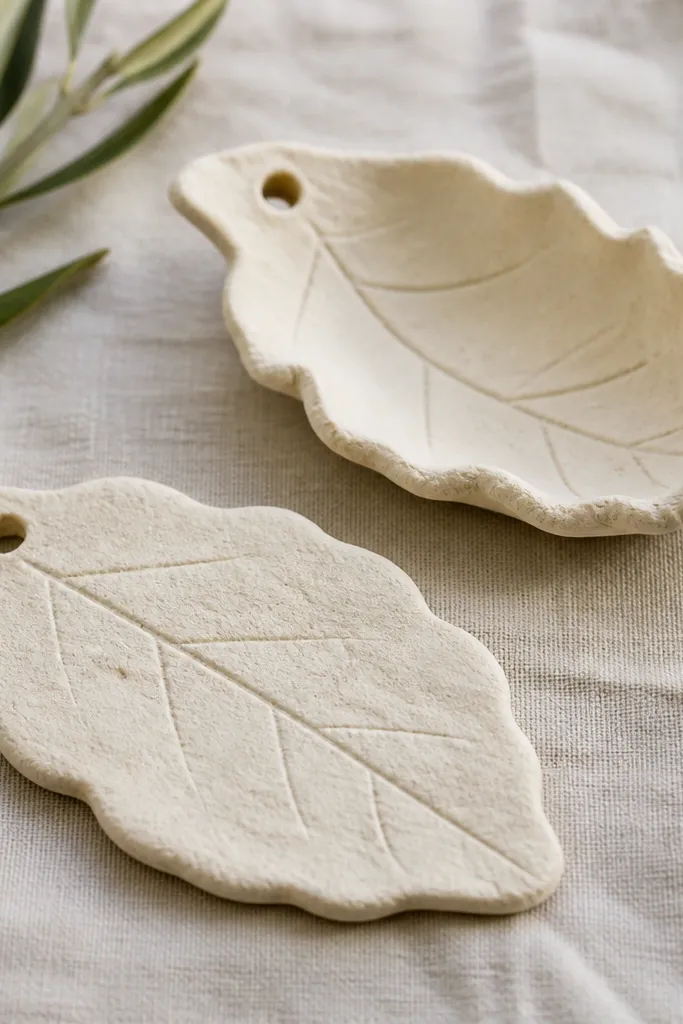
Warped pieces usually happen when one side dries faster than the other. I fix the look by leaning into shapes that naturally curve — leaves, crescents, and small bells. Painting helps too: I use a slightly darker green on the underside and a lighter green on top, so the curve reads as design instead of damage. This style looks great in kitchens and entryways because the colors match cabinets and counters without fighting them.
Start by placing the warped ornament on a flat tray and misting the back lightly with water using a spray bottle. Then cover it loosely with plastic wrap and wait 5-8 minutes so the dough relaxes. Press it flat under a book for 20-30 minutes, then bake at 200°F (95°C) for 10-15 minutes to lock the shape. After it cools, seal with matte sealer before any color goes on.
If you want a perfect flat ornament, flip it halfway through the first bake time.
Avoid baking on a warm rack or uneven surface — it encourages one side to dry first.
4. Mushy edges after rain exposure
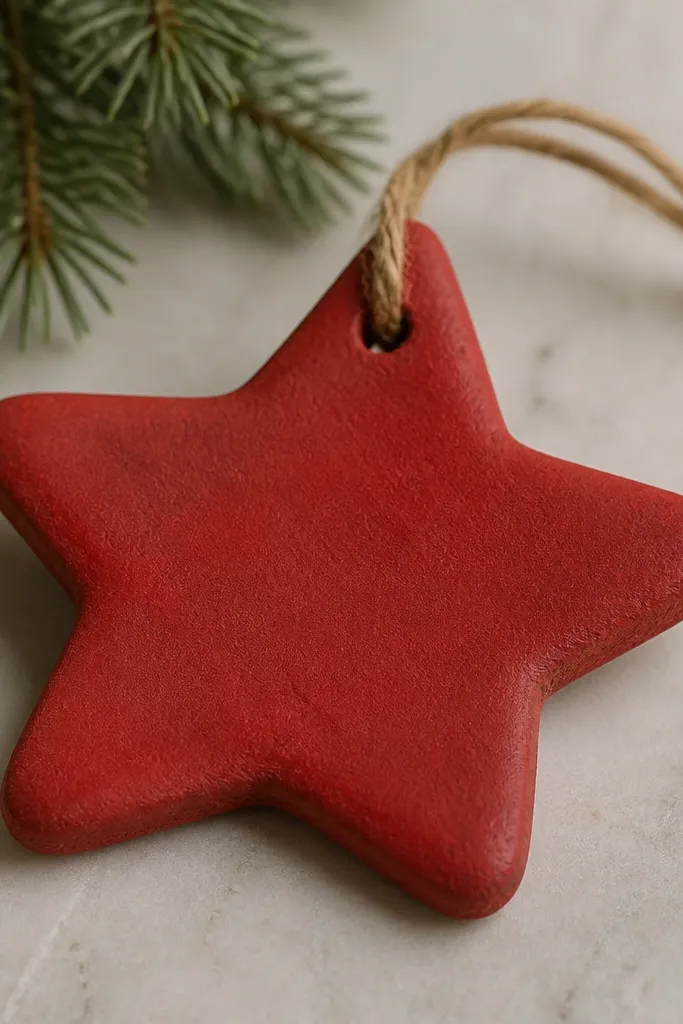
If your ornaments live near a door or on a porch shelf, the edge is where failure shows first. Mushy edges mean moisture got in, and the salt rehydrated. For year round salt dough ornaments outdoors, I pick a darker base color like deep red or forest green because it hides faint color bleed at the edges. The matte finish still looks classy, but the seal has to be real — paint alone will not protect it.
Start by letting the ornament dry fully for 24 hours in a dry room. Sand the softened edge with 220 grit until it feels firm again, then wipe off dust with a dry cloth. Apply matte acrylic sealer in two thin coats and let each coat dry 1-2 hours. After paint dries, add a final topcoat with a weather-resistant matte acrylic varnish, then cure for 24 hours before hanging.
Pro tipUse a thicker ornament (closer to 3/8 inch) for outdoor placements.
AvoidAvoid using craft glue and then painting over it — it stays water-sensitive and softens the seam.
5. Paint peeling because I skipped the first seal coat
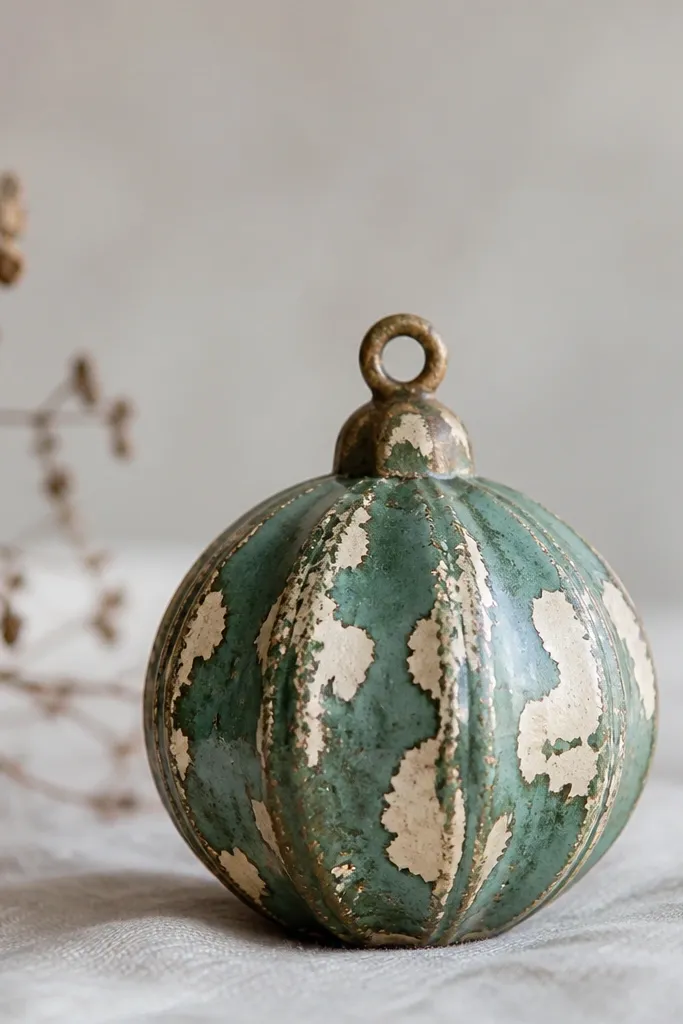
Paint peeling looks terrible up close, and it also feels rough in your fingers. The fix is boring but effective: seal before paint so the dough doesn’t drink the pigment and moisture. I like matte cream as a base because it makes the top color pop without looking glossy. This is a great approach for ornaments that you touch often, like ones on a dining table centerpiece or a tree on a low shelf.
Start by sealing the raw baked ornament with matte acrylic sealer, two light coats. Let it dry fully — I wait overnight for stubborn pieces. Then apply paint with a small foam brush for flat areas and a fine craft brush for details. After the paint cures, spray or brush a final matte topcoat in a thin layer, and let it sit 24 hours before you string it up.
Pro tipIf you see brush marks after sealing, sand lightly with 320 grit before painting.
AvoidAvoid painting directly on unsealed dough — the surface absorbs water unevenly and the paint lifts.
6. Chalky finish that rubs off on fingers
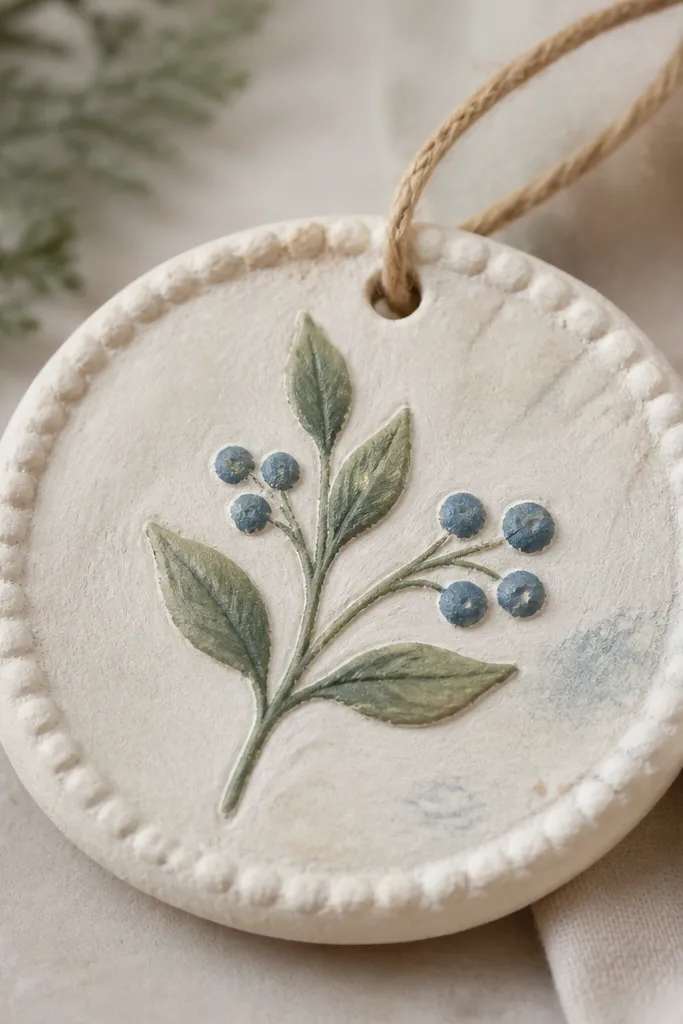
Chalky ornament surfaces happen when you use craft paint that dries powdery or you skip a topcoat. I fix it by switching to acrylic craft paint plus a clear matte varnish that actually locks it down. For the look, I stick to colors like dusty gray, warm ivory, and muted navy, because matte varnish brings out the pigment without making it glossy. This works especially well for ornaments you plan to handle — like gifting sets — because the finish survives packing and unboxing.
Start by letting your painted ornament dry 2-3 hours, then gently rub a hidden spot with a dry fingertip. If you get residue, add a clear matte acrylic varnish immediately. Apply varnish in thin coats — one coat, dry 1 hour, then a second coat. If you still see dustiness, add a third coat but keep it light so it doesn’t pool in details.
Pro tipDo a fingertip test before you wrap the ornaments for storage.
AvoidAvoid heavy brush strokes with varnish — thick layers stay tacky and smear.
7. Off-center holes that twist the whole ornament

Hole placement changes everything. When the hole is off-center, the ornament spins and the design never hangs the way you meant it to. I fix this by marking the center with a ruler and using the string hole as a hanger anchor, not a random poke point. For styling, I use thin twine and a small wooden bead at the top so the twist reads like intent. This looks especially good on starbursts and layered shapes.
Start by drawing a center cross on the ornament with a pencil — light enough that you can erase after. Then use a small hand drill or a pin vise and drill slowly so the dough doesn’t crack around the edges. If the ornament is layered, drill through the top layer only and glue a small dowel nub underneath to keep it straight. Thread twine through after sealing, so the hole edges stay protected and you don’t get flaking at the string point.
Pro tipUse thinner string than you think — thick twine weighs more and pulls the ornament crooked.
AvoidAvoid drilling too close to the edge — it chips and then the hole enlarges.
8. Too-thin ornaments that snap during storage
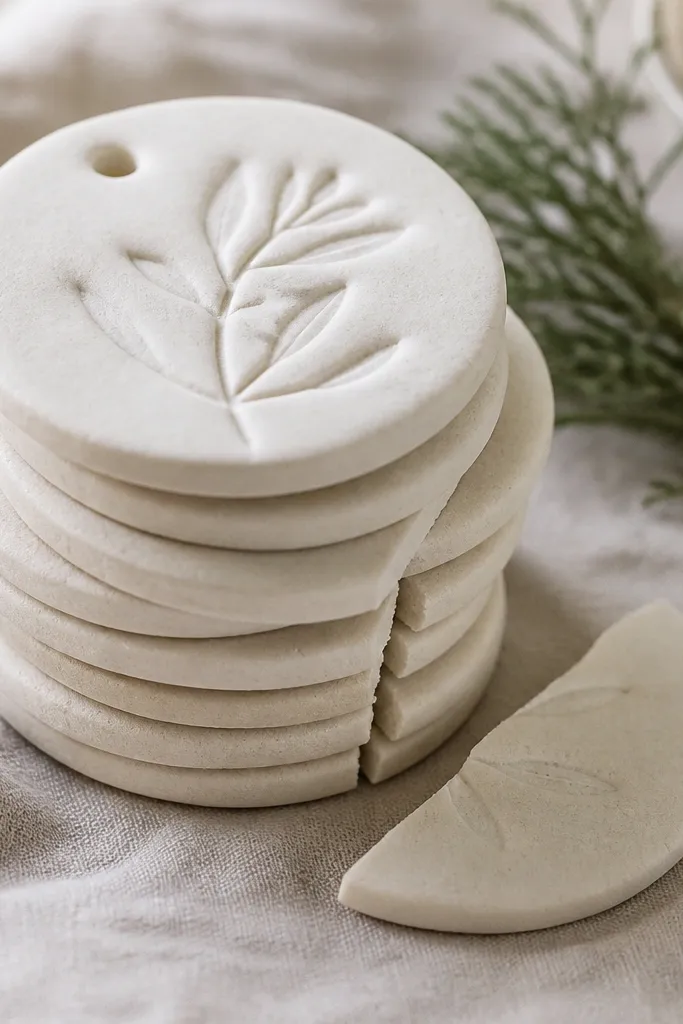
Thin ornaments are cute for photos, but they punish you later. I stick to 1/4 inch for most shapes and go 3/8 inch for anything that will be packed and unpacked. A thicker ornament also takes paint and texture better, so your details hold up and don’t blur. This matters most if you have kids or you pack ornaments in a hurry — the thicker pieces survive being bumped.
Start by rolling dough with a thickness guide — I use two dowels or acrylic rods set at 1/4 inch on my countertop. Cut your shapes and support them on parchment so they don’t sag while baking. Bake longer than you think, then dry in the turned-off oven for 30-60 minutes. After cooling, handle with two fingers at the thickest point, then seal before you paint.
For storage, wrap each ornament in tissue and place them in a single layer inside a shoebox.
Avoid cutting mini details too small — they snap first and you can’t repair them cleanly.
9. Color bleeding from unsealed painted edges
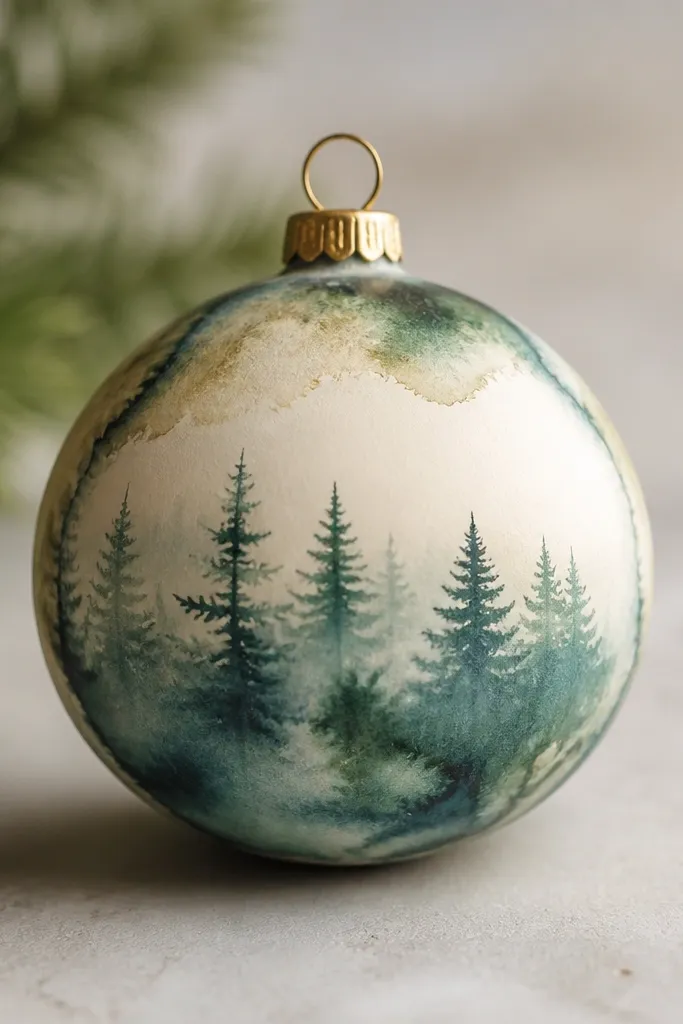
Color bleeding usually comes from edges that are still porous, especially around cookie-cutter cuts. When you seal too late or not at all around the sides, paint soaks in and later moisture makes it run. I fix the look by painting the face and then doing a quick edge coat after the first paint layer dries. For styling, I like two-tone edges: one color on the front, a contrasting color on the rim. It makes the ornament look intentional even if the edge is slightly rough.
Start by sealing the raw baked ornament with matte sealer, then paint the front. Let the paint dry completely, then flip the ornament and add a thin paint layer to the rim and sides. After that dries, spray or brush a topcoat around the edges too, not just the face. Finally cure it for 24 hours so the seal forms a solid skin before you store it.
Pro tipUse a small angled brush for the rim so you don’t flood the edge with paint.
AvoidAvoid skipping side sealing — that’s where water gets in and where color bleed starts.



