
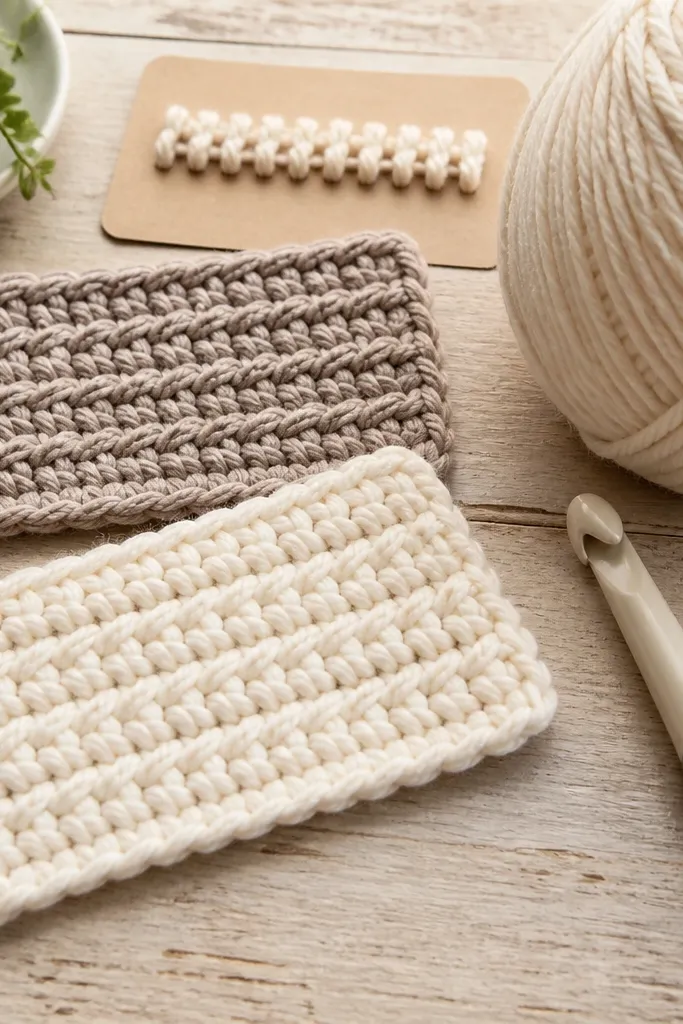
1. Chunky Basket Coaster Set (Set of 4)
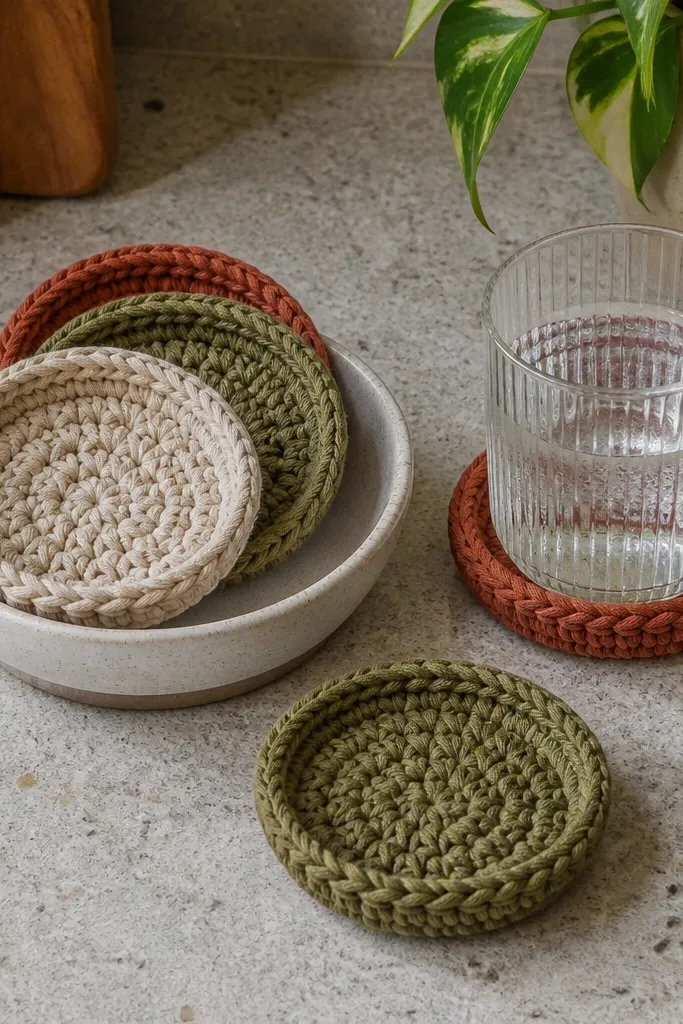
These coasters look like little woven baskets, but they’re built with beginner-friendly crochet. The textured stitch pattern creates a high-contrast surface that shows up in photos even when the background is plain. They also solve a real beginner problem: coasters let you practice consistent stitch height without committing to a big item. Use them on coffee tables, nightstands, or as a matching set for gifting. Expect about 1 to 2 hours per coaster depending on your pace and yarn thickness.
Start by making a short foundation chain sized to your coaster diameter, then work in rounds using a stitch that creates texture (single crochet back loop, or a simple basket-weave repeat). Add rows until you reach your target thickness, aiming for a coaster that’s about 3/8 to 1/2 inch tall. Finish with a firm border round of single crochet to keep the edge flat. Block lightly by pinning the edges to a circle so the set looks crisp.
Pro tipUse a non-slip yarn if you can — cotton or cotton-blend holds shape better for coasters.
AvoidSkipping a firm final border makes the edge curl and looks messy in photos.
2. Square Granny-Style Washcloth with Clean Border
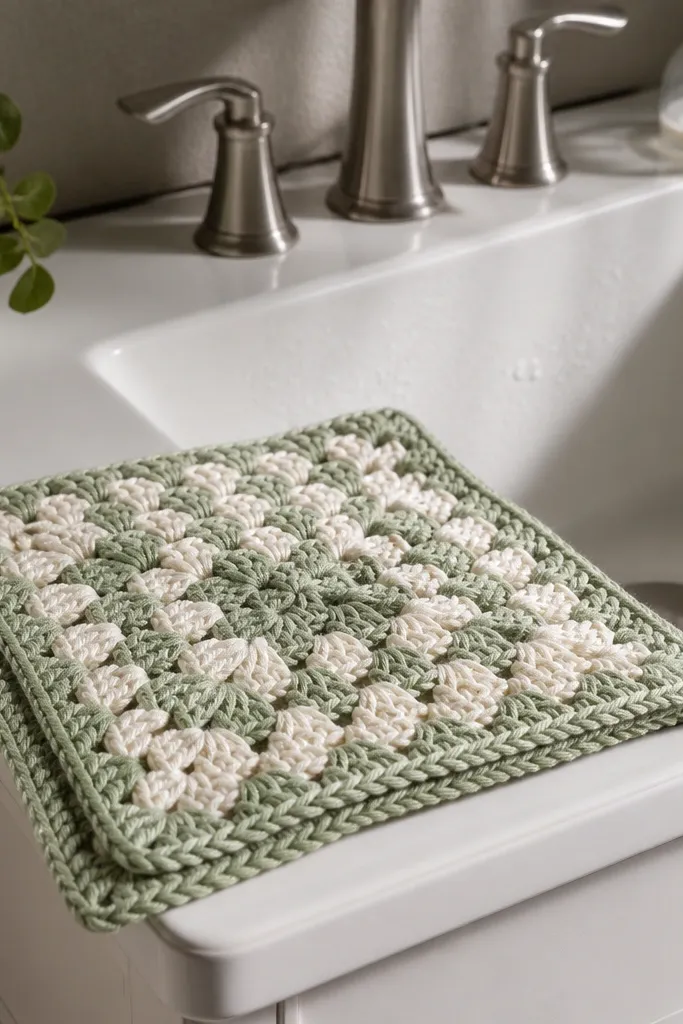
This washcloth gives you the iconic granny look without the chaos. The square shape is forgiving, and the texture is bold enough to look great on a sink ledge. It’s also a practical first project because washcloths get used immediately, so you can see how your stitch tension holds up over time. Choose two colors for a high-contrast look or stick to one color for a calm, spa vibe. It’s a fast build that teaches you row structure without complicated shaping.
Work a small square using a simple granny-style repetition: cluster groups separated by chain spaces, but keep it consistent across the whole piece. Stop when the square is about 8 by 8 inches for a standard washcloth size. Add a single crochet border around the entire square, placing extra stitches in corners for a flat turn. Weave ends tightly and trim them close so the border stays smooth.
To keep corners sharp, count corner stitches every row and mark them with a stitch marker.
Using a floppy yarn weight makes the cloth sag instead of holding that clean square edge.
3. Beginner Ripple Cowl with One Stitch Repeat
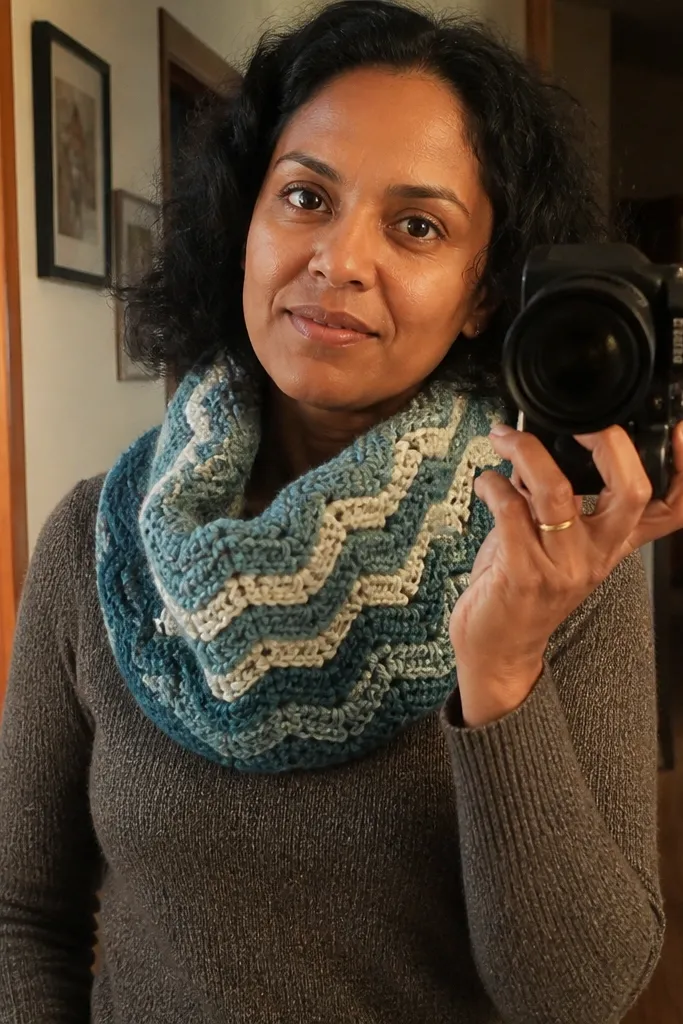
A ripple cowl is the quickest way to get a “designer” look while staying beginner-friendly. The waves create movement and texture, so it looks good in a mirror selfie without needing extra embellishments. This project also trains you to manage a repeating pattern — the wave repeat is simple once you keep your stitch count consistent. Wear it with a coat or hoodie and it instantly makes an outfit look intentional. Plan for about 3 to 5 hours depending on your yarn and how wide you make it.
Choose a yarn in category 4 or 5 and a hook that makes fabric that isn’t tight. Build a foundation chain long enough to wrap around your neck comfortably, then work the ripple repeat across the row using one main stitch family. Continue rows until the cowl reaches your desired height, then seam or join the ends with a mattress stitch for a clean finish. Block by gently stretching to sharpen the wave edges.
Use stitch markers every repeat so you don’t lose the wave pattern mid-row.
Don’t rush the pattern repeat — one skipped stitch creates a ripple “bend” that won’t look right.
4. No-Sew Phone Sleeve with Button Closure
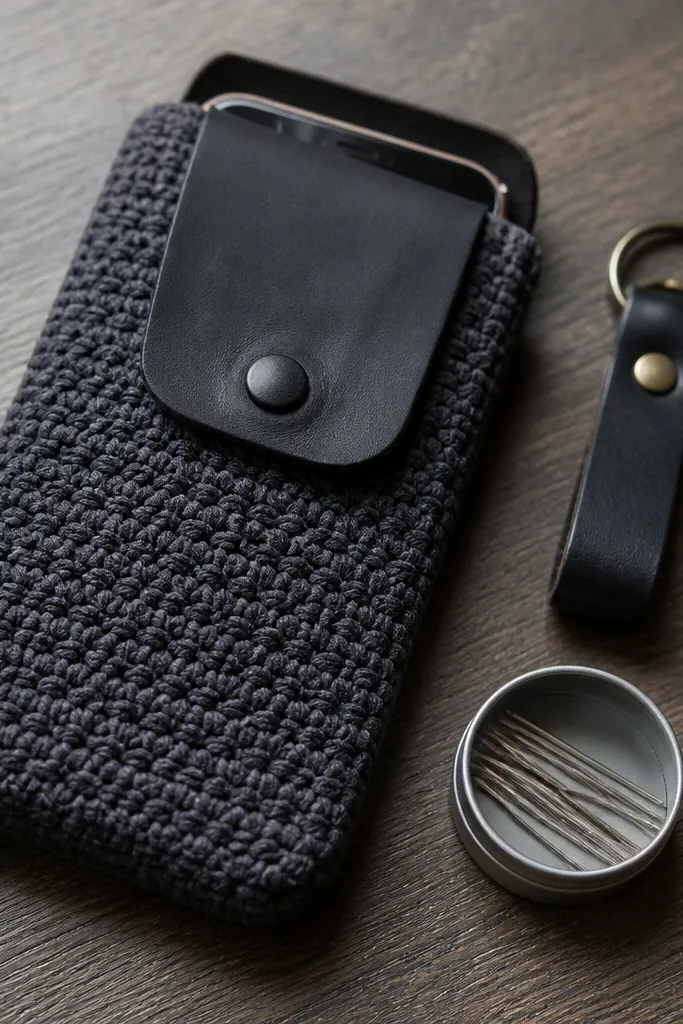
This sleeve is a clean, structured project that looks polished even when you’re still learning. It protects your phone while teaching you how to work in panels and join them neatly. The button closure makes it look intentional and photo-ready, and it avoids tricky zipper skills. Choose a yarn with a bit of structure like cotton or a wool blend. The end result sits flat and looks tidy in your bag.
Crochet a rectangle for the body using half double crochet or single crochet for a sturdy fabric, then measure it against your phone width and height. Fold it so the sides meet and seam using whipstitch or slip stitch join along the edges. Create a small flap by continuing a few rows over the top area, then add a button loop or buttonhole row. Finish with a final border round so the opening doesn’t stretch.
Pro tipMake the sleeve 1/2 inch taller than your phone so it slides in without fighting the fabric.
AvoidDon’t use a very drapey yarn weight — it will collapse and the sleeve won’t look crisp.
5. Textured Mug Cozy with Twist Stitch Look
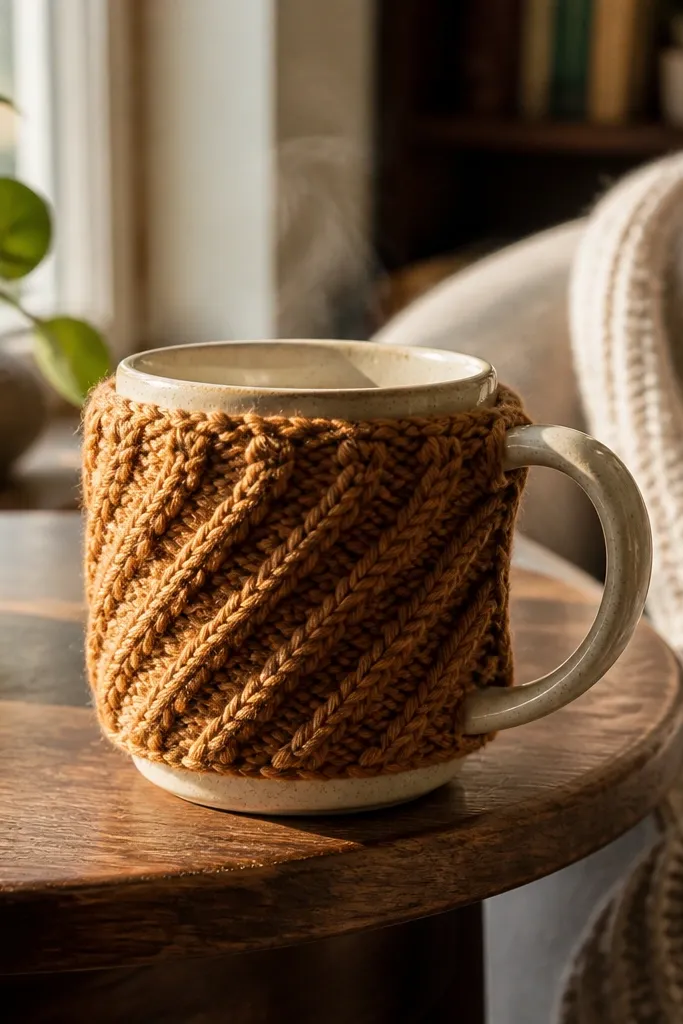
A mug cozy looks cute on its own and it’s also a great way to practice consistent stitch height. The textured pattern gives it that “twist” look without complicated cables. It’s small, so you can redo a section quickly if your tension is off. This project also makes a practical gift that doesn’t take days to finish. Aim for a snug fit that hugs the cup so the fabric looks intentional.
Work a short foundation chain that wraps around your mug circumference, then crochet a tube by working rows and joining the sides with slip stitch. Use a textured stitch repeat like back-loop single crochet or a simple front-post/back-post variation to mimic twisting. Continue until the cozy covers the top half to two-thirds of the mug height. Bind off and weave ends, then add a small single crochet edging at the top edge.
Pro tipCheck fit by wrapping the piece around the mug while you’re still mid-height.
AvoidDon’t stretch the cozy while measuring — it will end up too loose once it relaxes.
6. Beginner Crochet Bookmark with Fringe Ends
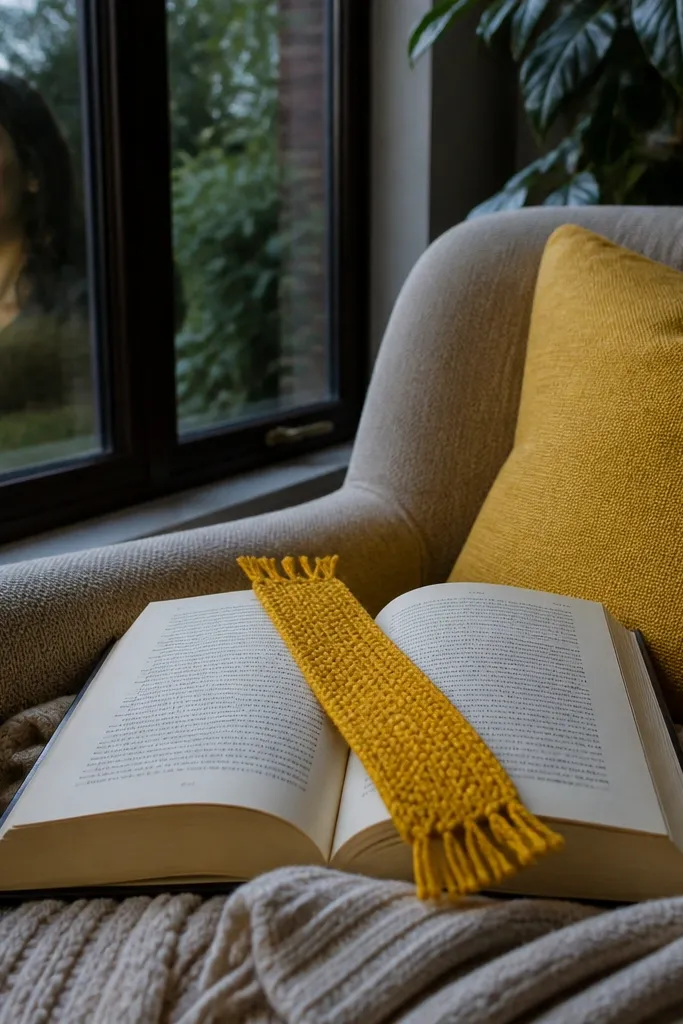
Bookmarks are one of the best Easy crochet ideas for beginners because they teach you straight-row control with a satisfying finish. Fringe adds a playful, photogenic edge, and a simple stitch pattern makes it look finished even if your first rows aren’t perfect. They also make great gifts because you can match yarn to anyone’s taste. Use a contrasting color for the fringe so it pops on a book cover. This project is also easy to carry and drop in a bag while you learn.
Start with a foundation chain about 10 to 12 inches long depending on your preferred bookmark length. Work straight rows in a stitch that lays flat, like single crochet, until you reach about 6 to 10 inches tall. Add a narrow top strip with tighter stitches so it doesn’t flare. Cut fringe strands, attach them evenly across the bottom, then trim to an even length.
Use the same yarn weight for fringe as the bookmark body so the fringe drapes evenly.
Skipping a tight top row makes the bookmark curl and look unfinished.
7. Color-Block Market Bag from Two Panels
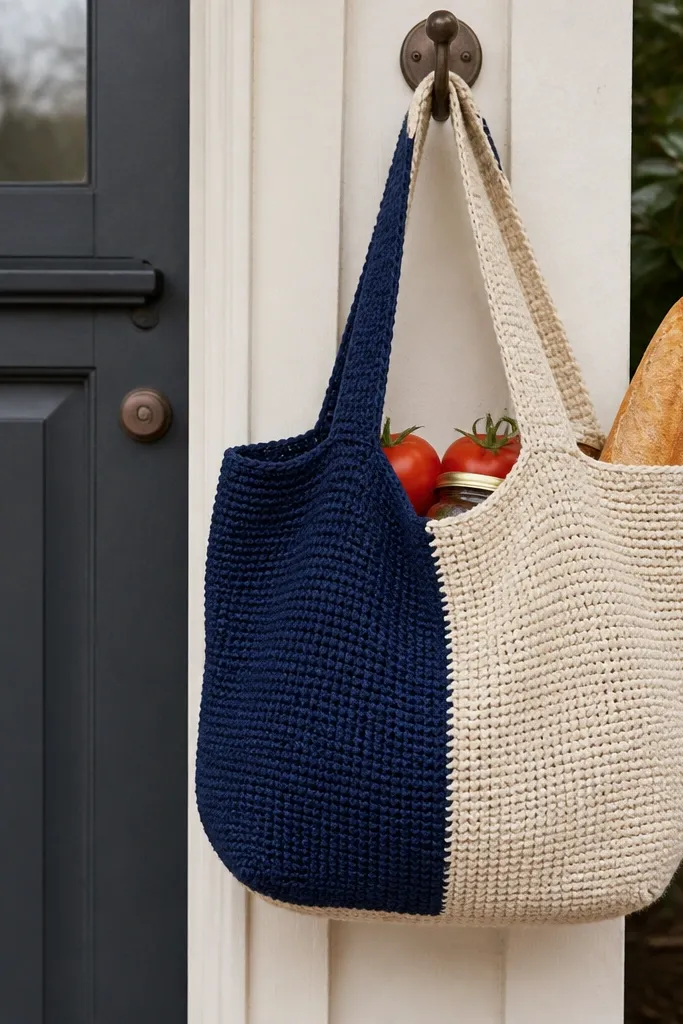
This market bag looks modern because it uses clean color blocks instead of complicated stitchwork. Two panels are easier than crocheting in the round, and the straight lines photograph well. You also get practical value — it’s big enough for groceries or beach items, and the stitch texture helps it hold its shape. Pick cotton yarn for durability, and keep the handles sturdy so it doesn’t flop. It’s a beginner-friendly build that teaches joins, color changes, and even edges.
Crochet two identical rectangles for the front and back using a sturdy stitch like half double crochet, making each panel tall enough for your bag size. Sew or slip-stitch join along the sides, then reinforce the bottom with an extra border round. Add handles by crocheting a strip of chains across the top edge and securing it with stitches at both ends. Add a simple top edging round so the opening stays neat.
Pro tipPlan your stripes by switching colors at the exact same row count on both panels.
AvoidDon’t use a super-loose stitch for the bag body — it will stretch and lose its shape.
8. Beginner Puff Stitch Baby Blanket Squares
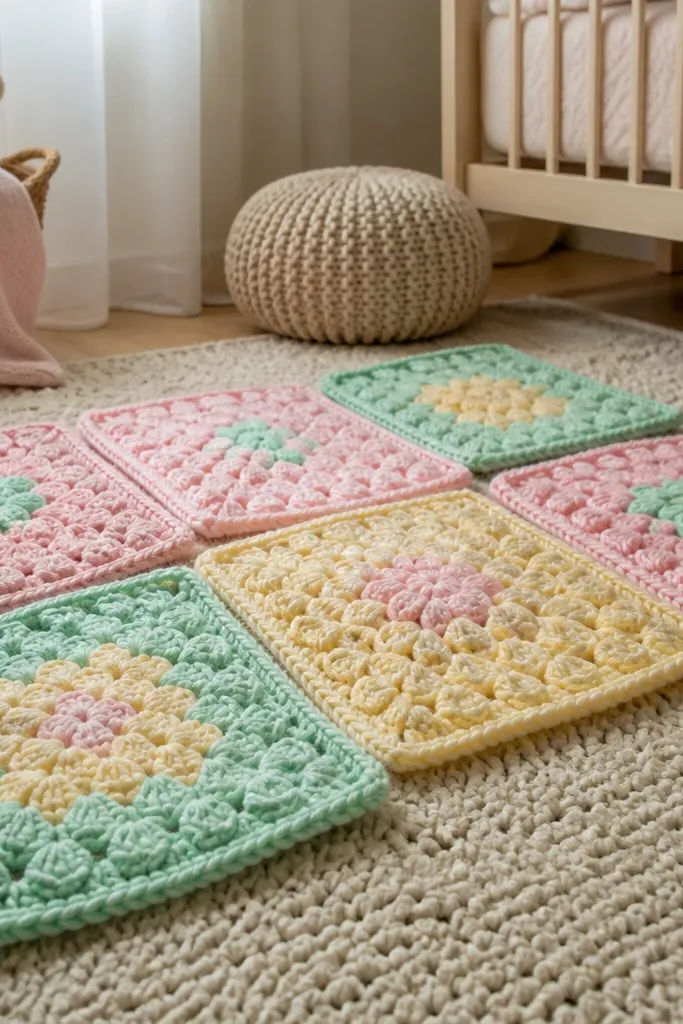
Puff stitches look impressive, but you can keep them beginner-friendly by limiting the project to small squares. The raised texture creates a plush look that reads clearly in photos, even with soft lighting. Squares also let you stop after a manageable amount of work and still feel progress. Make a set of 4 to 9 squares and assemble later, or keep one square as a decorative piece. This is one of the best Easy crochet ideas for beginners who want texture without complicated shaping.
Work a square base in simple stitches, then place puff stitches at consistent intervals inside a grid pattern. Keep your puff stitch size uniform by using the same number of yarn overs and pulling loops to the same height. Continue rows until the square matches your target size, like 10 by 10 inches. Add a single crochet border on all sides to frame the puffs and prevent curling.
Pro tipCount your puff stitch placements with markers so your texture stays even.
AvoidDon’t make puffs too tall — they will buckle the fabric and look uneven.
9. Textured Headband with Button Detail
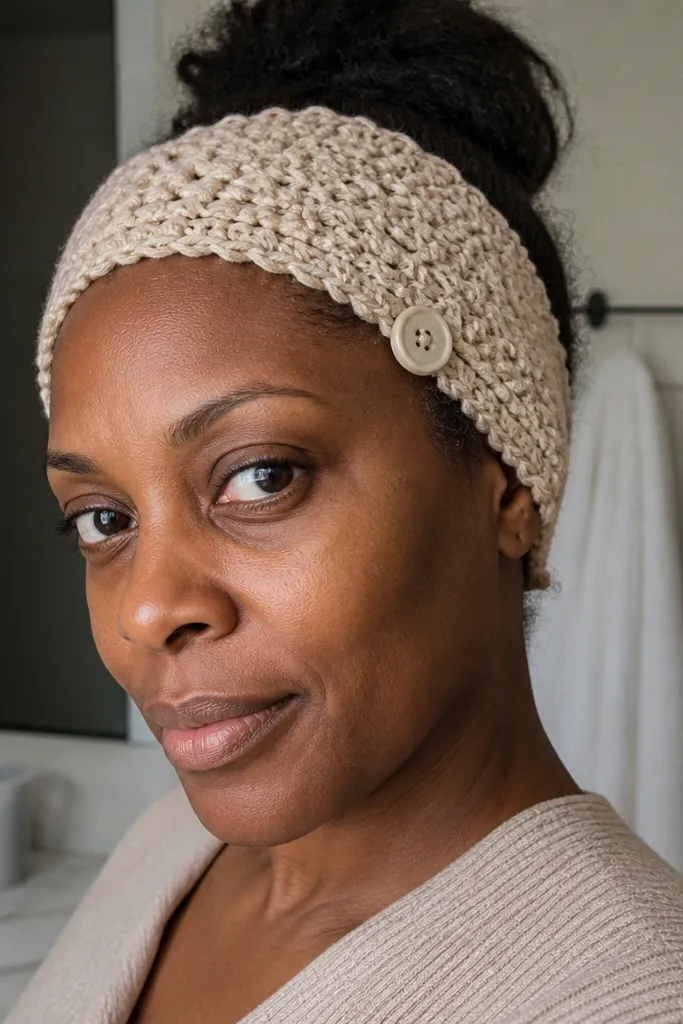
A headband is small, quick, and it looks intentional when it has a clean texture pattern. This one uses a simple stitch repeat that creates a subtle raised surface — great for photos because it catches light. The button detail adds a little style without adding complicated skills. It also teaches you how to shape for fit by adjusting length, not by complex decreases. Perfect for chilly mornings or as a gift.
Start with a foundation chain long enough to wrap your head comfortably, then work short rows in a ribbing-friendly stitch like back-loop single crochet. Continue until the headband width looks right, usually about 2 to 2.5 inches. Seam the ends together so the join sits underneath hair. Stitch a button near one end and add a small loop or chain tie opposite so it closes securely.
Pro tipMake it slightly snug — headbands stretch a bit after wear.
AvoidDon’t skip blocking if your fabric curls — a quick steam or wet-pin makes it lie flat.
10. Beginner Amigurumi-Style Keychain Without Magic Ring Stress
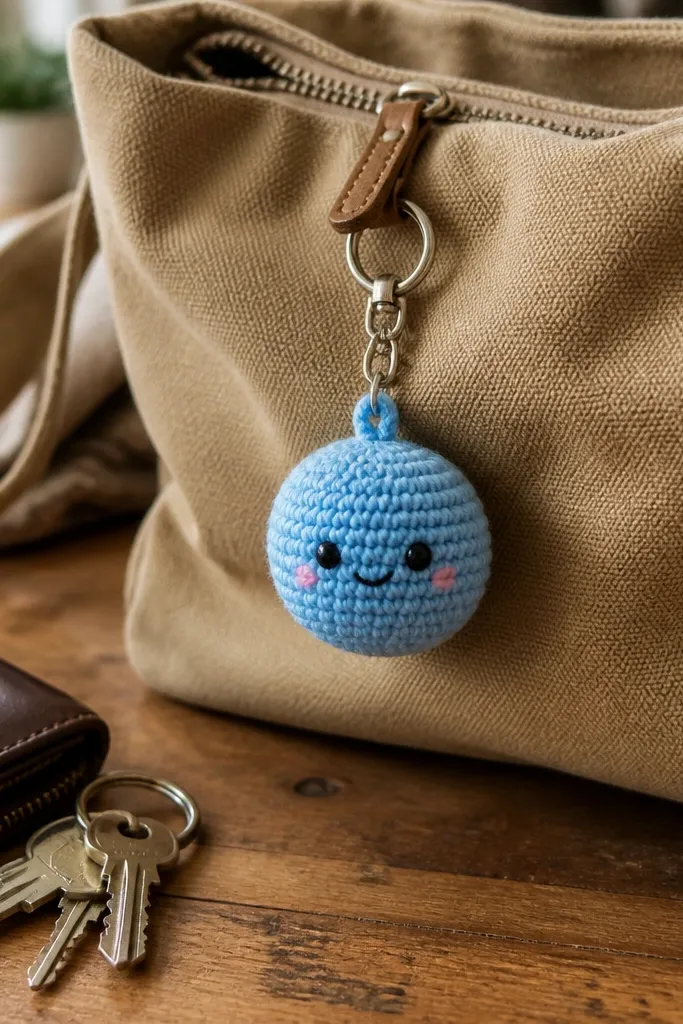
Keychains are a low-pressure way to get the cute amigurumi look, but you don’t need advanced magic-ring skills. This design uses an easy start method like a chain circle or a tight first round that still looks smooth. The finished charm is photogenic because it’s small, centered, and sits nicely on a bag or keys. Choose a bright yarn so the texture pops. This project is also a good confidence builder because it finishes fast.
Start with a chain long enough to form a tight circle, then join with a slip stitch and begin working in the round using single crochet increases. Shape the body with simple increase rounds for the first part, then work even rounds until you reach the desired size. Stuff lightly, then decrease for the top closure. Sew on a small loop for attaching to keys and weave all ends securely.
Pro tipStuff in thin layers so the shape stays round instead of lumpy.
AvoidOverstuffing — it stretches stitches and makes the top look warped.
11. Crochet Plant Pot Cover with Vertical Texture
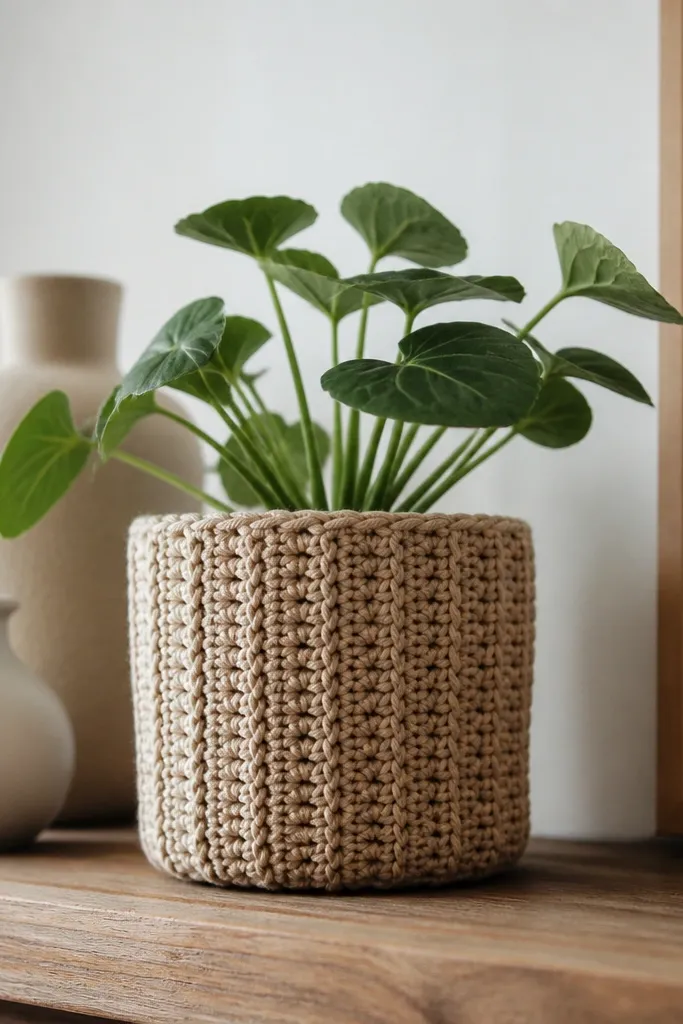
A plant pot cover makes your shelf look styled, and it’s a beginner-friendly way to work a cylinder shape. Vertical ridges look great because they create strong lines that frame the plant. It also hides ugly plastic pots, so you get instant visual improvement. Use a breathable yarn like cotton or a cotton-linen blend so the fabric doesn’t trap moisture too aggressively. This is an Easy crochet idea for beginners that looks intentional even with simple stitches.
Measure the pot circumference and crochet a starting chain to match that width, then work in rows or rounds to build a tube. Use vertical texture stitches like front-loop single crochet or simple post stitches for consistent ridges. Continue until the cover reaches the height you want, then add a ribbed top edge so it sits neatly. Finish by weaving ends and lightly blocking to tighten the vertical lines.
Leave a small gap at the top edge for easy removal — don’t crochet it too tight.
Skipping a top edge reinforcement — it will stretch and look sloppy around the rim.
12. Simple Crochet Throw Pillow Cover with Zipperless Flap
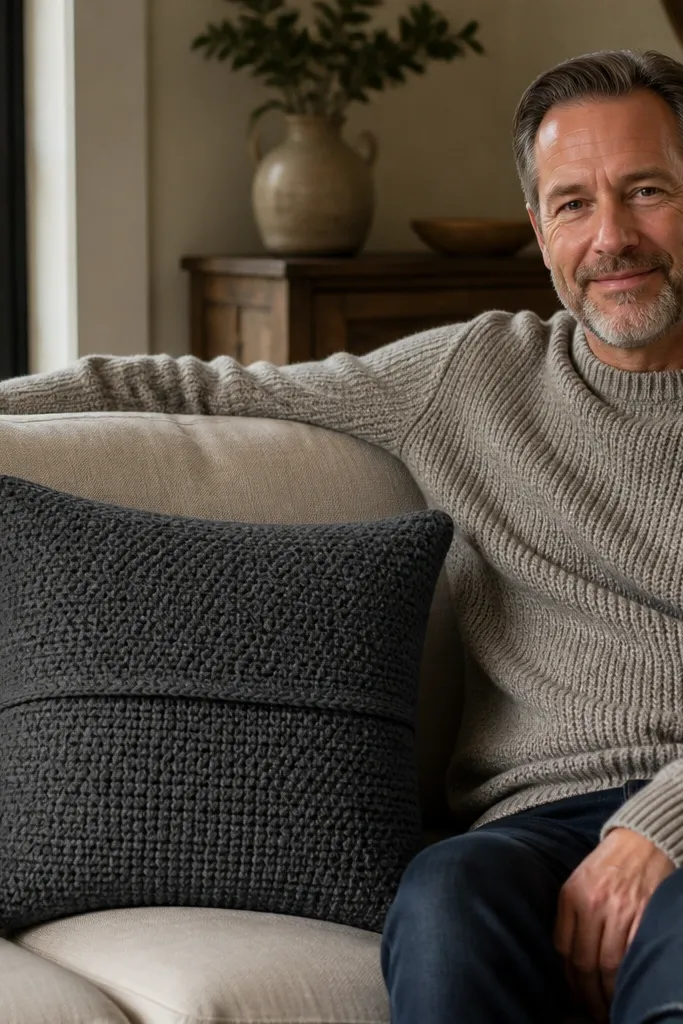
This pillow cover looks clean and modern because it uses a flap closure instead of a zipper. The flap creates a neat seam line that reads well in photos. It’s beginner-friendly because the main panels are rectangles, and assembly is straightforward. You can choose a bold color to match a couch or keep it neutral for a calm look. It also helps you practice consistent edges, which is where most beginner pieces look unfinished.
Crochet two large rectangles sized to your pillow insert, leaving extra for ease (about 1 inch per side). Make one rectangle with a longer flap section by continuing a few extra rows at one end. Sew or slip-stitch the sides to form the pocket, leaving the flap opening. Add a border round around the opening and flap edge for a crisp finish.
Pro tipUse a stitch that doesn’t stretch sideways too much, like half double crochet, for better fit.
AvoidUsing a mesh stitch — it makes the pillow look see-through and uneven.
13. Beginner Crochet Wall Hanging with Simple Loop Fringe
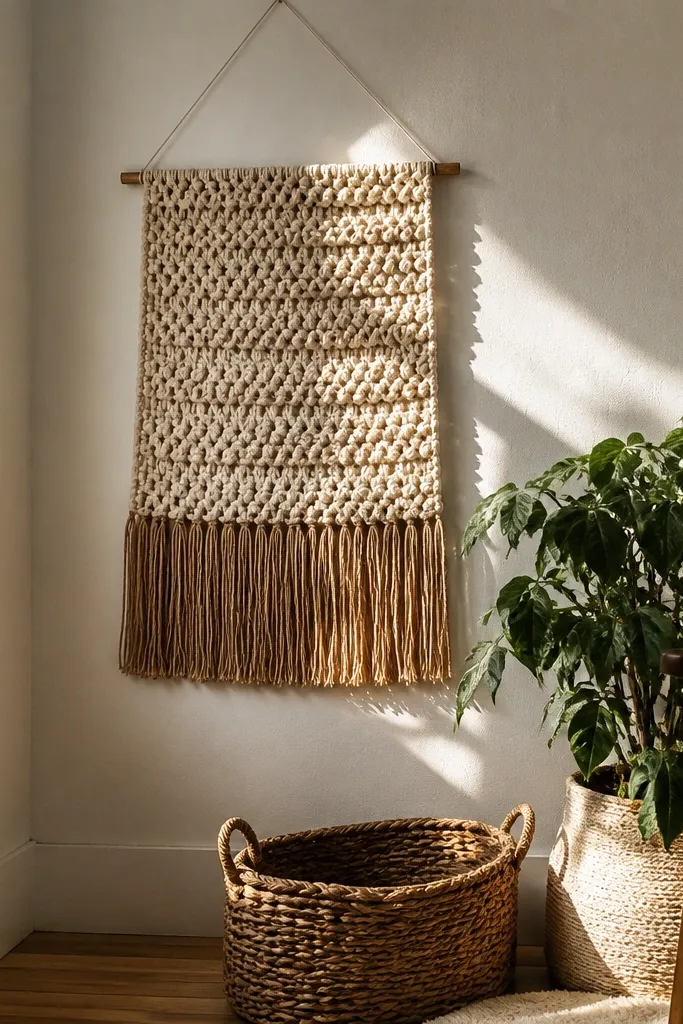
Wall hangings look artsy without needing advanced stitches. This one uses a textured center panel that looks good from across the room and loop fringe that adds movement. The project is beginner-friendly because it’s mostly straight work and a fringe attachment step. Pick 2 yarn colors for a modern look or keep it monochrome for a calm vibe. It’s also easy to customize size — make it small for a shelf or larger for a wall.
Crochet a rectangular panel using a single stitch pattern for the whole face, then build a top hanging strip by working short rows or a simple chain-and-slip-stitch band. Attach loop fringe by cutting strands and pulling them through evenly spaced points along the bottom edge. Add a border row around the panel so the edges look finished. If it curls, lightly block and press the panel flat between towels.
Pro tipKeep fringe lengths consistent by wrapping yarn around a book spine as a measuring tool.
AvoidSkipping edge finishing — the wall hanging will look uneven at the sides.
14. Crochet Coaster with Starburst Texture
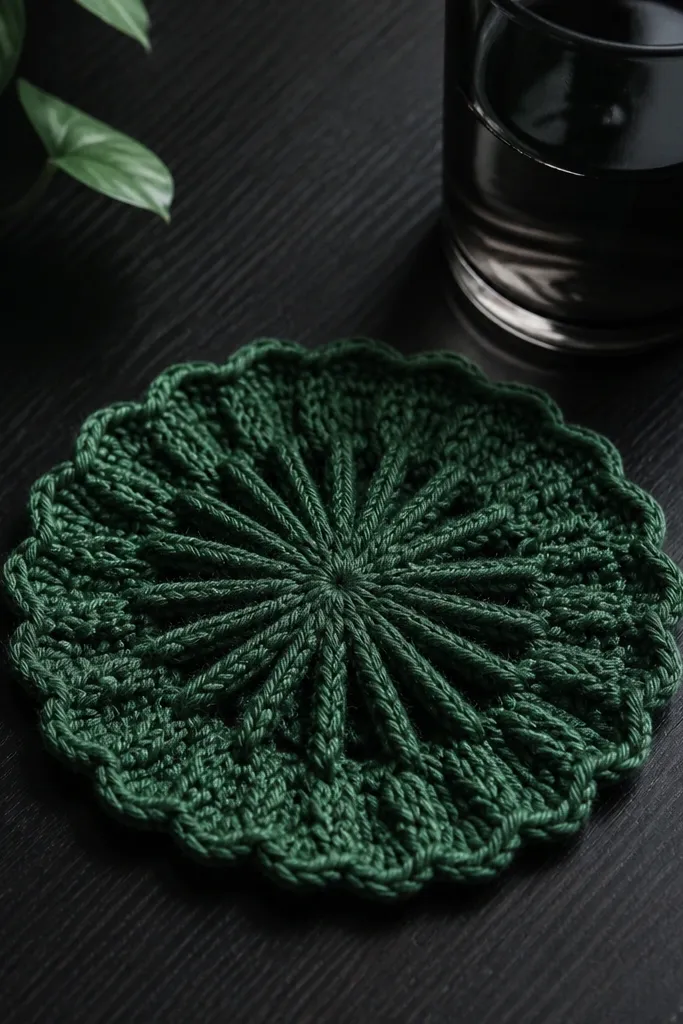
This coaster looks like a tiny doily without the big time commitment. Starburst textures create a dramatic center that reads clearly in photos, especially on dark tabletops. It’s a great beginner option because it’s based on repeating increases and a simple stitch repeat. You still get a “wow” look, but the pattern stays manageable. Use it as a decor piece under a candle or as a set on your desk.
Start with a center circle using an easy increase method (work increases in a fixed pattern to form points). Continue building outward until the coaster reaches your diameter target, then stop and secure the final round with slip stitches. Add a flat border round of single crochet to keep the edge from curling. Weave ends and block lightly so the star points hold their shape.
Pro tipPick a slightly thicker yarn for starburst coasters so the points stay crisp.
AvoidUsing super-thin yarn — the points blur and the texture won’t show.
15. Beginner Crochet Market Pouch with Drawstring
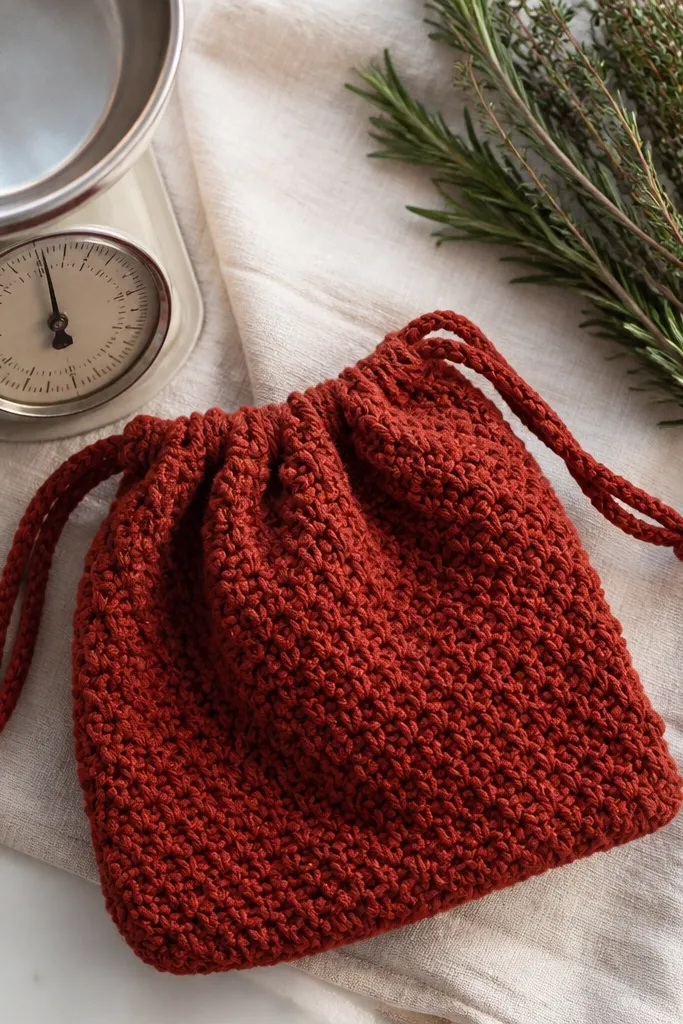
This pouch is the kind of Easy crochet ideas for beginners that looks store-bought. The drawstring gives it structure and a clean top line, and the body can use a simple texture stitch for visual interest. It’s practical for toiletries, produce, or small daily carry items. The project teaches you how to add a functional closure without complicated hardware. Choose a yarn color that matches your wardrobe for the most flattering look.
Crochet a rectangle for the pouch body, then join the sides to form a tube. Work until it matches your pouch height, then create a drawstring channel by switching to a row pattern that leaves openings (like alternating chain spaces). Thread a drawstring cord through the channel using a yarn needle. Finish by adding a couple of extra rows at the bottom so it stands up.
Use a smooth drawstring cord so it slides easily through your crochet channel.
Making the channel too tight — the cord won’t move and the top will pucker.
16. Chunky Crochet Headboard-Style Runner (Table Decor)
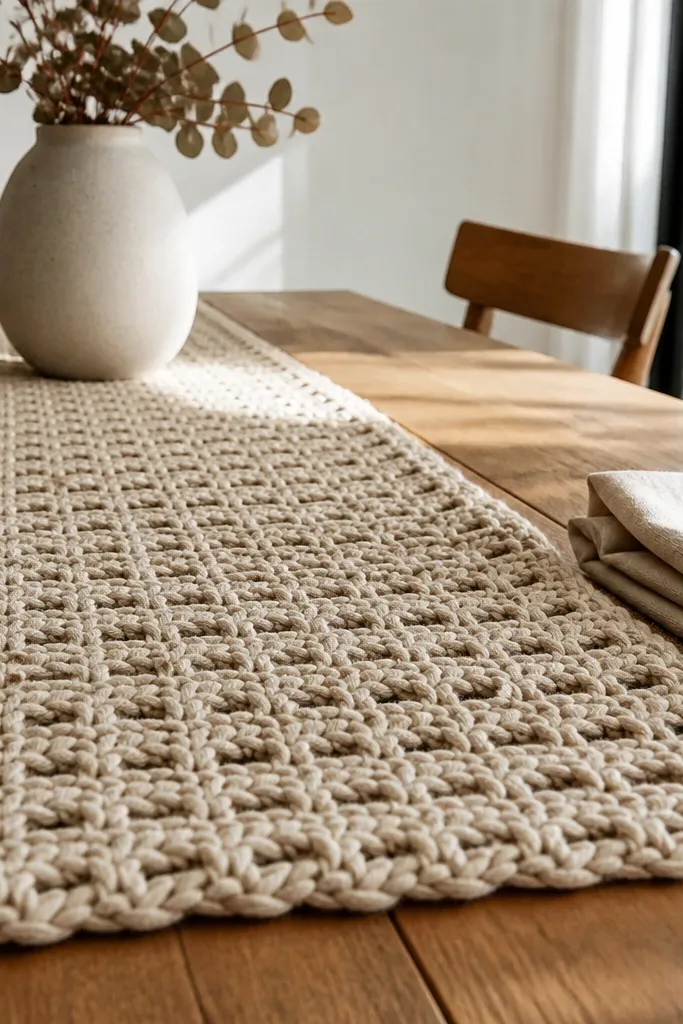
A table runner is one of the fastest ways to make your space look styled with crochet. This version uses a chunky yarn and a repeat that creates a grid-like texture, so it looks intentional from every angle. It also teaches beginners how to handle longer projects without getting lost because the repeat is consistent. Make it for a sideboard, coffee table, or console shelf. The look comes from the thick texture and clean edges, not complicated shaping.
Choose category 5 bulky yarn and a hook that matches the label or slightly larger. Crochet a long rectangle to your desired length, keeping stitch counts consistent across rows. Add a border round in single crochet to square off the edges. Block firmly so the runner lies flat, then weave ends and trim them close.
Measure your runner against the furniture before you finish — length errors show up more on long pieces.
Skipping blocking on chunky yarn — it will look wavy instead of crisp.
17. Beginner Crochet Ice Cream Cone Applique (Set of 2)
Appliques turn plain items into something cute fast. These ice cream cone pieces are easy to make because the shapes are simple and small, and they look adorable on bags, hats, or even a plain pillow. The color contrast makes the texture pop and gives a clear silhouette in photos. Use them as a practice project for making neat small shapes and sewing them on cleanly. They’re also a fun way to try new colors without committing to a whole garment.
Crochet the cone base in a tan yarn using a tapered shape from increases, then work the top scoop as a small circle with a few rounds. Add simple surface stitches for detail if needed, using a contrasting yarn. Sew the scoop onto the cone with tight stitches so it sits flat. Finish by weaving ends and steam-pressing lightly to set the shape.
Pro tipUse a tapestry needle and small stitches for appliques so edges don’t lift.
AvoidAttaching appliques with loose yarn ends — they show through and look messy.
18. Crochet Keyhole Scarf with Simple Fringe Ends
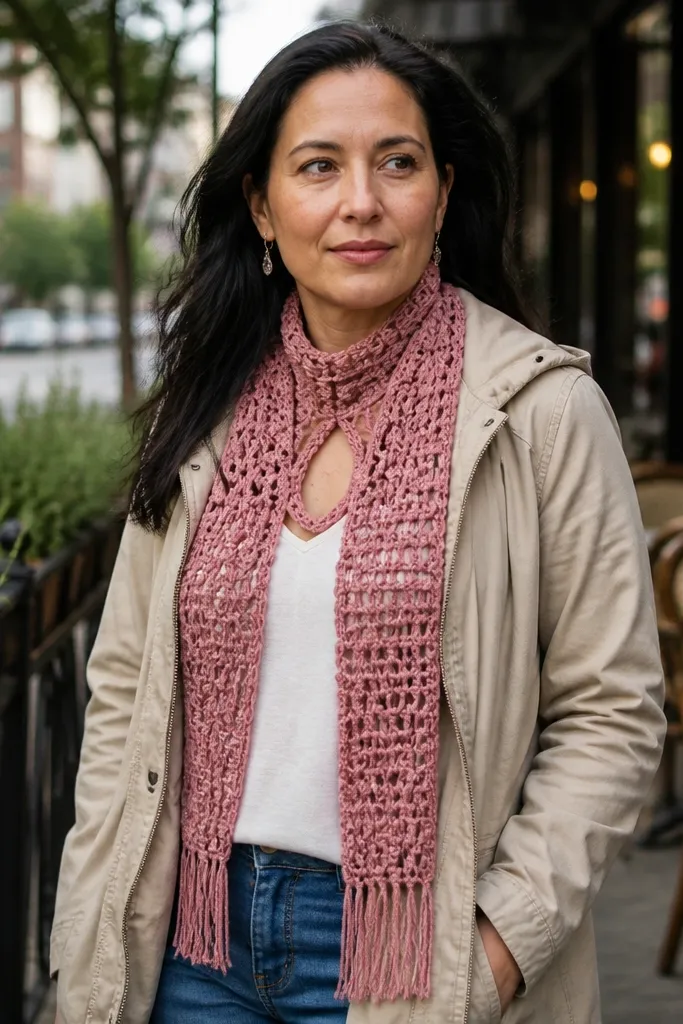
A keyhole scarf looks stylish because it has a built-in shape — you don’t need to wrap it perfectly. The opening creates a clean focal point that photographs well and it also helps the scarf sit right on the body. This is still beginner-friendly if you keep the stitch pattern simple and focus on row length. Fringe adds movement without adding complicated construction. Pick a soft yarn with good drape so the scarf looks cozy, not stiff.
Start by crocheting a long strip in a stitch that lays flat, like half double crochet. Build the keyhole opening by working decreases or skips in the middle section across a set number of rows, keeping the rest consistent. Continue until the scarf reaches your desired length, then add a border row to square edges. Attach fringe to the ends by cutting strands and pulling them through evenly spaced points.
Mark the center line so your keyhole stays symmetrical.
Making the opening too narrow — it will twist and fight you when you wear it.
19. Beginner Crochet Slouchy Beanie with Fold-Up Brim

A slouchy beanie looks great even with beginner stitches because the shape hides small tension differences. The fold-up brim gives a clean top line that makes the project look finished, not experimental. This project also teaches you simple shaping through increases and decreases in a controlled way. Choose a yarn with good stretch and softness so the fabric drapes. It’s a wearable piece that makes beginners feel confident fast.
Work a flat circle top by increasing evenly in rounds until the diameter fits your head. Then crochet additional rounds even to build the beanie height, and decrease slightly near the end if you want a tighter fit. Create a fold-up brim by crocheting a few extra rounds in a ribbing-friendly stitch or by making a separate brim strip and sewing it on. Weave ends and lightly block to help the circle sit flat.
Pro tipUse a stitch marker at the start of each round so your increases stay even.
AvoidOver-decreasing — it makes the beanie pinch and look lumpy at the crown.
20. Crochet Dish Scrubber Set with Color Pops
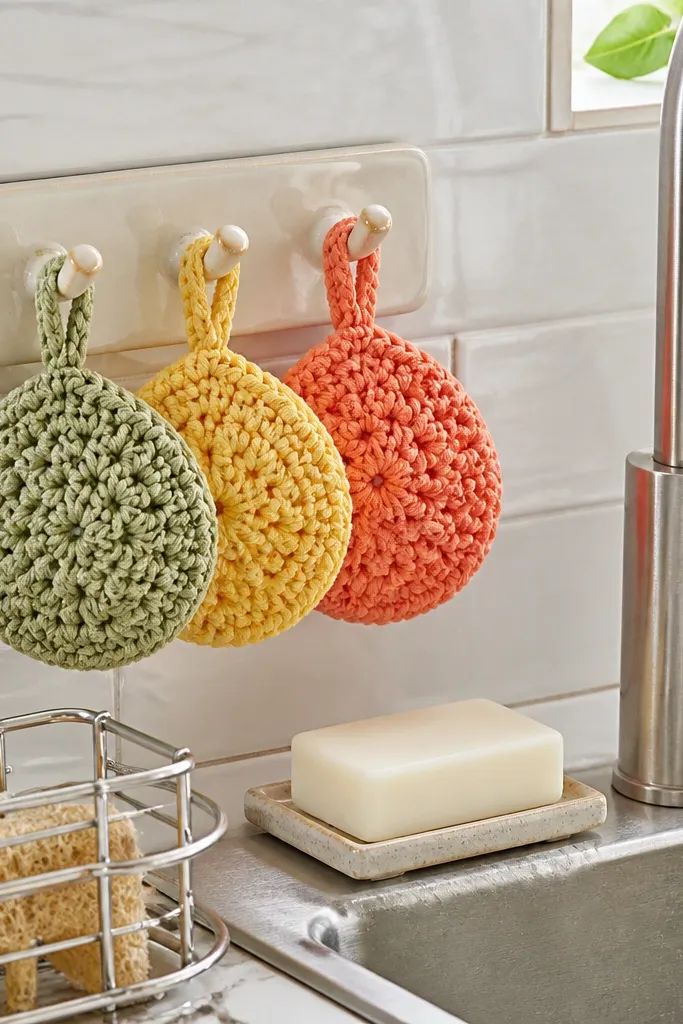
Dish scrubbers are small, practical, and they look cute because of the color pops. They’re an Easy crochet idea for beginners that teaches you repeating rows without measuring a lot. The textured stitch pattern scrubs well and also looks good on a countertop when you hang them on a hook. Use cotton yarn for absorbency and durability. Make two or three in different colors so your kitchen looks coordinated.
Start with a foundation chain sized for one scrubber, then work rows in a stitch that creates texture, like front-loop single crochet or a simple alternating pattern. Continue until the scrubber is thick enough to hold its shape, then fold and seam the sides to form a rounded block. Add a small loop by chaining and sewing it into the top edge. Weave ends and trim tightly so the scrubber looks neat.
Pro tipChoose yarn colors that contrast with your sink or dish soap bottle for better kitchen photos.
AvoidUsing acrylic yarn — it melts or wears faster under hot water.
21. Beginner Crochet Storage Basket with Stiff Base
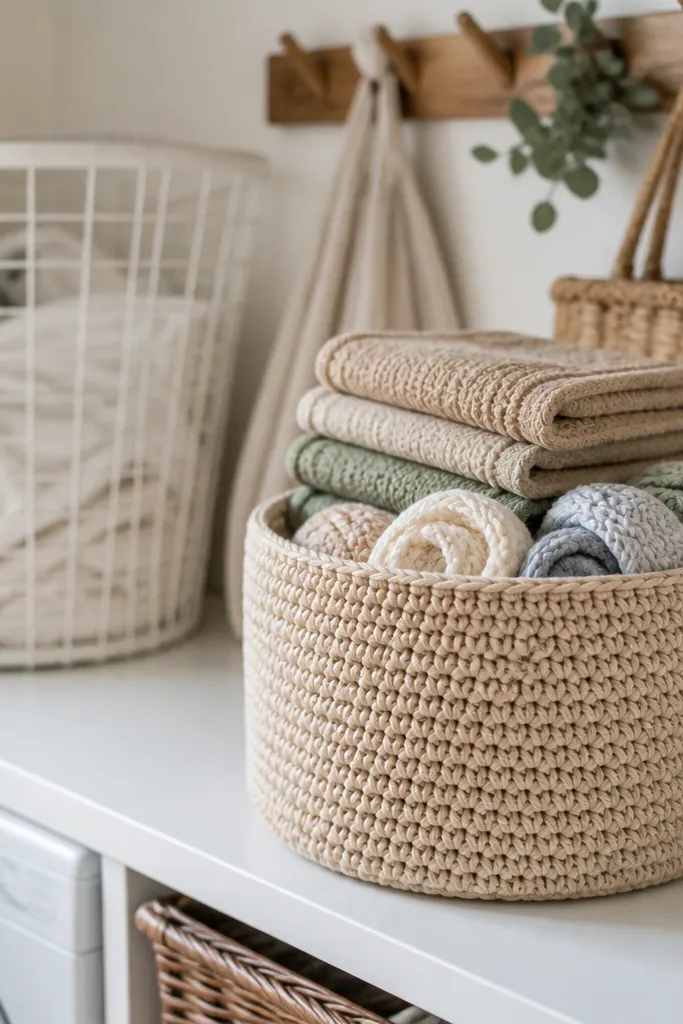
Storage baskets make your home look organized, and they’re one of the most photogenic beginner projects because they hold shape. This design uses a denser stitch and a structured base so it doesn’t collapse. It’s also forgiving because the basket hides minor tension issues inside its walls. Use it for yarn scraps, bathroom items, or desk clutter. You’ll learn how to work in rounds and keep edges even — a skill that pays off fast for future projects.
Make a flat circle base by crocheting in rounds with increases until you reach your target diameter. Switch to a denser stitch for the walls and work straight rounds until the height matches your storage needs. Add a final round of single crochet to firm the rim. For extra structure, insert a stiff liner or use a base material like plastic canvas inside the bottom before you weave ends.
If your basket wobbles, add a thin layer of plastic canvas cut to the base diameter.
Crocheting too loosely — soft stitches make the rim flare and the basket looks sloppy.
22. Crochet Rainbow Ombre Baby Blanket Squares (Assembly Later)
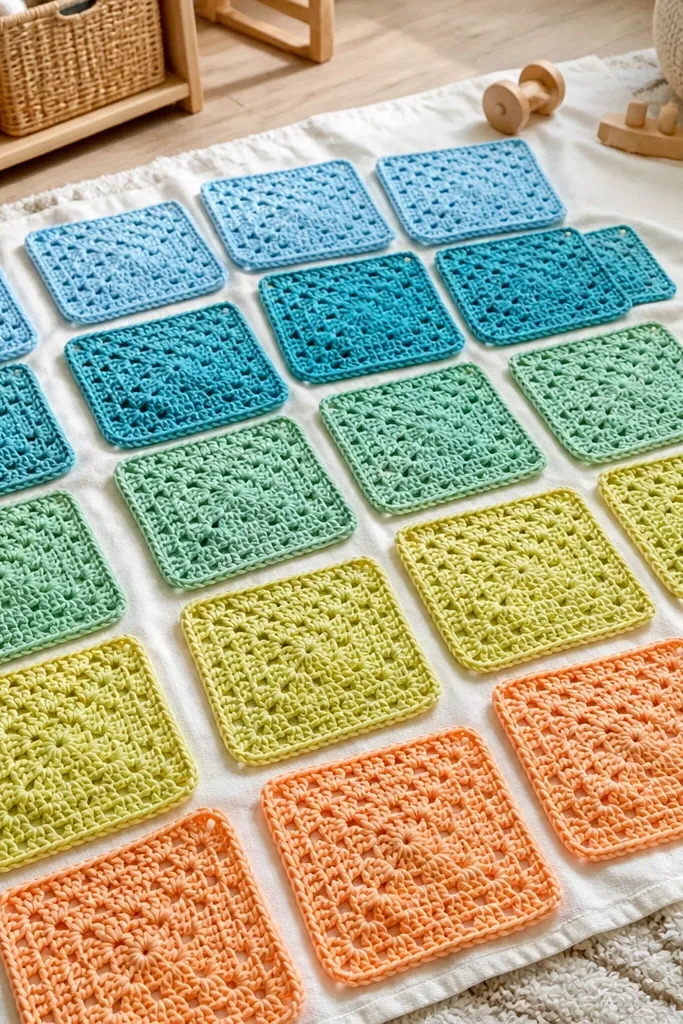
Ombre squares look stunning because the color changes create a natural pattern without you doing complicated work. Keeping it to squares makes this beginner-friendly, and you can assemble later when you feel ready. The borders make each square look finished, so the whole blanket looks intentional even if your edges aren’t perfect yet. This idea is best if you want photogenic color without relying on advanced stitches. It’s also a flexible project — stop after a few squares for a decorative throw piece.
Pick an ombre yarn or two yarn colors and plan how many rows per color band so the gradient lands evenly across squares. Crochet each square using a simple stitch repeat that stays flat, then add a border round in a contrasting plain color if you want extra definition. Make multiple squares to build your layout, then sew them together with mattress stitch for clean seams. Light block each square so the gradient lines align when assembled.
Pro tipWrite down your color-change row numbers before you start each square so they match later.
AvoidSkipping square blocking — mis-sized squares make seams look uneven.
23. Textured Scrunchie with Crochet Rose Accent
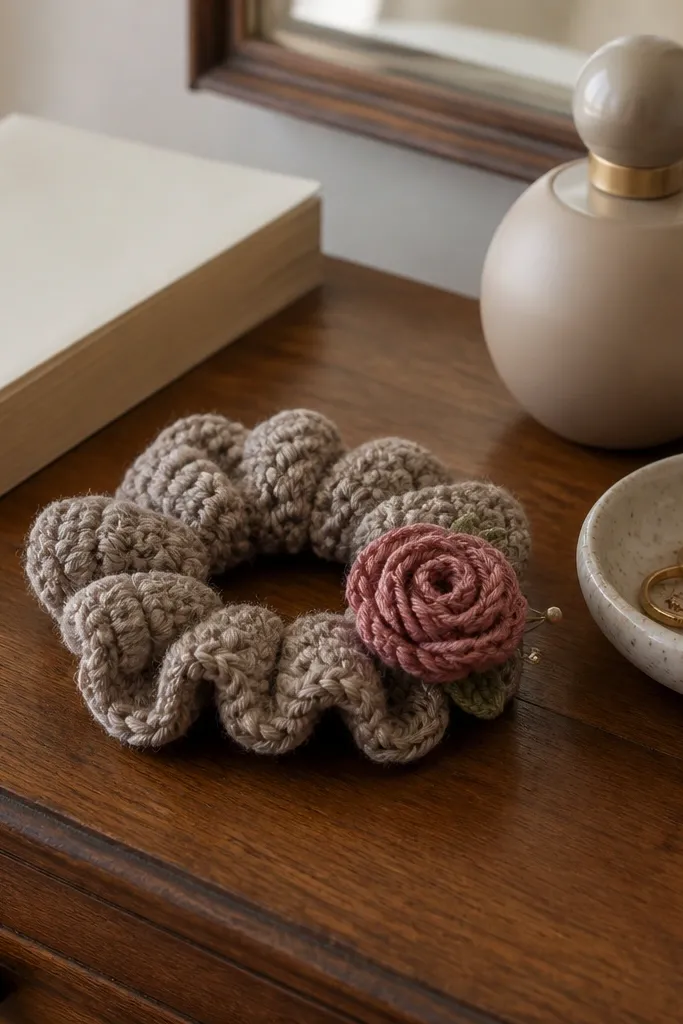
Scrunchies are cute and simple to wear, and the texture makes them look handmade in a good way. This one uses an easy textured band so you’re not learning complicated shaping, then adds a small crochet rose accent for a focal point. It’s beginner-friendly because the rose can be done as a separate small piece you attach at the end. Choose a yarn that matches your outfit and you’ll get a photogenic accessory that works for hair and wrists. Great for practicing clean finishing and neat sewing.
Crochet a strip long enough to wrap around your hair tie, using a textured stitch like alternating front and back loop single crochet for a ridged look. Join the strip into a tube-like band and slide your hair elastic inside before closing. Make a small crochet rose by working a flat spiral or layered petals in a separate piece. Sew the rose to the center of the band and weave ends inside the band.
Pro tipUse a sturdy hair elastic and stitch around the elastic a few times so it doesn’t twist.
AvoidAttaching the rose with big, loose stitches — it will sag and look uneven.
24. Crochet Coaster Tray Set with Handles
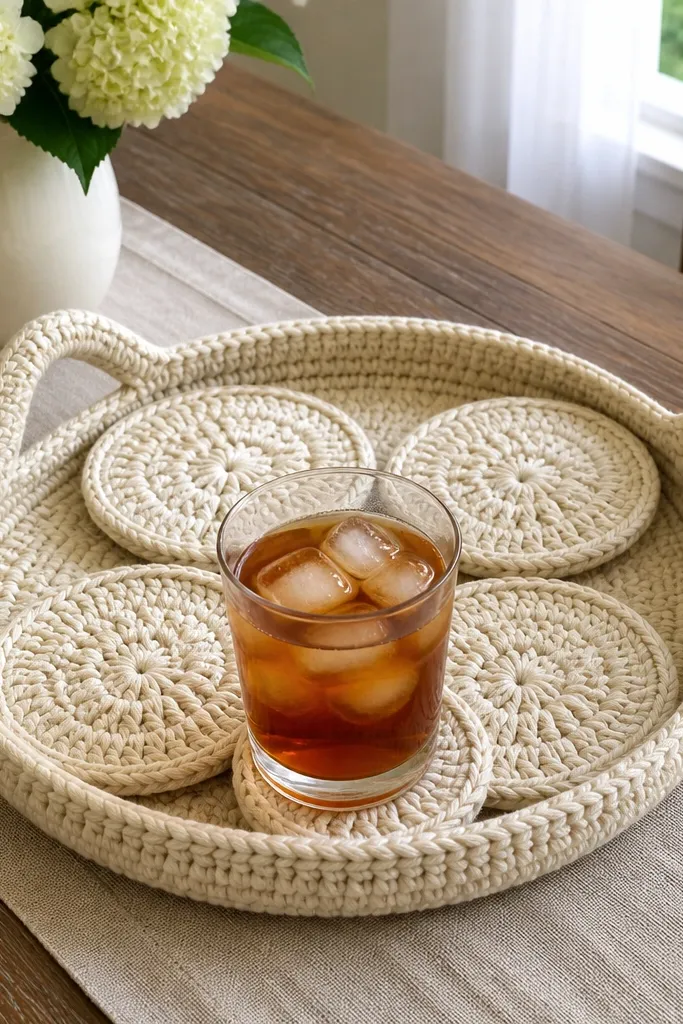
A tray set looks like a styled centerpiece, and it’s surprisingly doable for beginners. The tray gives you a larger canvas for texture, while the coasters inside make it feel complete. Handles add a high-end look, and they also teach you how to attach pieces securely. This set is a great way to practice consistent rounds at a larger scale without complicated shaping. Use it for serving tea, holding candles, or organizing bathroom essentials.
Start the tray by crocheting a base circle with increases until it reaches your desired diameter. Build up the sides with consistent stitch height, then add a rim round to keep the top edge even. Create two small handles by crocheting short strips, then sew them onto the sides with reinforcement stitches. Make 4 matching coasters using your favorite coaster pattern and set them inside the tray.
Pro tipReinforce handle attachment by sewing through both handle layers and the tray edge stitches.
AvoidSkipping reinforcement — handles can pull away once you lift the tray.
25. Beginner Crochet Hooded Cowl with Simple Neck Opening
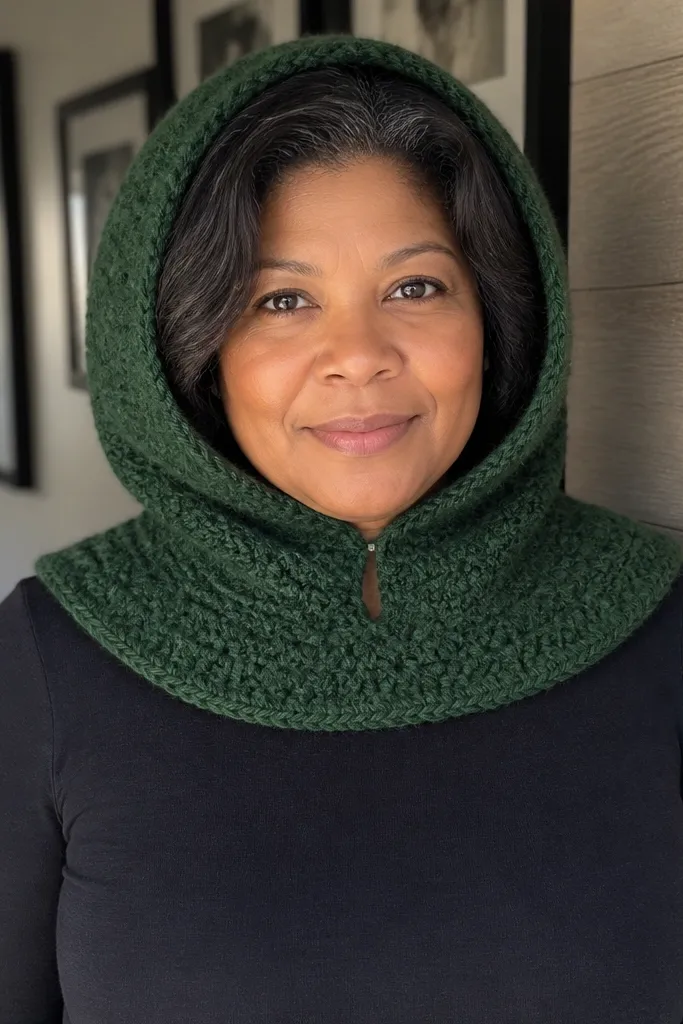
A hooded cowl looks warm and stylish, but you can keep it beginner-friendly with a simple structure. The hood panel is a rectangle that you shape by folding and seaming, so you don’t need advanced increases scattered everywhere. The neck opening gives it that “designed” silhouette, and the hood frames your face in photos. Choose a yarn with soft drape and enough body to hold shape. Plan for a weekend project that feels cozy the moment it’s done.
Crochet a large rectangle for the back panel in a stitch that lies flat, then seam the sides to form a tube. Create the hood by crocheting an extra panel attached at the top front area, then fold and seam the hood edges so the opening forms. Add a border around the neck opening so it doesn’t stretch. Finish with a ribbed or single crochet edging along the front for a neat line.
Use a stitch pattern with good vertical texture so the hood looks structured, not floppy.
Making the neck opening too small — it will feel tight and distort the hood shape.



