
1 Ink Wash Jellyfish
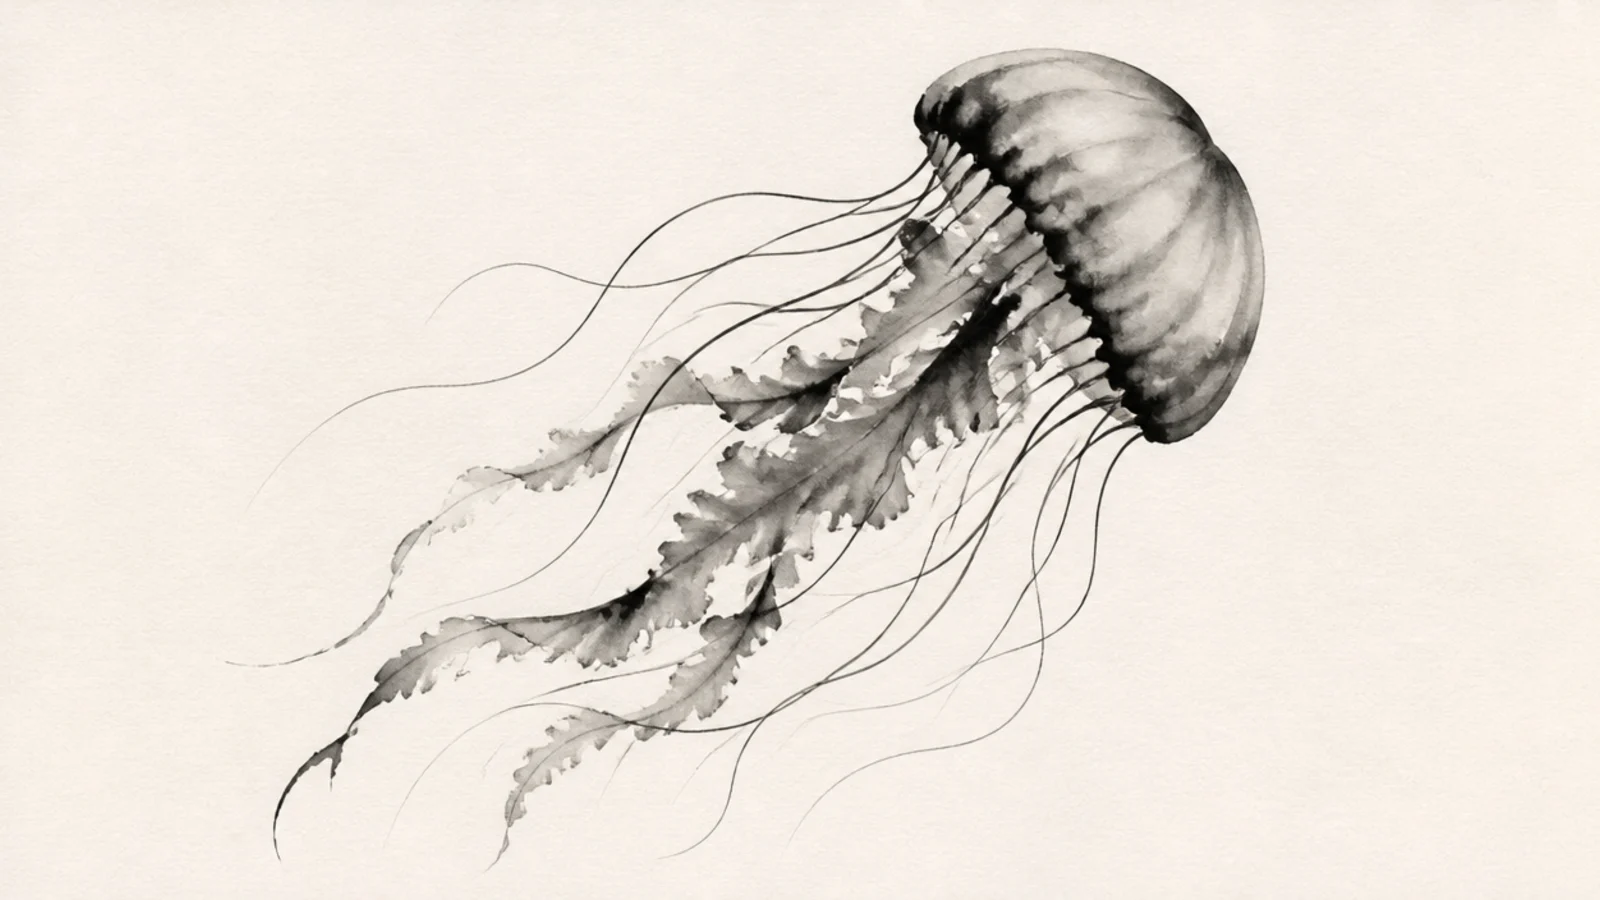
Step 1 load a brush with diluted ink. Step 2 paint the bell in one soft stroke and pull the tentacles down. Step 3 add a few darker accents while wet.
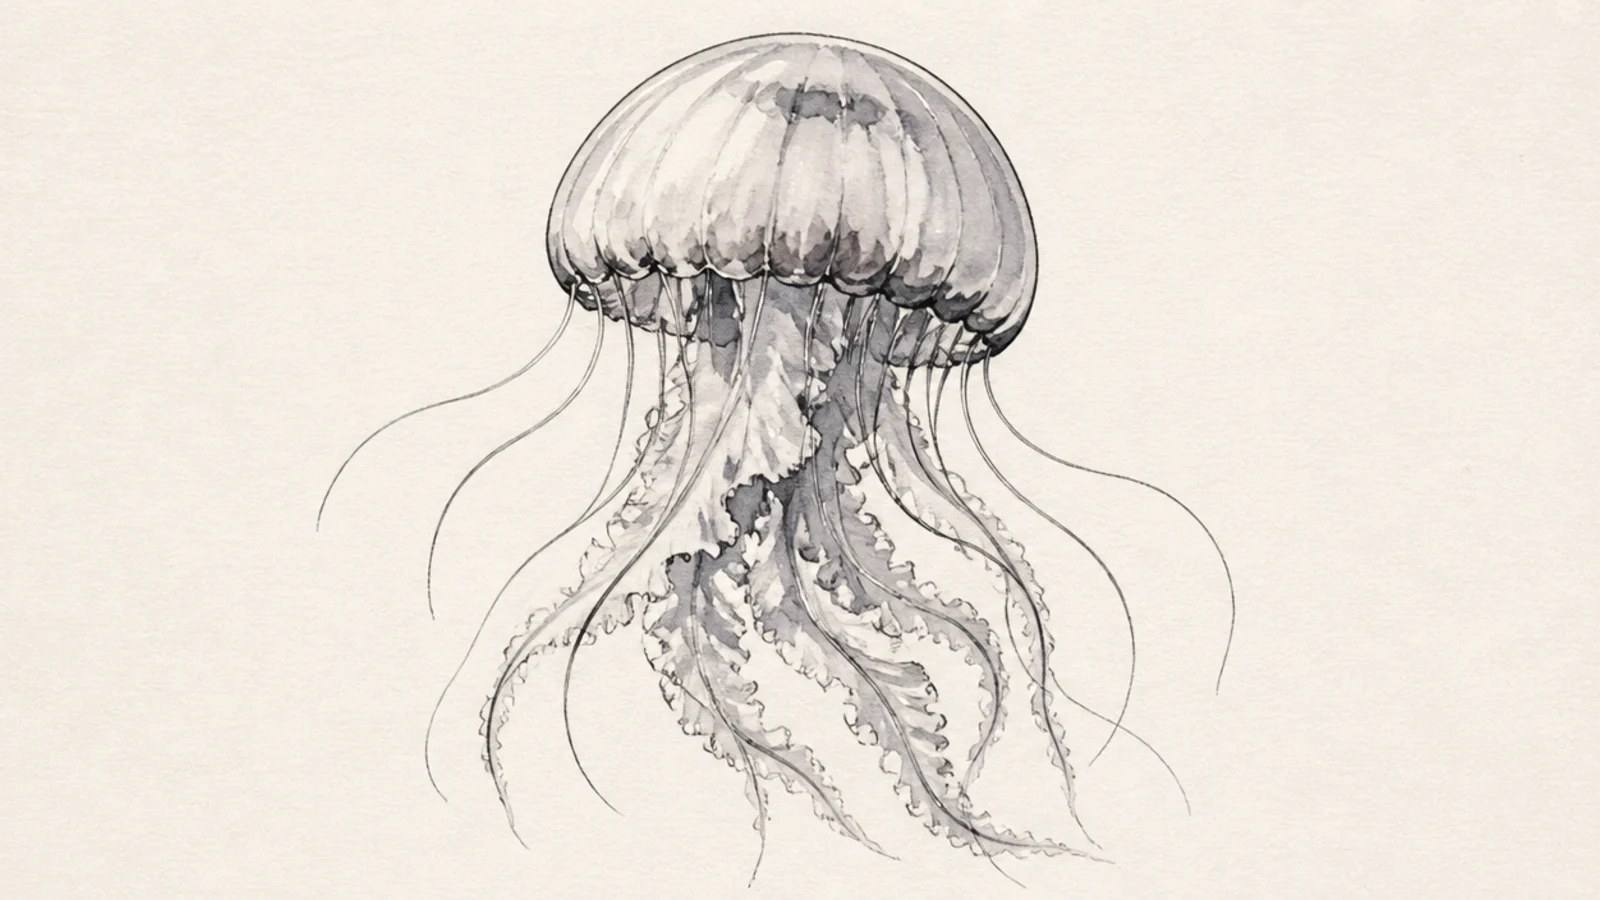
A flowing black ink wash gives the jellyfish a soft, sumi-e elegance. The bleeding grays create depth on their own. It looks refined and effortless.
AvoidDon’t overwork it; ink wash looks best loose and spontaneous.
Pro tipVary the ink from pale gray to dark in one piece for a rich tonal range.
2 Gouache Jellyfish
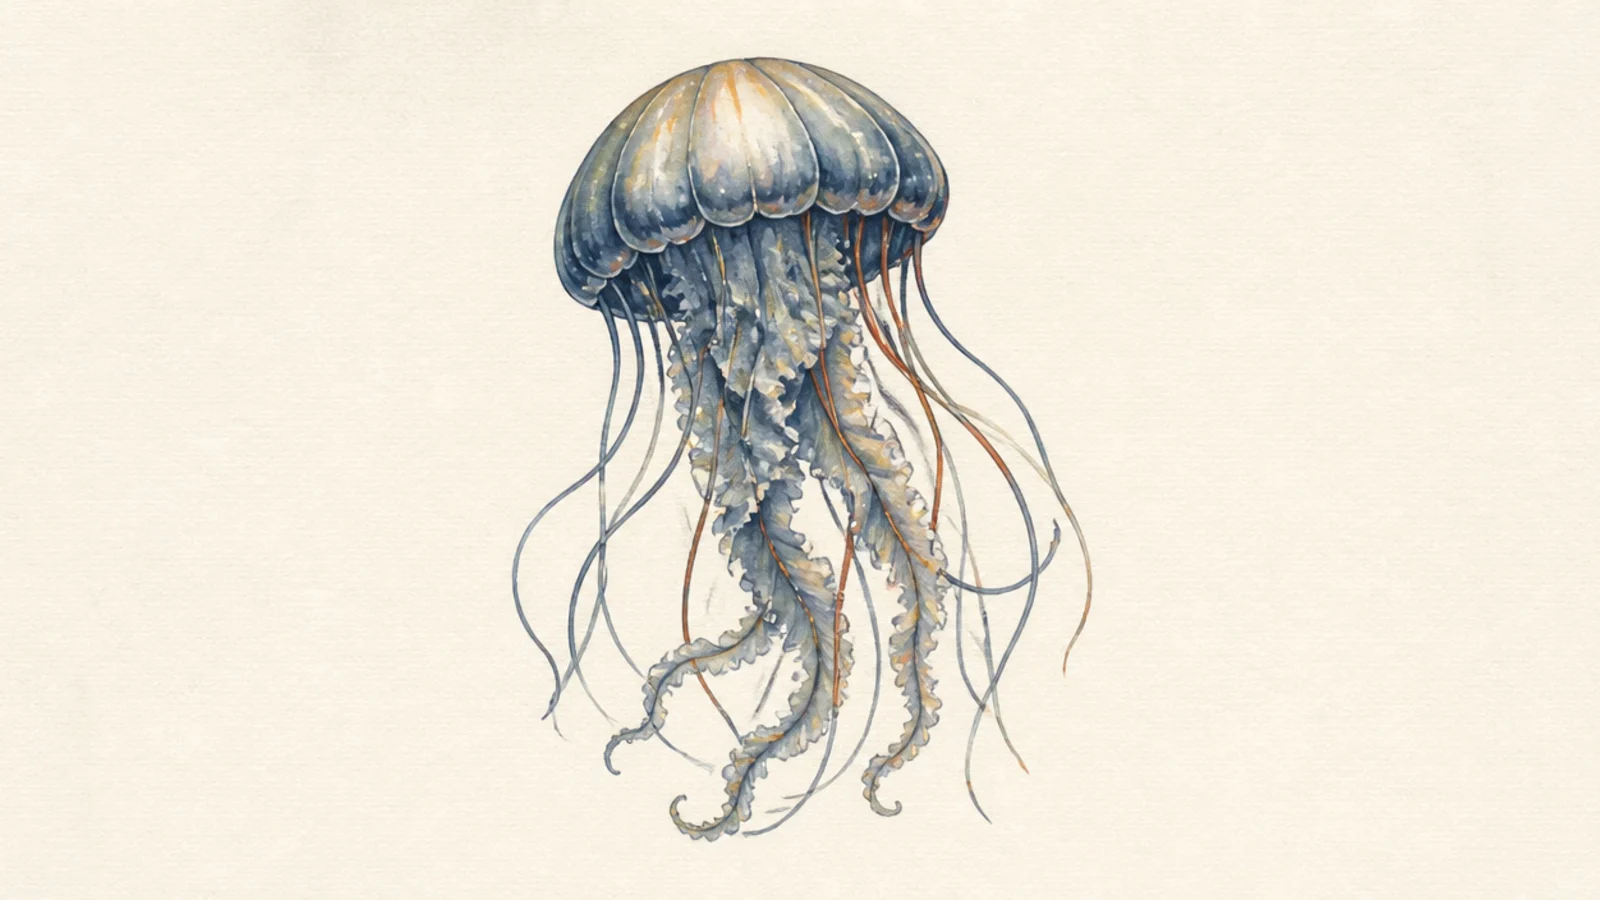
Opaque gouache gives flat, matte, poster-like color that feels modern and rich. You can layer light over dark for glow. It looks polished and painterly.
Step 1 block the jellyfish in a mid tone. Step 2 add darker shadows, then lighter highlights on top. Step 3 keep edges soft where they glow.
Use gouache’s opacity to paint light glow directly over the darker bell.
Don’t over-thin gouache; keep it creamy for that matte, opaque look.
3 Charcoal Jellyfish
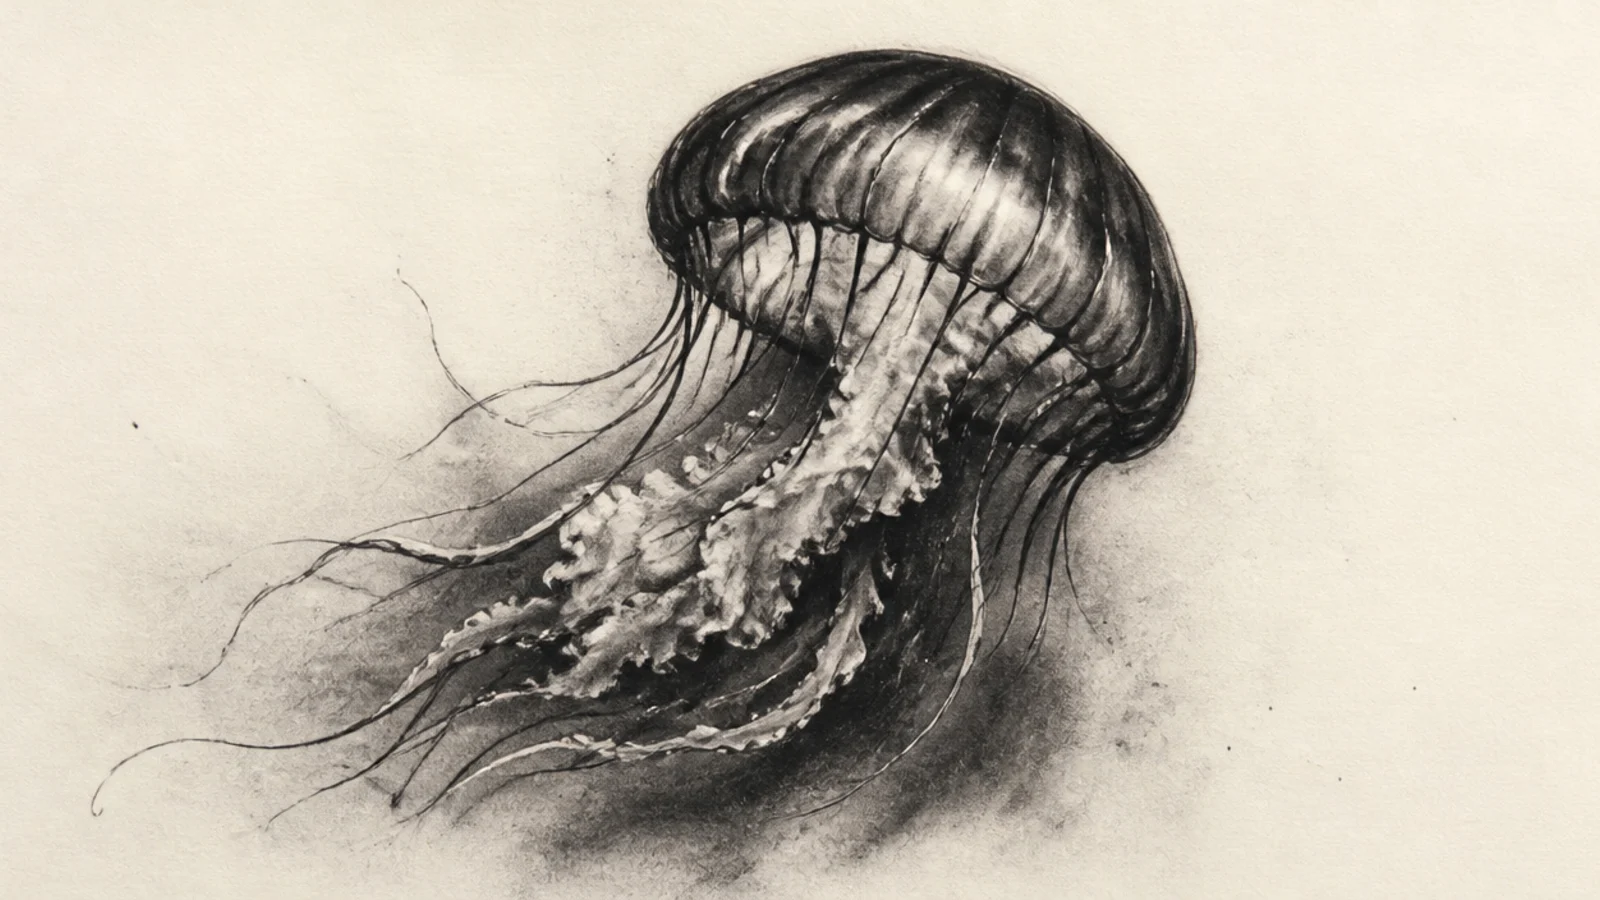
Step 1 block the jellyfish in charcoal. Step 2 smudge the darks soft with a finger or stump. Step 3 lift highlights with a kneaded eraser.
Charcoal gives dramatic darks and soft smudged glow. The rich blacks and lifted highlights feel expressive. It’s bold and atmospheric.
AvoidDon’t over-smudge everything; keep some crisp edges for contrast.
Pro tipLift bright highlights with an eraser rather than leaving paper white for a glowing effect.
4 Negative-Space Jellyfish
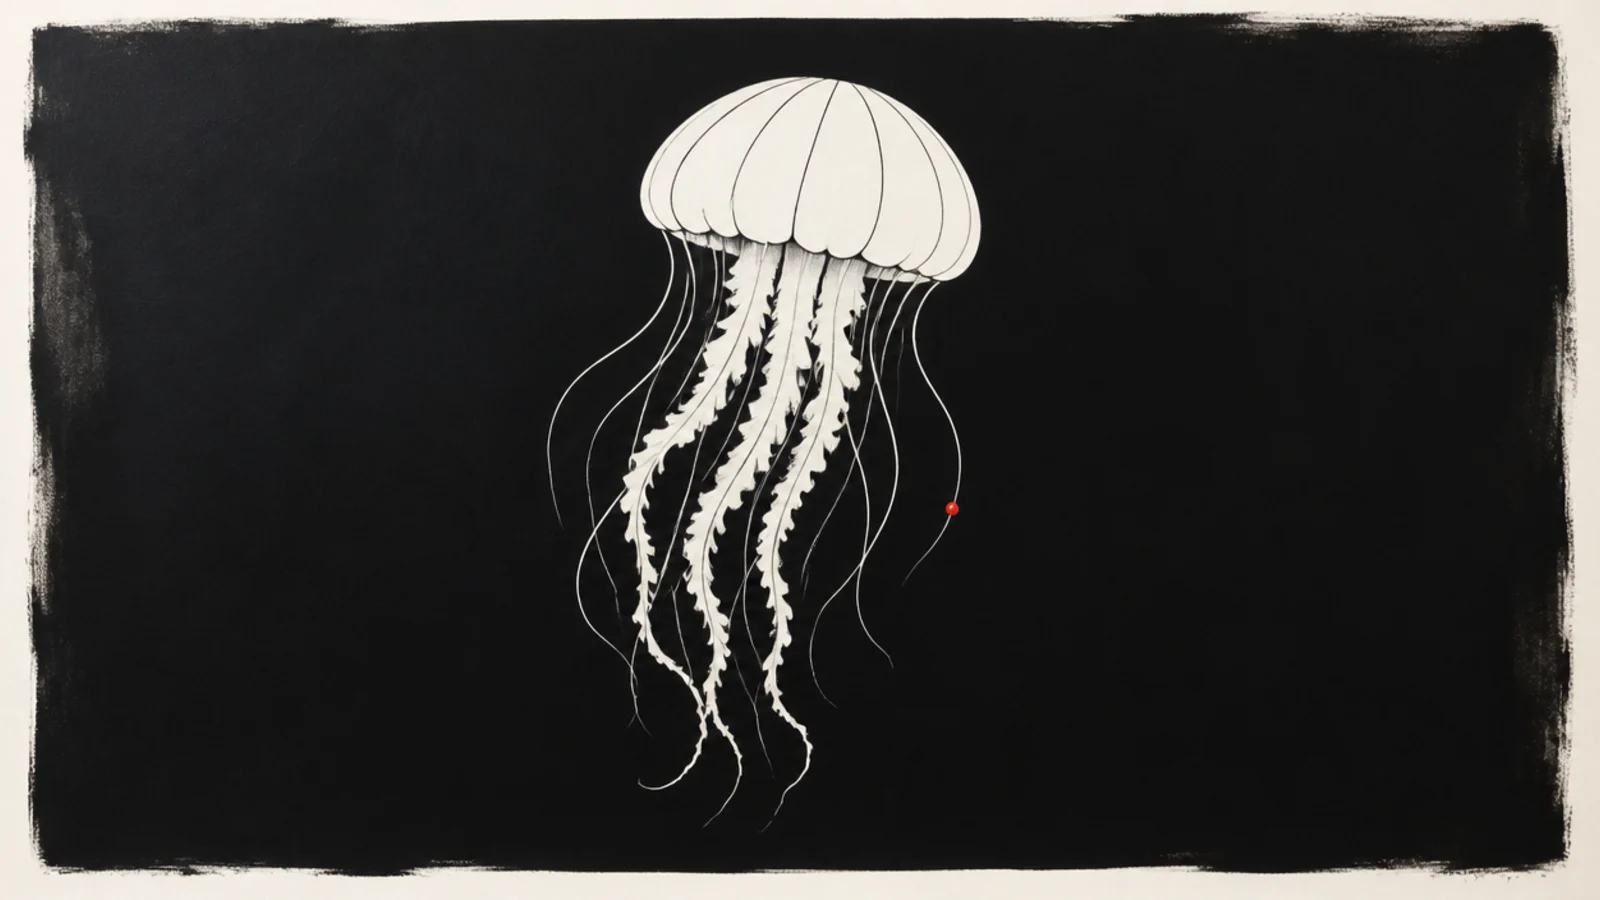
Step 1 lightly outline the jellyfish. Step 2 paint the dark background right up to the edges. Step 3 leave the jellyfish itself unpainted with maybe one accent.
Painting the dark background and leaving the jellyfish as clean paper is striking and modern. The negative space defines the shape. It feels graphic and intentional.
AvoidDon’t paint inside the jellyfish; the empty shape is the whole idea.
Pro tipKeep the background edges crisp against the jellyfish so the white shape stays clean.
5 Continuous Contour Jellyfish
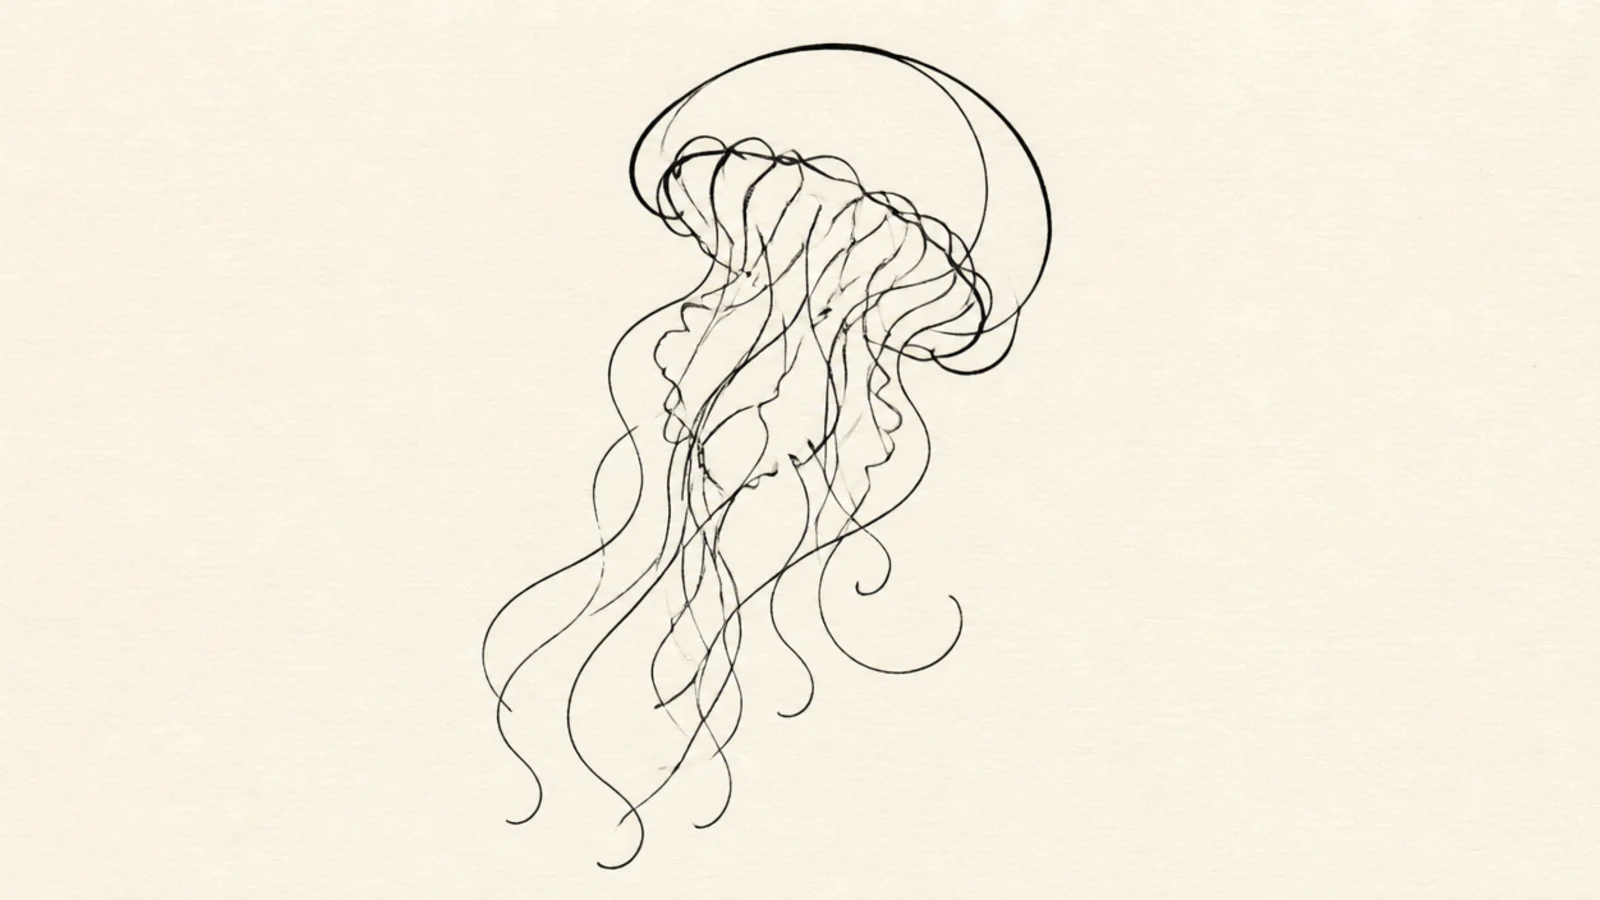
A single continuous contour line gives the jellyfish a fluid, artistic quality. The unbroken line feels alive. It’s minimal but expressive.
Step 1 start at the bell and draw without lifting the pen. Step 2 flow through the tentacles in one path. Step 3 let the line vary in speed and weight.
Let the line loop and cross naturally; the imperfections are the art.
Don’t lift the pen; the continuous line is the whole technique.
6 Abstract Splatter Jellyfish
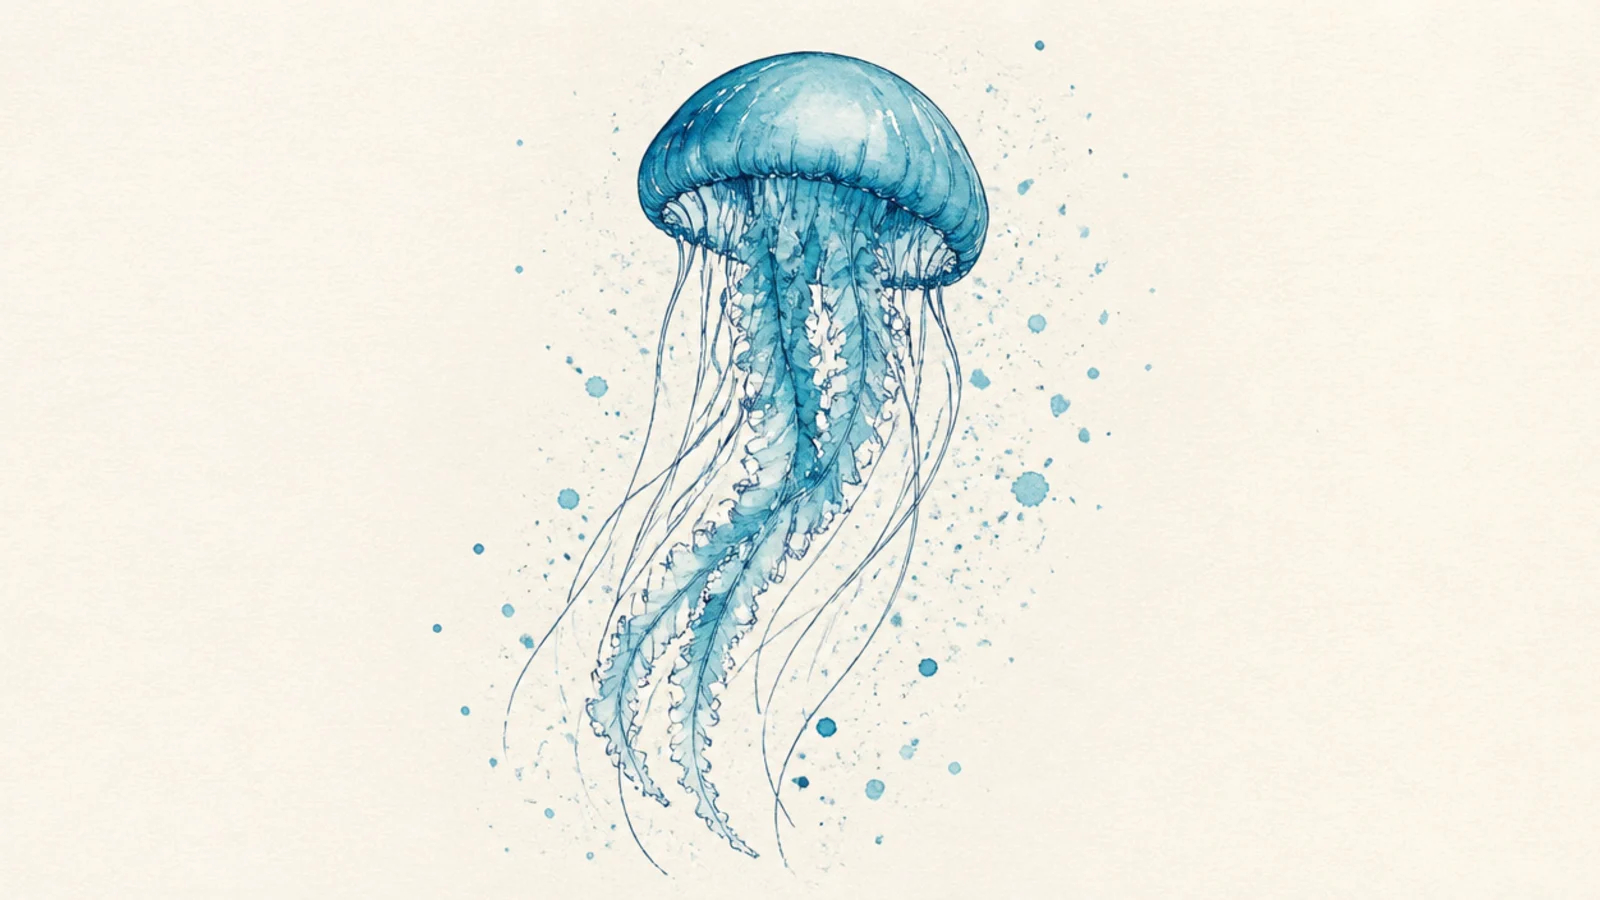
Step 1 paint a simple jellyfish. Step 2 flick paint splatters around it. Step 3 keep the jellyfish clear so the splatter reads as atmosphere.
Loose paint splatters around a simple jellyfish add energy and abstraction. The scattered marks feel modern and expressive. It’s playful and artful.
AvoidDon’t splatter over the whole jellyfish; keep it readable.
Pro tipSplatter in one or two colors that match the jellyfish so it feels cohesive.
7 Collage-Style Jellyfish
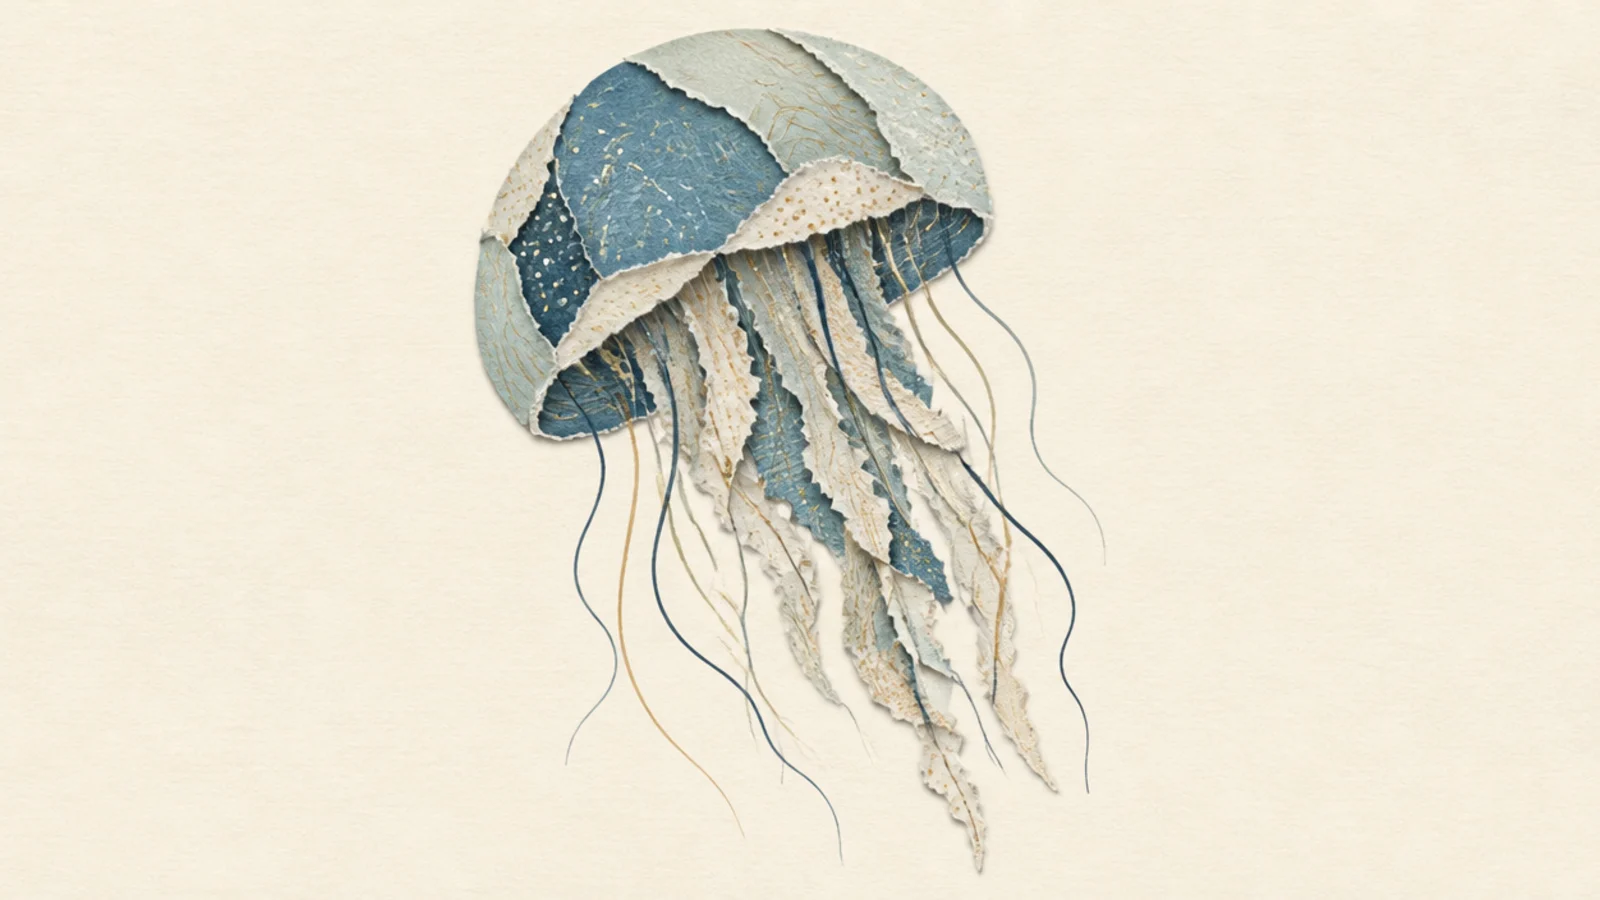
A jellyfish built from torn-paper-style shapes looks handmade and textured. The layered pieces feel crafty and artistic. It’s a fresh mixed-media look.
Step 1 draw the jellyfish as a few overlapping torn-edge shapes. Step 2 give each a different paper texture or tone. Step 3 add small shadows between layers.
Add a thin shadow under each torn edge so the pieces look layered.
Don’t make the edges smooth; ragged torn edges sell the collage look.
8 Gold-Leaf Accent Jellyfish
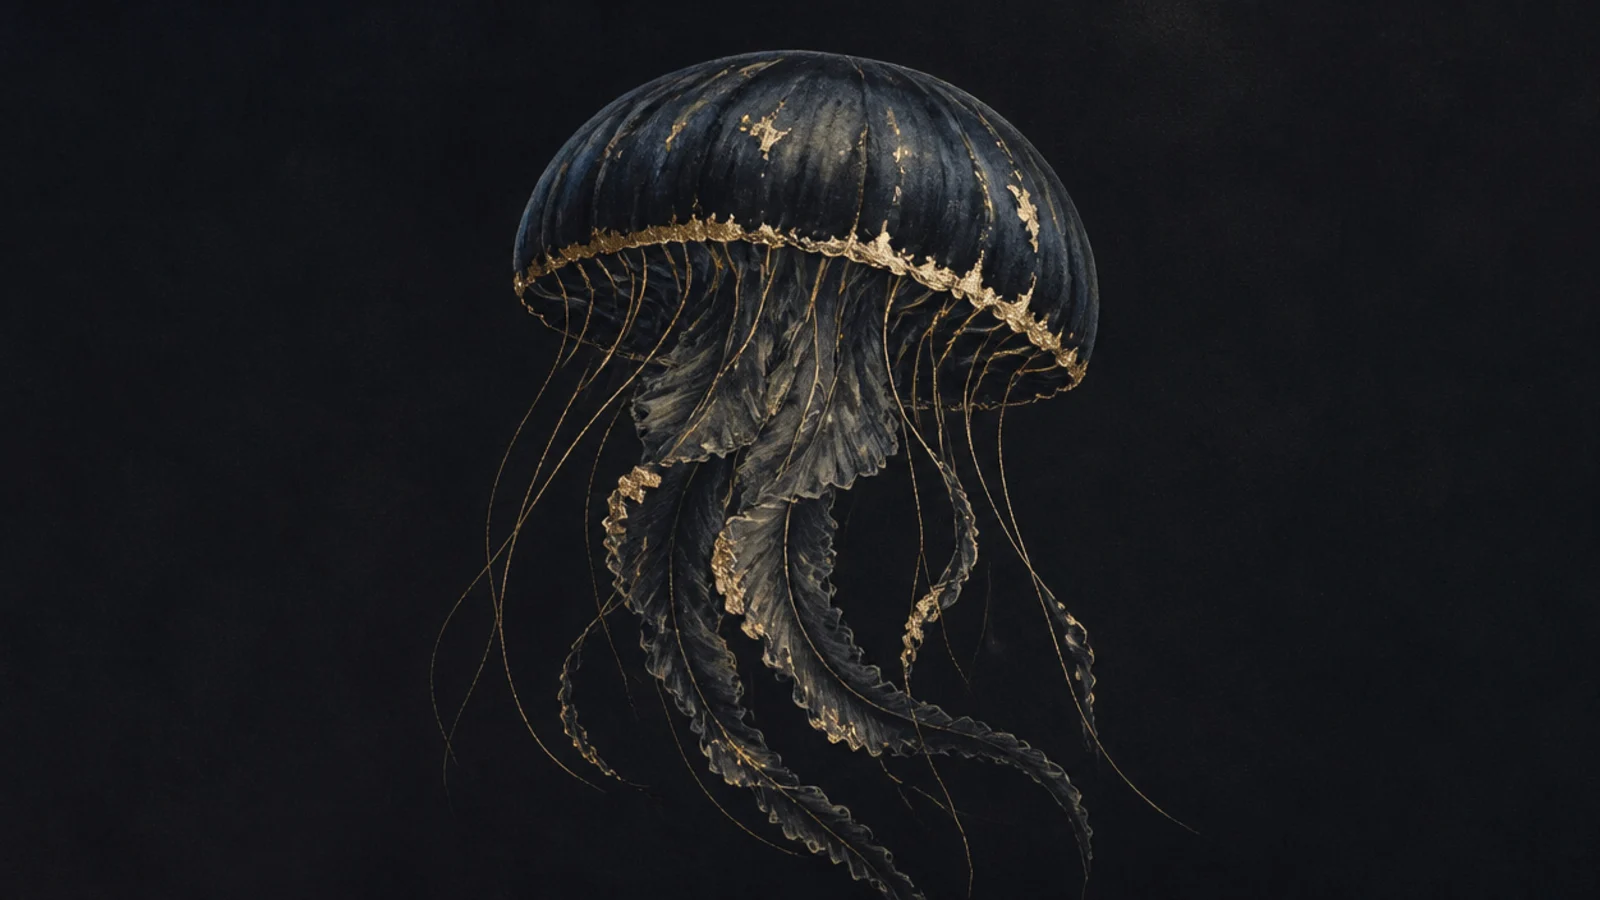
Gold-leaf accents make a jellyfish look luxurious and gallery-ready. The shine against a dark wash is stunning. The gold does all the wow.
Step 1 paint a dark jellyfish. Step 2 add gold leaf or gold paint on the bell edges and a few tentacles. Step 3 keep the rest muted so the gold shines.
Use gold sparingly on edges and accents so it reads as precious, not gaudy.
Don’t cover the whole jellyfish in gold; a few accents look richer.
9 Monochrome Value Study Jellyfish
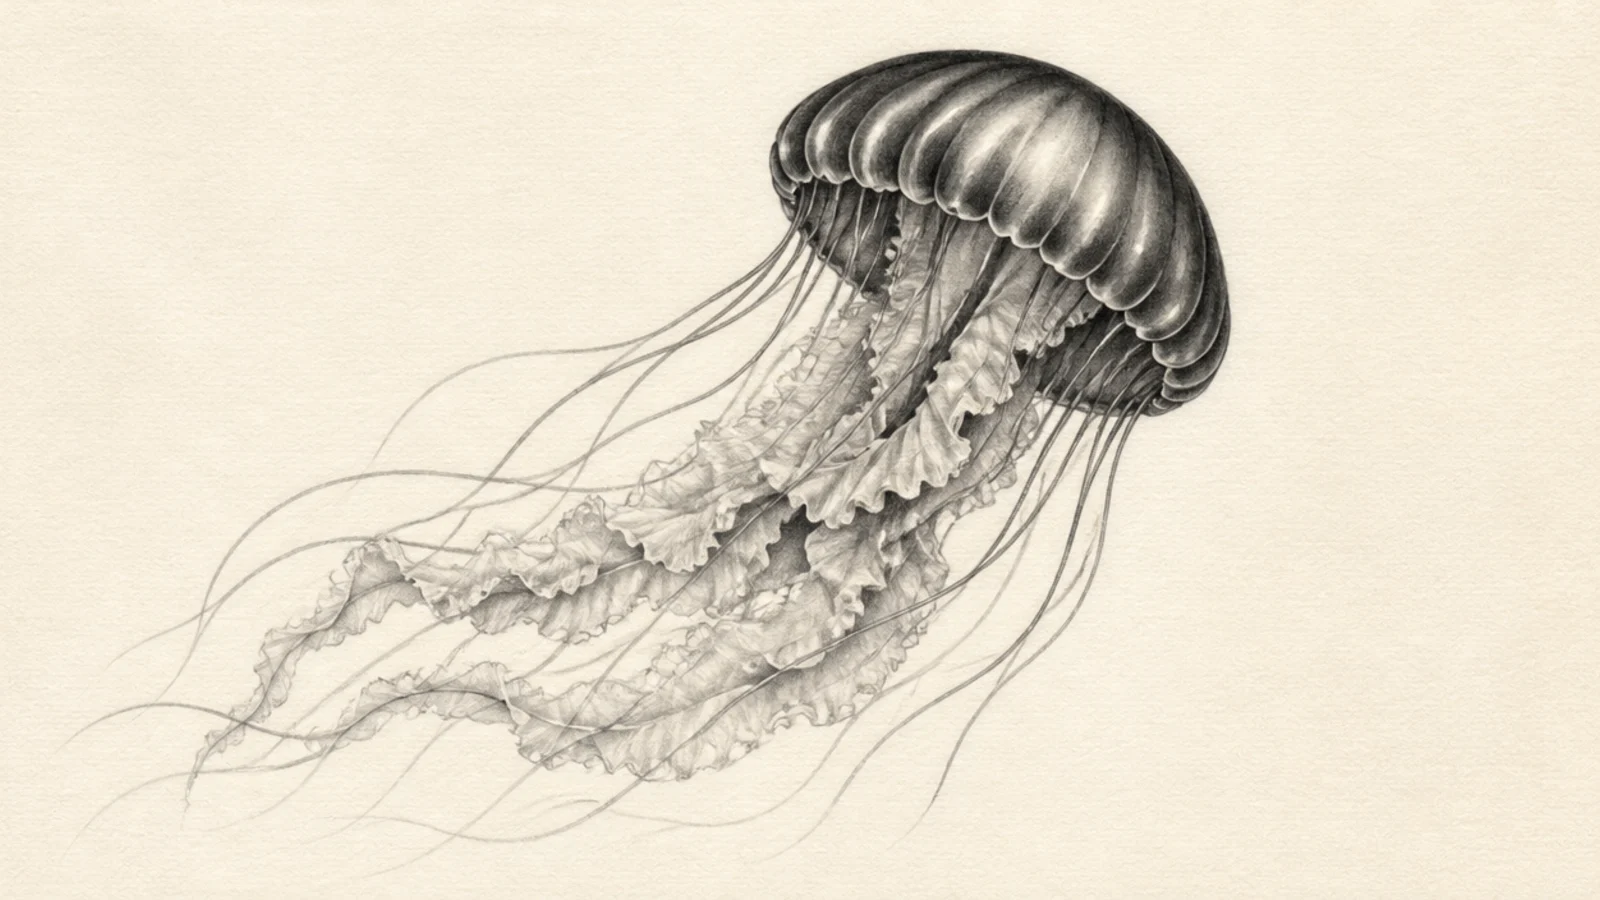
Step 1 pick one color. Step 2 render the jellyfish using its full range, dark bell to pale tentacles. Step 3 keep the highlights bright and shadows deep.
A single-color value study — from lightest tint to darkest shade — looks sophisticated and cohesive. The full tonal range creates depth. It’s a classic art exercise that looks great.
AvoidDon’t stay in the mid-tones; the light and dark extremes make it striking.
Pro tipPush the value range wide — very light to very dark — for maximum impact.
10 Double-Exposure Jellyfish
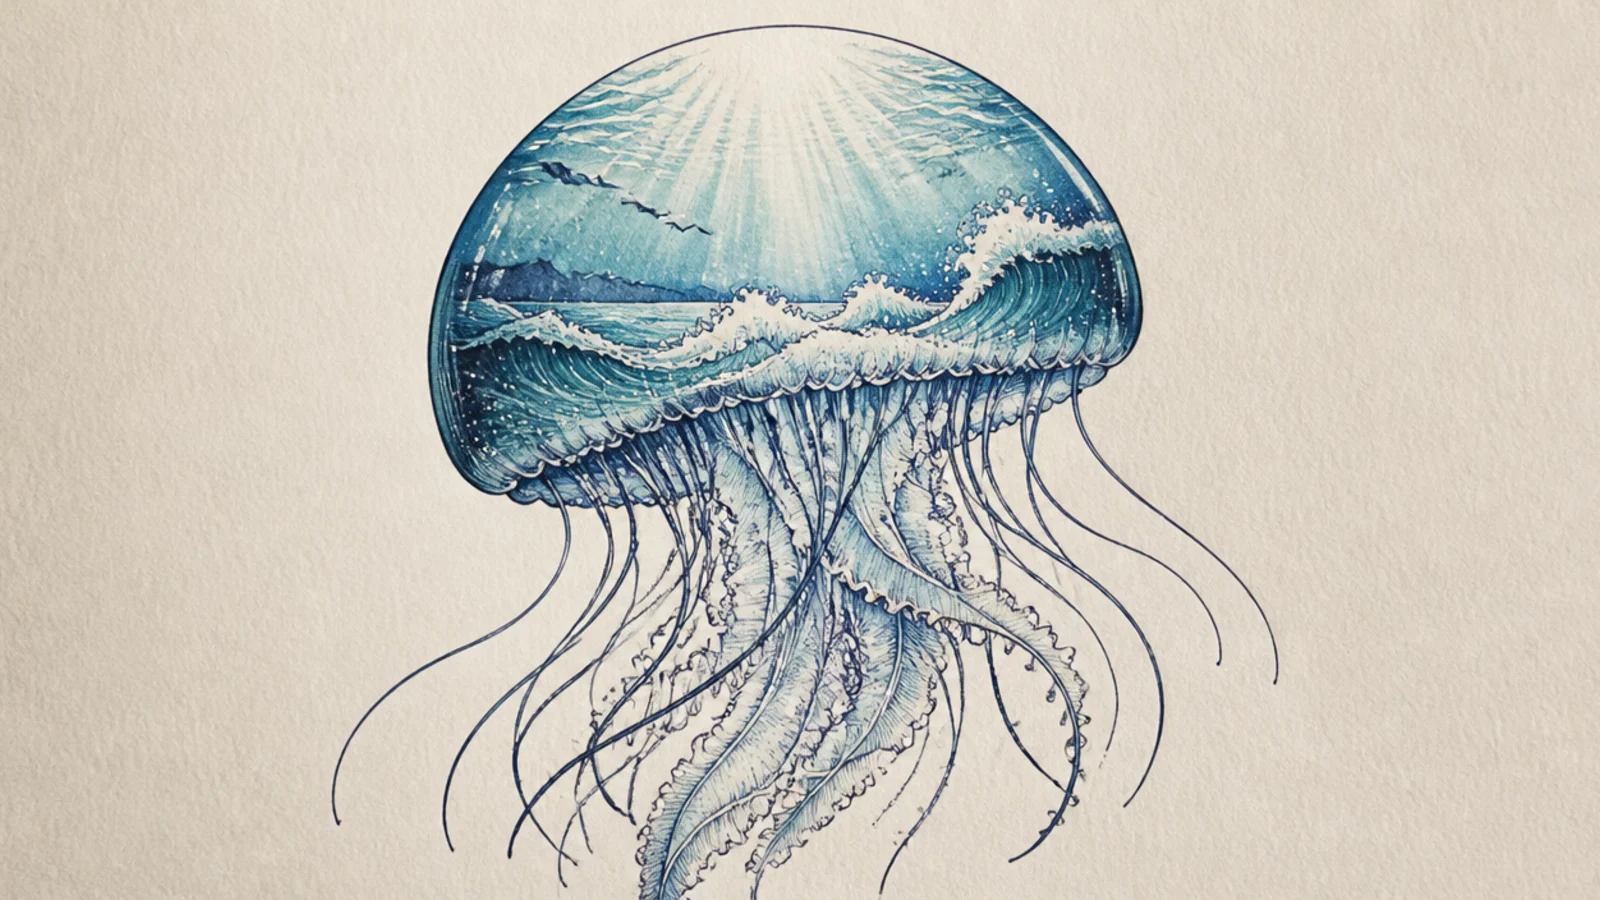
Filling the jellyfish silhouette with a soft ocean scene creates a striking double-exposure effect. The world-inside-a-shape looks artistic. It’s a photography-inspired style.
Step 1 draw a bold jellyfish silhouette. Step 2 inside it, paint a soft ocean scene — waves, light rays. Step 3 fade the scene at the edges of the shape.
Keep the outer silhouette crisp and the inner scene soft for the double-exposure feel.
Don’t let the inner scene spill past the silhouette; keep it contained.
11 Acrylic Pour Jellyfish
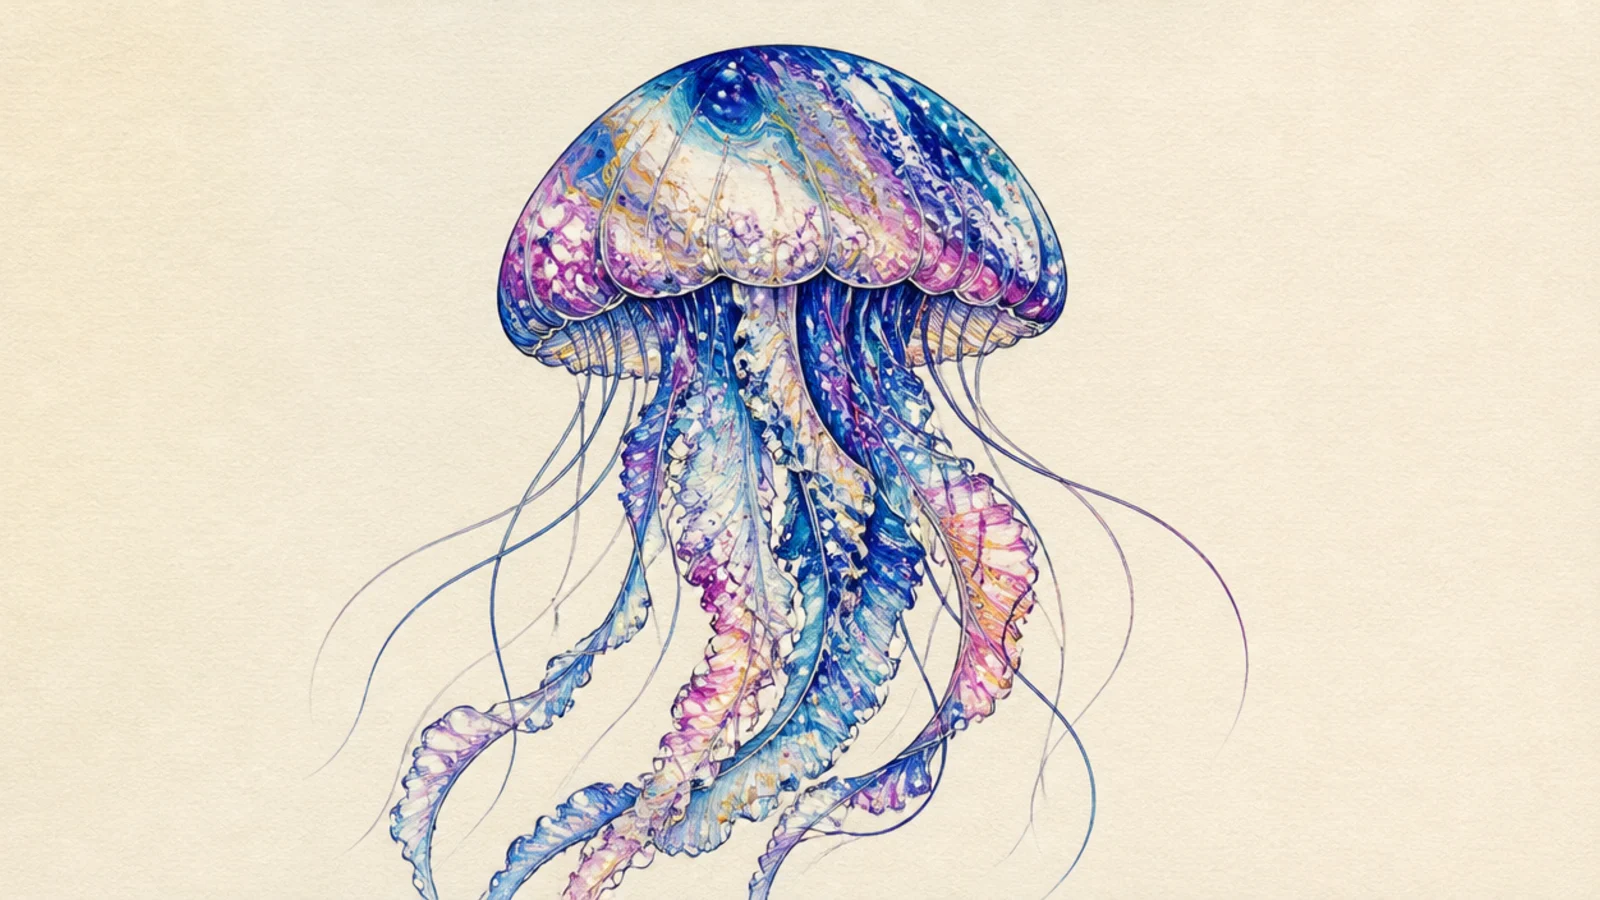
Step 1 create a fluid, marbled color area for the bell. Step 2 once dry, define the jellyfish shape around it. Step 3 add flowing tentacles in a matching color.
A fluid acrylic-pour bell has mesmerizing marbled cells you couldn’t paint by hand. The organic swirls suit the jellyfish. It looks abstract and rich.
AvoidDon’t paint over the pour texture; its organic pattern is the appeal.
Pro tipLet the pour’s natural cells and swirls stay visible in the bell.
12 Pointillism Jellyfish
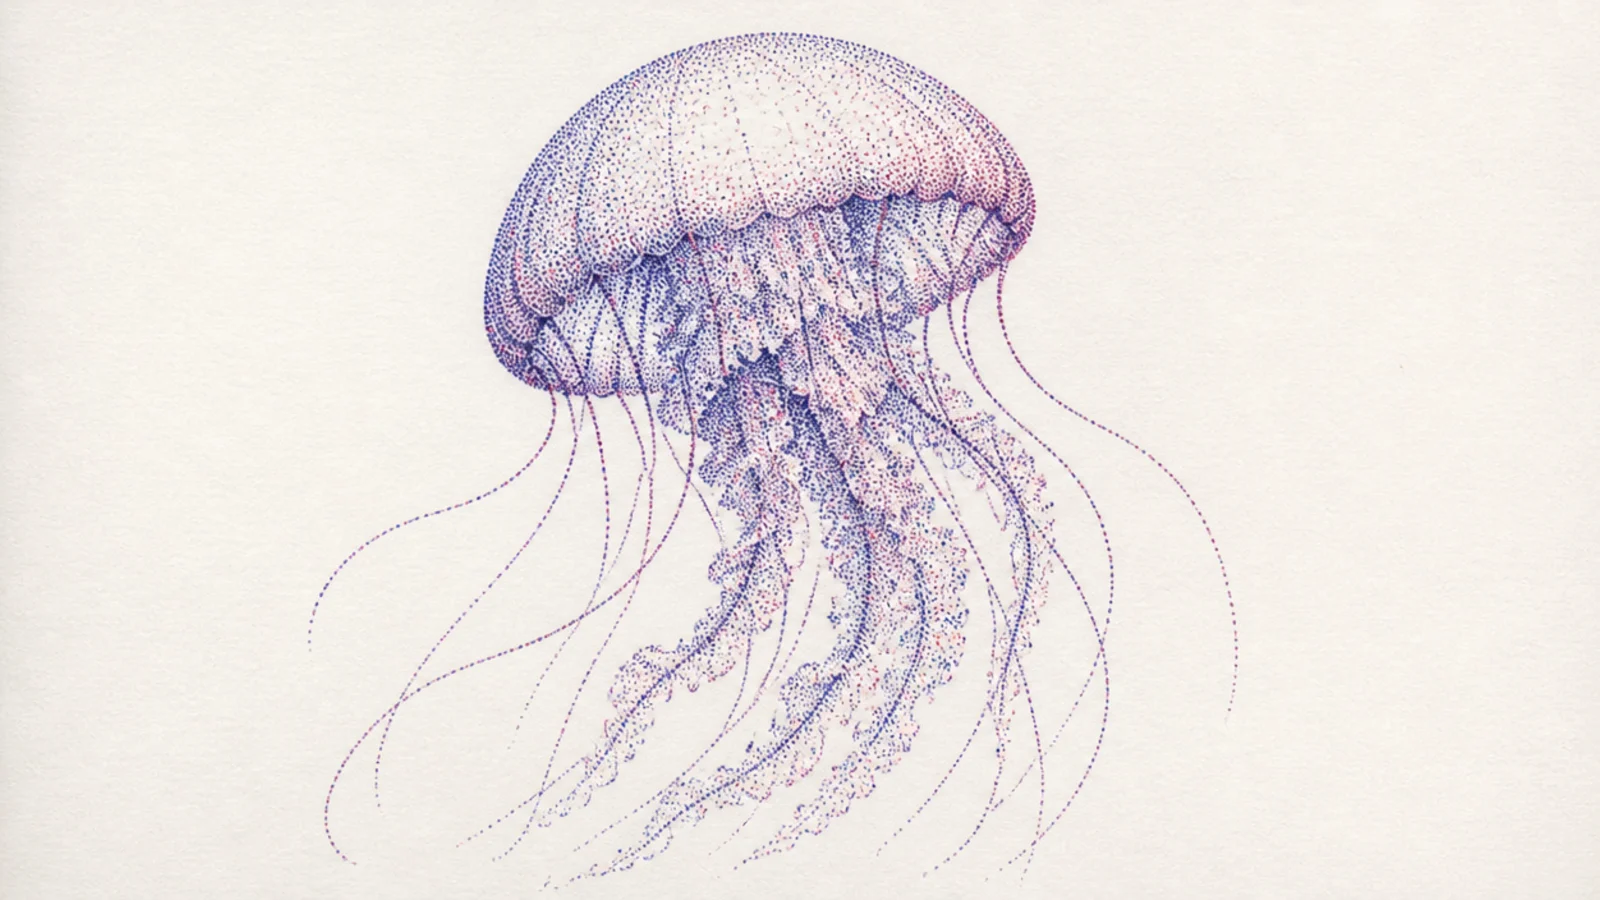
Step 1 outline lightly. Step 2 dot the jellyfish, dense in shadow and sparse in light. Step 3 use two or three colors of dots for depth.
Building the jellyfish from thousands of tiny dots creates a shimmering, luminous effect. The colors mix in the eye. It’s meditative and impressive.
AvoidDon’t use lines anywhere; commit fully to dots for pointillism.
Pro tipPlace complementary color dots side by side so they vibrate and glow.
13 Chalk Pastel Jellyfish
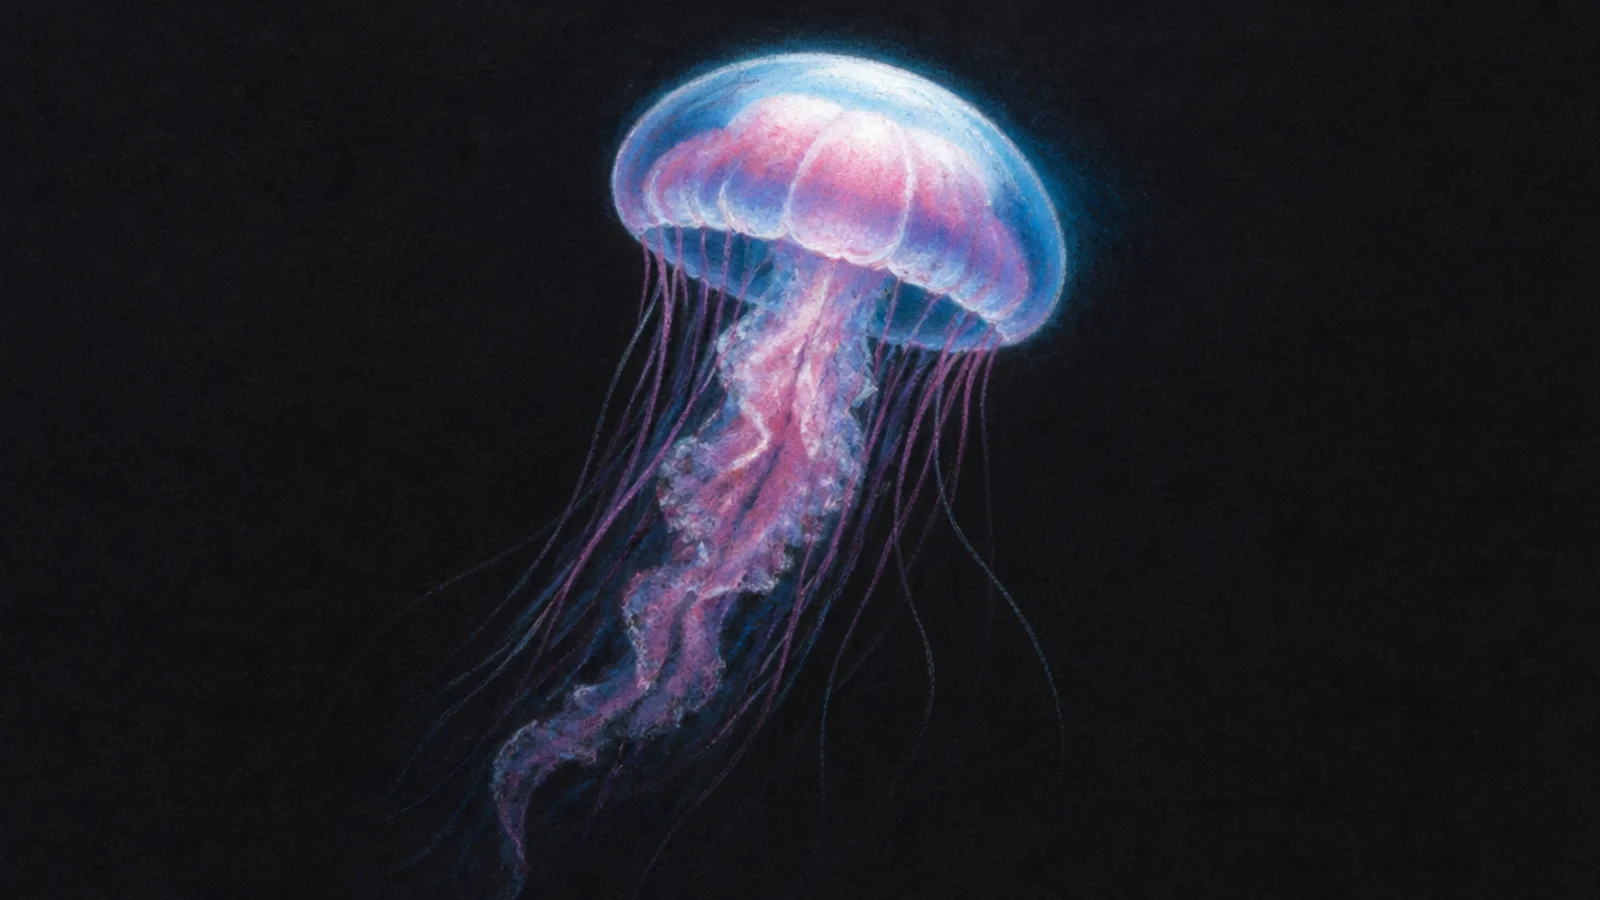
Chalk pastel on dark paper blends into a soft, glowing jellyfish. The dusty, smudgeable color is dreamy. It’s expressive and luminous.
Step 1 on dark paper, block the jellyfish in pastel. Step 2 blend with a finger for soft glow. Step 3 add bright pastel highlights on top.
Layer a bright highlight over the blended base so it glows against the dark.
Don’t over-blend; leave some texture so it doesn’t look flat.
14 Brush-Pen Gesture Jellyfish
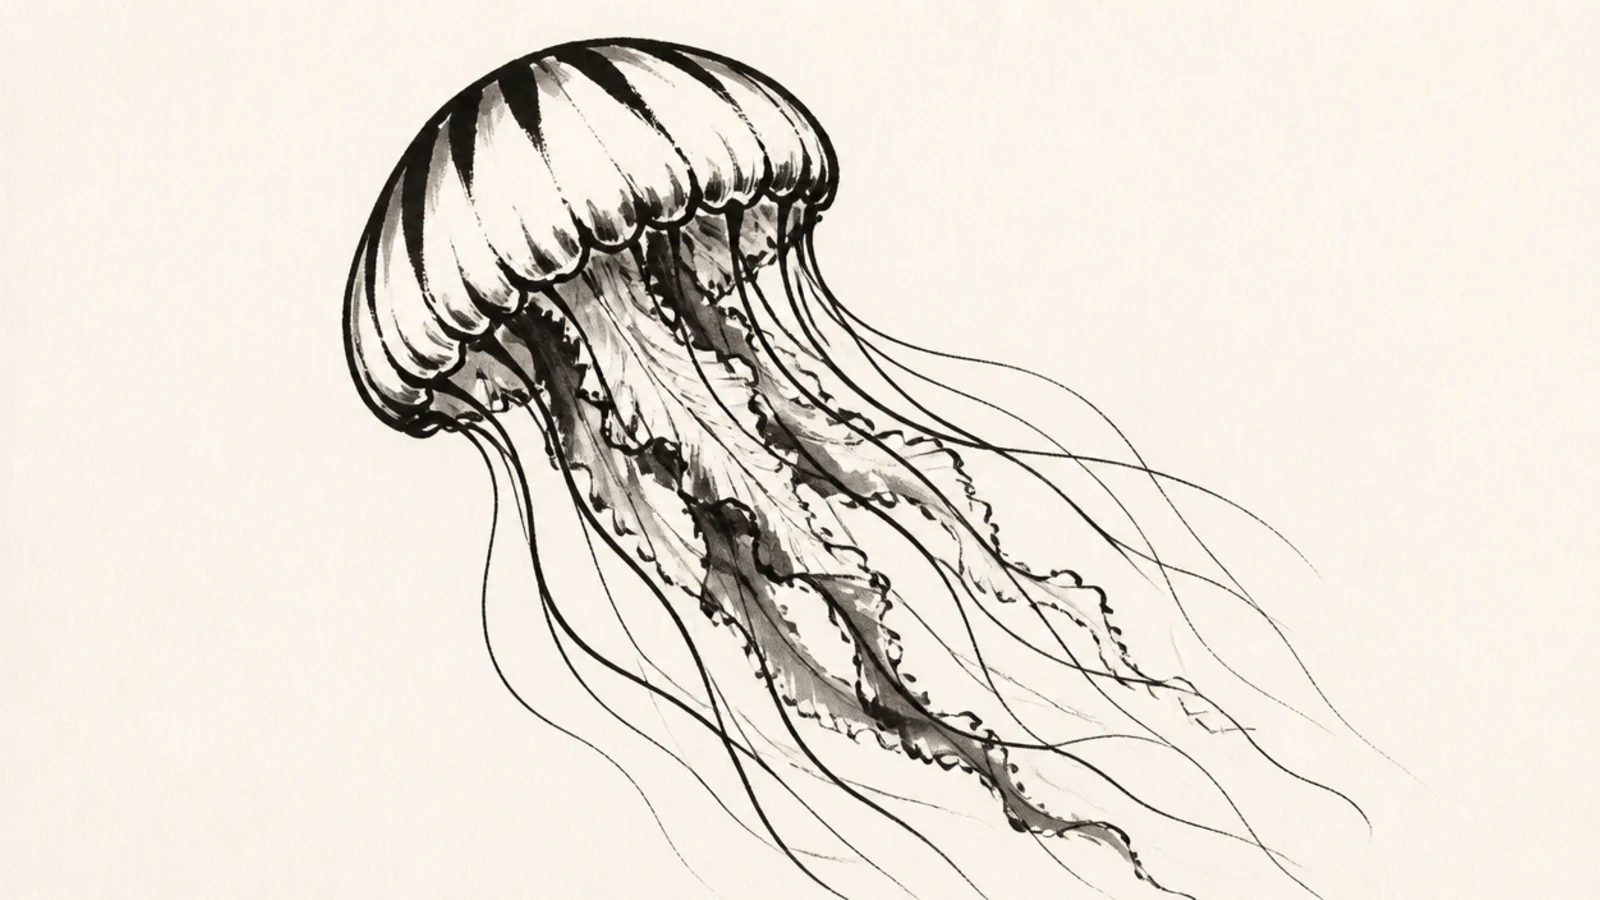
A brush pen’s thick-to-thin strokes give the jellyfish bold, expressive energy. The line weight varies naturally. It feels confident and gestural.
Step 1 draw the bell with pressure for a thick top. Step 2 sweep the tentacles with quick, tapering strokes. Step 3 keep it loose and fast.
Press hard for thick lines and lift for thin tapers so the strokes flow.
Don’t draw slowly; brush-pen gesture wants speed and confidence.
15 Marbled Ink Jellyfish
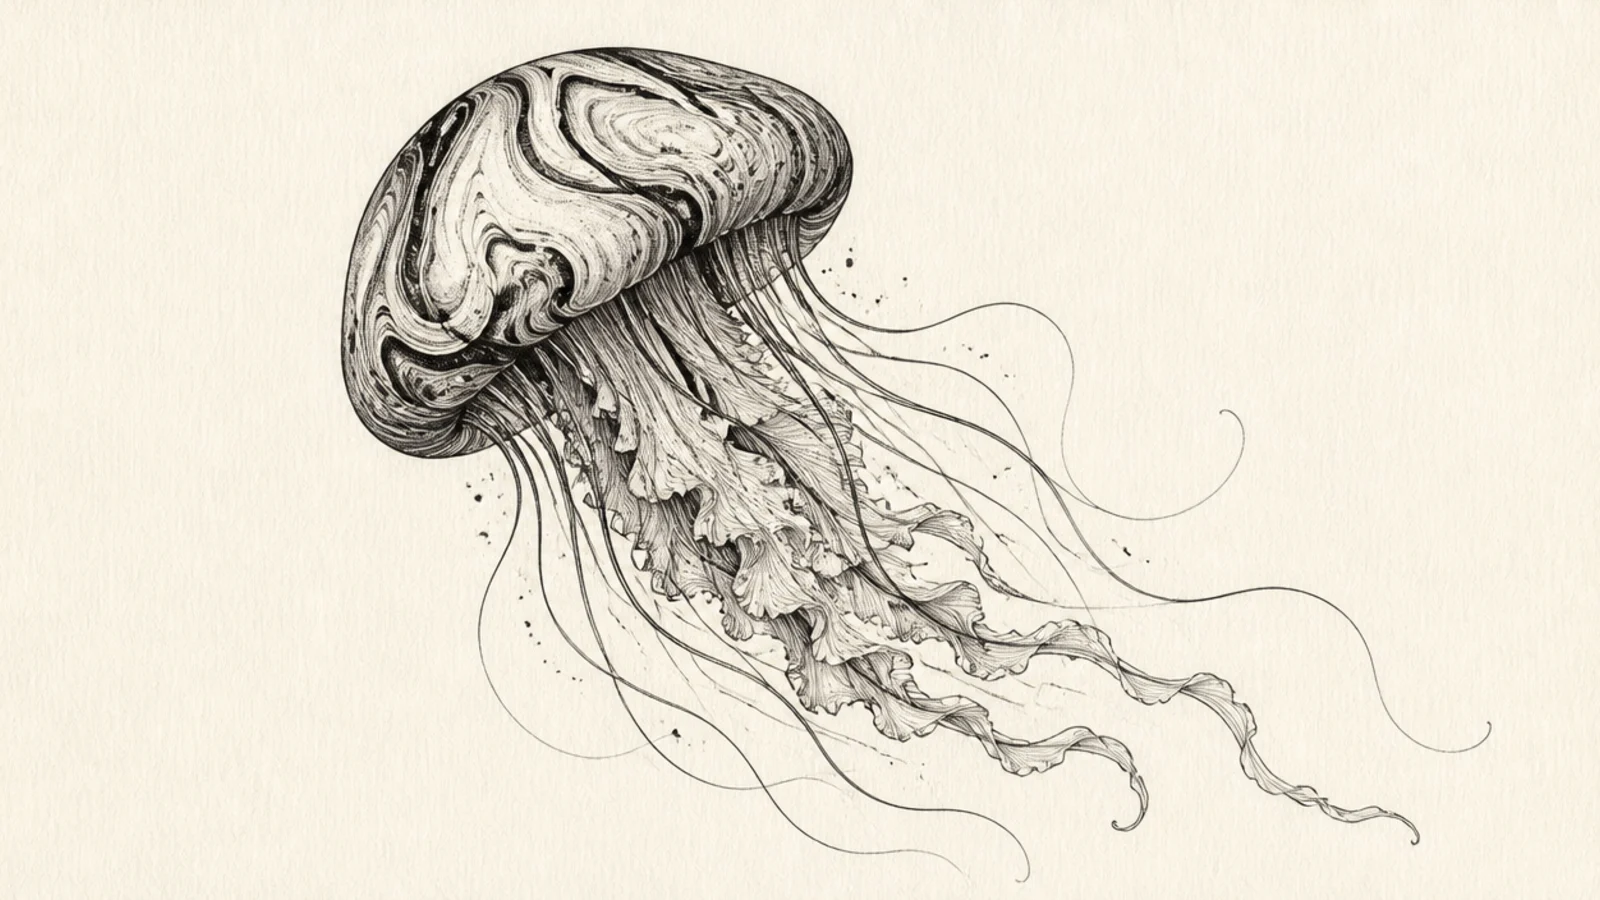
A marbled ink bell has beautiful organic swirls that mimic water. The flowing patterns are impossible to plan and lovely. It looks artistic and unique.
Step 1 make a marbled ink area for the bell. Step 2 outline the jellyfish over it once dry. Step 3 add flowing tentacles that echo the swirl.
Let the marble swirls flow in the same direction as the tentacles for unity.
Don’t cover the marble; its swirl is the star.
16 Stencil Spray Jellyfish
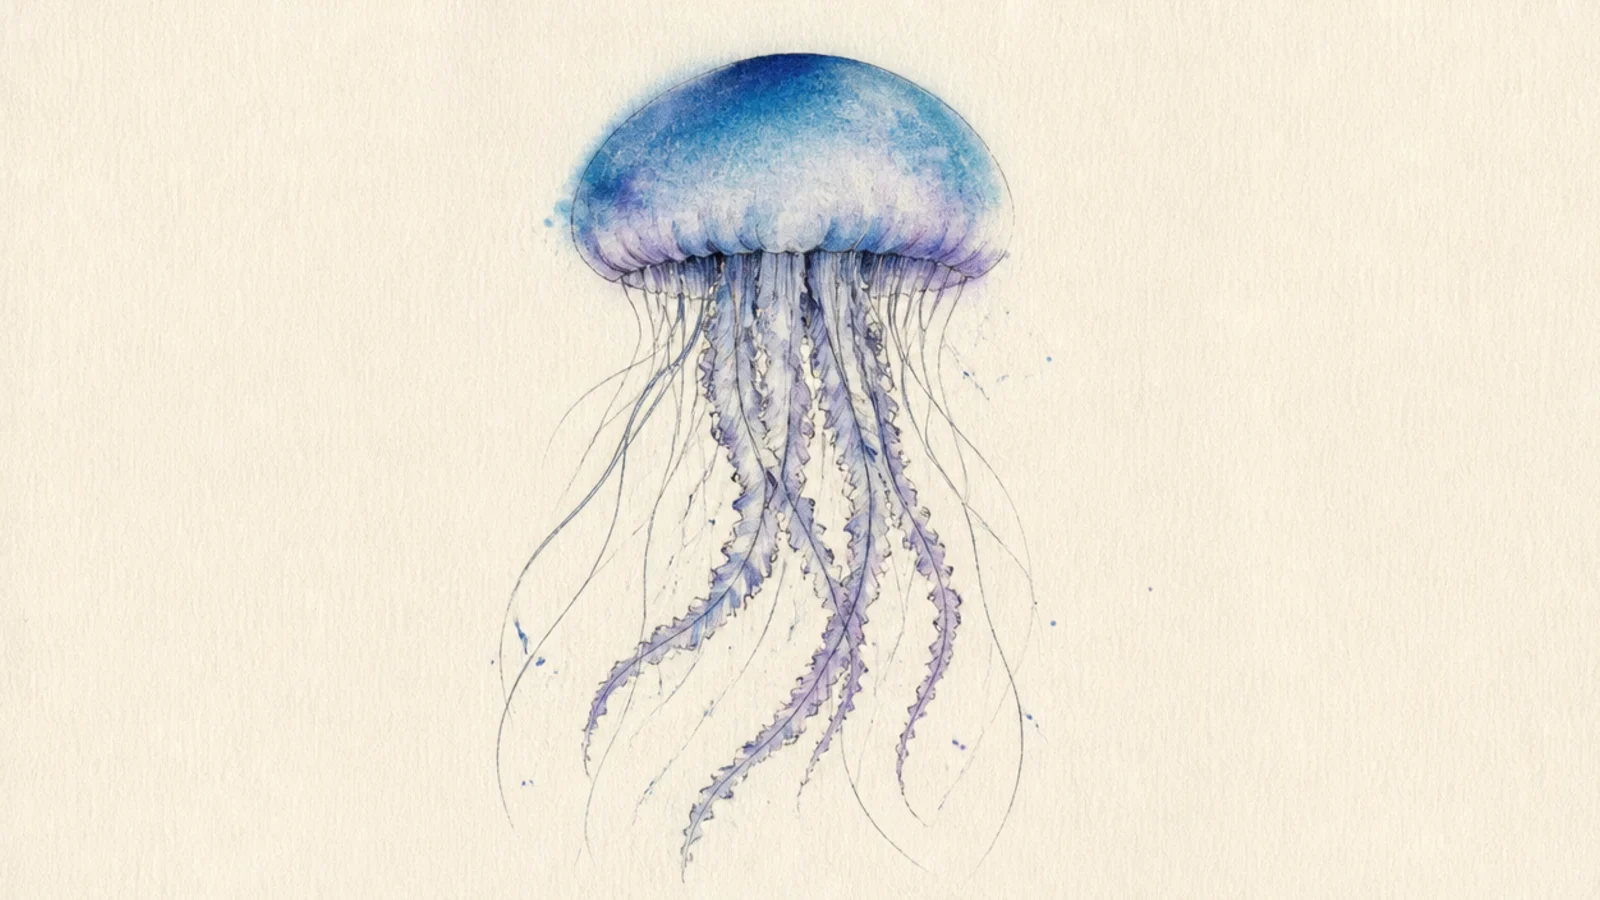
Step 1 cut or hold a jellyfish stencil. Step 2 spray or dab color over it. Step 3 lift the stencil and add a few details by hand.
A stencil with sprayed or dabbed color gives a soft-edged, street-art feel. The misty edges look modern. It’s a clean, graphic technique.
AvoidDon’t spray too heavily; light misting keeps the soft-edge effect.
Pro tipBuild the sprayed color in light layers for soft, even edges.
17 Watercolor & Salt Texture Jellyfish
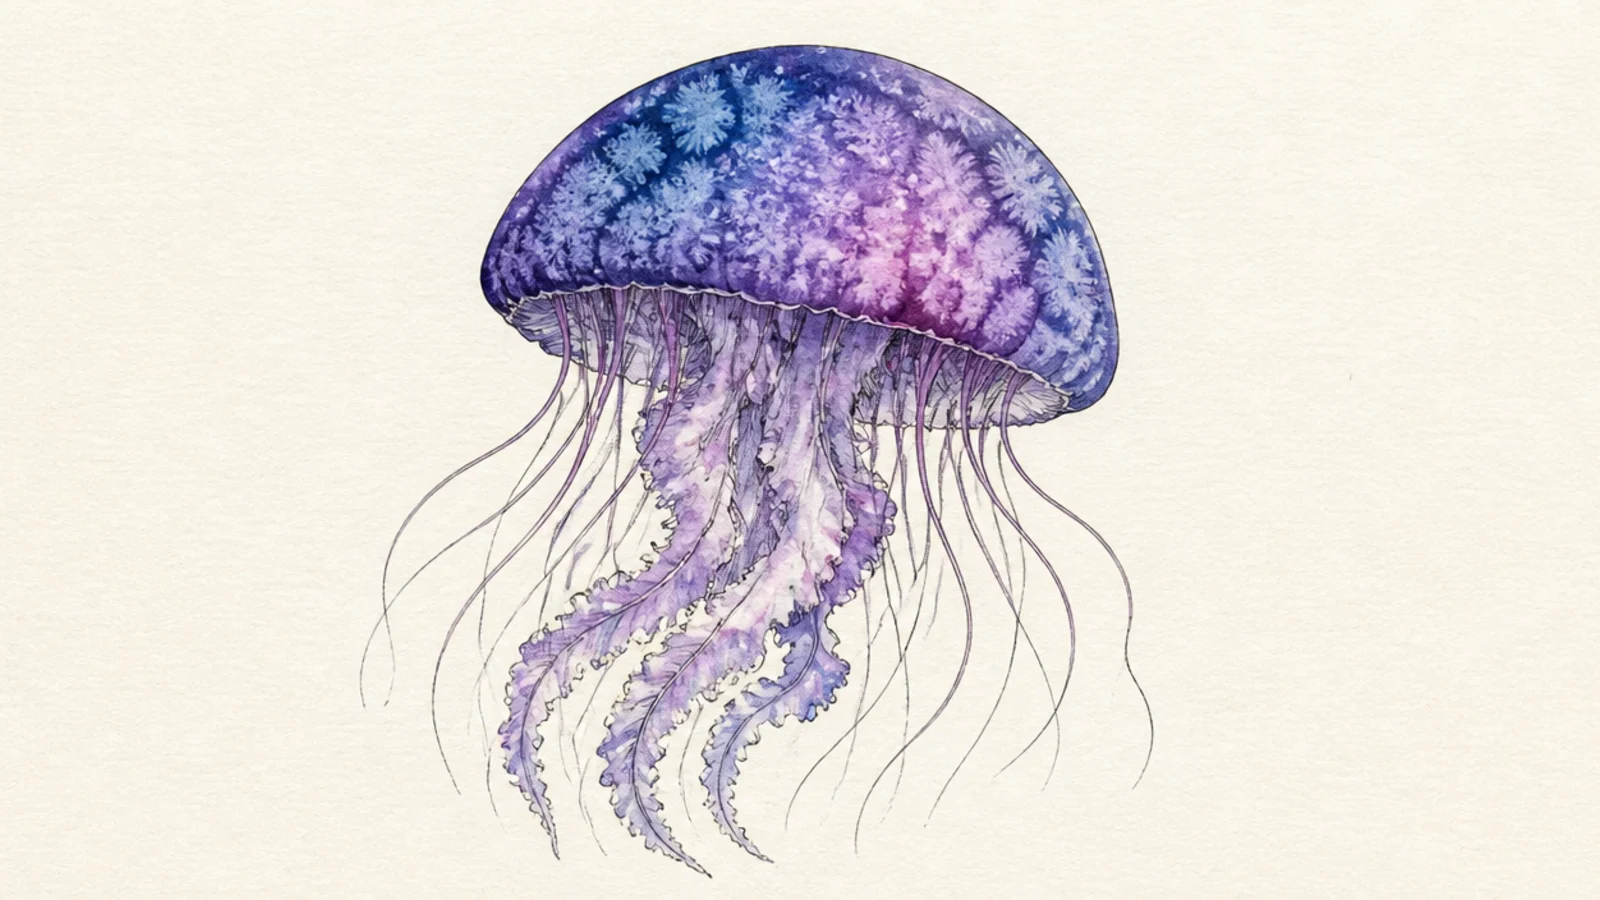
Step 1 paint a wet watercolor bell. Step 2 sprinkle salt while wet and let it dry. Step 3 brush off the salt and add tentacles.
Sprinkling salt into wet watercolor creates starry bloom textures in the bell. The crystalline pattern looks magical. It’s an easy trick with a wow result.
AvoidDon’t brush the salt off too early; let it fully dry first.
Pro tipSprinkle the salt while the paint is still shiny-wet for the best bloom.
18 Block-Print Style Jellyfish
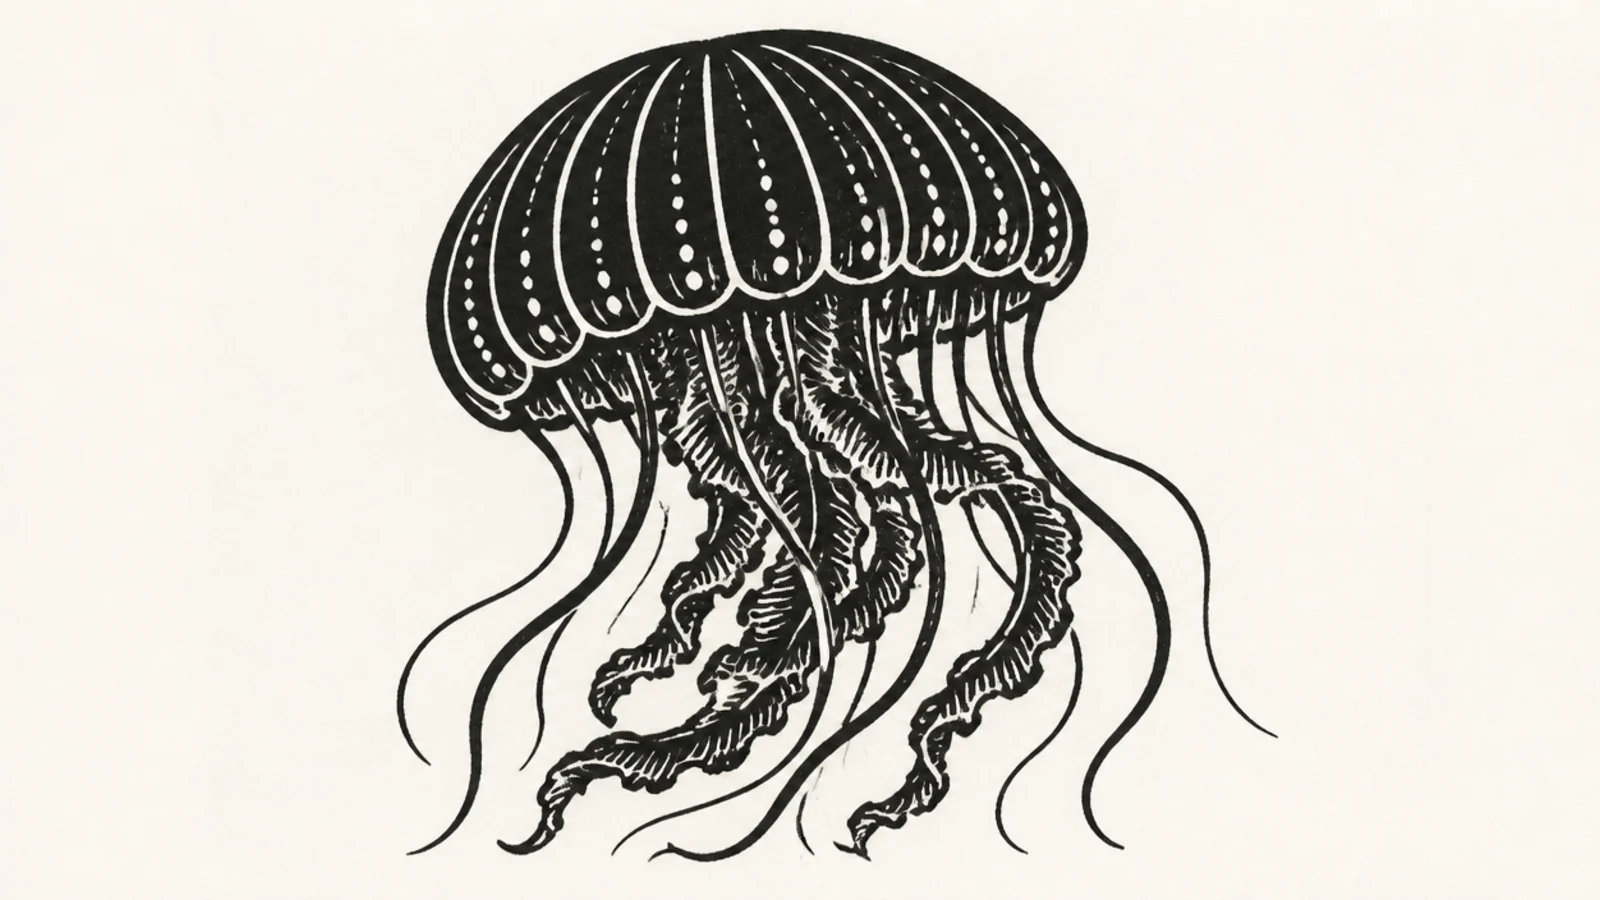
A bold, high-contrast block-print style with carved-looking marks feels graphic and crafted. The white cuts on black are striking. It looks like a real linocut.
Step 1 draw the jellyfish solid black. Step 2 add white carved-style marks for form and texture. Step 3 keep the marks bold and directional.
Follow the jellyfish’s form with the white carving marks so they describe the shape.
Don’t use fine detail; block prints look best bold and chunky.
19 Mixed-Media Jellyfish
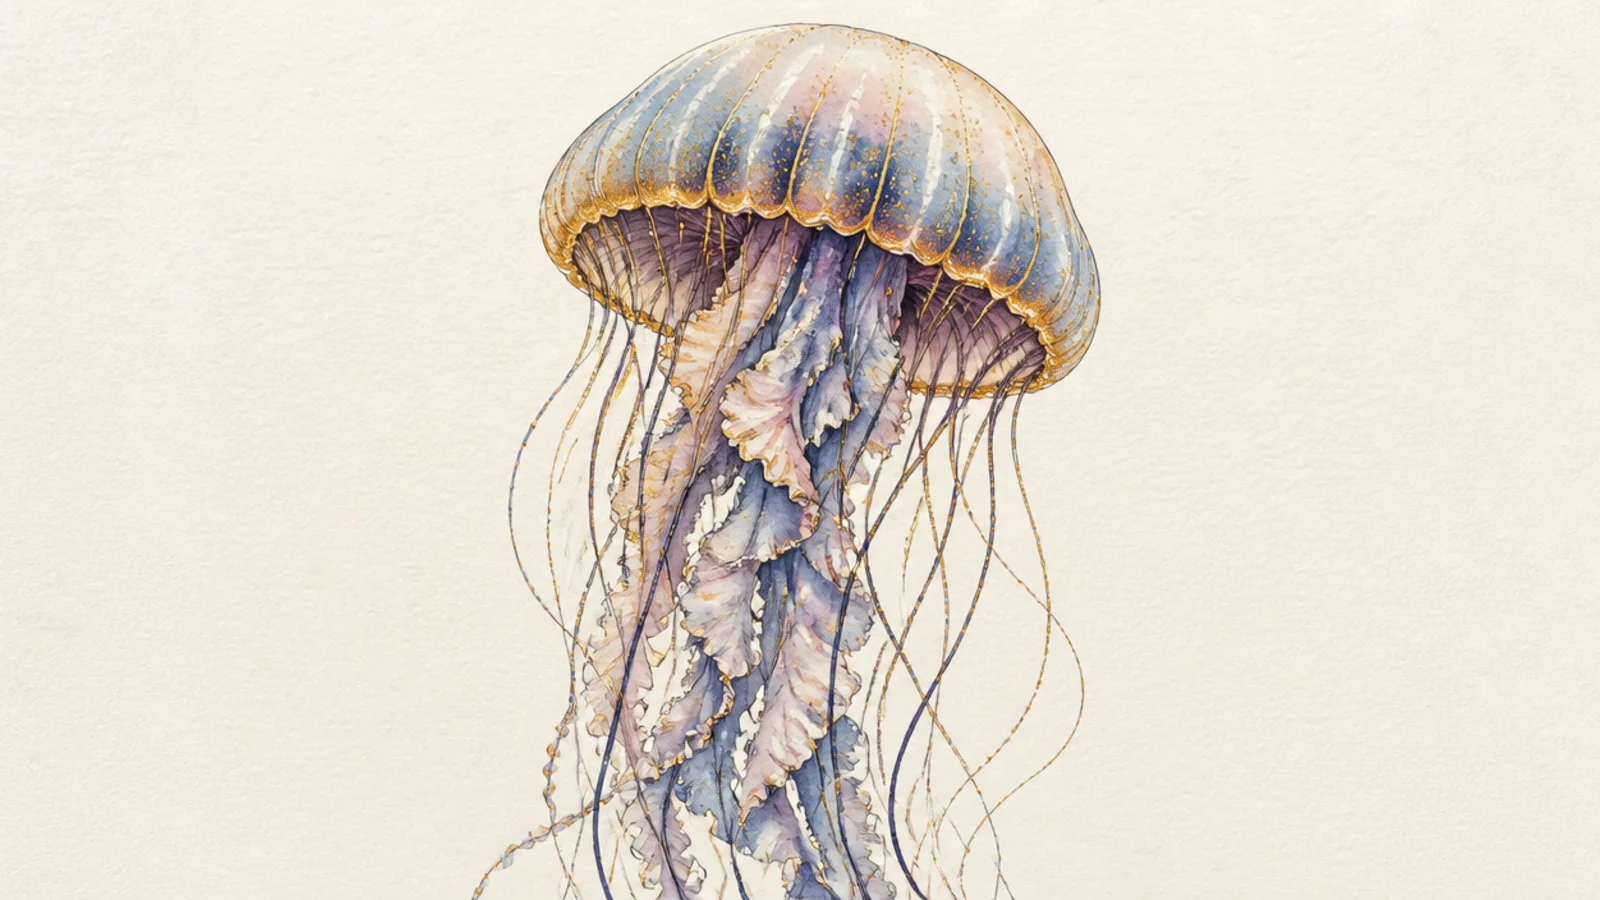
Step 1 wash a soft watercolor bell. Step 2 add crisp ink line details once dry. Step 3 add a few gold accents on the edges.
Combining ink lines, a watercolor wash, and a gold accent gives a rich, layered, finished look. The mix of textures feels professional. It’s the most gallery-ready style.
AvoidDon’t add the ink while the wash is wet; let each layer dry.
Pro tipLayer in order — wash first, ink second, gold last — so each stays clean.
20 Sunset Silhouette Jellyfish
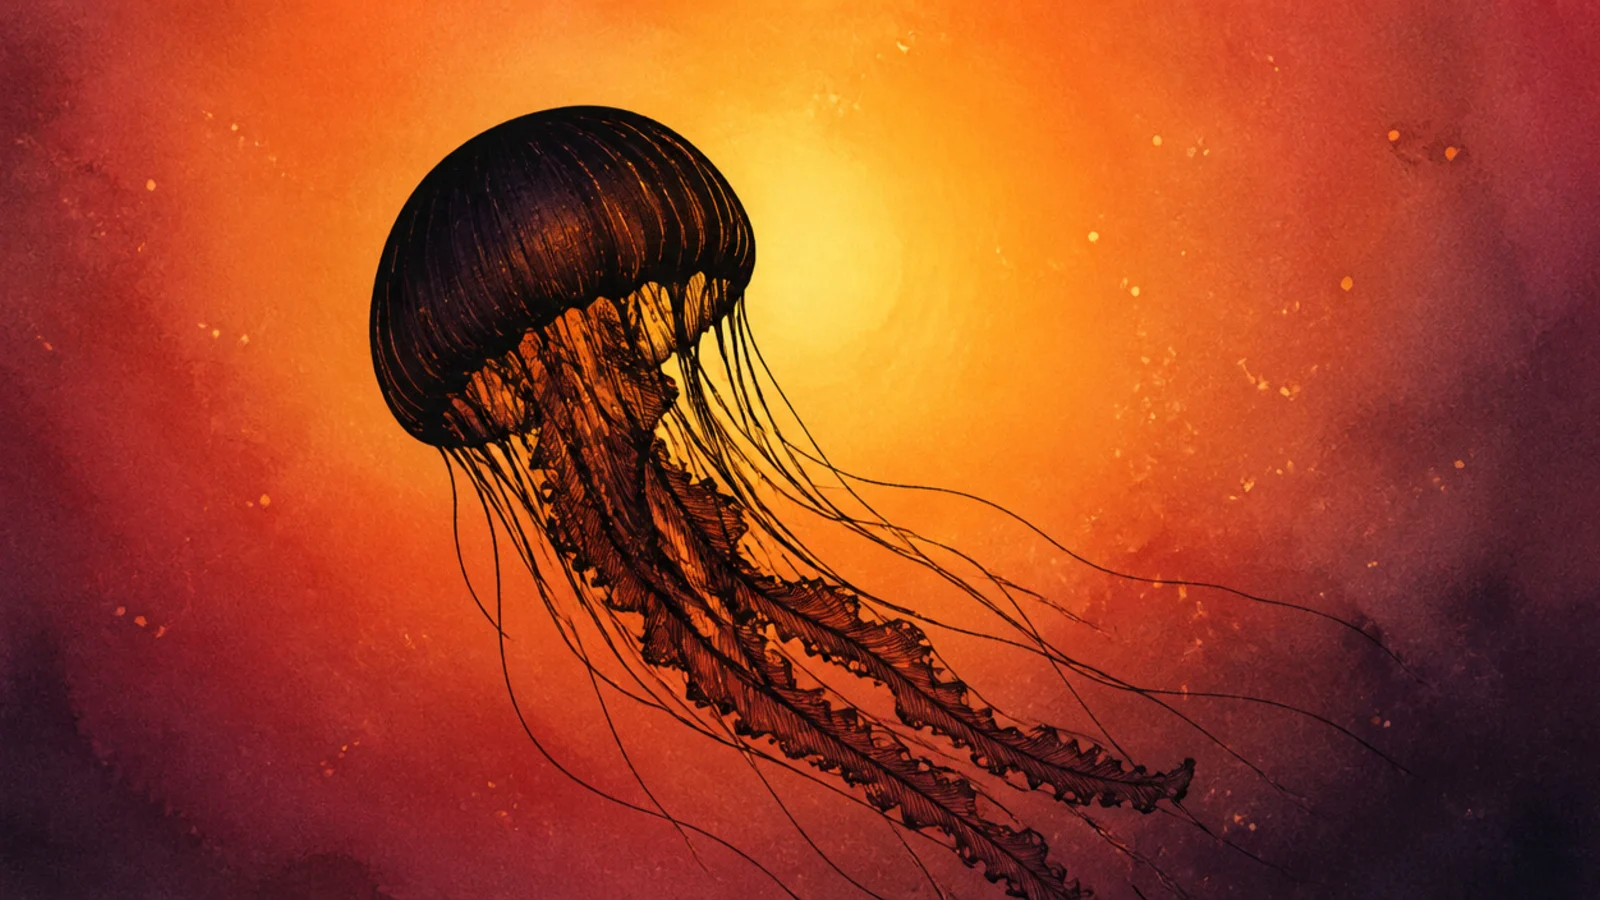
Step 1 wash a sunset gradient and let it dry. Step 2 paint the jellyfish solid dark. Step 3 keep the edges clean and add a few backlit particles.
A dark jellyfish silhouette against a glowing sunset wash is dramatic and beautiful. The colored background is the art. The crisp silhouette is forgiving.
AvoidDon’t add interior detail; the flat silhouette is the point.
Pro tipKeep the silhouette edges sharp against the smooth glowing background.
21 Expressive Line Jellyfish
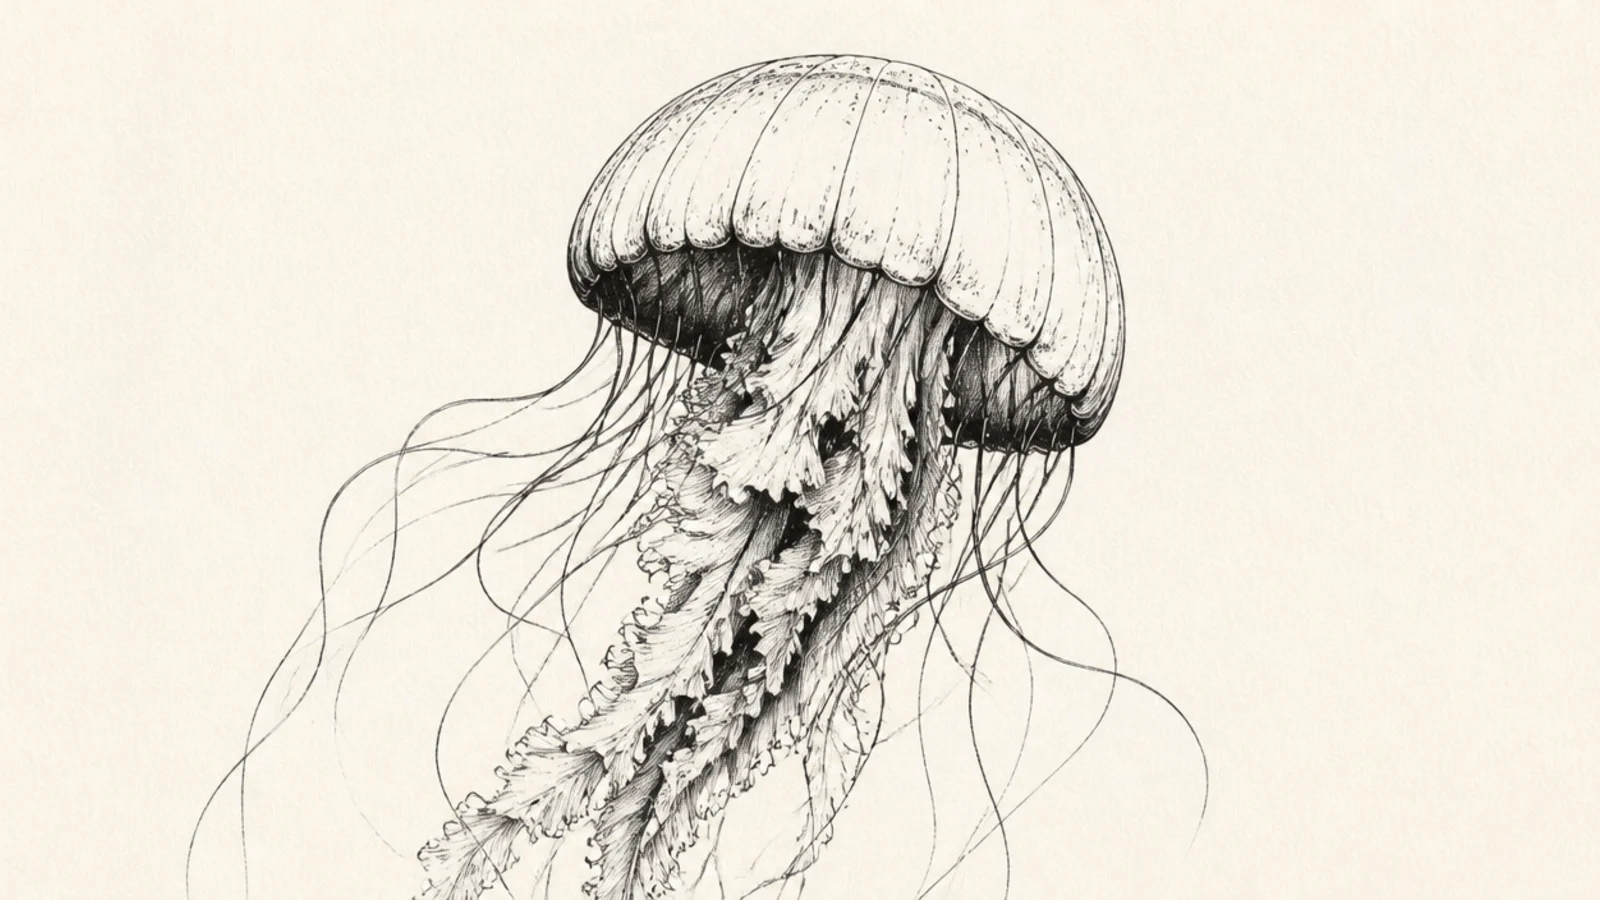
Dramatically varying the line weight — thick where forms turn, thin where they fade — gives the jellyfish life and artistry. The line itself becomes the art. It feels confident.
Step 1 draw the jellyfish thinking about weight. Step 2 thicken lines on the shadowed side and where forms overlap. Step 3 keep the lit edges thin.
Thicken the line where the form turns away from the light for instant depth.
Don’t use one even weight; the varied line is the whole appeal.
22 Metallic Watercolor Jellyfish
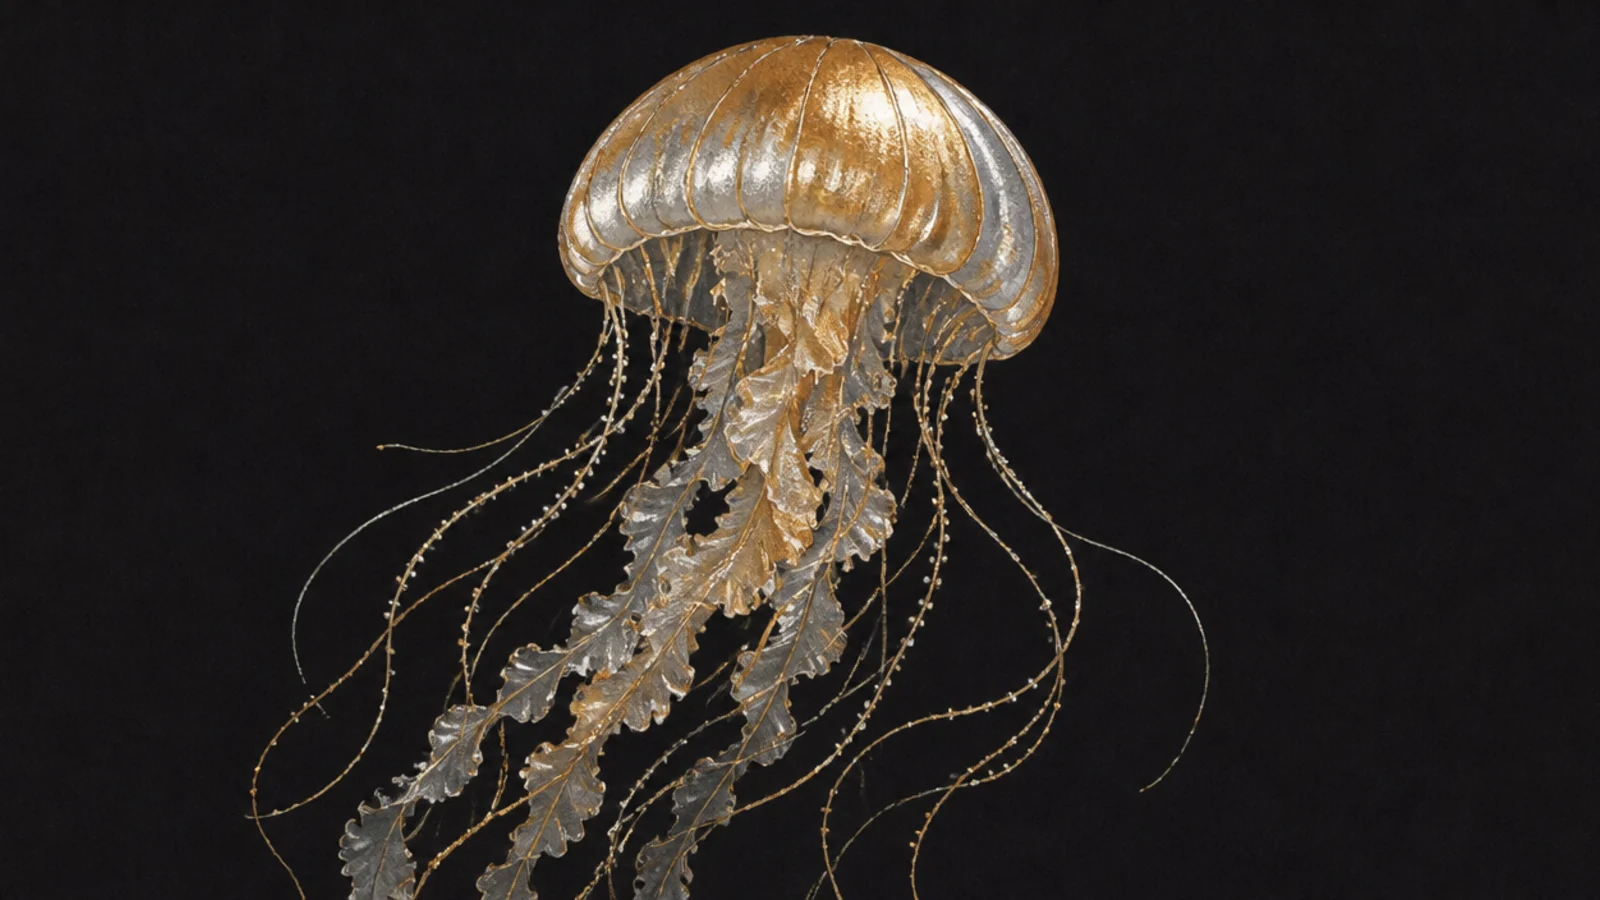
Shimmering metallic watercolors give the jellyfish a pearly, iridescent glow. The subtle shine catches light. It looks luxe and dreamy.
Step 1 paint the jellyfish in metallic watercolor. Step 2 layer two metallic tones for shimmer. Step 3 add a plain dark background so the shine pops.
Put the metallic jellyfish on a dark background so the shimmer really shows.
Don’t mix in flat colors; keep it metallic so the shimmer is consistent.
23 Alcohol-Ink Jellyfish
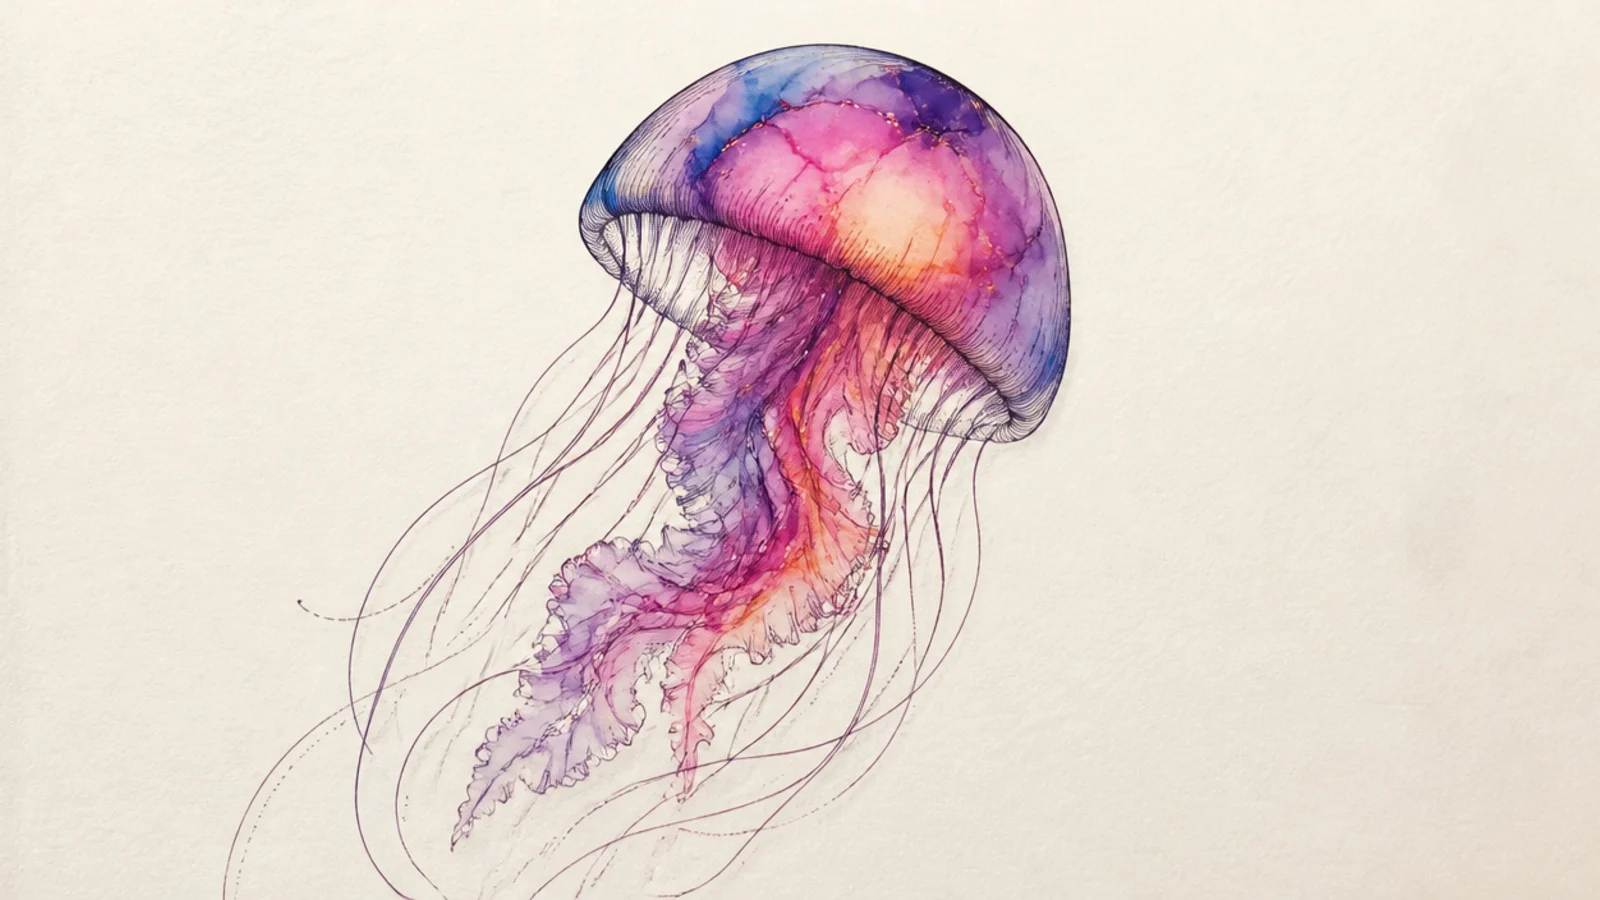
Alcohol ink makes vivid, organic blooms that flow like real underwater color. The unpredictable patterns are stunning. It’s abstract and alive.
Step 1 drop alcohol inks in a bell shape and let them flow. Step 2 tilt to guide the blooms. Step 3 once dry, define the jellyfish with fine liner.
Let the inks flow and blend on their own; guide them but don’t force them.
Don’t overwork it; alcohol ink is best when it flows freely.
24 Impressionist Dab Jellyfish
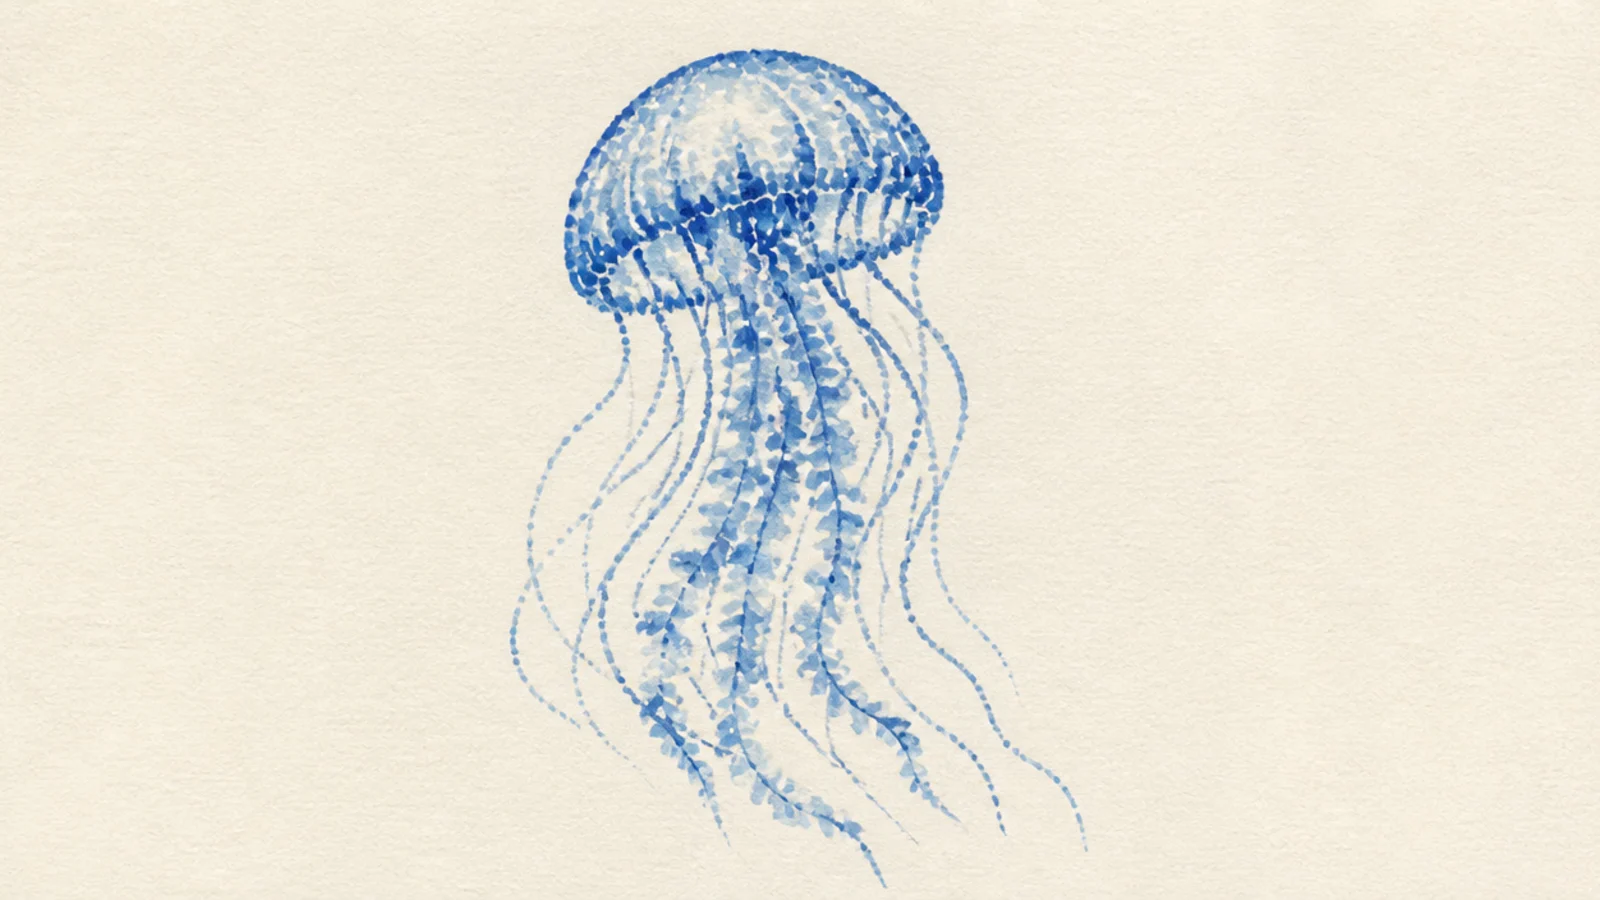
Building the jellyfish from small, loose color dabs gives an impressionist, shimmering feel. The broken color reads as light on water. It’s painterly and soft.
Step 1 dab the bell in small strokes of a few blues. Step 2 dab the tentacles loosely. Step 3 let the paper show between dabs for light.
Use a few close colors in the dabs so they blend optically into a glow.
Don’t blend the dabs smooth; the separate strokes are the style.
25 Gallery Triptych Jellyfish
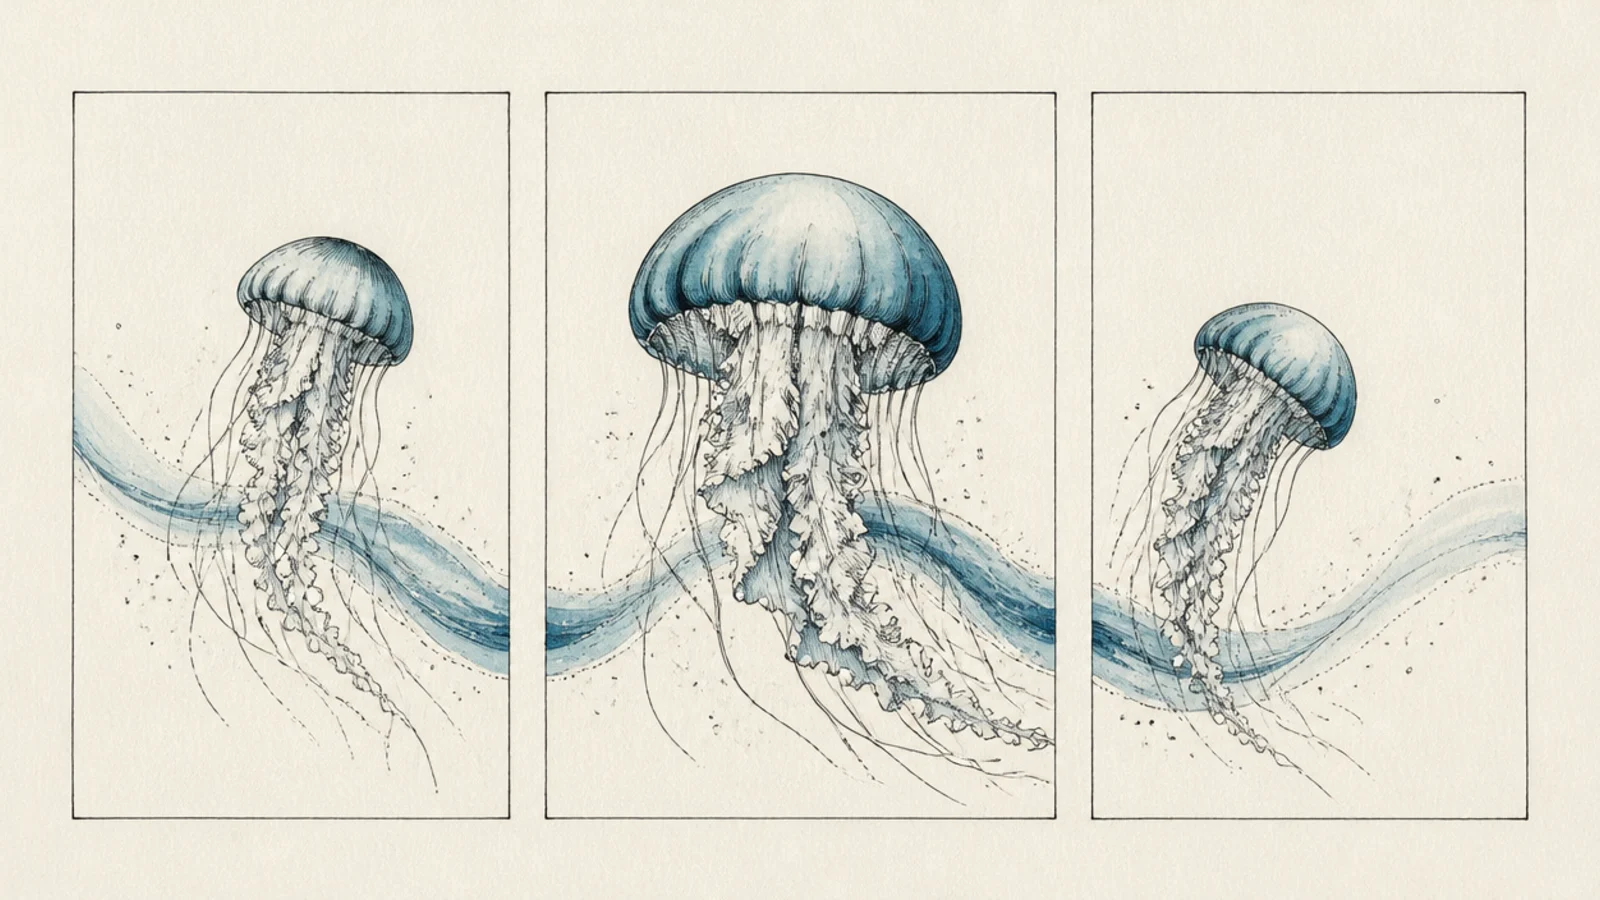
Step 1 draw three panels. Step 2 put one jellyfish in each, connected by style. Step 3 keep the palette and technique consistent across all three.
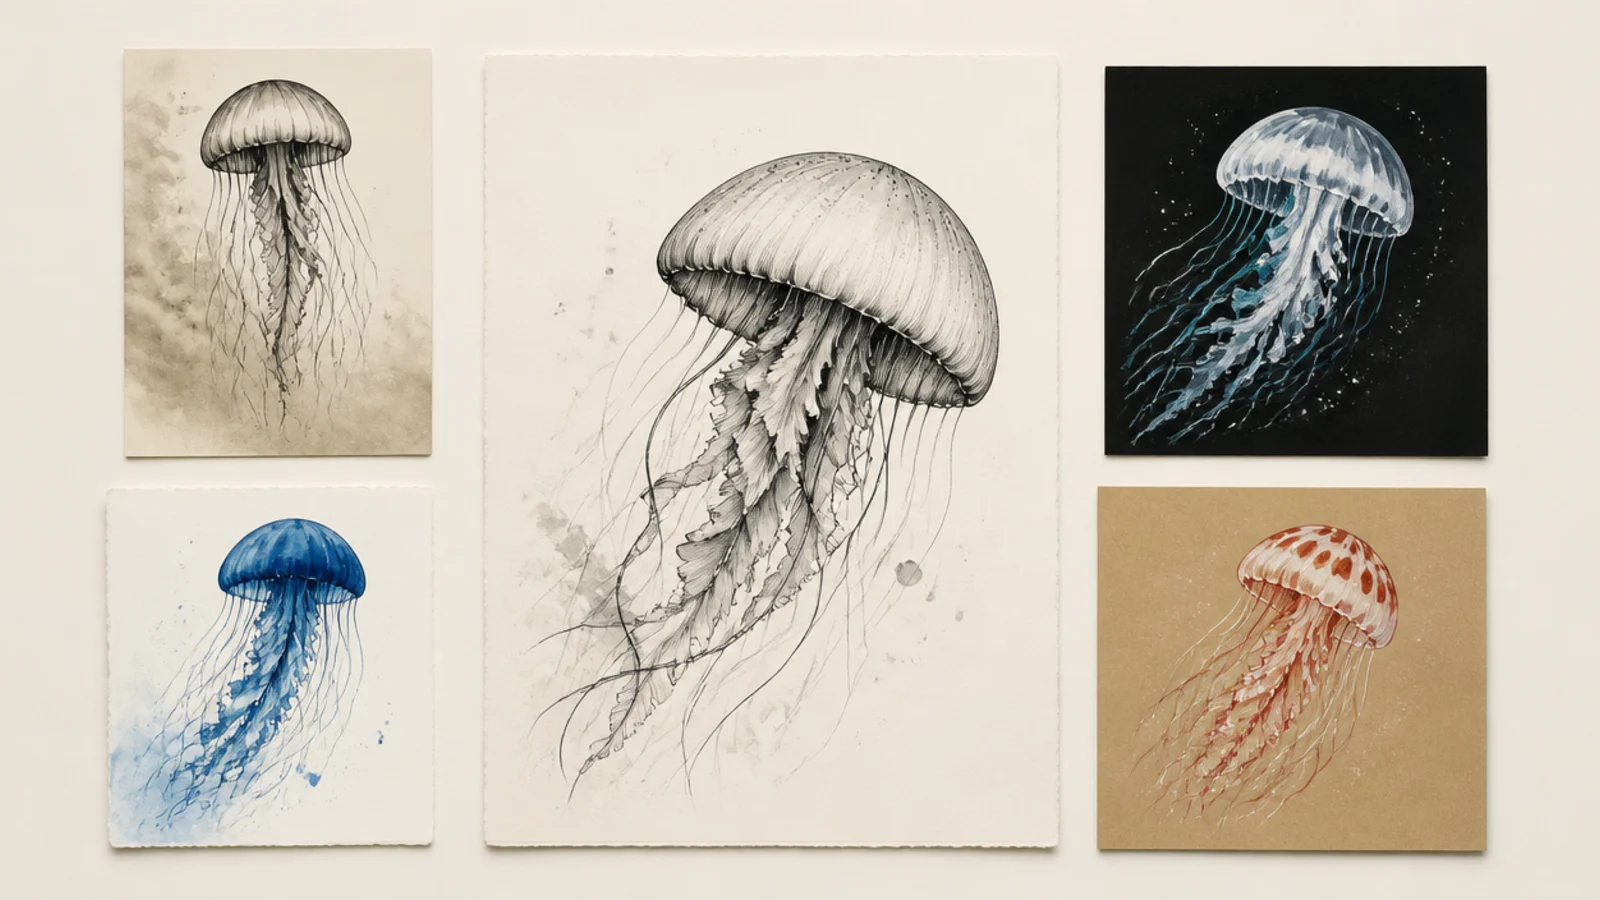
Three jellyfish across three panels make a gallery-style triptych. The set feels curated and finished. It’s an impressive way to close the list.
AvoidDon’t vary the style between panels; consistency makes it a set.
Pro tipLet one element — a tentacle or a color — flow across the panels to connect them.



