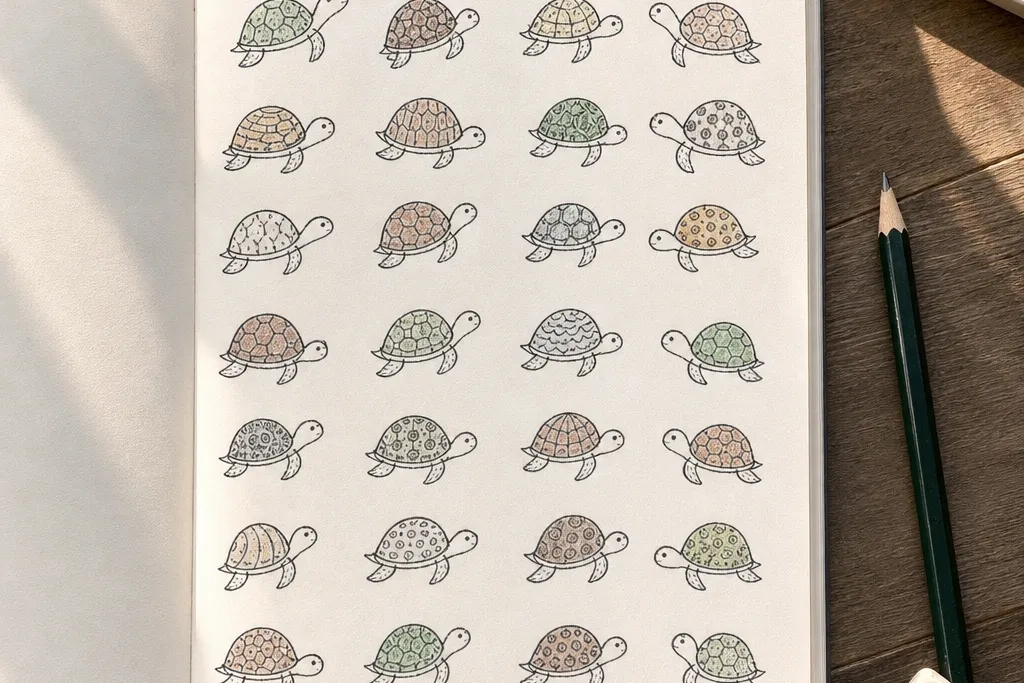

1. Centered Oval Shell Turtle with Simple Star Pattern
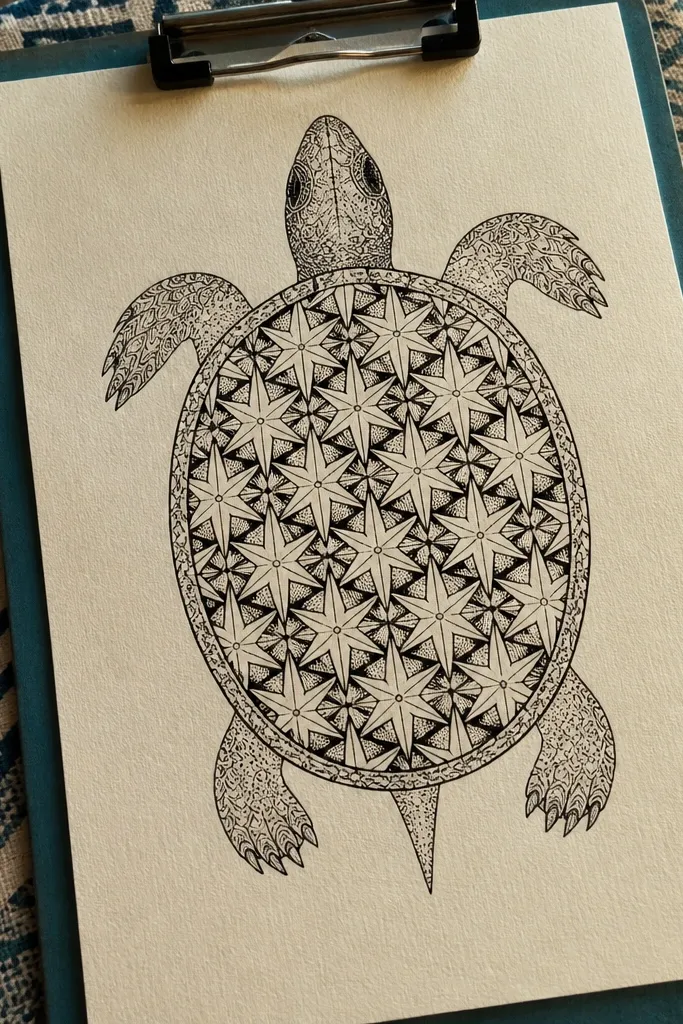
This one is the fastest path to a readable turtle because the shell is perfectly centered and the pattern is easy to repeat. The star shapes break up the shell so it doesn’t look like a plain oval, and they also give you a clear “texture” without cross-hatching. Use it when you want a clean, cheerful look that still looks designed in a photo. It suits pencil, fineliner, and markers because the shapes stay crisp even if your shading is light.
Start by drawing a large oval for the shell, slightly wider at the bottom. Add a smaller oval for the head overlapping the top-left of the shell, then sketch two front legs as short curved tubes under the shell. Draw three small star shapes on the shell, then add a few tiny dots between stars. Finish with a simple tail line and a darker outline along the shell rim.
Pro tipKeep the star sizes consistent by drawing them using the same “point distance” from the center.
AvoidDon’t add too many patterns at once; three stars plus dots reads cleaner.
2. Side-Profile Turtle with a Curved Shell Rim Shadow
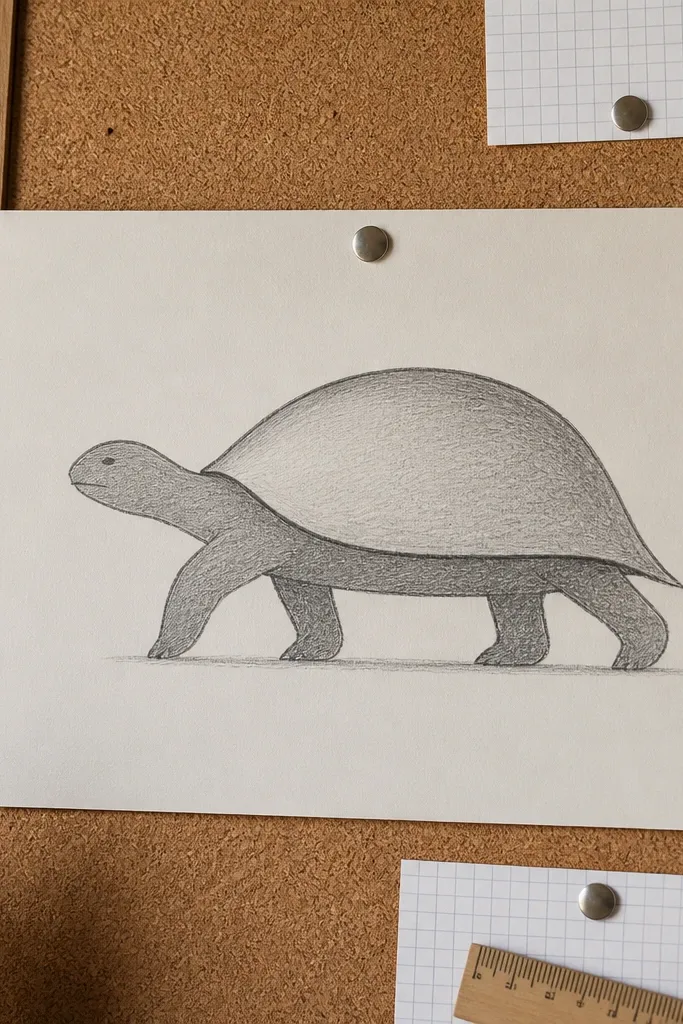
Side profile hides a lot of beginner proportion problems because the head and body align in one direction. The curved shell rim shadow gives depth even if you only shade one area. This drawing looks good because the silhouette is clear: head, shell, and legs form one readable shape. It’s a great choice when you want a slightly more “real” look without rendering.
Draw a horizontal oval for the shell and let it tilt slightly upward on the right. Add a head oval that connects to the front of the shell, then sketch one eye as a small dot with a tiny highlight dot. For legs, draw two curved shapes that tuck under the shell edge, leaving small gaps for definition. Shade a narrow strip along the bottom rim of the shell using a soft pencil or a darker marker tone.
Use a single smooth stroke for the shell outline; a wobbly rim makes the shadow look messy.
Avoid shading the whole shell evenly; the rim shadow is what creates the “3D” look.
3. Cartoon Turtle on a Wavy Waterline
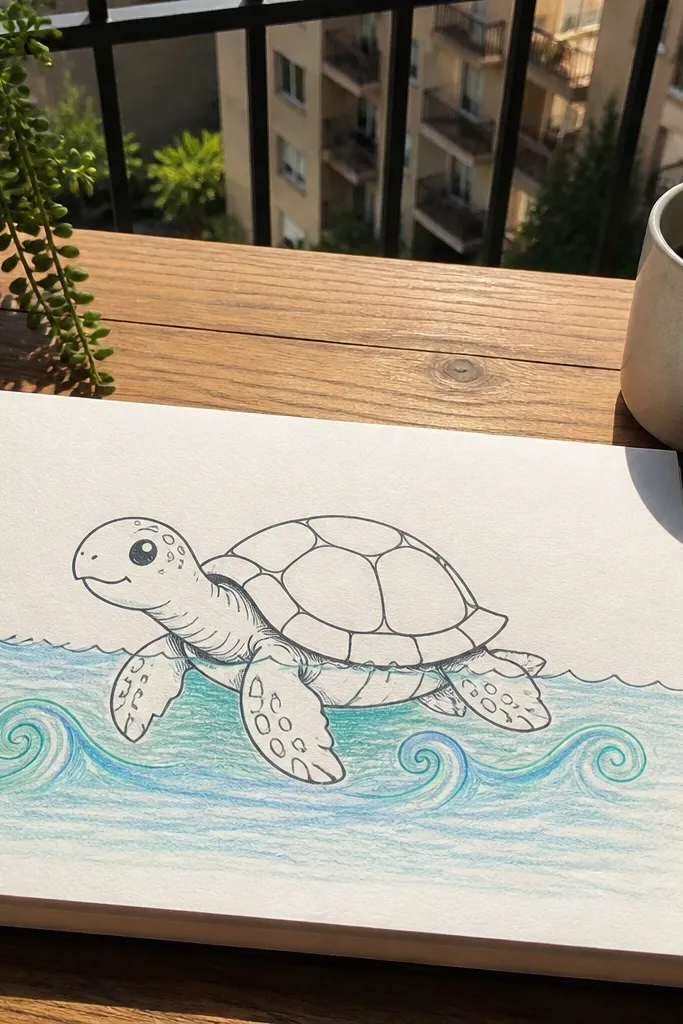
This one adds instant context, so your turtle looks like it belongs in a scene. The wavy waterline creates motion and makes the drawing feel lively, even with simple shapes. It’s photogenic because the linework has contrast and the curls frame the turtle’s legs. It works well with fineliner and colored pencils since you can keep the turtle clean and let the background do the fun part.
Draw a wavy horizontal line across the page and place the shell above it. Sketch the shell as an oval, then add a head oval facing right with a small smile line. Draw four short legs that touch or hover above the wavy line. Add 5-7 water curls behind the shell and two small bubbles near the head. Outline all edges with a darker line, then color only the water curls if you want contrast.
Pro tipMake the water curls thicker near the turtle and thinner farther away for depth.
AvoidDon’t fill the background with too many curls; five to seven is enough to frame the turtle.
4. Patterned Shell Turtle with Chevron Bands
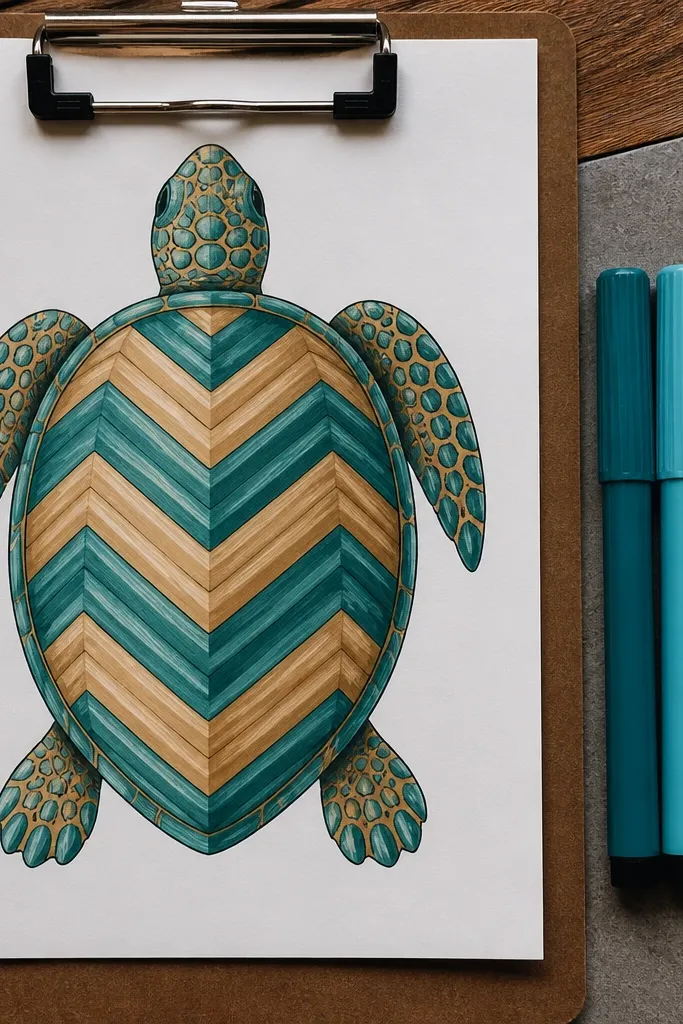
Chevron bands give the shell a graphic look that reads clearly even at small sizes. The pattern also guides your shading because each chevron naturally suggests a direction. This is a good project if you want a bold, “designed” turtle without realistic texture. It looks great in marker because the bands stay crisp and you can shade between them with two tones.
Draw a shell oval and divide it with one gentle vertical guideline down the center. Add 4 chevron rows by drawing V shapes across the shell, keeping the V tips aligned. Sketch the head oval overlapping the front and add two tiny nostril dots. Shade under the shell edge and between two chevron rows using a mid-green tone, leaving alternating bands lighter. Outline the outer shell rim and the chevrons with fineliner.
Use a ruler under your paper lightly to keep chevrons consistent; you can erase it later.
Avoid chevrons that turn into random zigzags; keep the V angle the same across the shell.
5. Mini Turtle Sticker Style with Thick Outline
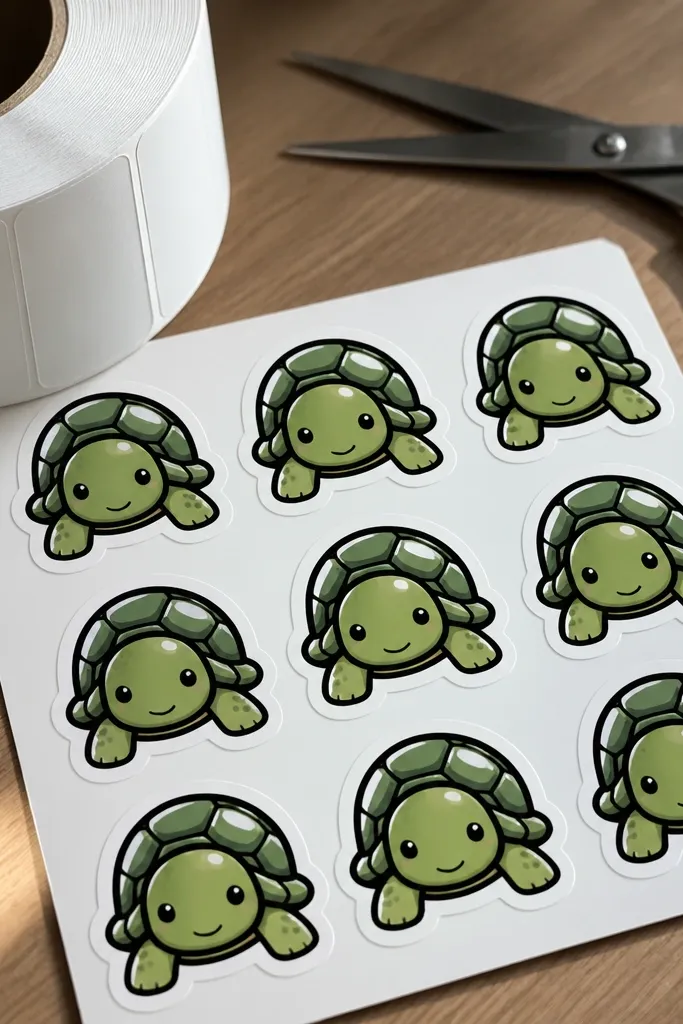
Sticker style is a cheat code for beginner-friendly Turtle Drawing because thick outlines hide shaky lines. The turtle looks polished because the shape is bold and the color is simplified. Add a clean white highlight on the shell to make it feel glossy without heavy shading. This is perfect for tiny sketchbook pages and for making a set of drawings that look cohesive together.
Sketch the turtle in pencil lightly: shell oval, head oval, and four legs. Go over the final lines with a 0.8 or 1.0 fineliner for the thick outline. Fill the shell with a light green marker or pencil, then add a darker green shadow under the shell rim. Draw one small white highlight shape on the shell and add a simple dot eye. Finish by adding a thin outline around the entire turtle to unify it.
Pro tipIf your fill bleeds, color the shell in short strokes rather than big sweeps.
AvoidDon’t skip the highlight; without it, the sticker look turns flat.
6. Turtle with a Leaf Placed on Its Shell
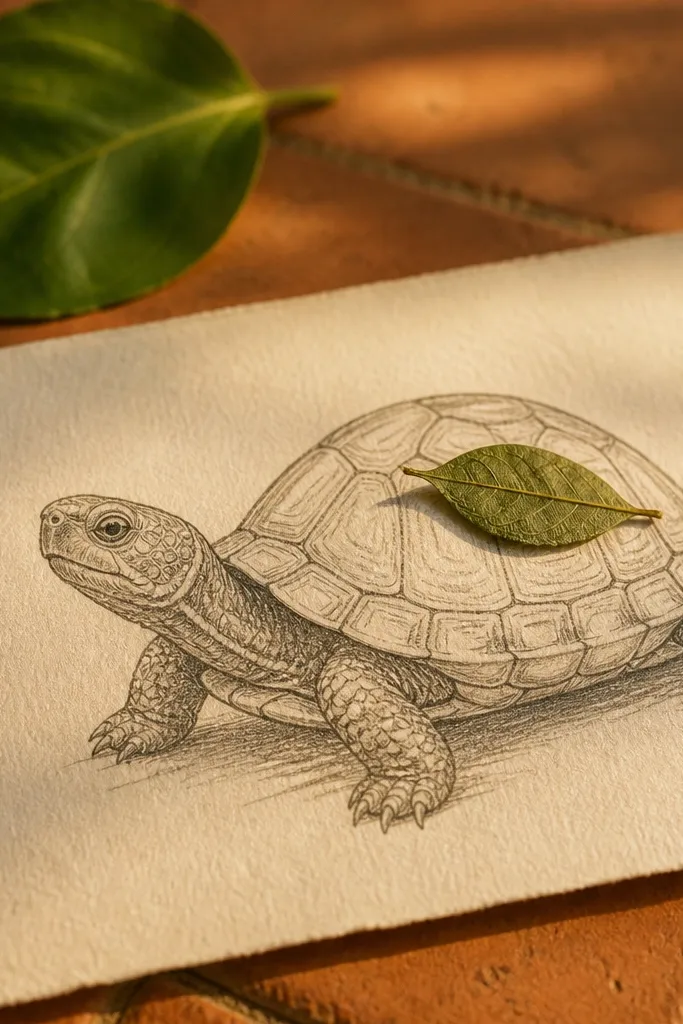
Leaves instantly add realism and make the drawing look more intentional. The leaf shape also gives you an extra focal point, which helps your eye ignore minor proportion issues. It’s photogenic because the leaf veins create texture, and the turtle stays cute with minimal shading. This works best with pencil or colored pencil because you can vary leaf veins and keep the turtle linework clean.
Draw the turtle shell oval and add head and legs as usual. Place a leaf on the top center of the shell: draw a teardrop leaf shape, then add a center vein line and 5-7 side veins. Outline the leaf and shade it with one light green tone plus a darker edge. Add a soft shadow where the leaf overlaps the shell rim using a light pencil pressure. Finish with a simple shell pattern of dots so the top doesn’t feel empty.
Shade the leaf edge first, then blend inward with lighter pressure so it doesn’t look muddy.
Don’t make the leaf bigger than the head; keep it smaller so the turtle is the main subject.
7. Turtle with Water Droplets on the Shell
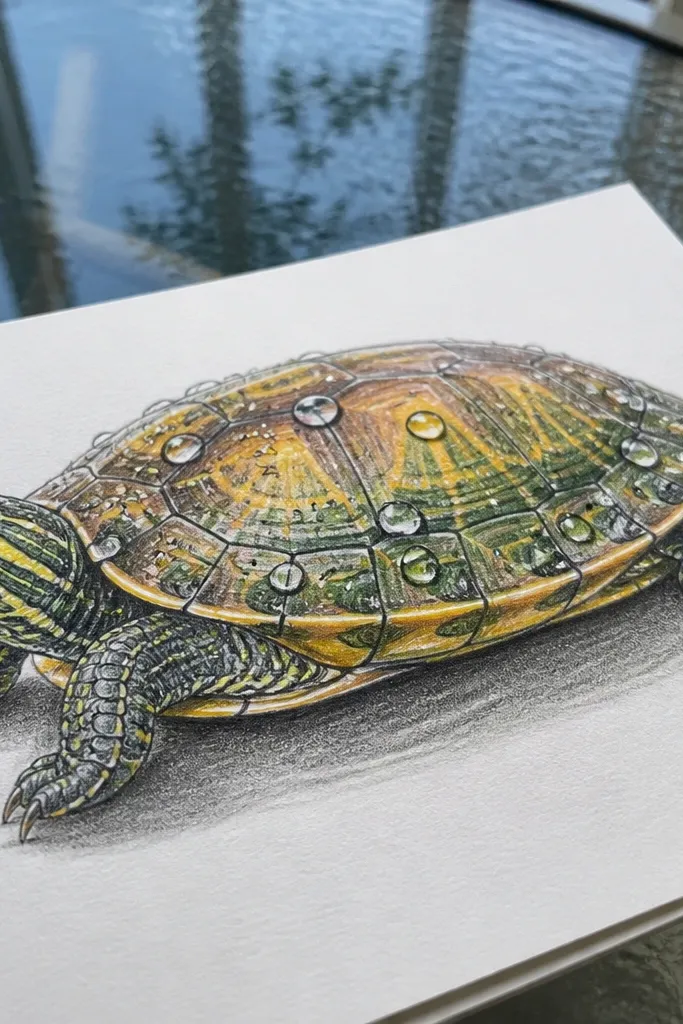
Water droplets create an “instant detail” effect, and they look great in photos because highlights pop. You don’t need realistic liquid — just consistent droplet shapes and a few bright highlight circles. This is a good beginner-friendly Turtle Drawing option because droplets are repetitive and easy to place. It also makes the shell texture feel alive without complex shading.
Sketch the shell oval and add the head oval and legs. Draw 8-12 droplets on the shell as small teardrops pointing upward. For each droplet, leave a tiny white highlight circle uncolored and shade around it with a mid-green tone. Add a darker shadow under droplets closest to the bottom rim of the shell. Outline the droplets lightly so they don’t disappear into the shell fill.
Pro tipKeep droplet highlights the same size; consistency makes the whole drawing look intentional.
AvoidAvoid filling every inch with droplets; 8-12 is enough to create texture.
8. Frog-Like Cute Turtle Face with Big Eye
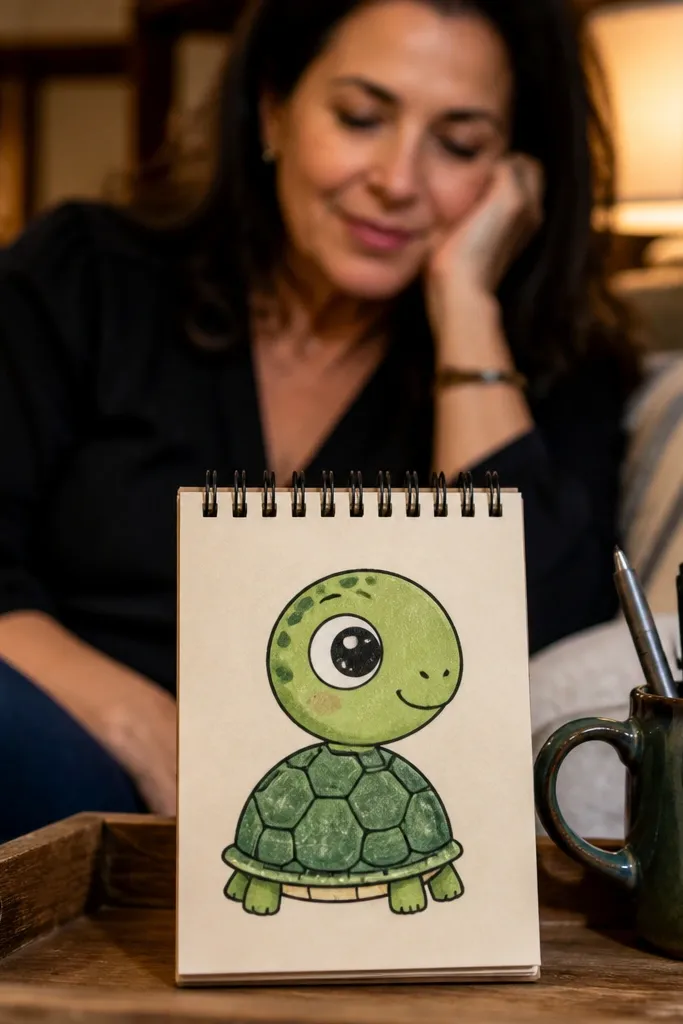
Big eyes are a beginner-friendly shortcut to “cute.” This version uses a simple face shape with a larger eye and a tiny mouth curve, so the turtle reads instantly. The shell can stay simple, and you still get a strong aesthetic because the face does the work. It’s ideal if your shells look uneven; the expression distracts in a good way.
Draw a shell oval and keep the shell pattern minimal: 3 curved lines across the shell. Add a head oval that overlaps the shell front with a larger eye — draw a bigger circle and a small pupil inside. Add a tiny curve for a smile and a small cheek dot. Sketch legs as rounded rectangles under the shell edge. Shade only under the head and along the shell rim so the face looks lifted.
Pro tipPlace the eye slightly above center of the head oval for a more alert look.
AvoidDon’t make the eye too low; it makes the turtle look sleepy or off-balance.
9. Shell as a Spinning Mandala Turtle
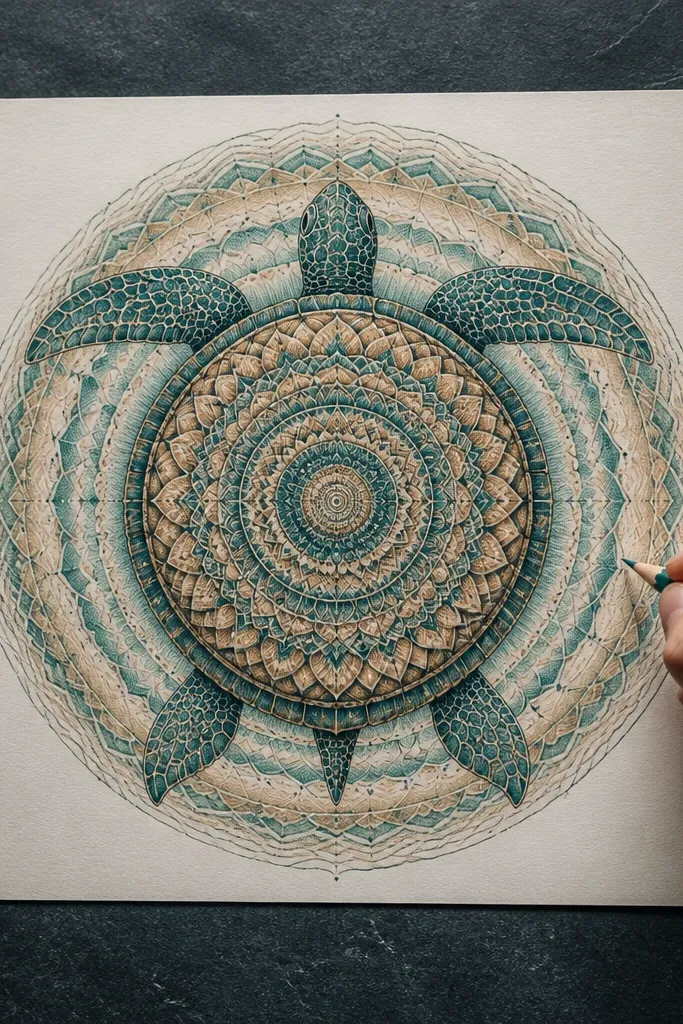
Mandala-style shells look complex but are beginner-friendly when you build them in rings. The shell becomes photogenic because the pattern draws the viewer’s eye to the center. You’ll get a clear “wow” effect using only curves and repeated shapes. This is a great option for colored pencil because you can layer two shades to make the rings pop.
Draw the shell oval and add a center point. Create 5-6 curved rings around the center point, keeping them evenly spaced. Add small leaf or teardrop shapes between rings, pointing outward. Sketch head and legs with simple rounded forms so they don’t compete with the shell pattern. Color the shell rings with two tones and leave one ring unshaded for contrast.
Use a light compass or a bottle cap as a guide for ring spacing if your circles drift.
Avoid tiny details everywhere; the ring structure is what makes it look clean.
10. Turtle Peeking from a Hollow Circle
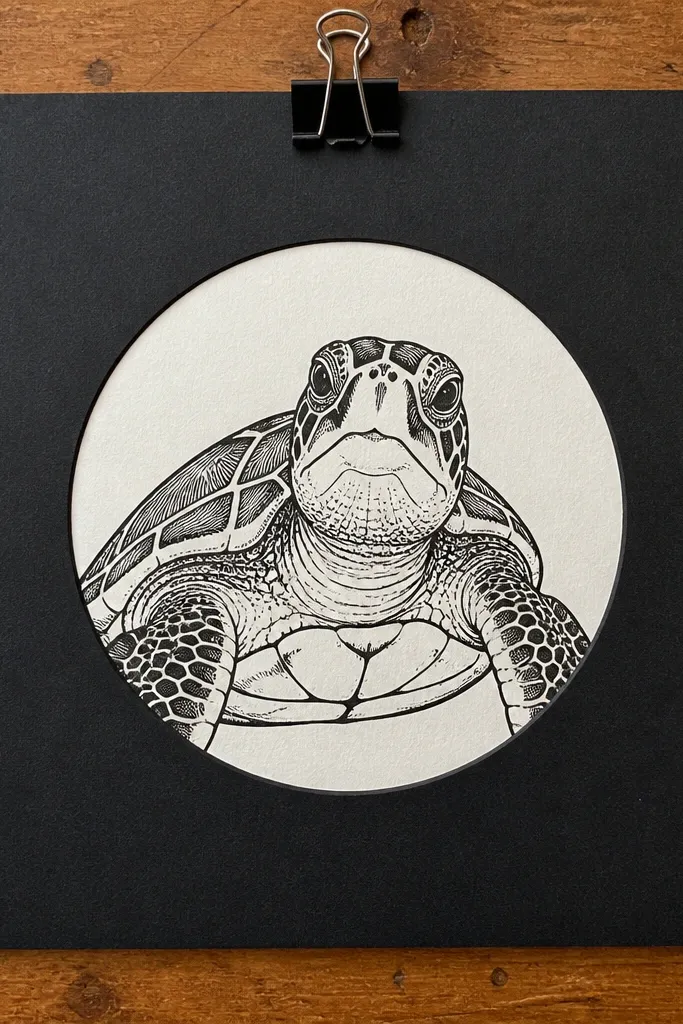
Frames make drawings look finished because they give the eye a boundary. The hollow circle also makes your composition easier — your turtle has to fit inside one shape. This looks great for prints and social sharing because it’s instantly graphic. Keep the turtle simple and let the frame do the aesthetic work.
Draw a big circle on the page, then erase a smaller inner circle to create a hollow ring. Place the turtle shell oval inside the ring so it touches the inner edge. Add the head oval peeking out from the top-right gap and two front legs visible. Outline the turtle with a darker line, then add a few shell cracks or dots for texture. Add a thin shadow under the turtle to show it sits inside the ring.
Pro tipLeave a small gap between the turtle outline and the ring so it looks layered.
AvoidDon’t fill the ring with extra pattern; keep it clean so the turtle reads first.
11. Two-Tone Shell Turtle with Hard Shadow Cut
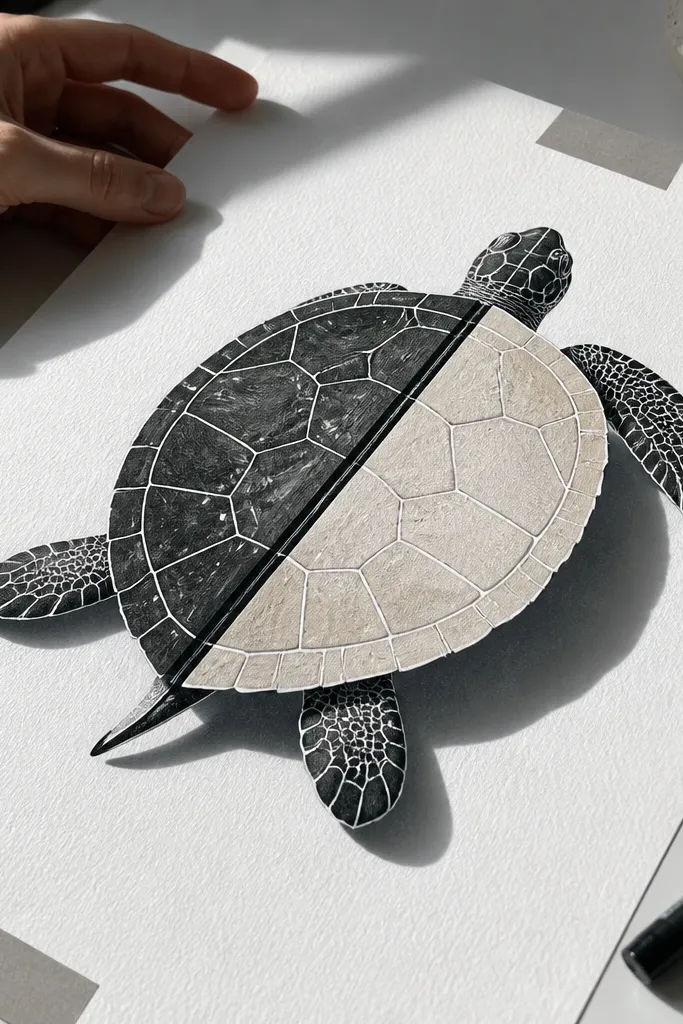
A hard shadow cut is the quickest way to make a turtle look dimensional. This style uses two shell tones and a bold dividing line, so it looks crisp even with minimal skill. It’s photogenic because the contrast is obvious and clean. This is a good project if you want a modern, graphic look rather than soft pencil shading.
Sketch the shell oval and draw a diagonal guideline from upper-left to lower-right across it. Shade the left side with a light green and the right side with a darker green marker or pencil. Add a hard edge line along the guideline so the split looks intentional. Draw head and legs with simple outlines and shade only the underside where the shell meets the body. Finish by outlining the shell rim and legs with a darker pen.
Use a pencil to plan the diagonal line lightly before you commit with marker.
Avoid blending between tones; the whole look depends on a clean separation.
12. Turtle Walking Away with Long Tail Curve
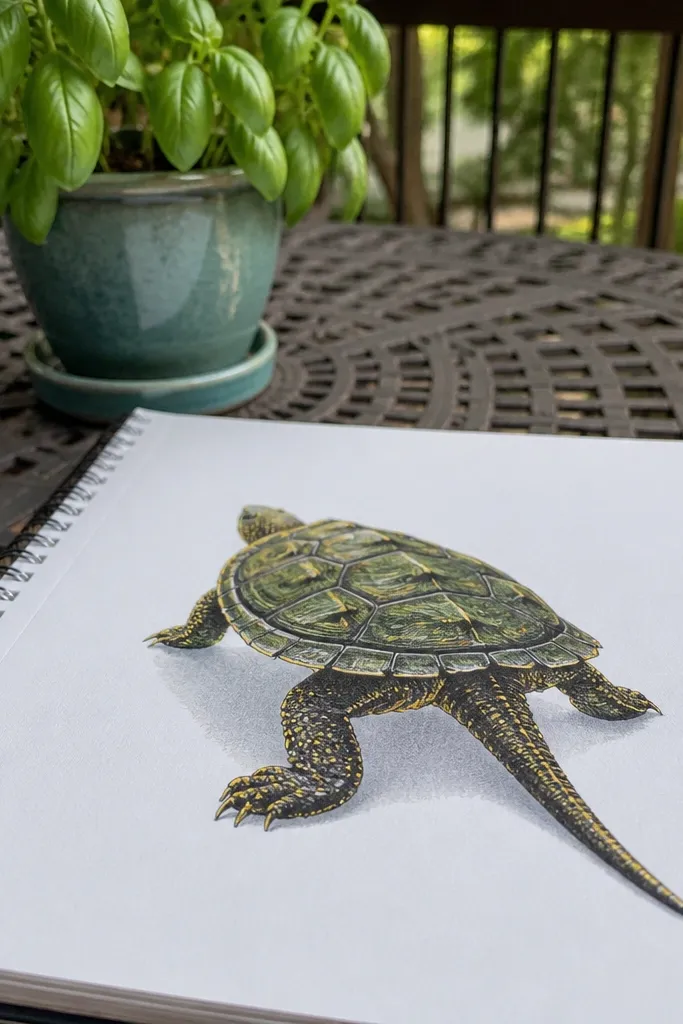
Movement reads well in drawings when the tail and legs point in the same direction. This turtle is angled so you see the shell from a slightly rear perspective, which makes it feel dynamic without complicated anatomy. The long tail curve adds personality and gives the drawing a clear “pose.” It’s perfect for marker because the direction lines stay bold.
Draw the shell oval tilted slightly, with the front higher than the back. Add the head oval near the front, facing away from you, and sketch the eye as a small dot. Draw legs as three rounded segments that angle backward. Extend a long tail curve from the back of the shell, ending in a small hook. Add shell pattern as 3-4 simple stripes that follow the tilt direction.
Pro tipMake the back legs shorter than the front legs; it sells the walking pose.
AvoidDon’t rotate the shell too far; keep it readable with a clear front edge.
13. Turtle in a Bubble Outline with Sparkles
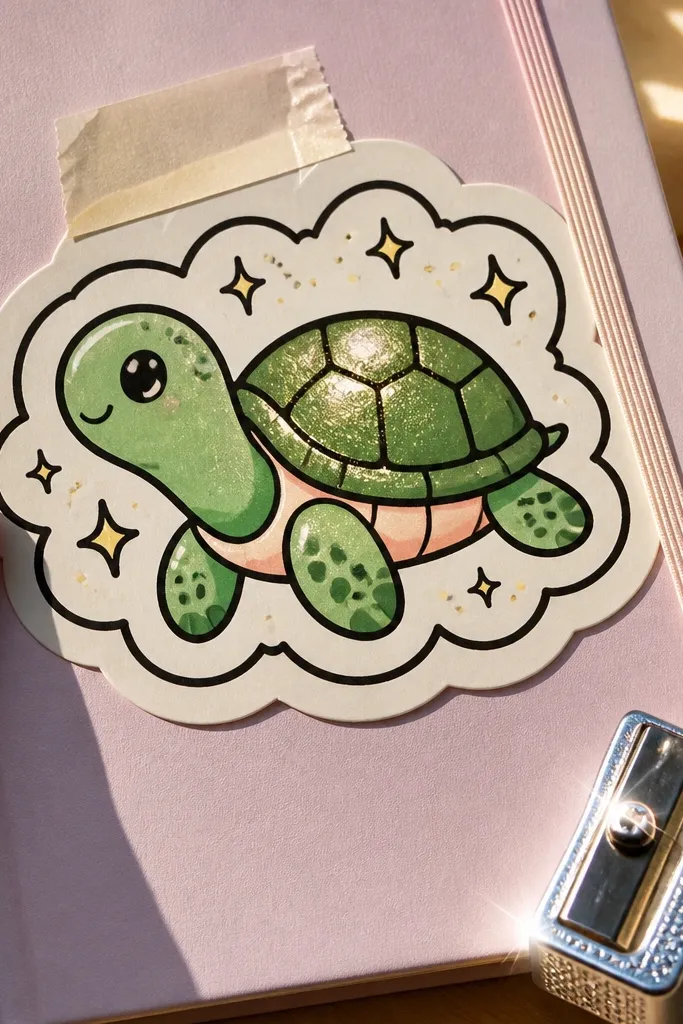
Bubble outlines and sparkles create a cute, playful aesthetic with almost no shading. This is a beginner-friendly Turtle Drawing that looks like a sticker or kids' book illustration. The bubble frame gives you structure, and the sparkles make the turtle feel bright in a photo. Use it when you want a finished look even if your shading is minimal.
Draw a bubble outline circle around where the turtle will sit. Sketch the turtle shell oval in the center and add head and four legs touching the bubble space. Draw sparkles around the turtle: 6-10 small star shapes, but keep them smaller than the turtle’s head. Outline everything with a darker pen, then color the shell with one green tone and add a lighter shade on the head and legs. Leave the sparkles white or color them yellow with a tiny dot center.
Pro tipKeep sparkles near the top and sides; it balances the composition.
AvoidAvoid coloring every sparkle; too much color flattens the turtle.
14. Shell Cracks Turtle with Pencil Hatching
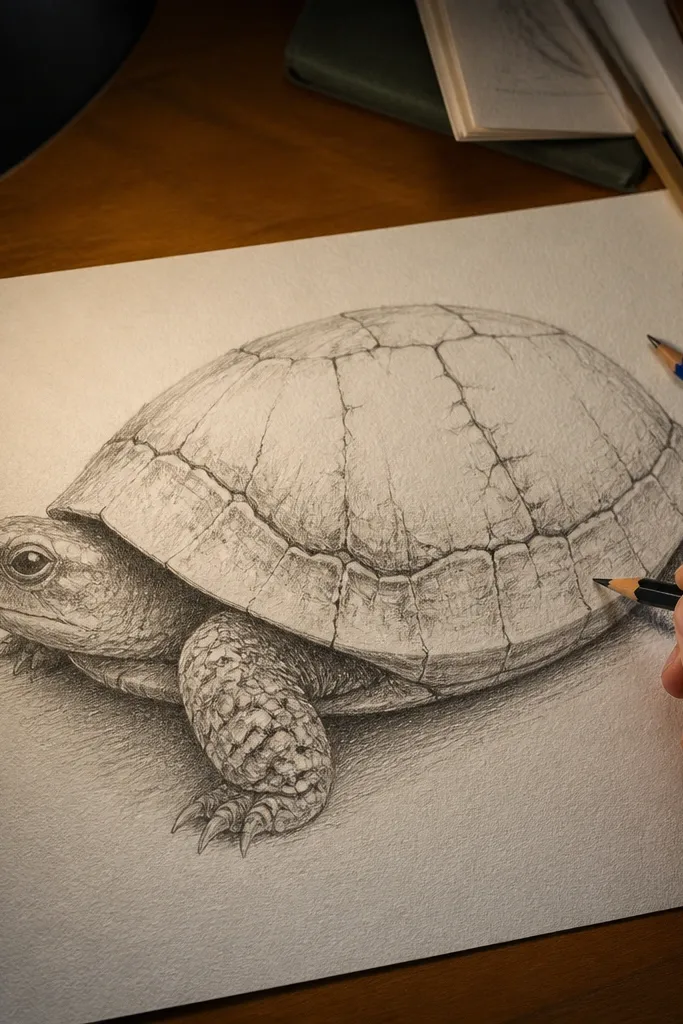
Cracks add texture that looks realistic without needing detailed shell plates. Pencil hatching in just two zones — under the rim and around cracks — gives depth that still looks clean. This is ideal for people who like pencil drawing but hate shading for hours. The result is a turtle that looks “finished” because the texture is specific, not random.
Draw the shell oval and add a few thick crack lines across it, branching like a web. Sketch head and legs with rounded shapes, then place shadow under the chin with a soft pencil. Hatch lightly along the bottom rim of the shell and in one side area next to the cracks. Keep hatching lines short and follow the shell curve. Outline with a darker pencil or fineliner after you shade.
Pro tipUse a kneaded eraser to lift highlights along the crack edges for extra contrast.
AvoidDon’t hatch the entire shell evenly; texture only works when it’s concentrated.
15. Turtle with a Simple Geometric Shell (Triangles + Dots)
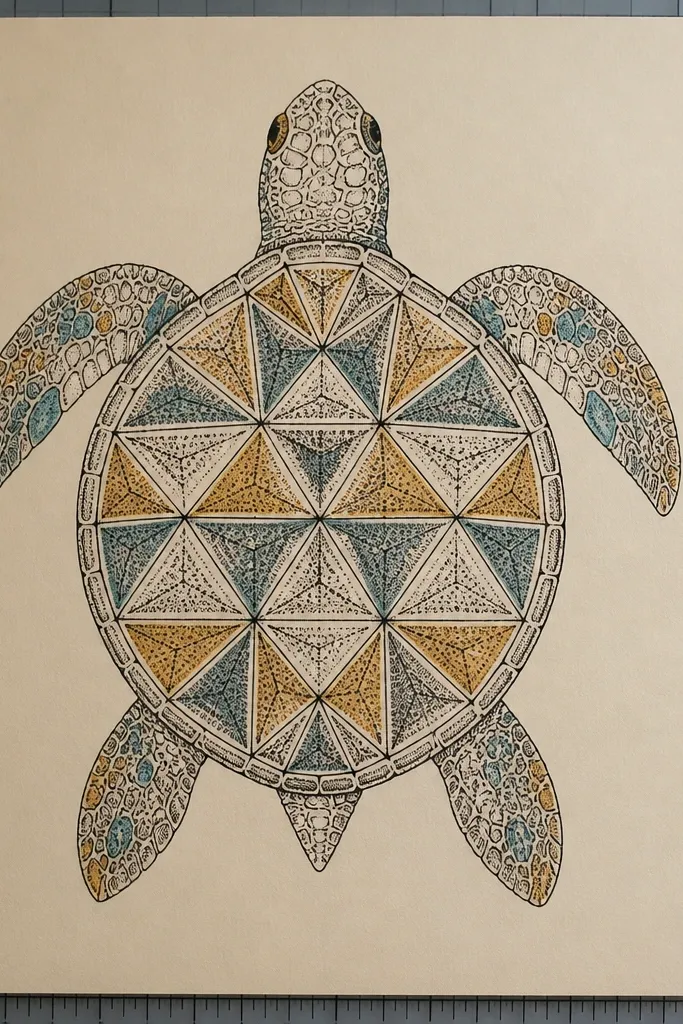
Geometric shells look modern and photogenic, and they’re friendly for beginners because triangles are predictable. The dots inside each section give you texture without the mess of cross-hatching. This style also solves the problem of “my shell looks blank” because the pattern fills the space cleanly. It works great with fineliner and colored pencil, especially if you use two greens and one dark accent.
Draw a shell oval and add a center vertical line. Divide the shell into 6-8 triangle sections using curved lines that follow the shell shape. Place one dot cluster (3 dots) inside each triangle, keeping clusters consistent. Add head oval and legs, then color alternate triangles in light and dark green. Shade under the shell rim lightly and outline the dark triangles with a darker pen.
Pro tipKeep triangle sizes similar by counting them as you draw — 6-8 total is a sweet spot.
AvoidAvoid triangles that overlap messy lines; clean division lines make the whole style look intentional.
16. Turtle with Polka-Dot Shell and Soft Shadow Under Legs
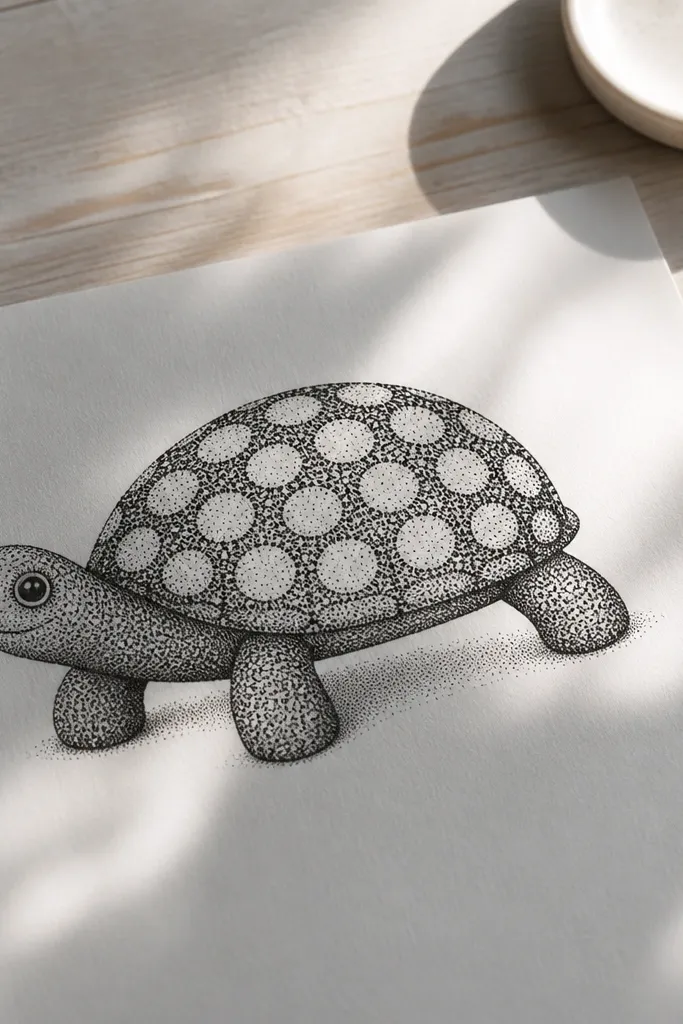
Polka dots are easy, but they look best when they’re arranged with spacing rules. This drawing uses a dot grid that curves with the shell, so it feels shaped rather than scattered. The soft shadow under the legs adds depth and makes the turtle look like it sits on a surface. It’s a beginner-friendly Turtle Drawing that reads well in both pencil and marker color.
Sketch the shell oval and draw a faint guideline curve across it. Place dots in rows that follow the guideline — 4 rows total works well. Add head oval and legs, then draw a ground line under the feet. Use a light pencil or pale gray marker to shade under the legs and under the shell rim, keeping it soft at the edges. Outline the final turtle lines with fineliner.
Use a darker tone for every other dot row to create a subtle pattern rhythm.
Don’t let dots touch each other; tiny gaps make the texture look crisp.
17. Turtle with a Bow Tie Shell Accent
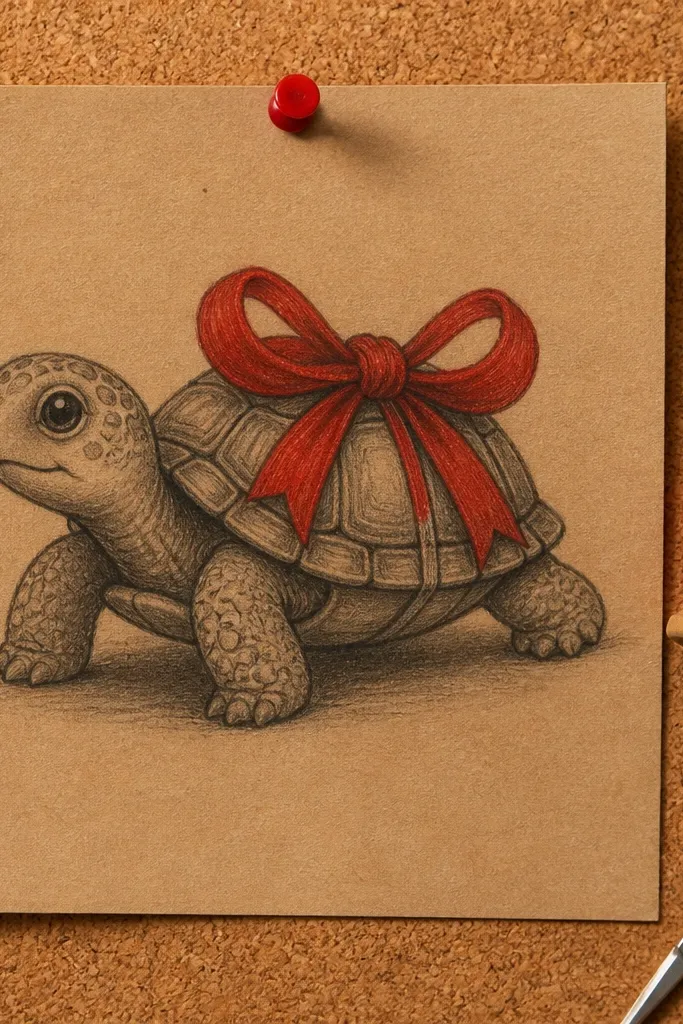
A bow tie accent turns a simple turtle into something playful and photo-ready. It gives you a focal point so you don’t have to overwork the whole shell. The bow shape is also beginner-friendly because it’s just two loops and a knot. Add a little shadow under the bow and you instantly get a “layered” look.
Draw the shell oval and keep shell pattern minimal: 3 curved lines or a few dots. Add the head oval and legs in standard positions. On the center of the shell, draw a bow tie: two symmetrical loops and a small knot in the middle. Shade the underside of the bow loops slightly darker. Color the shell with one green tone and add a darker rim shadow.
Pro tipMake the bow loops slightly taller than wide; it reads better on small drawings.
AvoidDon’t put the bow too low; it competes with the legs and looks crowded.
18. Turtle with a Rainbow Shell Outline
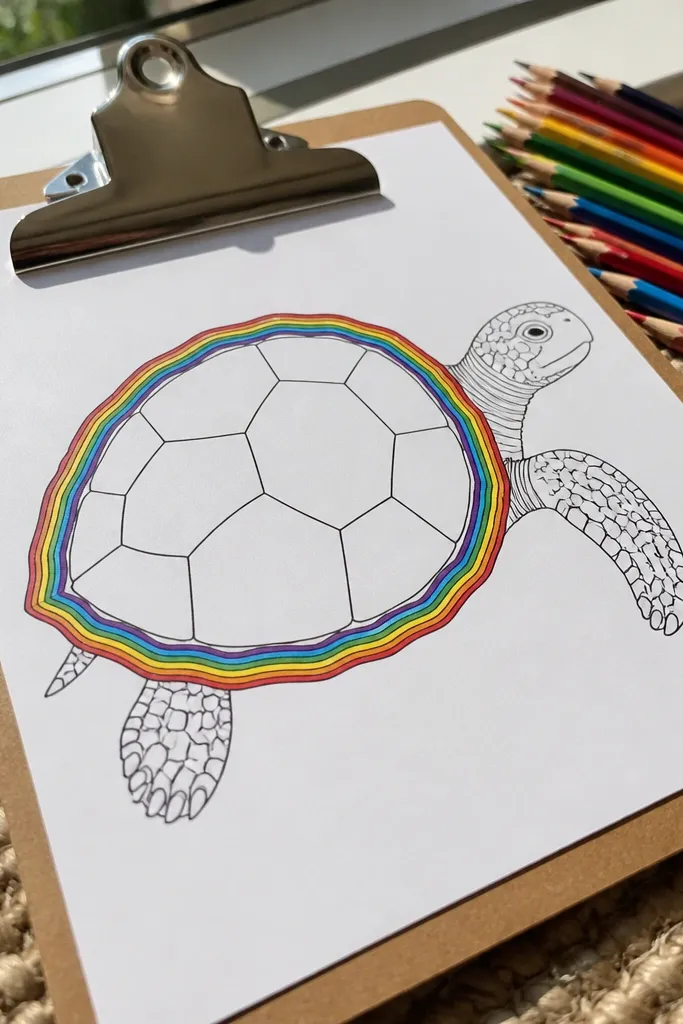
Rainbow outlines look bold and clean, even when the rest of the turtle is simple. This is a beginner-friendly Turtle Drawing that focuses on one high-impact move: multi-color rim lines. The colored outline frames the turtle and makes it pop in photos. Keep the shell fill plain so you don’t get overwhelmed with pattern work.
Sketch the turtle in pencil and outline it lightly. Color the shell rim using 5 thin bands of different colors following the shell curve, leaving the center uncolored or lightly green. Use green for the shell base and a darker green for the underside shadow. Outline the head and legs in black so the rainbow stays the hero. Add one tiny highlight dot on the shell for a clean finish.
Use colored pencil for the rim bands so you can control thickness and avoid marker bleeding.
Don’t add rainbow to the legs or head; the look gets busy fast.
19. Turtle with a Kawaii Shell Smile Curve
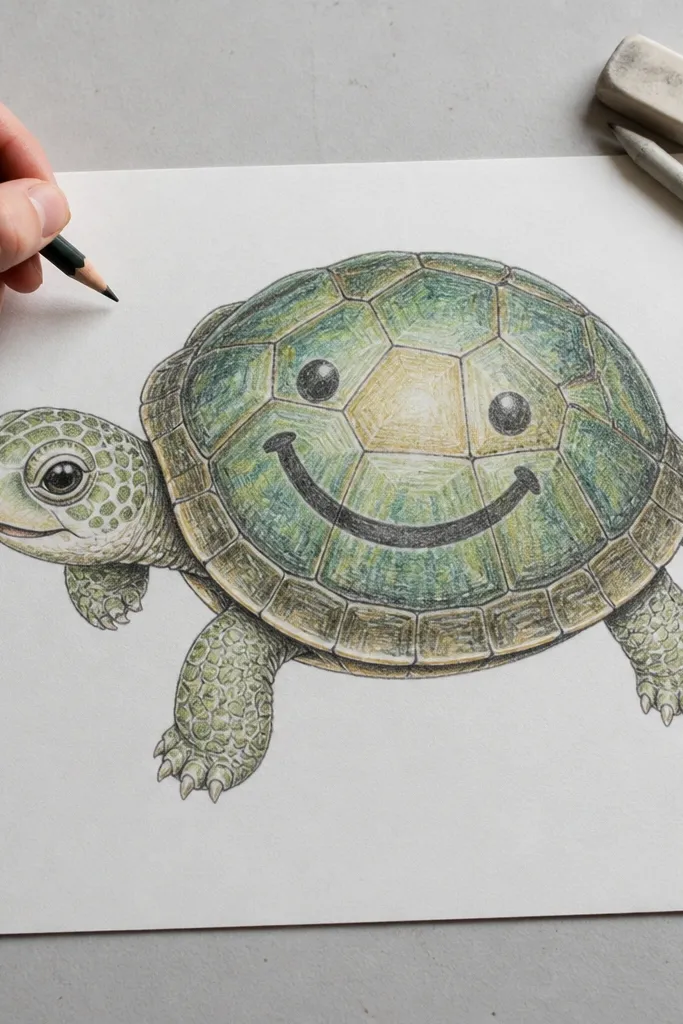
This one uses a simple idea: the shell pattern forms a smile curve. That turns the turtle into a character without needing complex face details. It’s photogenic because the shell pattern is centered and instantly recognizable. You get a friendly look with almost no shading work. Great for pencil sketches that you want to color lightly afterward.
Draw the shell oval and add a centered curved line that bends like a smile. Place 4 short shell plates on each side of the smile curve to reinforce the shape. Sketch head oval and legs, then add a small eye dot and a tiny mouth line. Color the shell base light green and shade just the shell rim with a darker green. Leave the smile curve uncolored or lightly colored for contrast.
Pro tipKeep the smile curve thick enough to read at a distance — aim for 3-5 mm width in pencil.
AvoidDon’t make the smile curve too long; it should stay inside the shell oval.
20. Turtle on a Checkerboard Ground
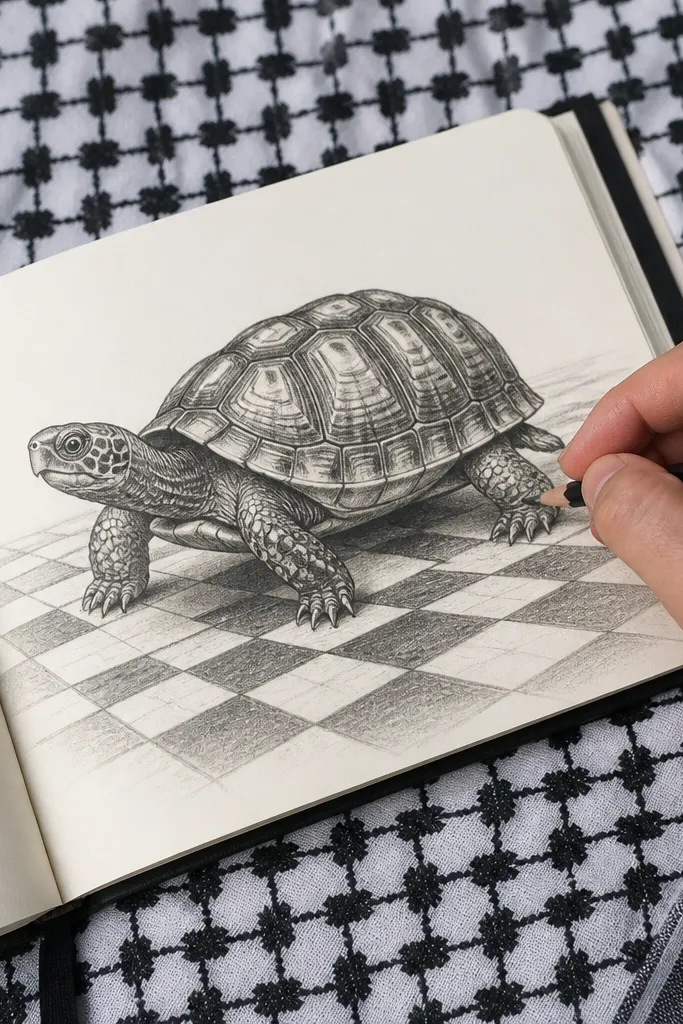
Checkerboard ground instantly gives your turtle perspective and makes the image look “designed.” It also solves the flat look problem because you have a clear surface. The turtle stays beginner-friendly since the shell pattern can be simple while the background does the visual work. This is one of the most photogenic options because the squares create strong contrast.
Draw a checkerboard ground first using two rows and three columns of squares, then extend the grid lines behind the turtle. Place the turtle shell oval above the front row of squares. Add head and legs, then draw a shadow under the shell rim that follows the grid direction. Color the ground with two muted tones (sage and gray) and keep the turtle green. Outline the turtle edges with fineliner to separate it from the grid.
Make the shadow slightly offset to one side so the light direction is obvious.
Avoid a huge checkerboard; a small grid keeps the turtle as the focus.
21. Turtle with Seashell Pattern Border
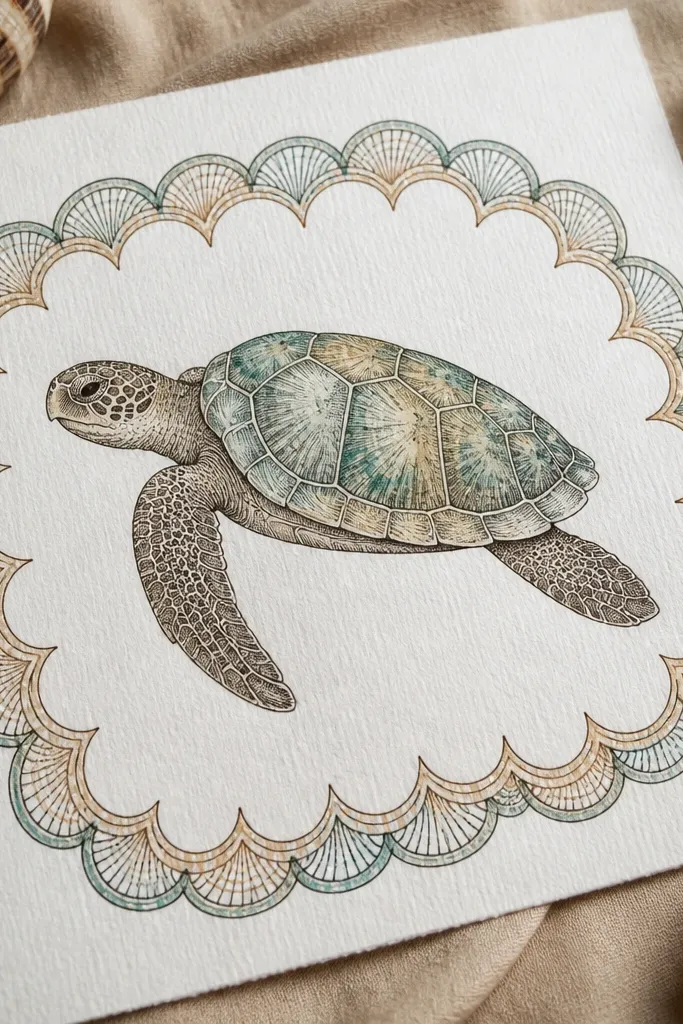
A border pattern looks decorative without turning into a full shell makeover. This turtle uses a simple seashell ripple border around the shell edge, then keeps the center calm. It’s a strong aesthetic choice because it frames the turtle and makes the shell look like it has a style. Perfect for marker drawings where you want crisp shapes and minimal shading.
Draw the shell oval and then draw a second oval inside it to create a border area. In the border area, add 10-14 small ripple arcs that curve along the shell edge. Keep the center plain or add 3-4 dots. Sketch head and legs, then outline everything with black. Color the border darker green and the center lighter green, then add a thin shadow under the shell rim.
Pro tipKeep ripple arcs spaced evenly; uneven spacing makes the border look accidental.
AvoidDon’t fill the entire shell with ripples; border-only looks cleaner.
22. Turtle with a Tiny Helmet Shell Cap
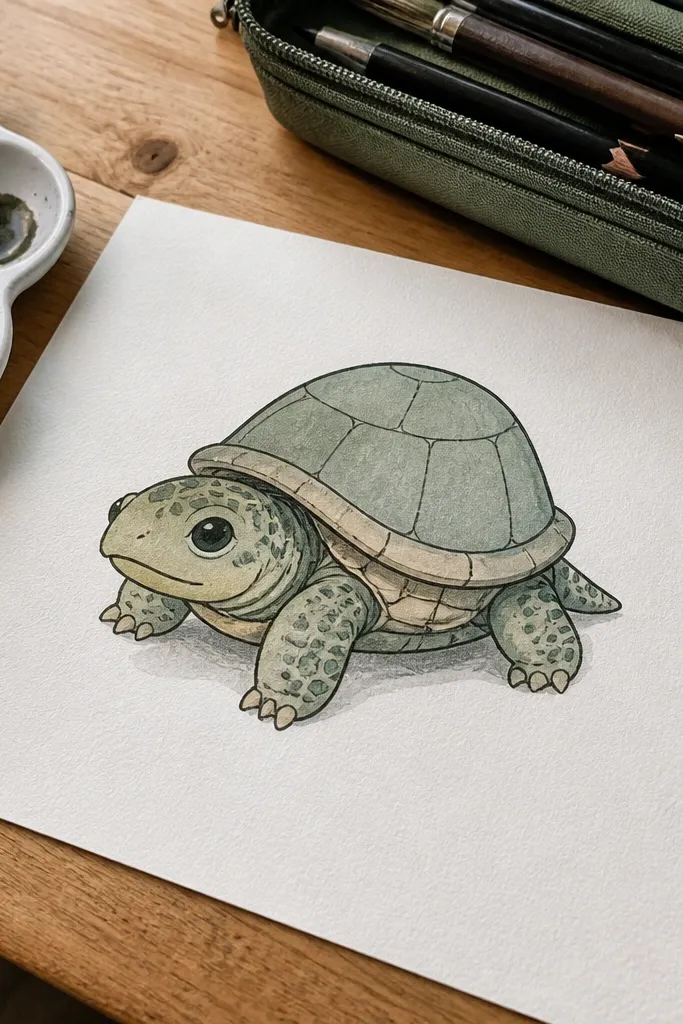
This is a fun stylized turtle that reads clearly because the shell cap gives a clear top shape. It also adds dimension: the cap creates a separate edge line you can shade. The look is photogenic because it has a strong silhouette and a clear “character design” element. It works well in pencil and marker with minimal extra pattern.
Draw the turtle shell oval and add a smaller curved cap on top: like a dome shape sitting on the shell. Sketch head oval and legs underneath the shell edge. Outline the cap separately, then shade under the cap edge to show it sits on top. Add a simple shell pattern of 3 curved lines around the cap base. Color the cap slightly darker than the shell and outline with fineliner for crisp separation.
Pro tipShade only the underside of the cap, not the entire cap surface, for a cleaner 3D effect.
AvoidDon’t make the cap too large; it should cover only the top third of the shell.
23. Turtle with a Gradient-Style Shell Using Three Pencil Pressures
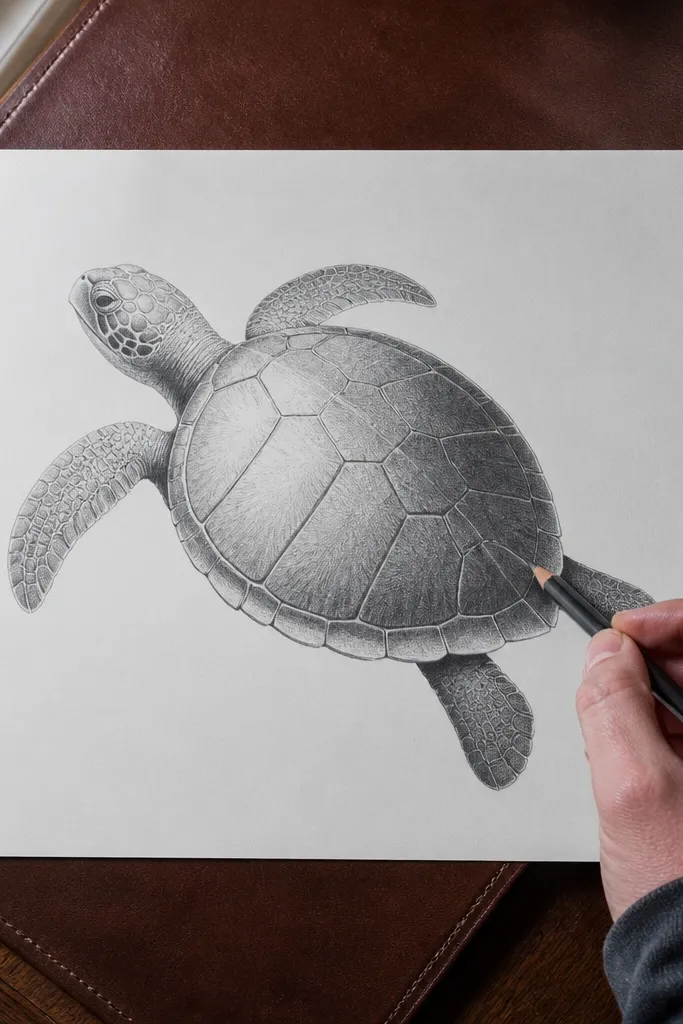
Three-pressure gradient shading makes a turtle look smooth and modern without blending tools. You get depth because the shell has a light side, mid-tone, and shadow side. This is a beginner-friendly Turtle Drawing option for pencil users who want a nicer finish without trying to copy realistic scales. It also looks great under bright light because the gradient catches the page texture.
Sketch the shell oval, then lightly mark a light-side area on the upper-left. Shade the shadow side first with a soft pencil (2B or 4B) using short strokes following the shell curve. Next, add a mid-tone layer across the middle area using HB or 2B. Finally, add a light layer on the highlight side so it transitions. Add a simple head and legs with minimal shading and outline all outer edges.
Pro tipKeep strokes curved along the shell — straight strokes make the gradient look striped.
AvoidDon’t press hard on the first layer; you need room for the mid-tone to sit between.
24. Turtle with a Simple Branch Frame and Leafy Background
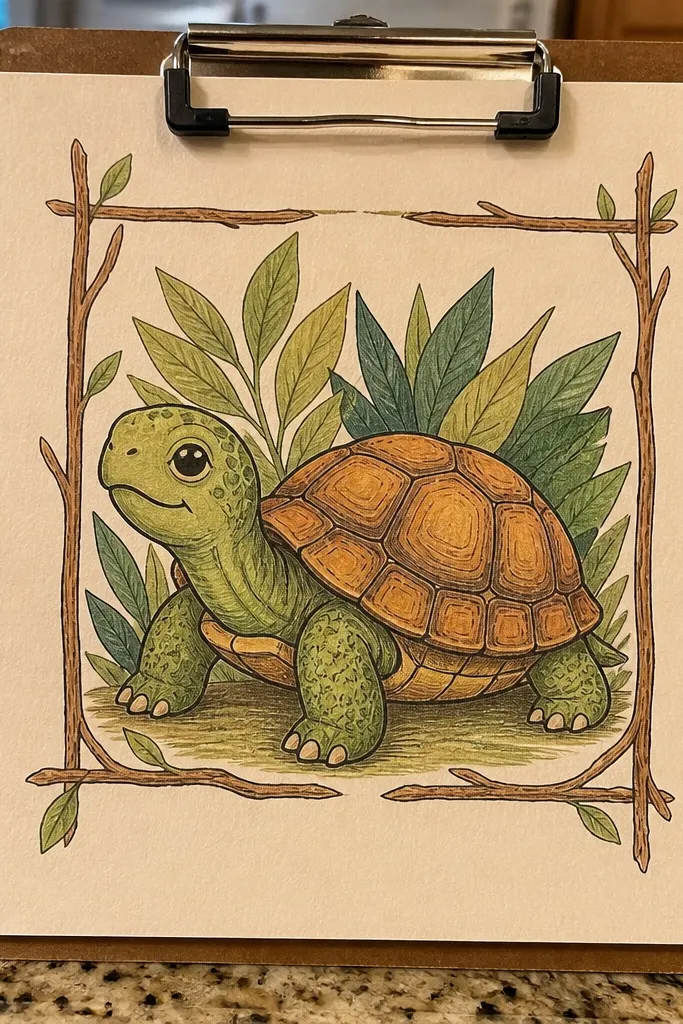
A branch frame makes your turtle feel like part of a world instead of floating on white paper. The frame also guides composition, so your turtle placement looks intentional even if your legs aren’t perfect. This idea is photogenic because leaf shapes create layered silhouettes behind the shell. Best for colored pencil or marker because you can keep the background soft and the turtle crisp.
Draw a simple branch arc behind where the shell will sit, then add 6-8 leaf shapes along it. Place the turtle shell oval in front of the branch so the leaves peek around the sides. Add head and legs with clear outlines and keep the shell pattern minimal: 3 dots and 2 curved lines. Color the background leaves with a lighter green and lightly shade them so they don’t overpower the turtle. Add a stronger shadow under the shell rim to separate the turtle from the background.
Use lighter pressure on the background, then outline the turtle darker for instant separation.
Avoid adding detailed veins to every leaf; a few simple shapes look better.
25. Turtle with a Doodle Shell Border of Little Circles
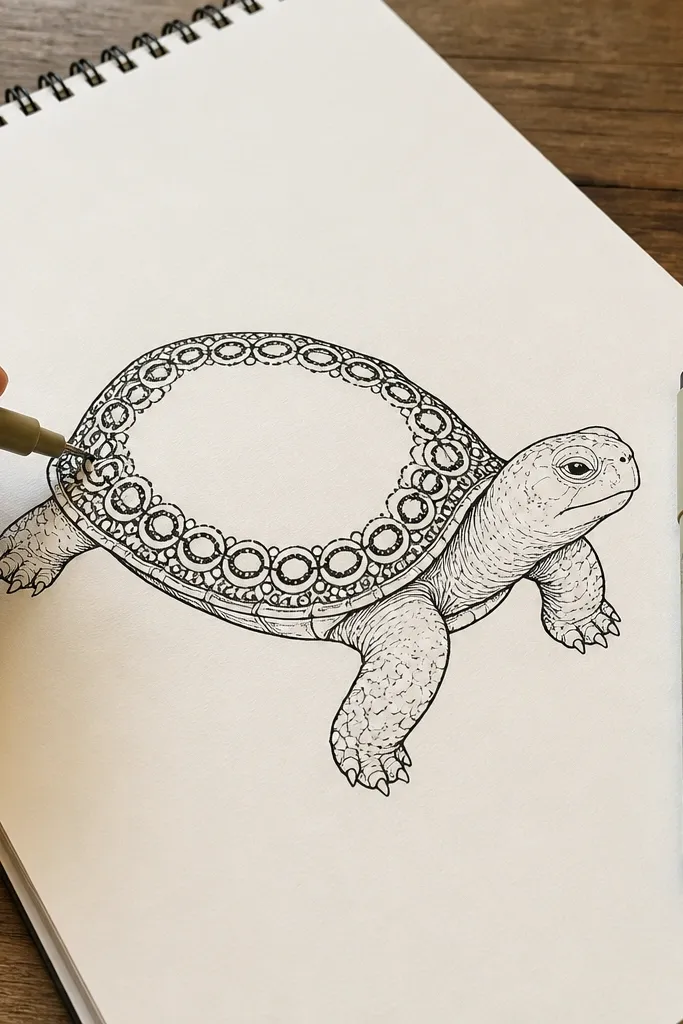
This shell border style is beginner-friendly because it uses one repeat: small circles. The border makes the shell rim look decorative, and the center can stay simple so you don’t get stuck. It’s photogenic because the border catches the eye and creates a clean edge. Great for fineliner drawings where you want texture without heavy shading.
Draw the shell oval and add a small inner oval to define the border area. Fill the border area with small circles, each touching the next lightly. Keep the center plain with one faint guideline and a few dots. Add head oval and legs, then outline everything with a darker pen. Color the shell lightly green and leave the circle border slightly darker or outlined for contrast.
Pro tipSize your circles to match the distance between them; equal spacing makes the border look crisp.
AvoidDon’t leave random gaps — the border should feel continuous.