
1. Buttercream Rosette Cupcake
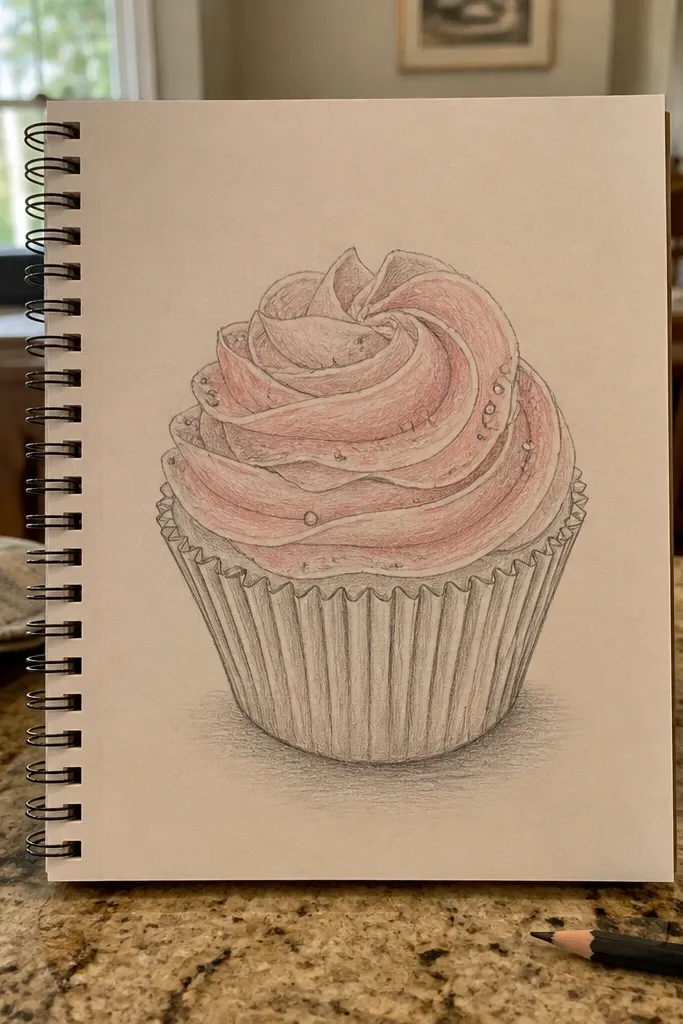
Draw a cupcake wrapper as a simple trapezoid with soft folds, then put a rosette swirl on top. The look works because the rosette uses repeated curves, which beginners can control even when the hand shakes. Add 6 to 10 tiny dots around the swirl for instant charm. Color the frosting with two values — one medium tone and one lighter highlight — so it reads glossy in a photo.
Step 1: Sketch the wrapper outline with a top ellipse and a slightly wider bottom, then lightly mark the frosting center. Step 2: Draw the rosette by curling a small “C” shape spiral outward, ending with a tight loop at the rim. Step 3: Ink over the wrapper and frosting edges, then shade with short curved hatching that follows the rosette spiral. Step 4: Add tiny sprinkle dots, then color the frosting with a base color plus a lighter side highlight.
Pro tipKeep your highlight gap on the same side for every cupcake so your whole gallery looks consistent.
AvoidDon’t over-render each rosette line — 8 to 12 curls is enough.
2. Two-Tier Cake with Straight Buttercream Sides
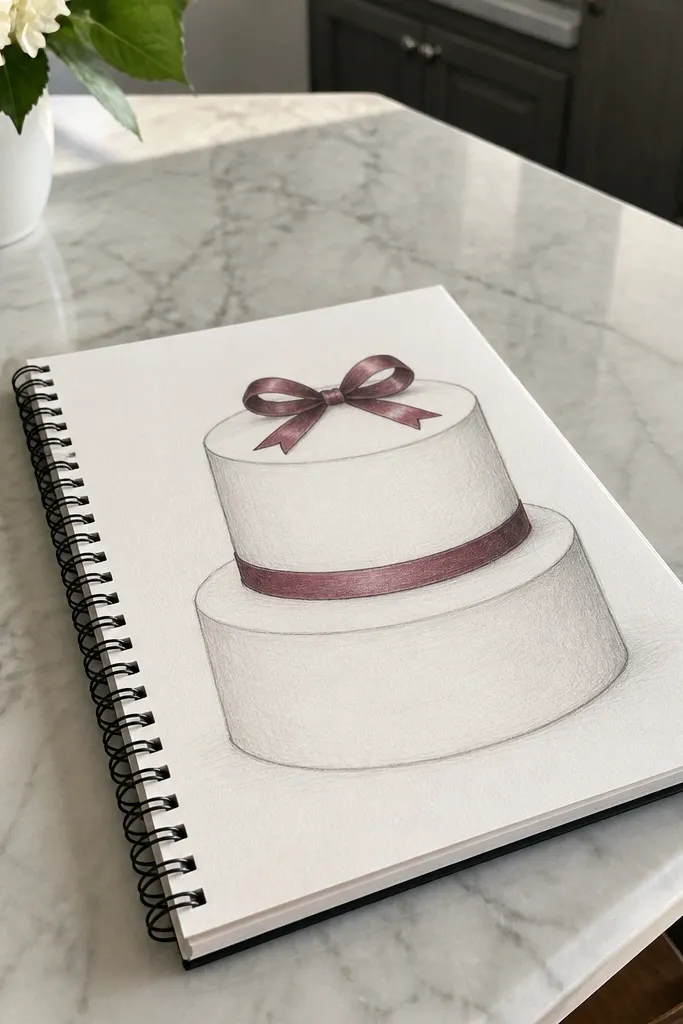
This looks “real” because it’s all about clean geometry: stacked ellipses and straight frosting bands. Beginners struggle when they freehand the sides; straight sides fix that. Add one ribbon band across the middle and a small bow shape on top. The contrast between smooth buttercream and a crisp ribbon makes the drawing pop.
Step 1: Draw two stacked ellipses for the tiers, with the top ellipse centered over the bottom. Step 2: Connect each tier with straight side lines, then add a frosting rim line at the top and bottom edges. Step 3: Ink the outlines, then draw a ribbon band as a rectangle wrapped around the cake using two slightly curved edges. Step 4: Shade the frosting with light curved hatching near the rim and darker hatching near the base.
Pro tipUse a ruler for the ribbon band edges, then curve them slightly by hand to avoid a stiff look.
AvoidDon’t make the tiers the same width — the bottom should be visibly wider.
3. Chocolate Ganache Drip Cake
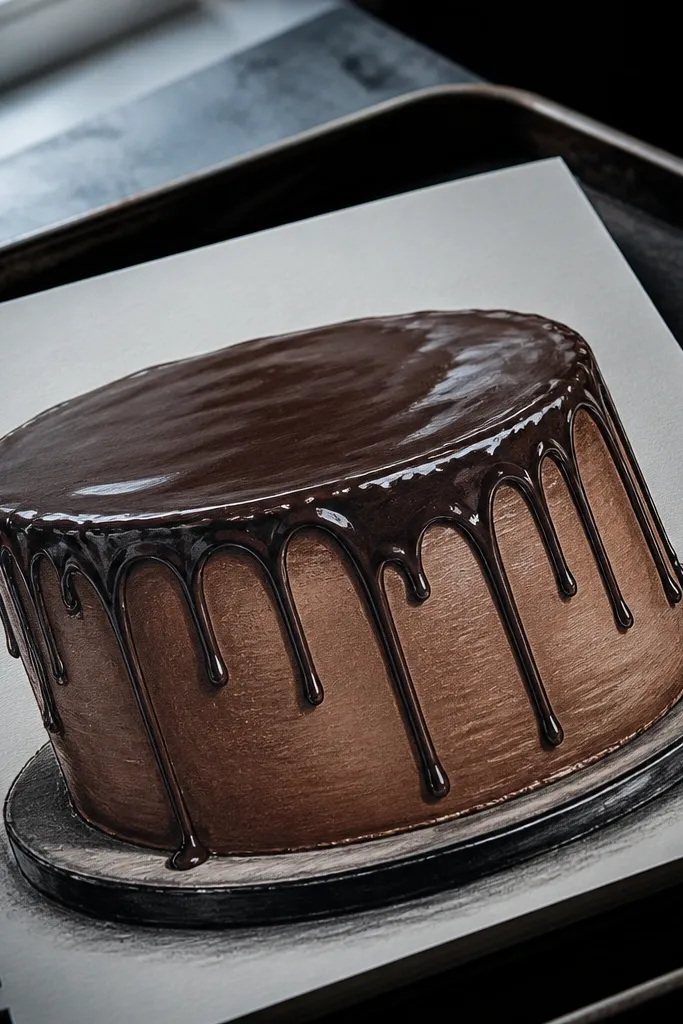
Ganache drips are the easiest way to make a beginner cake look dramatic. The trick is controlling drip shapes: some short, some medium, and a couple that run longer so it looks natural. Leave a thin highlight line on the ganache so it reads shiny. This idea is photogenic because the dark drip contrast frames the lighter frosting base.
Step 1: Sketch a round cake base with a top and bottom ellipse, then add a frosting rim line around the top. Step 2: Draw drip shapes as teardrops hanging from the rim — keep 6 to 9 drips total. Step 3: Ink the cake outline, then ink the drip edges thicker than the frosting lines. Step 4: Shade the ganache with smooth gradient shading, leaving a thin white highlight streak on one side of each drip.
Pro tipPlan drip lengths with three bands: short, medium, and long so the top doesn’t look uniform.
AvoidDon’t fill every drip to the same height — that flattens the effect.
4. Single Slice Cake with Fork Marks
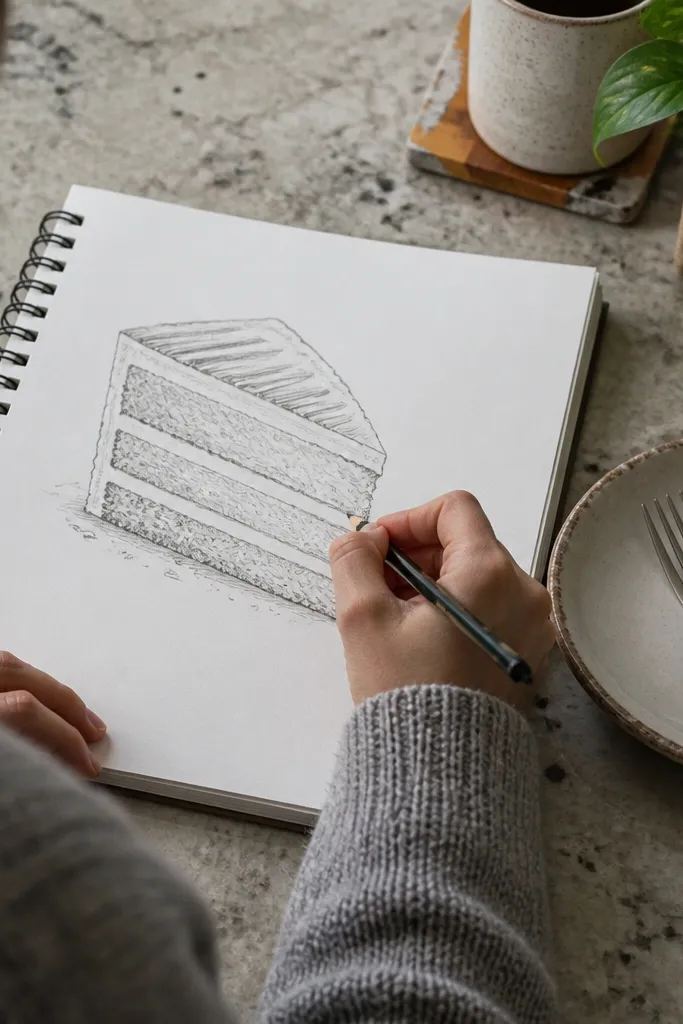
A slice drawing is easier than a full cake because you only need one curved edge and clear layers. Fork marks make it look like cake, not just a shape. Add a few crumbs at the bottom edge and a clean highlight on the frosting. This is beginner-friendly because layers are simple rectangles and curves, not complex 3D.
Step 1: Draw a wedge slice with a curved outer edge and a straight cut edge, then mark 2 to 3 frosting or cake layers with horizontal lines. Step 2: Add fork marks by drawing short parallel lines in the frosting surface and a few on the cut side. Step 3: Ink the outer shape and layer lines, then shade the slice with light cross-hatching in the cut side and curved hatching on the frosting. Step 4: Add a tiny crumb cluster at the bottom corner and leave small highlight gaps.
Pro tipMake the frosting layer slightly thicker than the cake layers so it reads as frosting in photos.
AvoidDon’t shade the whole slice evenly — the cut side should be darker.
5. Strawberry Shortcake with Tiny Berry Tops
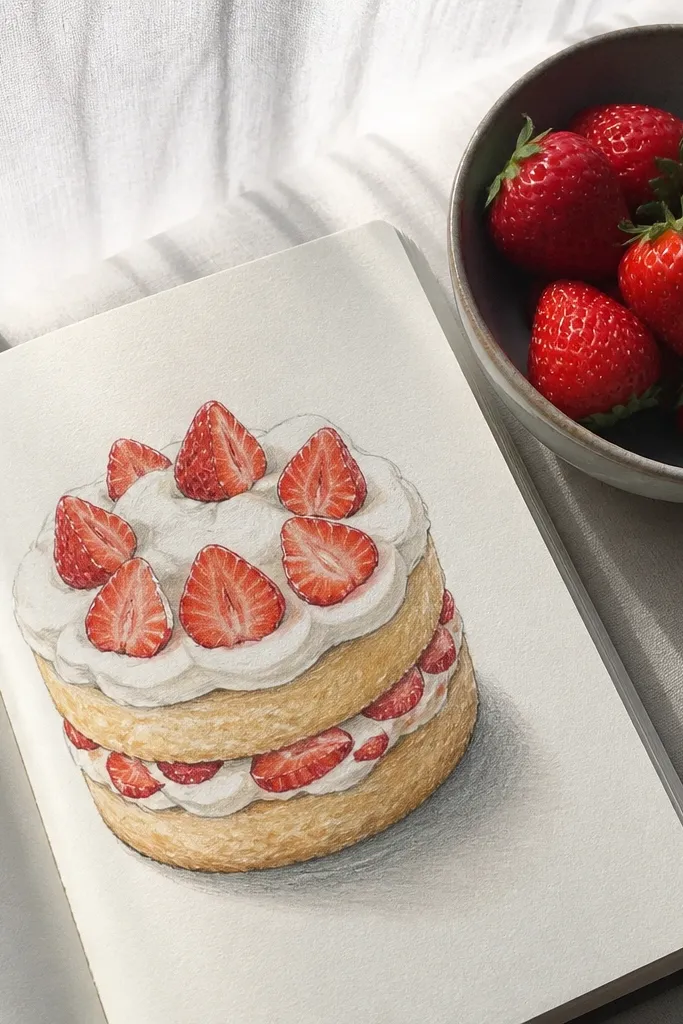
This looks cute and realistic because strawberry slices give you natural texture without needing complicated detail. Use 6 to 8 berry slices with visible seeds as small dots. The contrast of red berries against pale cream makes it photogenic even with simple coloring. It’s also a great warm-up for beginners learning how to shade curved surfaces.
Step 1: Draw a round shortcake with two layer bands and a soft cream top ellipse. Step 2: Sketch berry slices as overlapping curved ovals, then add tiny seed dots near the center. Step 3: Ink the berry outlines and the layer separation line. Step 4: Shade the cream with light curved hatching and shade berries with solid red plus a darker red edge.
Pro tipKeep seed dots spaced — a tight cluster looks messy fast.
AvoidDon’t draw full strawberries with stems — slices are easier and cleaner.
6. Minimal White Cake with Gold Dot Border
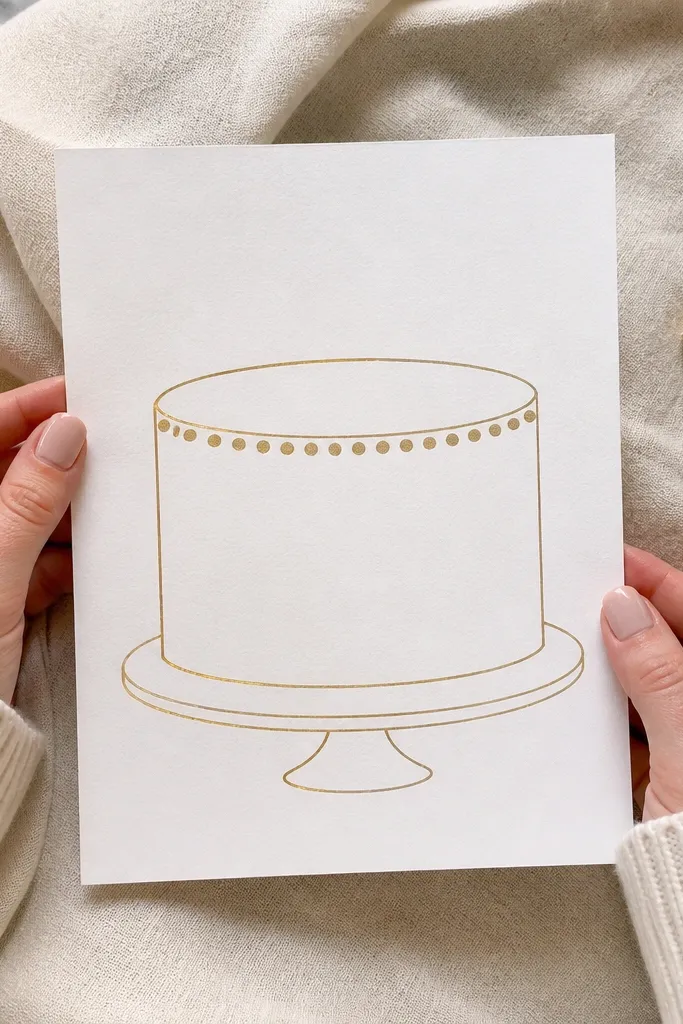
Minimal doesn’t mean boring. A clean white cake with a gold dot border looks expensive because the composition is controlled. You only need a simple side silhouette, one top rim, and a repeating dot line. In photos, high contrast between white frosting and darker dots makes it easy to read.
Step 1: Sketch a single round cake with a top ellipse, a bottom ellipse, and a slightly curved side line. Step 2: Add a thin frosting rim around the top and a second rim around the base. Step 3: Place a dot border around the side by drawing evenly spaced small circles along a curved guide line. Step 4: Ink the outlines, then shade the frosting with very light gray curved hatching, leaving most of it white.
Use a circle template or the pen tip as a stencil for consistent dot size.
Don’t add extra decorations — one border is enough for this look.
7. Rainbow Drip Cake Sideways Stripes
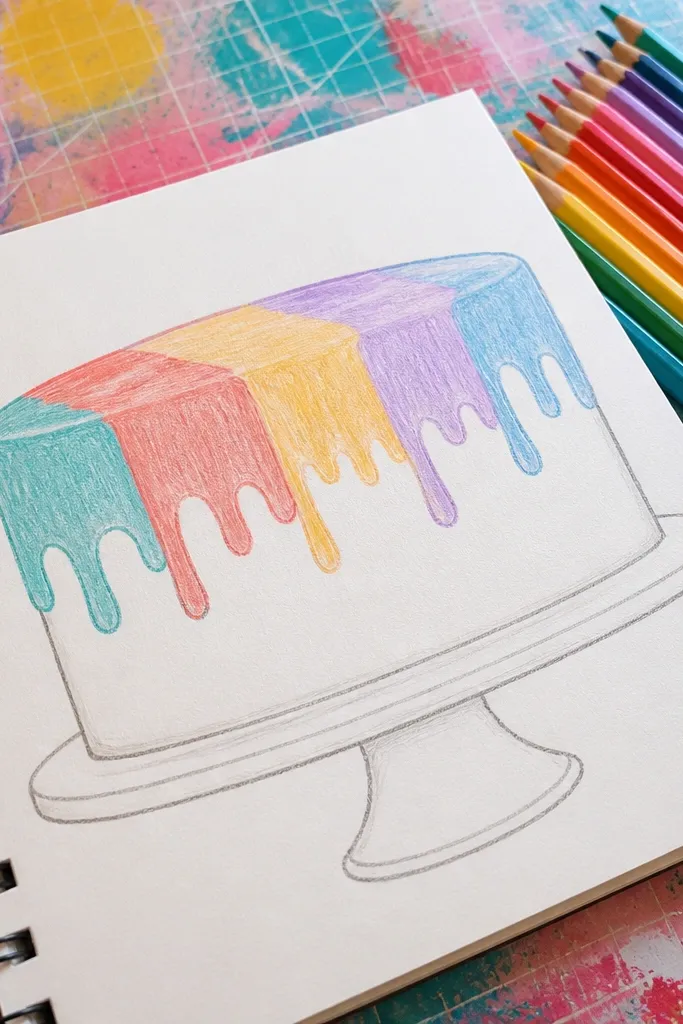
This one is photogenic because it has big color blocks. The drips are still beginner-friendly, but each drip has a different color so the drawing reads instantly. Keep the cake shape simple and let the colors do the work. It also teaches you how to plan color order so the rainbow doesn’t turn muddy.
Step 1: Draw a round cake with a top rim line and outline the drips as 7 to 10 teardrops. Step 2: Assign drip colors in a clear sequence — red, orange, yellow, green, blue, purple — and keep each drip a single color. Step 3: Ink outlines, then color the base frosting in a neutral light tone. Step 4: Shade lightly around the drip edges so each color block stays crisp.
Leave a narrow white highlight line on the rim so the drips look glossy.
Don’t blend colors inside each drip — blocky color looks cleaner.
8. Cupcake with Chocolate Cookie Crumble
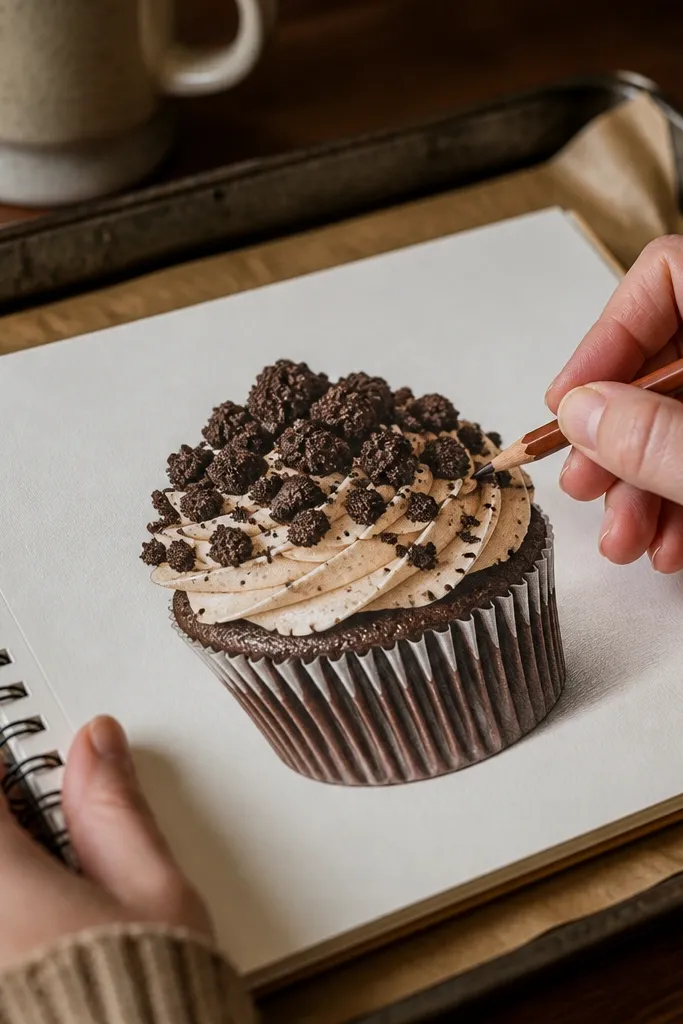
Cookie crumble texture makes a cake drawing feel edible without needing fancy sprinkles. The crumbs are small irregular shapes, so you can draw them quickly and still get a realistic look. Pair it with a simple swirl frosting to keep it beginner-friendly. Dark crumb texture over lighter frosting creates strong photo contrast.
Step 1: Draw a cupcake wrapper and a single frosting swirl using a spiral line. Step 2: Add crumble by drawing 12 to 18 small jagged shapes around the center top — like tiny broken cookies. Step 3: Ink the main outline and frosting edge, then shade frosting with curved hatching. Step 4: Color crumbs with a dark brown and add a lighter brown highlight on a few pieces.
Vary crumb size — use 3 big pieces, the rest small.
Don’t draw crumbs as perfect circles; irregular shapes look more like crumbs.
9. Heart Cake Topper with Simple Drip Edge
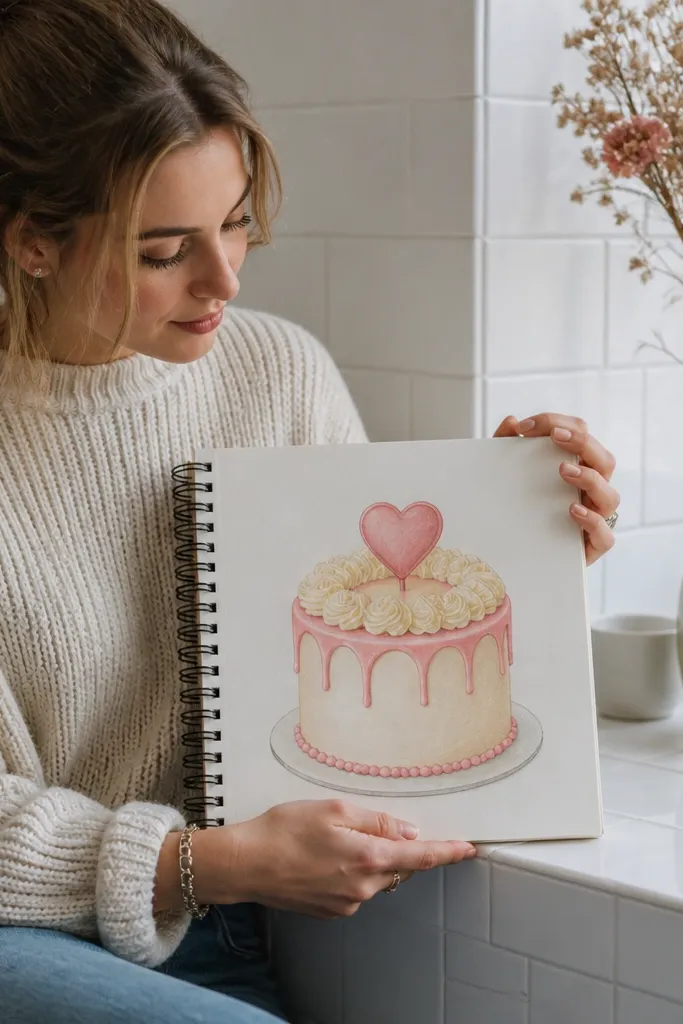
A heart topper gives you a clear focal point, which is what beginner drawings need. The short drip edge adds motion and makes the cake feel like it’s decorated, not plain. Use two values for frosting and keep the drips small — that keeps it easy and clean. The heart reads well in close-up photos.
Step 1: Draw a round cake with a top ellipse and frosting rim. Step 2: Make 5 to 7 short drips as rounded teardrops hanging just a little below the rim. Step 3: Draw a heart on top centered, with a small base shadow. Step 4: Ink all outlines, shade frosting with curved hatching, and color the heart with a darker red edge plus a lighter highlight.
Pro tipAdd a tiny shadow under the heart by drawing a soft oval under it.
AvoidDon’t make drips too long — long drips look harder to control.
10. Geometric Fondant Blocks Cake
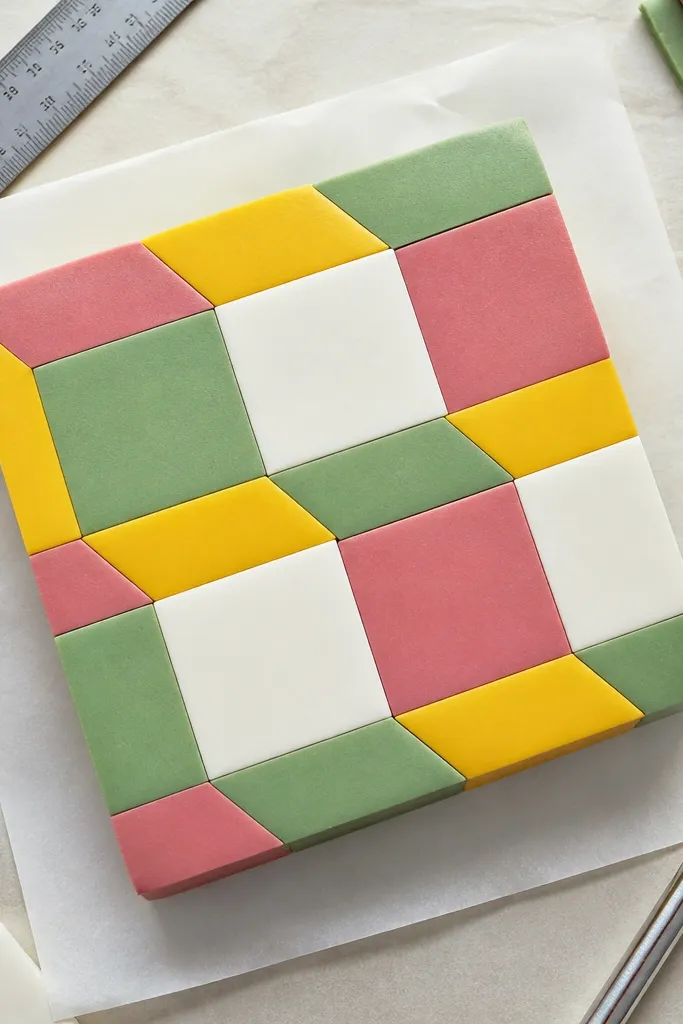
If you like clean lines, this is the cake drawing for you. Fondant blocks let you replace messy frosting texture with sharp geometry. The look is photogenic because each block has a clear color and edge, and the arrangement creates a pattern. Beginners can succeed quickly because the shapes repeat.
Step 1: Sketch a simple round cake outline with straight-ish sides. Step 2: Draw 10 to 14 rectangles and squares on the sides like stacked blocks, leaving small gaps between them. Step 3: Ink the cake outline, then ink each block edge with slightly thicker lines for the outer border. Step 4: Color blocks with 4 to 5 bold colors and add light shading on one side of each block.
Keep block corners consistent — rounded corners look cleaner than random sharp corners.
Avoid using too many colors; 5 blocks colors is enough for a crisp look.
11. Chocolate Shavings Cake Top
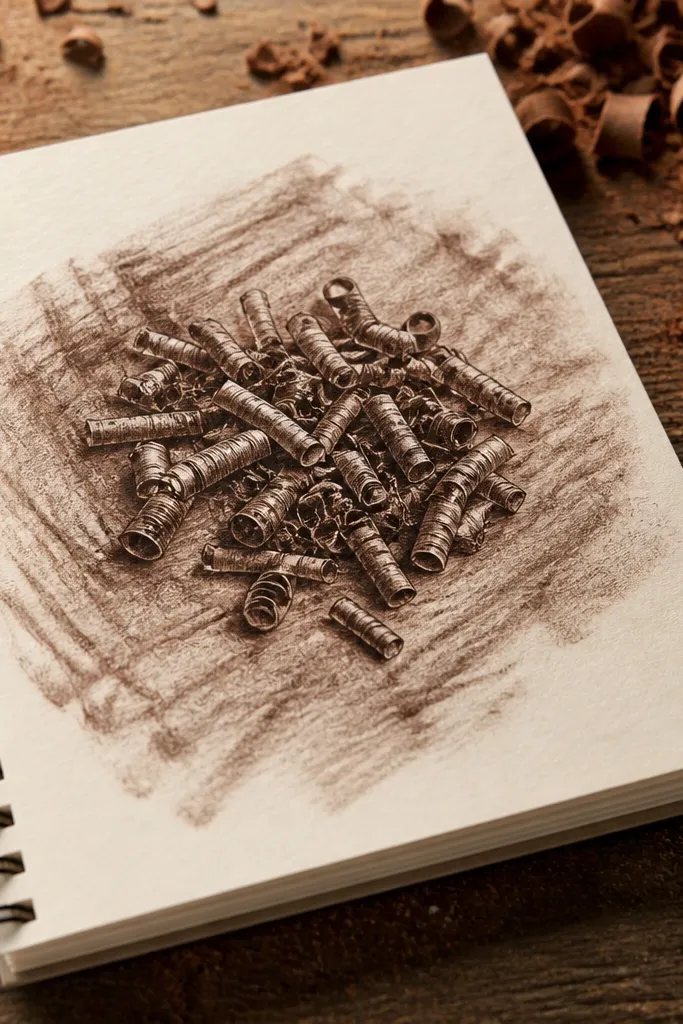
Chocolate shavings are basically line work. That makes them perfect for beginners who struggle with complex shading. The key is drawing them as curved ribbons that overlap, not as solid blobs. Add a simple frosting base and keep the shavings concentrated in the center so the composition looks intentional.
Step 1: Draw a round cake with a top rim and a smooth frosting top ellipse. Step 2: Sketch 15 to 25 shavings as thin curved strips with tapered ends, mostly around the center. Step 3: Ink outlines, then shade frosting lightly with curved hatching and shade shavings with a dark brown plus lighter brown edges. Step 4: Add a few shavings that cross each other to create depth.
Make shavings all the same thickness for a cleaner, more “designed” look.
Don’t draw shavings as long straight lines — curves make it feel like chocolate.
12. Vanilla Cake with Simple Lace Border
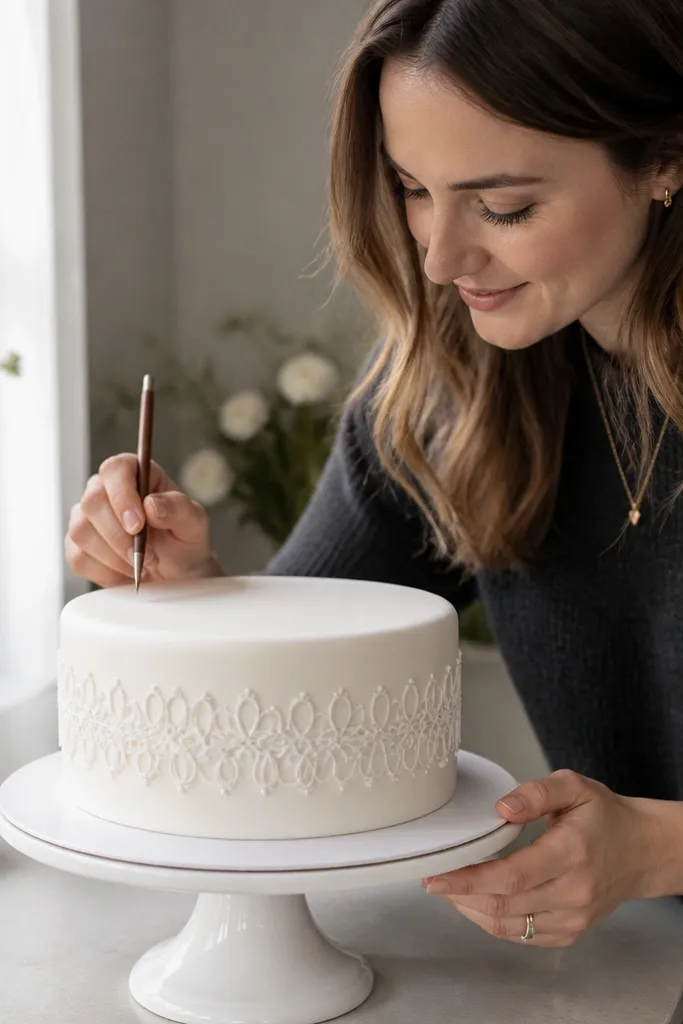
Lace borders look detailed but they’re actually pattern work. You draw a repeating loop pattern around the middle band, then keep the cake itself clean. This gives you a “pretty” look without needing realistic frosting swirls. It’s also a great way to practice consistent spacing.
Step 1: Sketch a round cake with a middle band guideline. Step 2: Draw the lace border as repeating loops: small upside-down U shapes connected into a ring. Step 3: Ink the cake outline and lace pattern, then shade the cake sides with light curved hatching. Step 4: Color frosting pale cream and color the lace band slightly darker so it reads clearly.
Use a single spacing rhythm: make each loop the same height so the border looks intentional.
Don’t shade the lace too much; keep it mostly line-based.
13. Blueberry Cake with Scatter Dots
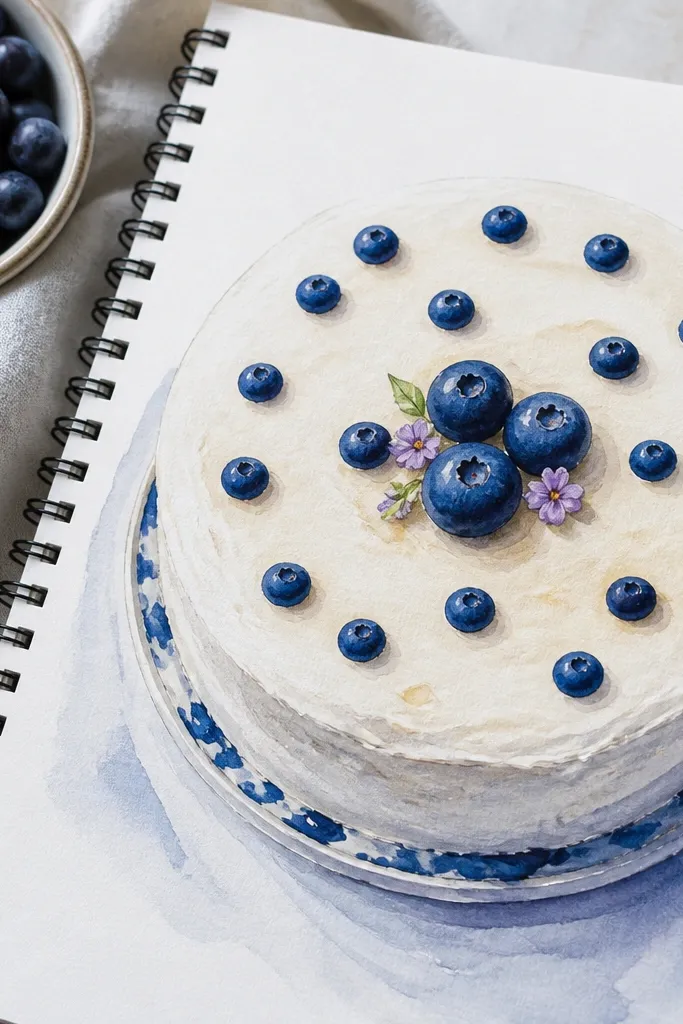
Blueberry scatter is a beginner-friendly texture because you can treat berries as circles with tiny highlights. The look is photogenic thanks to the deep blue color popping against light frosting. Add a few larger berries near the center to create a focal point. It also teaches you how to use negative space so the frosting still shows.
Step 1: Draw a round cake with a smooth top ellipse and a frosting rim. Step 2: Place 18 to 25 blueberries as small circles, then add 3 to 5 larger circles in the center. Step 3: Ink outlines and shade frosting lightly. Step 4: Color blueberries with dark blue base and add a small white highlight dot on each.
Keep highlights on the same side across all berries for a unified look.
Don’t overcrowd the top; leave visible frosting gaps.
14. Pastel Ombré Cake Layers
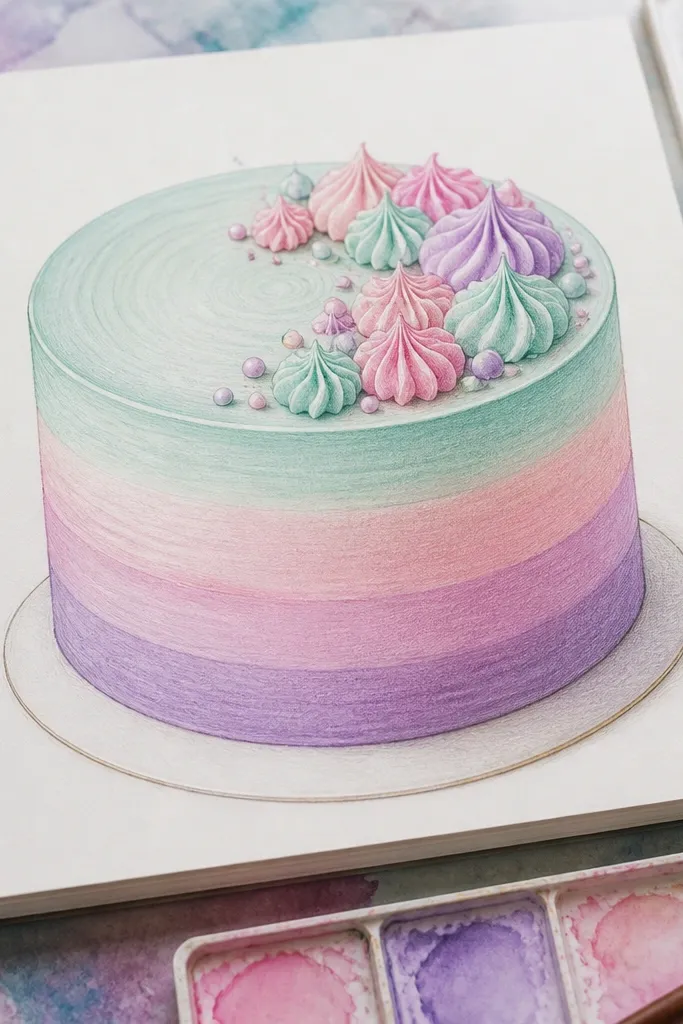
Ombré layers look advanced but you can fake them cleanly with banded color transitions. This idea is beginner-friendly because you draw the layers as simple horizontal stripes, then blend with light strokes. It’s perfect for photos because pastel gradients show up clearly and feel soft. Keep the outlines crisp so the gradient doesn’t look muddy.
Step 1: Sketch a layered cake side view with 4 to 6 horizontal bands and a top rim. Step 2: Ink the outline, then lightly pencil the color transition points between bands. Step 3: Color each band in a pastel tone, then blend the boundary with a light gray or lighter version of the neighboring color using short strokes. Step 4: Add a highlight line on the top rim and shade the sides with gentle curved hatching.
Pro tipBlend at the boundary only — don’t smear across the whole band.
AvoidAvoid dark colors in ombré; they kill the soft look.
15. Candy Cane Drip Cupcake
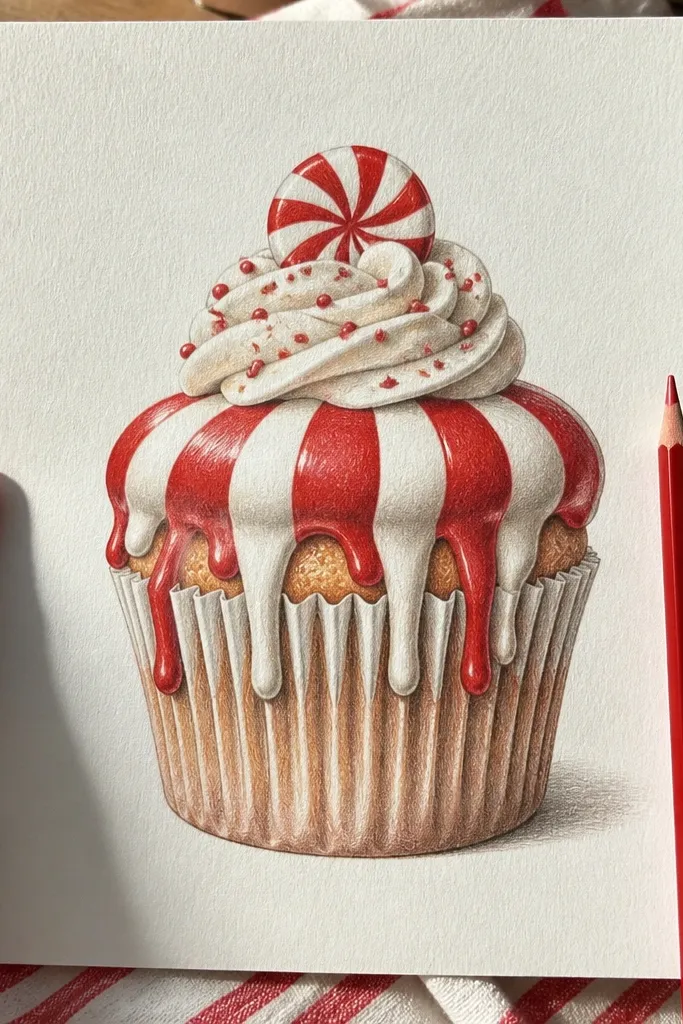
Candy cane drips are a fun way to combine pattern and texture. The stripes are visually strong, so even a simple cupcake shape looks festive. Use 6 to 8 short drips so the stripes stay readable. This drawing is great for beginners because the pattern repeats, and your eye learns to follow it.
Step 1: Draw the cupcake wrapper and a frosting mound on top. Step 2: From the top rim, draw 6 to 8 short drips as rounded lines that alternate red and white. Step 3: Add a small candy cane topper on the side or center by drawing a curved stick with two stripe bands. Step 4: Ink outlines and color drips with two red tones and a clean white highlight area between stripes.
Use two reds: one medium for the stripe, one darker at the drip edge.
Don’t make the drips too long; striped drips get messy when they stretch.
16. Minimal Sheet Cake with Corner Slice
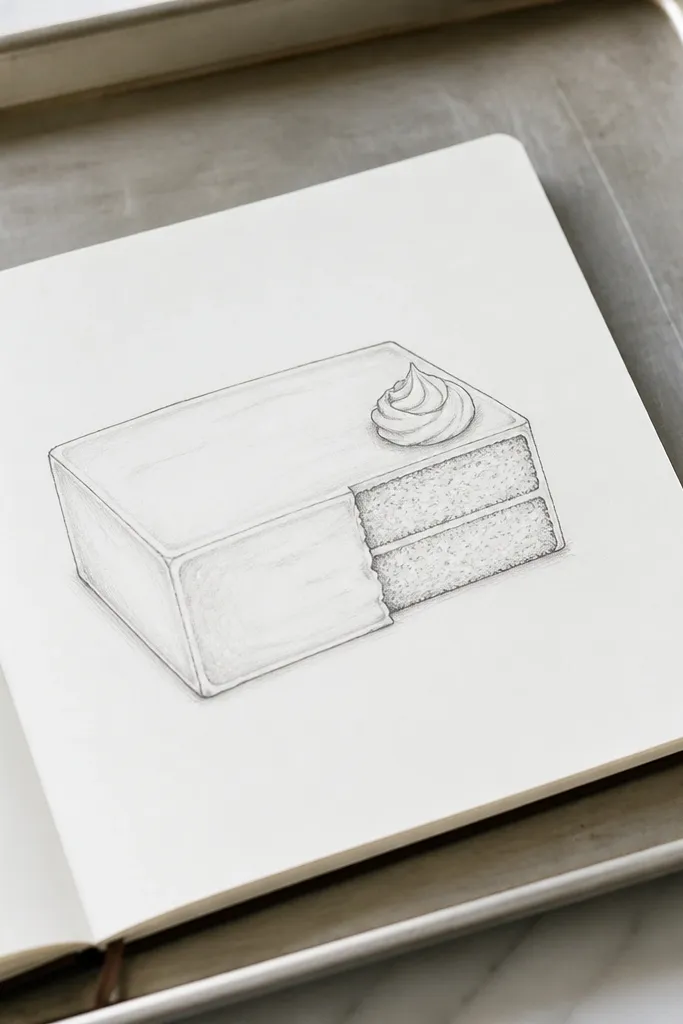
Sheet cakes are underrated for beginners. The rectangular shape gives you straight edges, so your lines look tidy fast. Add one corner slice removed, then decorate the exposed frosting top with a small swirl or two. This is photogenic because it looks like a real bakery display, not a tiny cupcake doodle.
Step 1: Draw a rectangle for the cake slab with slightly rounded corners, then add a top ellipse-like curve. Step 2: Cut out a corner slice by drawing a triangle wedge removed from the top surface. Step 3: Add frosting thickness with a side edge line, then decorate the remaining top with a small rosette or two. Step 4: Ink outlines, then shade the frosting with curved hatching and add a highlight band along the top rim.
Pro tipKeep frosting decoration small at first; big swirls can throw off perspective.
AvoidDon’t sketch the slice as a perfect triangle; soften the edges to match frosting.
17. Cupcake with Strawberry Jam Swirl
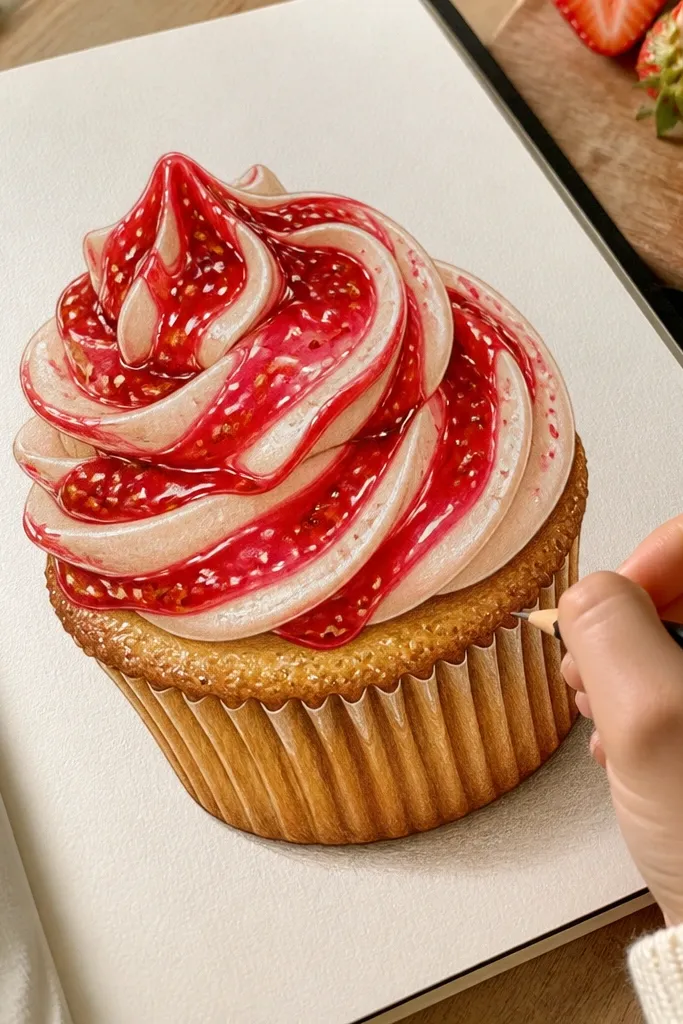
Jam swirls are easier than full fruit because you draw the texture as thick ribbon lines. The look is glossy and fun, and you can keep the seeds as tiny dots. This idea is photogenic because the pink jam is a strong color accent against creamy frosting. It’s also a good practice for drawing thick, layered lines without smearing.
Step 1: Sketch wrapper and frosting base with a simple swirl top. Step 2: Draw a jam swirl as a thick ribbon spiral sitting on top, leaving a white highlight gap along one edge. Step 3: Add 10 to 14 tiny dot seeds across the jam. Step 4: Ink all outlines, then color frosting pale cream and jam in two pink tones with darker edges.
Pro tipDraw jam lines thicker than frosting lines so the jam reads as a separate layer.
AvoidAvoid thin, wispy jam lines; jam should look thicker than frosting.
18. Round Cake with Polka Dot Sprinkles Border
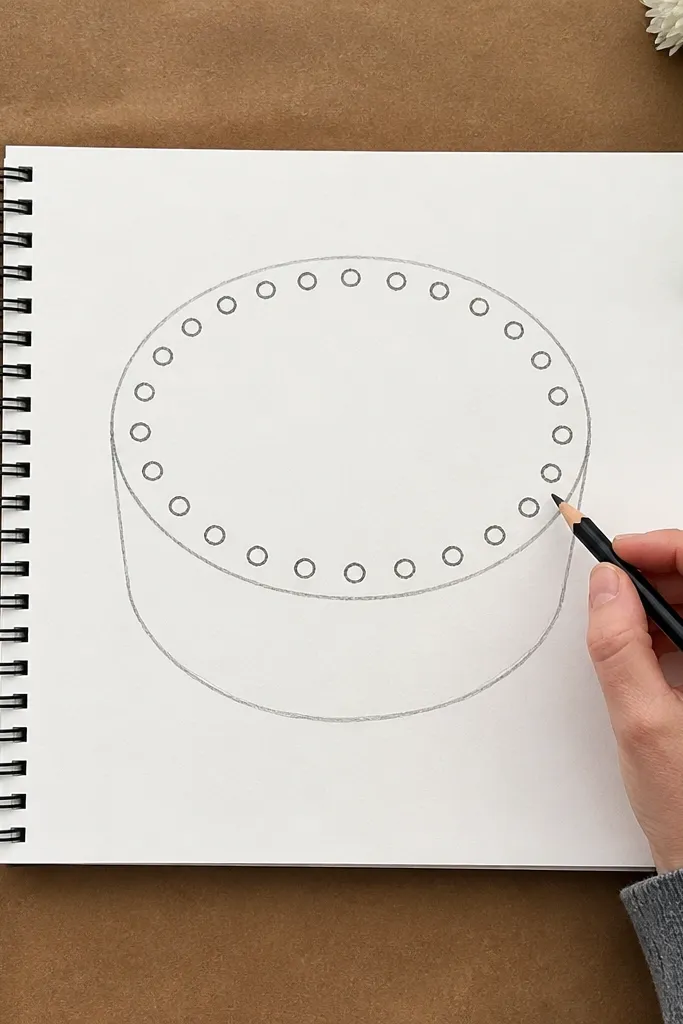
Sprinkle borders are the fastest way to get instant cuteness. This drawing keeps everything simple: one cake outline, one top rim, and a ring of sprinkles. Polka dot sprinkles are easier than long sprinkles because each dot is just a circle. The look is clean and readable, which matters for photos.
Step 1: Draw a round cake with top and bottom ellipses and a frosting rim line. Step 2: Place a sprinkle ring by drawing evenly spaced dots along the top rim curve, leaving small gaps. Step 3: Ink the cake outline and rim, then add sprinkle dots with slightly varied sizes. Step 4: Color the frosting light and the sprinkles in 4 colors, shading each dot with a tiny darker edge.
Pro tipUse a consistent dot size for 80% of sprinkles, then vary 20% for realism.
AvoidDon’t color sprinkles as one solid mass; keep them distinct dots.
19. Layer Cake with Two Textures and a Small Bow
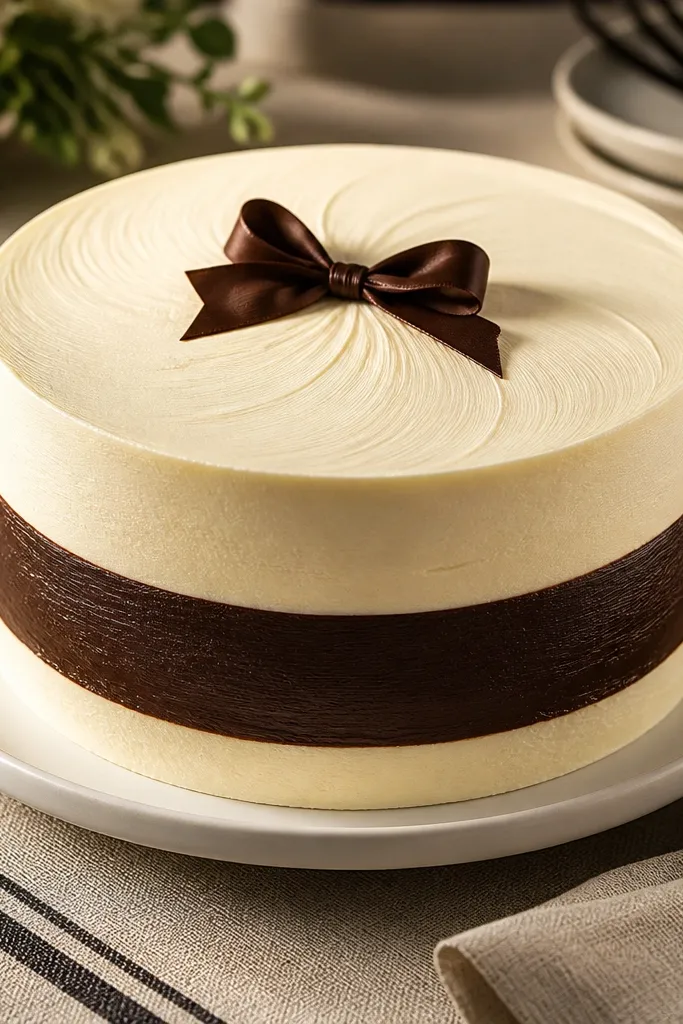
Two textures make a beginner cake look designed instead of flat. Use buttercream on the top and ganache on the middle band, then add a small bow. You’ll learn to separate textures with line direction: smooth shading for ganache, curved hatching for buttercream. The bow gives a clear focal point for photos.
Step 1: Sketch a layered cake side view with 3 bands: top buttercream, middle ganache, bottom buttercream. Step 2: Add a bow on top as two loops and a small center knot. Step 3: Ink outlines, then shade the buttercream with curved hatching and shade ganache with smooth gradient shading. Step 4: Color with two complementary tones and add a highlight on ganache where the light hits.
Keep the bow small and centered — it frames the cake without crowding it.
Don’t add sprinkles everywhere; texture + bow is enough.
20. Chocolate Cupcake with White Drizzle
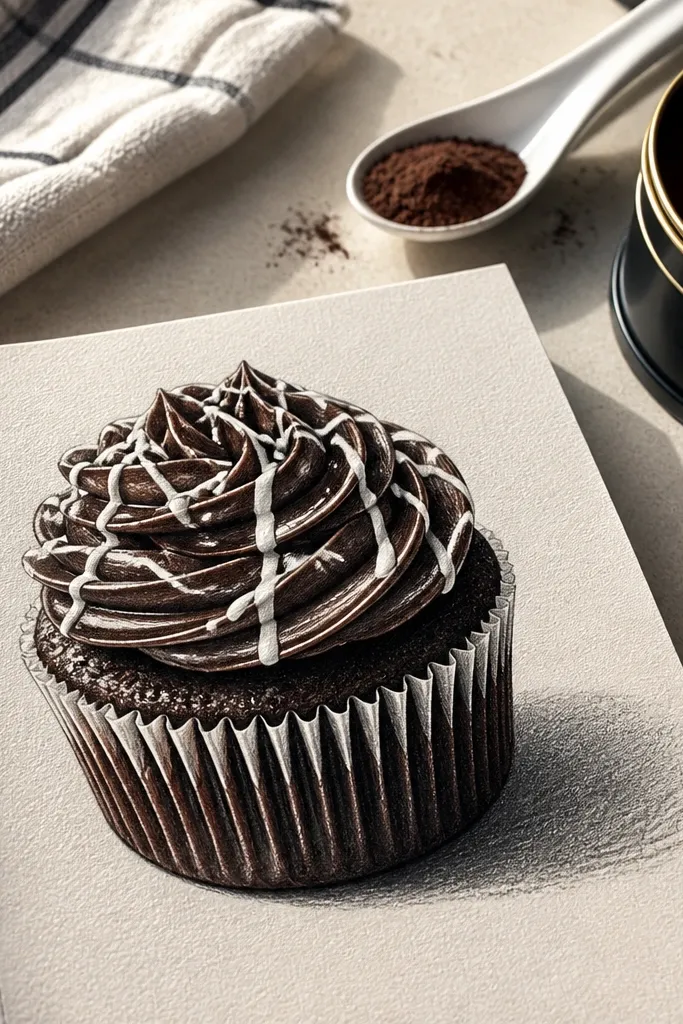
This is a high-contrast drawing that looks good even with minimal coloring. Dark chocolate frosting gives you a base, then thin white drizzle lines act like highlights. Because the drizzle is simple straight-ish curves, beginners can draw it fast. It’s also easy to photograph because the white lines catch the eye.
Step 1: Draw cupcake wrapper folds using 3 to 5 vertical lines. Step 2: Sketch a frosting mound on top and ink it. Step 3: Add 6 to 10 drizzle lines as thin curved strokes across the frosting surface, leaving the drizzle area uncolored or lightly colored white. Step 4: Shade the chocolate frosting with a dark brown base and light curved hatching, then color the white drizzle with a light cream tone.
Pro tipMake drizzle lines slightly thicker at the start and thinner toward the end for a natural look.
AvoidAvoid drizzling too many lines; 6 to 10 is the sweet spot.
21. Cake with Fondant Flowers Dots and Stems
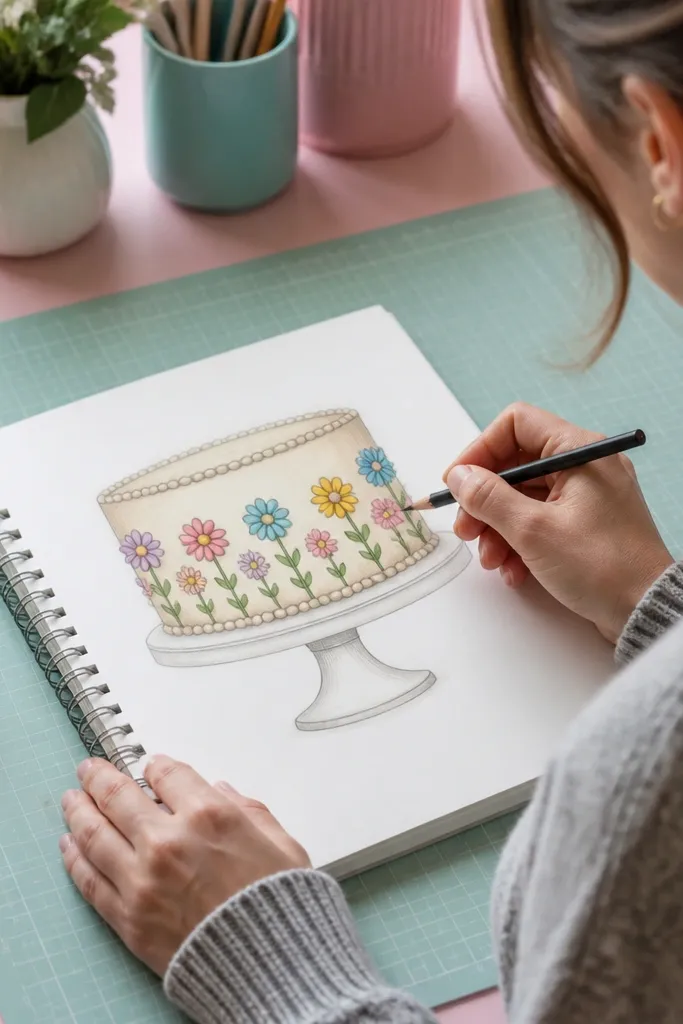
Fondant flowers look cute and they’re built from circles and dots, so they’re perfect for beginners. Each flower is a ring of small petals around a center dot. Add a couple stems and tiny leaves to give the cluster a tidy shape. This design is photogenic because it adds color accents without needing realistic petals.
Step 1: Draw a round cake top with a frosting rim and smooth shading base. Step 2: Create flowers by drawing 5 small circles around a center circle, then repeat for 3 flowers. Step 3: Add tiny stems as thin curved lines and leaves as small teardrops. Step 4: Ink outlines, then color petals with 2 shades and add darker edges for definition.
Group flowers closer to the center so they don’t spread out and look messy.
Don’t draw big detailed petals; use small circles for a cleaner look.
22. Cake Pop Style Mini Layer Cake
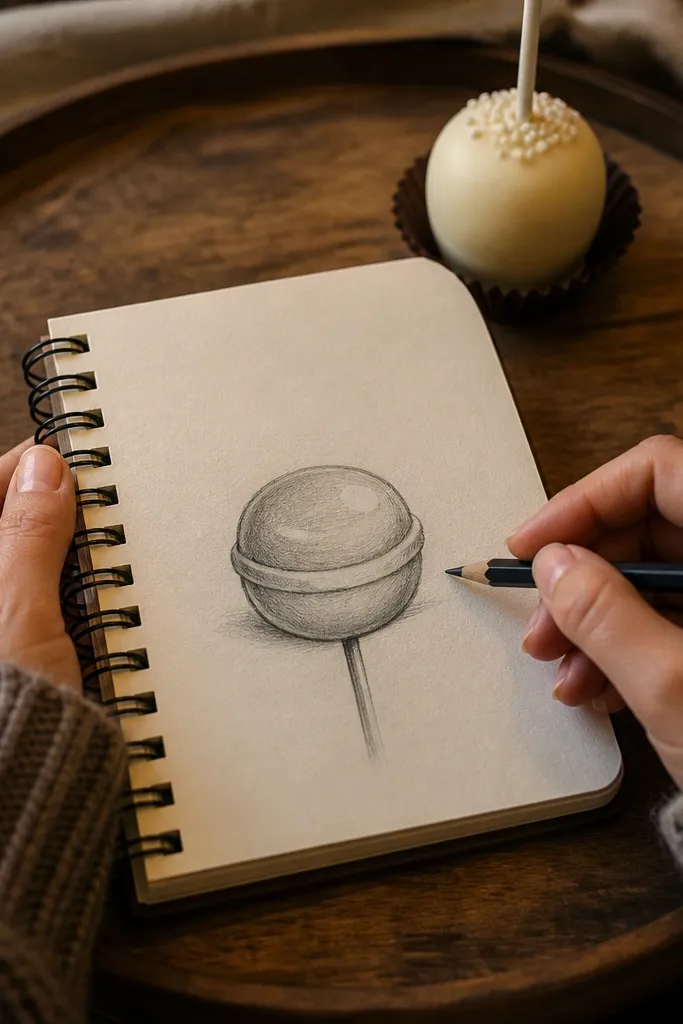
A mini layered cake style is visually fun and easier to draw than a full cake. You keep the shape small and the decoration minimal: one smooth coating, one layer line, and a simple highlight. This idea looks cute in small frames and thumbnails because the subject is compact. It also teaches beginners how to handle perspective on a small object.
Step 1: Draw a tall oval for the mini cake and add one horizontal layer line across it. Step 2: Add a stick handle below by drawing a straight rounded rectangle. Step 3: Ink outlines, then shade the coating with smooth gradients using a light-to-dark sweep. Step 4: Add a highlight streak on the coating and a tiny base shadow where it meets the stick.
Pro tipKeep the stick centered; off-center sticks make the whole drawing look unbalanced.
AvoidAvoid adding multiple decorations; this style needs simplicity.
23. Birthday Cake with Candle Cluster and Wax Drips
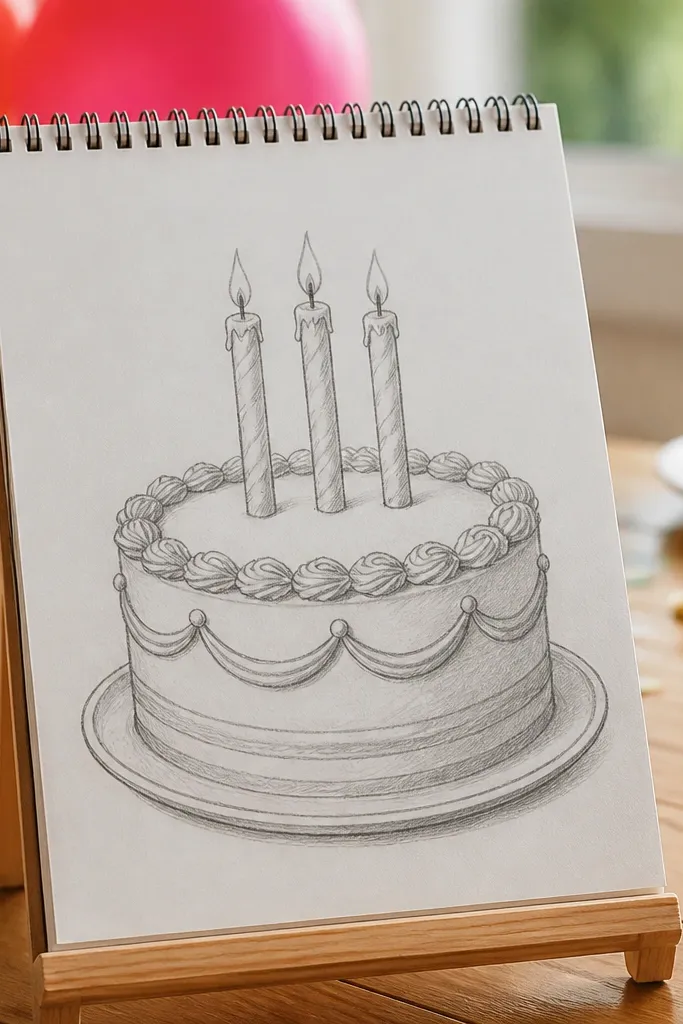
Candles make the cake instantly feel like a birthday moment. The wax drips are the key — you draw short melted lines under the candle tops so it looks like heat. Keep the candle cluster to three, not five, so it stays clean. This drawing is photogenic because candles are tall shapes that frame the cake.
Step 1: Draw a round cake with a top rim and a frosting edge line. Step 2: Add three candles as rectangles with rounded tops, then draw a small flame shape above each. Step 3: Under each candle top, draw 2 to 3 short wax drips as narrow teardrops. Step 4: Ink outlines, shade the cake frosting with curved hatching, and color candles with two shades plus a darker side edge.
Pro tipMake wax drips follow the candle center so they look intentional.
AvoidDon’t make candle flames too wide; thin flames read cleaner.
24. Vanilla Swirl Cake Top with Tiny Stars
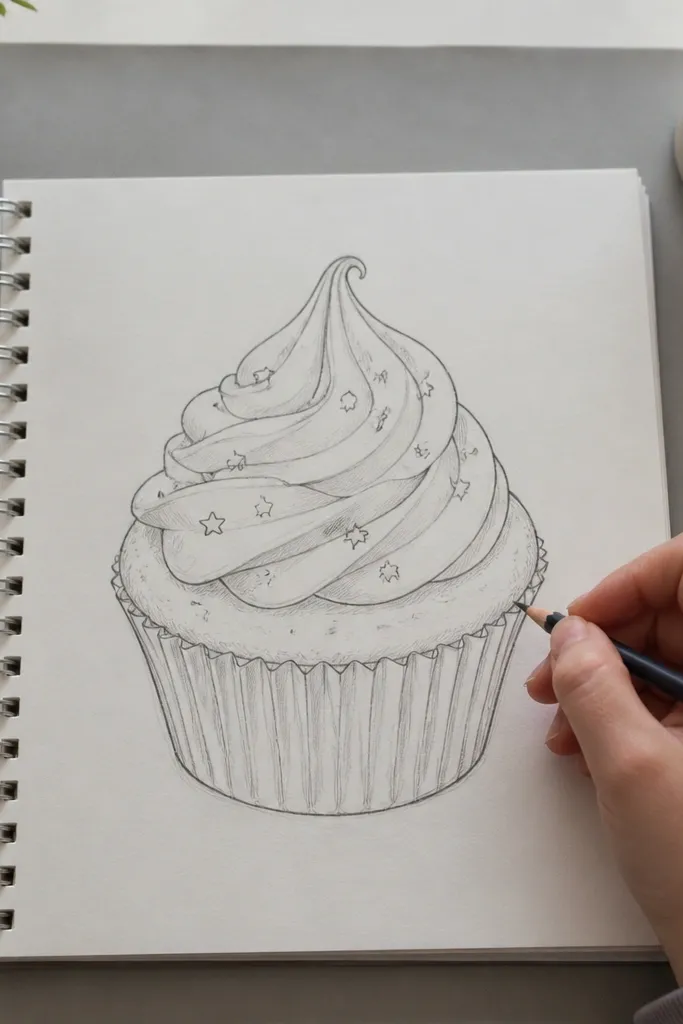
A single swirl top is the cleanest way to make a cake look decorated without overdoing it. Add tiny stars as sprinkles around the swirl for a festive look. Stars are easy shapes that still look “designed” in photos. This idea is great for beginners who want a focal point and a clear finish.
Step 1: Sketch a round cake with a top ellipse and rim line. Step 2: Draw one large frosting swirl centered, using curved lines that loop inward. Step 3: Add 10 to 15 tiny stars around the swirl, leaving space between them. Step 4: Ink the cake outline and swirl, then shade frosting with curved hatching and color stars in 2 or 3 colors.
Use the same star size throughout — variation looks cute, but random sizes turn messy.
Avoid shading the swirl with hard scribbles; keep strokes curved and tidy.
25. Chocolate Shell Mini Cake with Crackle Lines
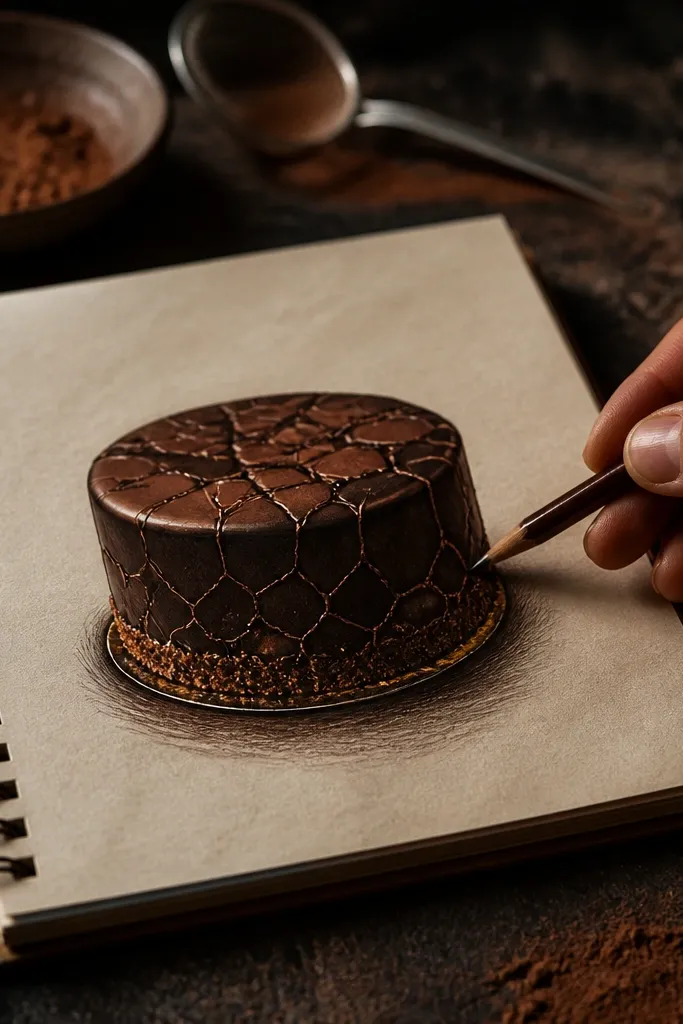
Crackle lines give chocolate a texture without complex rendering. You draw a smooth chocolate shell shape, then add irregular branching lines that look like dry chocolate. This is photogenic because the texture breaks up the dark color. Beginners like it because the pattern is drawn quickly and it’s forgiving.
Step 1: Draw a small round cake shape with a top ellipse and a side silhouette. Step 2: Ink the outline and add a frosting base layer line near the bottom edge. Step 3: Shade the chocolate shell with a dark brown base, then add crackle lines as thin branching lines across the top. Step 4: Add a lighter brown highlight along a curve so the shell reads as glossy.
Pro tipKeep crackle lines sparse — too many lines look like scribbles.
AvoidDon’t draw crackles as perfect straight segments; they should branch.