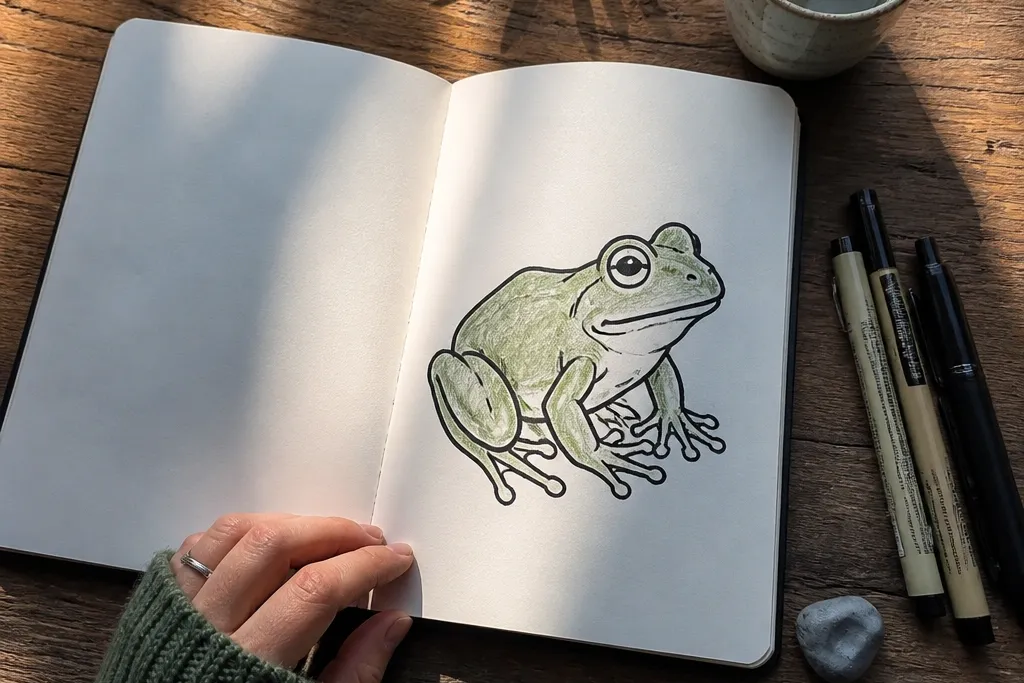

1. Big Eye Button Frog Face
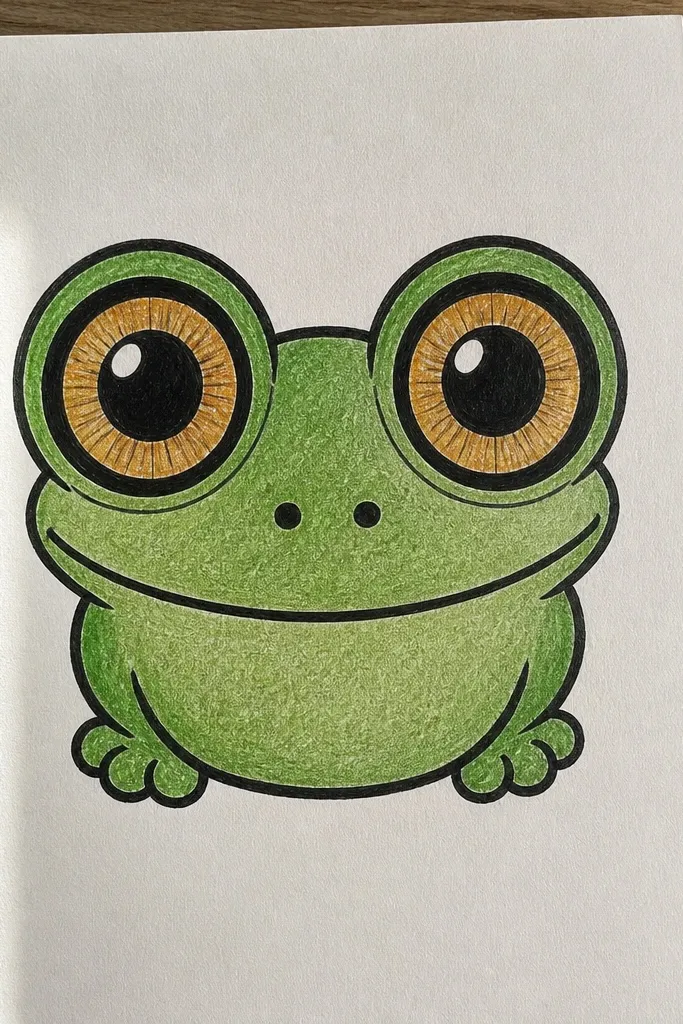
This is the beginner-proof frog because it stays symmetrical and forgiving. Start with oversized eye circles so the face reads as a frog instantly, even if the body is basic. The look is cute and clean, and it photographs well because the outlines are simple and the features are bold. Use a dark outline around the eyes and a thin line for the mouth, then add two tiny nostril dots. Finish with a single shadow under the chin to give it a little depth.
Step 1: Draw two large circles for the eyes, then connect them with a shallow curved head shape like a rounded egg. Step 2: Add a small curved mouth between the eyes and two tiny nostril dots under the mouth line. Finally, outline the body as a short oval under the head and add a simple toe line on each side.
Erase lightly with a kneaded eraser so the paper stays clean around the eyes.
Don’t draw the mouth too wide or too low, or the frog stops looking cute and starts looking like a cartoon blob.
2. Side-Look Frog on a Leaf
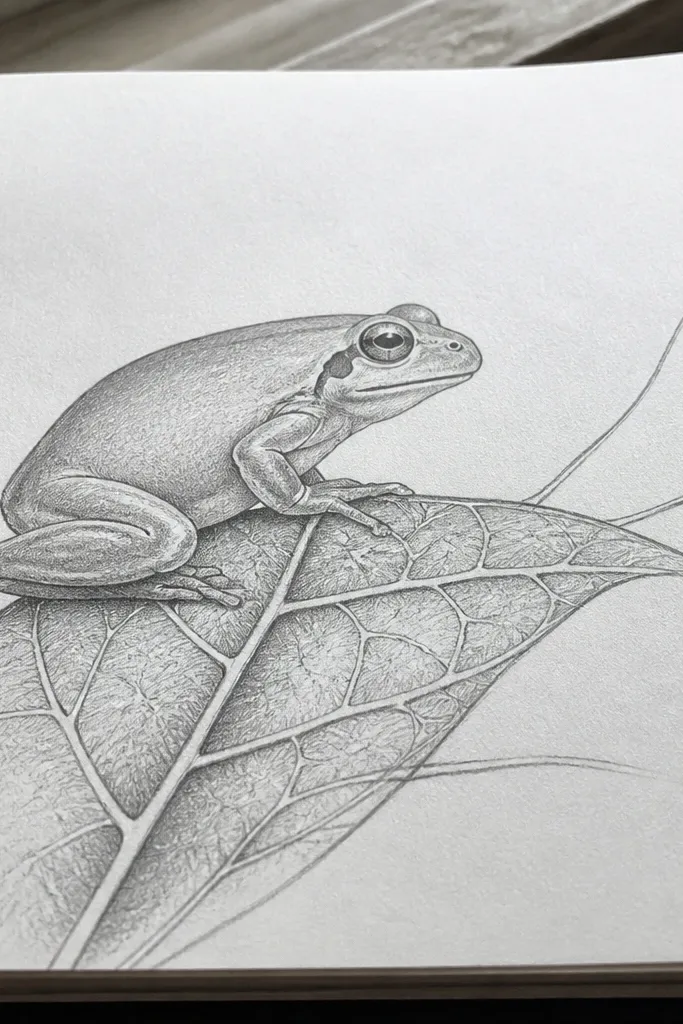
Side profiles are great once you can place eyes, because they force you to think about direction. This one looks polished because the leaf gives you a foreground shape and the frog’s legs create a clear silhouette. Keep the frog’s body as a simple bean shape and use a single line for the belly curve. Add a few leaf veins and one darker leaf edge so the frog pops. The result looks like a small nature sketch without needing background clutter.
Step 1: Draw a curved leaf shape first, then sketch the frog as a bean-shaped body sitting on the leaf edge. Step 2: Place one eye (an oval) on the front of the head, then draw a short snout curve. Finally, add two legs with simple toe bumps and a small arm line tucked near the body.
Outline the leaf slightly thicker than the frog so the frog reads as the main subject.
Avoid adding too many scales; a few clean texture lines beat a messy speckle.
3. Toad-Style Wart Frog (Cute Texture)
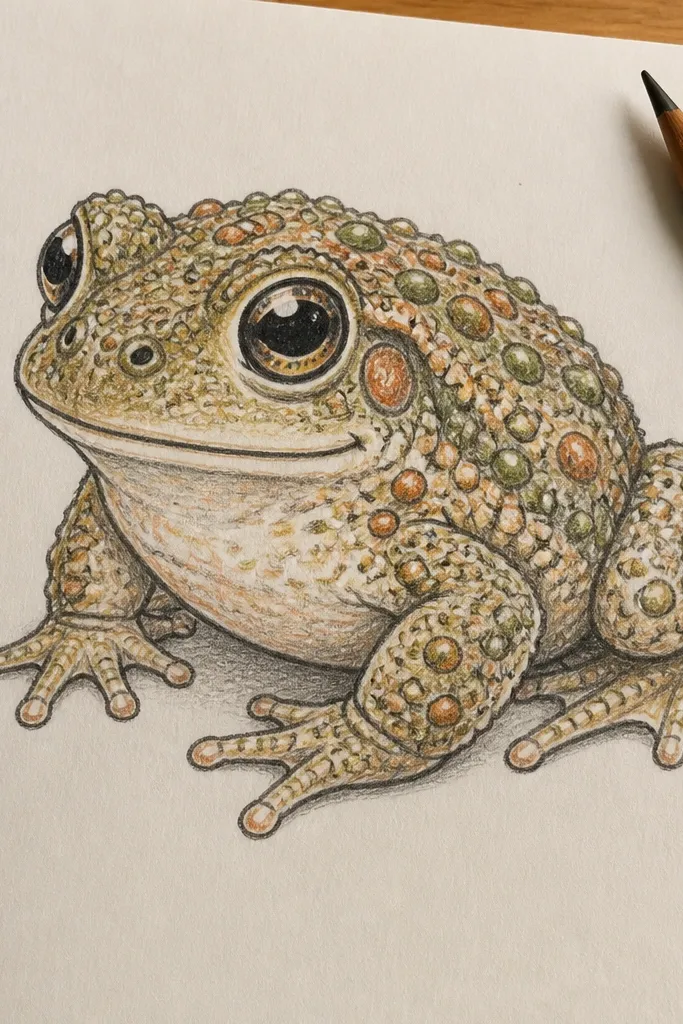
Texture makes frogs look “finished” fast, and this one uses tiny wart dots instead of detailed skin. The trick is to keep the dots clustered and consistent, mostly on the back and shoulders. Big eyes and a rounded head keep it beginner-friendly, while the dot pattern adds charm. Use a darker outline and then vary dot size slightly for a hand-drawn feel. This draws attention without requiring realistic shading.
Step 1: Draw a round head and a slightly larger oval body, then add two big eye circles with a small highlight dot. Step 2: Create the wart texture with small circles or short dashes, placing them in 2-3 curved bands across the back. Finally, add a simple belly line, then draw two short legs and toe bumps.
Use a fineliner tip and let dots touch the outline lightly; it looks more organic than perfectly spaced dots.
Don’t cover the whole frog in dots; leave clean areas around the belly so the shape still reads.
4. Jumping Frog with Flying Legs
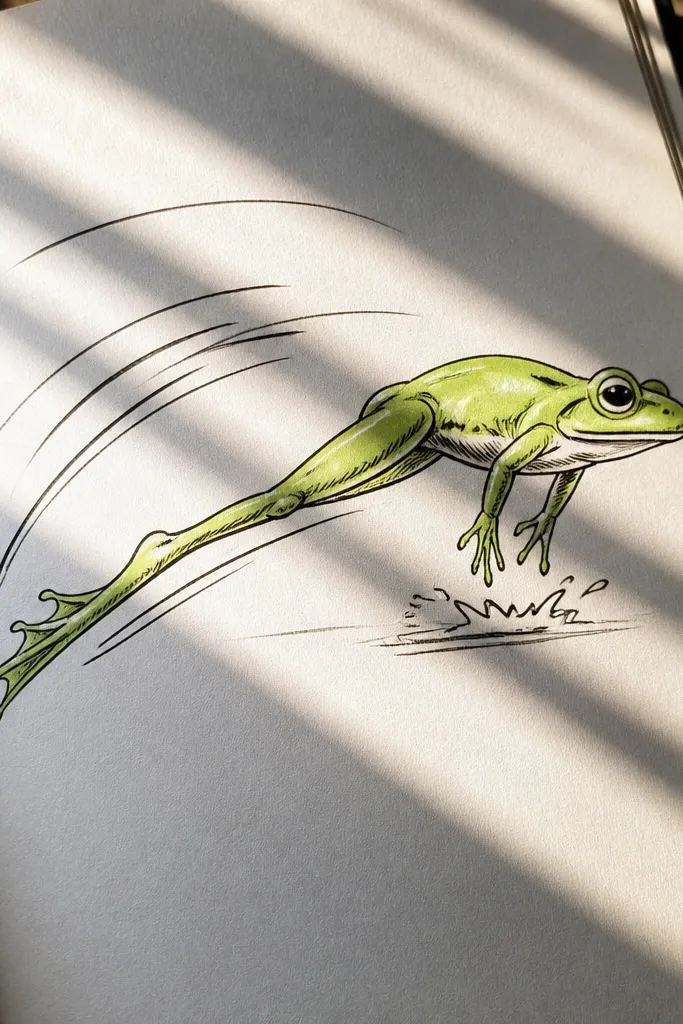
Action poses look impressive because they add dynamic lines, but you can still keep the construction simple. This jumping frog uses a curved body line and one long leg that shoots back, creating a strong silhouette. Add a few motion arcs behind the body and a tiny splash line under the feet. The look is energetic and photogenic, and it helps beginners practice drawing foreshortened legs without overthinking anatomy.
Step 1: Draw a curved spine line, then sketch the body as a small oval along it. Step 2: Add the front legs as two short rounded shapes near the body, then draw one back leg as a long curve ending in a toe cluster. Finally, add a second toe line, then place two eye circles on the head and add 2-3 motion arcs.
Pro tipMake the back leg thicker at the start and thinner at the end for a natural “spring” look.
AvoidDon’t draw both legs straight; one needs to be extended to sell the jump.
5. Frog Wearing a Tiny Crown
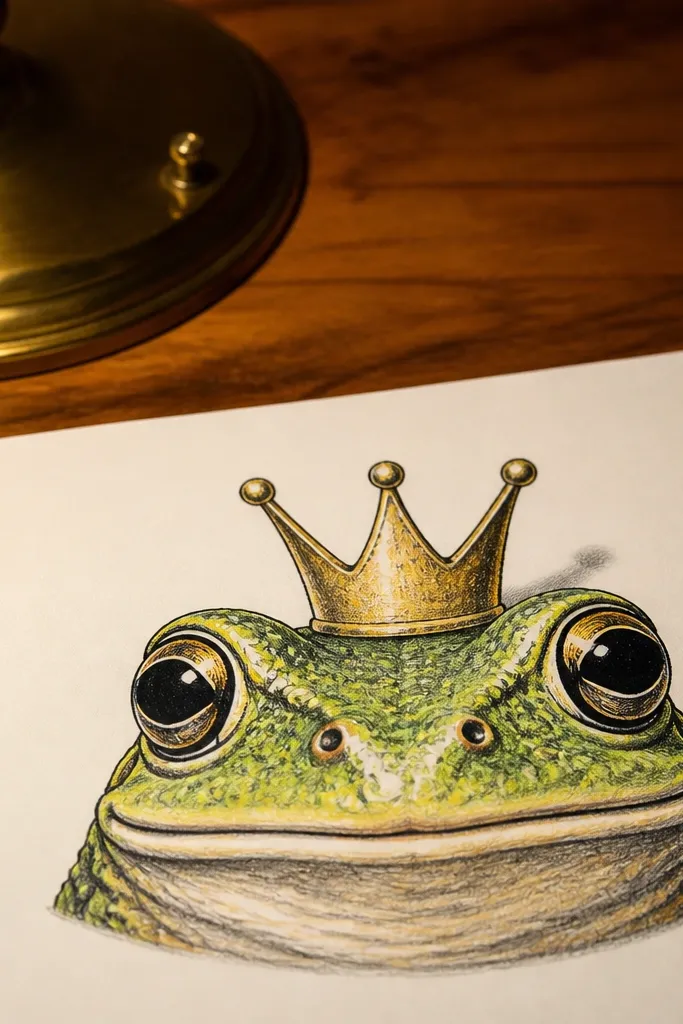
This idea is visually strong because the crown gives you a clear focal point, and the frog face stays simple. Use a front-facing frog head with big eyes, then draw a three-point crown sitting on top. Keep the crown lines crisp and symmetrical so the whole sketch looks intentional. Add a little shadow under the crown for separation. It’s a great choice if you want something that looks like a finished character drawing, not a practice sketch.
Step 1: Draw the frog face first using a rounded head and two large eye circles, then add the small mouth curve below. Step 2: Draw a crown outline with three points, connecting them with a band that follows the head curve. Finally, add two tiny lines for crown details and place short legs as two semicircles at the bottom.
Shade the crown band with a soft gray pencil so it doesn’t blend into the frog outline.
Avoid making the crown too tall; keep it about the same height as the frog’s forehead.
6. Polka-Dot Belly Frog
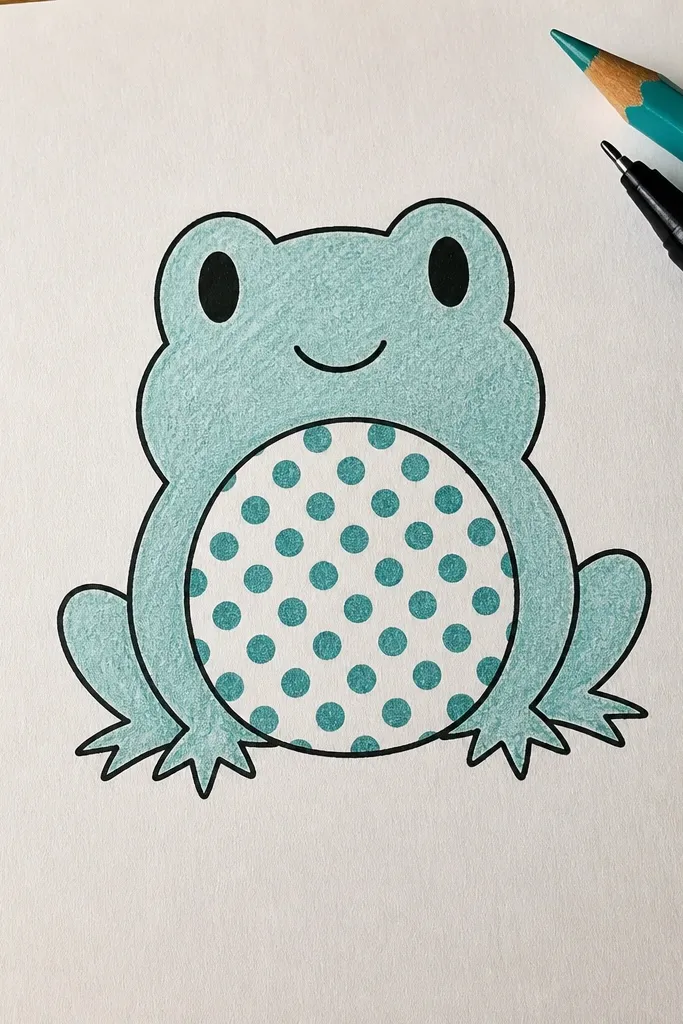
A polka-dot belly looks clean because the pattern is controlled and easy to repeat. Keep the outline thick and the dots consistent in size so the frog looks tidy. This also gives beginners a clear “fill area” to practice without messy shading. The frog’s face can be simple: two ovals for eyes and a small smiling mouth. Add a single dot shadow under the chin for depth.
Step 1: Draw the frog body as a large oval with a slightly flattened top, then sketch the head as a smaller oval attached to it. Step 2: Add two eye ovals and a small mouth curve. Finally, draw a curved belly area and place evenly sized dots inside it, then add two legs as rounded shapes with toe bumps.
Use a ruler edge to lightly guide the belly curve so the dot area looks smooth.
Don’t scatter dots across the whole body or the frog loses its clean shape.
7. Frog Holding a Lily Pad
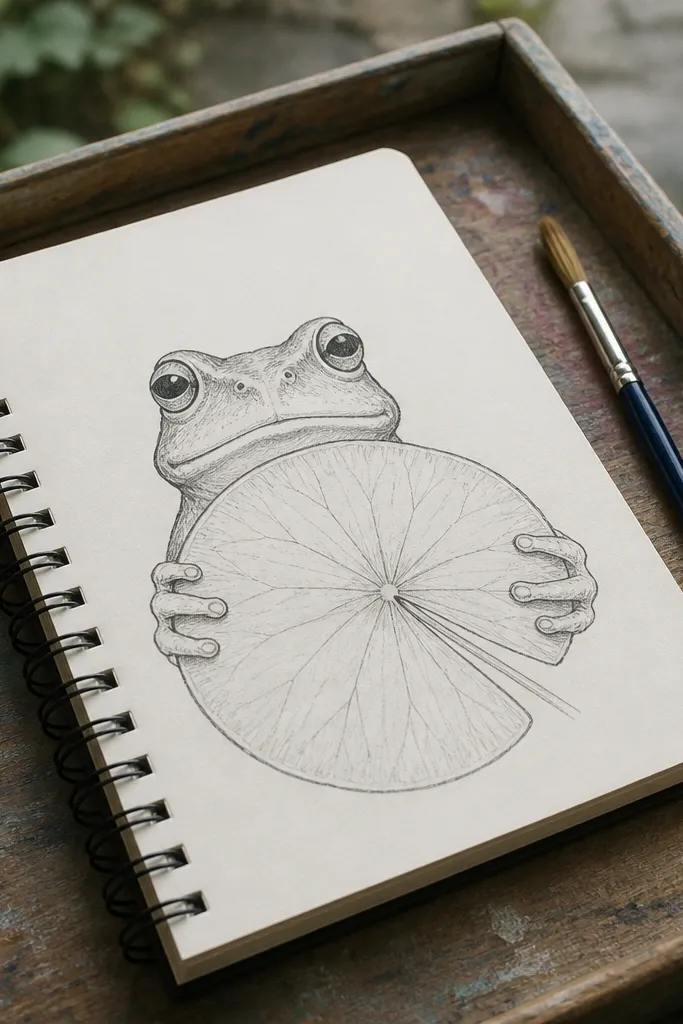
Props make drawings more interesting, and lily pads give you a big, graphic shape to outline. The frog looks thoughtful because it’s “interacting” with the pad, even with simple arms. This is also a good option for beginners who want to practice drawing hands/arms without realism — just two rounded arm shapes with simple fingers. Keep the lily pad veins minimal: 5-7 lines from the center.
Step 1: Draw the frog first as a front-facing oval body with big eyes and a friendly smile, then sketch two arms as rounded mitten shapes. Step 2: Draw a lily pad as a large circle or oval behind the arms, then add a small notch where the frog “holds” it. Finally, add 5-7 vein lines and outline the frog arms around the pad edge.
Make the lily pad outline thicker than the frog so it reads clearly behind the face.
Don’t crowd the pad with too many veins; 5-7 gives a clean look.
8. Kawaii Frog in a Bubble Frame
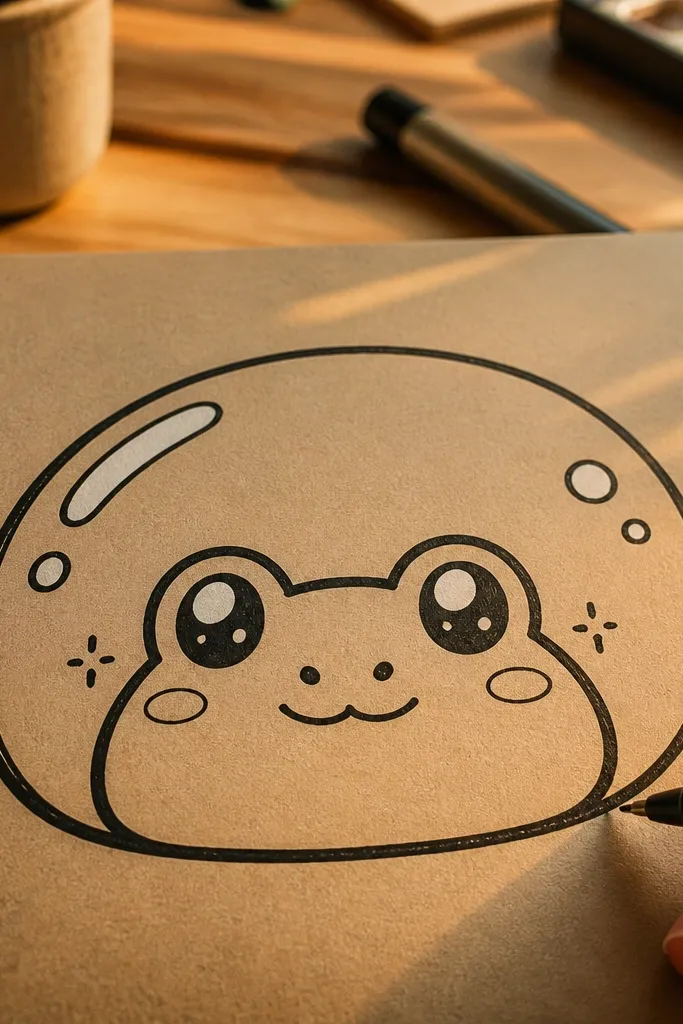
This is a framing trick: a bubble border makes a simple frog look like a finished sticker. It’s ideal for beginners because you only need to focus on one thing — a centered face. Add tiny sparkle dots near the eyes for a playful look. Keep the frog’s body as a half-oval so the face stays the star. Use a thick outline and let the bubble border be slightly thicker.
Step 1: Draw a big circle for the bubble frame, then draw a smaller frog face oval centered inside it. Step 2: Add two large eye circles with highlights, plus a tiny curved mouth. Finally, draw a half-body shape and add 3-5 sparkle dots outside the frog but inside the bubble frame.
Keep sparkle dots small; large sparkles look busy fast.
Avoid drawing the bubble border too close to the frog outline; leave a 1-2 cm gap.
9. Frog with Water Droplets on Its Back
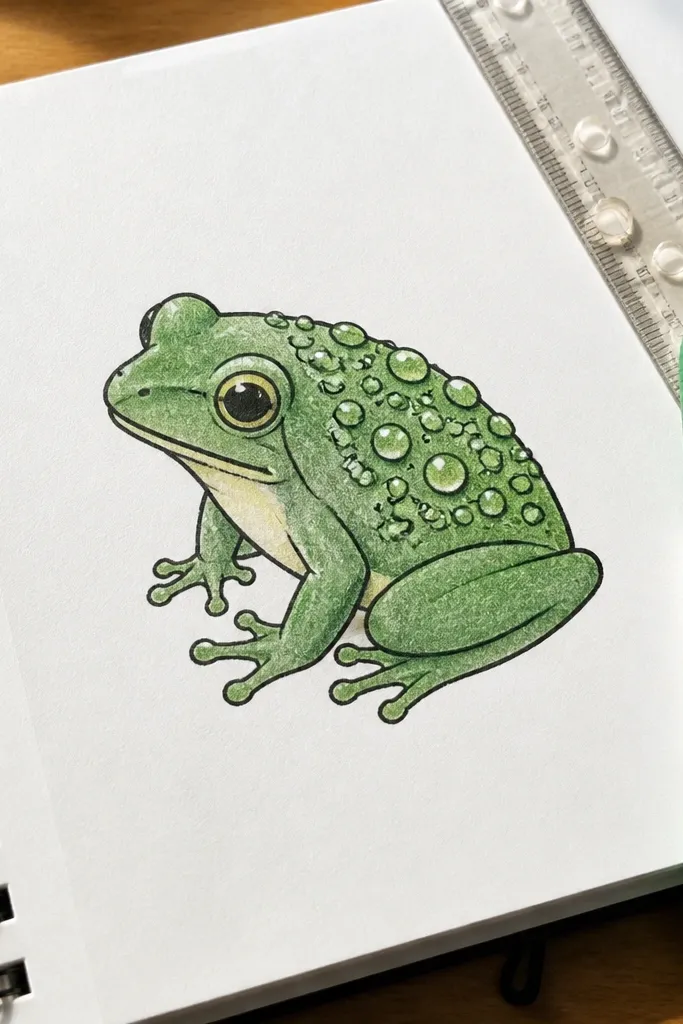
Droplets add shine without complicated shading. This drawing looks glossy because you use simple teardrop shapes with a tiny white highlight gap. The frog face stays cute and simple, while the droplets turn the back into an eye-catching pattern. Keep droplet sizes varied but grouped together on one side. A few curved droplets also help sell the idea of water beading on skin.
Step 1: Sketch a frog body as a rounded oval and add the head with two big eyes and a small smile. Step 2: Place droplet shapes on the back — teardrops pointing outward, clustered in 2-3 rows. Finally, add a thin belly line and draw two legs with toe bumps, then outline everything in black.
Leave a blank highlight inside each droplet by skipping the center when you color it in.
Don’t fill droplets completely with dark color; the highlight is what makes it look like water.
10. Minimal Line Frog with One Accent Color
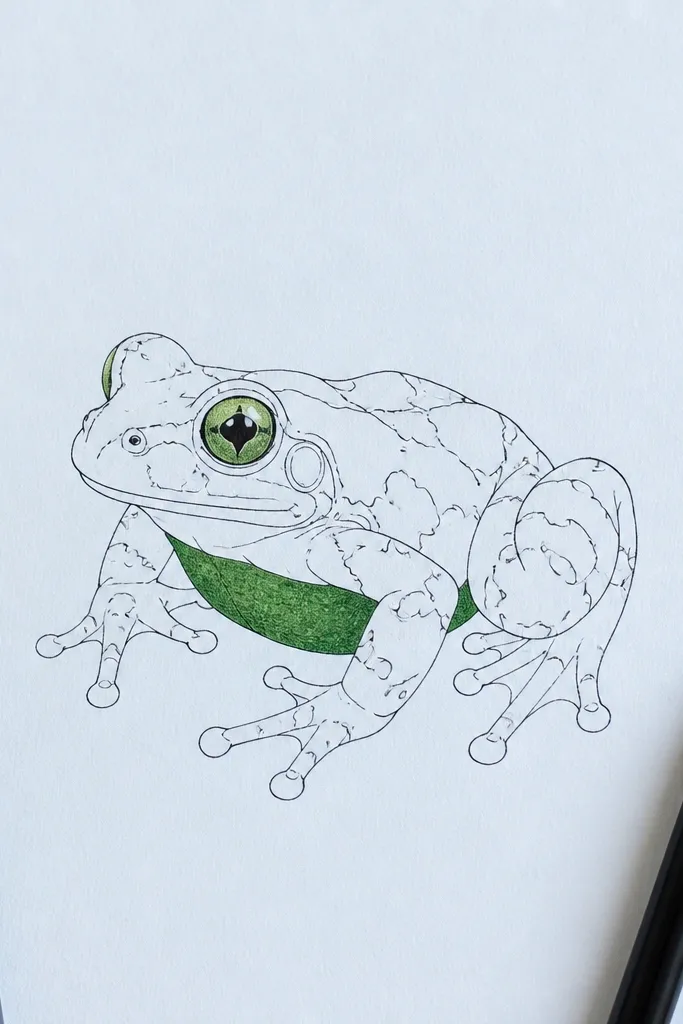
This one is about clean design: thin lines everywhere, one bold color spot. It looks modern and aesthetic because the eye is drawn to the single colored accent. Use a fineliner for the frog outline, then color only the iris or the belly patch with a single green tone. The rest stays white paper. This is a great choice if you want “pretty” without heavy coloring work.
Step 1: Draw a frog outline using light pencil first, then ink it with a fineliner — head oval, body oval, legs as simple curves. Step 2: Add eye ovals and a small smile line, then erase pencil marks carefully. Finally, color only one area, like the iris or a small belly patch, using colored pencil or marker.
Use a kneaded eraser after inking, not before, so you don’t smudge the ink.
Avoid coloring multiple areas; the aesthetic comes from restraint.
11. Frog Sitting with Crossed Legs
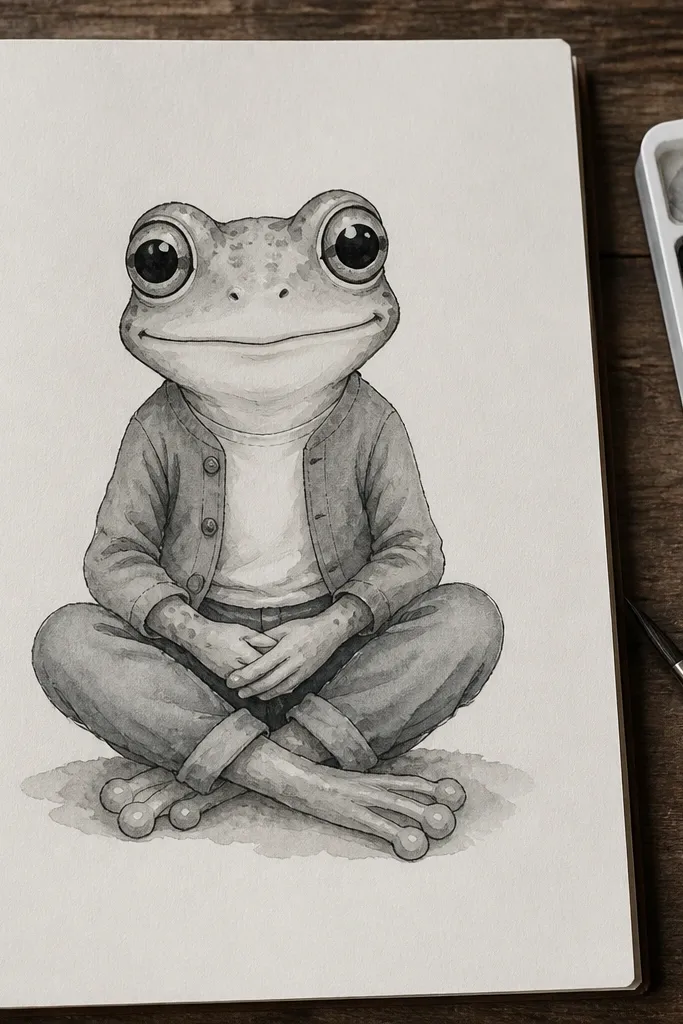
Sitting poses make frogs look friendly and “posed for a photo.” Crossed legs give you a clear silhouette and a natural place to put a little shadow under the feet. Keep the body upright with a slightly tapered waist so it doesn’t look like a floating blob. The face can be simple, with big eyes and a small smile. This is also a good practice drawing for symmetry and leg placement.
Step 1: Draw the body as a vertical oval and add the head as a larger circle attached to the top. Step 2: Sketch two arms as rounded shapes near the sides, then draw crossed legs with simple curved lines. Finally, add eye circles and a mouth, then outline the whole figure and add a shadow under the crossed feet.
Pro tipPlace the shadow as a soft oval under the feet — it instantly makes the frog look grounded.
AvoidDon’t make the legs the same length; one should sit slightly higher to show the cross.
12. Frog in a Cute Frame of Vines
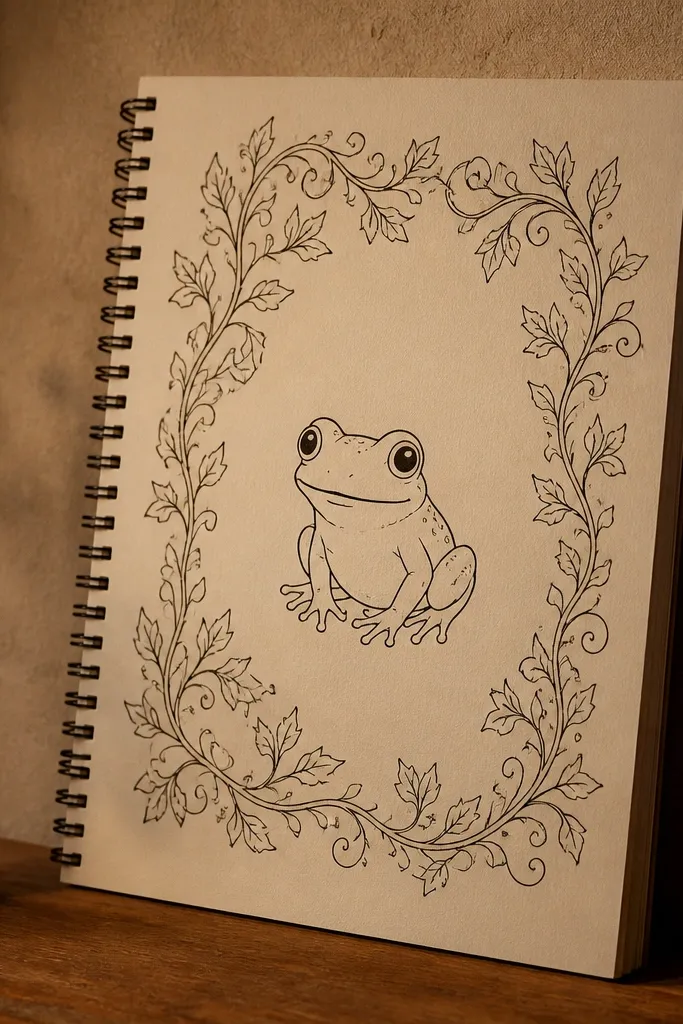
A vine frame makes a frog drawing look like wall art, even if the frog itself is simple. The trick is to draw the frog first, then build vines around it without touching the frog outline. Use two vine styles: one thin line curl and one leaf cluster. This creates a layered look that’s easy to photograph and looks intentional. Keep the vine border roughly circular or oval so it feels like a design, not random doodles.
Step 1: Draw the frog centered on the page using a simple oval body and big eyes, then ink the frog outline. Step 2: Add a vine border by drawing curling lines around the frog, leaving a 1-2 cm margin. Finally, add small leaf shapes on 2-3 sections of the border and ink everything dark.
Vary vine thickness slightly by pressing harder on the downstrokes with a brush pen or thicker fineliner.
Avoid vines that overlap the frog outline — it makes the frog look messy.
13. Frog with Big Toothy Smile
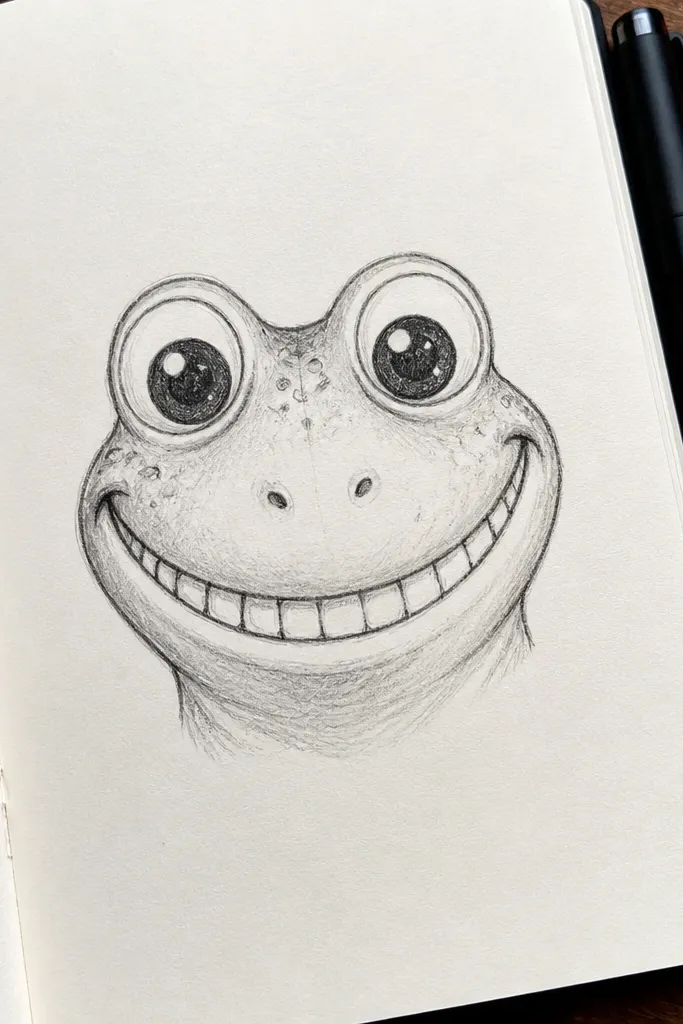
A toothy grin is the fastest way to make a beginner drawing feel expressive. It’s photogenic because the mouth is a strong shape — a wide curve with small tooth marks. Keep the eyes slightly larger and closer together to make the expression look friendly. Use a simple face shape so the teeth don’t float in space. Add two cheek dots or short lines to suggest the smile creasing.
Step 1: Draw a rounded head and body as two connected ovals, then place two big eye circles. Step 2: Draw a wide mouth curve, then add 4-8 tiny tooth lines inside the mouth. Finally, add short arms and legs with toe bumps and outline with a fineliner.
Pro tipKeep the teeth evenly spaced and the mouth corners slightly upturned for a consistent cute look.
AvoidDon’t add too many teeth; 4-8 keeps the grin readable.
14. Frog in a Raindrop Scene
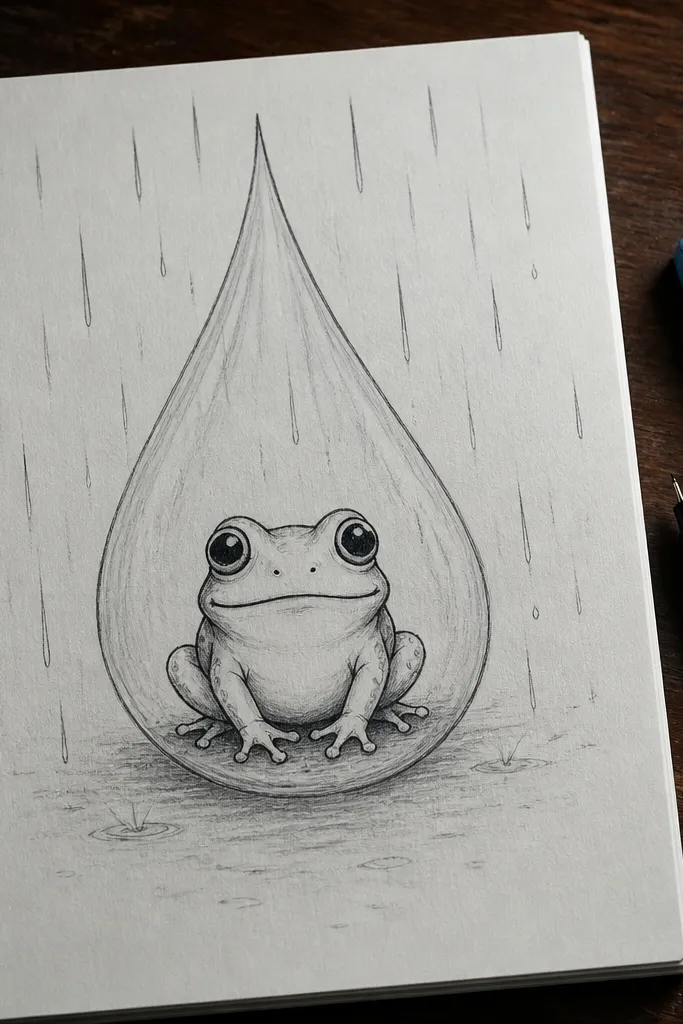
This idea is dramatic without being hard: one big raindrop shape behind the frog gives instant mood. Draw falling rain lines around the frog, then keep the frog face simple and centered. The raindrop outline makes the frog look framed and protects the composition from feeling empty. Use a light shadow under the frog to show it’s under the drop. It’s a great drawing for beginners who want “a scene” but not a full background.
Step 1: Draw the big raindrop outline first, then sketch the frog face and body inside the raindrop. Step 2: Add two eye circles and a small smile, then draw the legs as short shapes touching the bottom of the raindrop. Finally, add 8-12 rain lines outside the raindrop and ink everything.
Pro tipMake rain lines slightly slanted instead of perfectly vertical; it looks more natural.
AvoidAvoid drawing rain lines inside the raindrop; keep them outside so the shape stays clear.
15. Frog on a Dumbbell Lilly Pad
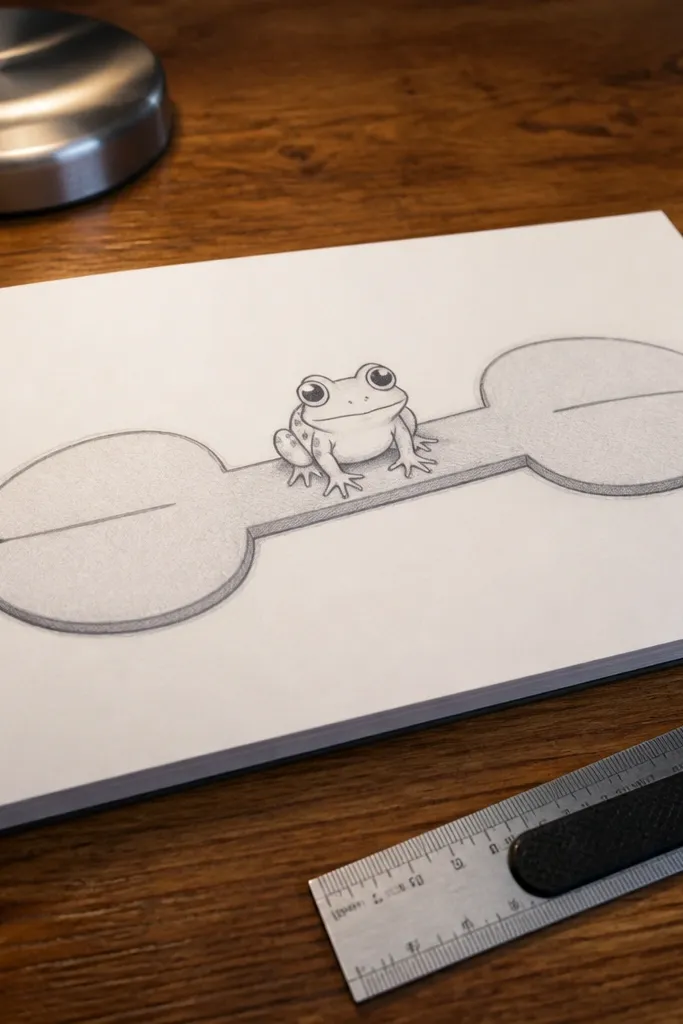
This is a design hack: a dumbbell-shaped pad is easier to draw than a perfect lily pad and looks graphic on paper. The frog sits on the flat middle, so you get a clear base and a strong silhouette. Keep the frog simple with big eyes and minimal texture. Add one center vein line on each lobe and a few small leaf specks. This drawing is clean, cute, and very post-friendly.
Step 1: Draw a dumbbell shape for the lily pad — two circles or ovals connected by a narrow middle. Step 2: Sketch the frog body as an oval centered on the middle and add two eye circles on the head. Finally, draw two legs hanging slightly off the sides and add vein lines on each lobe.
Outline the pad lobes with thicker lines than the frog outline for a stronger graphic look.
Don’t make the pad too narrow; the frog needs space to sit.
16. Frog with Heart-Shaped Belly Patch
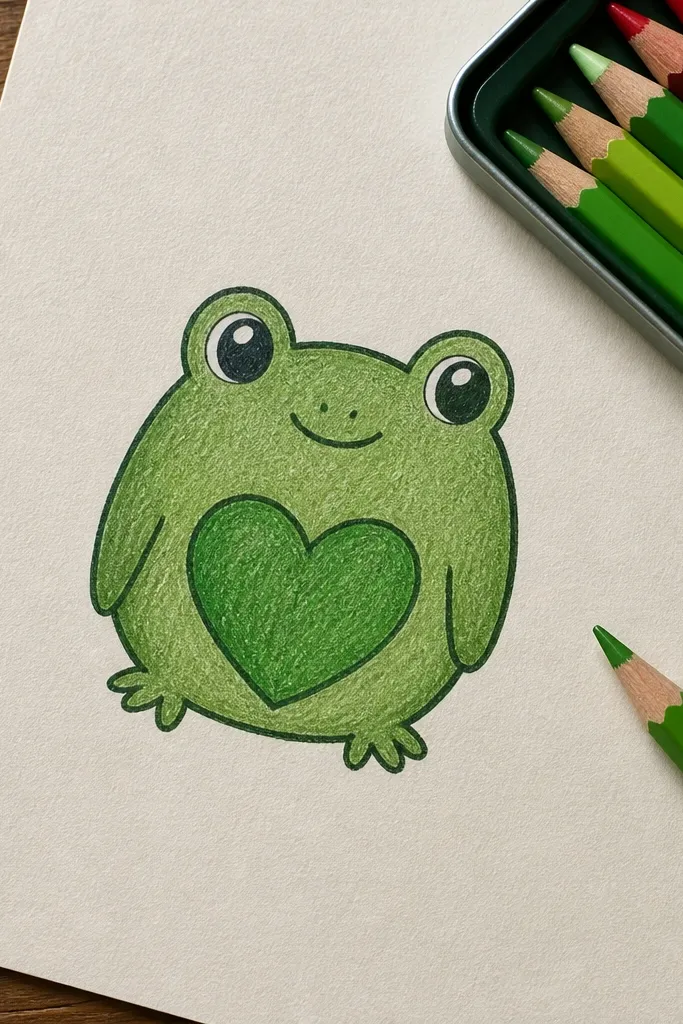
Heart details make beginners' drawings look instantly intentional. This frog keeps everything simple but adds one sweet focal patch on the belly. Use a rounded body and small legs, then draw a heart shape on the belly and fill it with a slightly darker green. The contrast reads clearly even with light coloring. It’s a cute “character” look without needing complex shading.
Step 1: Draw the frog head and body as two connected ovals, then add two large eye circles and a small mouth. Step 2: Sketch four short legs as curved lines with toe bumps. Finally, draw a heart shape on the belly area and color it darker, then add a soft shadow under the chin.
Color the heart patch lightly first, then darken the edges so it looks like a patch, not a smudge.
Avoid coloring over the belly outline; keep the heart patch inside the body shape.
17. Frog Sideways on a Branch
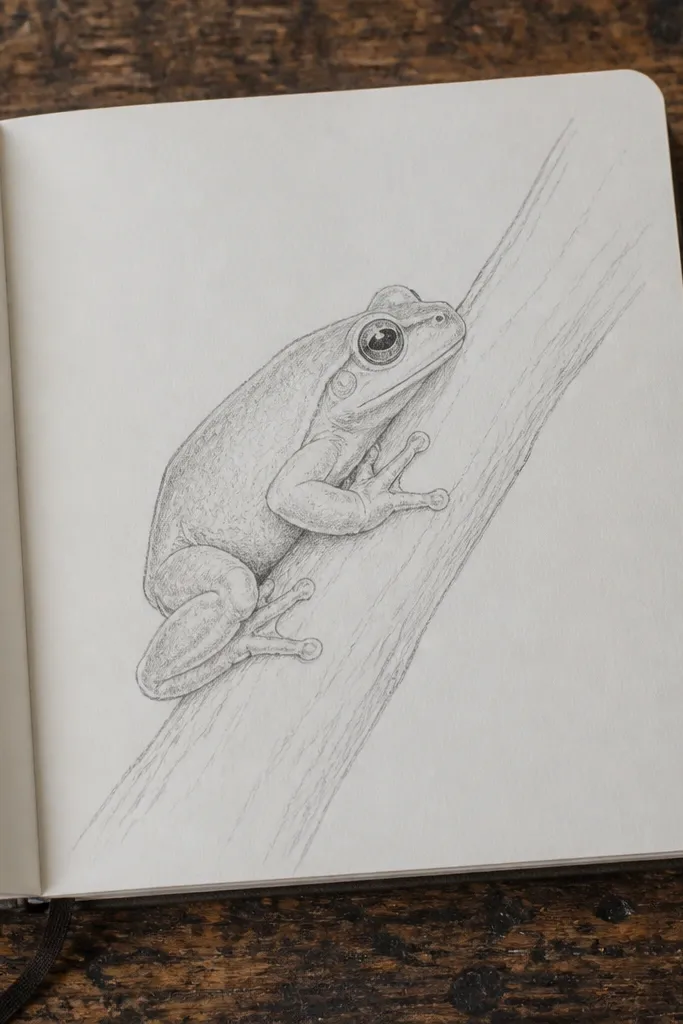
Perching on a branch gives you a strong diagonal line, which makes the drawing look more dynamic. The frog can be drawn sideways with a simple bean body and one visible eye, so it stays beginner-friendly. Add a few branch bark lines and keep them light so the frog remains the focus. This one looks great because the branch creates a natural “stage” and the toes curl around it like little hooks.
Step 1: Draw the branch first as a curved cylinder line with two parallel edges, then add bark texture with short strokes. Step 2: Sketch the frog as a sideways oval body on top of the branch, then draw one eye oval on the near side. Finally, add legs as curved lines reaching around the branch and a small mouth line.
Pro tipAdd one highlight line on the branch edge using a white gel pen after coloring.
AvoidDon’t outline the branch too thick; if it competes with the frog, the composition feels off.
18. Frog with Striped Legs and Simple Face
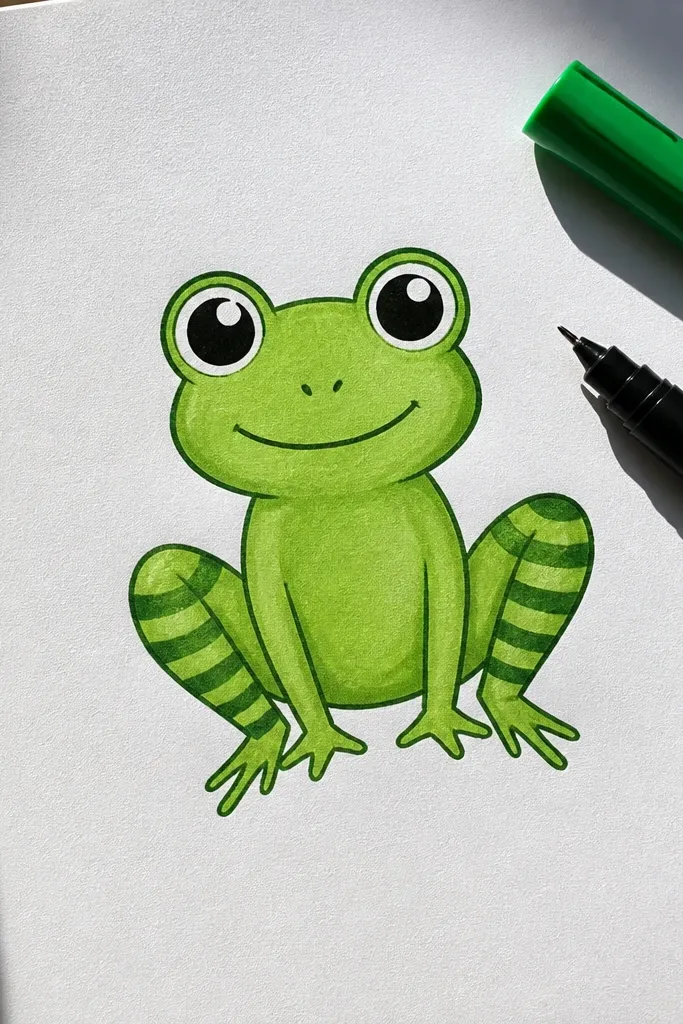
Stripes are easy to draw cleanly and they add a “designed” look. Keep the face minimal — two big eyes and a small smile — then focus your patterning on the legs only. That restraint keeps it from turning into a messy pattern all over the body. Use 3-5 stripe bands on each leg and color them slightly darker than the base. The result is playful and very readable.
Step 1: Draw the frog head and body as simple ovals, then place two eye circles and a mouth curve. Step 2: Add legs as rounded shapes extending from the bottom, then draw 3-5 stripe lines across each leg. Finally, ink the outline and stripes, then color the base and lightly shade the stripe bands darker.
Pro tipKeep stripes the same angle on both legs so the pattern looks intentional.
AvoidAvoid adding stripes to the belly; it makes beginner coloring look uneven.
19. Frog Wearing Sunglasses
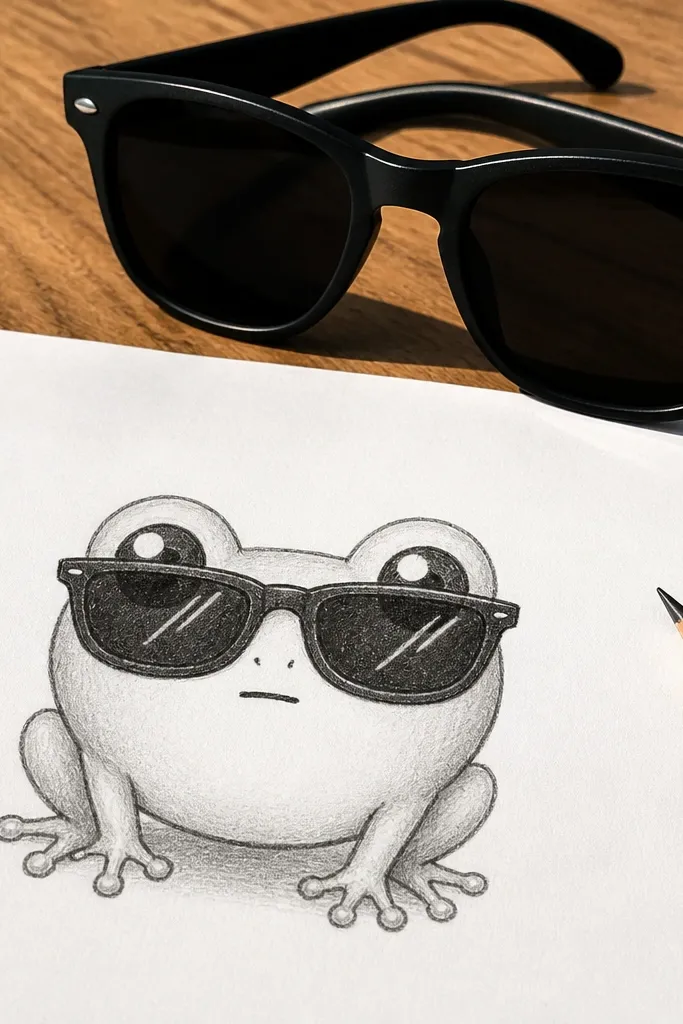
Sunglasses turn a plain frog face into a character instantly. You draw two curved frames over the eyes, then keep the rest simple: a round head, small mouth, and short legs. The sunglasses create a strong horizontal shape that looks great in photos and drawings. Add a tiny reflection line on each lens for a polished look. This is an easy win if you want something funny and clean.
Step 1: Draw the frog head as an oval and place two eye ovals lightly as guides. Step 2: Draw sunglasses frames across the eyes, then add a small bridge line and side arms. Finally, draw the mouth curve and outline everything in black, then add two small reflection lines on the lenses.
Color the lenses with a light gray-blue, then leave one highlight strip uncolored.
Don’t cover the whole face with dark lenses; leave the highlight so it still looks cute.
20. Frog with Cute Hand Shadow Under Chin
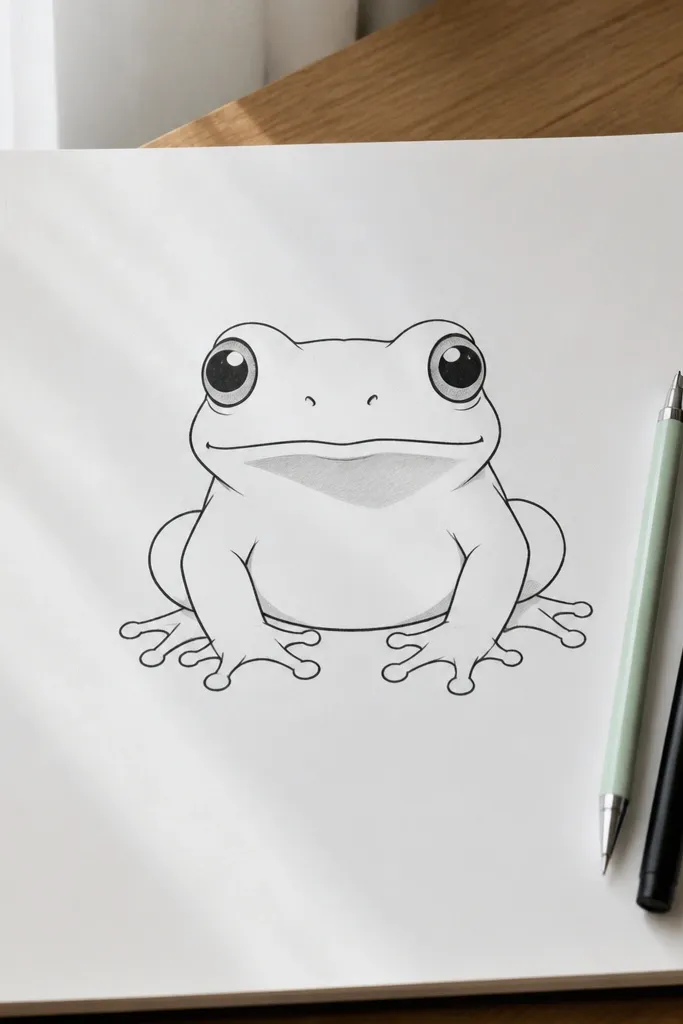
This is a shading-first drawing for beginners who want “better” without learning full rendering. The only shading is a simple shadow shape under the chin and one small shadow on the belly edge. That limited shading gives volume and makes the frog look like it sits on paper. Keep the rest clean: big eyes, simple mouth, and minimal texture. This drawing is easy to reproduce and looks polished even if your coloring is light.
Step 1: Draw a front-facing frog with a rounded head and oval body, then ink the outline. Step 2: Place two large eye circles and a small smile, then erase pencil lines. Finally, draw a soft curved shadow under the chin and lightly fill it with a gray-green pencil, leaving the edges lighter.
Shade with side of the pencil, not the tip, so you get a soft edge.
Don’t add multiple random shadows; one chin shadow is what keeps it clean.
21. Frog Sitting on a Polished Stone
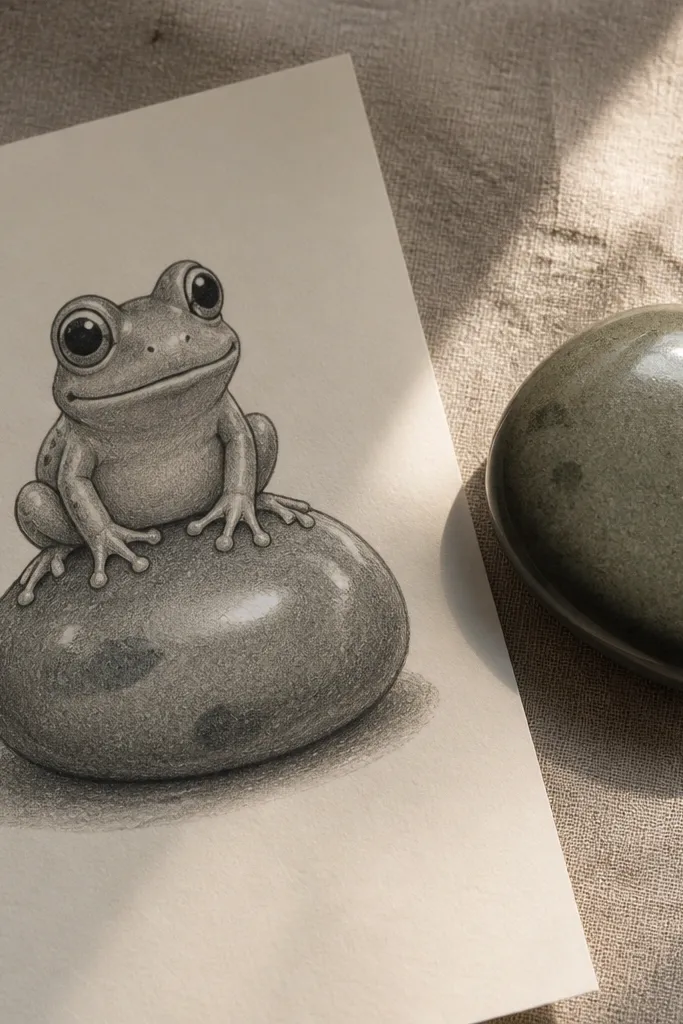
This idea adds realism without realism work. A smooth stone gives you one curved highlight and a simple shadow, so the frog looks grounded. The frog stays cute with a big face and rounded body, and the stone becomes a simple base shape. Use a gray-green palette and keep stone texture minimal: 2-3 darker patches and one highlight streak. It’s photogenic because you get contrast between smooth stone and rounded frog outline.
Step 1: Draw the stone as a large rounded oval, then sketch the frog sitting on top with a smaller head oval and big eyes. Step 2: Ink both outlines, then add two small legs and toe bumps gripping the stone edge. Finally, add stone shading with 2-3 darker patches and a single highlight streak left uncolored.
Try a light gray pencil for the stone, then cool it with a tiny touch of blue-gray for the darker patches.
Avoid lots of rock speckles; too much texture fights the frog.
22. Frog with a Bow Tie
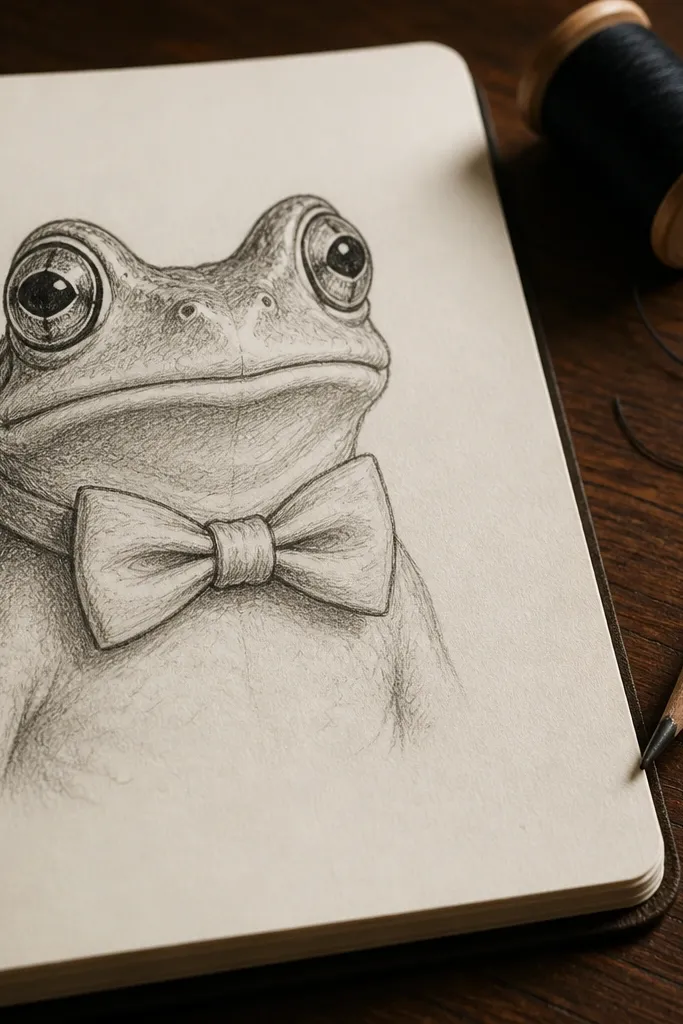
Accessories make your drawing look finished even when the frog body is simple. A bow tie is a clear shape: two loops and a center knot. Put it low on the neck so it doesn’t crowd the face. Keep the frog’s eyes large and bright-looking with highlights. Add a tiny shadow under the bow knot so it looks attached, not floating. This is a great project if you want a clean character portrait for a page or card.
Step 1: Draw the frog head and body as connected ovals, then place eye circles and a small smile. Step 2: Add a neck line and draw the bow tie loops as two symmetrical teardrops with a thin outline. Finally, add the center knot shape and two tiny lines for the bow tails, then outline the frog and erase pencil marks.
Make the bow loops slightly wider than the mouth so the accessory reads clearly.
Avoid drawing bow tie lines too thick; it can overpower the face.
23. Frog Holding a Tiny Mushroom
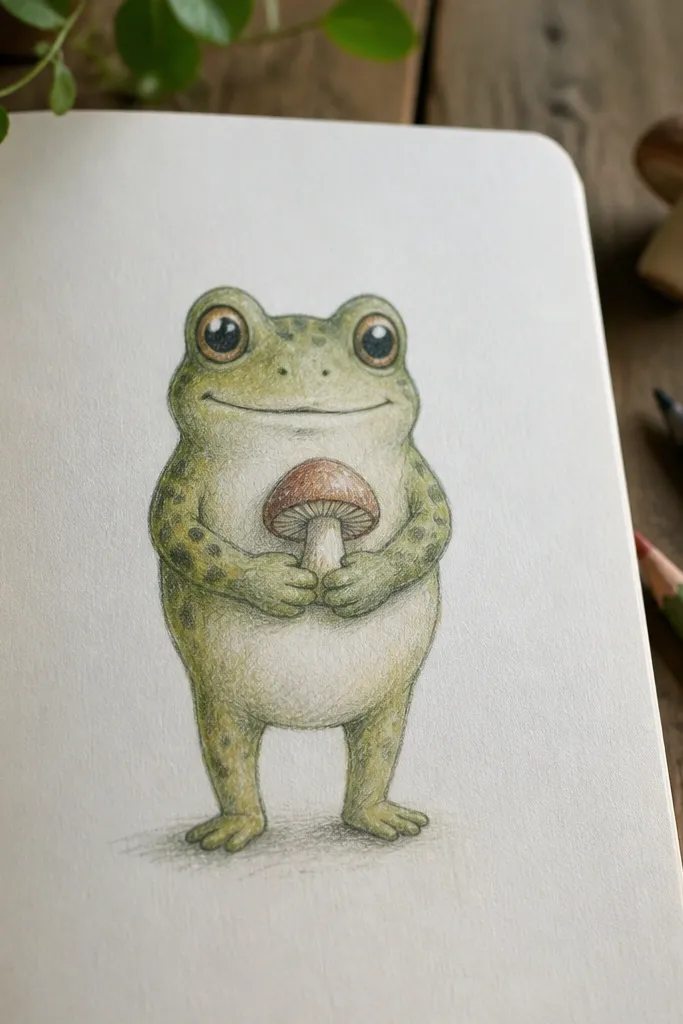
This frog looks like it belongs in a storybook because the mushroom cap is a clear, iconic prop. The frog’s job is simple: big eyes, friendly mouth, and two mitten-like arms. The mushroom gives you a strong red or brown color area and a curved stem highlight. Keep mushroom gills simple as short curved lines under the cap. This is a fun choice if you want color contrast and a “scene” in under 30 minutes.
Step 1: Draw the frog first with a rounded head, big eyes, and a small smile, then add two arms as rounded shapes in front. Step 2: Draw the mushroom cap above the arms as an oval with a slightly curved edge, then add the stem as a simple rounded cylinder. Finally, add 6-10 short gill lines under the cap and outline everything in black.
Pro tipColor the mushroom cap first, then outline the stem edge darker so it looks like a clean object.
AvoidDon’t make the mushroom too big; if it’s larger than the frog head, the composition feels unbalanced.
24. Frog with a Smudge-Free Color Patch
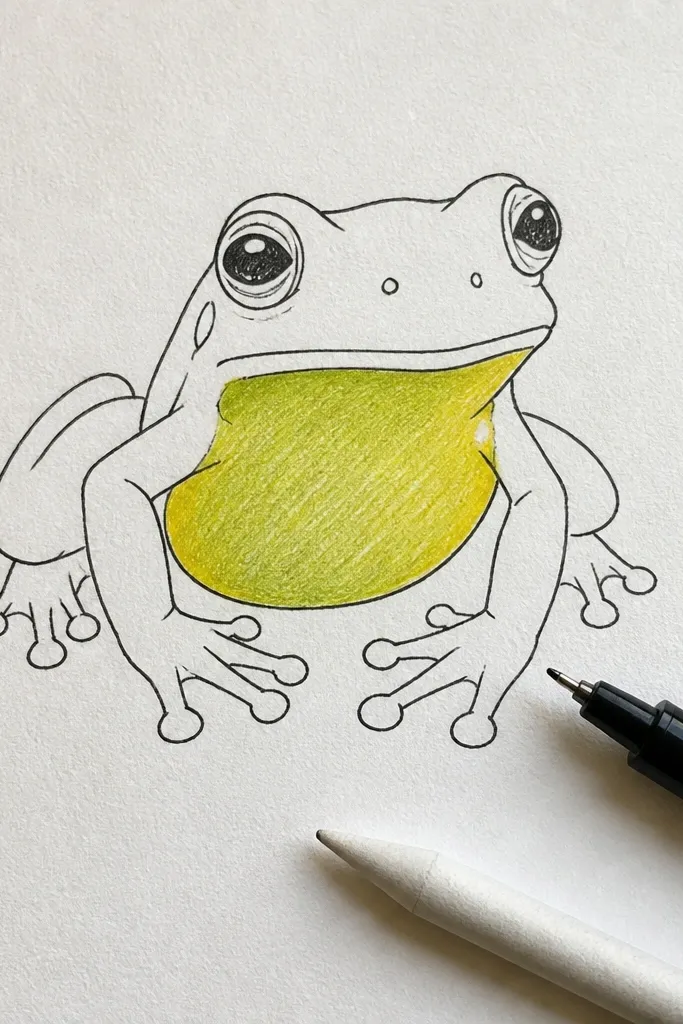
Clean color patches make beginner drawings look sharper than full-body coloring. This idea uses one controlled patch area, like a belly patch or shoulder patch, so you avoid messy gradients. The frog outline stays crisp with a fineliner, and the patch fills with colored pencil in tight strokes. Add a tiny highlight on the eye to keep it lively. This is the best choice if your coloring usually smears or bleeds into outlines.
Step 1: Ink a simple frog outline with a fineliner, then erase pencil marks lightly. Step 2: Choose one patch area, like the belly, and lightly pencil in the patch shape. Finally, color inside the patch with colored pencil using short strokes, then add a small shadow under the chin using a light gray-green pencil.
Pro tipColor in one direction only for the patch so it stays smooth and doesn’t look streaky.
AvoidAvoid pressing hard while filling; heavy pressure creates waxy smudges that break the clean look.
25. Frog with a Cute Bow on Its Back
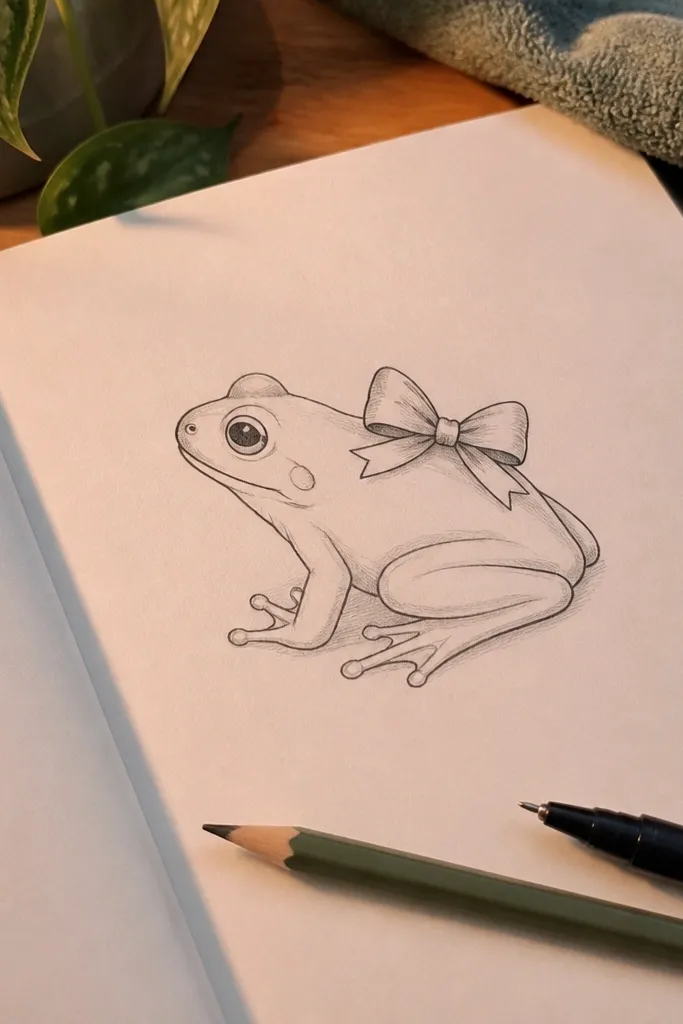
A bow on the back is a clever way to add detail without changing the frog’s construction much. Draw the frog face and body in a simple seated pose, then place a small bow centered on the back curve. The bow loops give you two symmetrical shapes, which beginners can repeat easily. Keep the bow lines crisp and add a tiny knot shadow so it reads as a raised object. It looks adorable in photos because the bow creates a clear design element.
Step 1: Draw a seated frog with a rounded back and two big eye circles, then ink the outline. Step 2: Place the bow on the back by drawing two loops and a small center knot, aligning it with the frog’s spine curve. Finally, draw two legs and toe bumps, then add a short tail line and a light shadow under the bow knot.
Use a slightly darker pencil for the knot shadow so it doesn’t disappear into the body color.
Avoid placing the bow too high; it should sit on the back curve, not on the head.