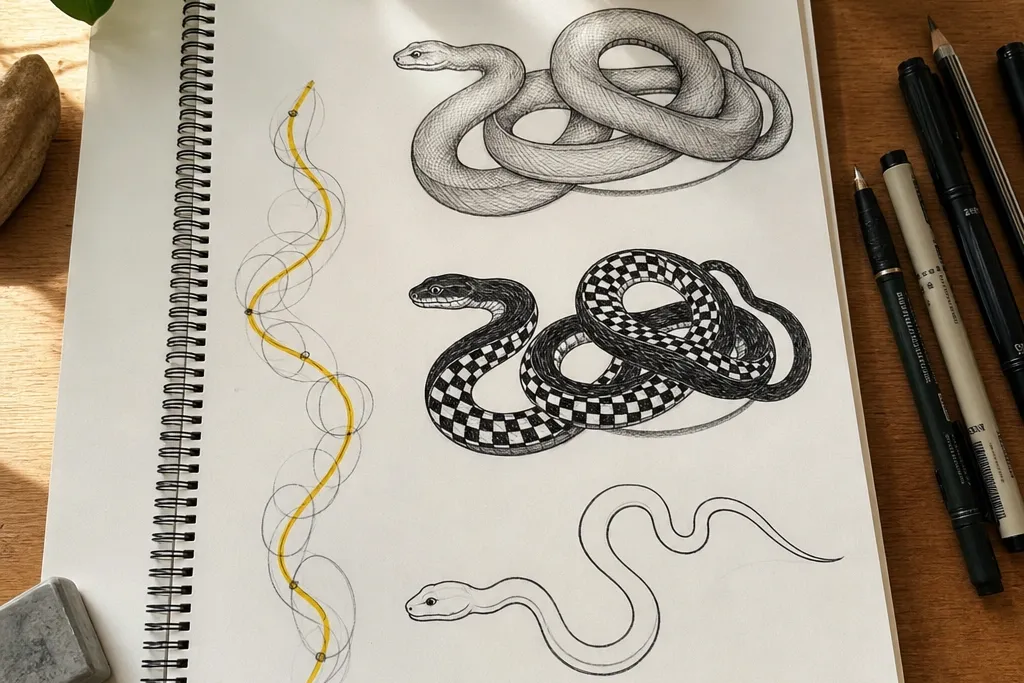

1. Coiled Ribbon Snake with Stripe Bands
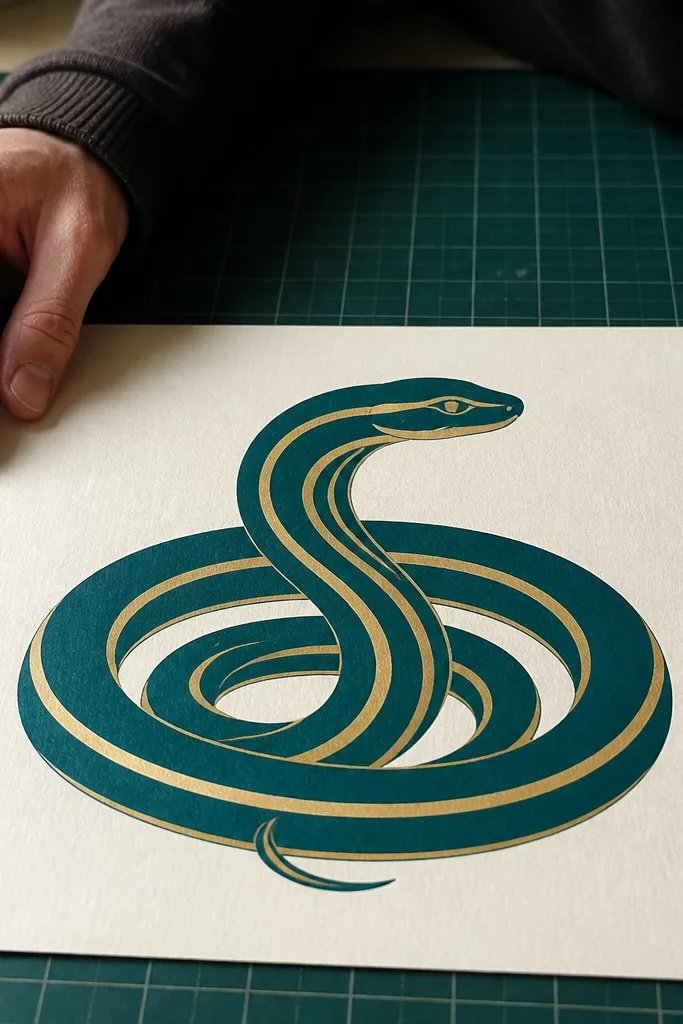
This one looks clean because the body reads like a ribbon: smooth curve, big silhouette, and repeating stripes that never get lost. Start with a thick spine curve, then wrap stripe bands around it so the pattern lands on the coil’s outer edge and inner edge. Use two stripe widths only — thick and thin — so the drawing stays beginner-friendly and still looks designed. It’s great for sketchbook pages because the coil creates a natural frame around the head.
Step 1: Draw a big S-shaped coil with two to three loops, then sketch an oval head at the top end. Add a centerline and lightly mark 6-10 stripe band positions along the body. Step 2: Ink the outer contour first, then draw the stripe bands as curved arcs that follow the coil. Step 3: Shade one side under each stripe using soft pencil or a marker lightly, keeping highlights blank.
Keep stripe bands evenly spaced by measuring with your pencil tip to the page, not by eye.
Don’t vary stripe width randomly — that’s what makes the snake look messy instead of intentional.
2. Simple Scale Row Snake (Single Direction Shading)
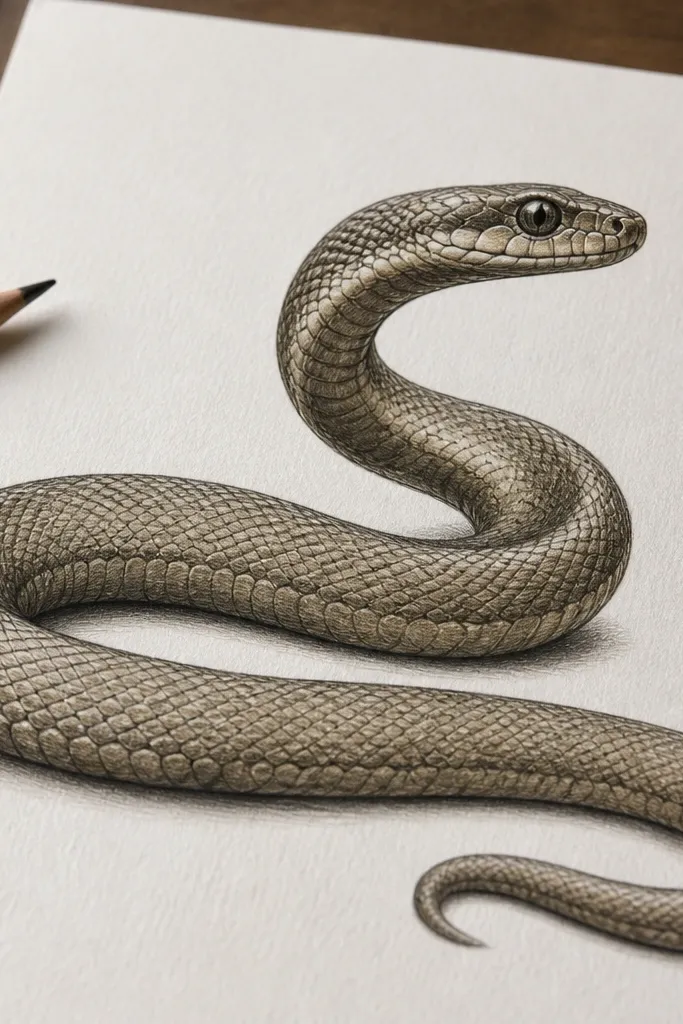
This is the best beginner-friendly snake drawing idea when you want realism without tons of tiny details. The trick is one directional shading: shade under the belly curve and along the “back” ridge, while leaving the top edge lighter. Scale rows look good when they follow the body’s bend; each row should curve like a smile. It’s photogenic because the texture reads clearly even in a small image.
Step 1: Draw a gentle wave spine, then add a rounded belly and a narrower back. Place the head at one end with a simple oval snout and two small eye dots. Step 2: Starting near the neck, draw scale rows as repeating curved Vs or U-shapes that follow the spine direction. Step 3: Shade only one side with a light gradient, then add a darker line along the belly edge to separate body from background.
Pro tipUse bigger scale shapes near the head and gradually shrink them slightly as the body narrows.
AvoidDon’t shade every scale evenly; you’ll flatten the snake and lose the 3D curve.
3. Sidewinder Track Snake with Footprint Texture
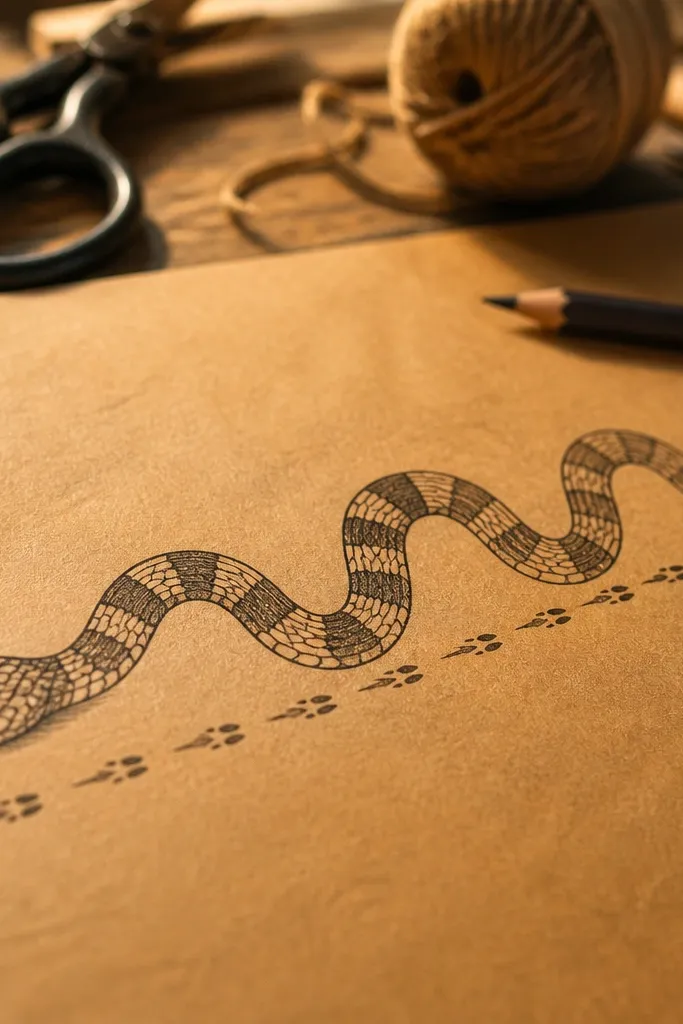
Sidewinder-style drawings look aesthetic because the snake’s body is broken into segments with alternating contact points. You get instant pattern and rhythm: the body arcs, and the “track” marks repeat along the ground line. This idea is beginner-friendly because you don’t need perfect anatomy — you just need consistent spacing. It also photographs well because the ground line and repeating marks create a strong composition.
Step 1: Draw a horizontal ground line, then sketch the snake as 5-7 disconnected arcs that touch the ground at alternating points. Add a head bump at one end with a small triangular snout. Step 2: Between each arc, draw a short footprint-like oval or comma-shaped mark on the ground line. Step 3: Outline the body segments, then shade the underside of each arc with a light pencil or marker wash.
Pro tipKeep the spacing between arcs consistent; repeating spacing is what makes sidewinder art look deliberate.
AvoidDon’t connect every segment — the gaps are what sell the sidewinder look.
4. Cartoon Chibi Snake with Big Eyes and Tiny Scales
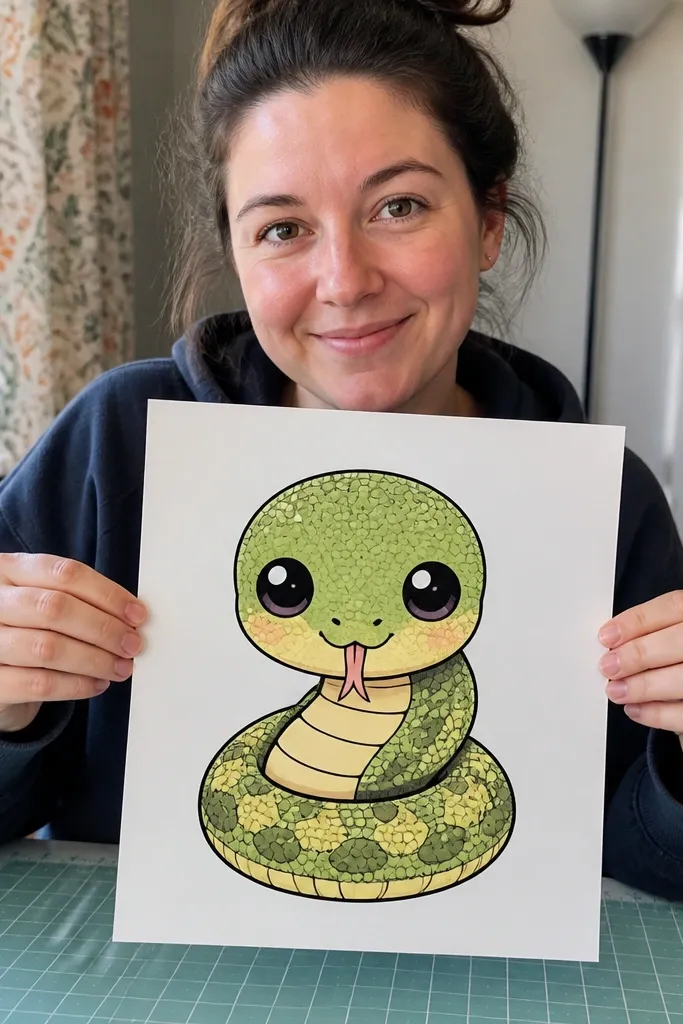
This one is for when you want “cute first” beginner-friendly snake drawing ideas that still look polished. Big eyes lock the face in place, and tiny scale dots give texture without the stress of drawing perfect shapes. Keep the tongue simple: one curved line with a fork. The result is photogenic because the head is high-contrast and the body is simplified to support it.
Step 1: Draw a rounded head with two oversized eyes and a small nose dot. Add a short neck that turns into a thick curve body. Step 2: Along the body, place tiny scale dots in alternating rows, like half-moons or commas. Step 3: Ink the outline dark, then add a lighter belly curve and one small shadow under the chin.
Pro tipIf your scales look uneven, switch to dots. Dots forgive mistakes and still read as texture.
AvoidDon’t over-detail the body while leaving the face plain; the face needs the first round of clarity.
5. Pattern Snake: Checker Belly with Dark Contour
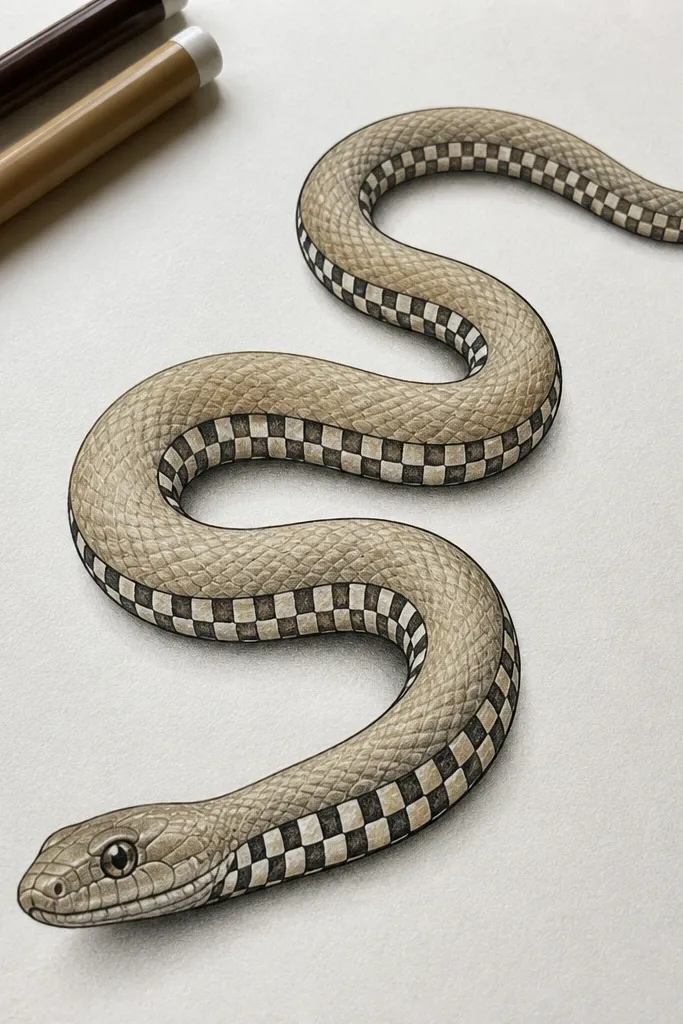
Checker patterns look sharp on snakes because the shapes align with the body curve and create instant depth cues. The dark contour matters here: it makes the checker belly feel like it’s sitting on top of the lighter back. This is beginner-friendly because the pattern does the heavy lifting; you’re repeating squares and half-squares. It’s also great for ink drawings that need to pop in photos.
Step 1: Draw the snake as a single curve with a clear belly line, then add a head with a simple jaw outline. Mark the belly area as a strip along the underside. Step 2: Draw checker squares inside that strip, using half-squares near the edges so the pattern follows the curve. Step 3: Ink the outer contour and head details, then shade the back with light strokes while leaving the checker belly mostly white.
Use a ruler for the checker size lightly at first, then freehand once the first row is set.
Don’t put checker squares across the whole body — it gets crowded and loses the belly focus.
6. Minimal Snake with One-Line Contour and Scale Dashes
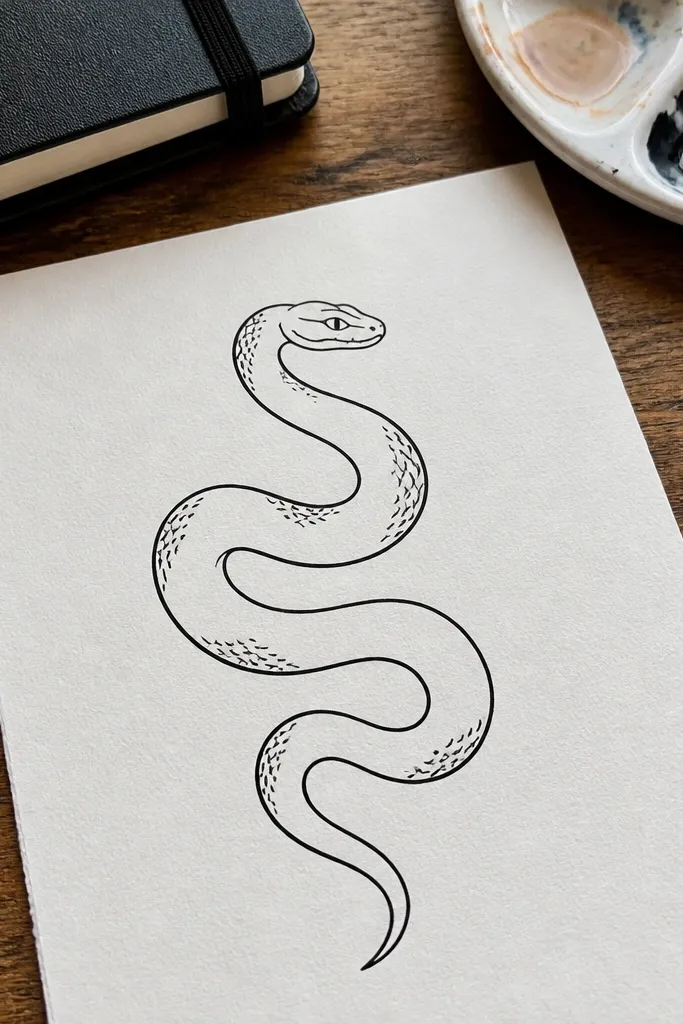
This is the clean, aesthetic option when you want something that looks like modern line art. You draw the snake with one confident contour line, then add scale dashes only where the viewer expects texture. Because the body is mostly empty, the silhouette stays readable and the drawing looks intentional. It’s also fast, which helps you practice getting the curve right.
Step 1: Draw the spine curve first, then trace a smooth one-line contour around it to form the body thickness. Place a simple head shape at one end and add a single eye dot. Step 2: Add scale dashes as short marks that curve with the body, like tiny parentheses repeated along the centerline. Step 3: Add a darker line under the belly curve to anchor the shape, then erase any pencil guides.
Use a thicker pen for the outline and a thinner pen for scale dashes so the texture doesn’t overpower the curve.
Don’t add scales everywhere; place them in a band so the drawing breathes.
7. Watercolor-Style Wash Snake with Hard Outline
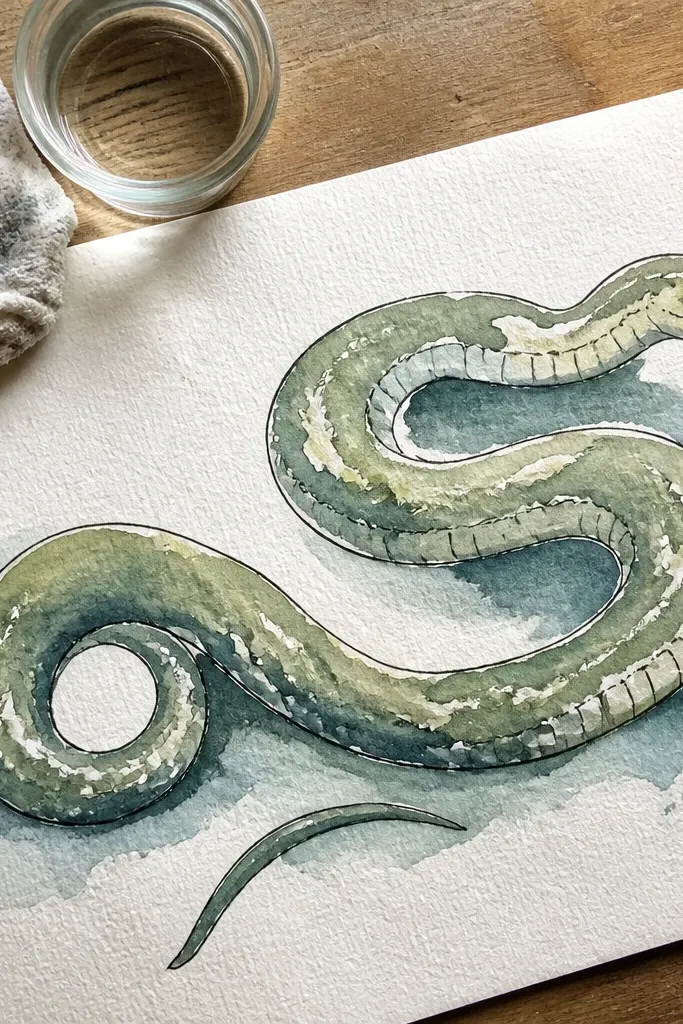
This looks artistic because the outline stays crisp while the body color melts softly. You get beginner-friendly results by using one or two wash colors and letting the paper texture do the rest. The snake looks dimensional because you leave highlights as clean paper areas and deepen the wash under the belly and around the head. It’s photogenic because the contrast between hard line and soft wash is obvious.
Step 1: Draw the snake with a dark fineliner or marker outline, keeping the body curve and belly contour clear. Add simple scale shapes as light pencil marks so you know where to deepen the wash. Step 2: Wet the body lightly with clean water, then apply a pale wash color, leaving the top highlight area unpainted. Step 3: Add a darker wash under the belly and around scale lines, then let it dry fully before adding a few extra outline touch-ups.
Use the lightest wash first. You can always darken later, but you can’t lift pigment back cleanly.
8. Geometric Snake with Triangle Scales
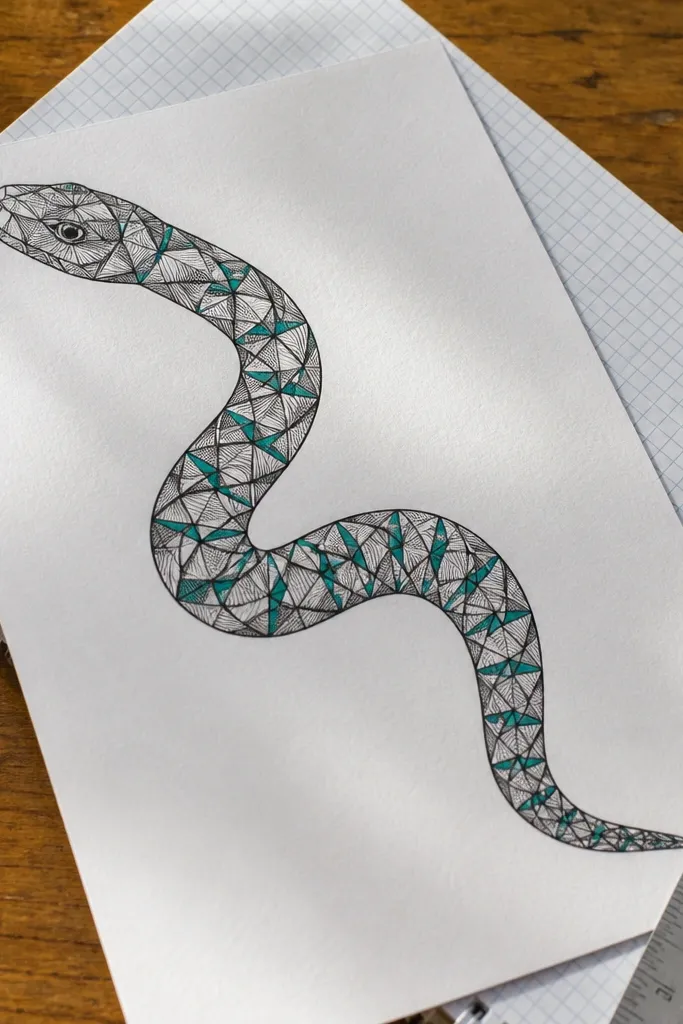
Geometric triangle scales look striking because they create a crisp texture that reads instantly. It’s beginner-friendly because you repeat one triangle pattern and follow it along the curve. Keep the triangles consistent in size, then adjust only their orientation slightly as the body bends. The look is modern and photo-friendly, especially if you use a dark outline and one flat color fill.
Step 1: Sketch the snake spine as a curve, then draw a simple head with a triangular snout. Lay out a scale grid by drawing a centerline and placing triangle rows along it. Step 2: Fill the body with repeating triangles, alternating up and down so the pattern locks together. Step 3: Ink the outer contour and the triangle edges lightly, then shade with one flat tone and darker shading under the belly edge.
Start with a straight section of body first, finish triangles there, then continue those same triangles around the curve.
Don’t change triangle size mid-body; size changes make it look like a different pattern.
9. Spiral Coil Snake with Concentric Scale Rings
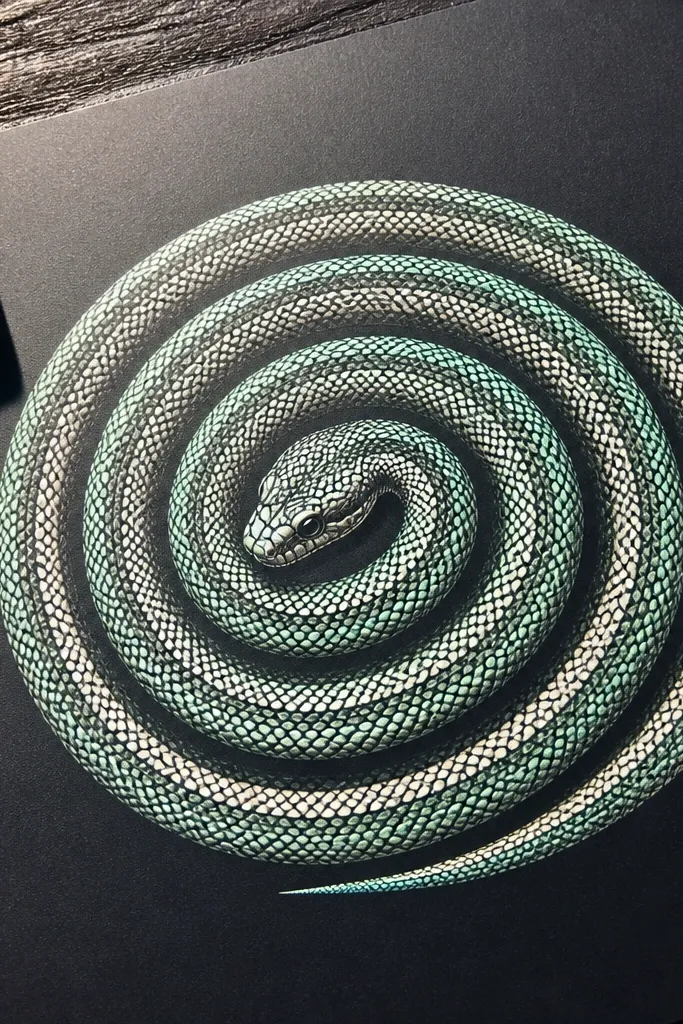
A spiral coil creates a strong composition by itself, and concentric rings make it look decorative. This is beginner-friendly because you can draw the rings as repeated arcs without worrying about tiny scale shapes. The snake looks polished because the ring spacing is uniform and the head sits inside the spiral with clear eye placement. It’s perfect for a sketchbook cover-style page.
Step 1: Draw a spiral coil using 5-7 evenly spaced loops, then add a head on the outer edge. Lightly mark ring positions along the spiral. Step 2: Draw concentric scale rings as curved bands that follow each loop, leaving small gaps for highlights. Step 3: Darken the outer contour and add a shadow line where each loop overlaps the next.
Use a compass or a jar lid to help you keep the spiral spacing even.
Don’t pack the rings too tight; tight rings smear visually and lose the ring pattern.
10. Koi-Pattern Snake with Wavy Scale Tiles
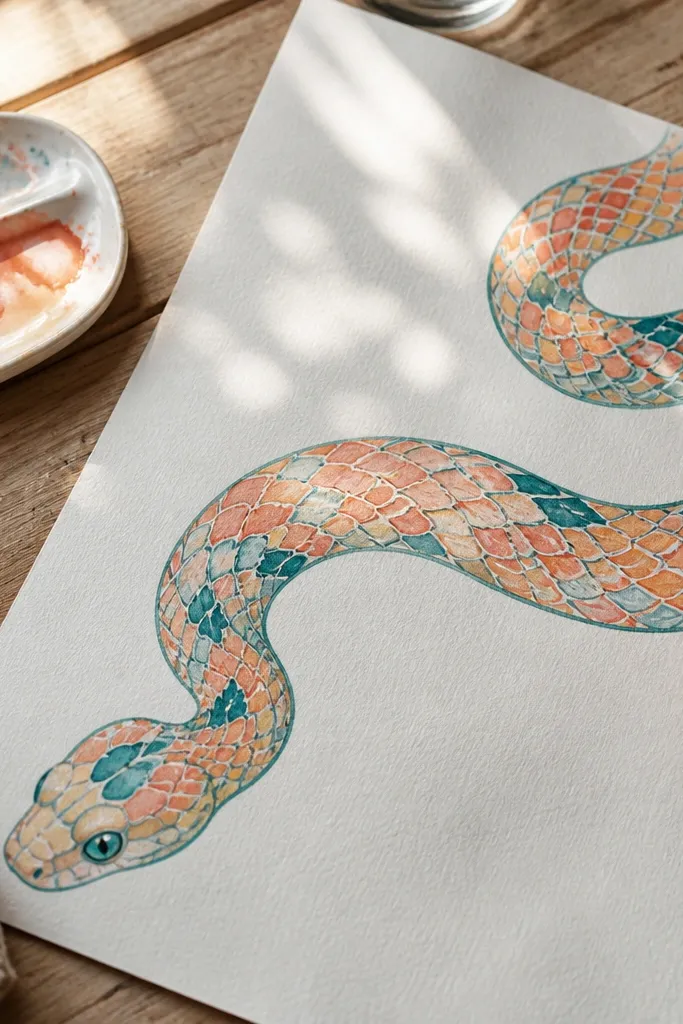
Wavy tile patterns look gorgeous because they feel layered without being complicated. The trick is to use one tile shape and repeat it, with slight overlap. This idea is beginner-friendly because each tile is a simple curve, and the body curve helps you place them. It photographs well because the repeating tiles create texture and the overlap gives depth.
Step 1: Draw a curved snake body with a clear belly line and a round head. Sketch one tile shape along the body as a small curved oval with a notch. Step 2: Repeat the tile shape in rows, overlapping each row slightly so it reads as layered scales. Step 3: Ink the tile outlines for the top layer and leave the under-layer lighter, then add a belly shadow to anchor the body.
Keep the tile notch facing the same direction along the entire body for a consistent look.
Don’t flip tile orientation randomly; it breaks the layered rhythm.
11. Rainbow Band Snake on Dark Paper
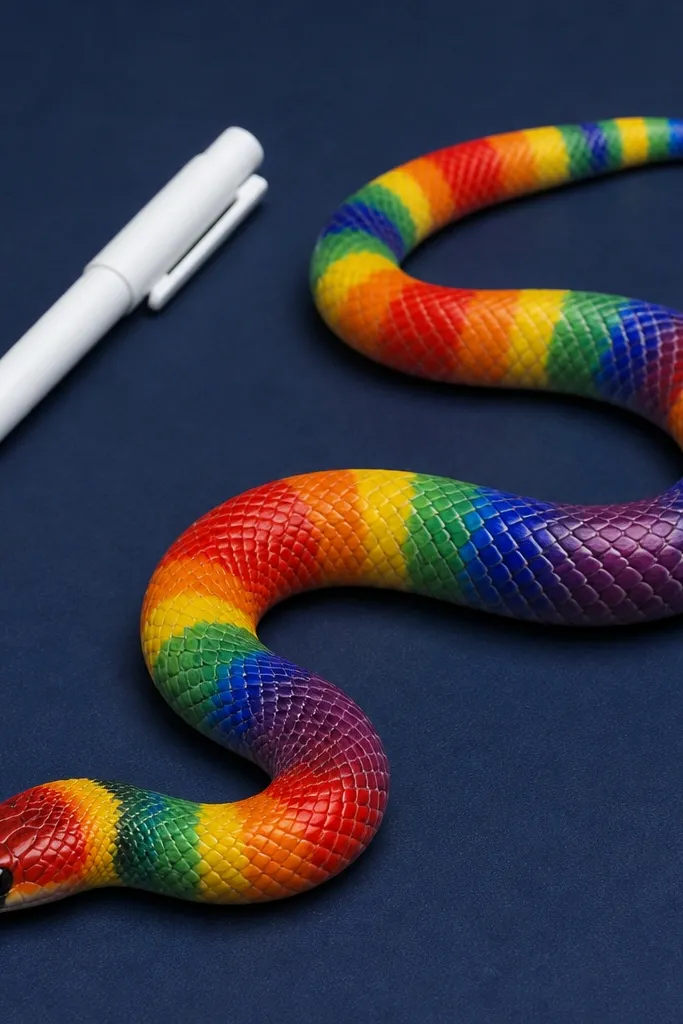
If you want maximum photogenic impact, this is it: bright rainbow bands on dark paper make the snake pop instantly. Beginner-friendly snake drawing ideas often fail because the lines blend into the page; dark paper fixes that by making your colors glow. Keep the bands thick and clean, and shade with a lighter version of each band color. The final look is bold and easy to photograph with a phone.
Step 1: Use dark charcoal paper or black cardstock. Draw the snake outline and belly curve in white pencil or a light chalk pencil. Step 2: Fill the body with thick rainbow bands using markers or colored pencils, leaving a thin highlight line along the top edge. Step 3: Add a darker shadow band under the belly using a mix of the band color with black, then reinforce the outline.
Use thick bands (about 1/4 inch) so the color stays readable in photos.
Don’t try to draw tiny scales on dark paper; bands look cleaner and more beginner-friendly.
12. Snake Face Study with Scale Chevrons
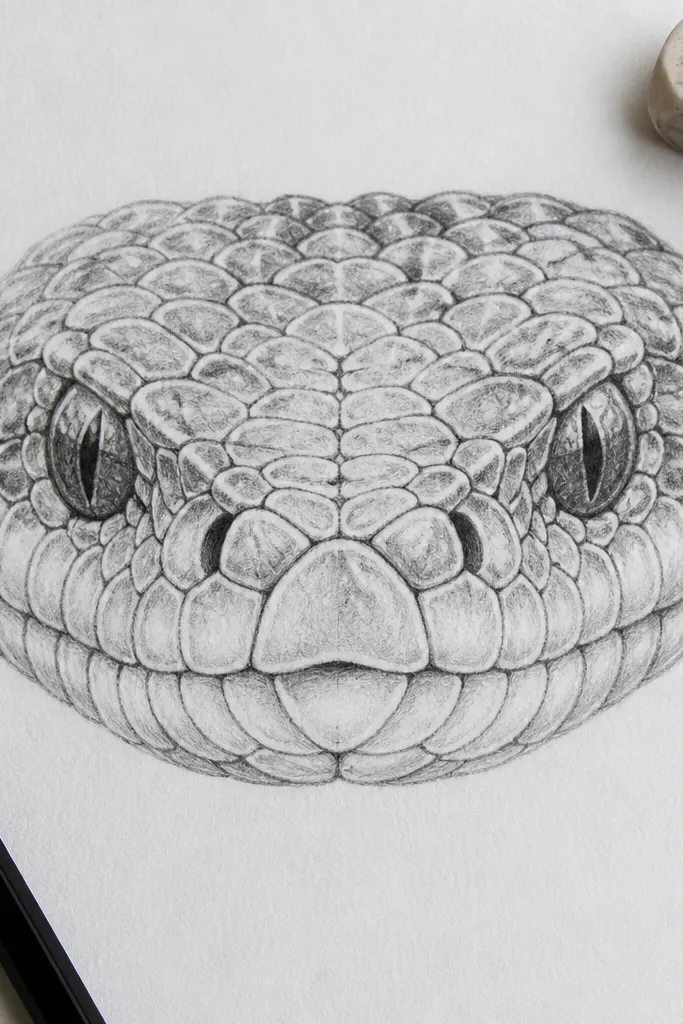
A focused head drawing is a great beginner-friendly snake drawing idea because it teaches you how scales wrap around the face. Chevrons around the mouth and between the eyes create structure fast. This looks good even without a full body because the face has symmetry, and the eye placement makes it feel alive. It’s also easy to shade: you shade under the brow ridge and along the chin curve.
Step 1: Draw an oval head, then place eyes as two almond shapes with a small highlight dot inside. Add a simple mouth line and a small forked tongue. Step 2: Draw chevron scale rows starting between the eyes and radiating toward the cheeks. Step 3: Shade the brow ridge darker, then add a soft gradient under the chin and around the mouth line.
Keep chevrons larger near the eyes and smaller near the snout tip for a realistic wrap.
Don’t make the eyes too large or too high; place them centered so the head reads correctly.
13. Bamboo Snake with Leafy Side Pattern
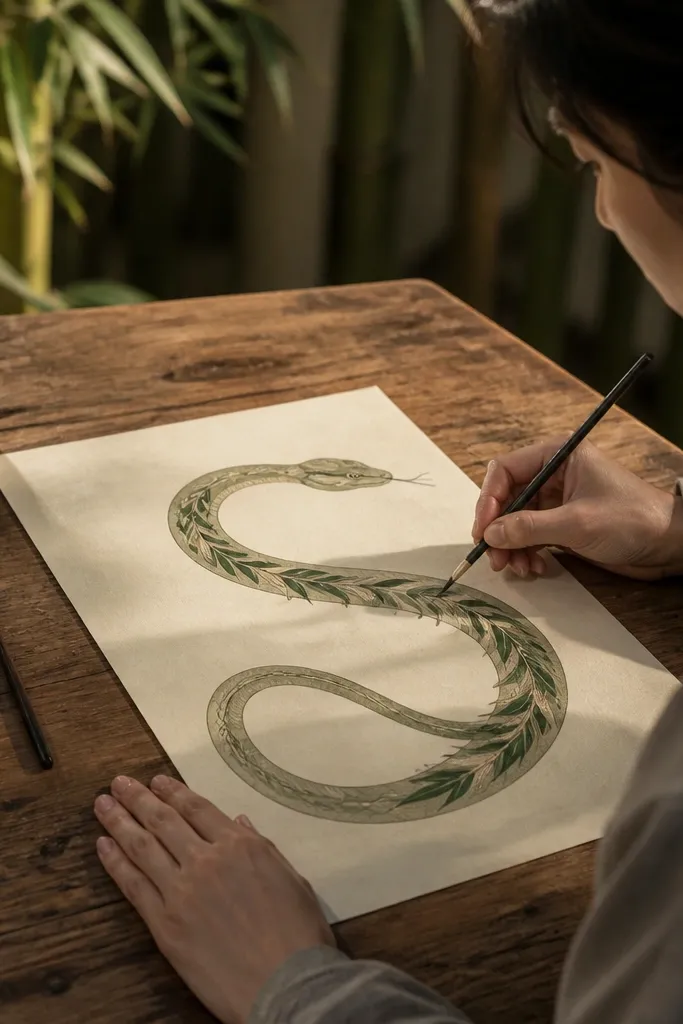
This one looks aesthetic because the pattern lives on one side of the body, like a decorative stripe. Leafy shapes are easier than scale dots because they’re larger and you can keep them consistent. It’s beginner-friendly because you only need to repeat one leaf motif along the side curve. The snake still reads clearly because the belly stays simple and the head has a clean outline.
Step 1: Draw a gentle S-curve snake, then outline a simple head with a small nostril mark. Mark a single side band along the upper flank where the leaves will go. Step 2: Draw leaf shapes as teardrops with a center vein line, repeating them along the band. Step 3: Shade the belly lightly and add a darker outline under the body curve to separate it from the background.
If leaves look messy, simplify them to teardrops with one vein line and stop there.
Don’t add leaf motifs on both sides; one-side decoration keeps it readable.
14. Mirror-Image Snake with Symmetry Stripes
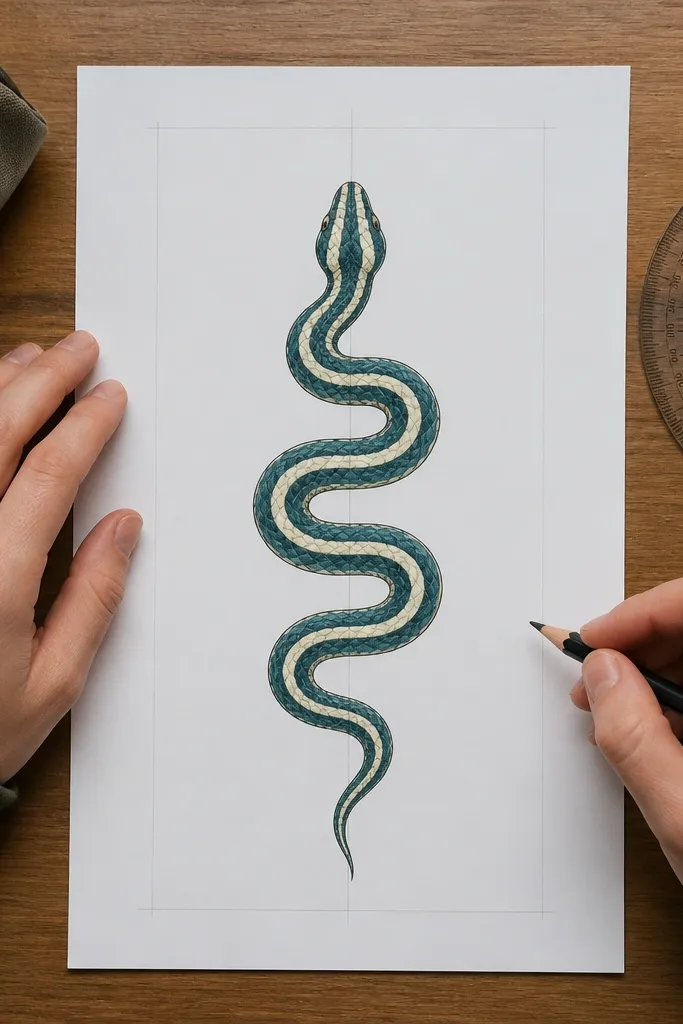
Symmetry makes beginner-friendly snake drawing ideas look instantly more skillful. This design uses a clear spine line and mirrored stripe placement so both sides match. It’s photogenic because the stripes create a graphic, poster-like look. You can keep it simple: two stripe types and one belly highlight line. The result looks intentional even if your curves are still improving.
Step 1: Draw a centerline spine, then sketch the body outline with a consistent belly curve. Lightly mark stripe positions on one side only. Step 2: Ink the stripes on the left side, then mirror them on the right side using the centerline as your guide. Step 3: Add a single belly shadow stroke and a darker line around the head outline.
Pro tipUse light pencil marks for stripe placement, then ink after you’re sure both sides match.
AvoidDon’t ink both sides at once; mirror after you finish one side so you catch mismatches early.
15. Scale Dot Gradient Snake (Ombre Belly Texture)
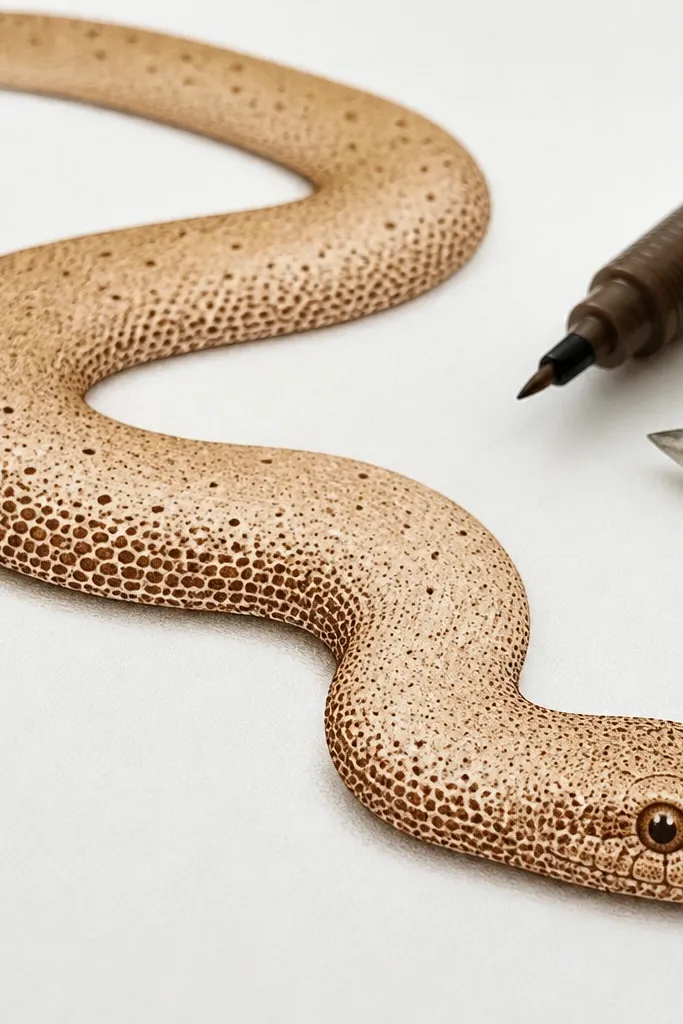
Dot gradients look fancy without being hard. This idea uses a repeating dot pattern that gets denser toward the belly, then fades toward the top. It’s beginner-friendly because you’re not drawing individual scales — you’re placing dots in a controlled gradient. The snake looks 3D because the dot density creates a soft shadow effect.
Step 1: Draw the snake in side view with a clear belly curve and a simple head. Add a light guide line that marks where the dot gradient begins. Step 2: Place dots in rows along the belly area, starting sparse and gradually increasing density toward the underside. Step 3: Keep the top half mostly blank except for a few dots near the back ridge, then add a final outline pass to clean the silhouette.
Use a consistent dot size by tapping your pen tip lightly rather than dragging.
Don’t make random dot sizes; uneven dot size breaks the gradient read.
16. Snake in a Frame: Border Pattern with Repeated Scales
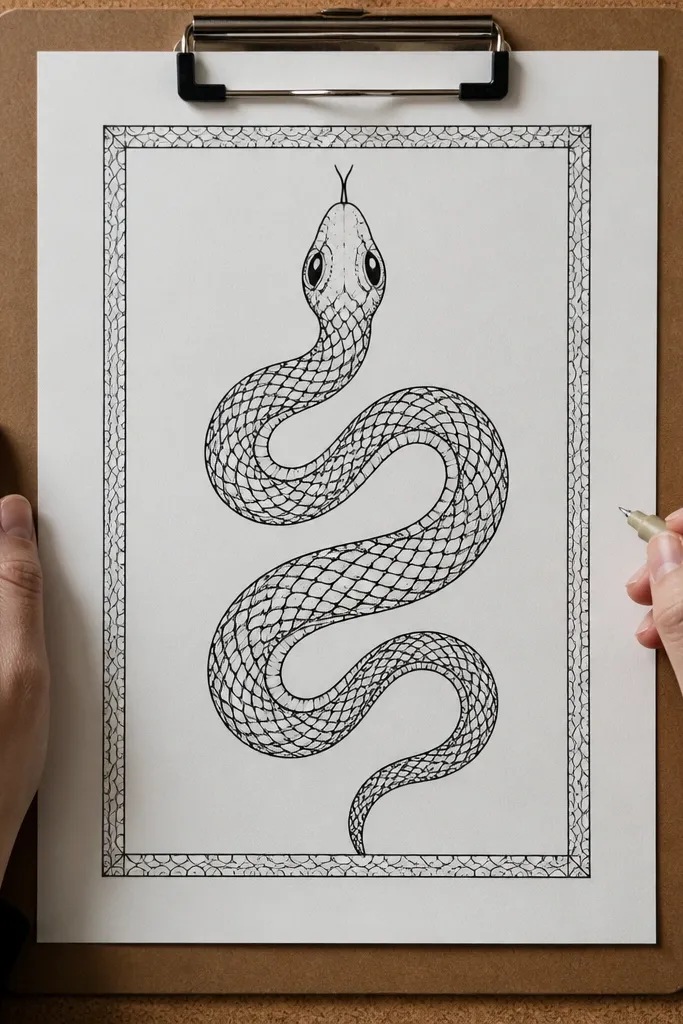
Framing gives your drawing instant polish. This beginner-friendly snake drawing idea puts the snake inside a rectangle border, then repeats a small scale motif along the snake and border edges. The composition feels finished because the eye has a boundary. It also photographs well because the border creates a clean edge for your phone camera and makes cropping easy.
Step 1: Draw a rectangle border around your page with a thin margin, then sketch a coiled snake inside. Step 2: Choose one small scale shape (like a tiny curved V) and repeat it along the snake body. Step 3: Add a matching scale motif on the border corners or one side of the frame, then ink the border and snake outlines last.
Make the border thinner than the snake outline so the snake stays the focus.
Don’t fill the whole page with scales; use the border as a frame, not a second subject.
17. Minimal Blackwork Snake with White Highlight Cutouts
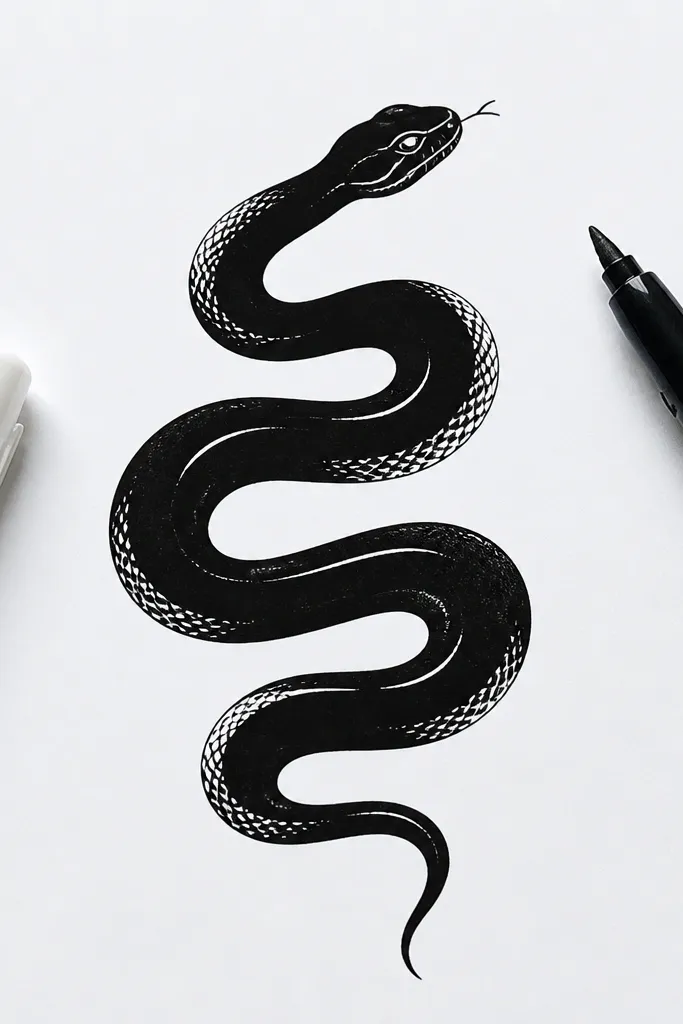
Blackwork looks dramatic because the contrast is extreme. This idea uses solid black shapes for the body, and you leave thin white highlight lines as “cutouts.” It’s beginner-friendly because you’re filling large areas, not drawing thousands of scales. The snake reads instantly in photos, and the white highlight line gives a clean sense of form.
Step 1: Draw a simple snake outline and belly curve, then lightly sketch one highlight stripe along the top. Step 2: Ink the body with solid black, leaving the highlight stripe blank. Step 3: Add a few scale-like marks near the head using white gel pen or uninked gaps, then darken the underside shadow with a second black pass.
Pro tipUse a white gel pen for tiny details after the black ink dries; it stays crisp.
AvoidDon’t smear black fill into the highlight stripe; keep the edge clean.
18. Tribal Snake with Loop Spirals and Belly Bands
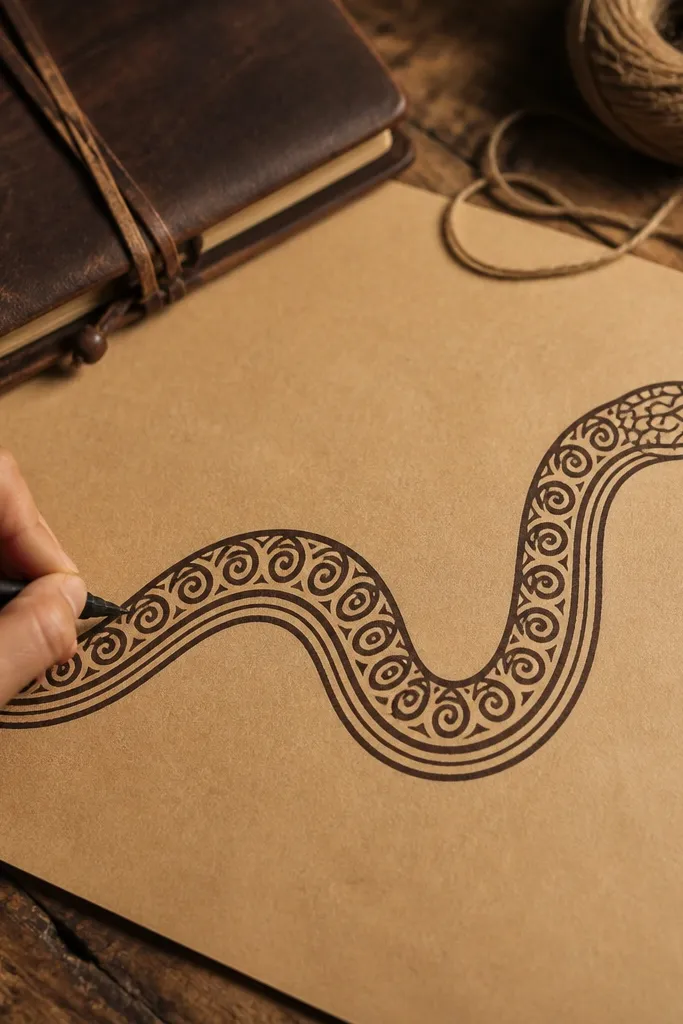
Tribal loop patterns look complex, but beginners can nail them by using one loop motif and repeating it. The belly bands keep the drawing grounded and stop the loops from floating. This is beginner-friendly snake drawing ideas territory because you’re building from a clear body curve and repeating motifs in rows. It’s photogenic due to the thick black shapes and the repeating rhythm.
Step 1: Draw the snake curve and head outline, then draw two belly band guides with light pencil. Step 2: Inside the top section, repeat a loop spiral motif (a small curved loop with a tighter inner curve) in rows that follow the body bend. Step 3: Ink thickly, then add white gel highlights on one edge and clean up overlaps with a fine pen.
Pro tipKeep all loop spirals the same size; if the loops change, the tribal look collapses.
AvoidAvoid overcrowding. Leave some body area unfilled so the pattern breathes.
19. Snake with Polka-Scale Pattern and One Bright Accent
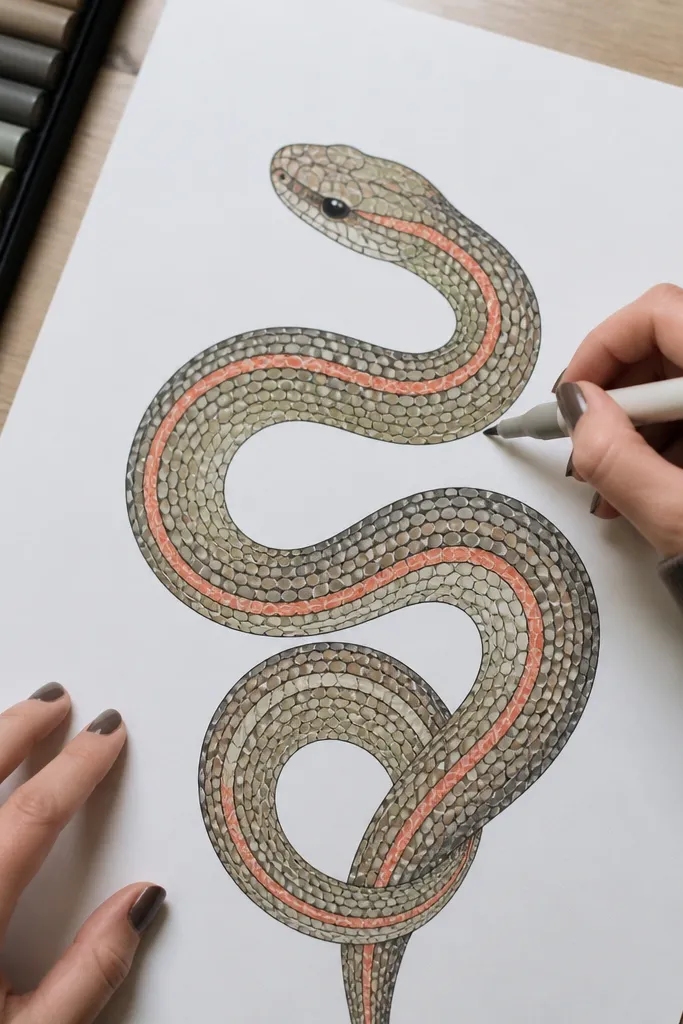
This design uses polka-scale dots for texture and adds one bright accent stripe for a modern, graphic look. It’s beginner-friendly because dots are forgiving and you only have to color one area. The accent stripe makes the snake feel like a planned illustration, not a random coloring sheet. Great for marker users who want a clean finish without layering ten colors.
Step 1: Draw the snake outline and belly curve, then add a center spine line. Step 2: Fill most of the body with polka-scale dots in rows, keeping dot spacing consistent. Step 3: Color one stripe along the spine with a bright marker, then lightly shade the belly with a neutral tone so the stripe pops.
Choose one accent color that’s opposite your paper tone for maximum contrast in photos.
Don’t add multiple bright accents; one stripe reads cleaner and looks more intentional.
20. Ribbon Snake with Patterned Head Crest
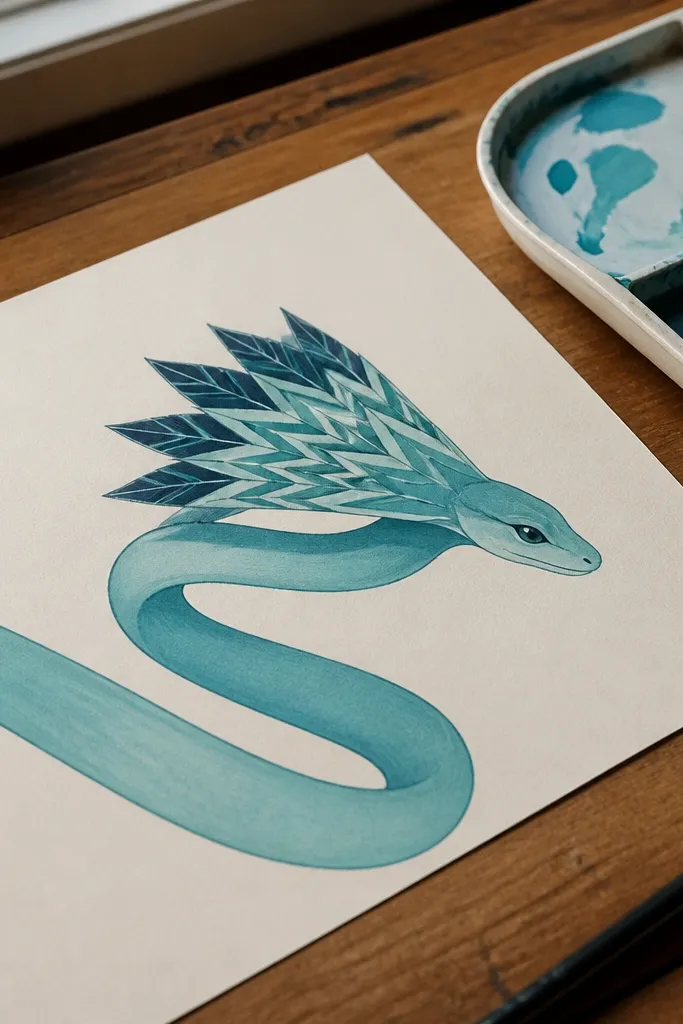
A patterned head crest makes the whole snake look more designed, even when the body stays simple. This beginner-friendly snake drawing idea gives you a focal point: the head crest can be stripes, chevrons, or tiny triangles. Keep the body as a smooth ribbon curve so the crest is the star. It’s photogenic because viewers naturally zoom in on the head details.
Step 1: Draw the body as a single flowing ribbon curve, then sketch an oval head at one end. Step 2: Add a crest on top of the head using 5-7 repeating shapes like small triangles or chevrons. Step 3: Add two or three simple stripe bands on the body for balance, then ink the outline and crest edges.
Pro tipMake crest shapes slightly larger than the body pattern so they stay readable at a glance.
AvoidDon’t overload the body with the same crest pattern; one crest is enough.
21. Paper-Cut Shadow Snake (Layered Outline Effect)
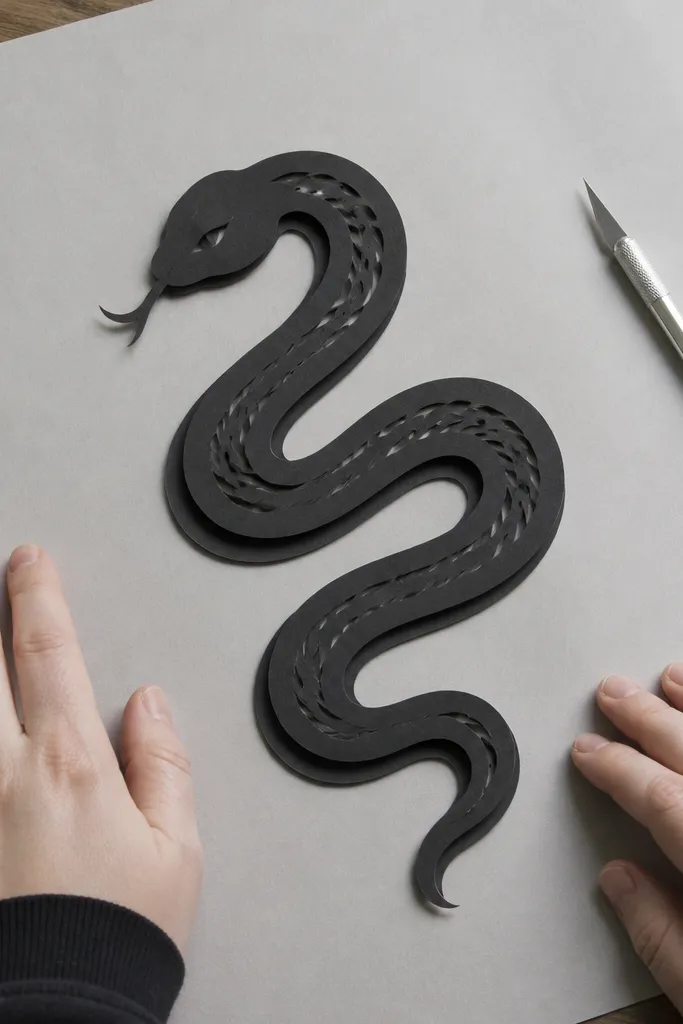
This is an aesthetic trick that works even with basic drawing skills. You draw the snake outline, then trace a slightly offset second outline behind it, creating a paper-cut shadow effect. Add a few scale dashes on the top layer only. It’s beginner-friendly because you’re repeating the same outline shape, not drawing detailed scales across the whole body. The result looks like a graphic illustration, not a sketch.
Step 1: Draw your snake outline in black and keep the line bold and smooth. Step 2: Trace the same snake again, offset it a few millimeters down and to the side, and fill that offset layer with light gray or colored pencil. Step 3: Add scale dashes on the top layer only, then erase any pencil clutter so the layered look stays clean.
Pro tipUse a consistent offset direction (always down-right) so the shadow feels intentional.
AvoidDon’t offset too far; if the shadow layer is large, it starts to look accidental.
22. Belly-First Snake with Curved Underside Line
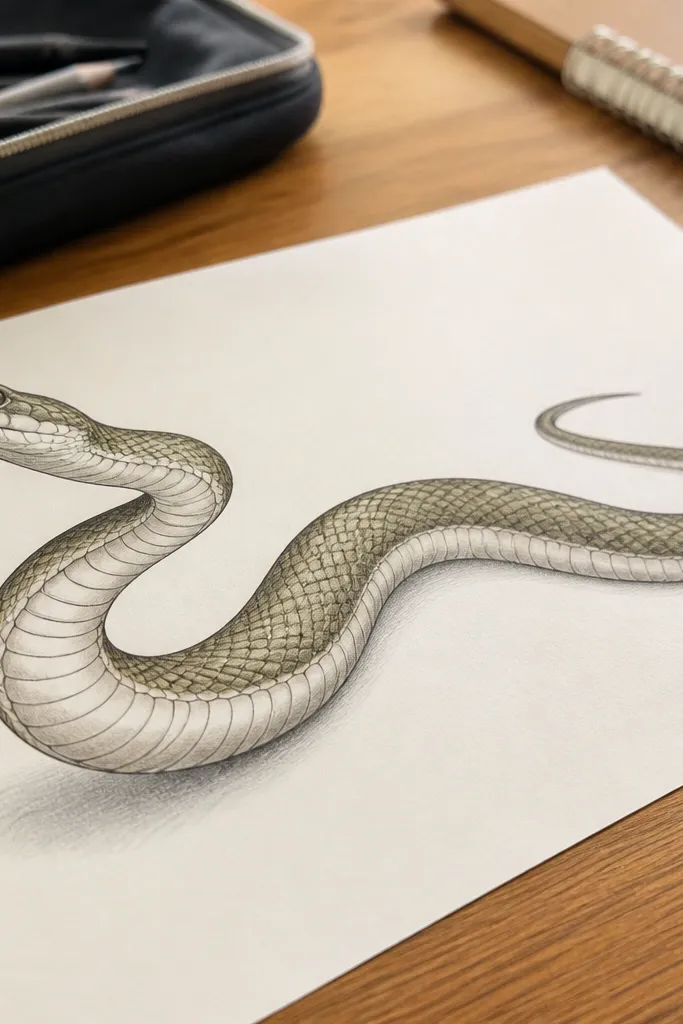
Starting with the belly line fixes the most common beginner problem: snakes that look flat. This beginner-friendly snake drawing idea begins with a strong curved underside, then you build the back contour and add minimal scales. The belly line creates the 3D curve, and you only need a small amount of texture to make it feel real. It’s photogenic because the underside shadow line gives depth right away.
Step 1: Draw a long curved belly line first, like a smooth arc. Step 2: Build the top contour by following the belly curve, narrowing toward the neck and head. Step 3: Add a few simplified scale rows on the top half and one darker shading stroke under the belly line, then ink the outer contour.
If your snake looks wrong, adjust the belly curve first. The belly curve is the anatomy anchor here.
Don’t start with a random wiggle line and then add the belly afterward.
23. Snake Silhouette with Cutout Scale Highlights
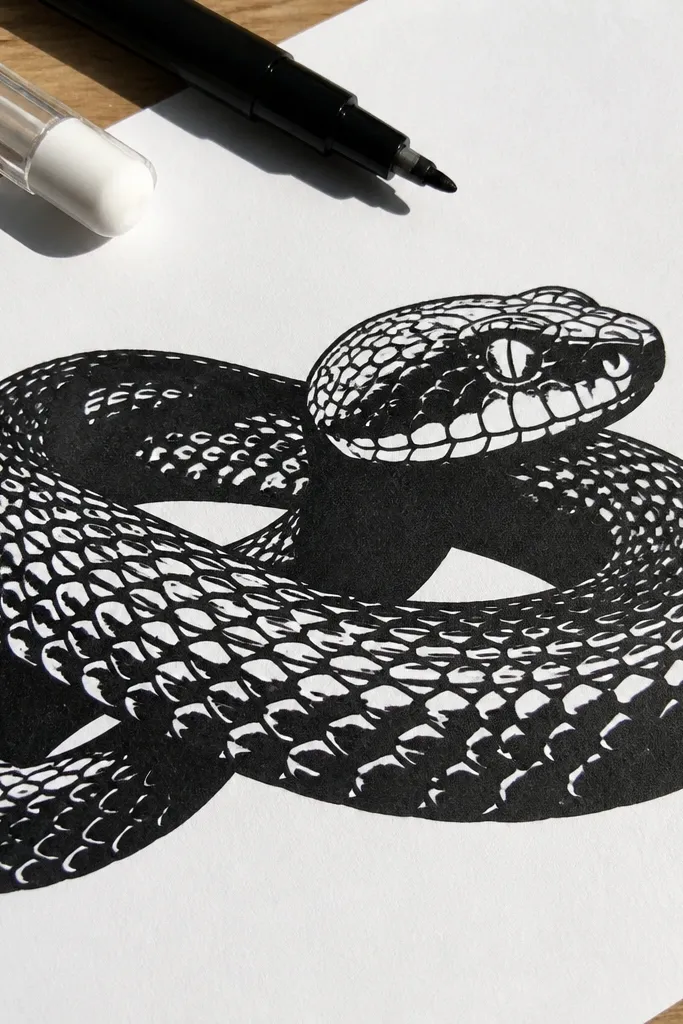
This is a graphic, high-contrast idea that looks polished with almost no shading. You draw a solid filled silhouette, then carve out scale-like highlight shapes by leaving paper white or using a white gel pen. It’s beginner-friendly because the silhouette is one shape, and the highlights are repeated small shapes. Photos love this because the edges are clean and the highlights read clearly.
Step 1: Sketch the snake silhouette with a clear head shape and a strong curve. Step 2: Fill the whole body with black marker or ink, leaving space where highlight scales will be. Step 3: Add small cutout highlight shapes as repeated tiny V or U forms along the top and sides, then reinforce the silhouette edge with a darker outline.
Plan highlights before filling. Once it’s black, you can’t easily fix highlight placement without smudging.
Don’t add too many highlight shapes; 12-20 well-placed ones look cleaner than 60.
24. Two-Tone Belly and Back with Simple Eye Stripe
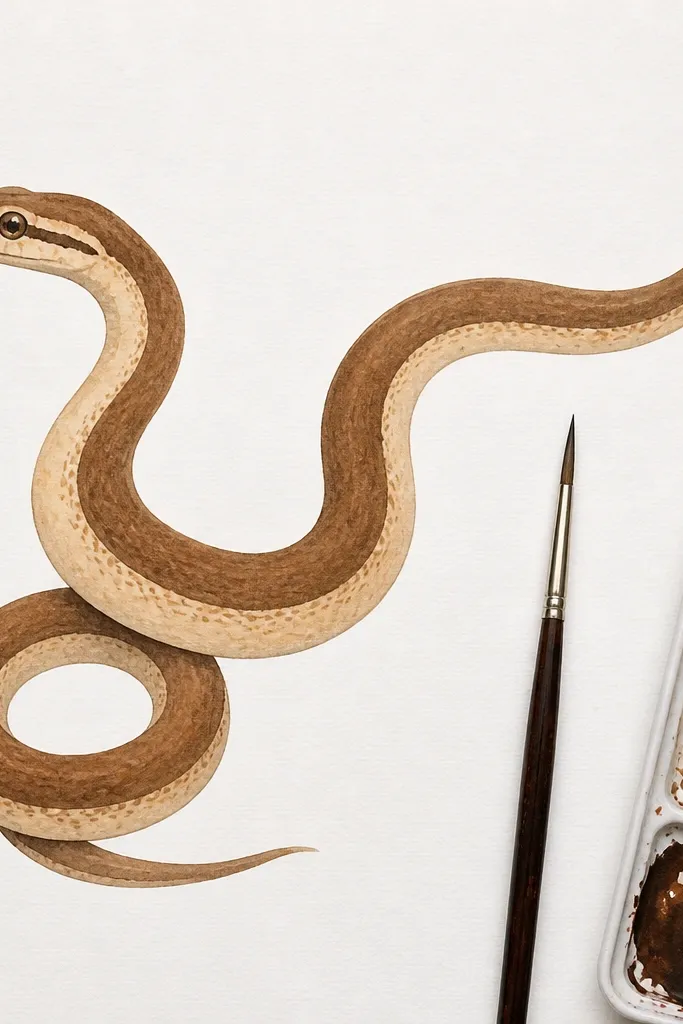
Two-tone snakes look classy without being hard. This beginner-friendly snake drawing idea uses one light tone for the belly and one darker tone for the back, plus a simple stripe running from the eye to the neck. It’s photogenic because the stripe gives the head structure and the two tones separate body planes. You can do it with pencil shading or markers by keeping the color areas clean.
Step 1: Draw the snake outline and head, then place a single eye and a small highlight dot. Step 2: Separate the belly area as a strip and shade it lighter, then shade the back darker, following the body curve. Step 3: Add an eye stripe as a curved band from the eye back, then ink the outline for crisp edges.
Use one blending pass only on the belly. Over-blending makes marker work look muddy.
Don’t add extra patterns until the two-tone separation looks clean.
25. Origami-Style Fold Snake with Facet Shading
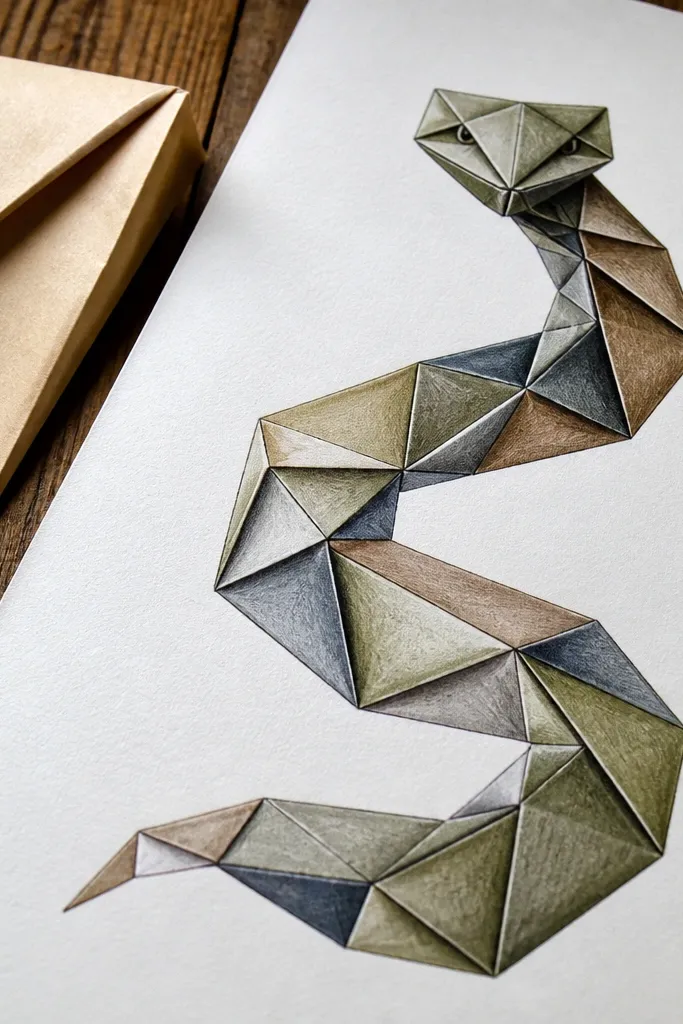
Origami-style facets make a snake feel sculpted. You draw the body as curved segments, then shade each segment as a different plane. It’s beginner-friendly because you can keep the facets large and countable. This idea looks amazing in photos because the angular shading creates a high-contrast 3D effect even with simple tools.
Step 1: Sketch the snake curve, then divide the body into 8-12 large facet sections using curved lines. Step 2: Add the head with a simple angular snout, then darken the outline. Step 3: Shade alternate facets with light and medium tones, then add a darker line along the facet boundaries to show edges.
Keep facet boundaries thicker than the internal shading so the planes read clearly.
Don’t make facets tiny; small facets blur and stop looking like origami.