
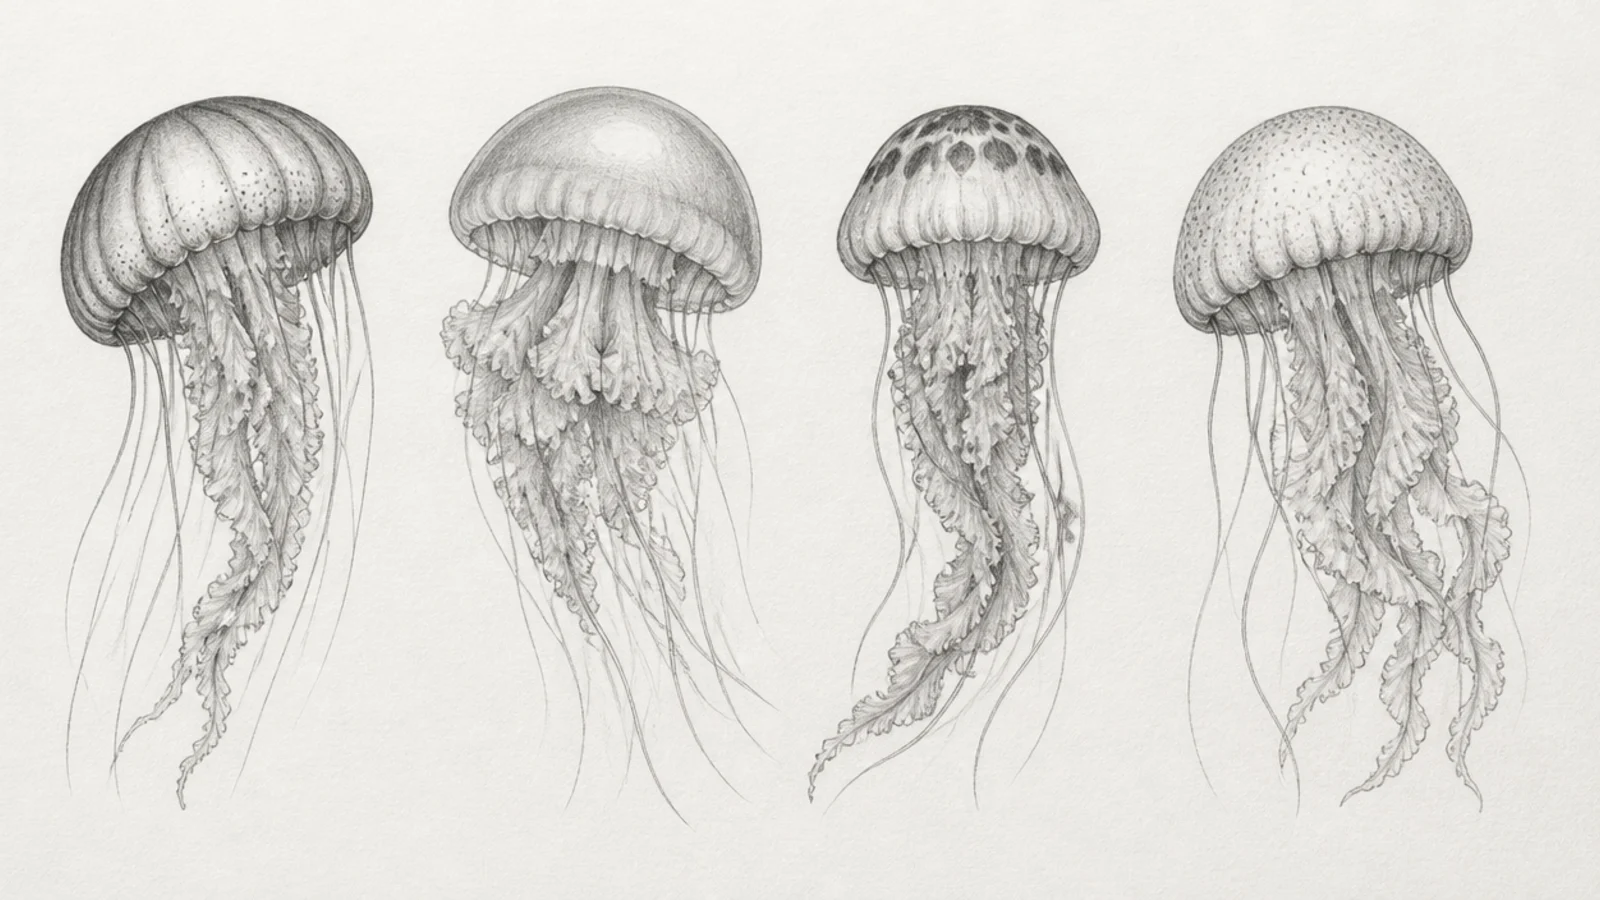
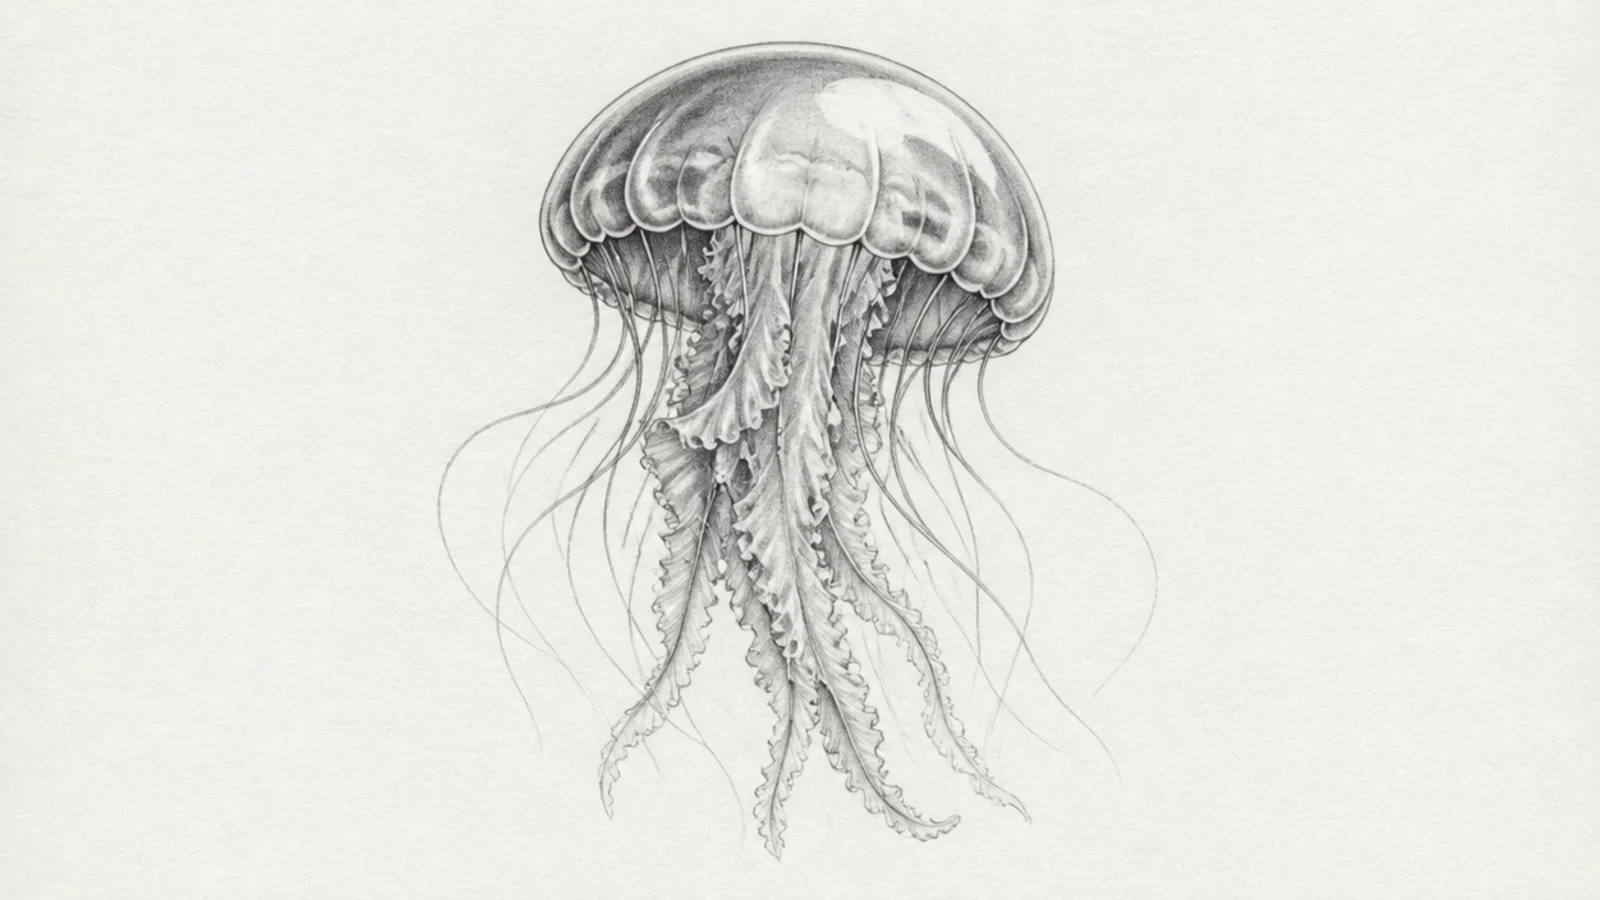
1 Basic Graphite Shaded Jellyfish
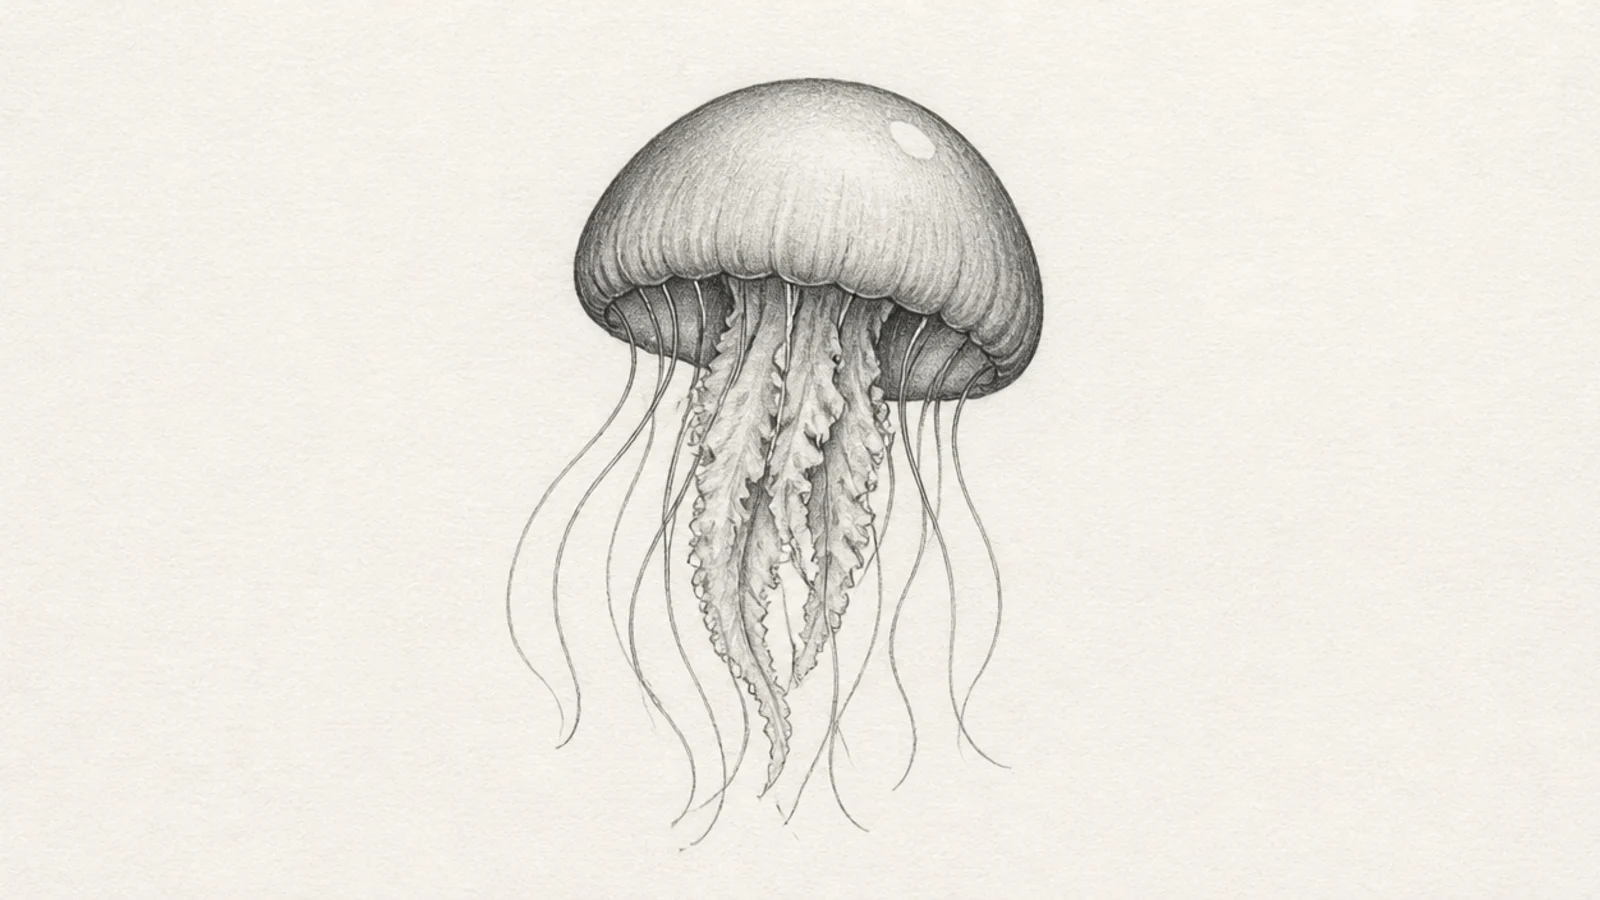
A simple jellyfish with soft graphite shading is the foundation of pencil work. Light center, darker edges, one highlight. It looks clean and dimensional.
Step 1 draw a simple jellyfish. Step 2 shade the bell darker at the edges, lighter in the center. Step 3 leave a highlight and shade the underside.
Pro tipLeave the center of the bell nearly white so it looks rounded and lit.
AvoidDon’t shade evenly; the light-to-dark range is what gives it form.
2 Realistic Pencil Jellyfish
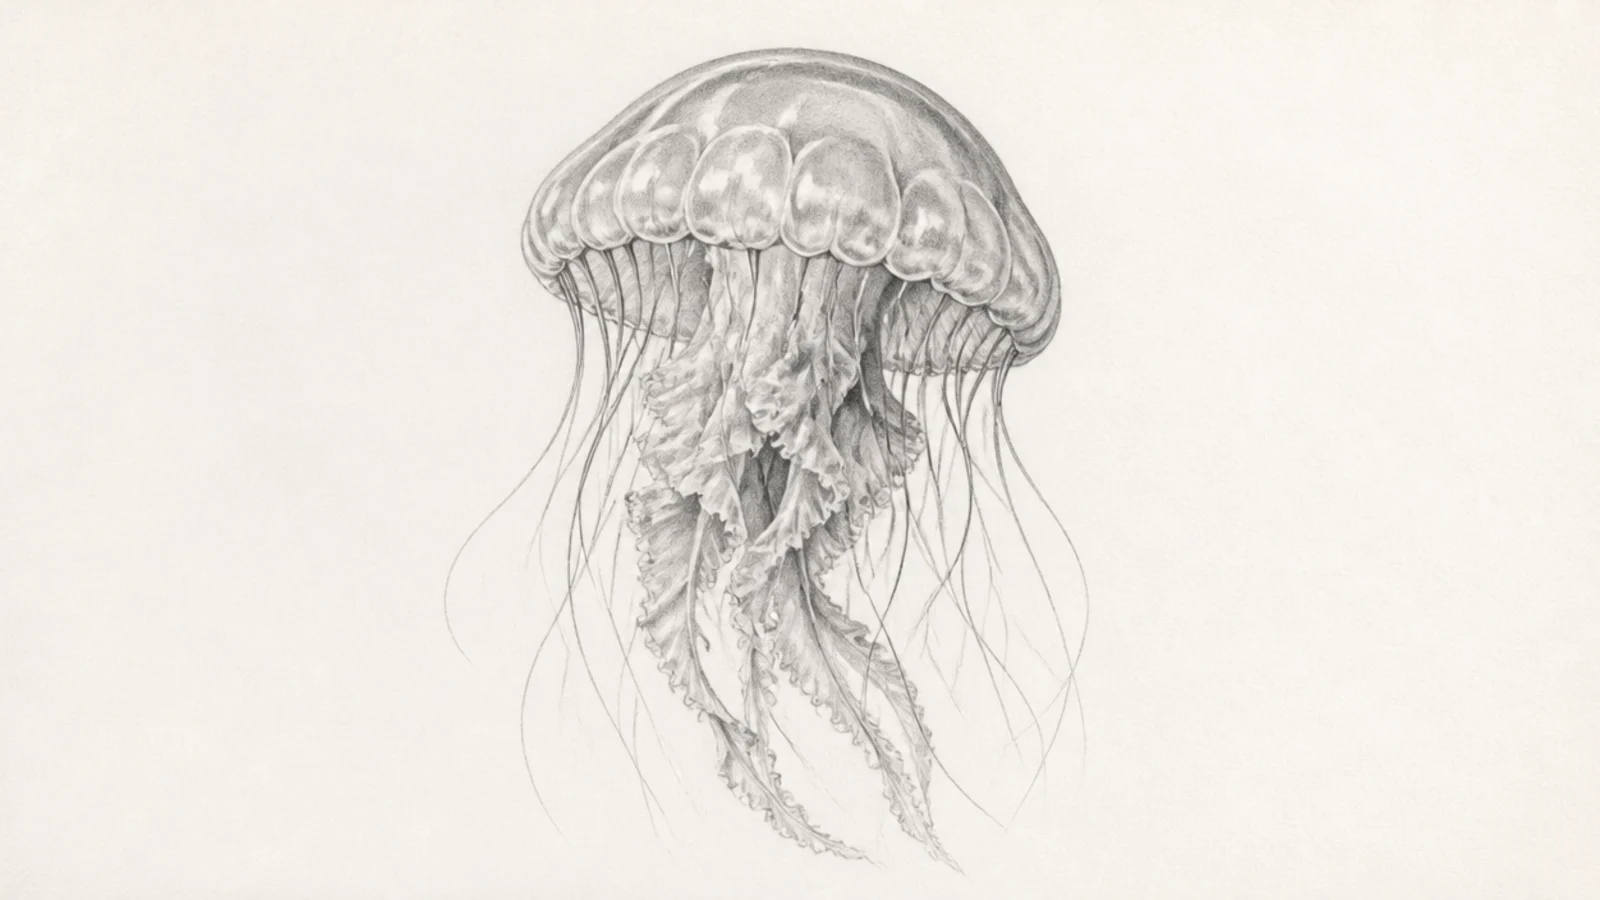
A realistic graphite jellyfish uses smooth value transitions for a lifelike, translucent body. The soft gradients feel photographic. It’s the star of the list.
Step 1 draw accurate proportions. Step 2 build smooth value from dark to light. Step 3 add fine tentacle detail and crisp highlights.
Pro tipBuild value in many light layers for the smooth transitions realism needs.
AvoidDon’t rush the gradients; patient layering is what makes it realistic.
3 Soft Blended Jellyfish
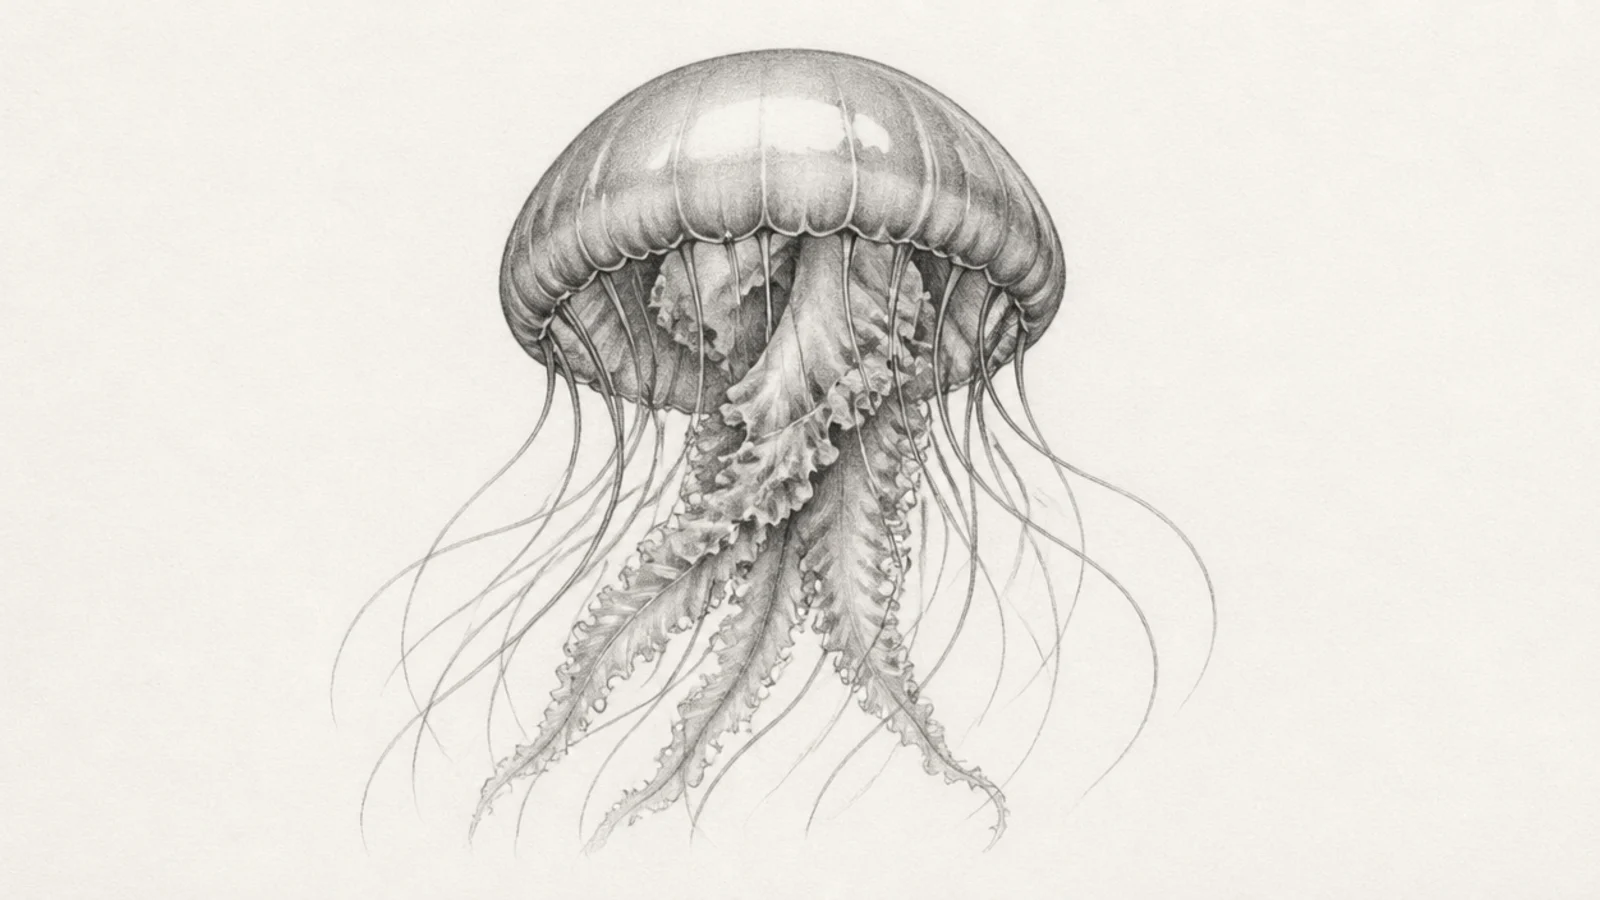
Smudge-blending the graphite gives the jellyfish a soft, dreamy, cloud-like quality. The seamless tones feel gentle. It’s forgiving and pretty.
Step 1 shade the jellyfish loosely. Step 2 blend with a stump or finger until smooth. Step 3 lift highlights and re-darken any lost darks.
Re-sharpen your darkest darks after blending to bring back contrast.
Don’t blend everything flat; keep the highlight crisp and unblended.
4 Hatching Jellyfish
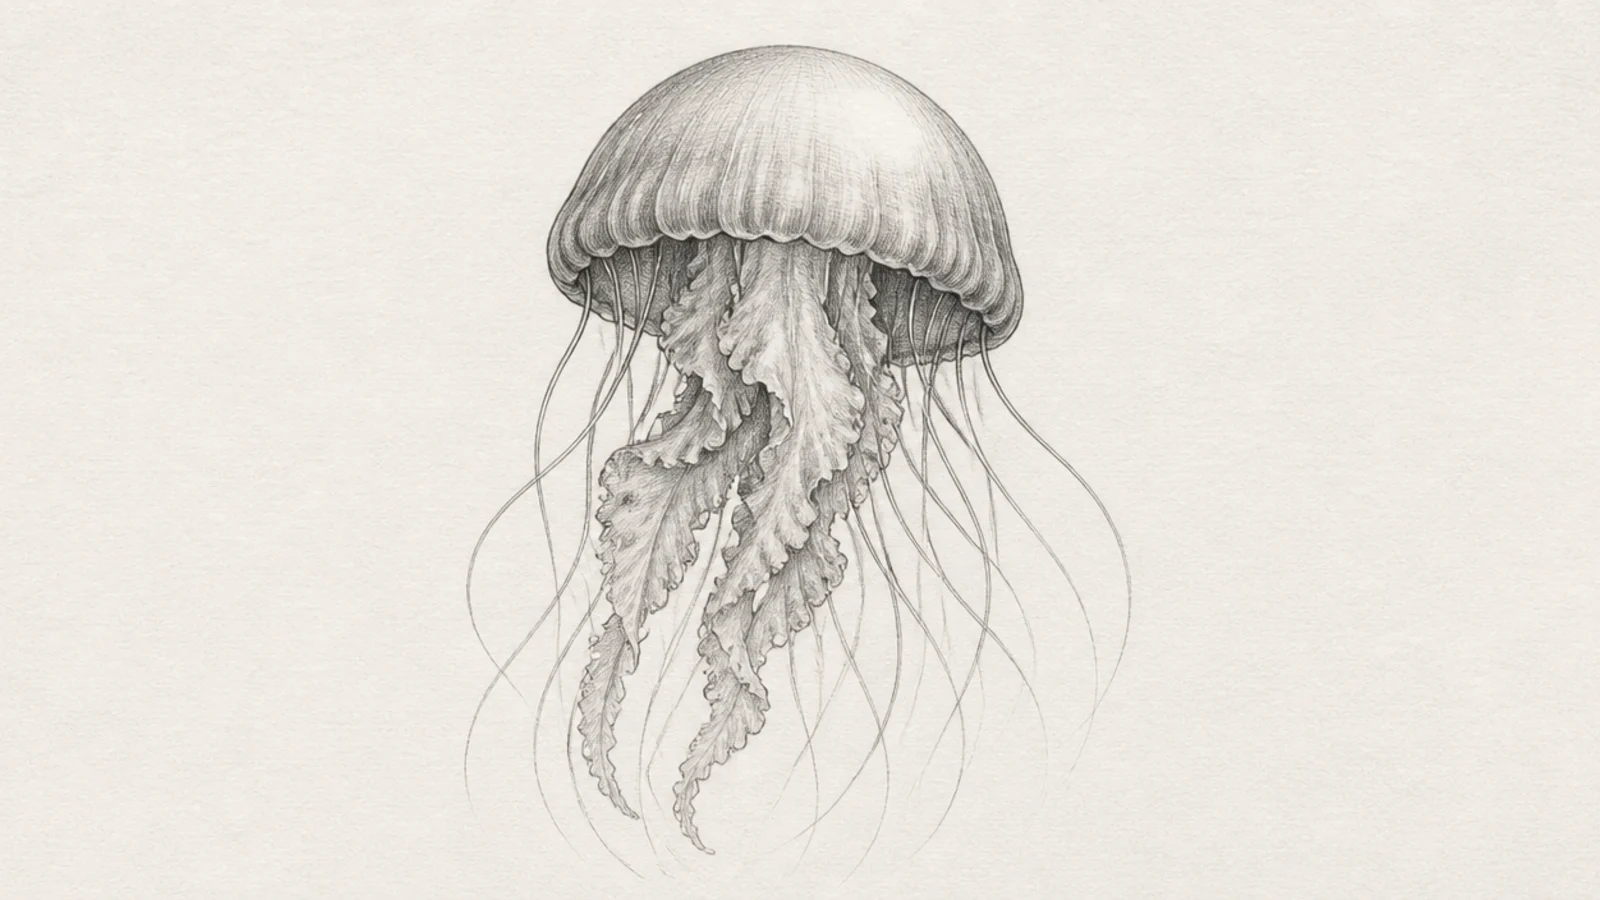
Shading with parallel hatch lines gives the jellyfish a textured, illustrative look. The line direction describes the form. It’s clean and graphic.
Step 1 outline the jellyfish. Step 2 hatch the shadows with parallel lines that follow the form. Step 3 leave the lit areas blank.
Pro tipCurve the hatch lines to follow the bell’s surface so they describe the roundness.
AvoidDon’t scribble; even, directional hatching is the technique.
5 Cross-Hatch Jellyfish
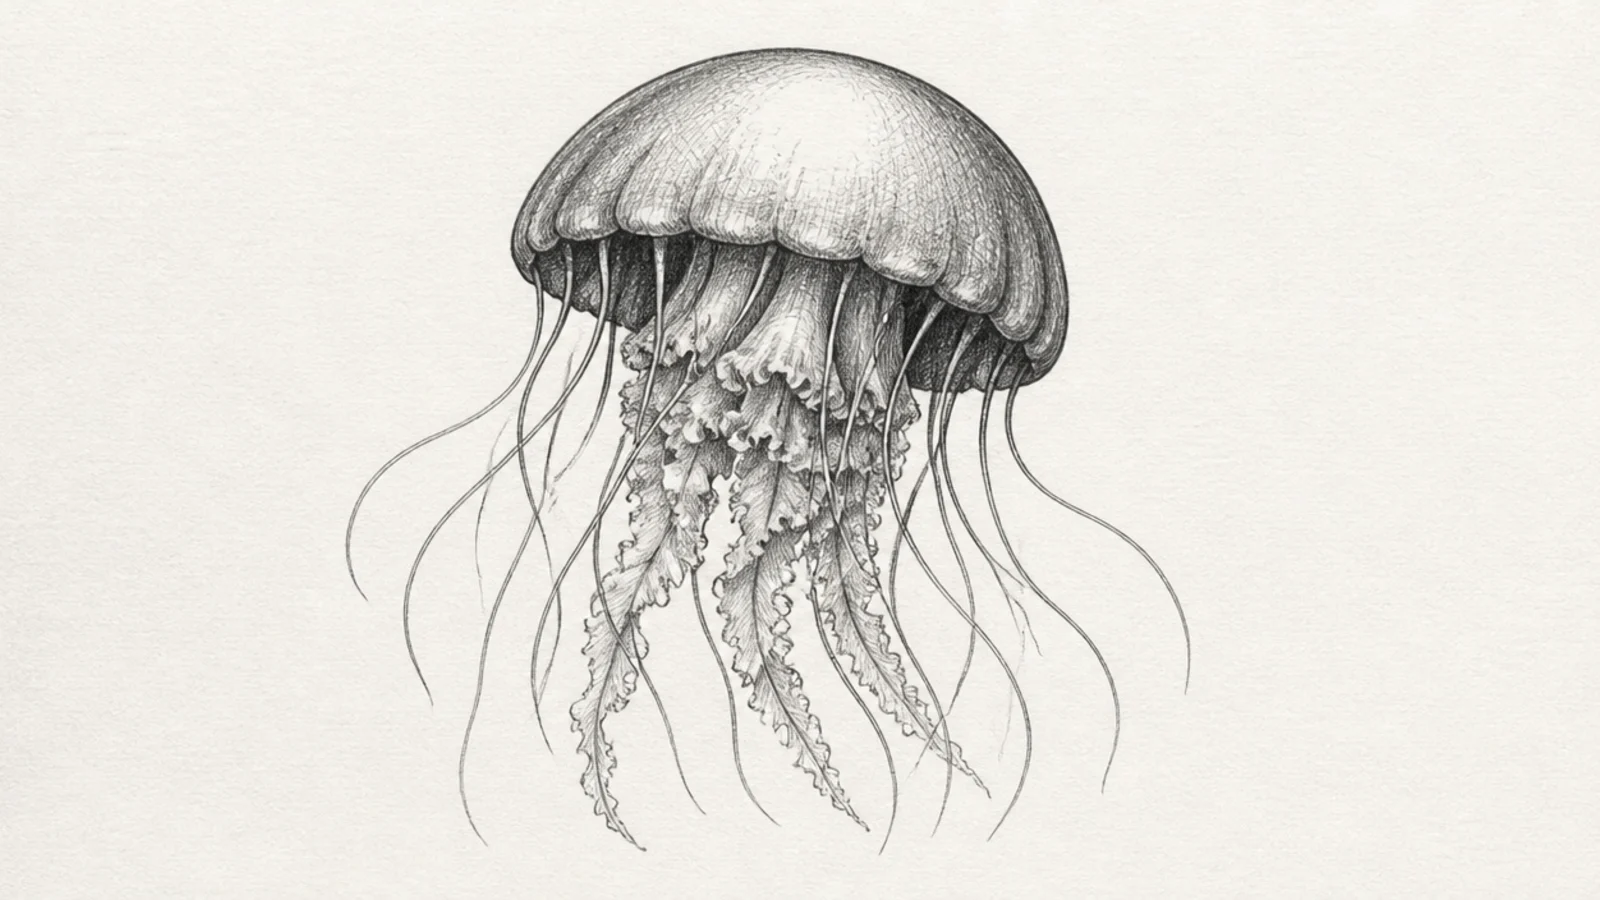
Layering cross-hatching builds rich, deep shadow with just lines. The woven texture looks classic and detailed. It’s a satisfying, controlled technique.
Step 1 hatch the shadows one direction. Step 2 cross with a second direction in the darkest areas. Step 3 add a third layer only where it’s darkest.
Pro tipOnly cross-hatch a second and third time in the very darkest spots for depth.
AvoidDon’t cross-hatch the lit areas; leave them open for contrast.
6 Loose Light Sketch Jellyfish
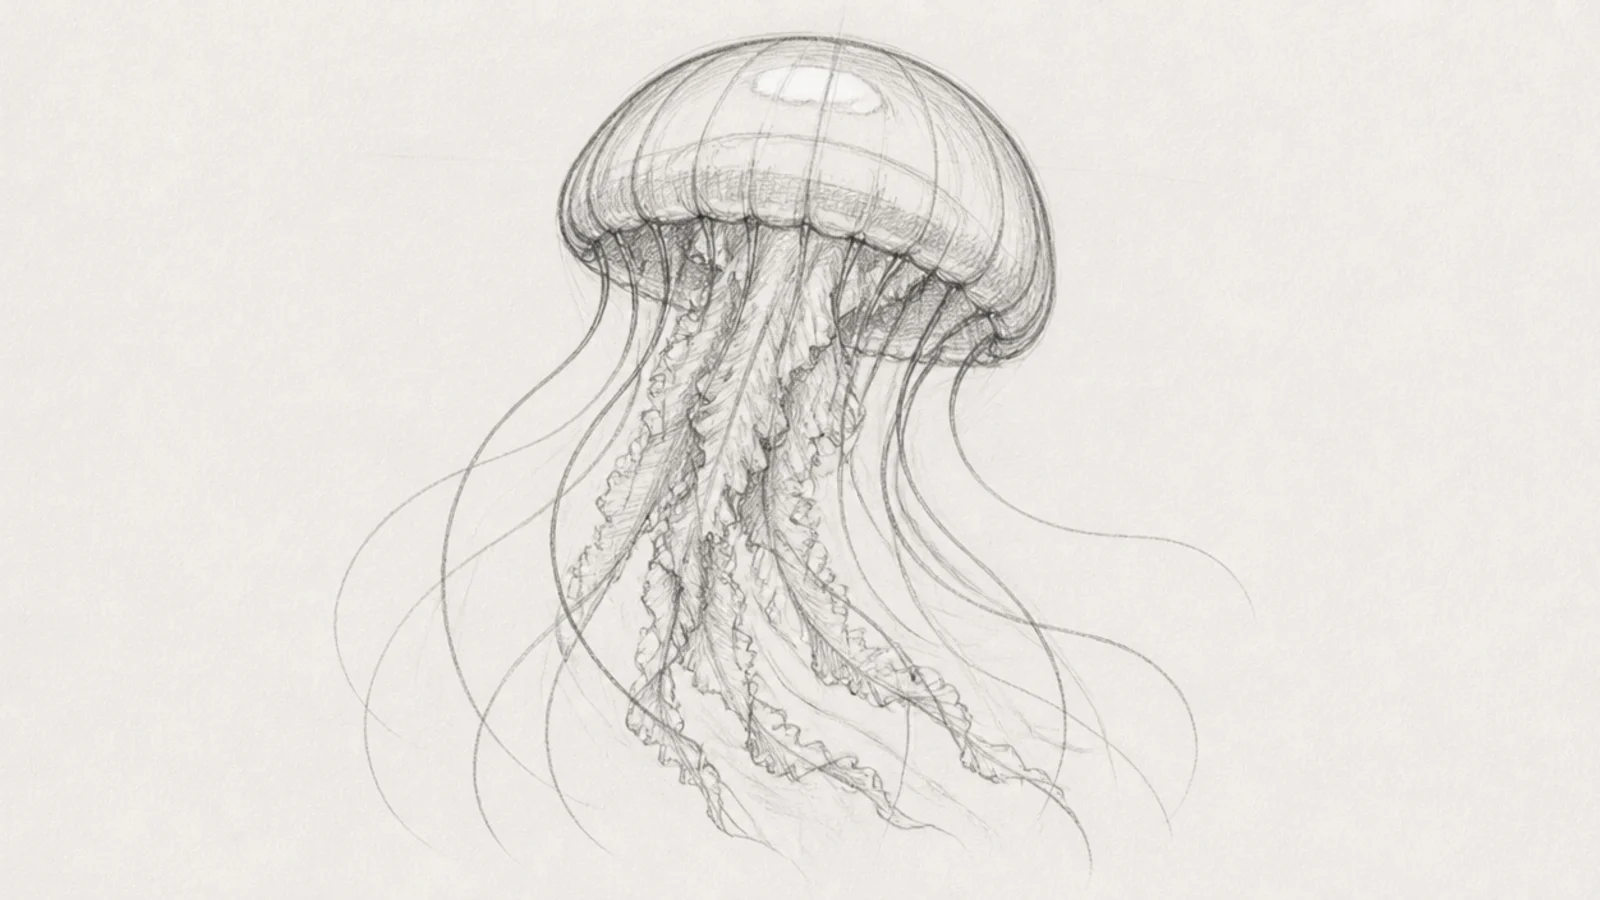
A loose, light sketch with visible guidelines has a relaxed, artistic energy. The unfinished feel is charming. It’s quick and freeing.
Step 1 sketch the jellyfish lightly and quickly. Step 2 leave some construction lines showing. Step 3 add just a little shading.
Pro tipKeep your grip loose and your lines light for a relaxed sketch feel.
AvoidDon’t over-refine it; the loose, sketchy quality is the appeal.
7 High-Contrast Pencil Jellyfish
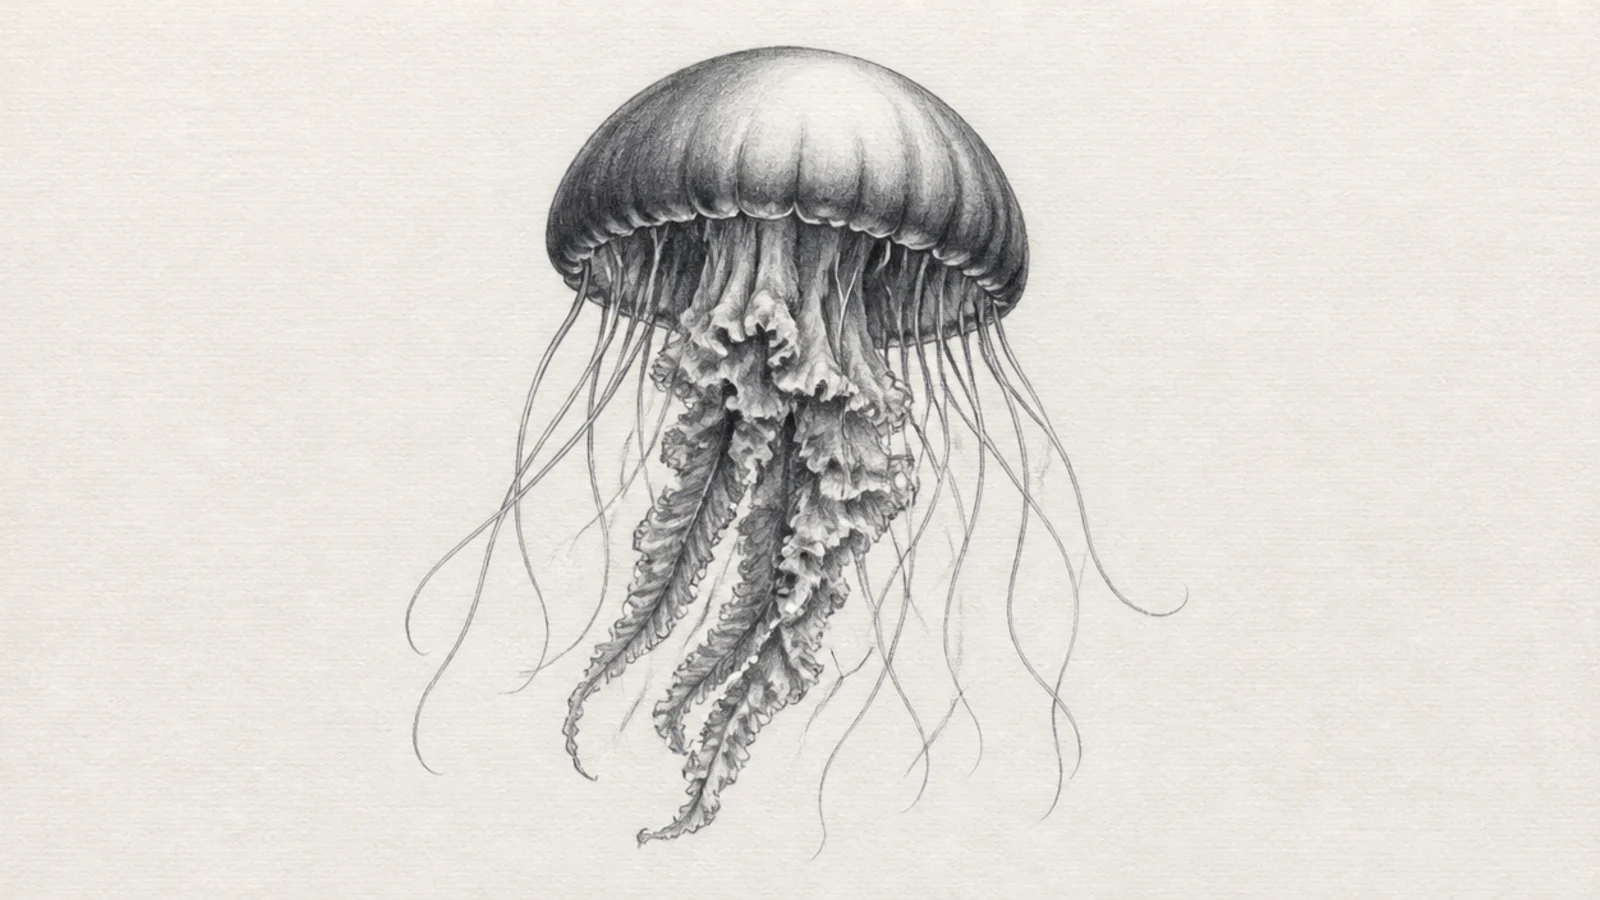
Pushing the darks very dark and keeping bright whites gives the jellyfish dramatic contrast. The bold value range is striking. It really pops.
Step 1 draw the jellyfish. Step 2 shade the darks with a 6B, pressing firmly. Step 3 keep the highlights bright white and untouched.
Pro tipGo as dark as your pencil allows in the shadows so the whites feel brilliant.
AvoidDon’t muddy the whites; keep them clean for maximum contrast.
8 Value-Scale Jellyfish
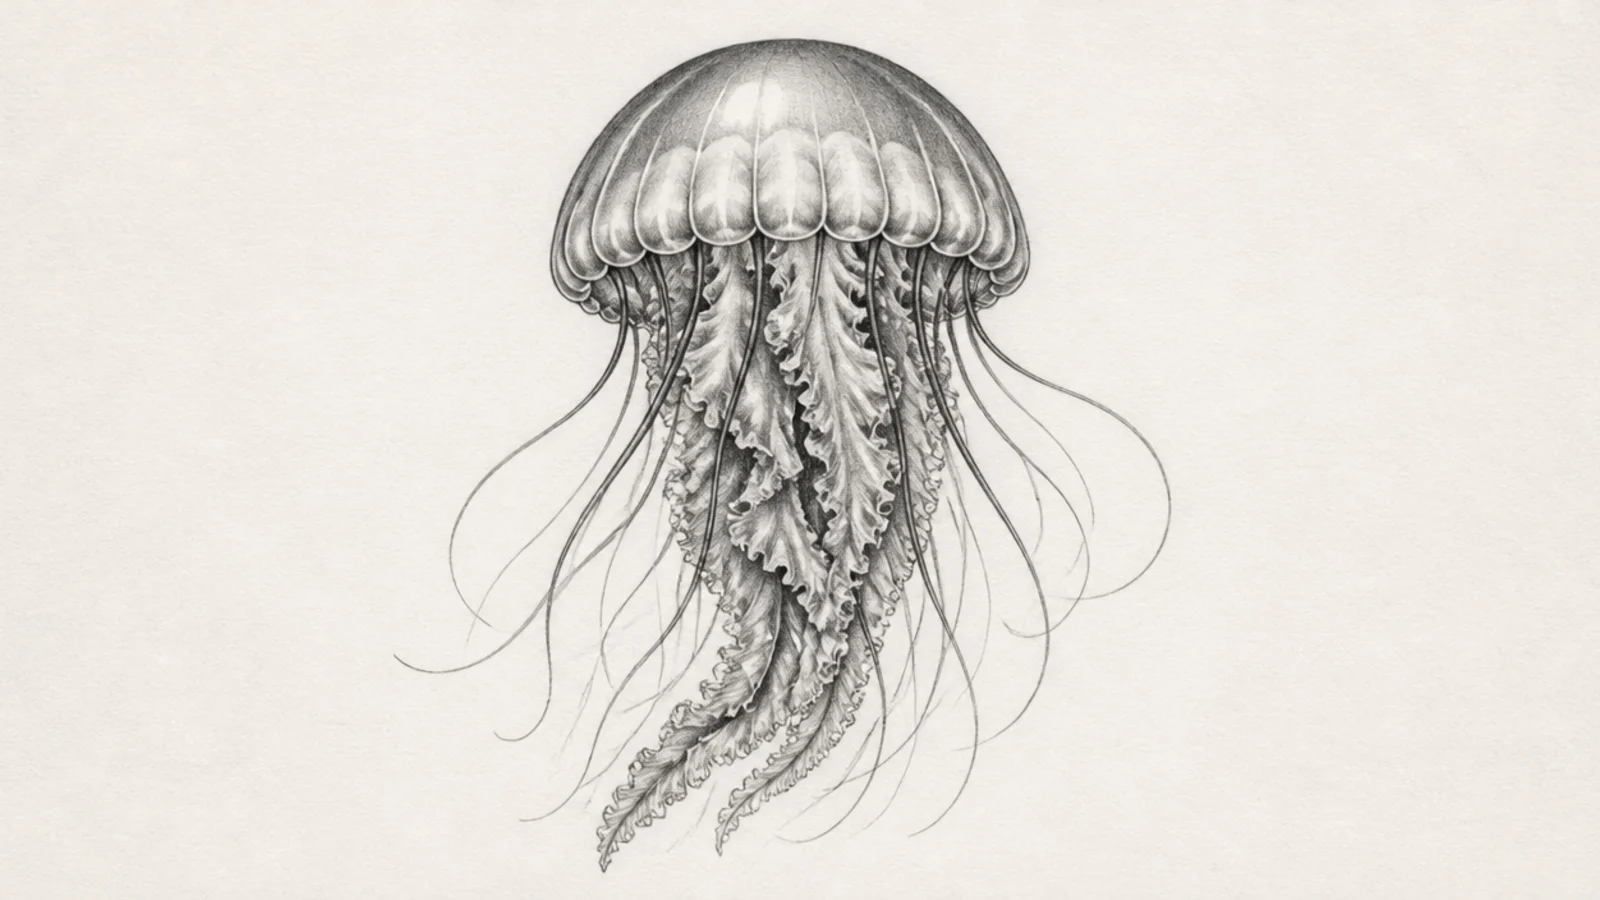
A jellyfish rendered to show a full smooth value scale is a beautiful study. The complete range light to dark feels masterful. It’s a great practice piece.
Step 1 draw the jellyfish. Step 2 map out light, mid, and dark zones. Step 3 blend smoothly between all three for a full range.
Include your lightest paper and darkest graphite in the same drawing for a full scale.
Don’t skip the mid tones; the smooth transitions are the point.
9 Detailed Tentacle Study
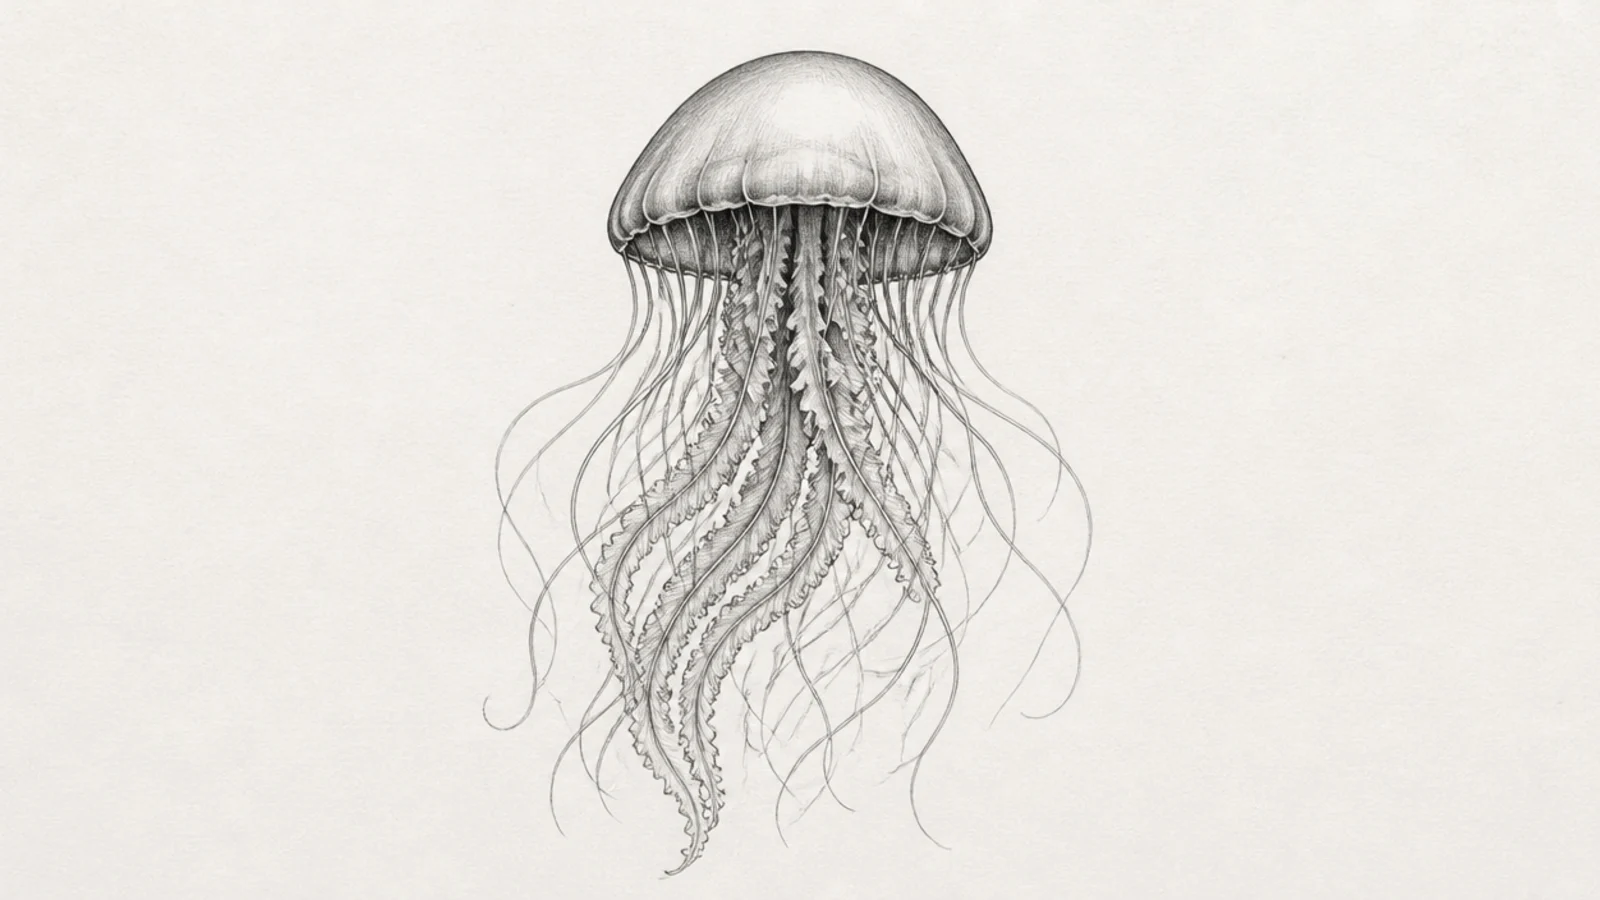
A study focused on detailed, flowing tentacles shows off delicate line control. The intricate strands are elegant. It’s a rewarding challenge.
Step 1 draw a small bell. Step 2 render many fine, flowing tentacles with careful overlaps. Step 3 shade lightly where they cross for depth.
Vary the tentacle lengths and let them overlap for a natural, layered look.
Don’t make the tentacles stiff or even; flow and variation are key.
10 Portrait-Style Bell Jellyfish
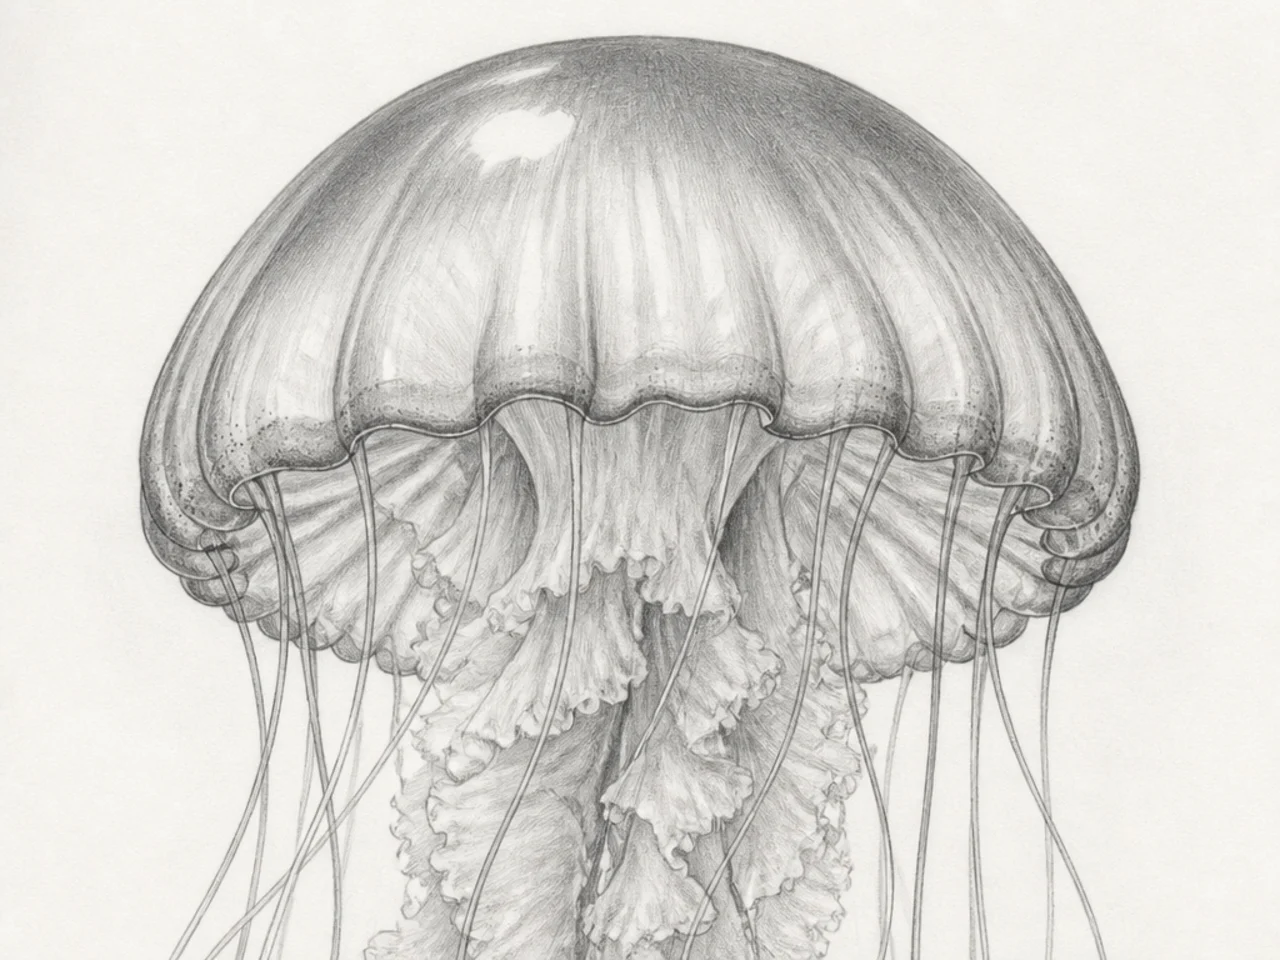
Cropping in close on the bell like a portrait emphasizes its translucent form. The tight focus feels artistic. It’s a fresh, intimate view.
Step 1 draw a large bell filling the frame. Step 2 render its rounded, translucent form with smooth value. Step 3 let the tentacles run off the bottom edge.
Pro tipShow subtle value shifts across the big bell to sell its rounded, glassy form.
AvoidDon’t shrink the bell to fit everything; the close crop is the idea.
11 Soft vs Hard Pencil Jellyfish
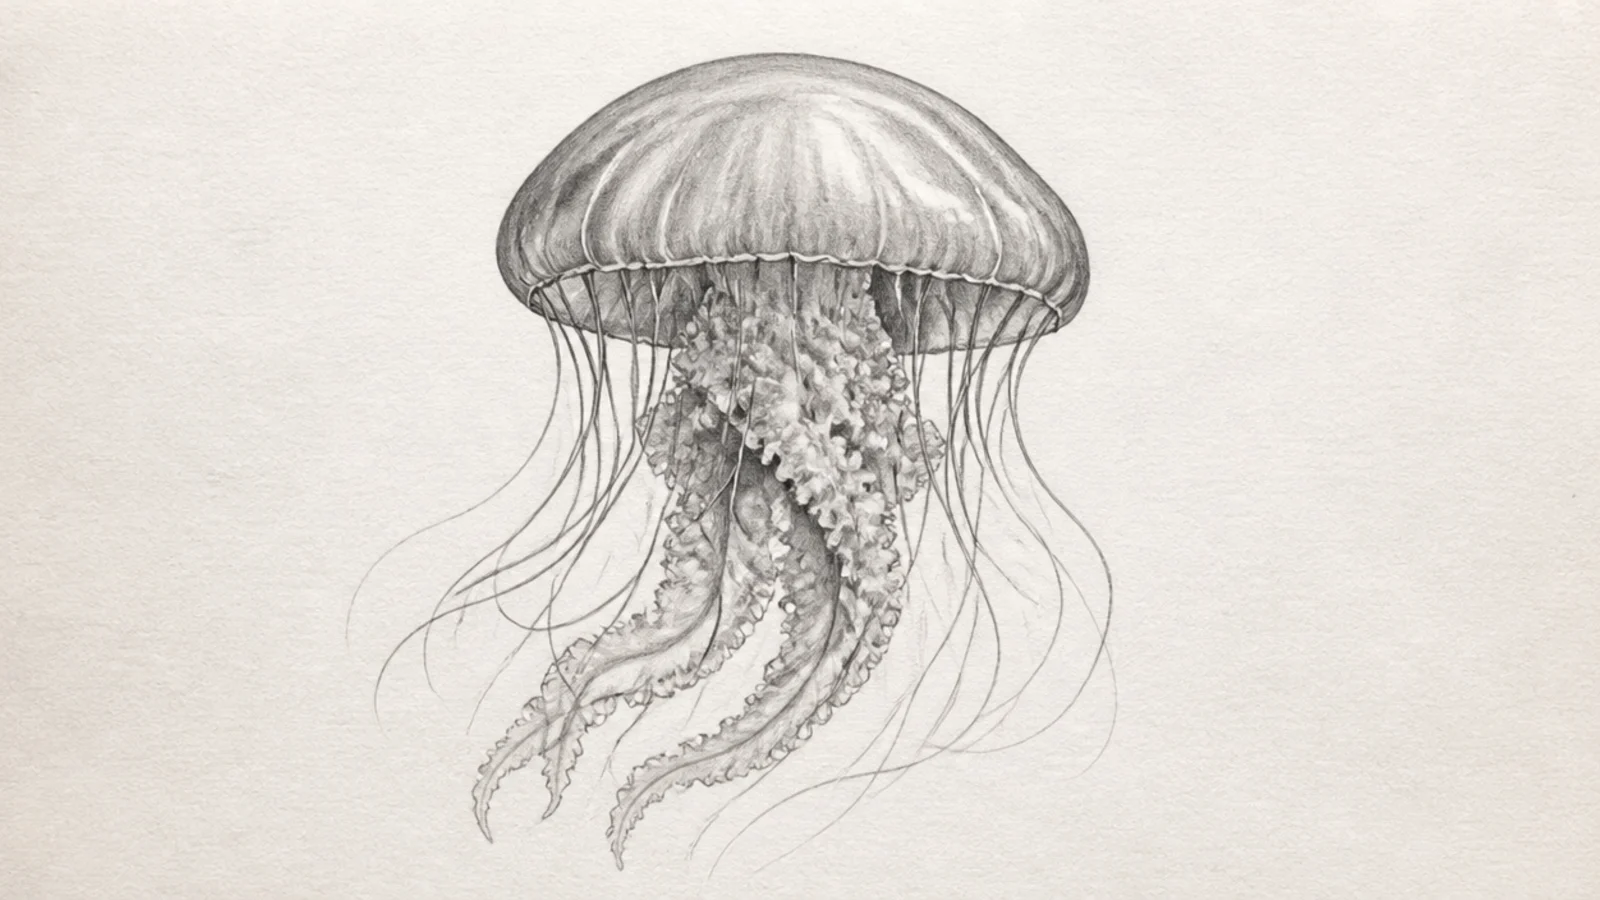
Combining a hard pencil’s crisp lines with a soft pencil’s rich darks shows the range of graphite. The contrast of sharp and soft is satisfying. It looks well-crafted.
Step 1 draw crisp outlines with a hard HB. Step 2 shade the darks with a soft 4B-6B. Step 3 keep the line work sharp and the shading smooth.
Pro tipUse the hard pencil for edges and the soft pencil for deep, smooth shadow.
AvoidDon’t shade with the hard pencil; it looks scratchy in the darks.
12 Stippled Pencil Jellyfish
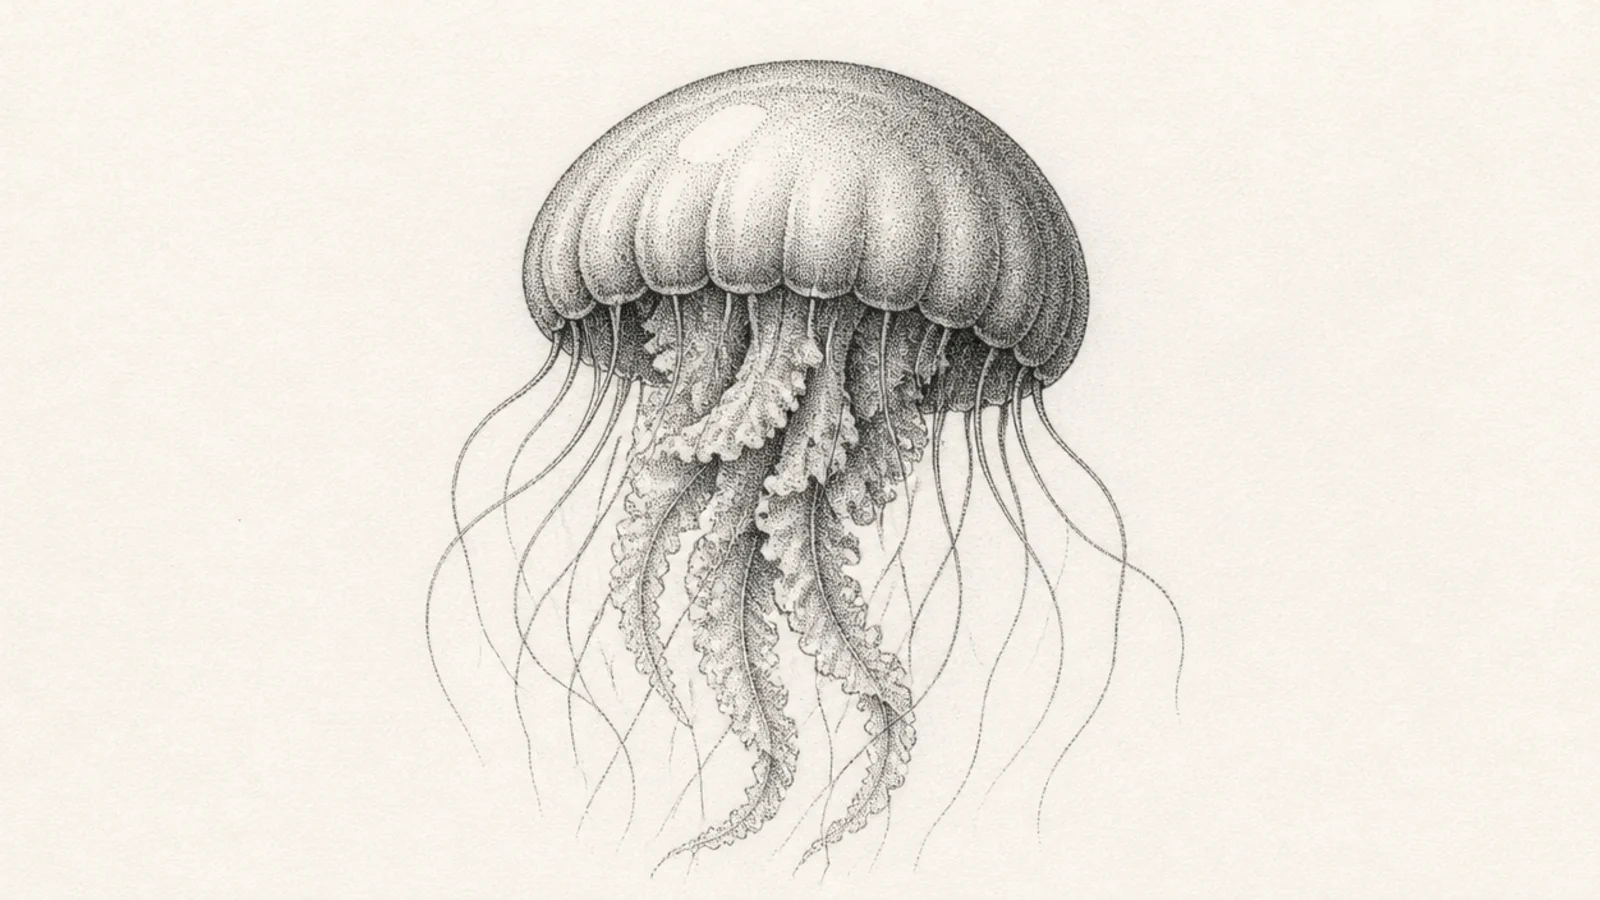
Shading with fine pencil dots gives the jellyfish a soft, textured half-tone. The stipple builds gentle gradients. It’s meditative and unusual in graphite.
Step 1 outline the jellyfish. Step 2 stipple dots, dense in shadow and sparse in light. Step 3 leave the highlight dot-free.
Keep a sharp point so the dots stay fine and even.
Don’t switch to lines; commit to dots for the stipple texture.
13 Negative-Space Pencil Jellyfish
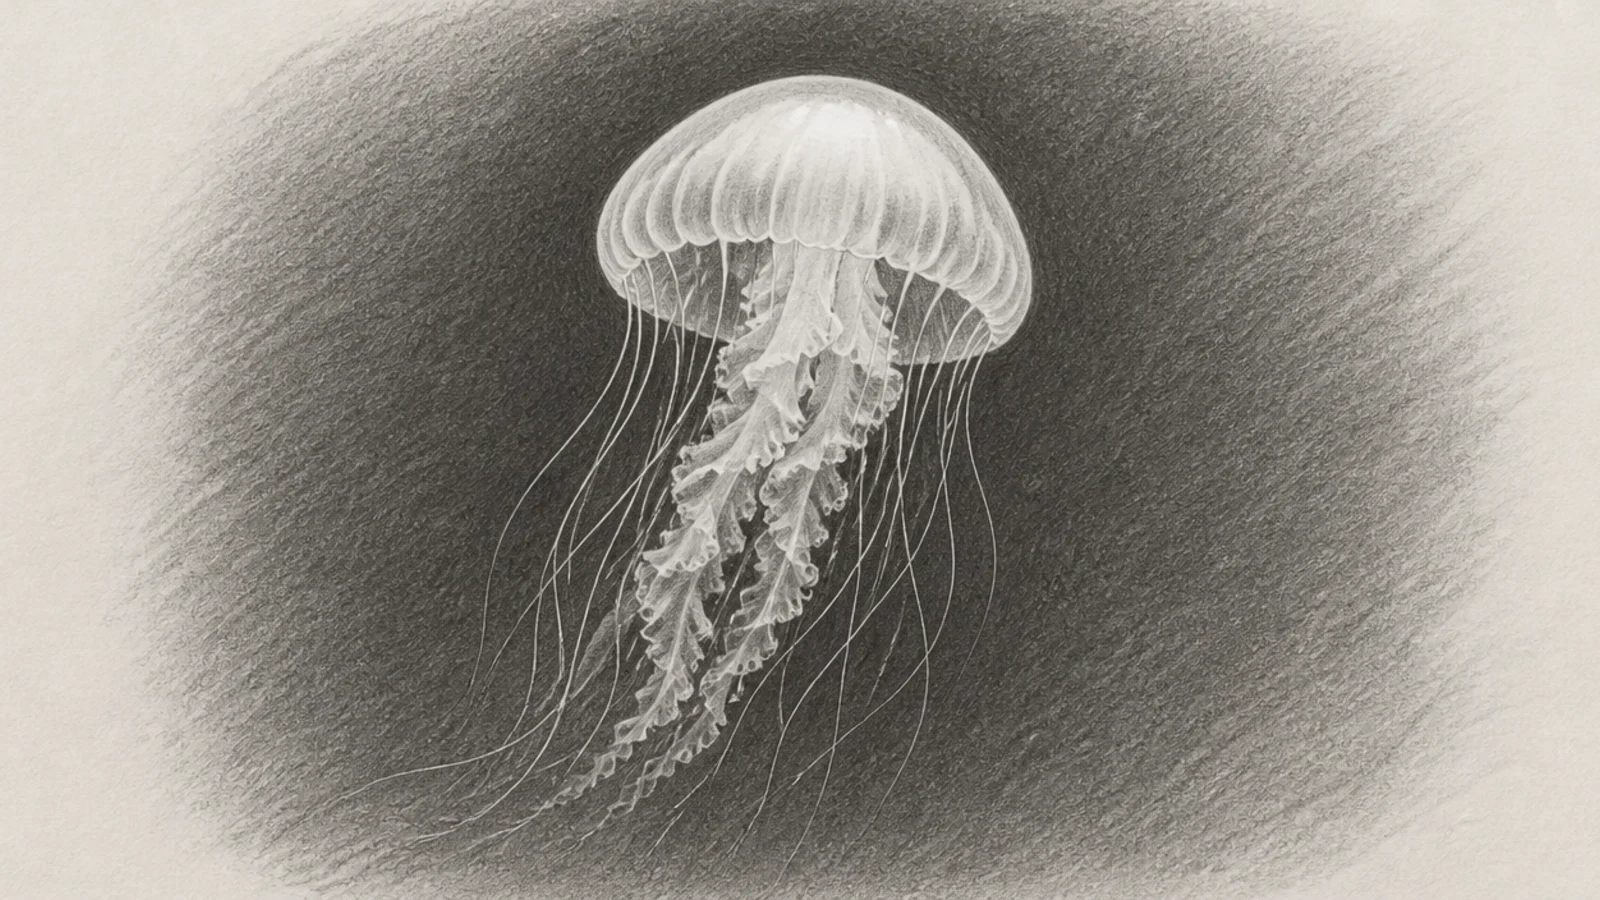
Shading a dark background and leaving the jellyfish as light paper makes it glow. The negative-space approach is striking in graphite. It feels dramatic.
Step 1 lightly outline the jellyfish. Step 2 shade the background dark right up to the edges. Step 3 leave the jellyfish light with a few soft accents.
Pro tipLift a soft glow at the jellyfish edges with an eraser so it seems to emit light.
AvoidDon’t shade heavily inside the jellyfish; the light shape is the point.
14 Minimal Pencil Line Jellyfish
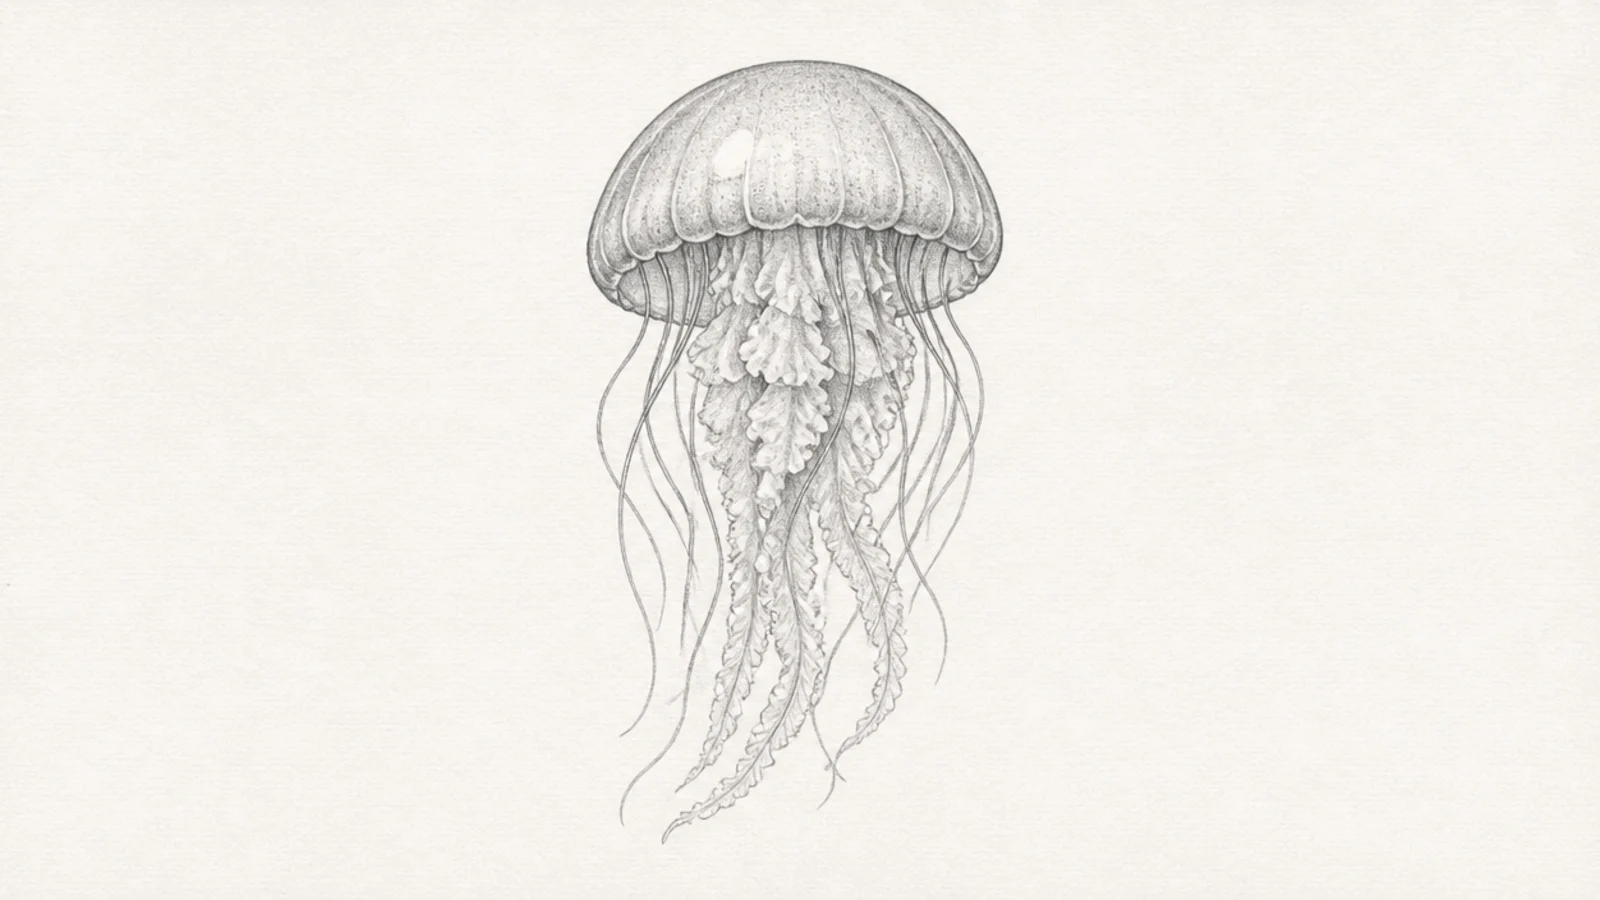
A clean minimal pencil-line jellyfish is quiet and elegant. The simplicity puts all focus on the shape. It’s calm and modern.
Step 1 draw the jellyfish in light, confident pencil lines. Step 2 keep the line weight even. Step 3 leave it unshaded with lots of space.
Pro tipUse a consistent light line and leave plenty of paper around it.
AvoidDon’t add shading; the clean line is the whole design.
15 Textured-Paper Pencil Jellyfish
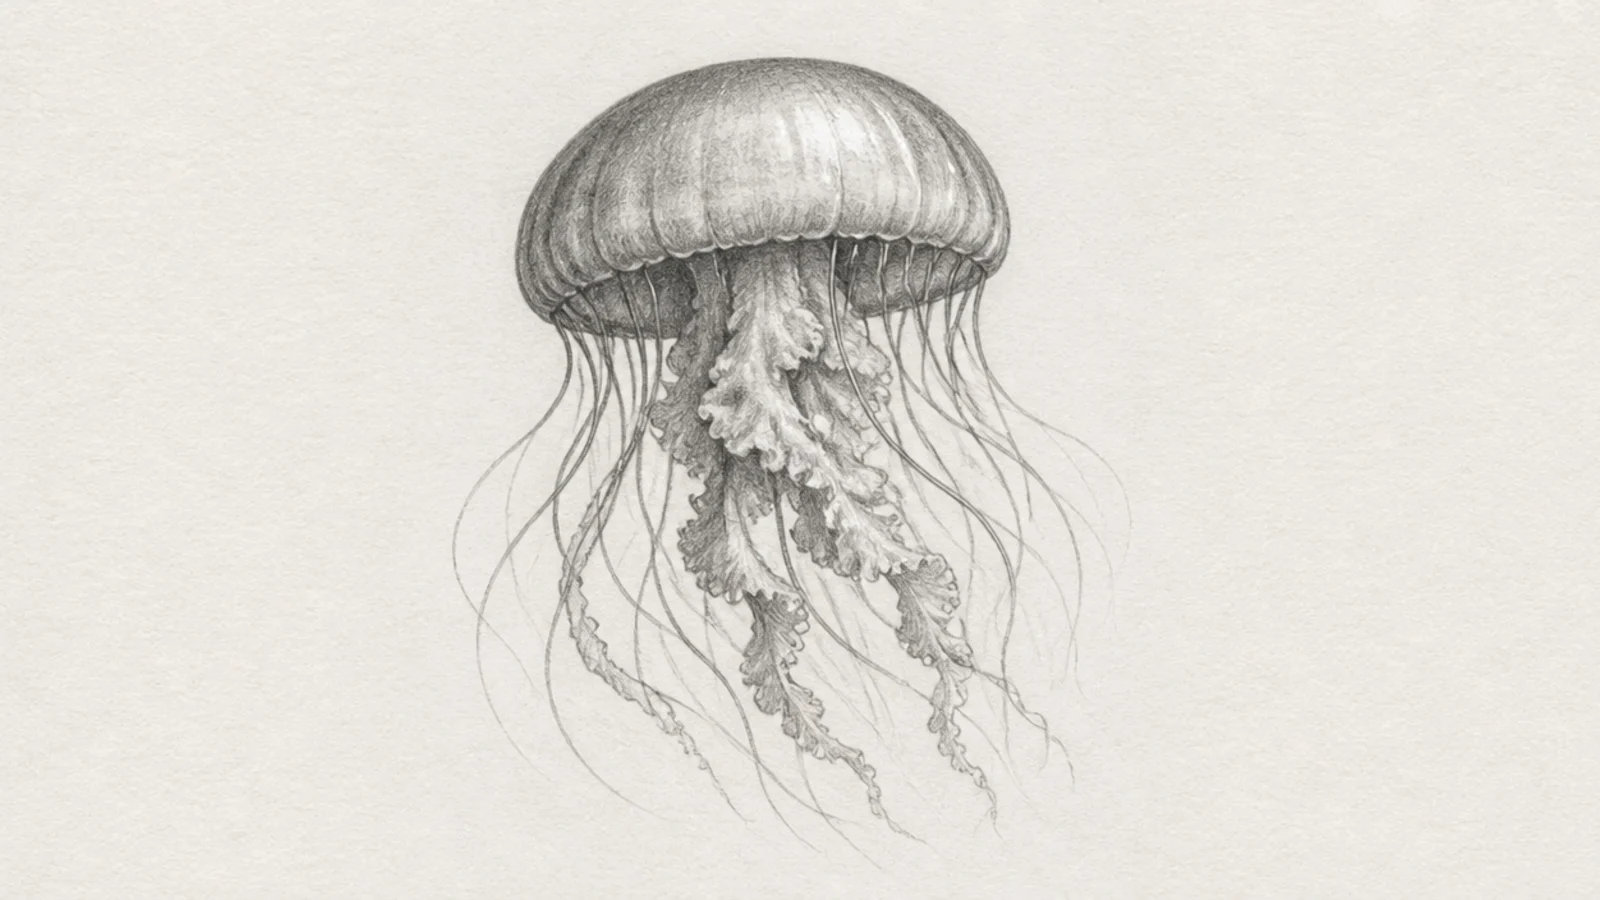
Shading on rough, toothy paper gives the graphite a grainy, atmospheric texture. The visible tooth adds mood. It looks organic and rich.
Step 1 use textured paper. Step 2 shade lightly so the paper’s grain shows through. Step 3 build darks gradually to keep the texture.
Pro tipShade with the side of the pencil so the paper’s tooth catches the graphite.
AvoidDon’t press hard and fill the tooth; the grain is the effect.
16 Soft-Glow Graphite Jellyfish
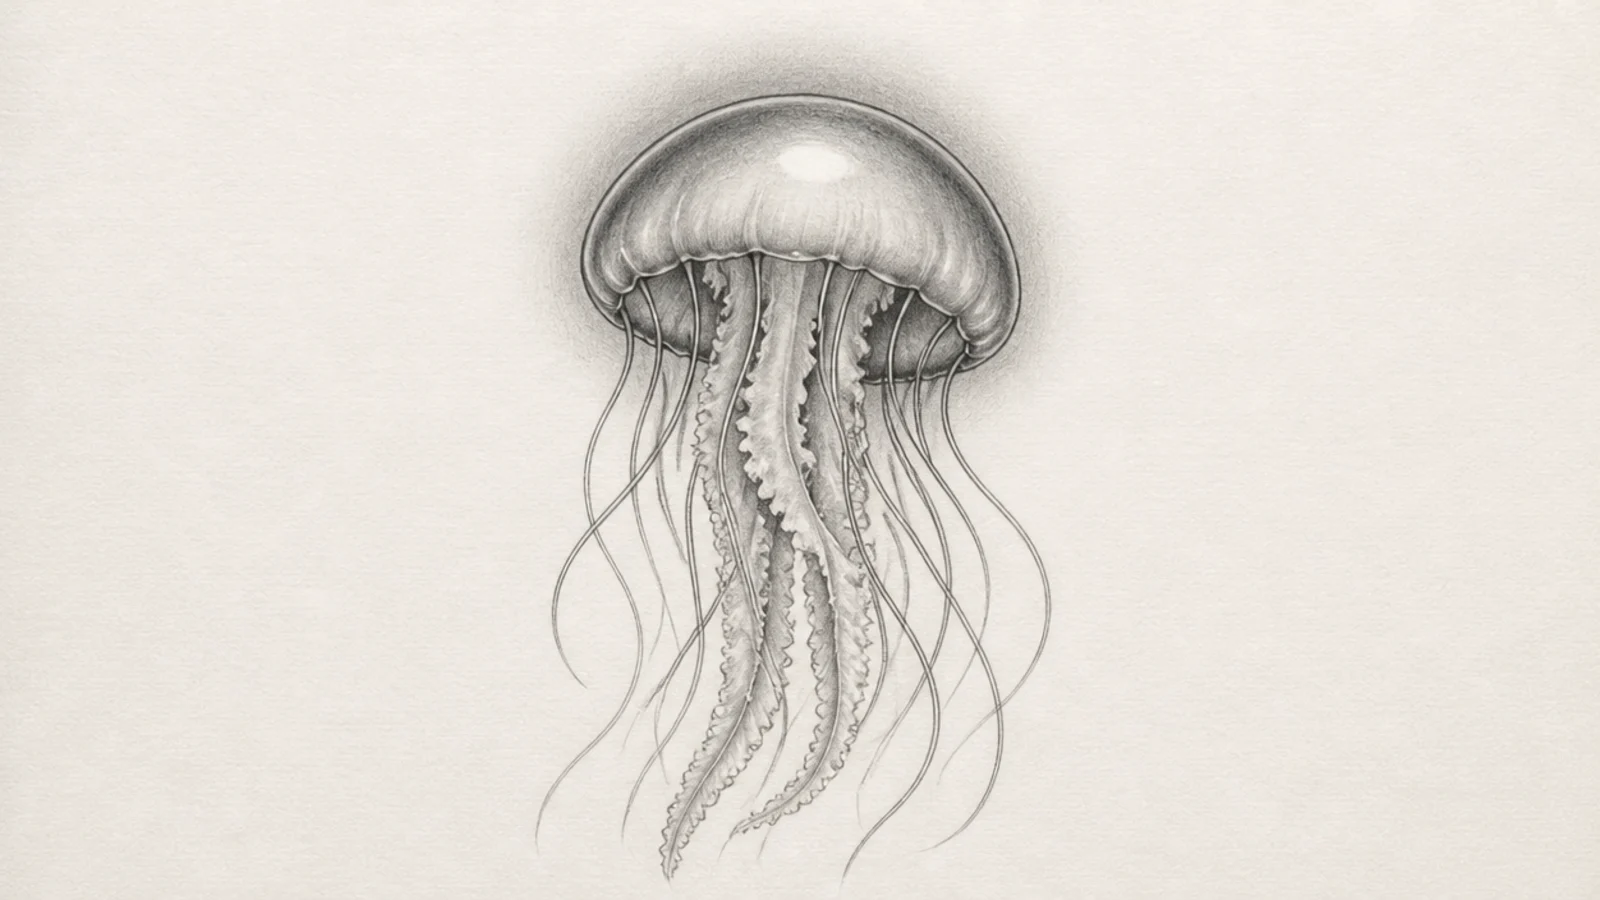
A smudged graphite halo around the bell suggests a soft glow, even in gray. The gentle blur reads as light. It’s dreamy without any color.
Step 1 draw and shade the jellyfish. Step 2 smudge a soft gray halo around the bell. Step 3 lift a bright highlight in the center.
Pro tipKeep the halo soft and even, then lift a clean bright spot so it appears to glow.
AvoidDon’t make the halo a hard ring; a soft blur reads as light.
17 Anatomy Study Jellyfish
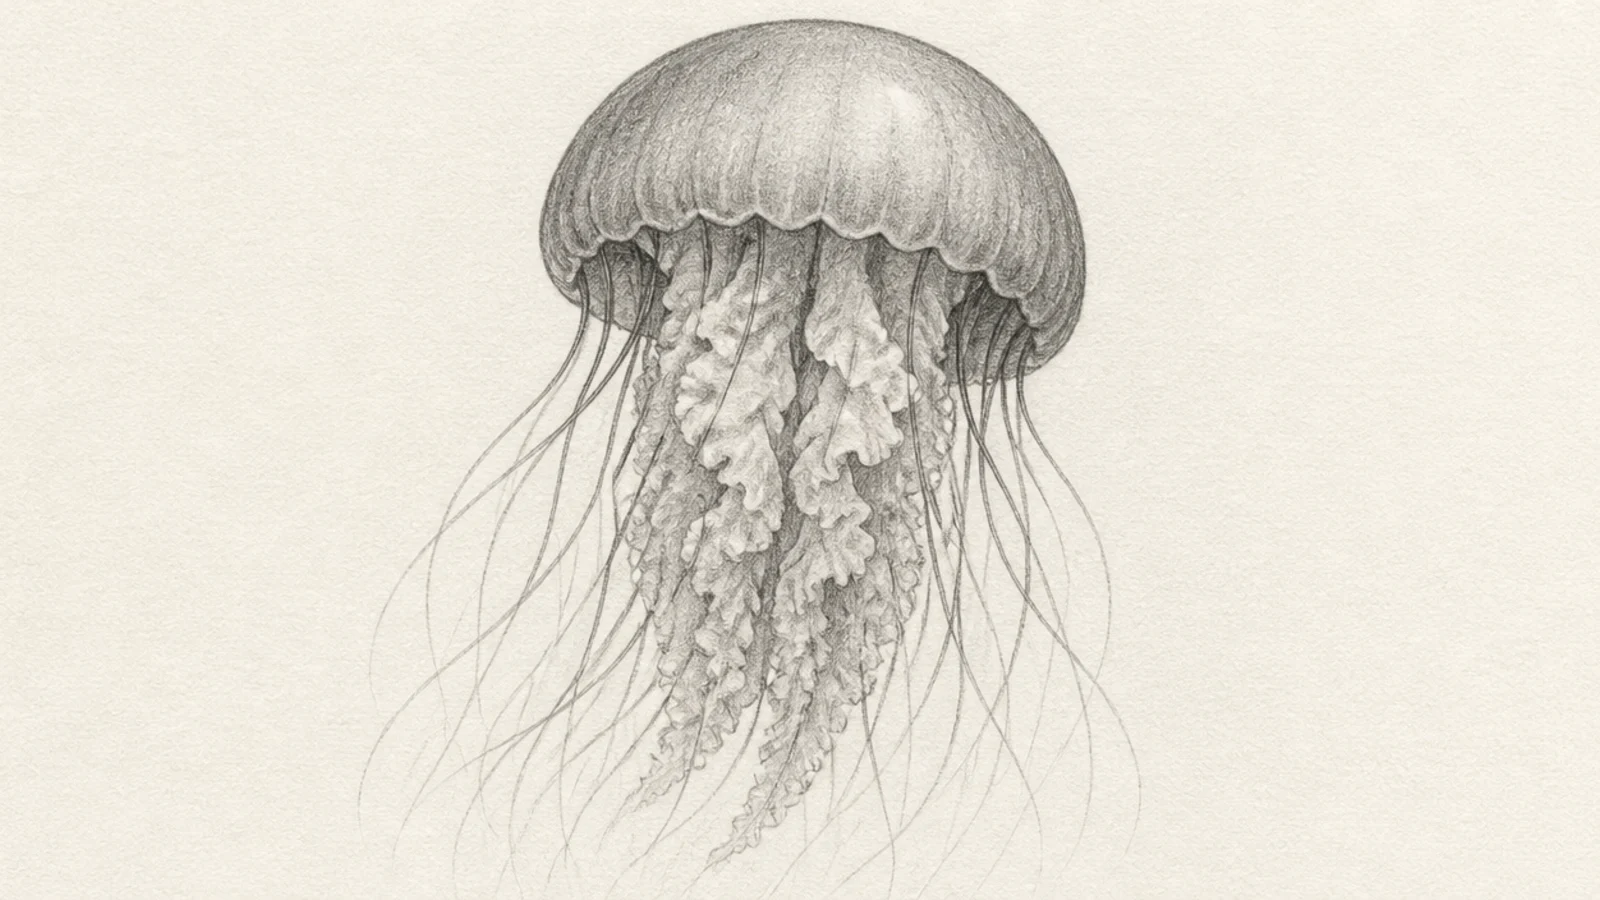
A careful study of the jellyfish’s real parts — bell, oral arms, tentacles — looks scientific and skilled. The accurate detail is impressive. It teaches you the form.
Step 1 draw the bell, thick central oral arms, and fine outer tentacles accurately. Step 2 shade each part’s form. Step 3 keep the rendering clean and precise.
Study a real jellyfish photo so the oral arms and tentacles are accurate.
Don’t guess the anatomy; the accuracy is what makes a study impressive.
18 Quick Gesture Sketch Jellyfish
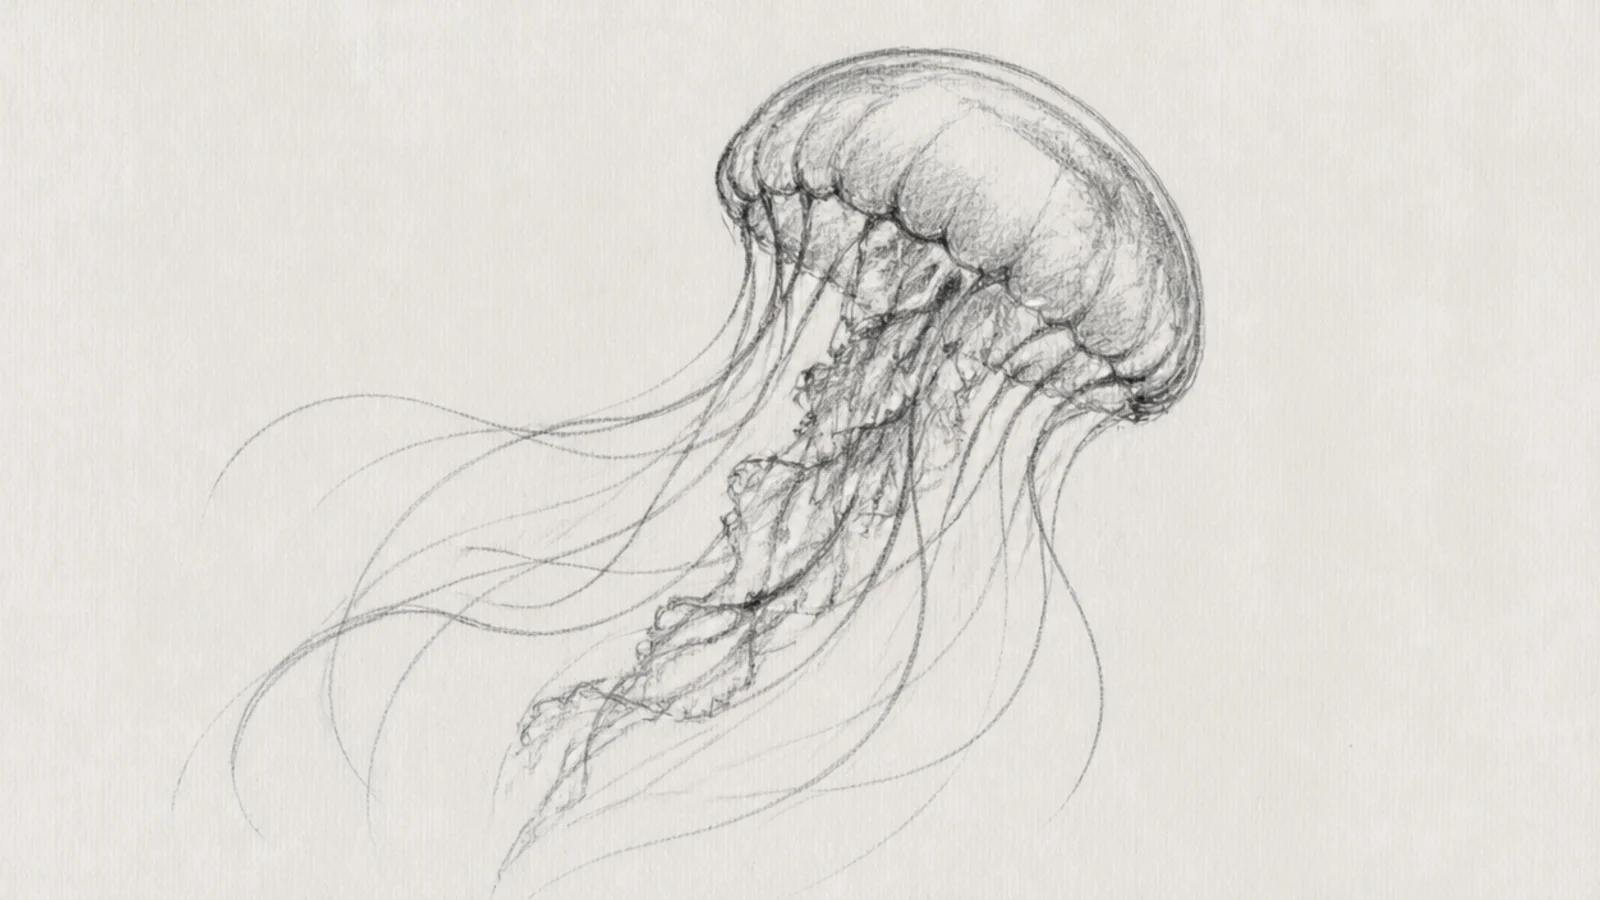
A fast gesture sketch captures the jellyfish’s drifting motion in a few energetic strokes. The looseness feels alive. It’s a great warm-up.
Step 1 sketch the flowing motion in seconds. Step 2 catch the bell and tentacle sweep. Step 3 leave it loose and unrefined.
Pro tipDraw from the shoulder in quick strokes to capture the drifting motion.
AvoidDon’t tighten it up; the energy of the gesture is the point.
19 Toned-Paper Highlight Jellyfish
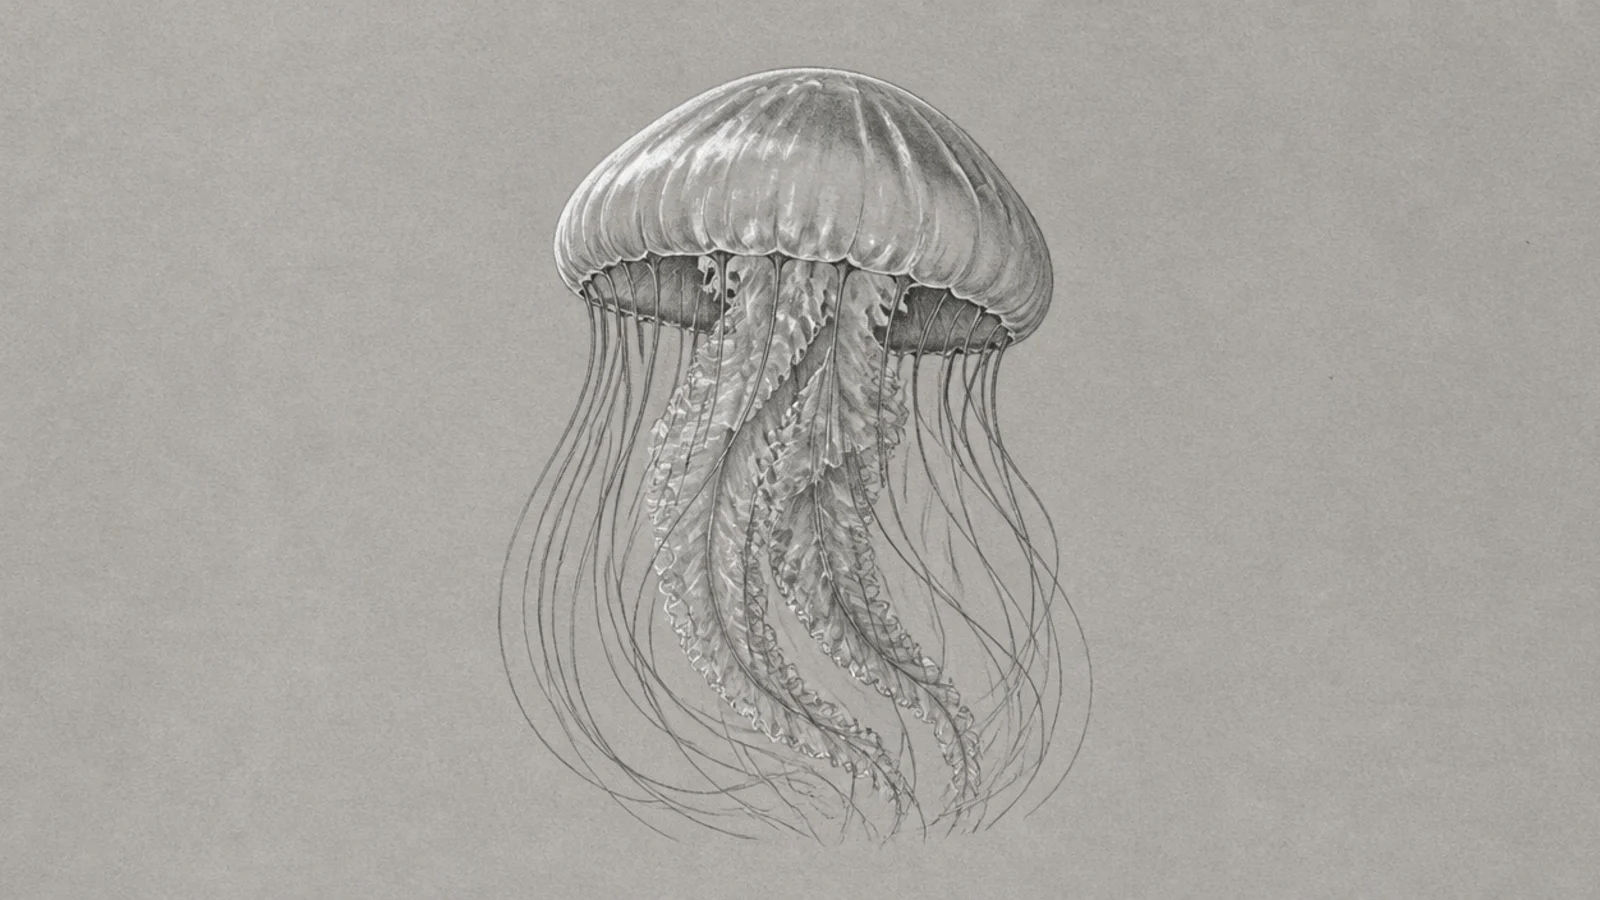
On gray toned paper, dark pencil plus white highlights makes the jellyfish pop in both directions. The mid-tone paper does half the work. It looks polished.
Step 1 on gray paper, shade the darks in pencil. Step 2 add white highlights on the bell and edges. Step 3 let the paper stay as the mid tone.
Pro tipLet the gray paper be your mid value so you only add the darks and lights.
AvoidDon’t cover the paper fully; the visible mid tone is the technique.
20 Layered-Depth Jellyfish
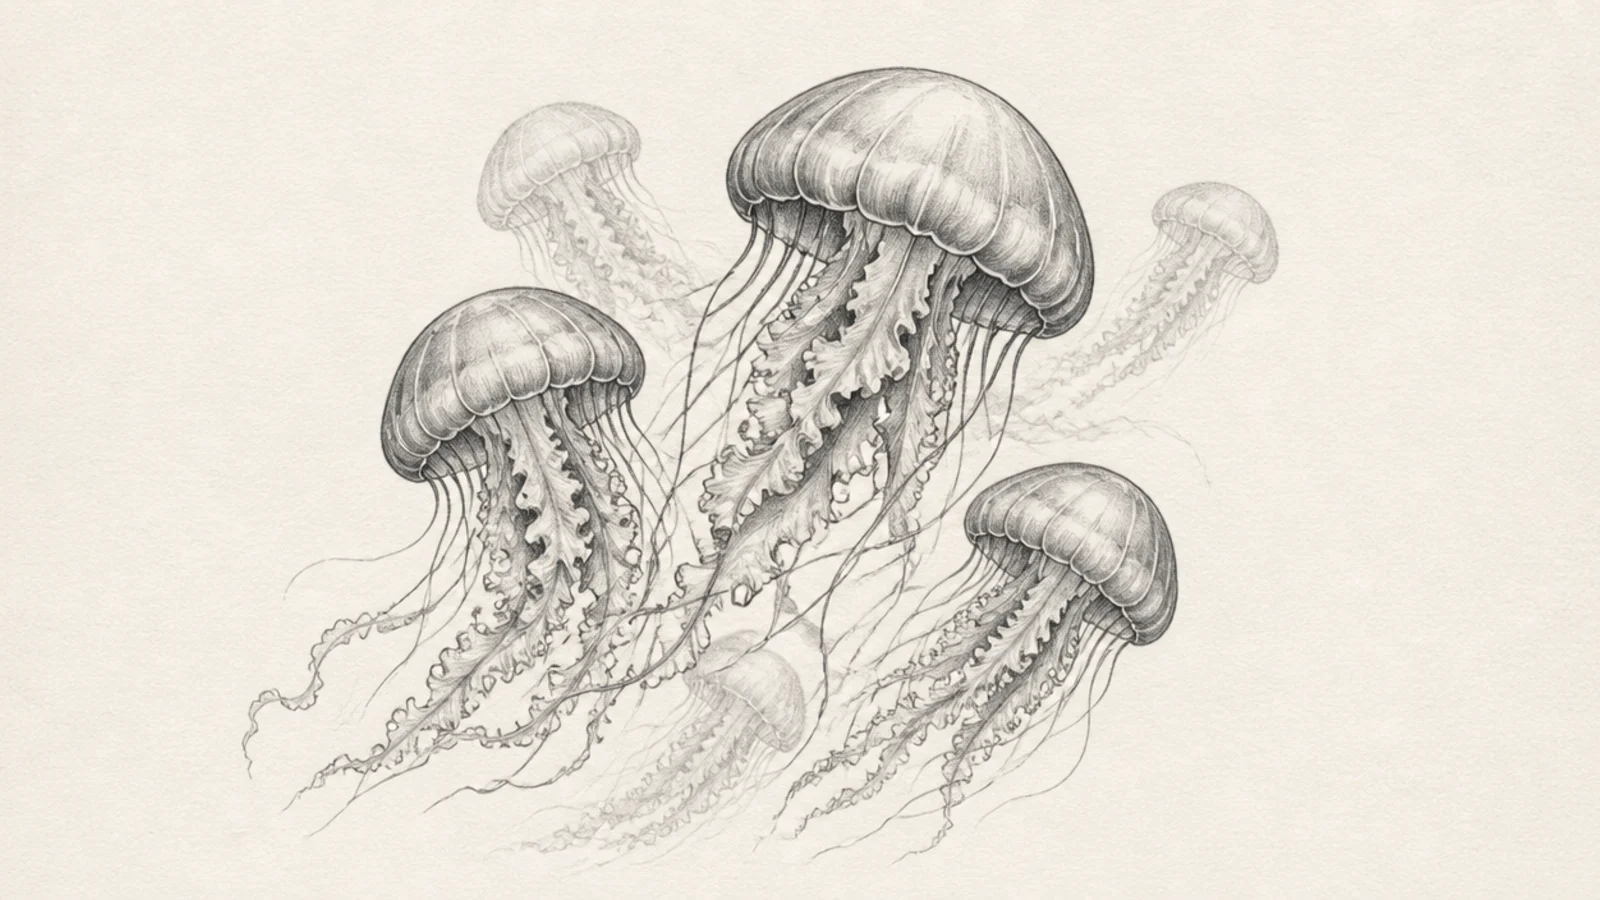
Overlapping several jellyfish and shading them by distance creates real depth. Near ones dark and crisp, far ones pale and soft. It feels three-dimensional.
Step 1 draw overlapping jellyfish. Step 2 render the front ones dark and detailed. Step 3 keep the back ones light and blurry.
Fade the background jellyfish lighter and softer so they recede.
Don’t render them all equally; the depth comes from the contrast.
21 Fine-Detail Mechanical-Pencil Jellyfish
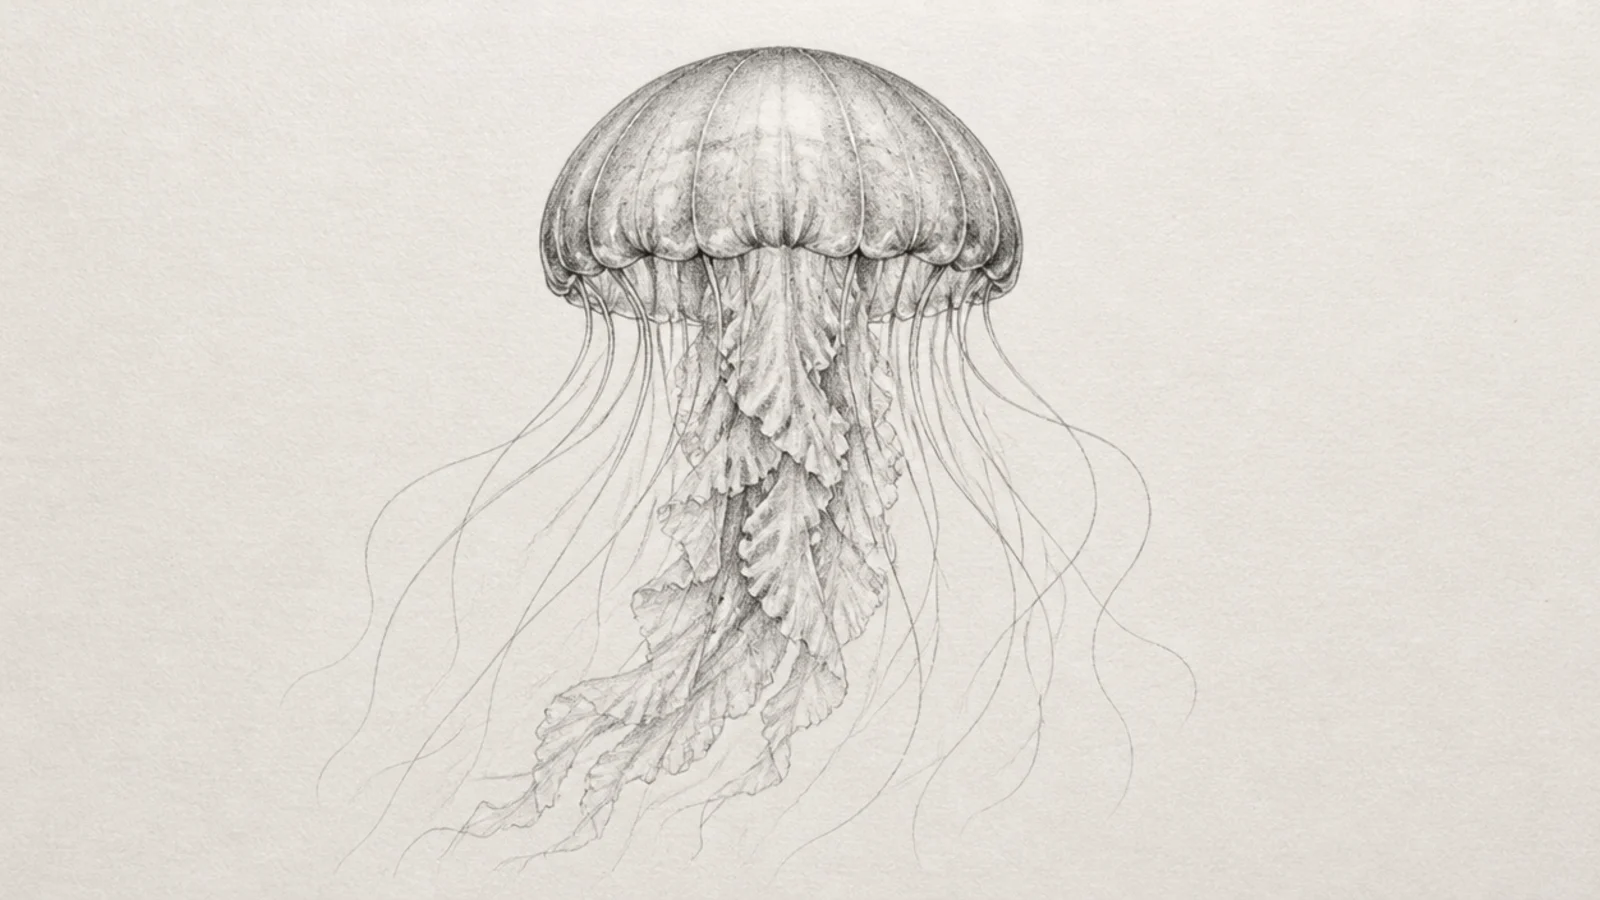
A sharp mechanical pencil lets you render tiny, crisp details in the tentacles and bell. The precision looks refined. It’s for detail lovers.
Step 1 use a fine mechanical pencil. Step 2 render delicate tentacle lines and fine bell texture. Step 3 keep the point sharp throughout.
Keep the lead fine and consistent for uniform, delicate detail.
Don’t press hard; a light, sharp touch keeps the detail crisp.
22 Moody Dark Pencil Jellyfish
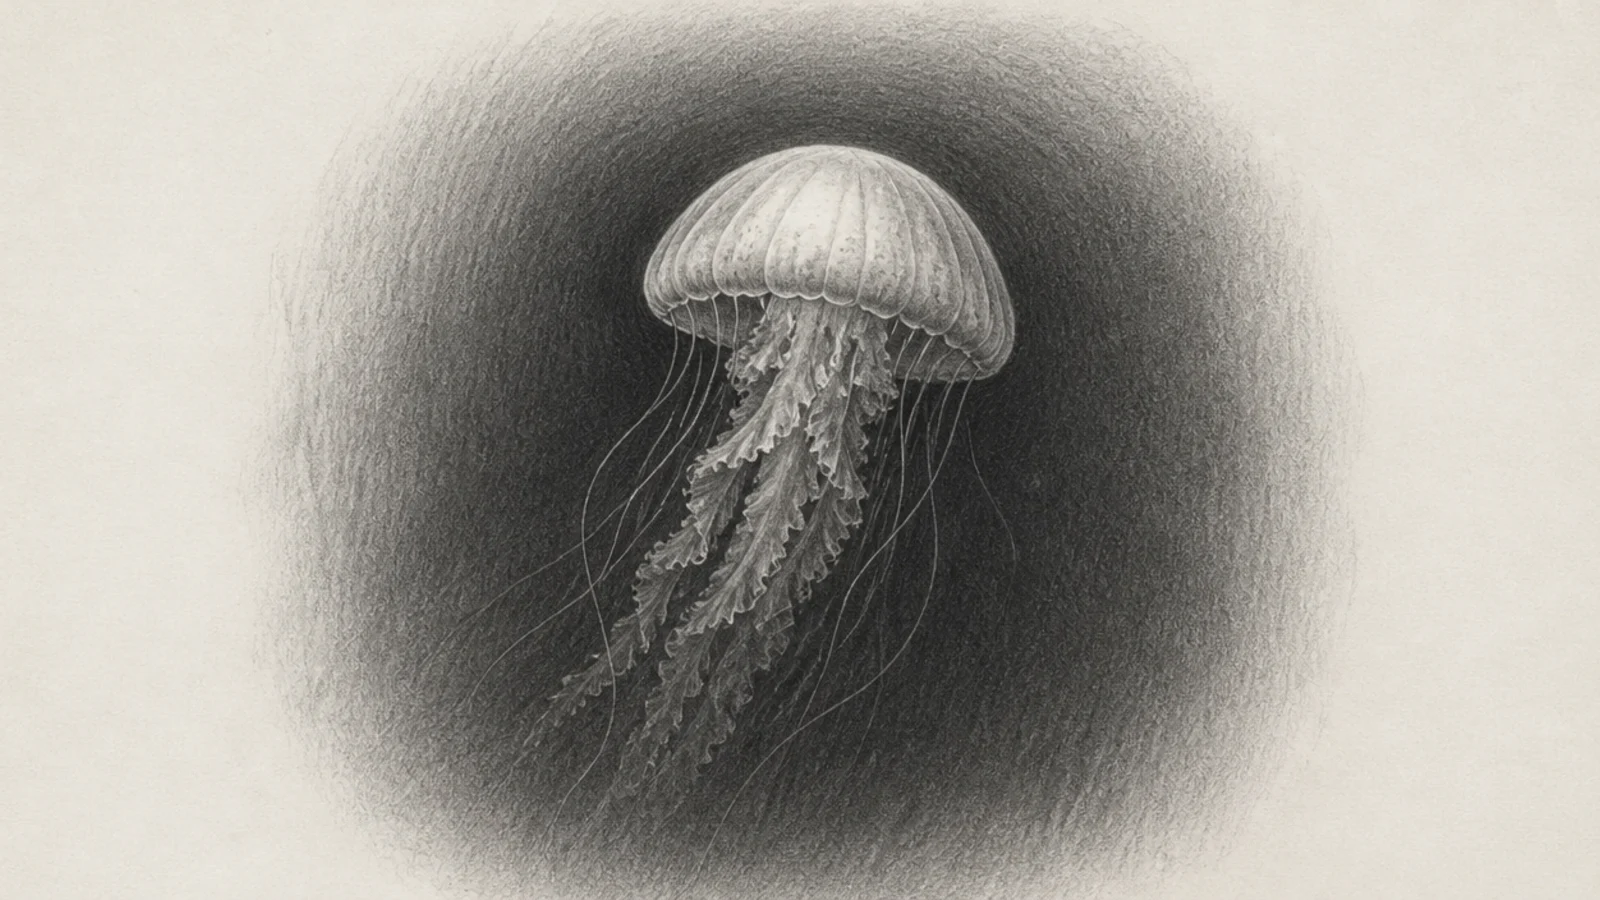
A jellyfish emerging from deep dark shadow is moody and atmospheric. The heavy darks with a glowing bell feel cinematic. It’s dramatic and beautiful.
Step 1 shade a very dark background. Step 2 let the bell emerge lighter from the shadow. Step 3 fade the tentacles into the dark.
Pro tipLet the tentacles disappear into the dark so only part of the jellyfish is lit.
AvoidDon’t light the whole jellyfish; the partial reveal is the mood.
23 Realistic Moon Jelly in Pencil
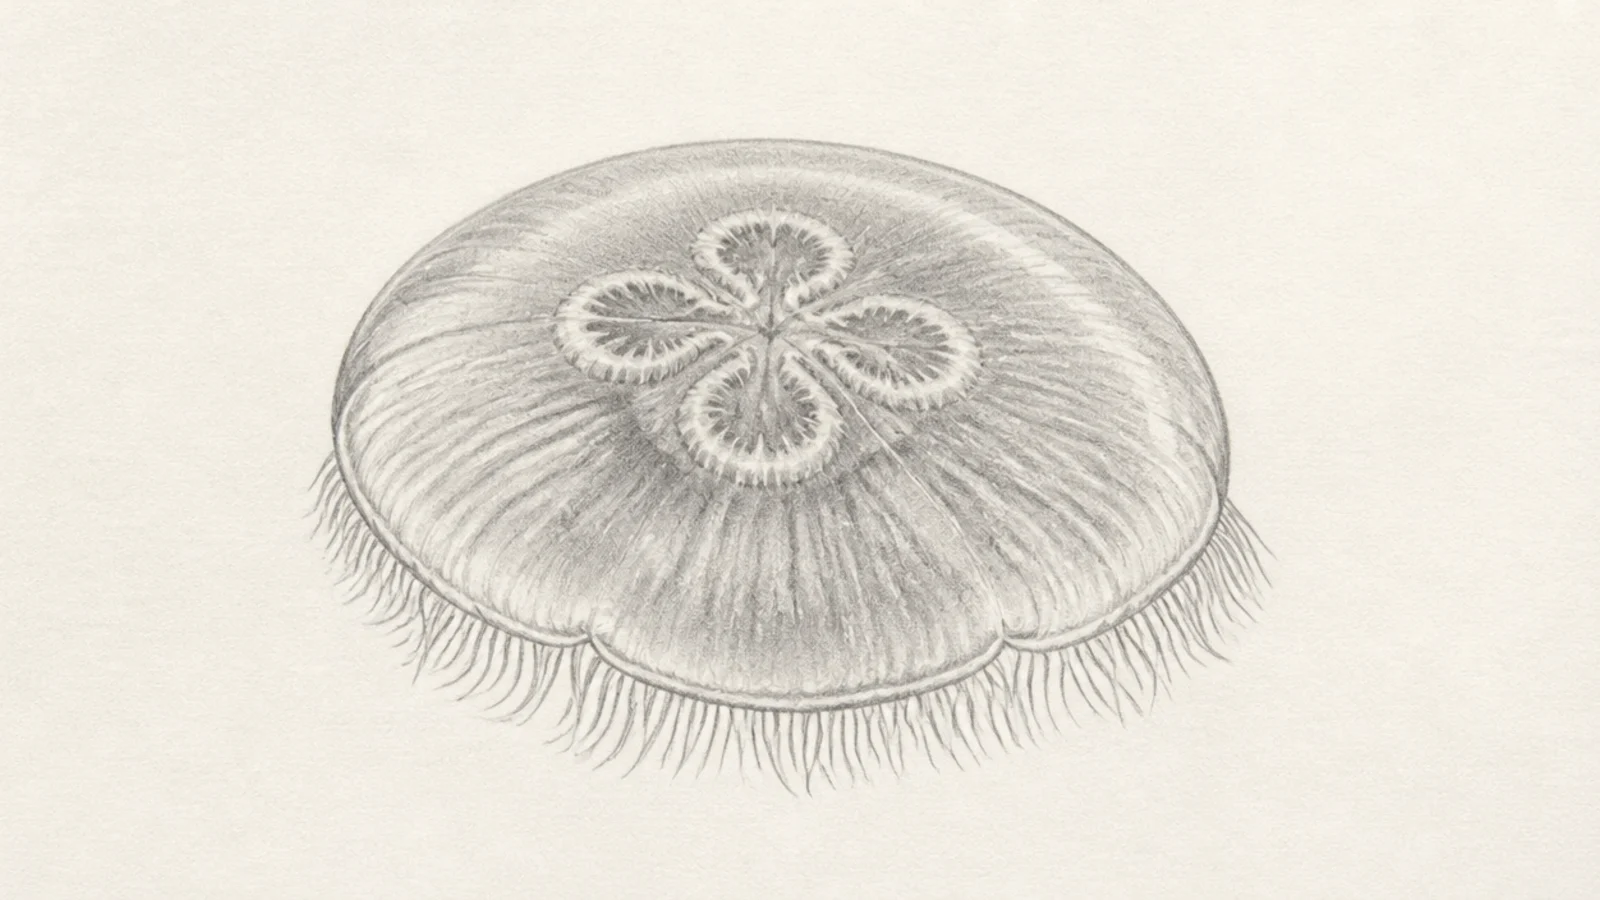
A realistic moon jelly in pencil shows off the wide translucent bell and four clover rings in pure value. The soft grays read as see-through. It’s a lovely realistic subject.
Step 1 draw a wide flat bell with four rings. Step 2 shade the translucent bell softly, darker at the rim. Step 3 render the short tentacle fringe finely.
Keep the bell mostly light with soft rings so it reads as translucent.
Don’t over-darken the bell; a translucent moon jelly stays pale.
24 Pencil Swarm Study
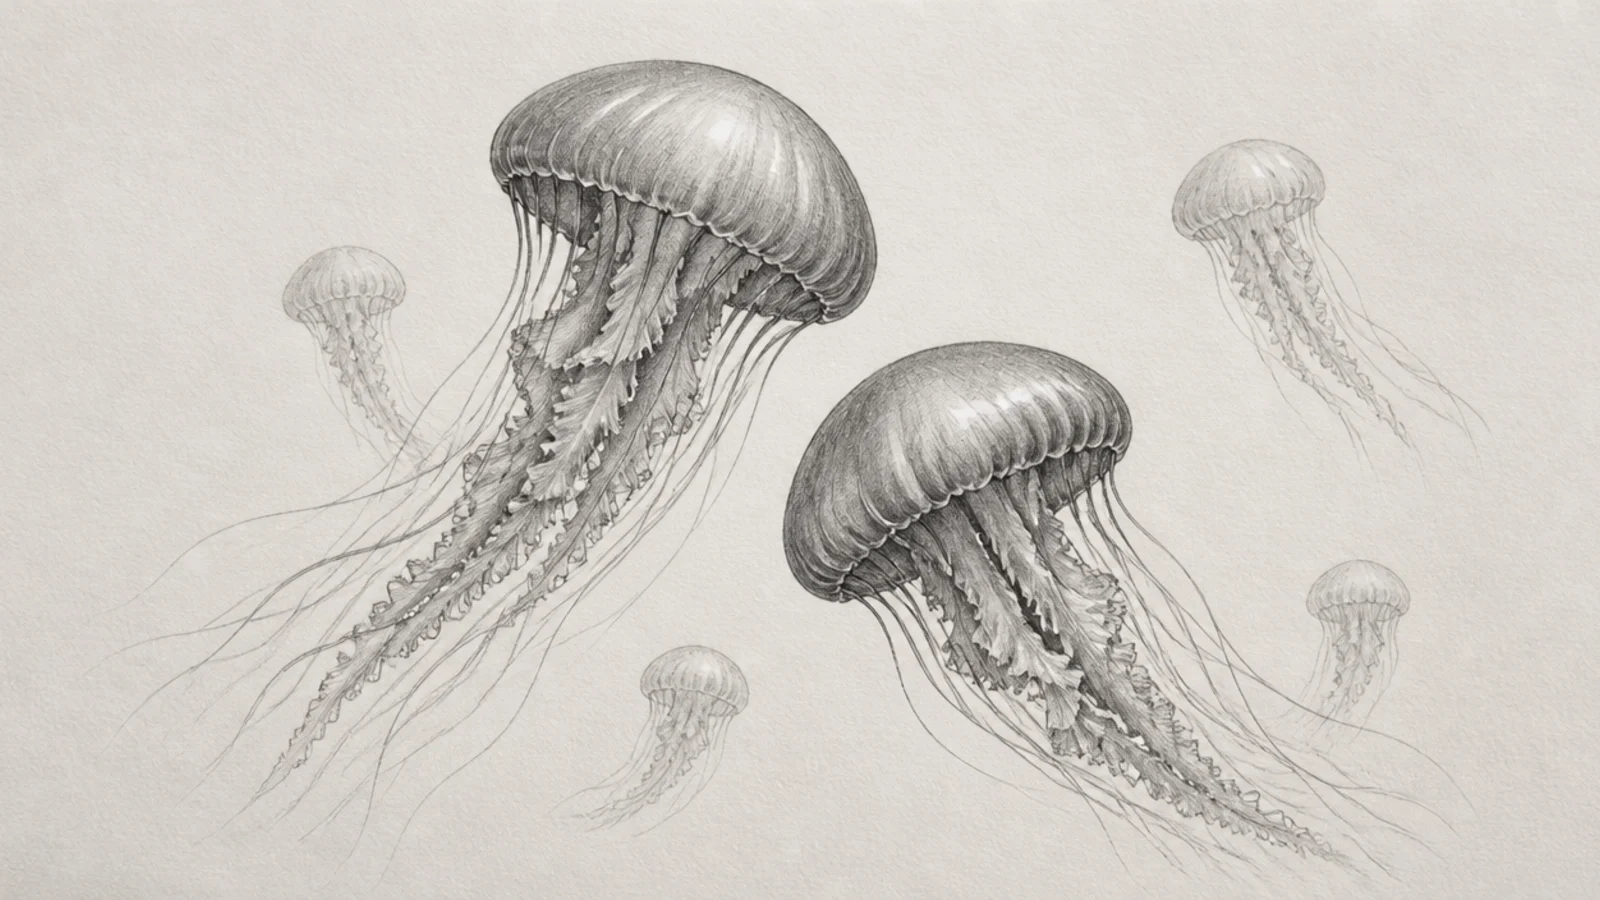
A study of several jellyfish drifting together fills the page with graceful motion. Varying their size and value creates depth. It’s an impressive composition.
Step 1 draw several jellyfish at different sizes. Step 2 shade the front ones fully and fade the back. Step 3 vary their poses for a natural drift.
Pro tipGive each jellyfish a slightly different tilt so the swarm feels alive.
AvoidDon’t line them up evenly; a natural scatter looks better.
25 Finished Pencil Masterpiece Jellyfish
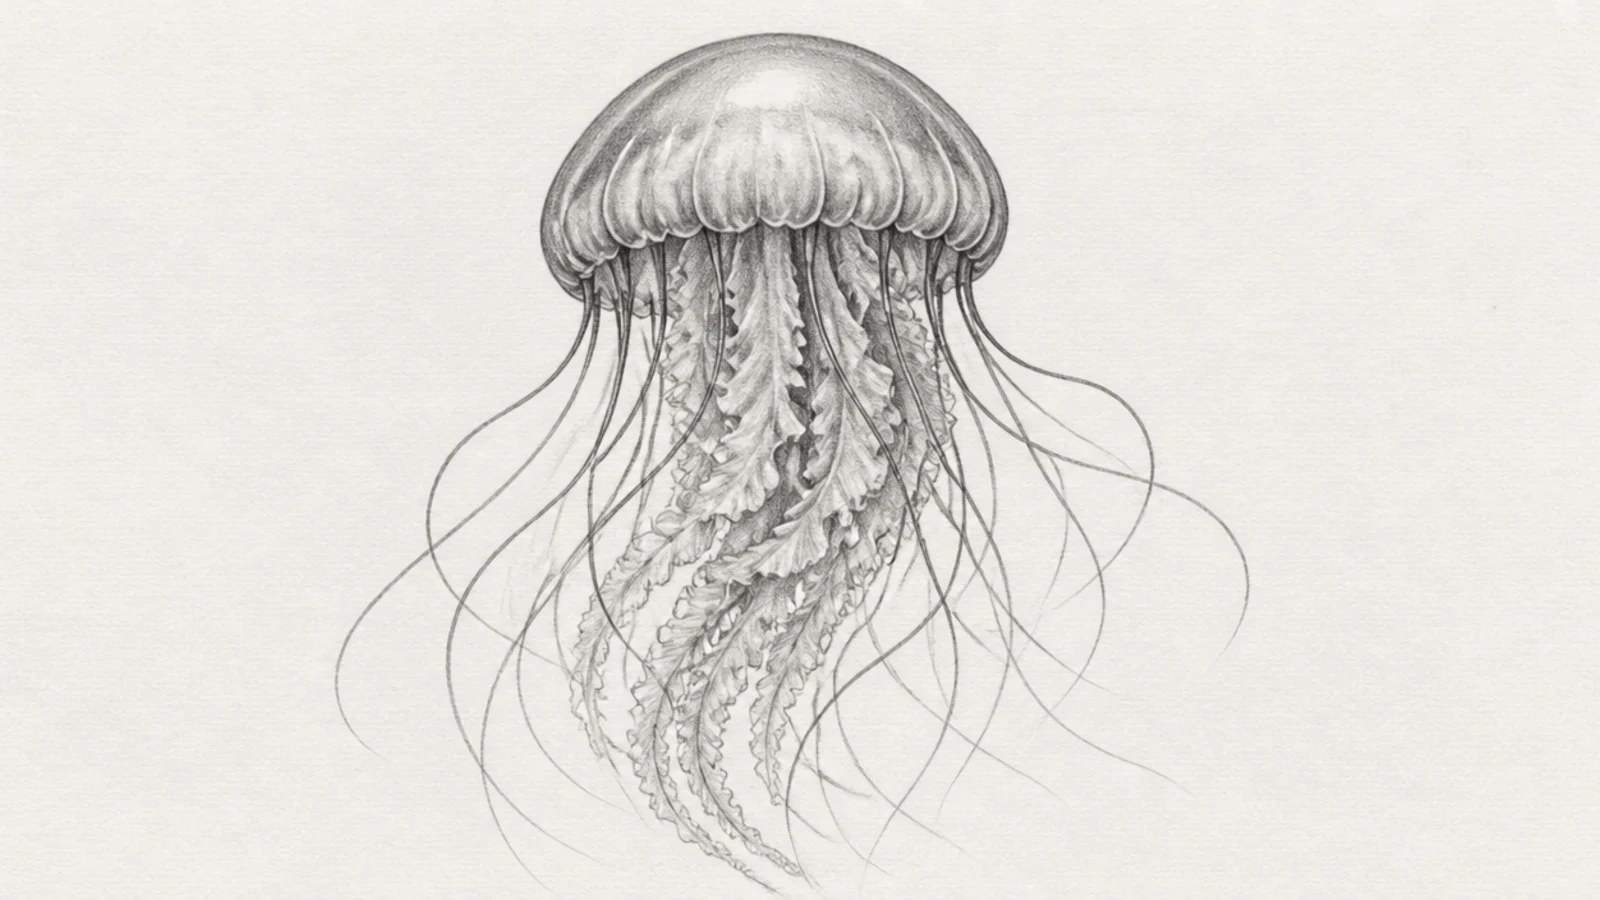
A fully finished, polished graphite jellyfish brings all the techniques together — smooth value, fine detail, crisp highlights. It’s the showcase piece. It looks framed-ready.
Step 1 draw accurate proportions. Step 2 build full smooth value with detailed tentacles. Step 3 refine highlights, darks, and edges until polished.
Pro tipFinish by re-checking your darkest darks and brightest highlights for full contrast.
AvoidDon’t leave it half-rendered; a masterpiece needs the full value range refined.



