
1 Colored Pencil - Soft Blue Glow Jelly
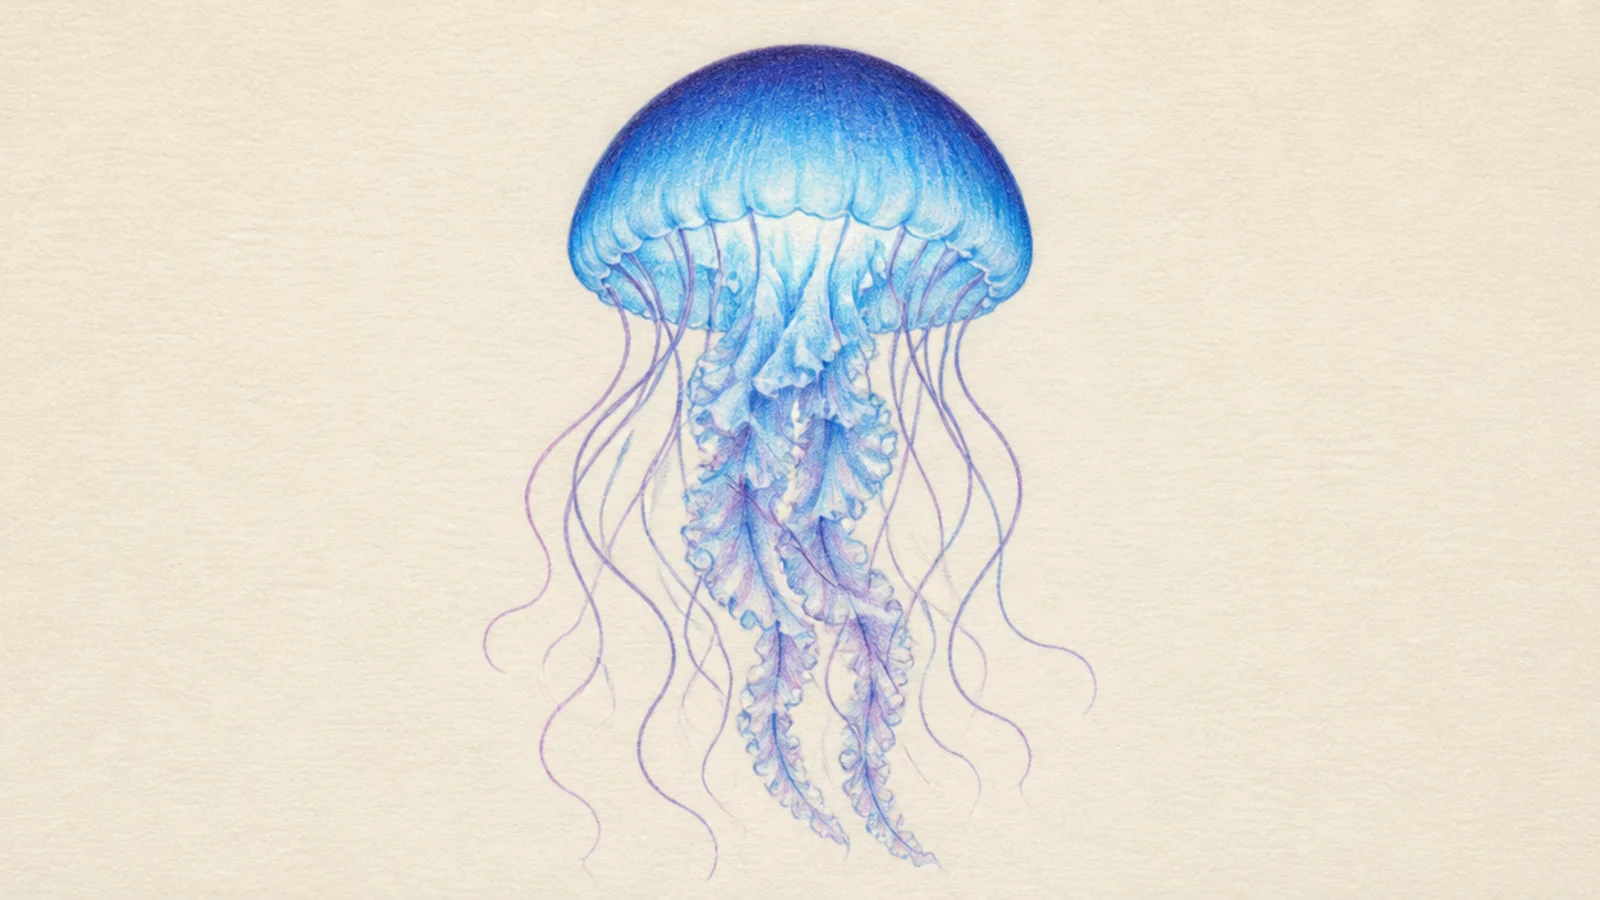
This shows colored pencil at its best — a soft blue glow blended from dark to light. The smooth gradient is something a pen simply can’t do. It looks dreamy and lit from within.
Step 1 outline lightly in pencil. Step 2 layer blue from the top of the bell down in light passes. Step 3 blend with a lighter pencil until the gradient is seamless.
Build the blue in three or four light layers rather than one heavy pass for a smooth glow.
Don’t press hard once; heavy single passes look patchy and waxy.
2 Pen - Crisp Line-Art Jelly
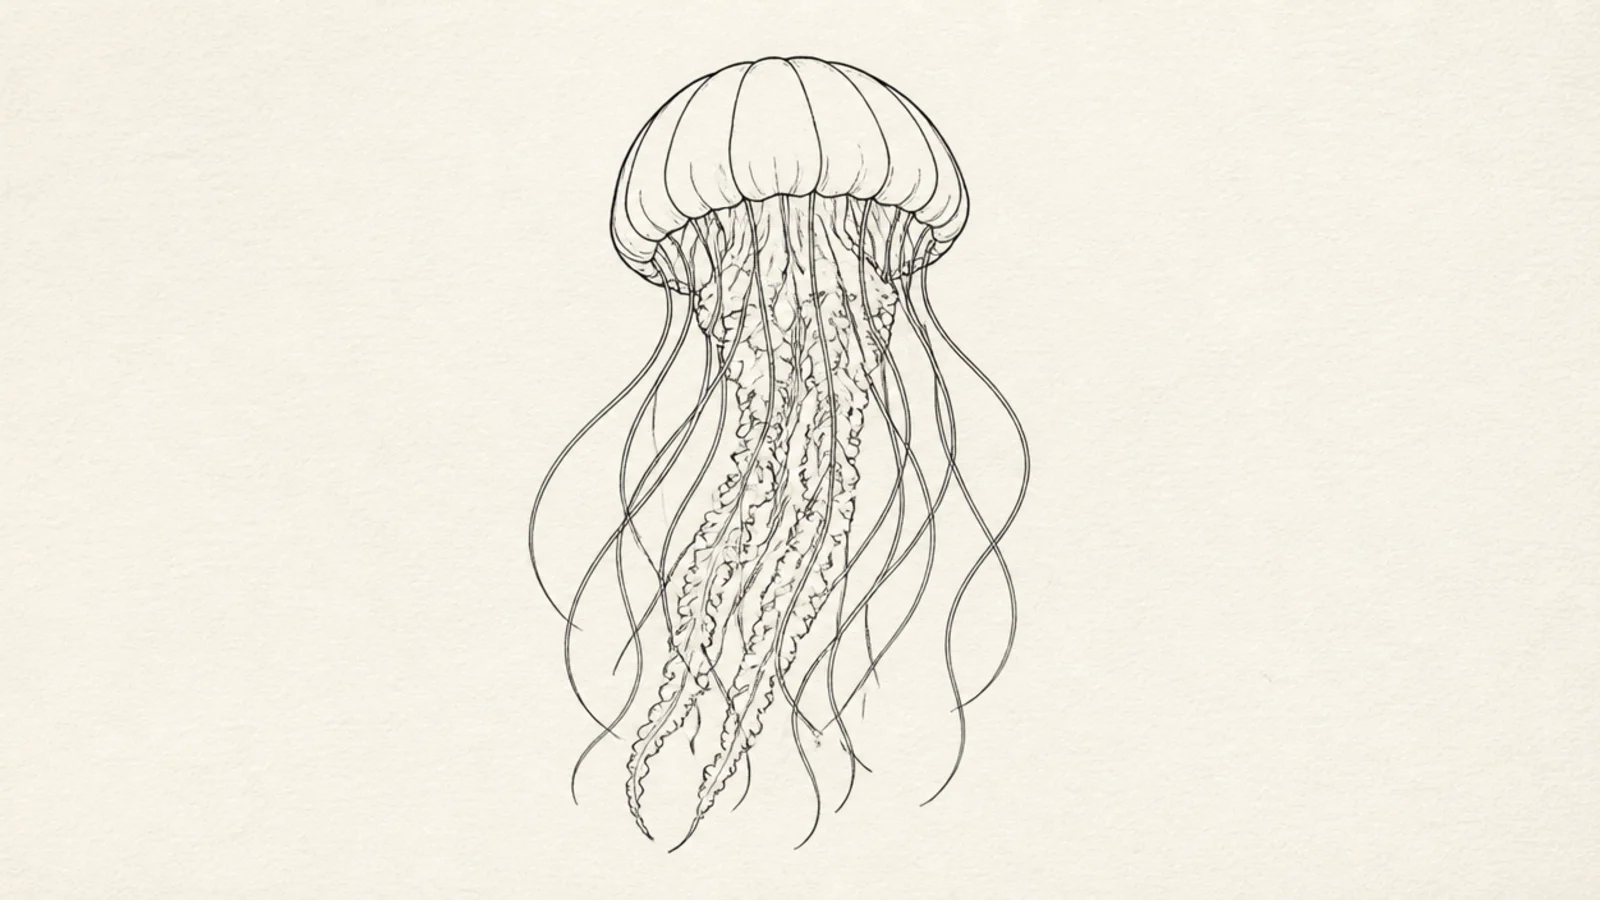
This shows the pen’s strength — clean, confident, crisp lines with zero smudging. The sharp outline reads beautifully in photos. It’s fast and graphic.
Step 1 sketch lightly in pencil. Step 2 ink with a 0.3-0.5mm fineliner in one steady pass. Step 3 erase the pencil for a pure line drawing.
Pro tipKeep one even line weight so the delicate tentacles look intentional.
AvoidDon’t over-trace lines; a single clean pass beats a fuzzy re-drawn one.
3 Colored Pencil - Layered Sunset Jelly
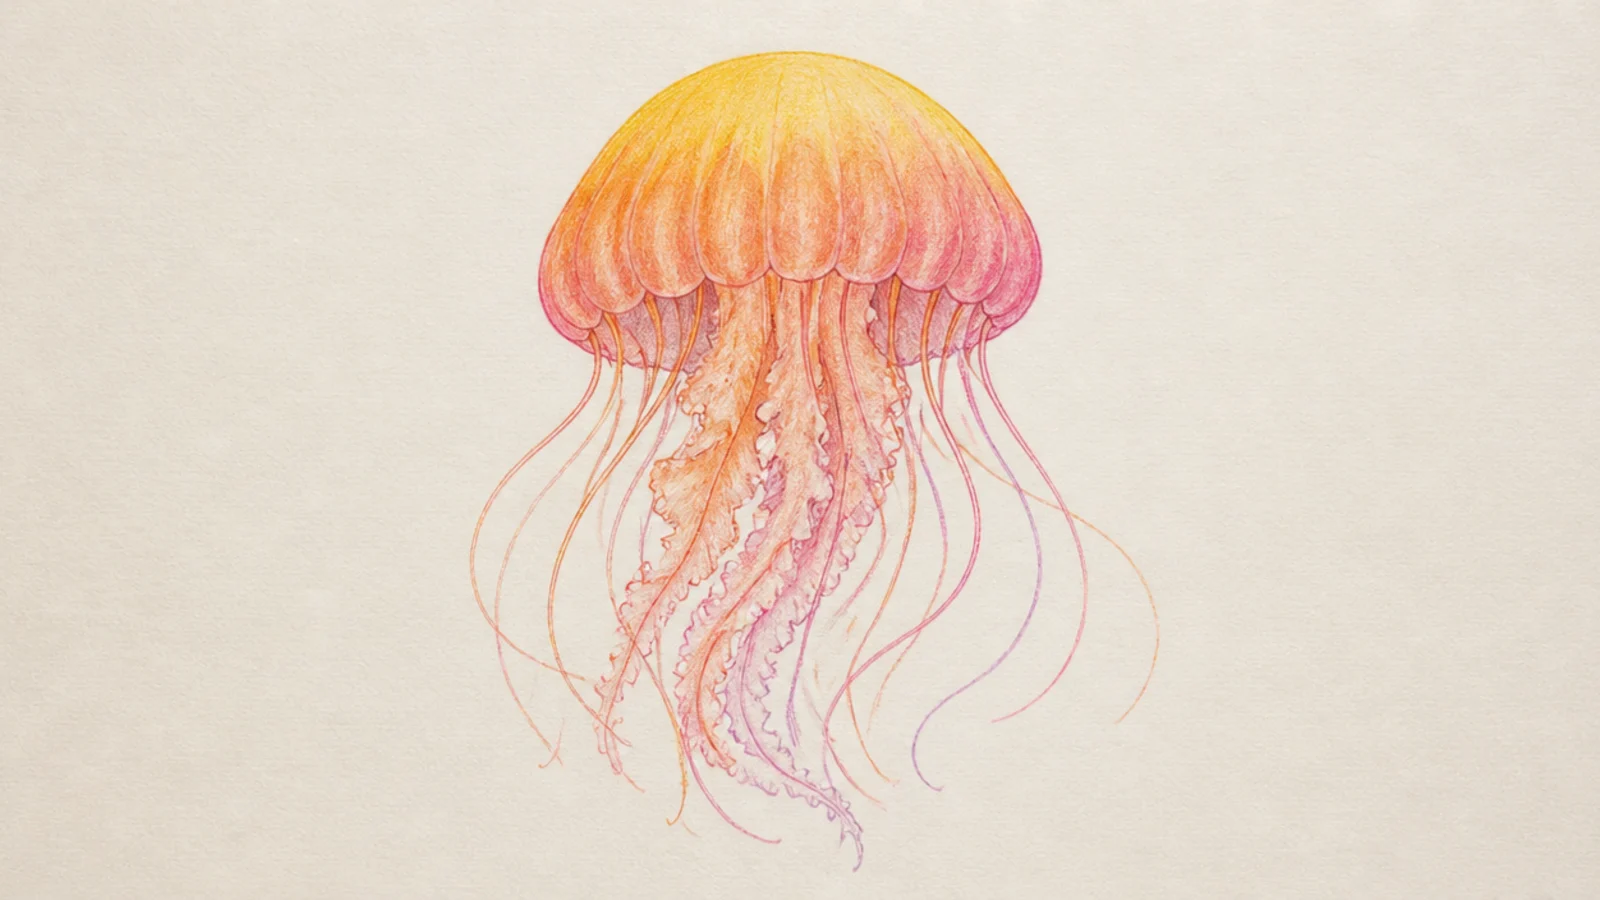
Layering warm sunset colors shows how pencil blends multiple hues smoothly. The orange-to-pink transition would be impossible with pen. It feels rich and glowing.
Step 1 outline lightly. Step 2 layer yellow, then orange, then pink down the bell. Step 3 blend the overlaps so the colors melt together.
Pro tipOverlap each color into the next while layering so there are no hard bands.
AvoidDon’t leave gaps between colors; blend the transitions fully.
4 Pen - Stippled Dotwork Jelly
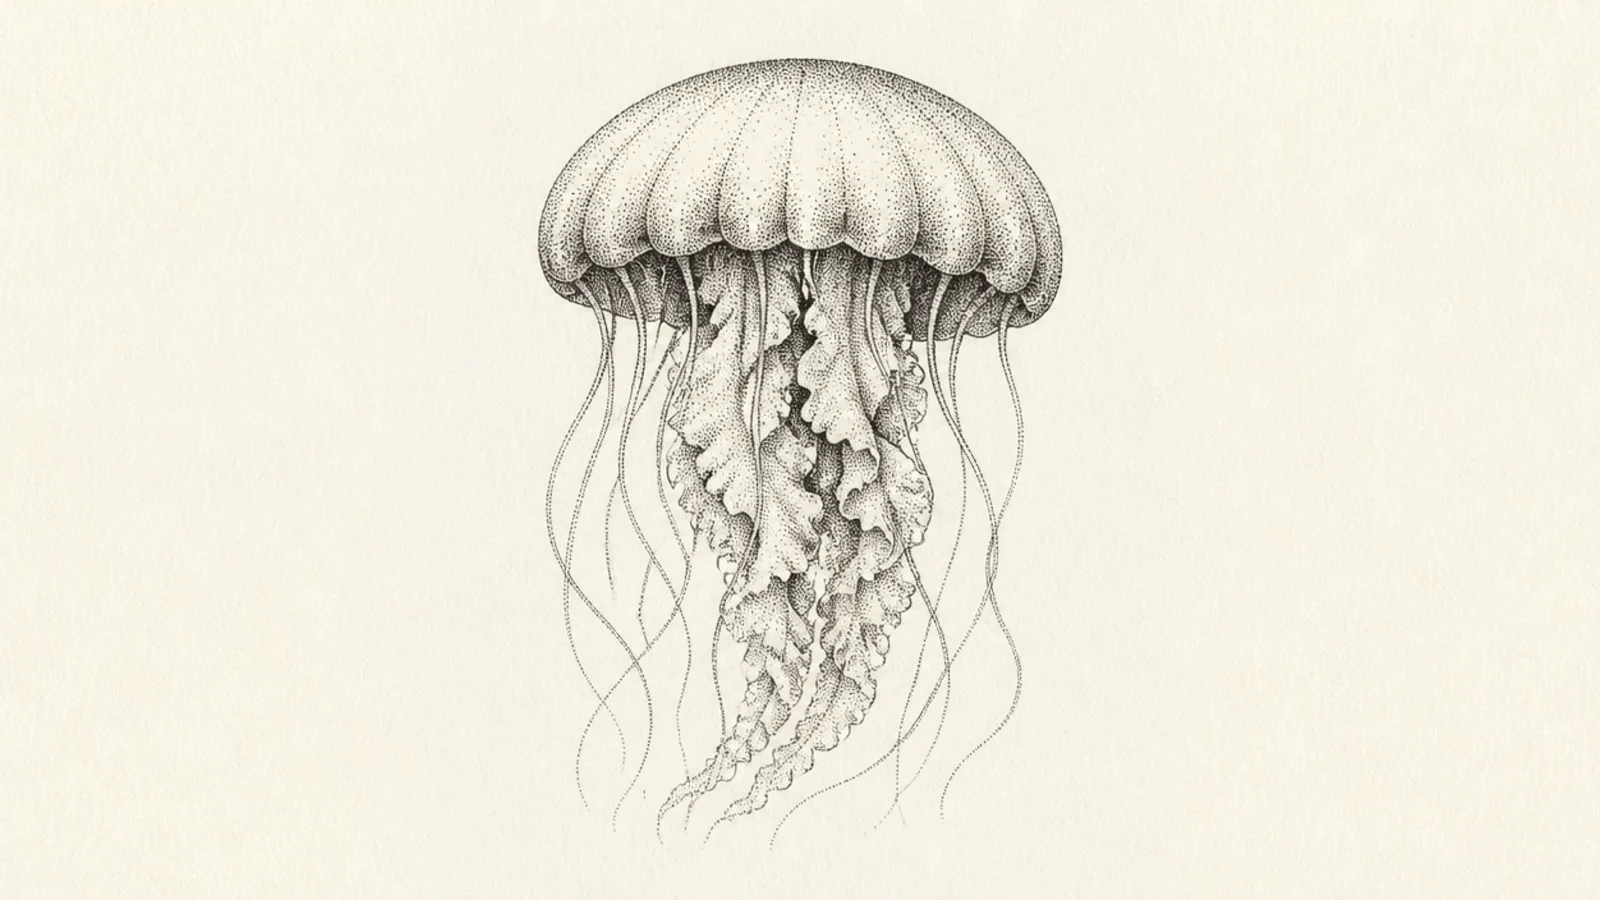
Dense stipple dots show a shading trick only a pen does cleanly. The dotwork builds soft gradients from tiny marks. It’s meditative and precise.
Step 1 ink the outline. Step 2 shade with dots — dense in shadow, sparse in light. Step 3 leave the highlight areas dot-free.
Cluster dots closer for shadow and spread them out for light to fake a gradient.
Don’t switch to lines for shading; stay with dots for the stipple look.
5 Colored Pencil - Blended Galaxy Jelly
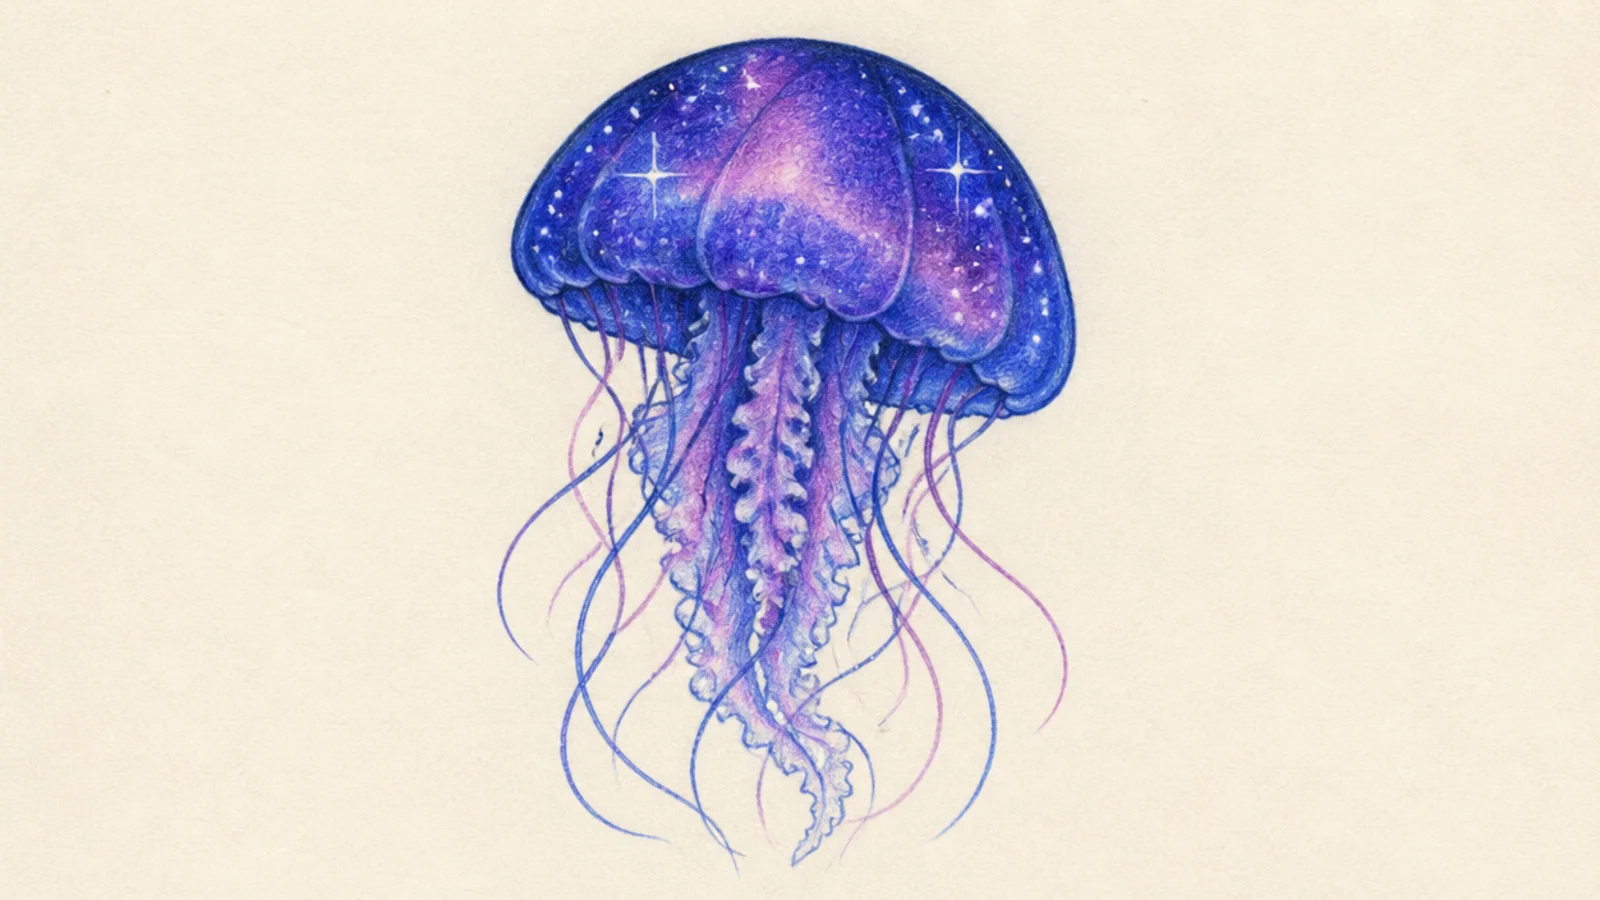
A galaxy bell needs smooth blended darks, which is pure colored-pencil territory. The blended blues and purples create depth. White dots on top finish the stars.
Step 1 layer dark blue and purple across the bell and blend. Step 2 deepen the edges. Step 3 add tiny white gel-pen stars over the top.
Pro tipBlend the darks fully before adding stars so the galaxy looks deep.
AvoidDon’t leave the base streaky; a smooth dark field makes the stars pop.
6 Pen - Cross-Hatch Shaded Jelly
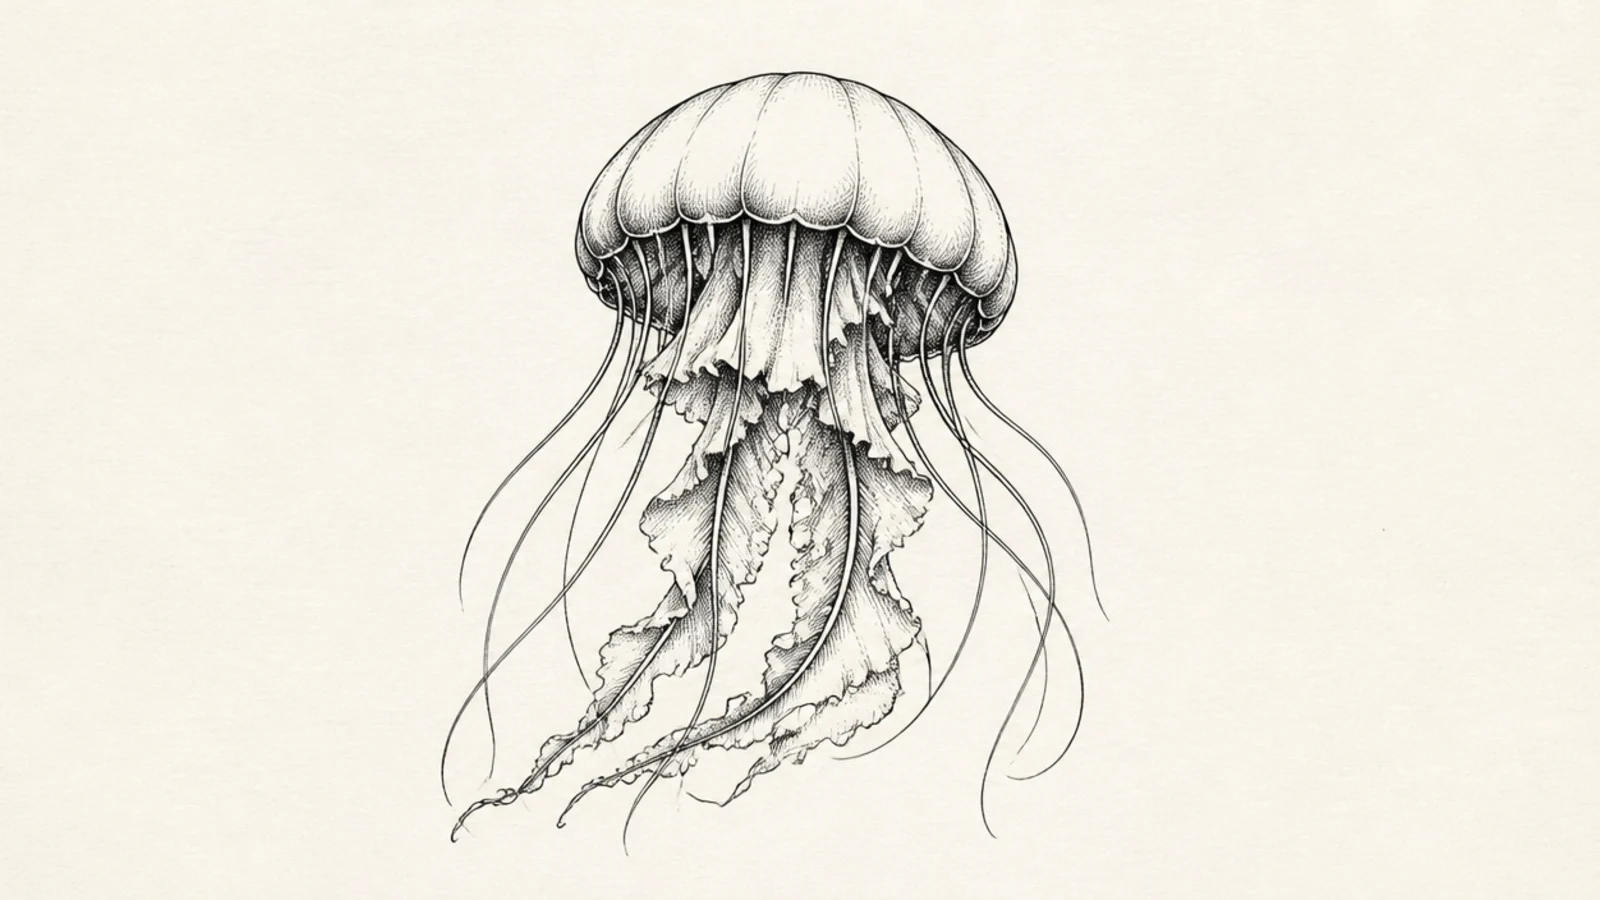
Cross-hatching shows how a pen creates shadow without any blending. Layered line directions build up value. It looks like a classic ink study.
Step 1 ink the outline. Step 2 hatch the shadow areas, then cross with a second direction for darker spots. Step 3 leave the lit areas blank.
Pro tipAdd a second layer of lines at an angle only in the darkest areas for depth.
AvoidDon’t hatch the whole jellyfish; leave light areas open for contrast.
7 Colored Pencil - Pastel Cloud Jelly
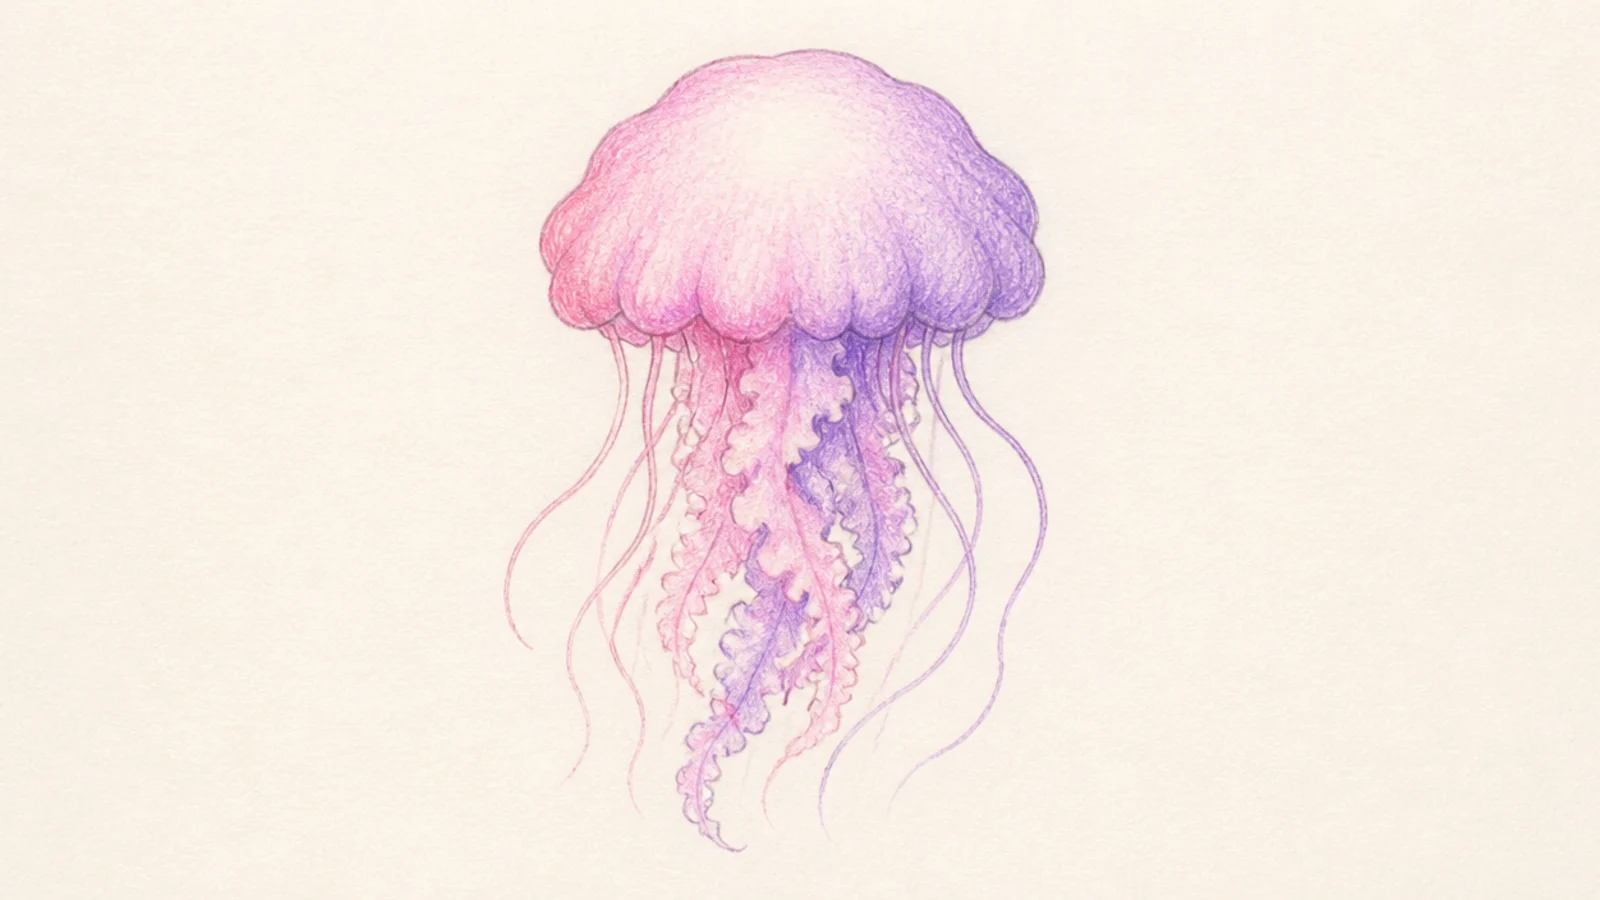
Soft pastel blends and a bumpy cloud bell show pencil’s gentle side. The low-contrast colors feel plush. Pen couldn’t achieve this softness.
Step 1 draw a bumpy cloud-edged bell. Step 2 blend two pastels lightly. Step 3 keep the center lightest.
Use a very light touch throughout so the pastels stay soft.
Don’t outline in hard black; a soft colored edge suits pastels.
8 Pen - Bold Sticker-Outline Jelly
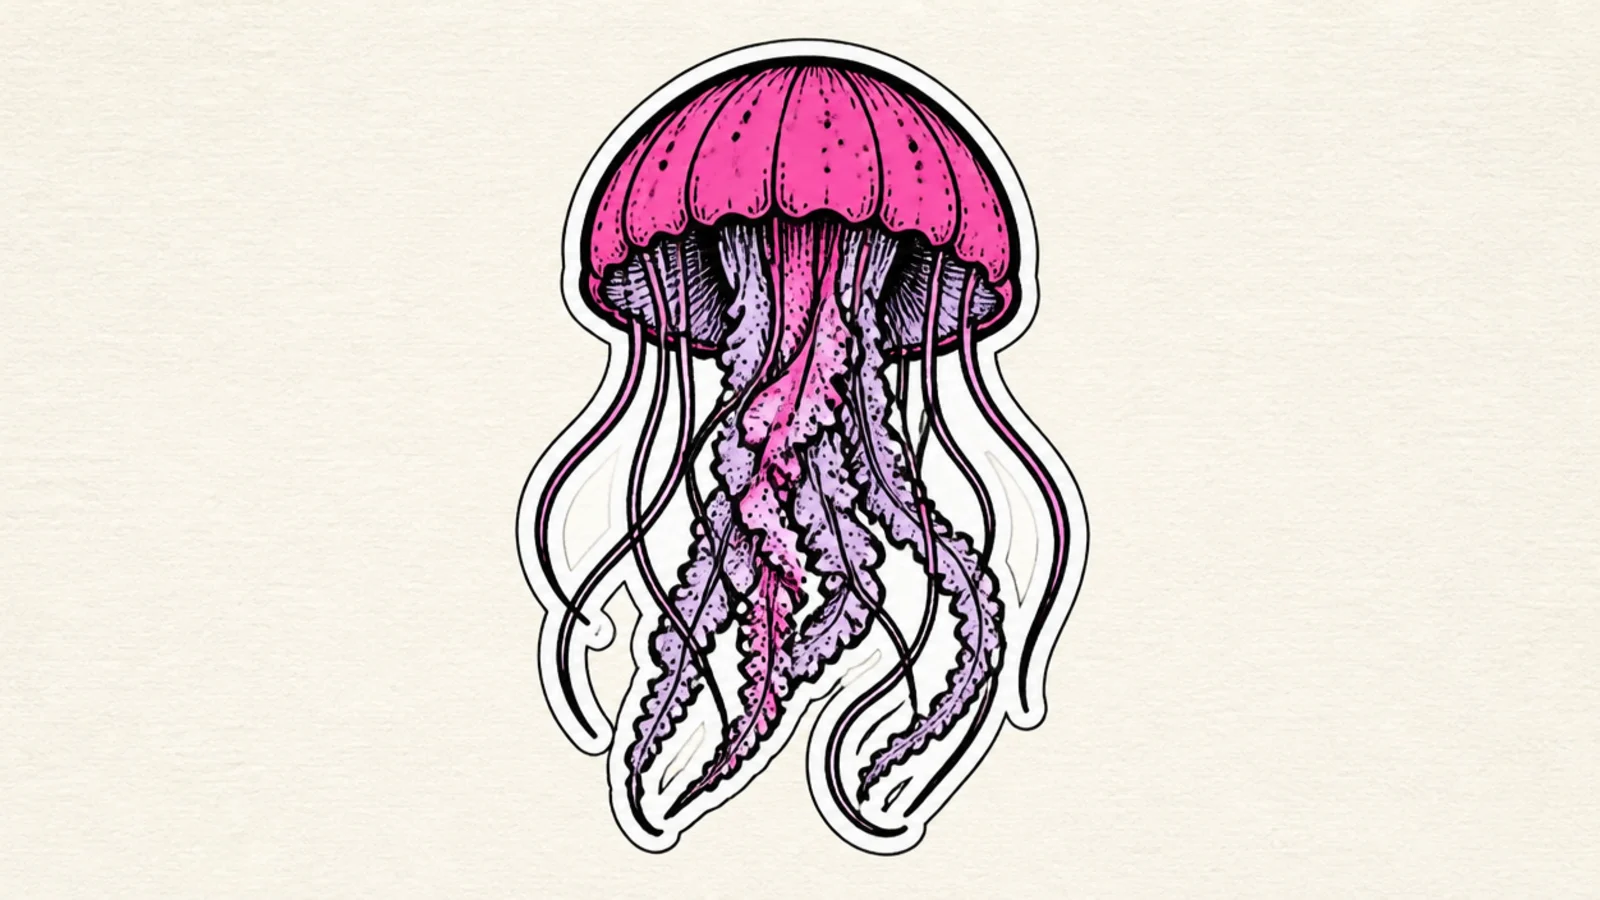
A thick, bold pen outline gives a crisp sticker look that’s all about clean edges. The graphic contrast pops. It’s fast and photogenic.
Step 1 ink a simple bold jellyfish. Step 2 thicken the outer outline. Step 3 add a thick white border around the whole shape.
Pro tipKeep the outer outline noticeably thicker than the inner lines for a sticker feel.
AvoidDon’t add soft shading; the sticker look wants flat, bold shapes.
9 Colored Pencil - Ombre Purple Jelly
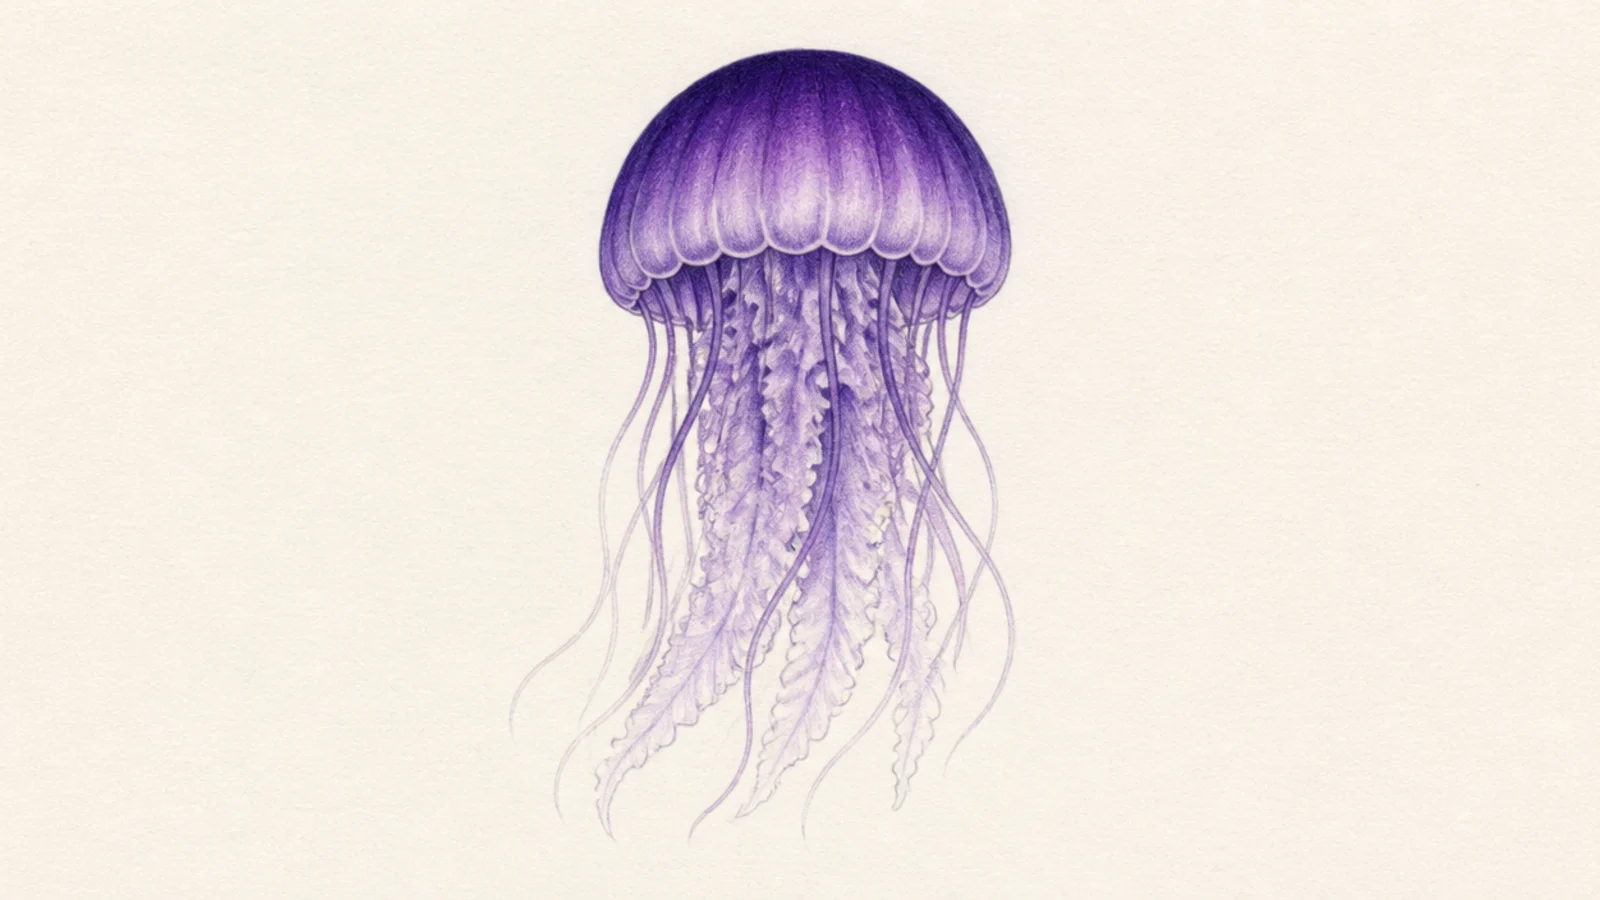
A clean purple ombre shows off pencil’s signature smooth fade. Dark at the top, pale at the tips, no bands. It looks polished with one color.
Step 1 outline lightly. Step 2 press hardest at the top and ease off downward. Step 3 blend until the transition is seamless.
Finish with a colorless blender or light pencil to smooth the gradient.
Don’t stop the gradient abruptly; fade it all the way to near-white.
10 Pen - Minimalist Single-Line Jelly
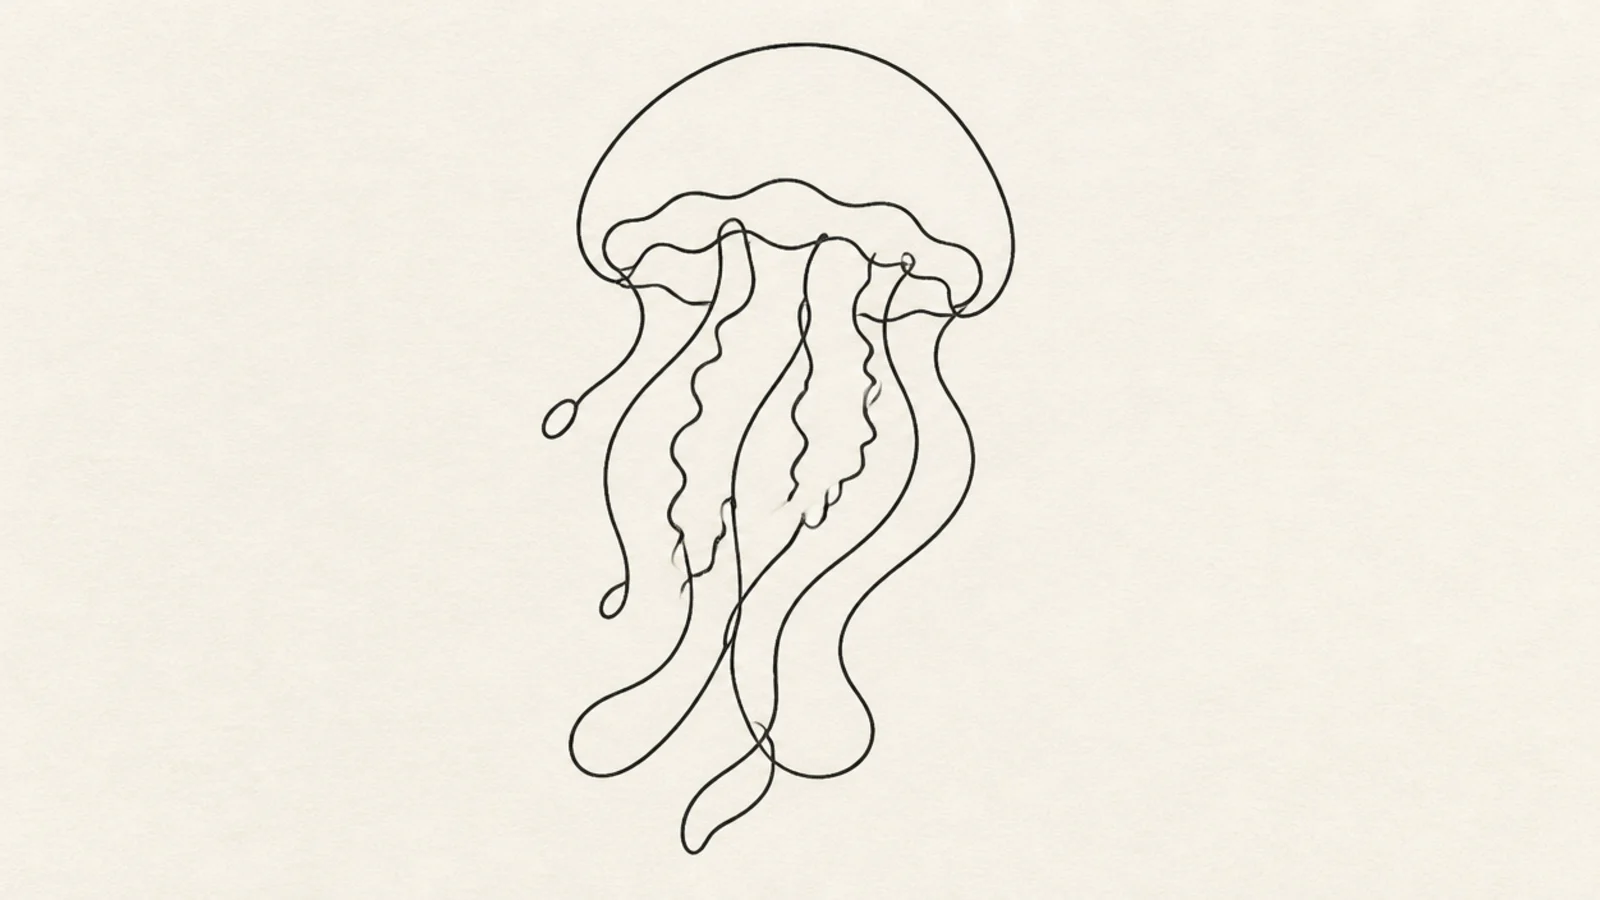
A one-line jellyfish is a pure pen move — one confident continuous stroke. It’s clean and modern. Colored pencil could never look this crisp.
Step 1 plan the path in your head. Step 2 draw the bell and tentacles in one continuous pen line. Step 3 leave it unshaded.
Draw it in one smooth motion; hesitation shows in a single-line drawing.
Don’t lift the pen often; the continuous line is the whole point.
11 Colored Pencil - Coral Reef Jelly
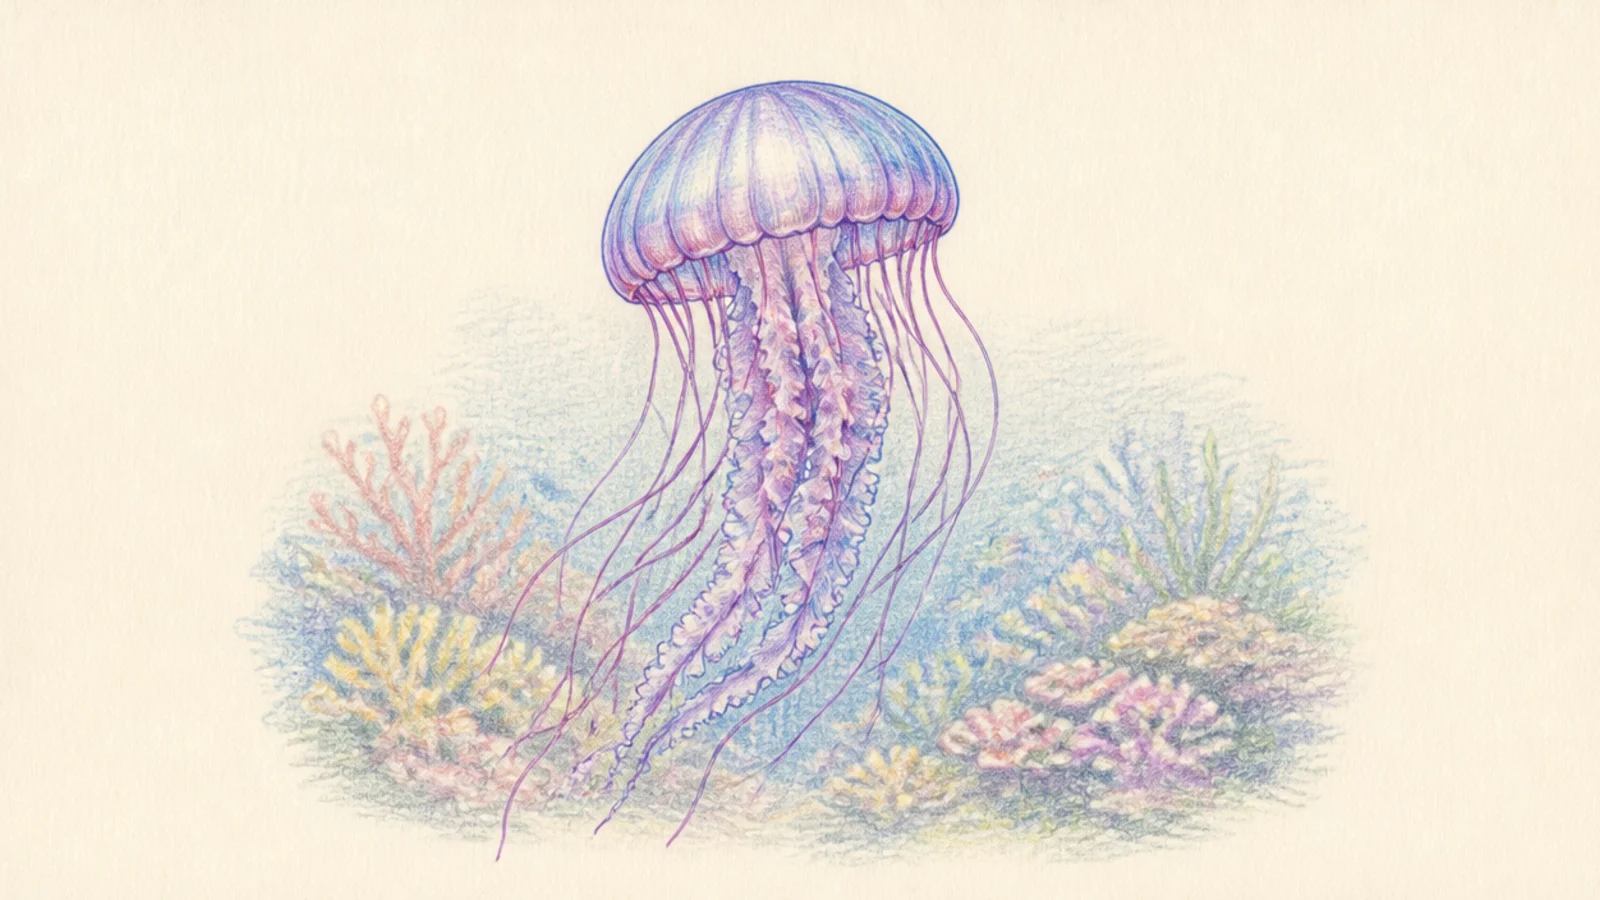
A soft blended reef behind the jellyfish shows pencil’s ability to build atmosphere. The blurred background colors add depth. It creates a full scene.
Step 1 draw the jellyfish. Step 2 blend soft coral and blue shapes behind it. Step 3 keep the background hazy so the jellyfish stays sharp.
Blend the background softer than the jellyfish so it recedes.
Don’t detail the background sharply; a soft haze keeps focus on the jelly.
12 Pen - Zentangle Pattern Jelly
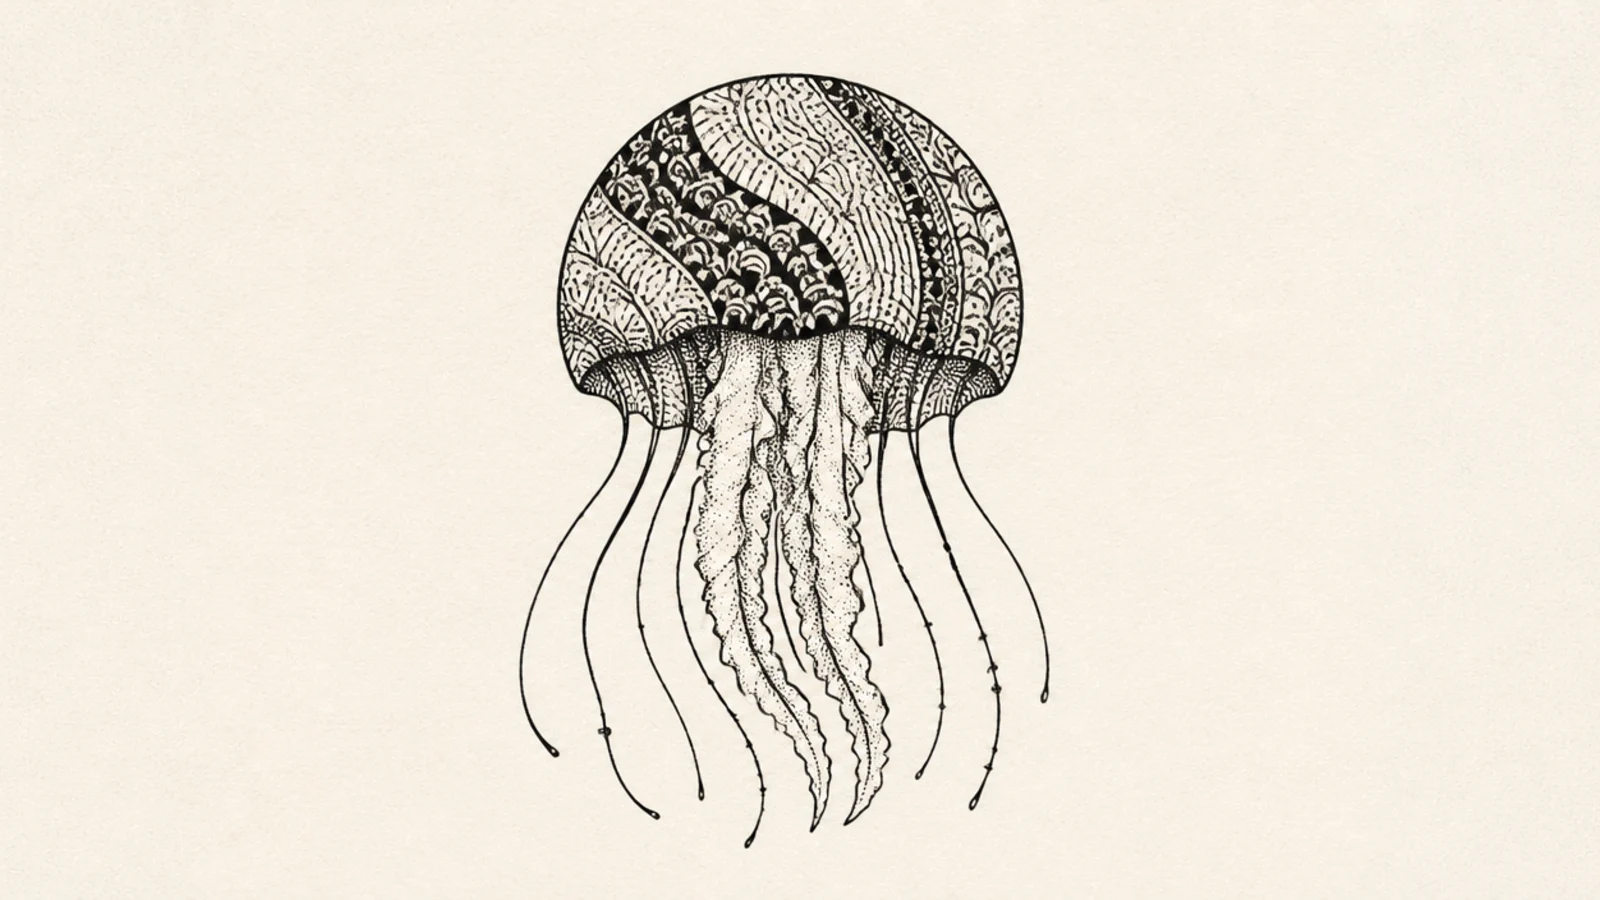
Intricate pattern-fill is a pen specialty — crisp repeating marks that would blur in pencil. The detailed bell looks impressive. It’s satisfying line work.
Step 1 ink the outline. Step 2 fill the bell with sections of different patterns — dots, scallops, lines. Step 3 keep the tentacles simpler.
Pro tipDivide the bell into a few sections and give each its own pattern.
AvoidDon’t pattern everything; leave the tentacles plainer for balance.
13 Colored Pencil - Bioluminescent Glow Jelly
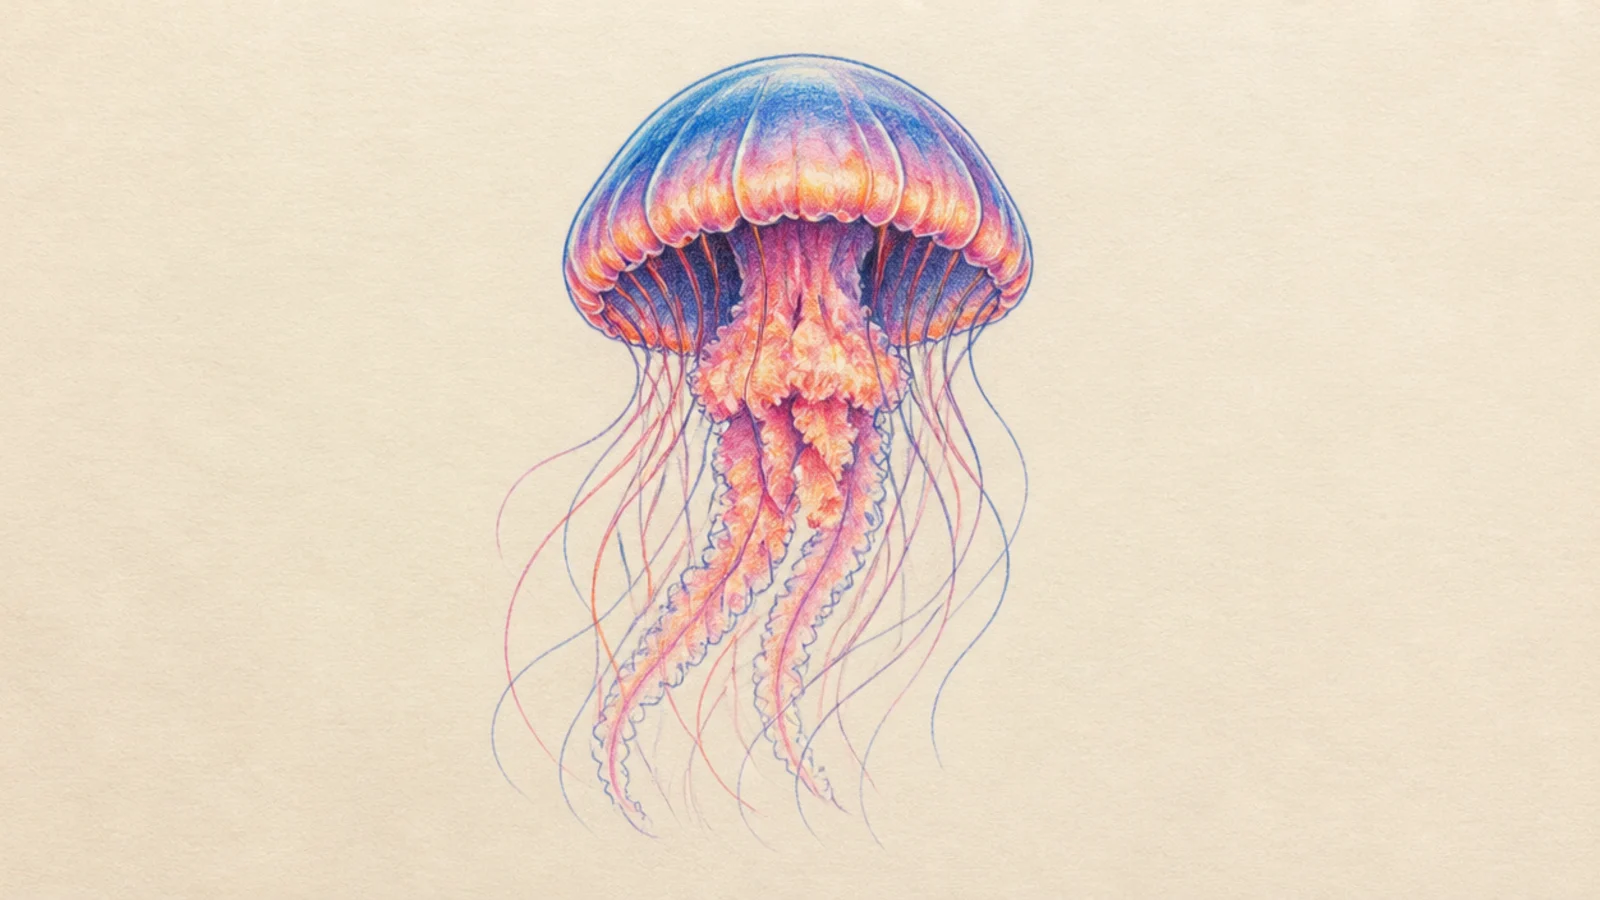
On dark paper, colored pencil layers a soft luminous glow that pen can’t match. The bright edges melt into the dark. It looks truly lit from within.
Step 1 on dark paper, sketch in white pencil. Step 2 add bright color along the edges and blend outward. Step 3 keep the center dark for contrast.
Pro tipBlend the glow outward into the dark paper so it fades like real light.
AvoidDon’t fill the whole bell bright; the glow lives on the edges.
14 Pen - Fine Tentacle Detail Jelly
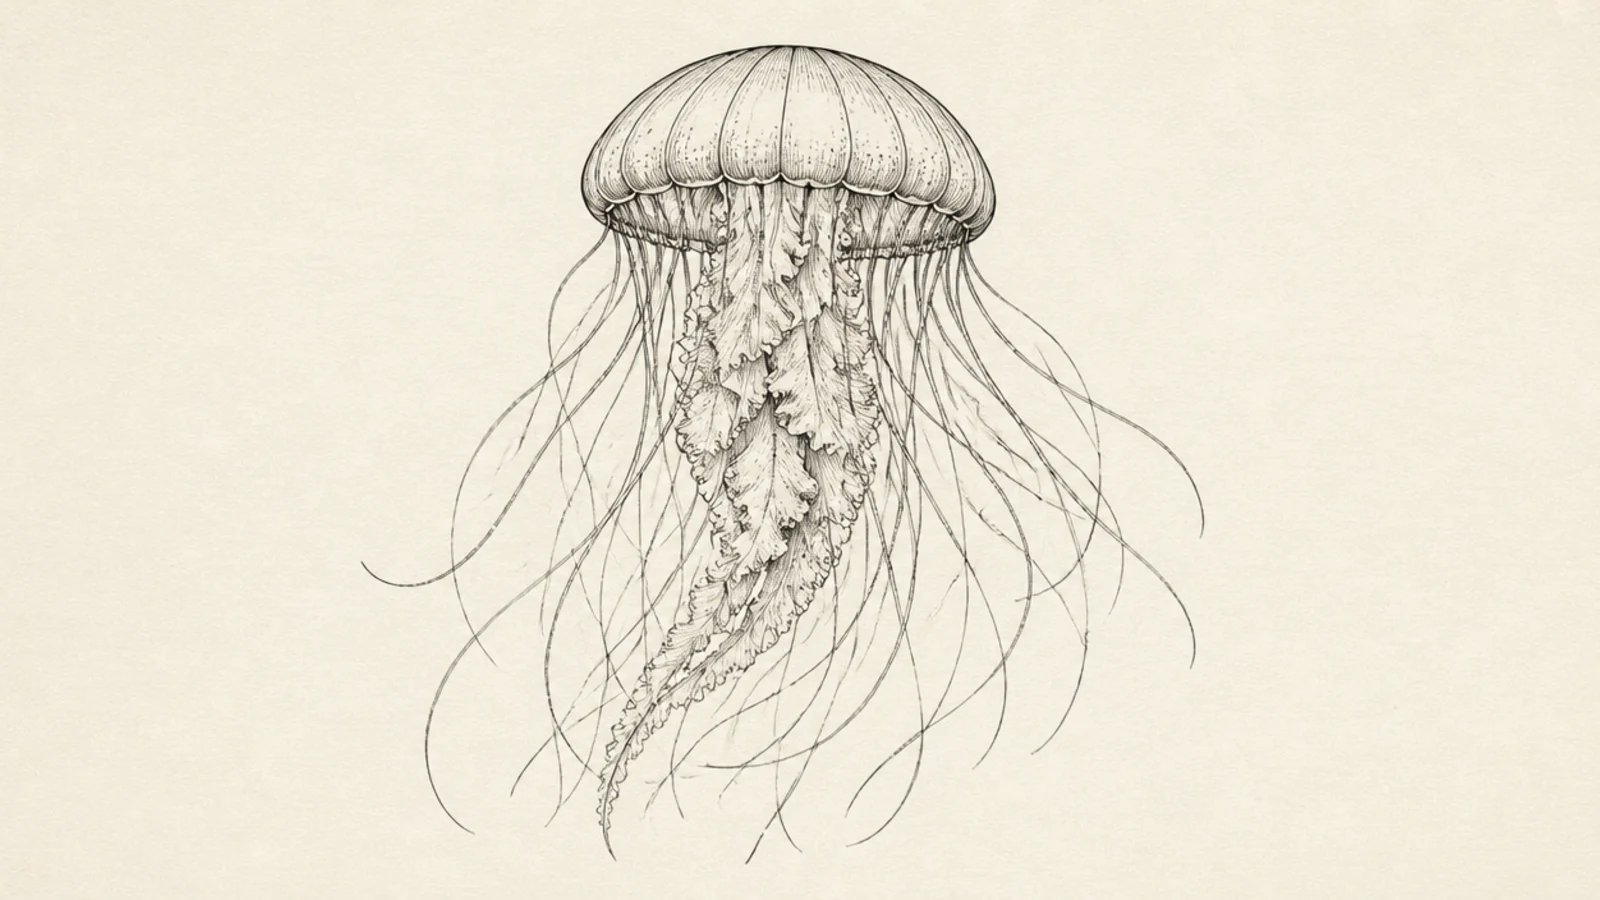
Many fine, individual tentacle lines show the pen’s precision. Each delicate strand stays crisp. It looks intricate and elegant.
Step 1 ink the bell. Step 2 draw each tentacle as a separate fine, flowing line. Step 3 vary the lengths and let some cross.
Keep the line thin and consistent so the mass of tentacles stays delicate.
Don’t clump the lines; space and cross them for an airy look.
15 Both - Same Jelly, Pencil and Pen
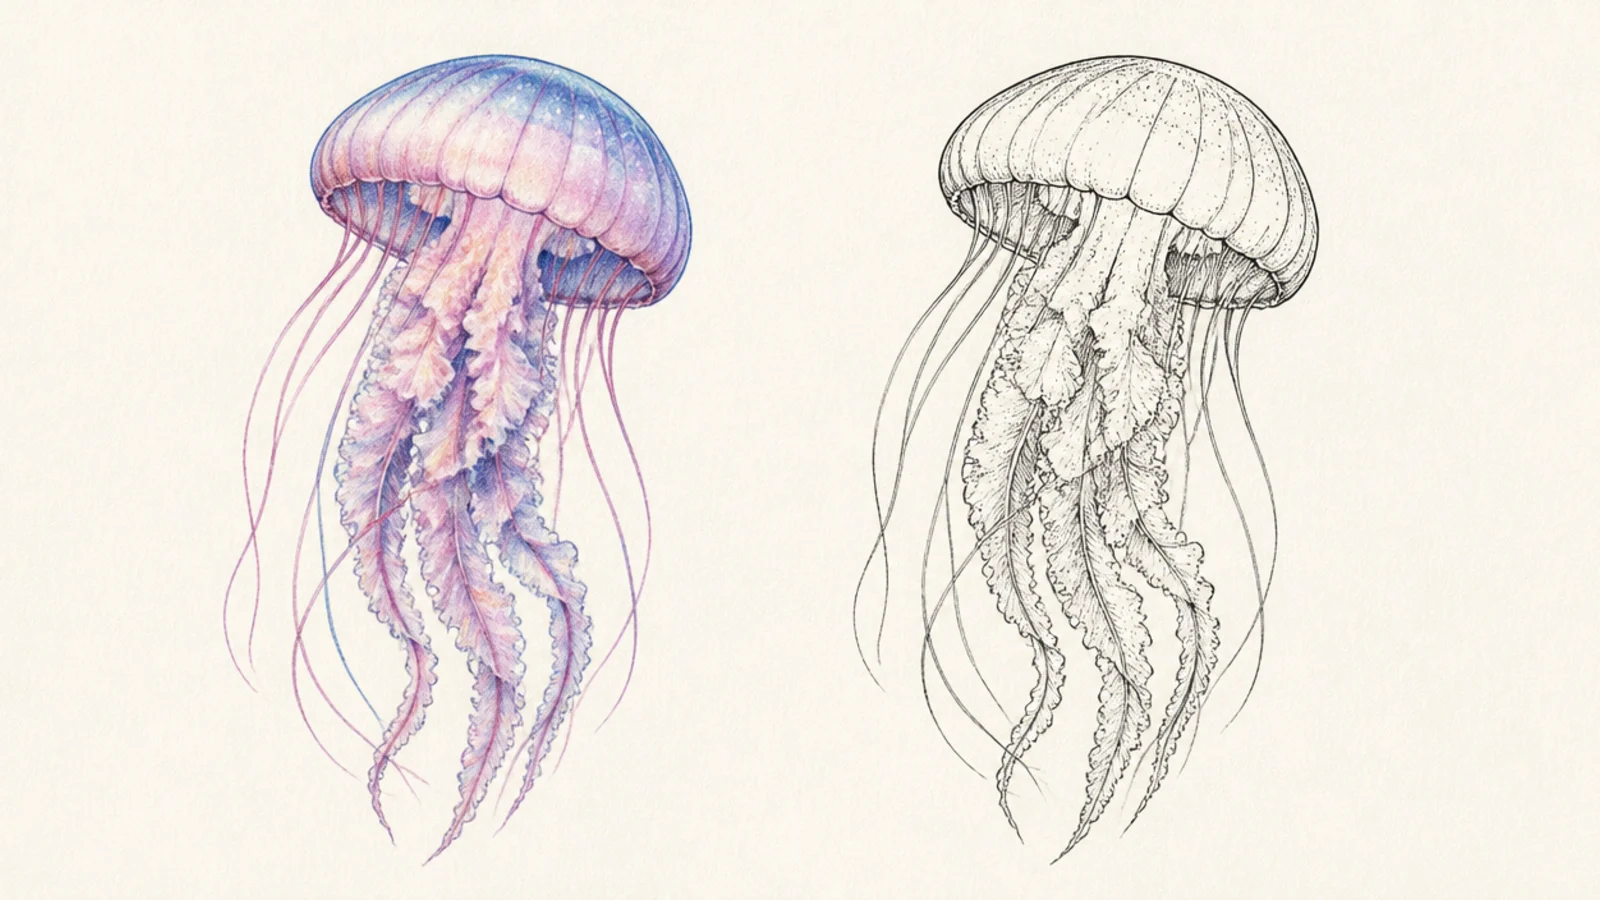
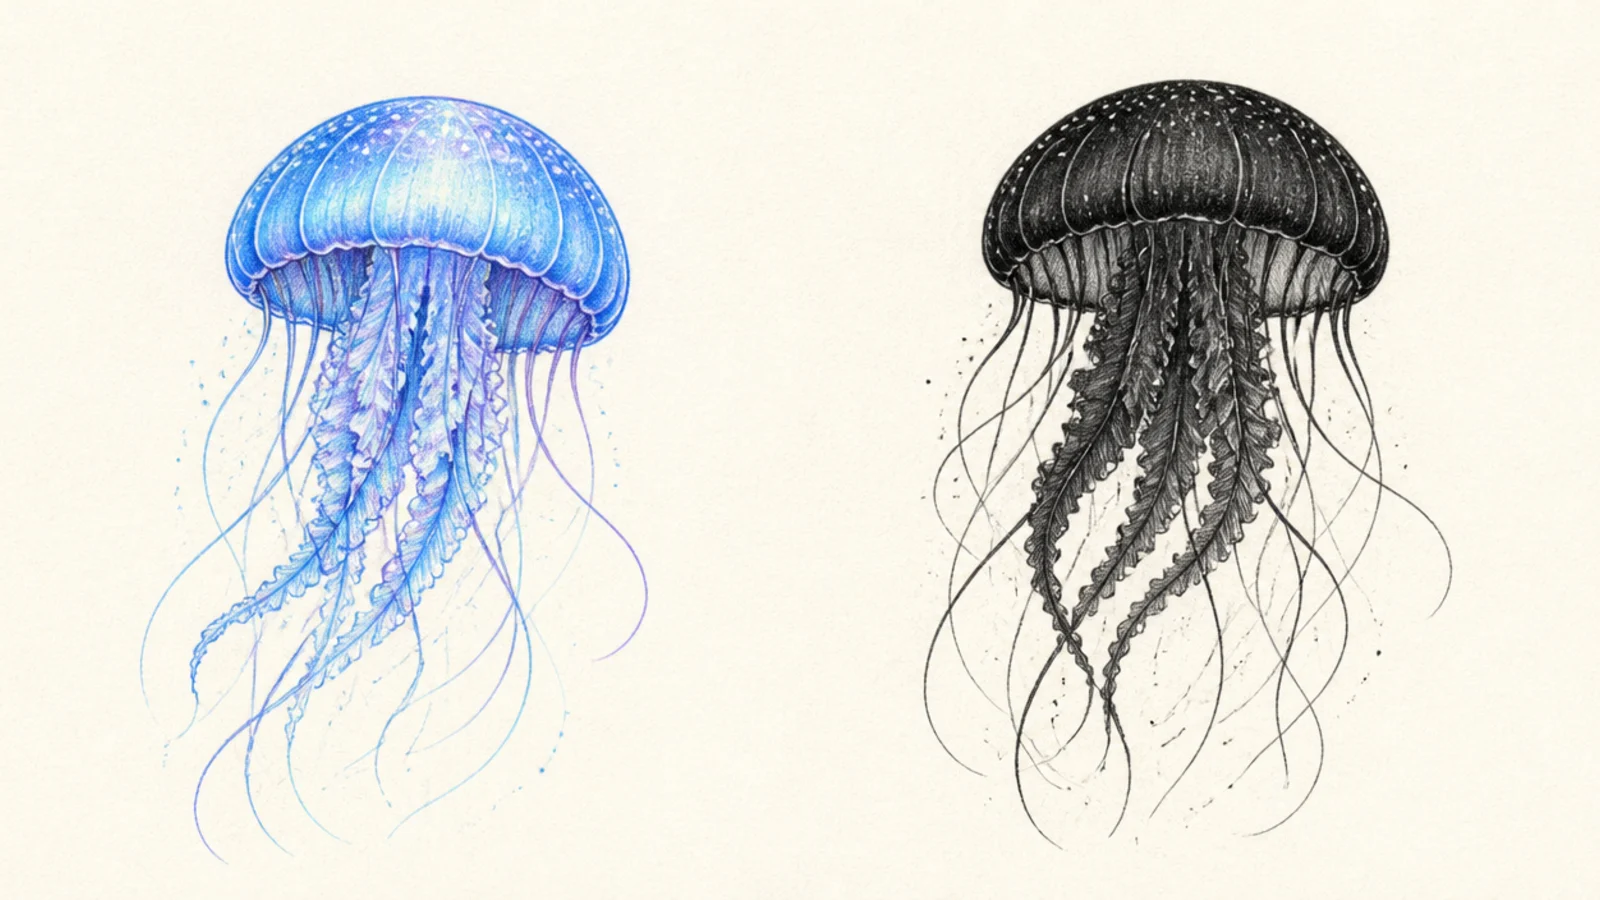
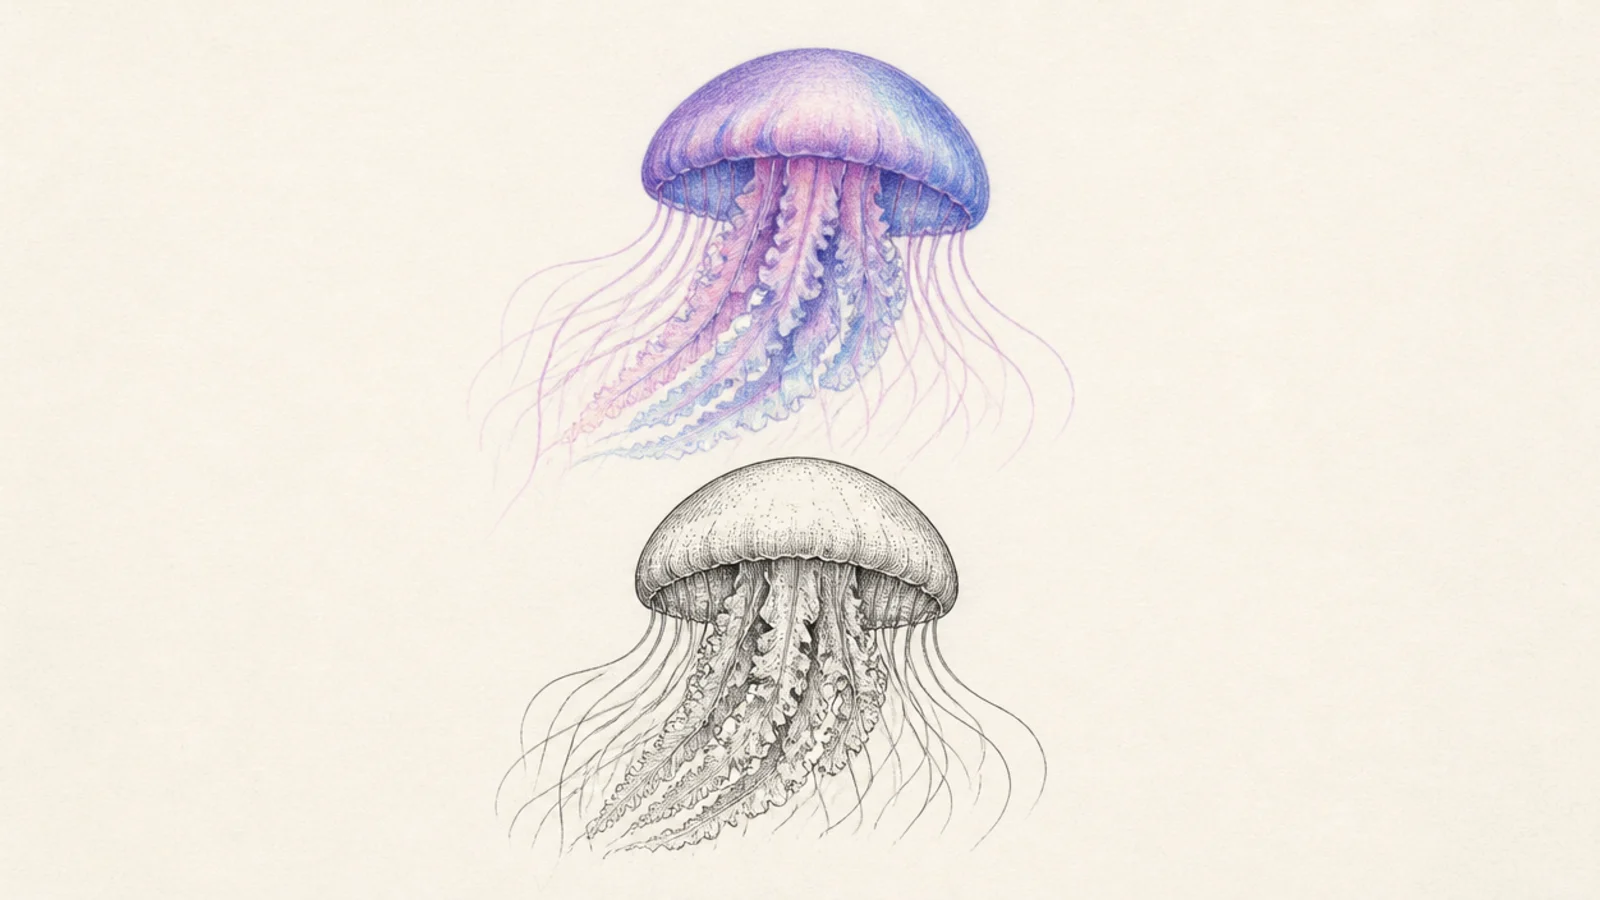
Seeing the same jellyfish in both mediums makes the difference obvious — soft glow versus crisp line. It’s the perfect summary. It also shows the combo works.
Step 1 draw the jellyfish twice, identically. Step 2 finish one in blended colored pencil. Step 3 finish the other in crisp fineliner.
For the best of both, ink one with pen and then add pencil glow on top.
Don’t judge one as better; each suits a different mood and goal.



