1. Bubble Sticker Shark
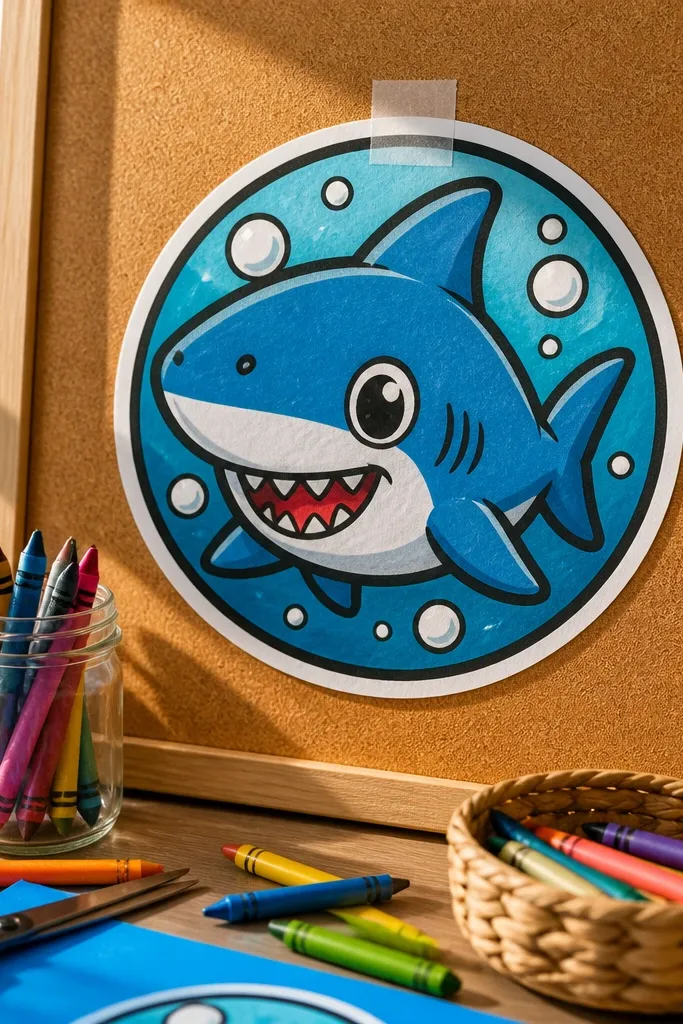
This one looks cute because the shark is simple and the background does the heavy lifting. A thick outline makes the shark pop, and the bubble shapes give you instant depth even with no fancy shading. Keep the shark facing slightly toward the viewer so the eye and mouth read clearly. Use a circle border so the whole drawing looks like a sticker, which also hides minor line wobble.
Step 1: Draw a large circle for the sticker border, then sketch the shark using an oval head and a curved body line inside the circle. Add a small eye, two gill slits, and a short smiling mouth line. Step 2: Draw three uneven bubbles outside the shark, then add a fin triangle on top and a smaller tail fin behind. Step 3: Trace the shark outline with a 0.7mm pen and erase sketch lines; color the bubbles lightly with a gray or blue pencil.
Make the bubbles different sizes — one big, two small — for a more “designed” look.
Don’t shade the whole page; shade only under the belly and inside the circle border.
2. Side-Profile Shark With Classic Teeth
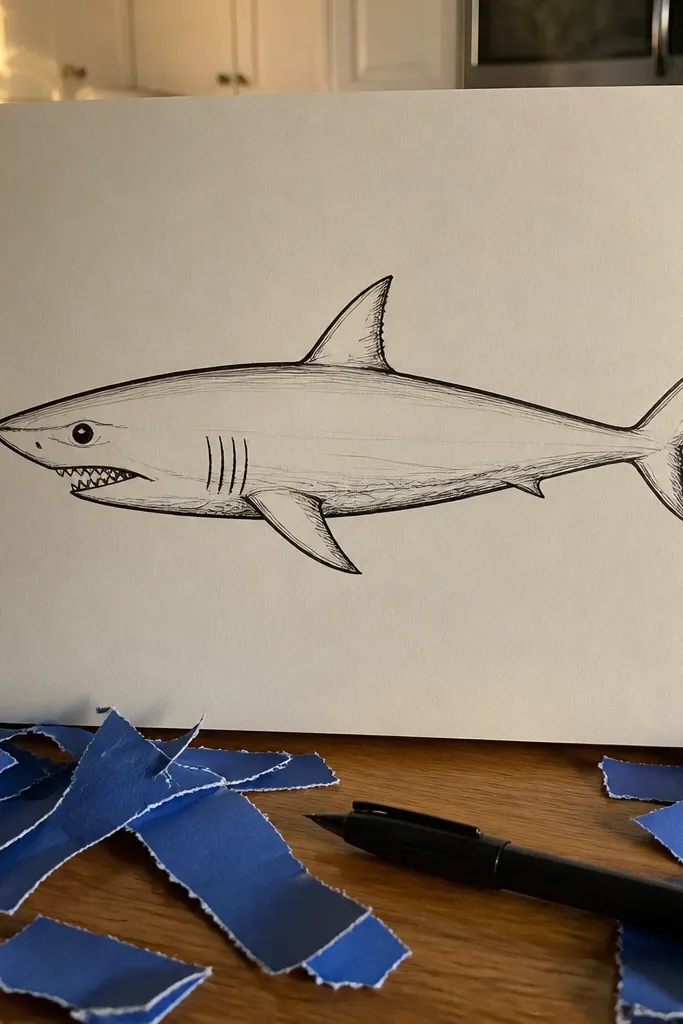
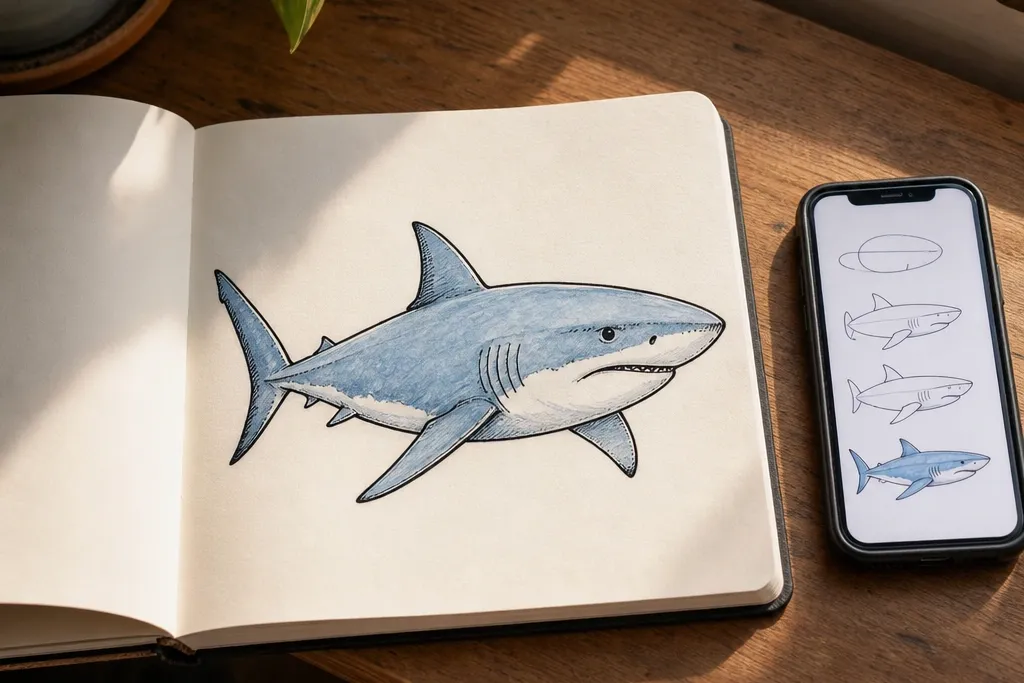
Side profiles are forgiving because you only need one body curve, not complicated depth. The teeth row gives a strong focal point and makes the shark look like a real character, even if the fins are basic. Keep the teeth as evenly spaced triangles so the drawing stays clean. This is a great warm-up if you want something that still looks sharp and graphic.
Step 1: Draw a long oval for the head and a tapered wedge for the snout, then connect them with a smooth line for the top and bottom body. Step 2: Place the eye on the upper front of the head, then add 3-4 gill slits behind it. Step 3: Draw a simple mouth opening and add 8-12 tiny triangular teeth along the lower jaw line; finish with one dorsal fin triangle and a tail fin.
Keep the teeth slightly smaller toward the back so the mouth feels more natural.
Avoid teeth that are all the same size and spacing — it makes the mouth look like a pattern cut-out.
3. Underwater Spotlight Shark
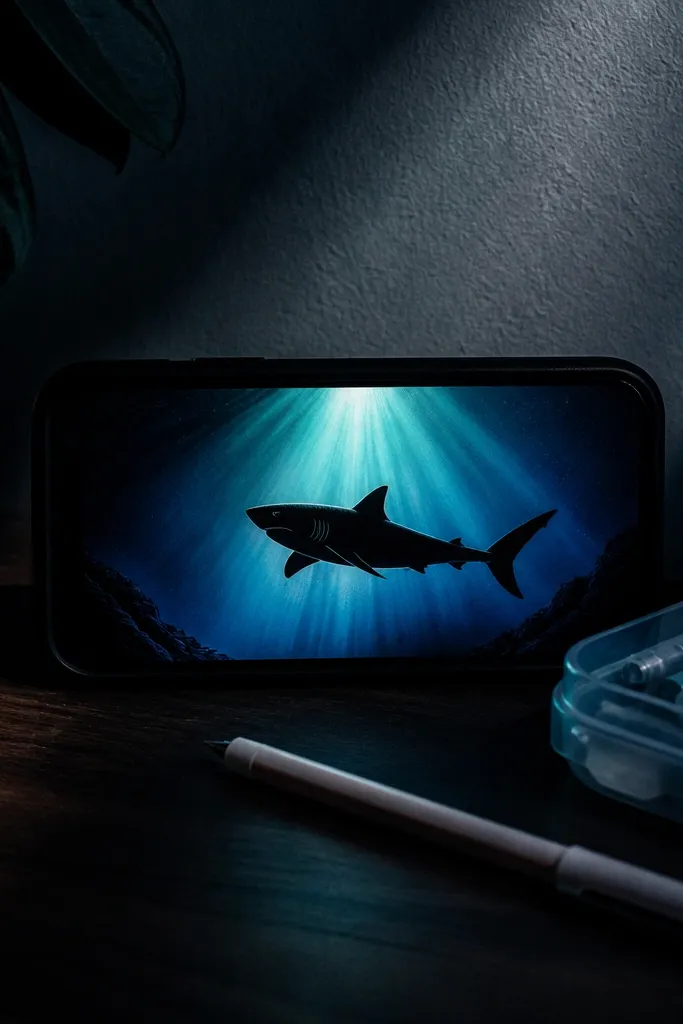
This drawing looks dramatic because the light cone creates shape and depth without needing realism. You get a clear composition: shark silhouette in the center, bright rays around it, and a darker ocean background. Beginner-friendly part is that the shark can be mostly black silhouette with minimal line details. Add a few teeth marks and fin edges and you’re done.
Step 1: Lightly sketch the shark as a simple silhouette using an oval head, curved body, and tail shape, keeping the belly slightly lighter than the top. Step 2: Draw a wide cone of light behind the shark, with 6-10 straight rays spreading outward; leave the center rays lighter. Step 3: Color the ocean background around the cone with a blue-gray pencil, then darken the shark silhouette with 4B pencil.
Pro tipColor the background first, then go back with a darker pencil on the shark so edges stay crisp.
AvoidDon’t fully color the light cone — if it’s the same darkness as the ocean, the spotlight effect disappears.
4. Geometric Faceted Shark
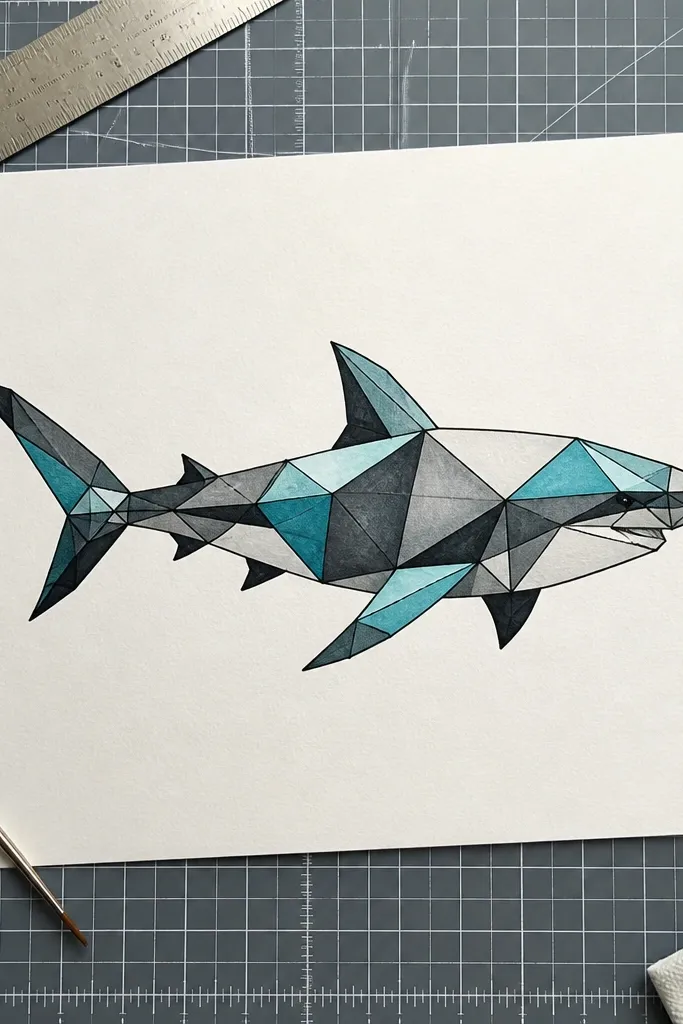
Geometric sharks look impressive because the faceted pattern hides proportion mistakes. You can draw a clean silhouette and then fill it with triangles and polygons, which makes the final image look “designed.” This is also great for beginners who want a finished look without detailed anatomy. Use a limited color palette so it stays photogenic and not messy.
Step 1: Sketch a simple shark silhouette (oval head, curved body, triangular dorsal fin, forked tail). Step 2: Inside the silhouette, draw a faceted grid using diagonals that split the body into 12-20 triangles. Step 3: Color alternating facets with two shades of gray and one muted blue; keep outlines dark with a pen.
Pro tipUse a ruler for a few main facet lines, then let the smaller ones be freehand for a natural look.
AvoidAvoid tiny facets everywhere — too many small triangles make it look noisy.
5. Shark Face Emoji Style
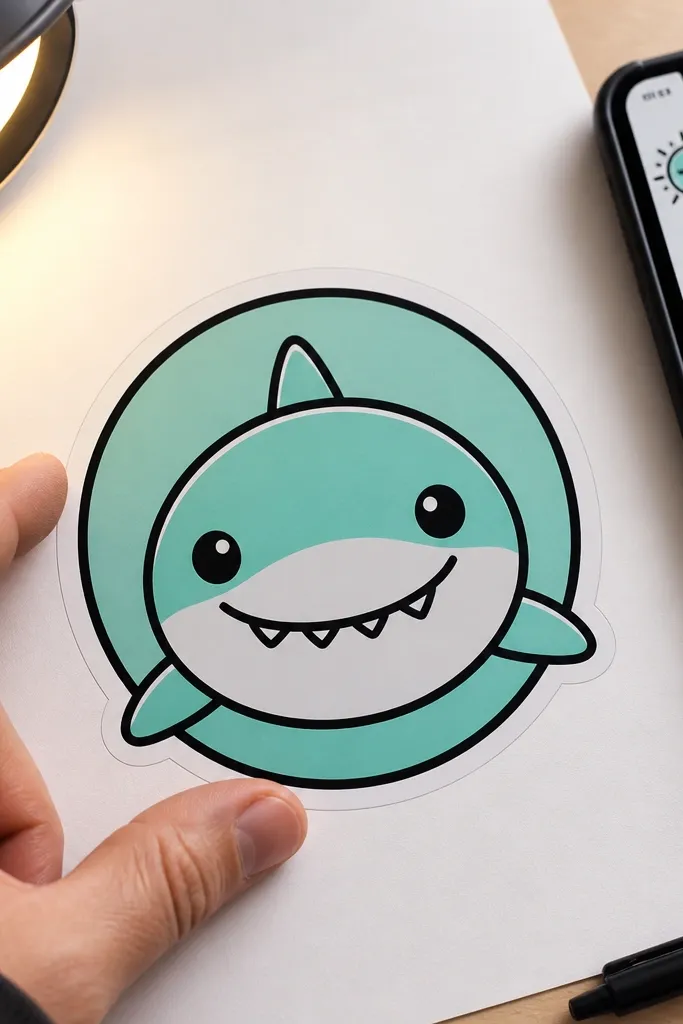
This is the quickest path to a good-looking drawing because it’s all about the face. Big eye placement and a simple mouth give you instant personality. The circle framing makes it look like a sticker or app icon, which photographs well on a desk or phone. Keep the face proportions bold: large head oval, tiny fins, minimal gill marks.
Step 1: Draw a circle, then place a head oval inside it slightly lower. Add one eye near the upper front and a small pupil dot. Step 2: Draw a short curved mouth line and 6 tiny triangular teeth at the bottom. Step 3: Add two or three gill slits on the side of the head and one small fin triangle peeking out.
Pro tipMake the eye slightly off-center; it reads more playful than perfectly centered.
AvoidDon’t add too many teeth — six is enough for a clean emoji look.
6. Shark in a Wave Frame
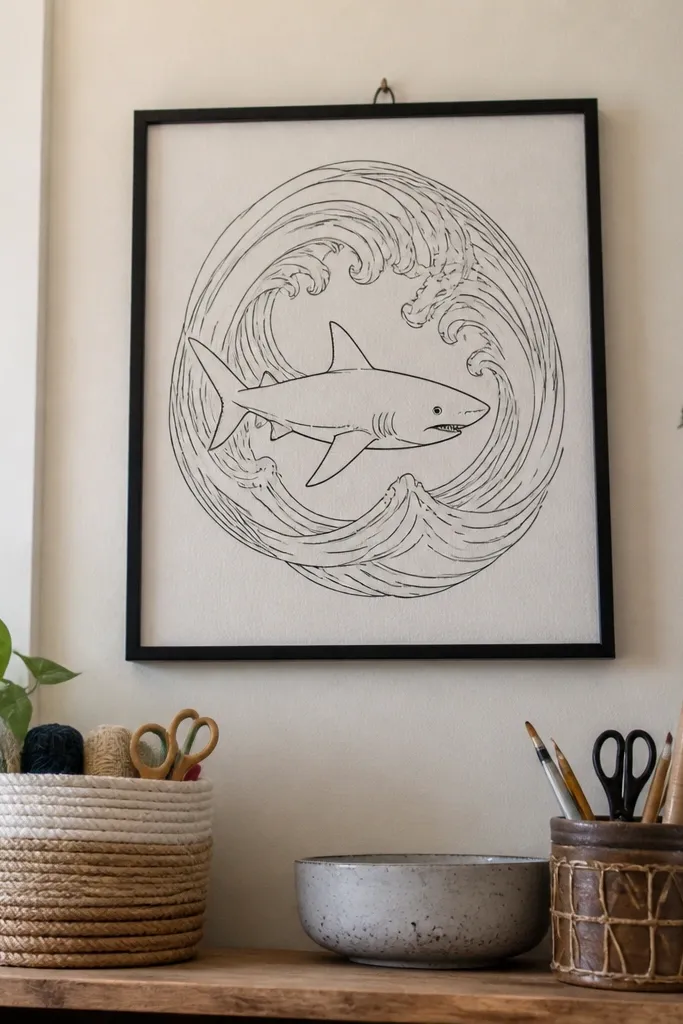
A wave frame turns a simple shark into a poster-style drawing. The frame gives you structure, so even if your shark is a little off, the overall composition still looks intentional. Waves also let you add line texture without heavy shading. This idea is great for beginners because you can focus on outline quality and let the background do the visual work.
Step 1: Draw a rectangle on your paper, then sketch two thick wave lines along the top and bottom edges that repeat like a pattern. Step 2: Place a shark in the center using a head oval, a curved body, dorsal fin triangle, and tail fin; keep the shark facing left or right. Step 3: Add small bubbles near the waves and trace everything with a pen; color the waves with one blue tone and leave the shark mostly white.
Use consistent wave spacing across the frame — it makes the whole piece look designed.
Avoid a frame that’s too thin; a thin rectangle can disappear in photos.
7. Chibi Shark With Tiny Fins
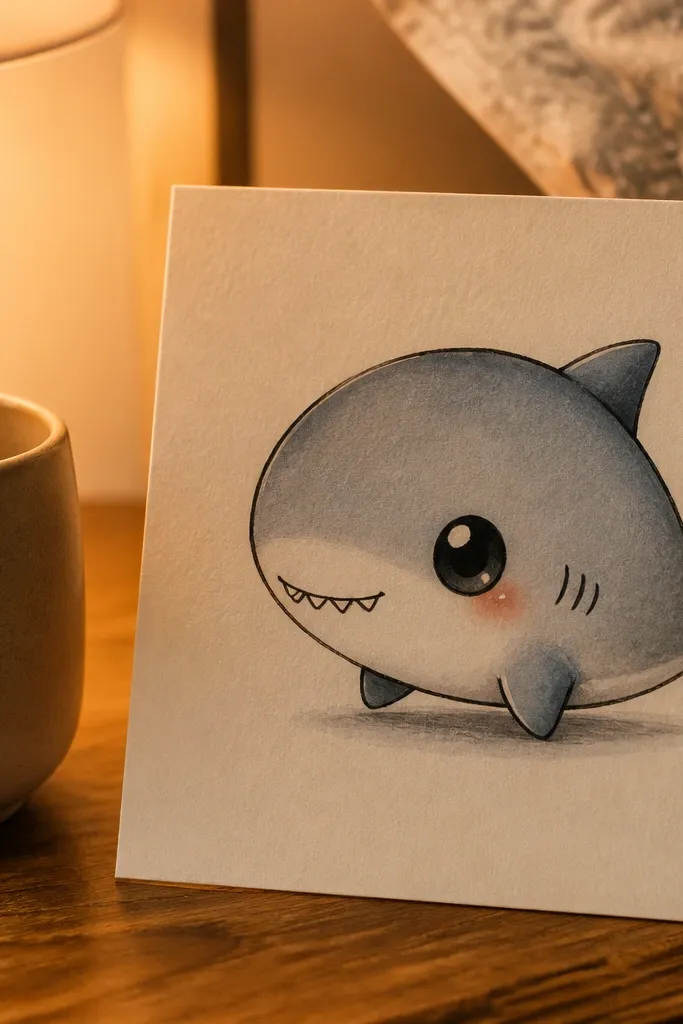
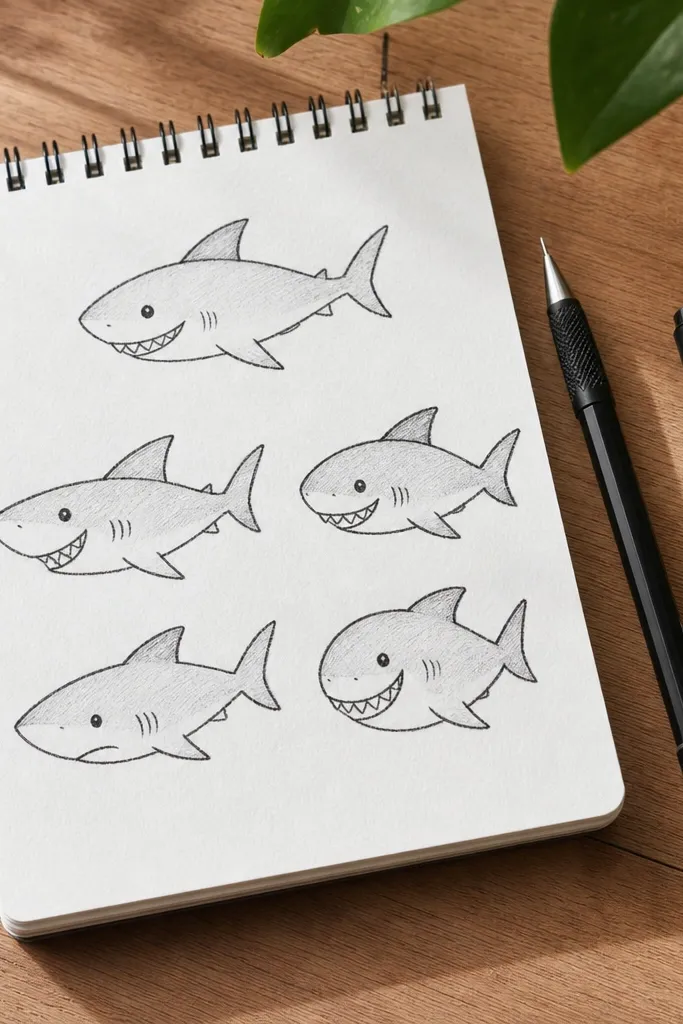
Chibi proportions are forgiving and look adorable, which is exactly why this works for beginners. Oversize head and small body means you don’t have to nail long, realistic anatomy. Add a simple blush or one gray shadow under the belly and the drawing looks finished. The tiny fins also let you keep line work simple and still get that clean, aesthetic feel.
Step 1: Draw a large head circle or oval, then add a small curved body below it like a bean shape. Step 2: Place the eye on the upper front, add two gill slits, and draw a small smile with 4-6 tooth triangles. Step 3: Add a tiny dorsal fin and two small side fins, then outline with pen and color with light gray or pastel blue.
Pro tipKeep the teeth small and close together so they look like a cute grin, not a scary mouth.
AvoidAvoid long snouts; chibi looks best with a short snout shape.
8. Shark Skeleton Line Art
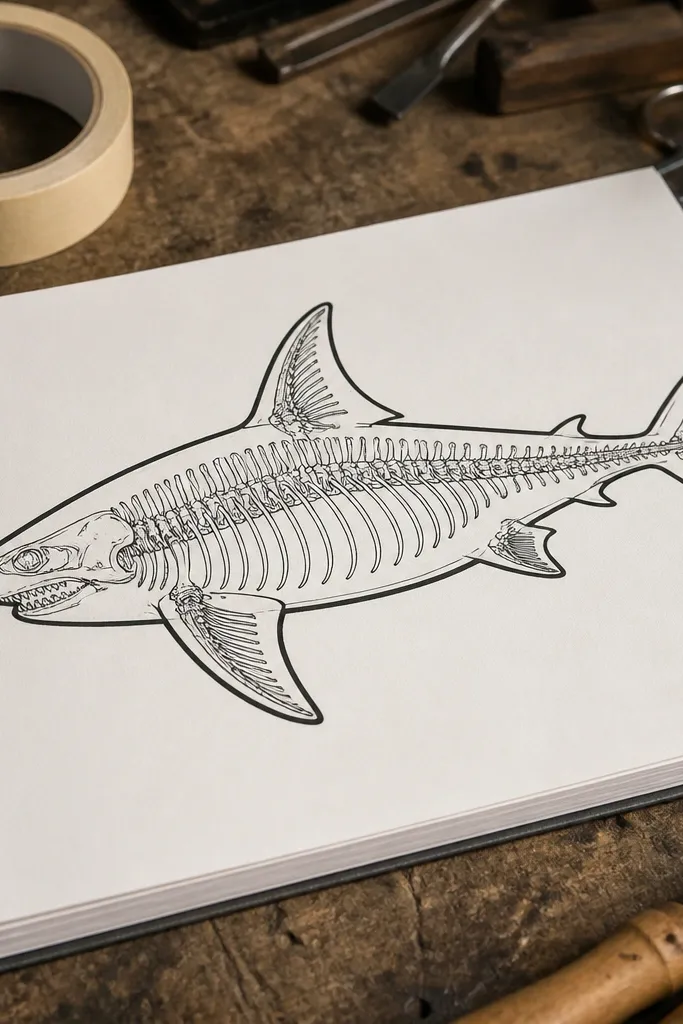
This one looks cool because it adds an internal “diagram” layer without needing complex realism. The shark outline stays simple, while the skeleton lines make it visually interesting in a way that’s still beginner-friendly. Use thin lines for the internal ribs and a slightly thicker line for the outer silhouette. It also looks great in black-and-white, which is perfect if you only have pens.
Step 1: Sketch a clean shark silhouette: head oval, body curve, dorsal fin, and tail. Step 2: Inside the body, draw a spine line down the center and add curved rib lines branching left and right. Step 3: Add the eye, gill slits, and a simple mouth line with 6-10 teeth; then go over the outer outline with a thicker pen.
Keep internal lines lighter than the outer outline so the silhouette stays the main focus.
Don’t draw too many ribs — 6-8 on each side looks cleaner.
9. Minimal Ink Shark in One Line
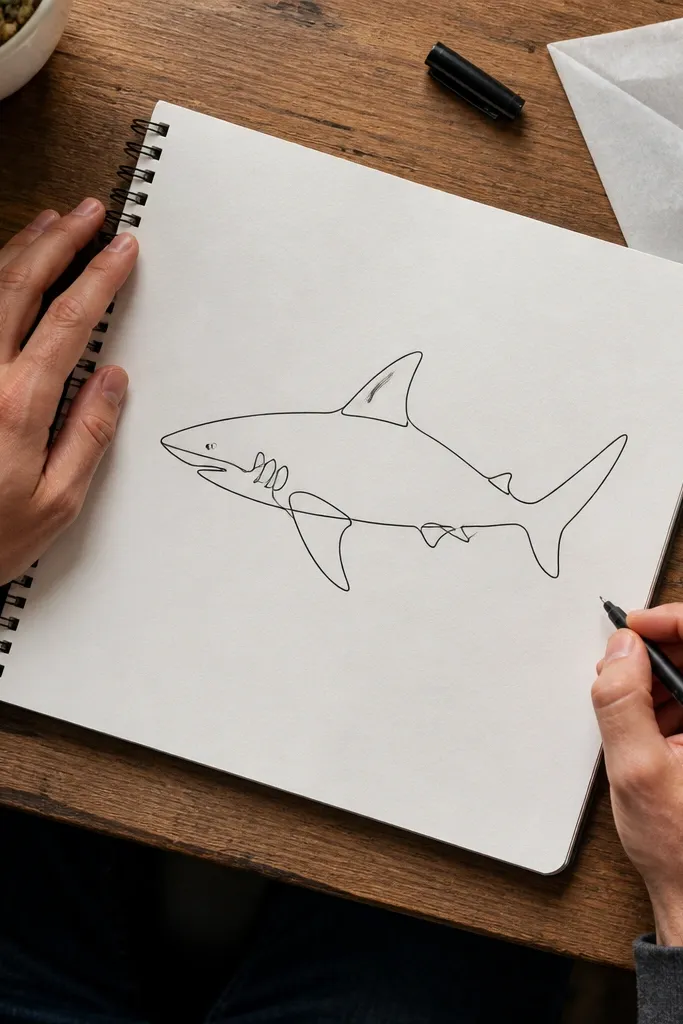
One-line drawings look modern and aesthetic because they’re clean and graphic. The trick is to plan where you lift your pen: you’re aiming for one smooth outline, then you add a couple of detail marks. This is perfect if you want something that looks good fast and feels intentional even with simple tools.
Step 1: Pick a starting point at the tail tip and draw a continuous curve that becomes the top body line, dorsal fin, and head outline. Step 2: Without lifting too much, finish the belly line back toward the mouth area, then add the eye and two gill slits as small separate marks. Step 3: Add three tooth triangles under the mouth and a small bubble around the head for balance.
Pro tipPlan the dorsal fin first with a quick pencil mark so the line doesn’t wobble there.
AvoidAvoid thick scribbles — one-line ink should stay smooth and readable.
10. Shark With Scalloped Fin Patterns
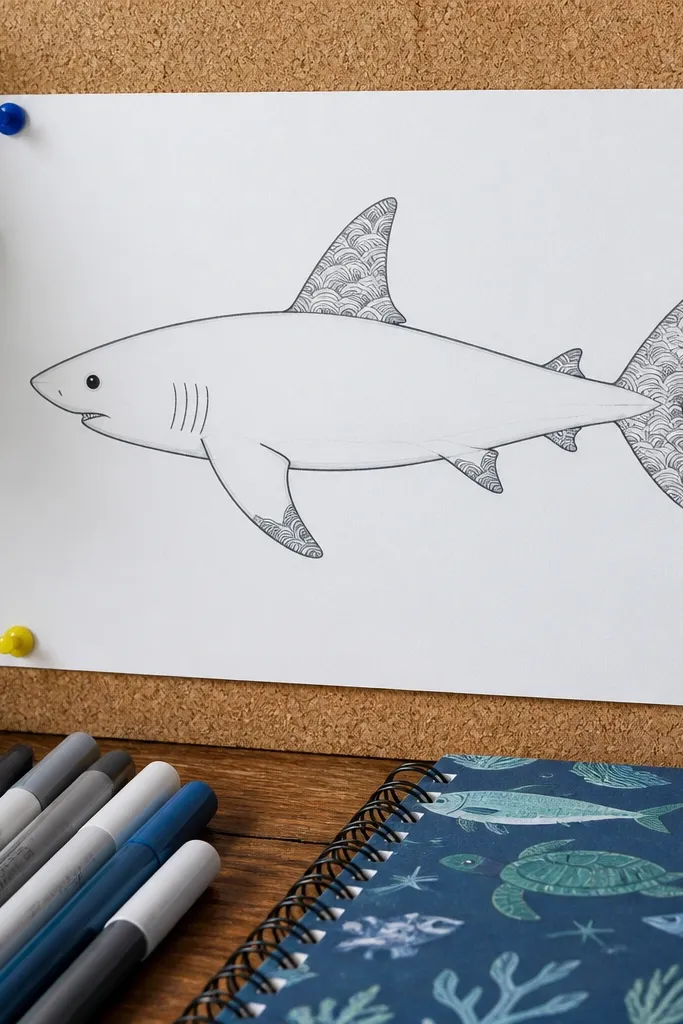
Patterned fins make the drawing look finished even if the shark body is simple. Scallops create a rhythmic texture that looks great when photographed, especially if you use two values of gray. Keep the body outline clean and reserve the pattern for the dorsal and tail fins. It’s a smart way to add detail without getting stuck.
Step 1: Draw a simple shark silhouette with a head oval and curved body line, then add dorsal fin and tail fin triangles. Step 2: On the dorsal fin, draw scallop arcs along the fin edge, and repeat the scallops on the tail fin. Step 3: Add a small eye, 3 gill slits, and 8 tiny teeth; ink the outline and fill scallops with a light gray pencil.
Use the same scallop size on both fins so it looks intentional.
Don’t add patterns on the whole body; keep them confined to the fins.
11. Shark Swimming Through Letters
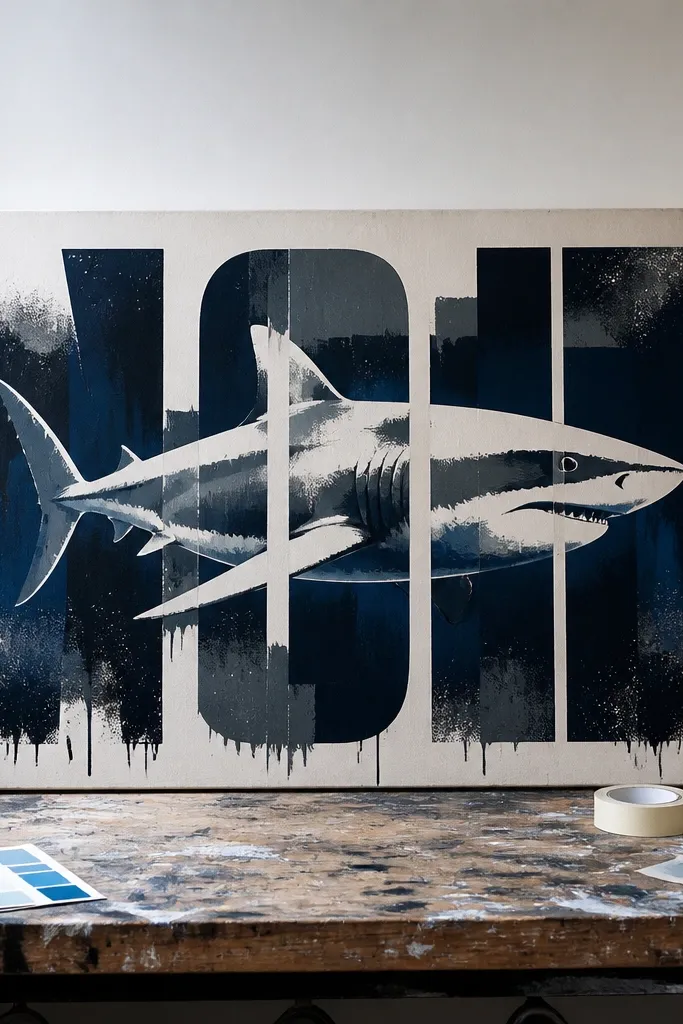
This idea looks like street art because the shark becomes part of the typography. Big letters give you a strong composition, and the shark crossing through them creates a clean graphic effect. You don’t need perfect anatomy; the silhouette reads as a bold shape. Use a limited palette and keep the letters thick so the whole image stays crisp in a photo.
Step 1: Hand-draw one large word or two letters with thick strokes, leaving a gap where the shark will pass. Step 2: Sketch the shark silhouette so it overlaps the letters: head oval, curved body, dorsal fin, tail. Step 3: Trace the shark outline with pen, then fill the shark with a dark gray and lightly shade around the overlap so it looks layered.
Choose one thick font style by hand: rounded letters look best with shark silhouettes.
Avoid thin letters; they vanish next to the shark outline.
12. Shark With Watercolor Wash Belly
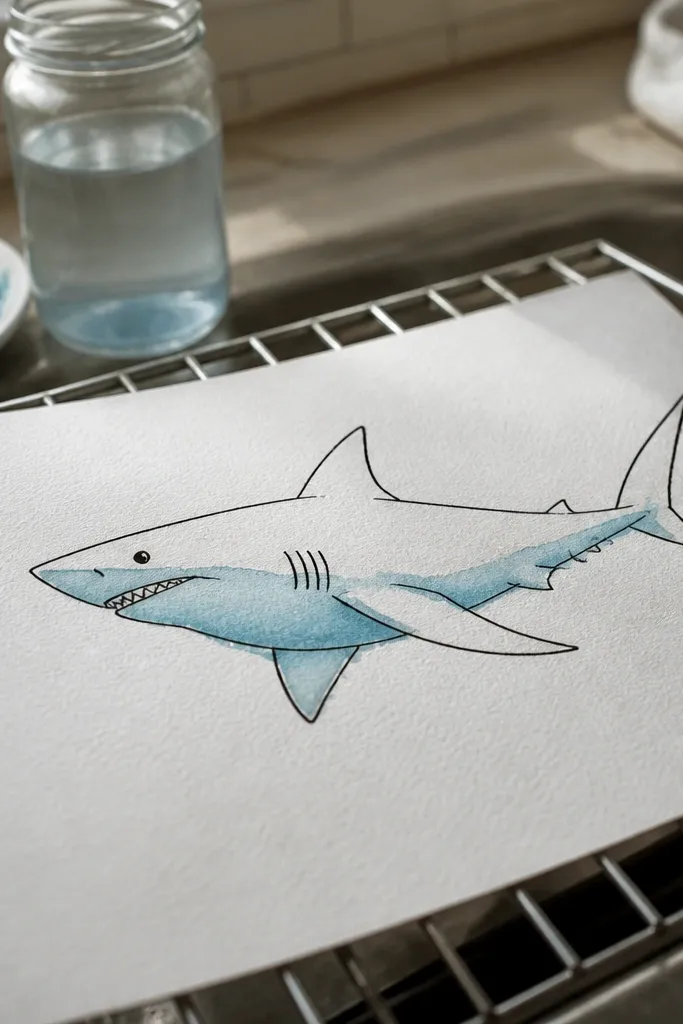
A watercolor wash belly gives you a soft, aesthetic look that still counts as easy. You keep the shark’s outline crisp with pen, then use a diluted wash for the belly and maybe the tail edge. Beginners like this because mistakes in the wash blend naturally. It also photographs beautifully because the wash has smooth gradients.
Step 1: Draw the shark in pencil: oval head, curved body, dorsal fin, and tail. Outline with a waterproof pen so the ink doesn’t smear. Step 2: Mix a light gray watercolor (ink + water or gray paint) and paint only the belly area and a small patch under the mouth. Step 3: Let it dry, then add teeth triangles with pen and deepen the top fin outline.
Use the thinnest wash possible; the best look is light and airy, not heavy.
13. Shark and Seaweed Silhouette
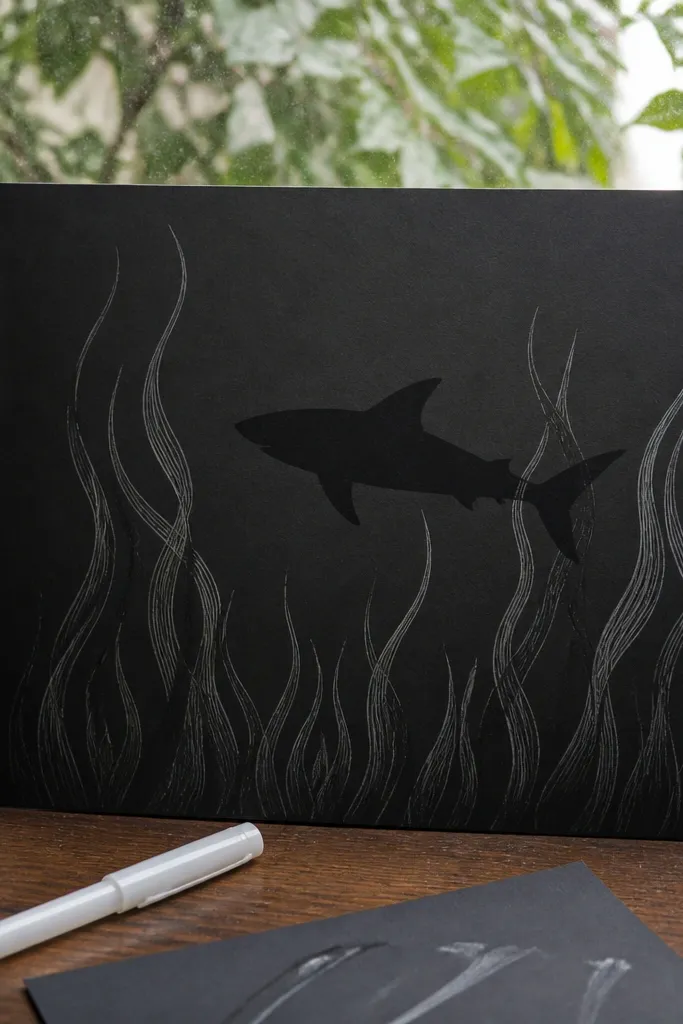
Seaweed adds motion and frame without extra drawing complexity. You draw the shark as a bold dark shape, then add seaweed as simple curved lines that taper. This makes the piece look atmospheric while staying beginner-friendly. It also works in monochrome, which keeps the image clean and easy to reproduce.
Step 1: Draw a shark silhouette using a head oval and a curved body line; fill it in with a dark pencil or marker for a solid look. Step 2: Add seaweed behind and around the shark using 5-8 long wavy lines that taper at the bottom. Step 3: Add a few bubble dots near the shark mouth and a simple eye mark; keep details minimal.
Pro tipPlace seaweed so it overlaps the shark edges slightly; it adds depth.
AvoidDon’t clutter the page with too many seaweed lines — 5-8 is plenty.
14. Shark Face in a Triangle Frame
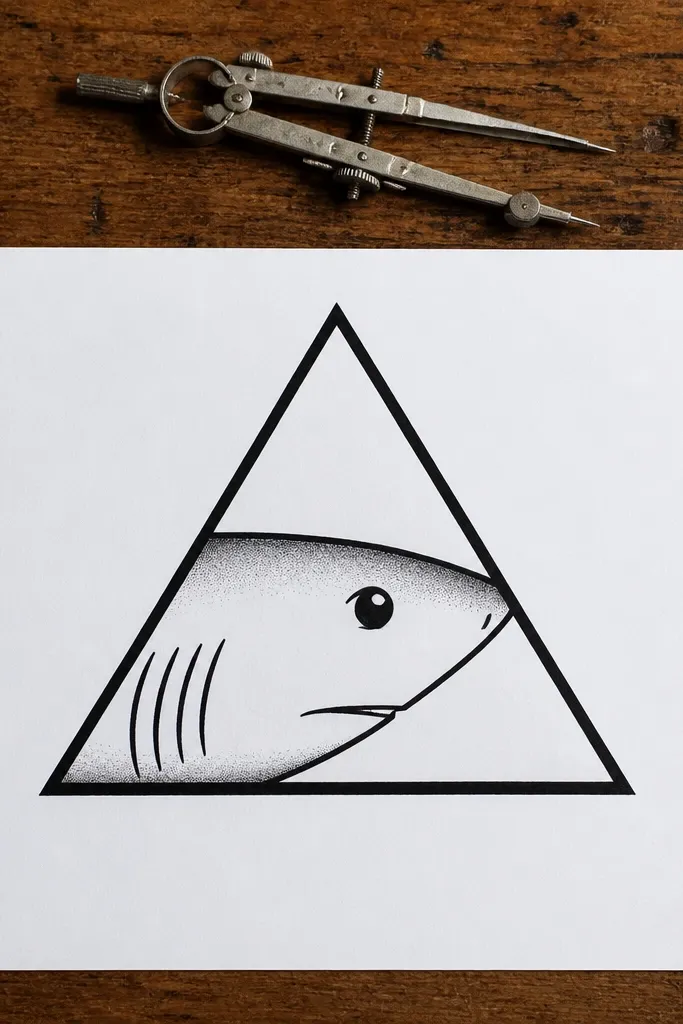
Triangles create instant graphic energy. A shark face inside a triangle frame looks bold, modern, and easy to finish because the frame guides your proportions. The triangle also makes your eye placement matter less since the shape provides structure. Keep the shark face minimal: one eye, a few gill slits, and a small row of teeth.
Step 1: Draw a large upright triangle, then sketch the shark face inside the triangle using an oval head shape. Step 2: Add one eye slightly above center, 2-3 gill slits, and a small mouth with 6 tooth triangles. Step 3: Ink the triangle and shark outline with a pen, then lightly shade the area under the jaw with a 2B pencil.
Pro tipShade only the lower jaw area; it makes the face look dimensional fast.
AvoidAvoid filling the entire triangle; keep it mostly white for a crisp graphic look.
15. Shark With Ocean Horizon Stripes
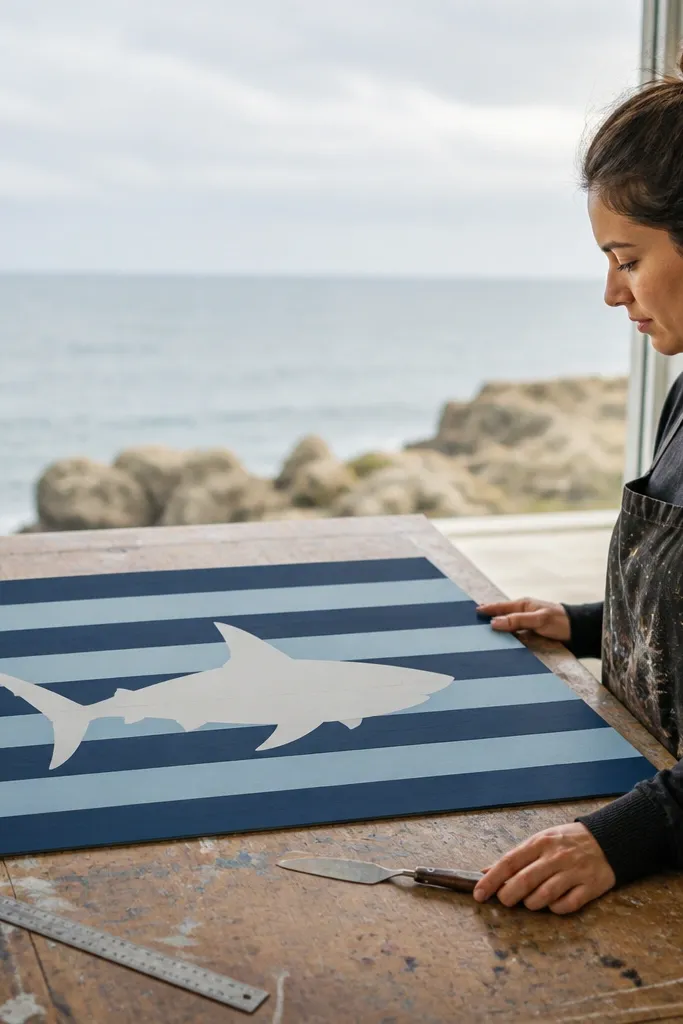
Horizontal stripes do something simple and powerful: they give your shark a “world.” You can keep the shark silhouette clean and let the stripes create the aesthetic. This is a great option if you want a calm, poster-like look instead of cartoon bubbles. The key is spacing — consistent stripe thickness makes it look intentional.
Step 1: Draw 6-10 horizontal stripes across the page, leaving a darker band where the shark will sit. Step 2: Sketch the shark silhouette in front of the stripes using a head oval, body curve, dorsal fin, and tail. Step 3: Outline the shark with pen and fill it with dark gray; add teeth triangles and a tiny eye.
Pro tipUse two colors max for stripes — blue-gray and lighter blue-gray.
AvoidDon’t vary stripe thickness wildly; it makes the drawing feel unfinished.
16. Shark With Motion Lines and Speed Dots
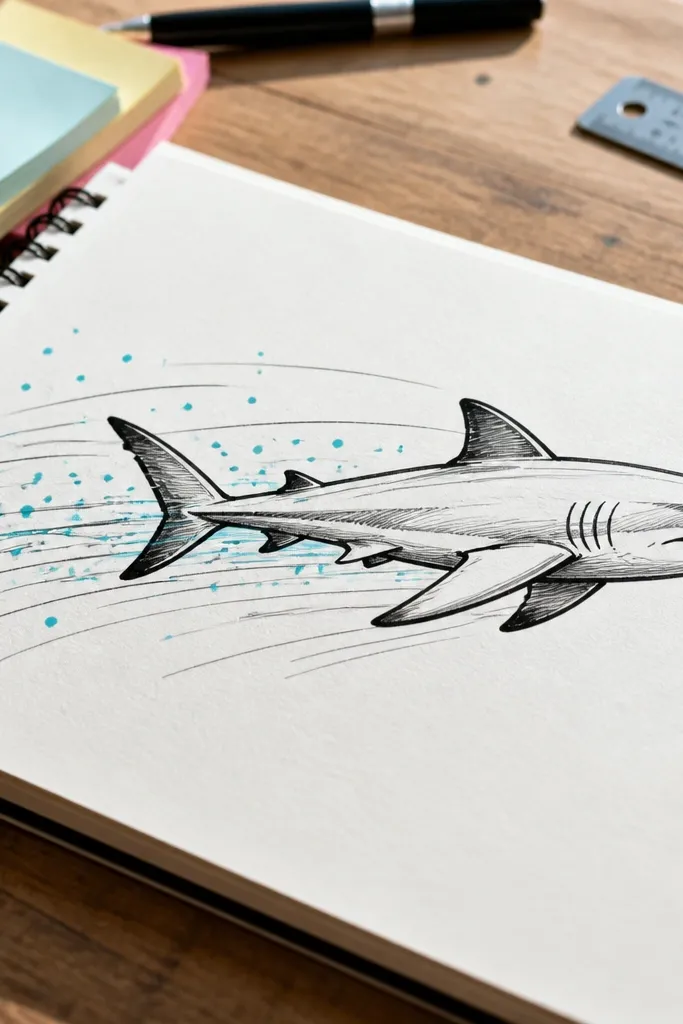
Motion lines make any simple shark pose look energetic. The shark stays easy — just a clean outline — while the speed lines create the “action” that beginners usually struggle to draw. Speed dots and curved streaks are also easy to place, so your final image looks dynamic even if the anatomy is basic.
Step 1: Draw the shark in a side pose: head oval, curved body, dorsal fin triangle, and tail fin. Place the eye and gill slits quickly, then keep the mouth simple. Step 2: Add 4-6 curved motion lines behind the shark, pointing in the direction of travel. Step 3: Add small speed dots between the lines, then ink the shark outline and lightly shade under the belly.
Pro tipMake motion lines thinner near the shark and thicker farther back for a sense of depth.
AvoidAvoid random line directions — all motion marks should point the same way.
17. Shark Portrait With Frame and Nameplate
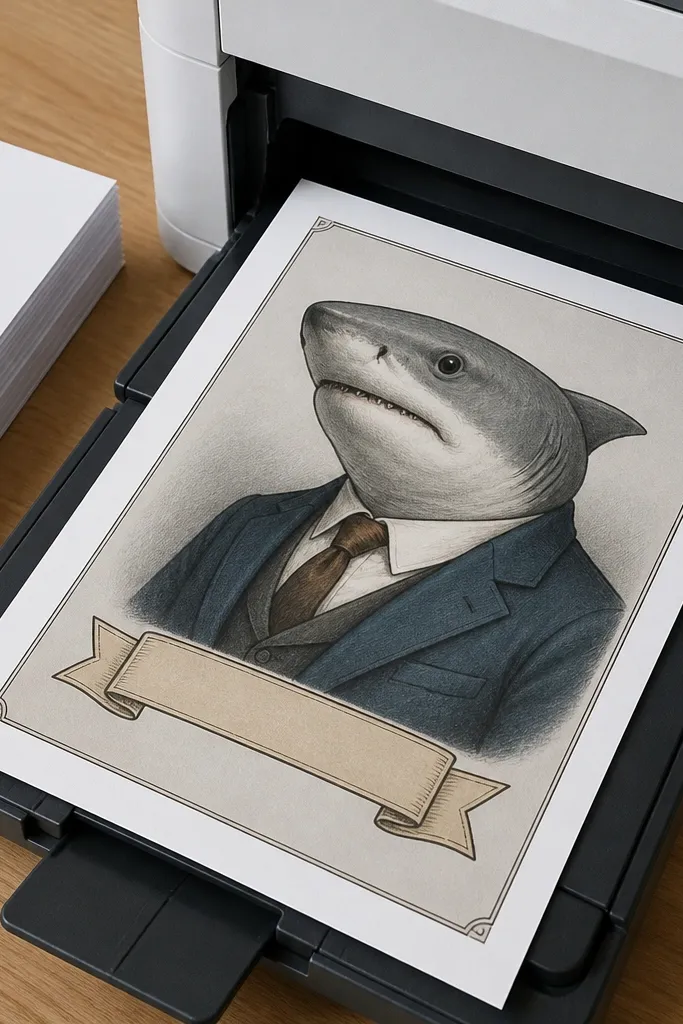
This looks like a printable poster because the frame and nameplate give it a finished layout. Beginners do well here because the shark can be a half-body portrait with simplified details. Use a banner shape for a “nameplate” and a consistent border thickness so it looks clean. It’s also a good exercise in composition, not just drawing anatomy.
Step 1: Draw a square or tall rectangle frame, then add a small banner at the bottom edge. Step 2: Sketch a shark head and upper body inside the frame, with one eye, 3 gill slits, and a small tooth line. Step 3: Ink the outer frame and shark outline, then shade the underside of the jaw and belly with 2B pencil.
Keep the banner height about 1/8 of the frame height so it doesn’t overpower the shark.
Don’t crowd the banner with tiny text-like details; keep it blank or simple.
18. Shark Tail-Only Design
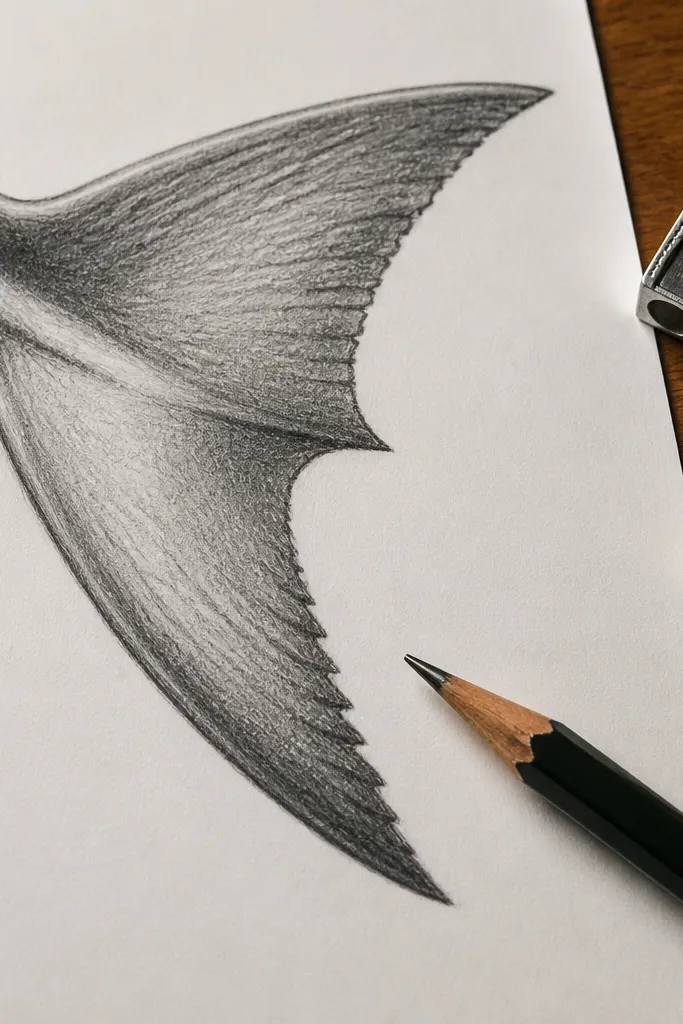
Drawing only the tail is a cheat code for beginners. You avoid the hard parts like face proportions and eye placement, yet the result still reads as a shark because the tail shape and fin notch are the signature. This idea is super photogenic because the tail can be big and graphic. Add a simple tooth edge at the bottom and a few ripple lines.
Step 1: Sketch a large tail shape that fills most of the page — a forked tail with a central notch and a curved base. Step 2: Add one dorsal fin triangle implied by a small fin bump near the base, plus tiny tooth triangles along one edge. Step 3: Draw 3-5 ripple lines around the tail and outline everything with pen; color the tail with a single dark gray.
Pro tipMake the tail occupy at least 60% of the paper width for a bold look.
AvoidAvoid leaving lots of empty space around the tail; it makes it look like a random shape.
19. Shark With Pirate Eye Patch
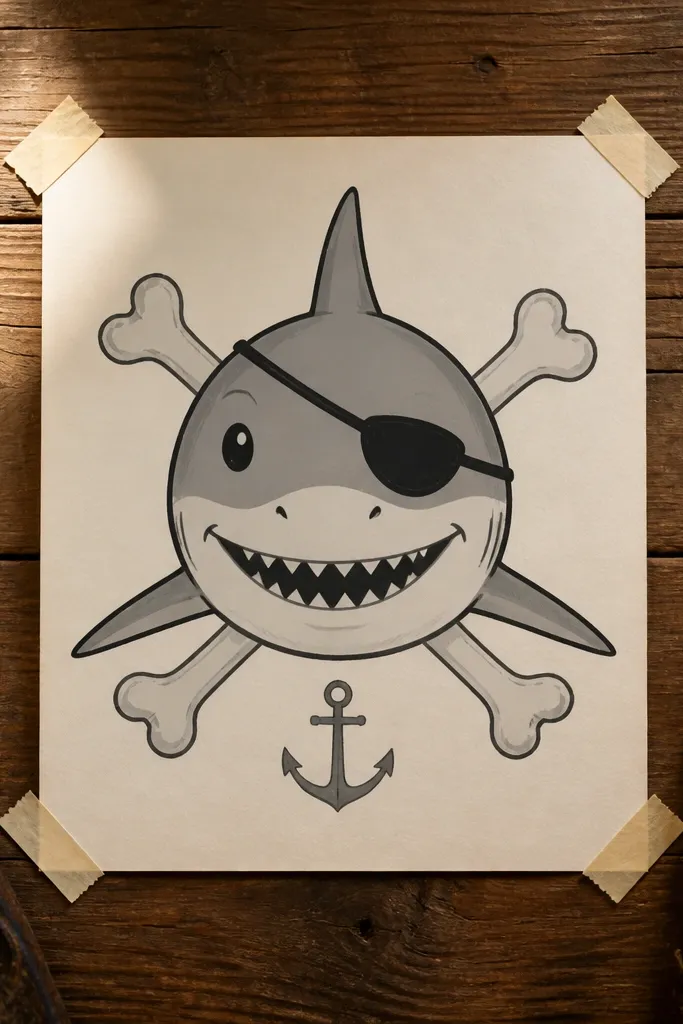
This one adds character without adding complexity. The eye patch is a simple curved shape that covers one eye, and the rest of the face stays straightforward. Add crossed bones or a small anchor behind the shark for a fun nautical vibe. The result looks like a sticker or tattoo flash sheet, which tends to photograph well.
Step 1: Draw a basic shark head and body in side view, then add a wide eye patch shape over the eye with a small strap line. Step 2: Draw two gill slits and a small tooth mouth line. Step 3: Sketch crossed bones behind the shark with simple curved bone ovals, then outline with pen and color the shark dark gray and the patch darker.
Pro tipKeep the teeth to 6-8 triangles so the mouth stays readable with the patch.
AvoidDon’t make the eye patch too detailed; one strap line is enough.
20. Paper-Cut Style Shark Silhouette
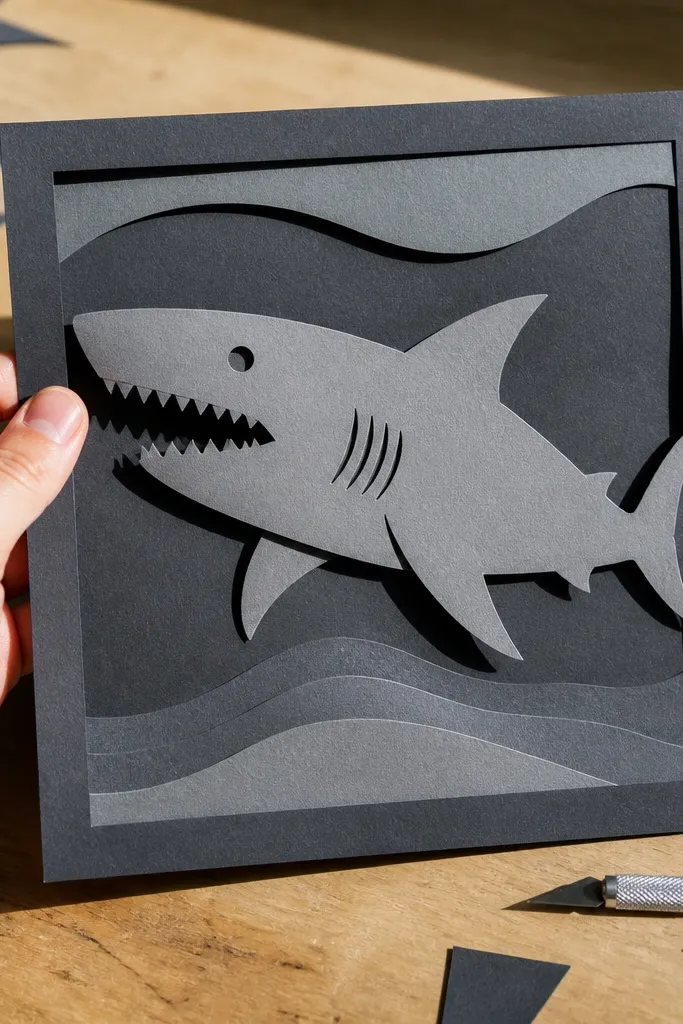
Paper-cut style looks layered and expensive, but it’s easy: you draw one silhouette and add cutout shapes. The cutouts create instant texture, and you can fake the second layer with a darker outline or shadow shape. This is a great idea if you want something aesthetic for social posts without heavy shading. Keep the silhouette clean so the cutout holes read clearly.
Step 1: Draw a shark silhouette with a strong outer outline and simple tail and fins. Step 2: Add 5-8 cutout holes inside the silhouette using circles or teardrops, then lightly erase the cutout areas. Step 3: Trace the outer silhouette again with a darker marker, then add a slightly offset shadow shape behind it.
Pro tipOffset the shadow by 2-4mm so it looks like a real layer.
AvoidAvoid tiny cutouts; if they’re too small, they disappear in photos.
21. Shark With Seafoam Swirl Background
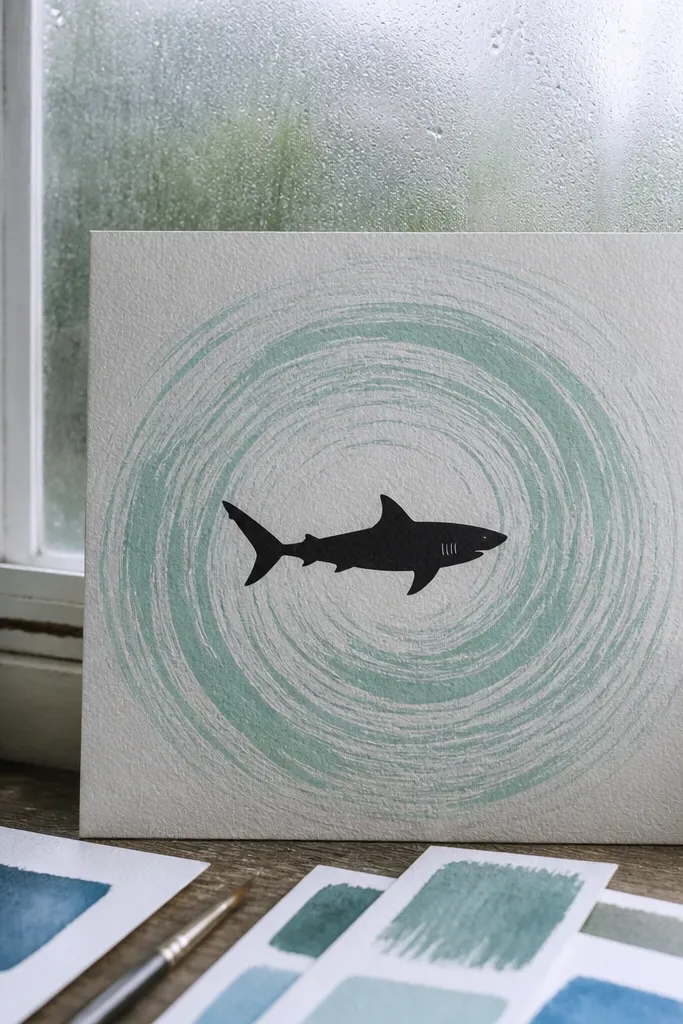
Seafoam swirls create a soft, decorative background that makes a simple shark look intentional. The swirl lines act like motion and texture, so you don’t need complex shading. This also works great with a single accent color — pick one green-blue and keep the rest mostly black and gray. It’s a clean, aesthetic piece that still feels playful.
Step 1: Draw your shark in pencil with a head oval and body curve, then ink the outline with a pen. Step 2: Behind the shark, draw 2-3 large seafoam swirls using smooth S-curves, then add smaller swirl curls at the ends. Step 3: Color only the seafoam swirls with a light green-blue pencil or marker and lightly shade the shark underbelly.
Pro tipMake swirls thicker near the center and thinner at the tips for a nicer flow.
AvoidDon’t color the whole background; keep the swirls limited so the shark stays the subject.
22. Shark Face With Patterned Skin Dots
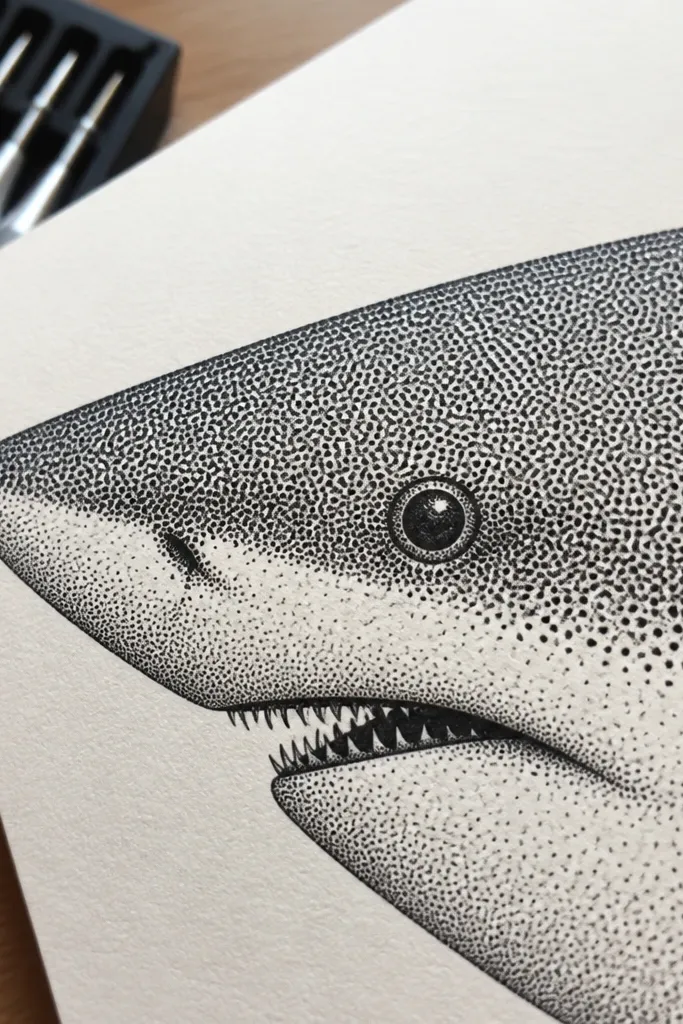
Dot patterns are beginner-friendly because you can repeat them mechanically. A dotted skin texture makes the shark look more detailed without needing shading gradients. Keep the dots denser on the top and lighter near the belly. This idea also looks good in black-and-white, which is great if you’re using a single pen and pencil.
Step 1: Draw a front-facing or slightly angled shark face with a head oval, one eye, and a short mouth line with teeth triangles. Step 2: Add gill slits and then fill the top half of the head with small dots using a pen tip or fine liner. Step 3: Leave the belly area mostly blank, then ink the outline and add a few dots to the fin edges for consistency.
Pro tipVary dot size slightly — larger dots near the eye, smaller dots toward the snout.
AvoidAvoid dotting the entire page; keep dots inside the shark shape only.
23. Shark and Compass Rose
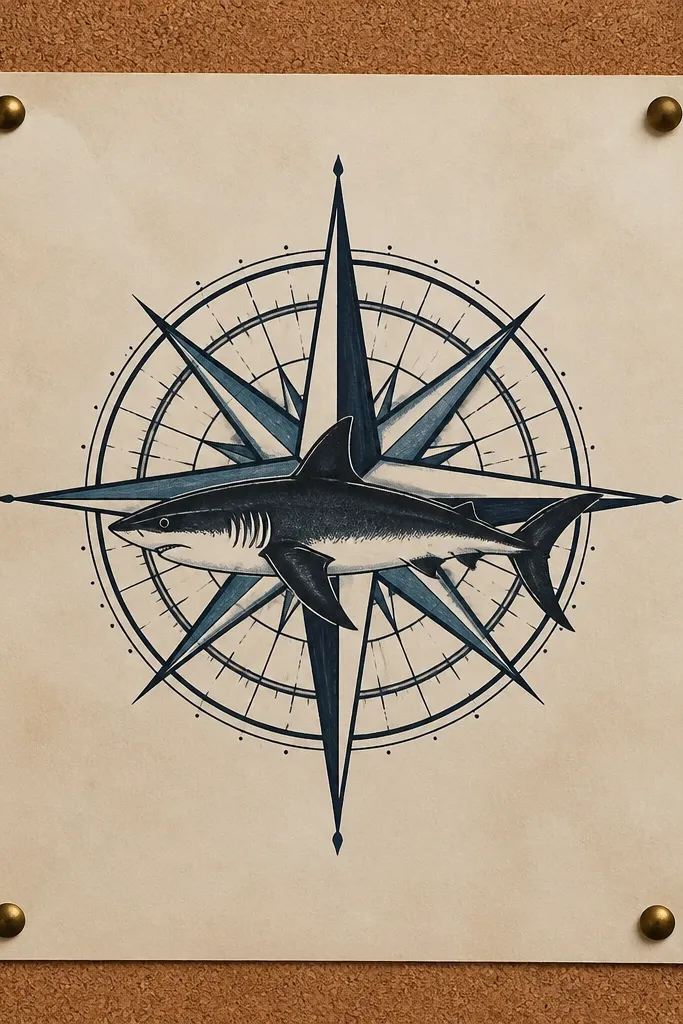
A compass rose turns a shark drawing into an old-school nautical emblem. It’s photogenic because the compass lines create symmetry and the shark becomes a bold moving element. Beginners can keep the shark simple and let the compass do the technical work. Use a thick outline and limited shading to keep it clean.
Step 1: Draw a compass rose in the background with a circle and 8 spokes, then add small letter markers at the ends. Step 2: Sketch the shark in front of the compass using a side profile, keeping the body curve bold and simple. Step 3: Ink the shark and compass lines, then color the shark with dark gray and lightly shade one fin for contrast.
Center the compass rose first, then place the shark so it crosses one spoke — it looks balanced.
Avoid overcrowding the compass with tiny decorative swirls; keep it clean.
24. Shark With Rainbow Fin Stripes
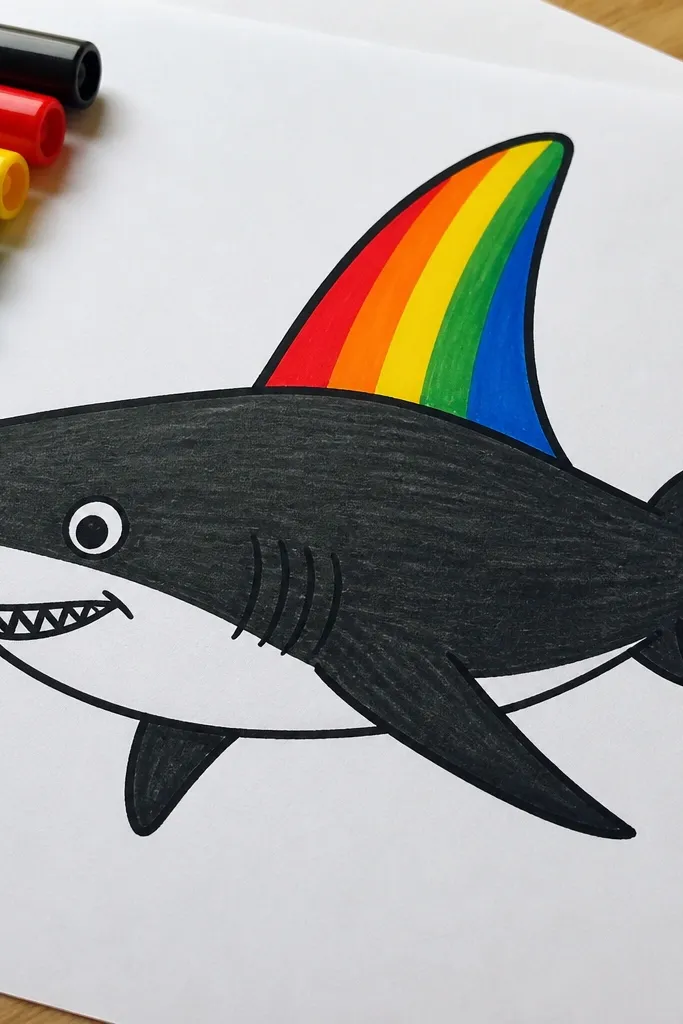
Color on just one fin makes this look bright and polished without turning into a full-color mess. The rainbow stripes give a clear focal point and make the drawing stand out in photos. Keep the rest of the shark mostly dark gray or black so the colors pop. This is an easy win if you want beginner-friendly, aesthetic results with minimal color work.
Step 1: Draw a side-view shark with a head oval and curved body, then ink the outline. Step 2: Add the dorsal fin triangle and divide it into 5-7 stripe bands with pencil lines. Step 3: Color each stripe with a different rainbow color, then add simple teeth triangles and a tiny eye.
Pro tipUse thin colored markers or pencils so stripes stay crisp inside the fin outline.
AvoidDon’t color the belly the same bright way; keep color concentrated on the fin.
25. Shark Cartoon Bust With Sailor Collar
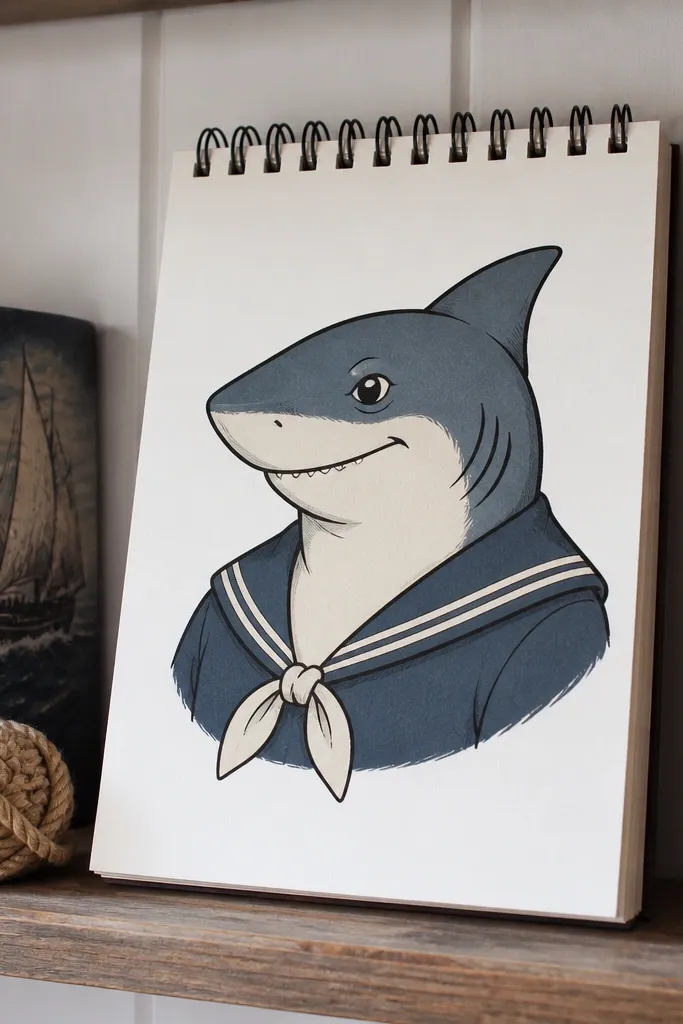
A sailor collar gives you a clear “style hook” while keeping the shark easy. You draw a bust (head and upper body), then add a collar shape and a couple of stripe lines. This makes the drawing feel finished even if the body is minimal. It’s also great for beginners who like character design more than anatomy.
Step 1: Sketch the shark bust using an oval head and a short curved neck shape; place the eye and gill slits. Step 2: Draw a collar around the neck: two curved flaps and a small center notch. Step 3: Add a simple tooth mouth line, ink everything with pen, then color the collar stripes with two colors and shade under the jaw.
Keep the collar lines thick enough to read in a photo — thin lines get lost.
Avoid adding extra clothing details; one collar shape is enough.