
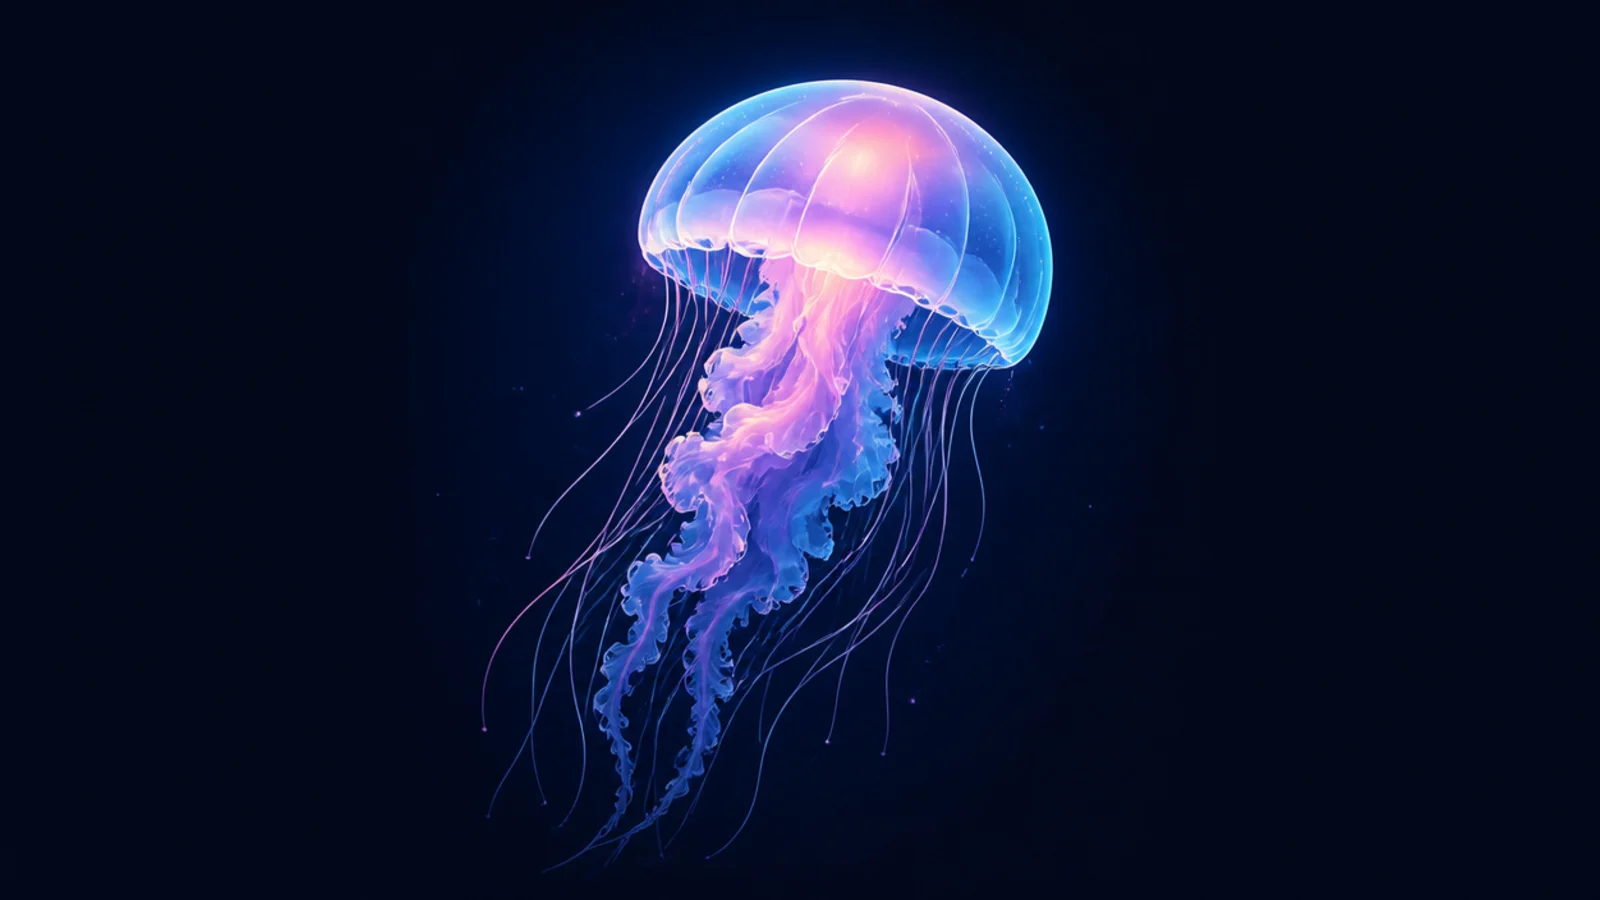
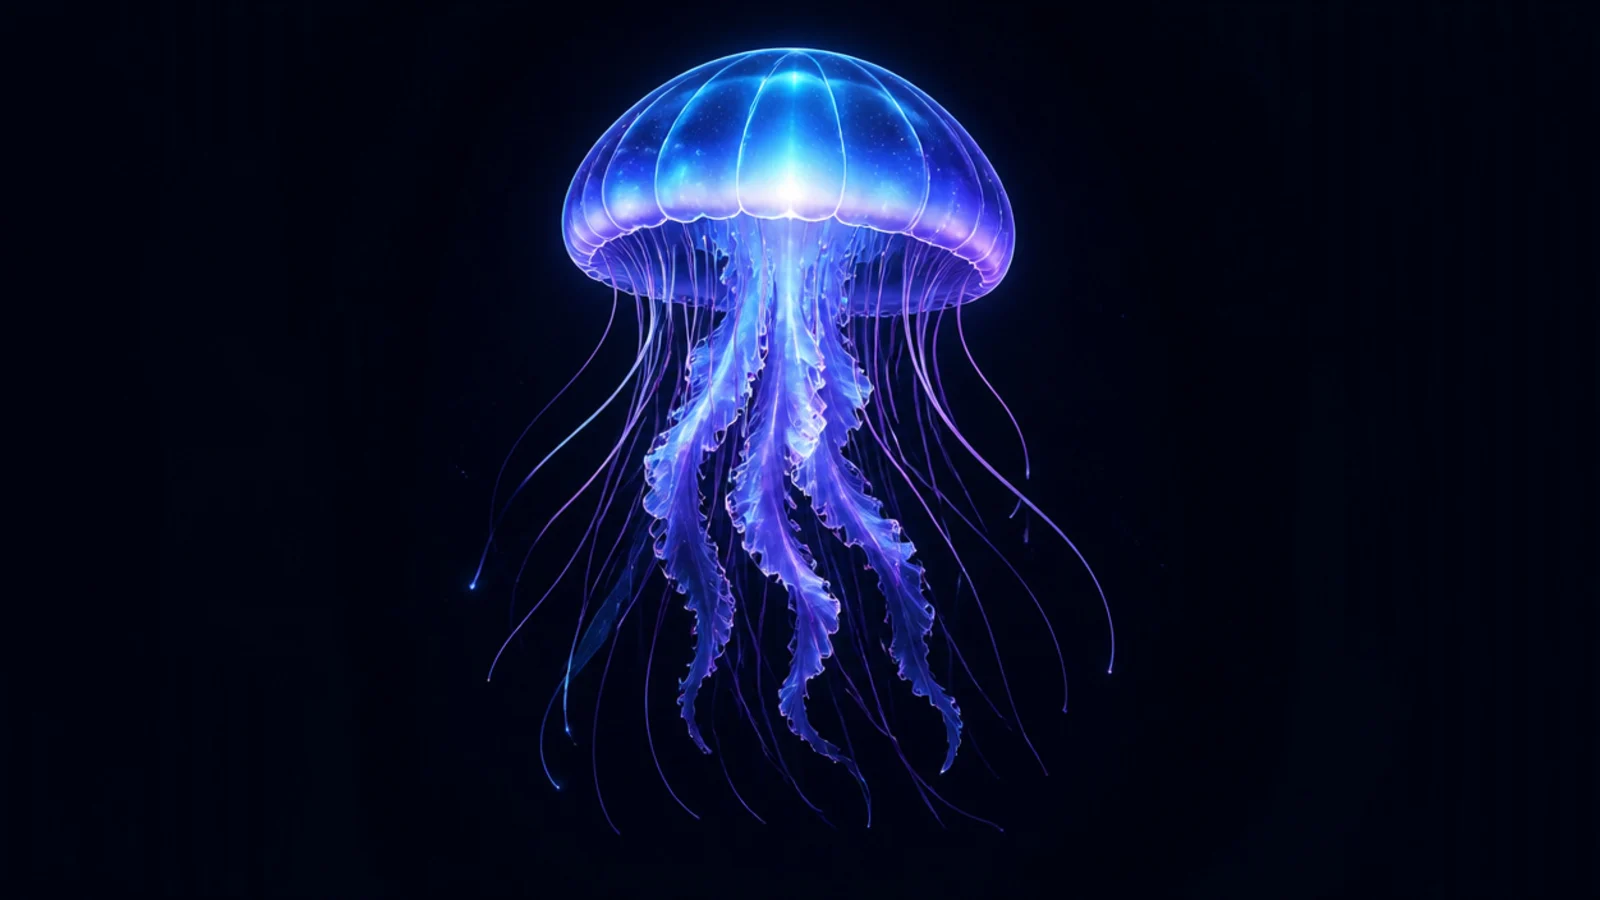
1 The Finished Glowing Jellyfish
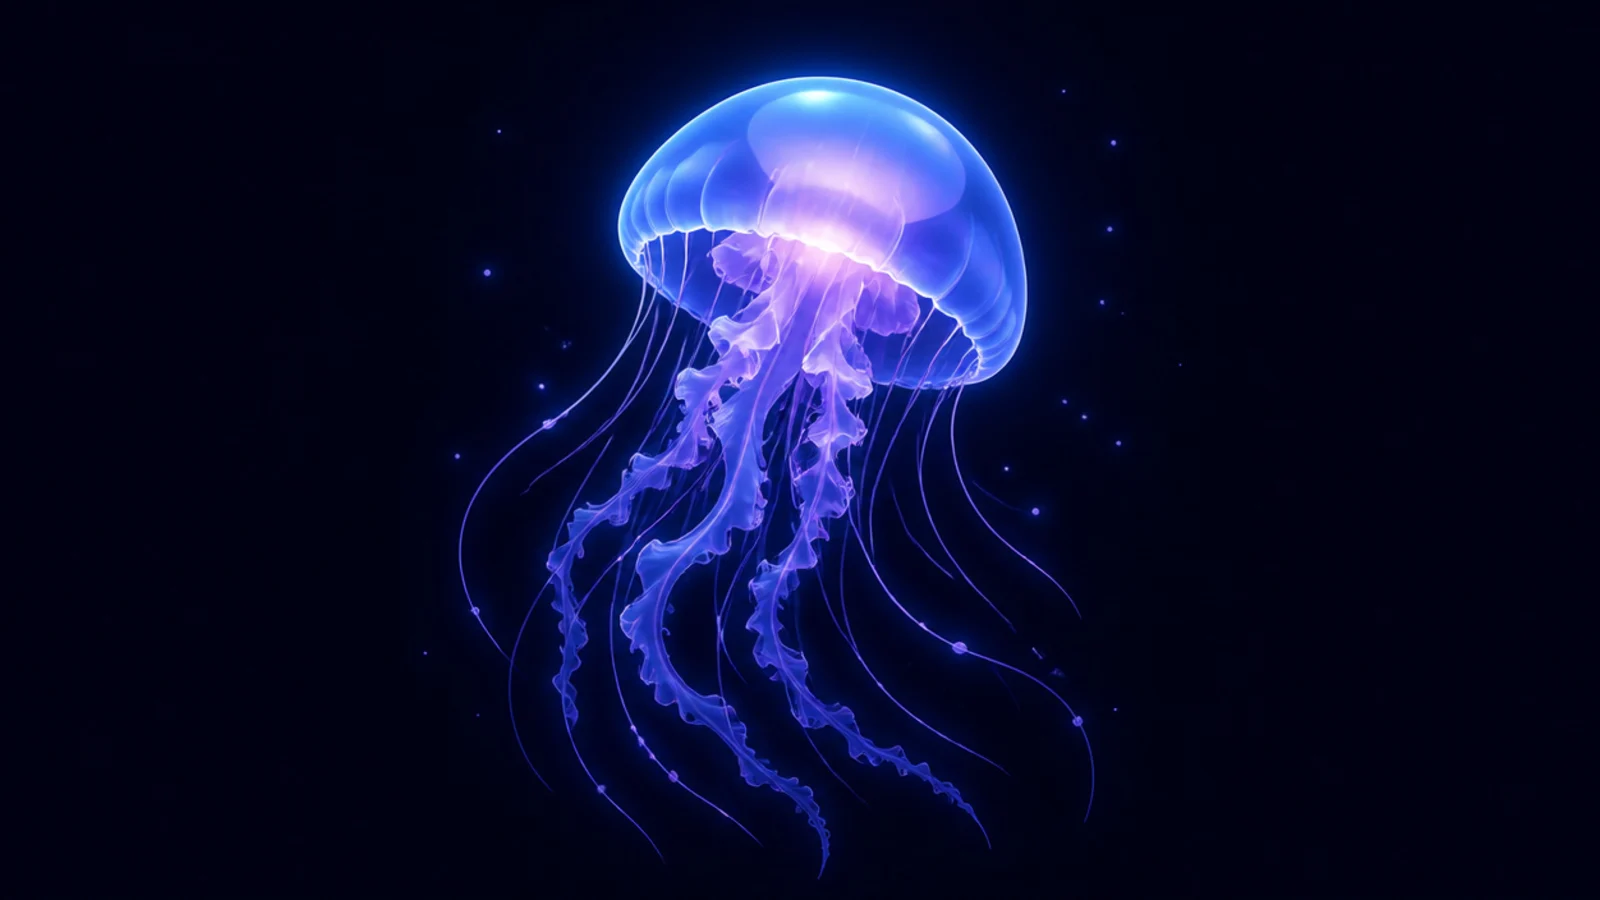
Step 1 follow all five steps. Step 2 keep the glow on an Add layer. Step 3 finish with highlights and a subtle bloom.
This is the result of the five steps — a glowing digital jellyfish on a dark background. It’s the base you’ll vary. Once you can make this, the effects are easy to remix.
AvoidDon’t merge your layers early; keep them separate until the very end.
Pro tipDuplicate and flatten a copy before adding Bloom so you keep an editable version.
2 Blue Neon Digital Jelly
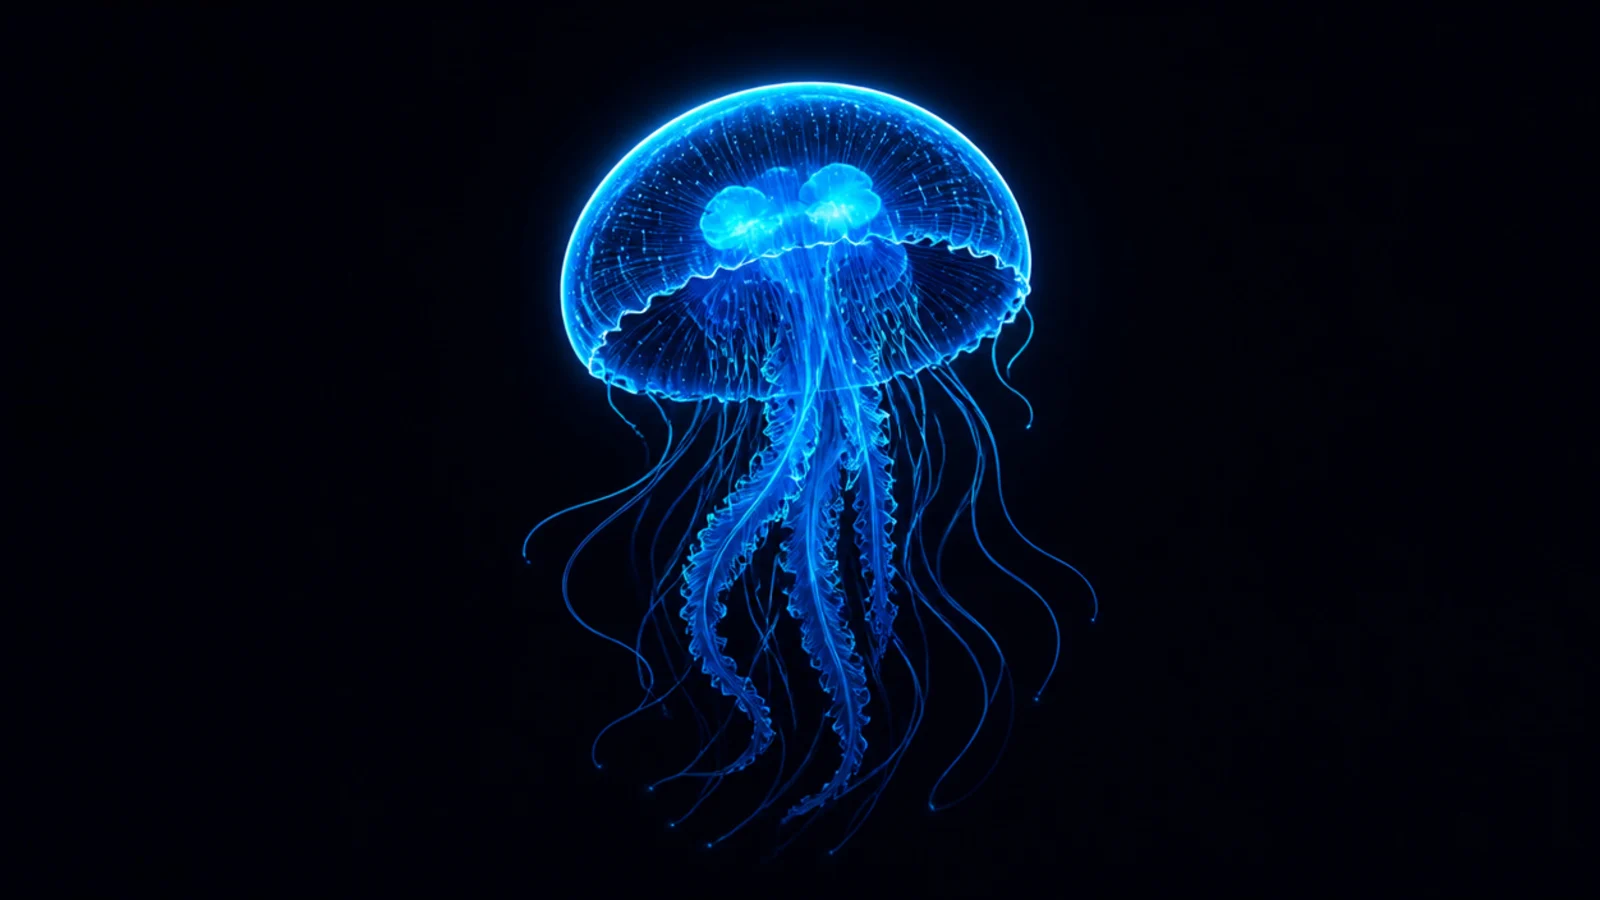
Pushing the glow bright blue gives a neon, electric look. The Add layer does the work. It’s bold and eye-catching.
Step 1 draw the base jellyfish. Step 2 airbrush bright blue on an Add layer. Step 3 add a thin bright rim light on the edges.
Add a thin bright edge line so the neon outline glows sharply.
Don’t overdo the Add layer; too much glow blows out the shape.
3 Purple Galaxy Digital Jelly
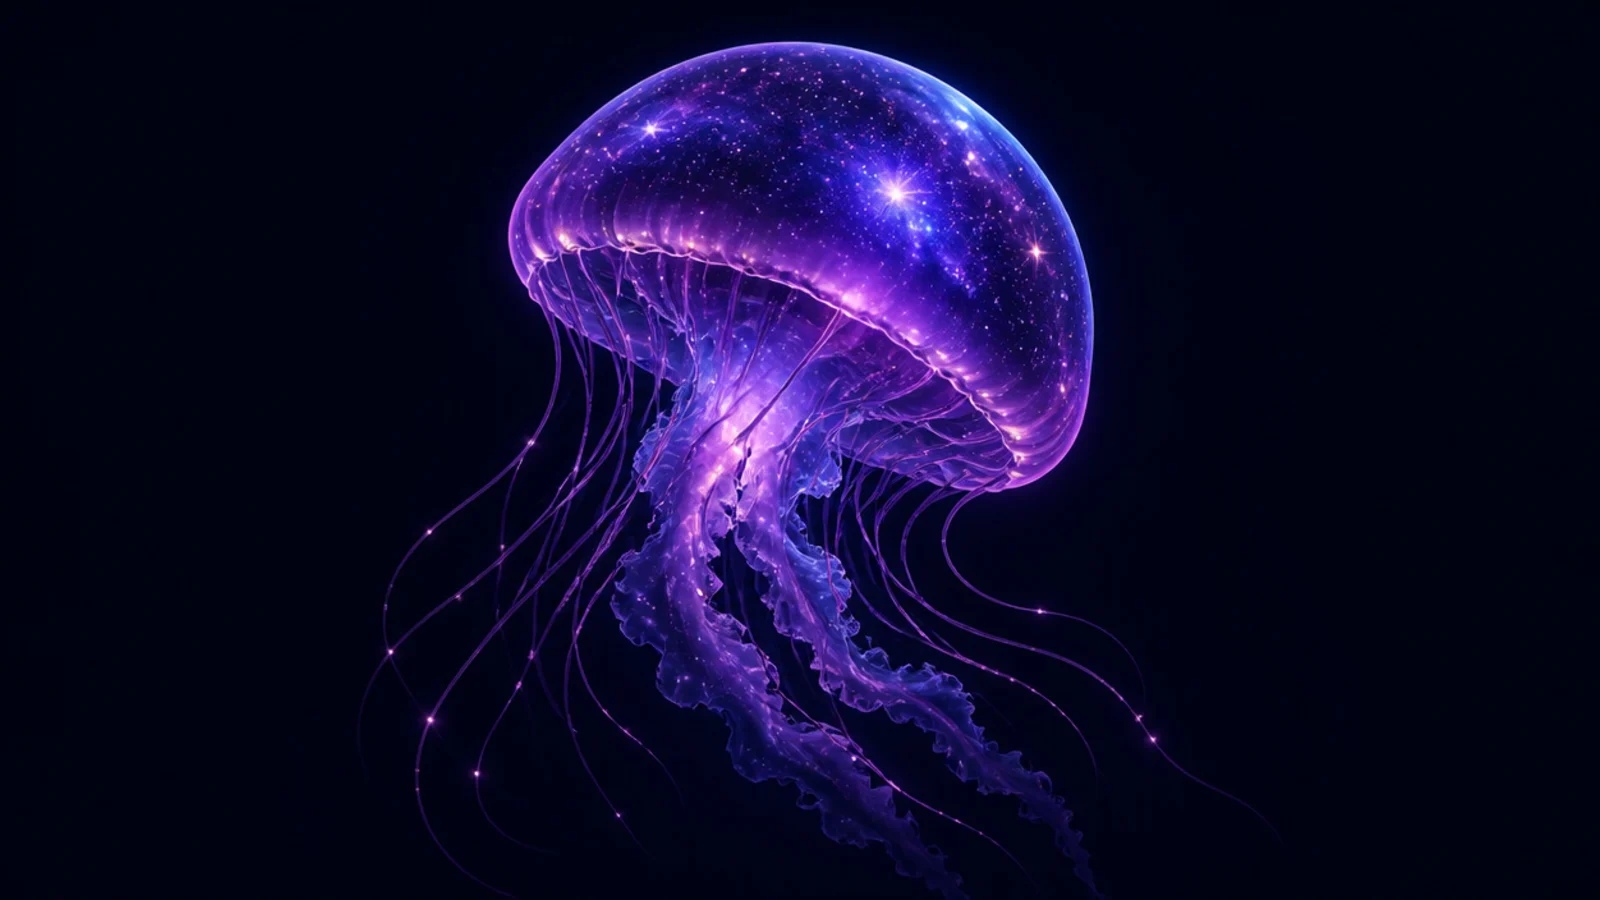
Step 1 color the bell deep purple. Step 2 add a nebula airbrush and a star brush on top. Step 3 glow the edges on an Add layer.
Filling the bell with a purple galaxy and stars is stunning and easy digitally. A star brush finishes it fast. It looks cosmic.
AvoidDon’t cover the whole bell in stars; keep some dark space for depth.
Pro tipUse a star brush stamp to scatter stars instantly across the bell.
4 Pastel Digital Jelly
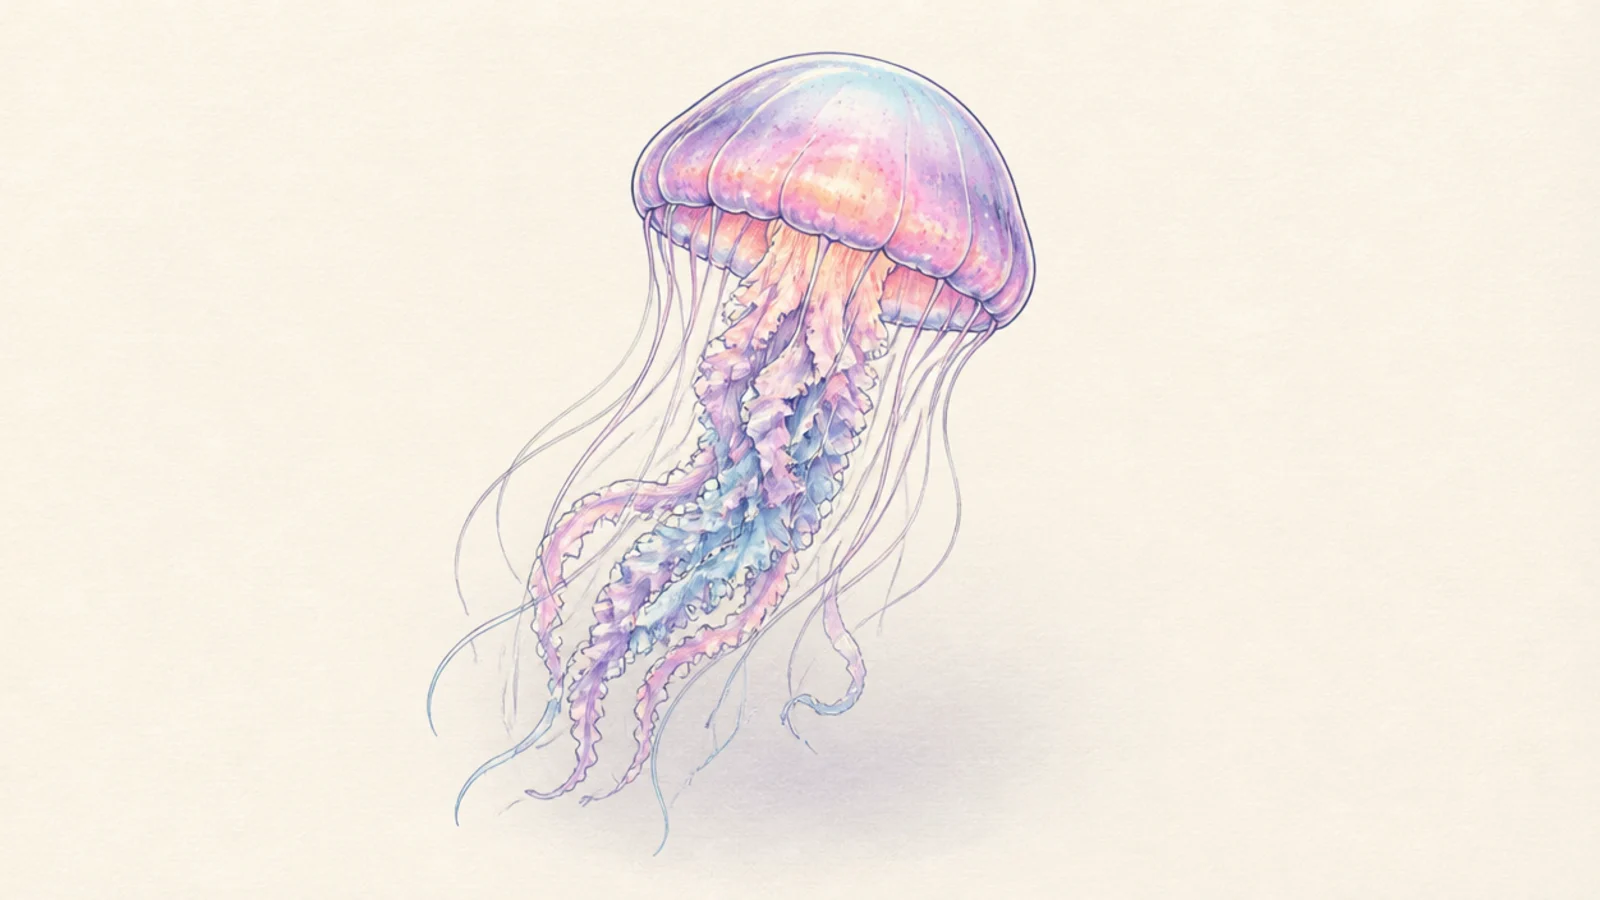
Step 1 use a light background. Step 2 color the jellyfish in soft pastels. Step 3 add a soft shadow instead of a glow.
A pastel jellyfish on a light background is soft and cute, no dark canvas needed. The gentle colors feel sweet. It’s a calm alternative to the glow style.
AvoidDon’t use an Add glow layer here; it won’t show on a light background.
Pro tipOn a light background, add a soft shadow rather than a glow for depth.
5 Clean Line-Art Digital Jelly
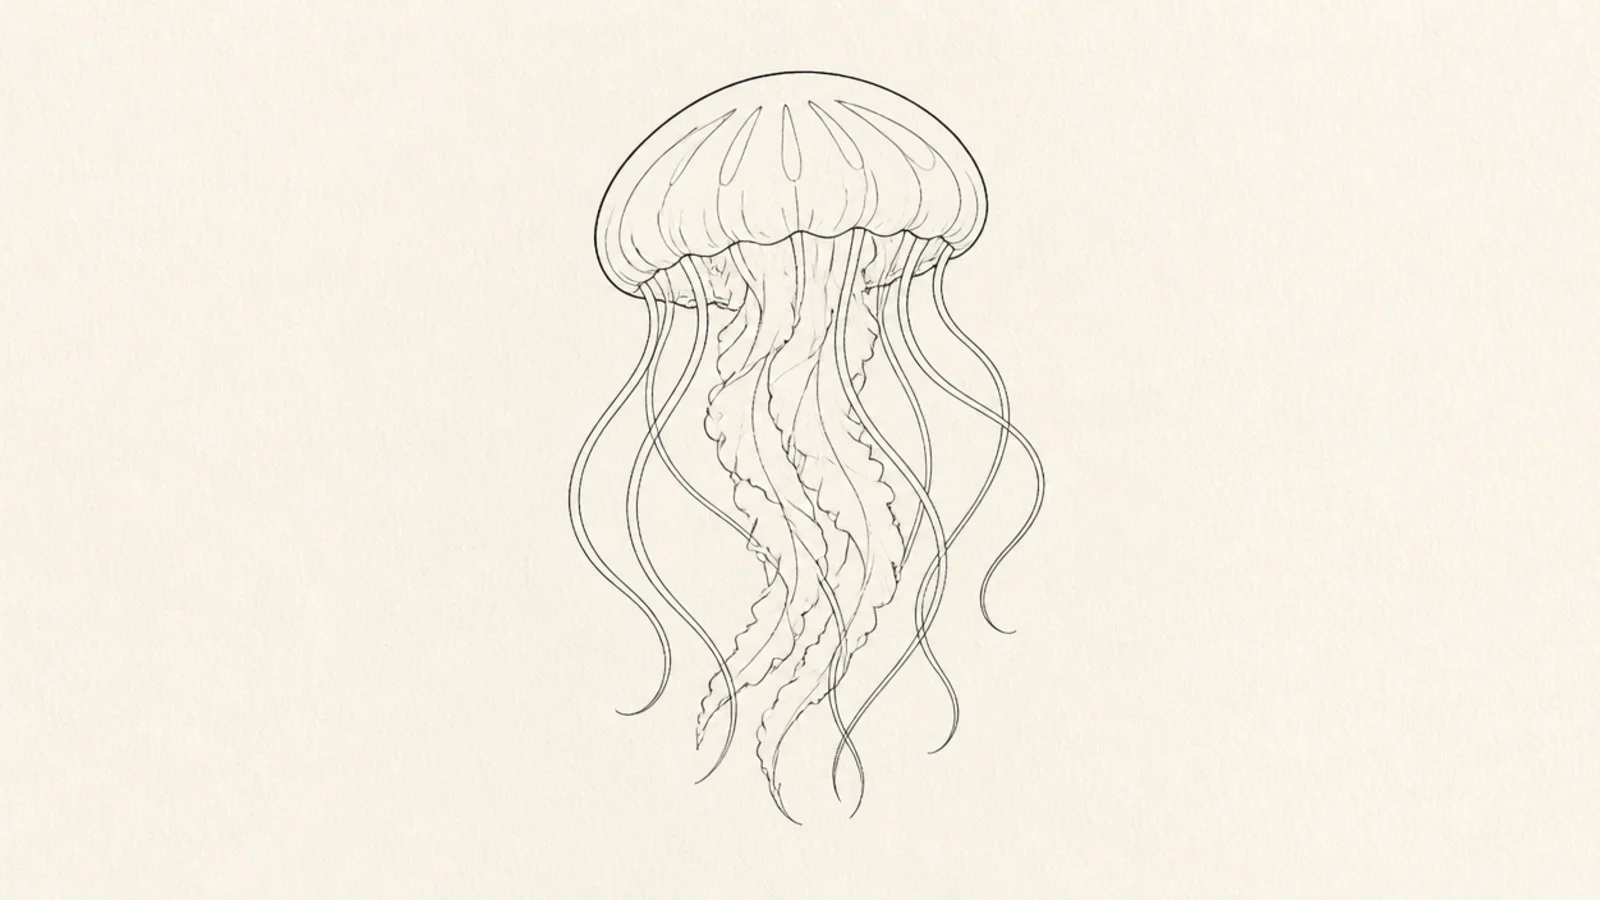
Stopping at the line-art stage gives a crisp, clean digital drawing. The smooth vector-like lines look professional. It’s quick and versatile.
Step 1 do steps 1 and 2 only. Step 2 refine the line weights. Step 3 leave it on a plain background.
Use the Monoline brush and QuickShape for perfectly smooth curves.
Don’t add color; the clean line art is the finished look here.
6 Watercolor-Brush Digital Jelly
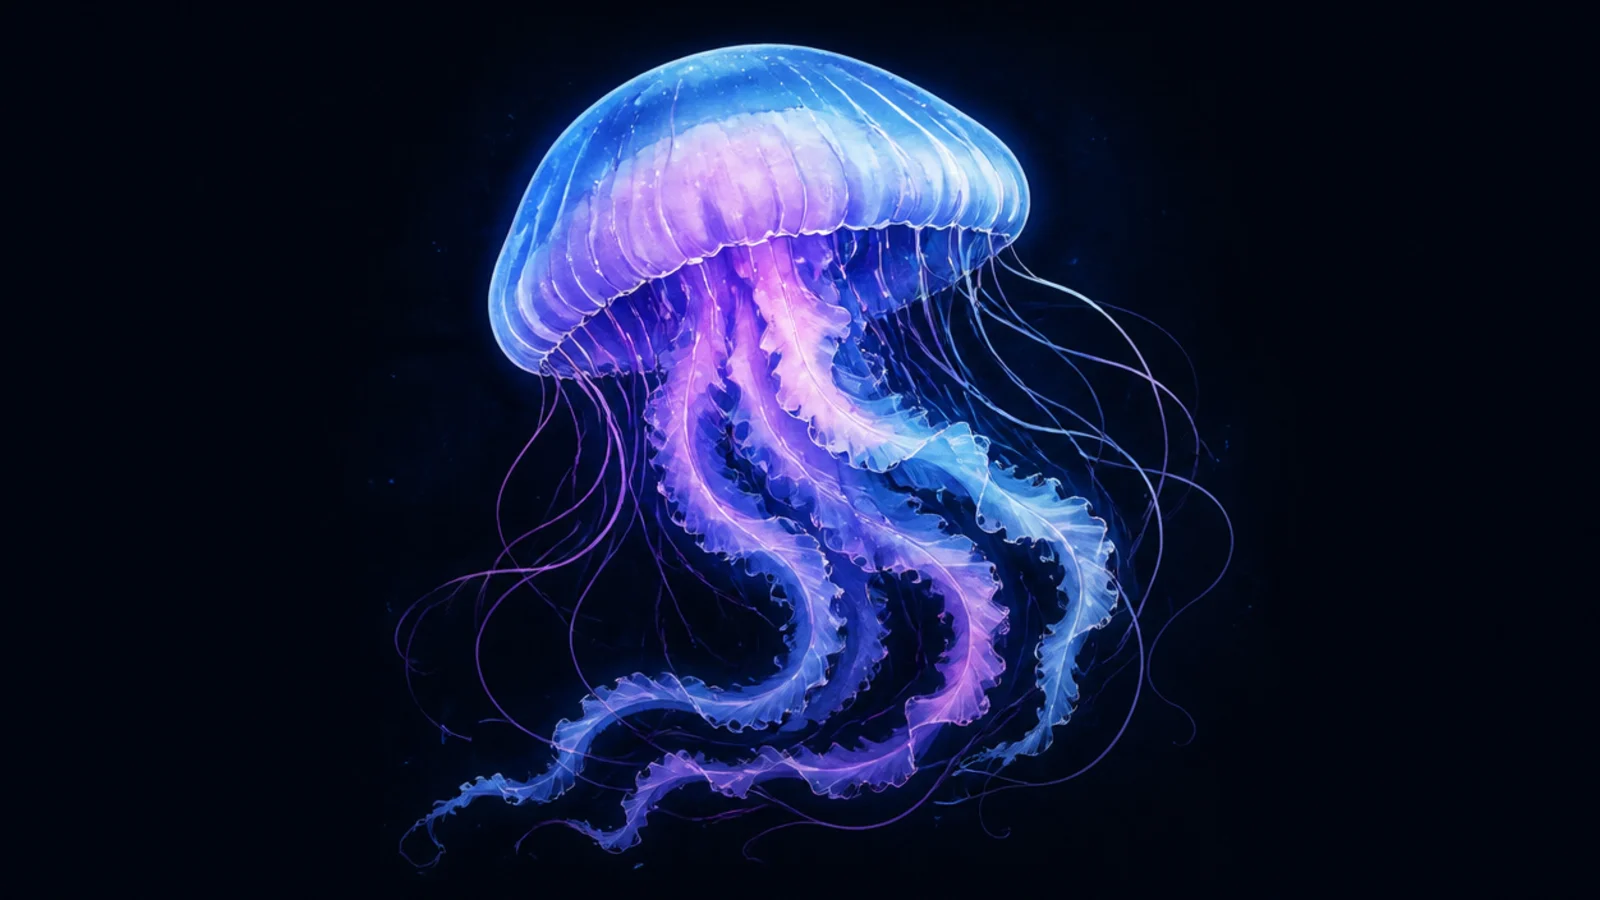
Step 1 sketch and line lightly. Step 2 color with watercolor brushes, letting edges vary. Step 3 add soft texture and a light glow.
Using watercolor-style brushes gives a digital jellyfish a soft, painted look. The textured brushes mimic real media. It feels handmade.
AvoidDon’t use a hard fill; the soft brush texture is the whole look.
Pro tipLet the watercolor brush edges stay uneven for an authentic painted feel.
7 Digital Jellyfish Swarm
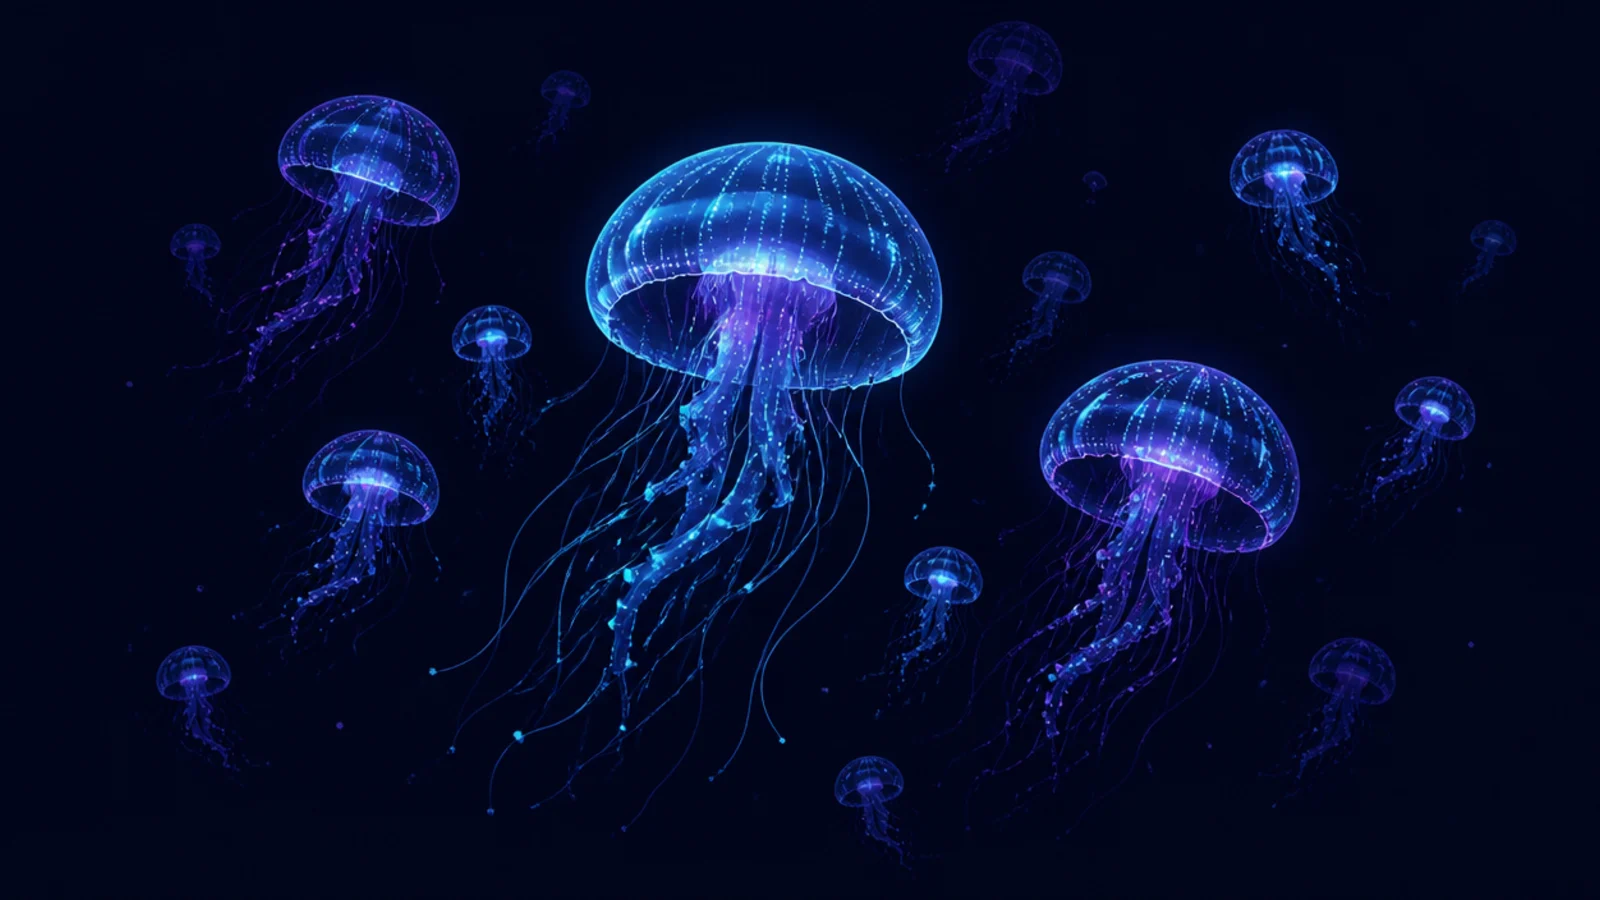
Duplicating your jellyfish makes a glowing swarm in seconds — a huge digital advantage. Resizing and fading copies adds depth. It fills a canvas fast.
Step 1 finish one jellyfish. Step 2 duplicate it several times, resizing each. Step 3 lower the opacity of the far ones for depth.
Duplicate and scale your finished jellyfish instead of redrawing each one.
Don’t keep them all the same size and brightness; vary them for depth.
8 Phone Wallpaper Digital Jelly
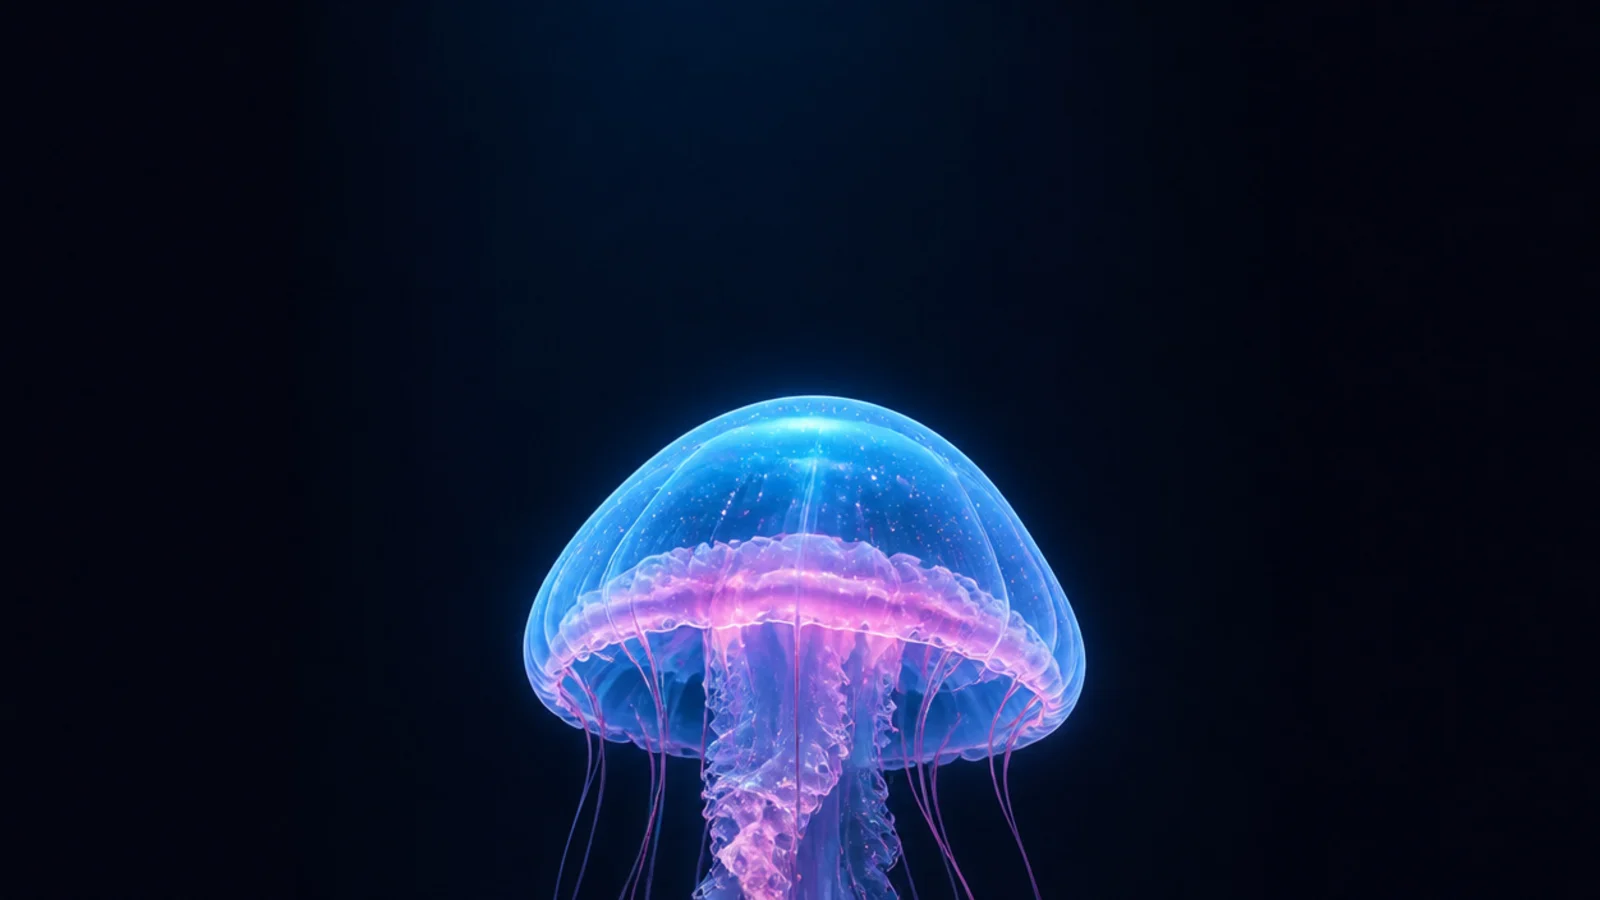
Step 1 start a phone-sized vertical canvas. Step 2 draw a tall glowing jellyfish with long tentacles. Step 3 add a gradient background and export.
Setting up a tall canvas makes a glowing jellyfish into a custom phone wallpaper. The vertical format and glow look premium. It’s a satisfying finished use.
AvoidDon’t fill the whole screen; leave room so it works as a real wallpaper.
Pro tipLeave some empty space at the top and bottom for your clock and app icons.



