
1. Classic Knuckle Ring + Wrist Bracelet
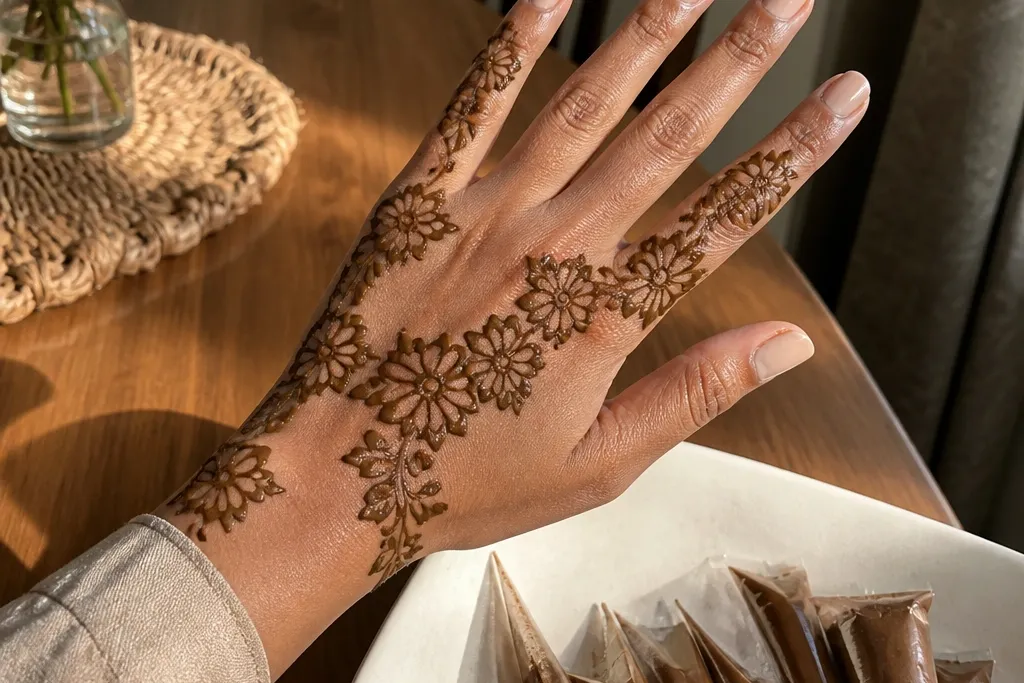
This is the safest bridal back hand layout because it creates a frame instantly. You draw a ring across the knuckles, then add a single central vine that rises toward the wrist. The wrist bracelet is where the drama happens: it has repeating teardrops that look bridal in photos even with minimal filling. Beginners love it because mistakes in the center vine still look like part of the flow when the knuckle ring and cuff are clean.
Start by outlining a band across the knuckles — use a curved line that follows each knuckle and close the shape without gaps. Next, draw a center vine from the middle of the knuckle area up to the wrist, then add 3 to 5 teardrop loops along the vine. Finally, build a wrist cuff: draw a thick arc band at the wrist and fill it with evenly spaced teardrops and tiny dots inside each space.
Keep teardrops the same size by marking a dot grid lightly on the skin first.
Don’t fill the entire back of the hand — the bracelet + ring does the heavy lifting.
2. Three-Petal Center Motif with Side Vines
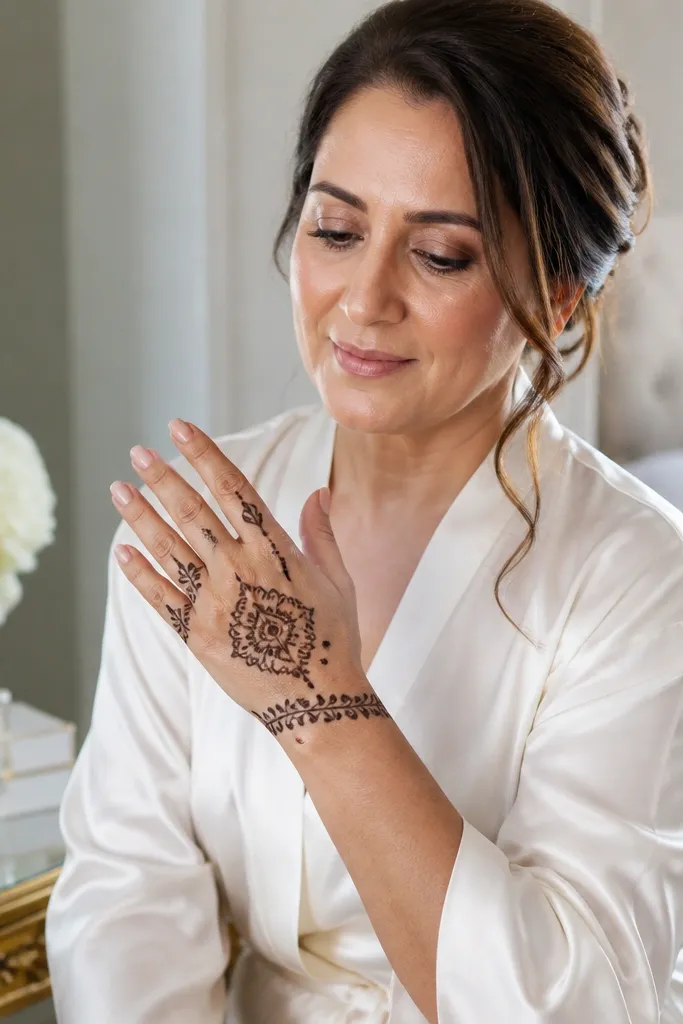
This design looks like bridal work because the center motif is bold and the sides stay airy. You get a clear focal point without needing dense micro-patterns. The side vines add movement across the back of the hand, and the spacing keeps it photogenic instead of messy. It’s ideal for beginners because petals are forgiving shapes and you can repeat them in a controlled rhythm.
Draw a small center flower on the back of the hand where the wrist meets the knuckle area, using three rounded petals around a dot center. Then add two thin vine lines on each side of the center — one vine goes diagonally down, the other up toward the wrist. Finish with tiny dot fills between the vine lines and add a light wrist cuff line that curves like a bracelet, without heavy filling.
Use a slightly thicker paste for the petal outline so the petals look crisp after drying.
Avoid making the center flower too big — it will crowd the knuckles and flatten the look.
3. Geometric Bands with Bow-Tie Center
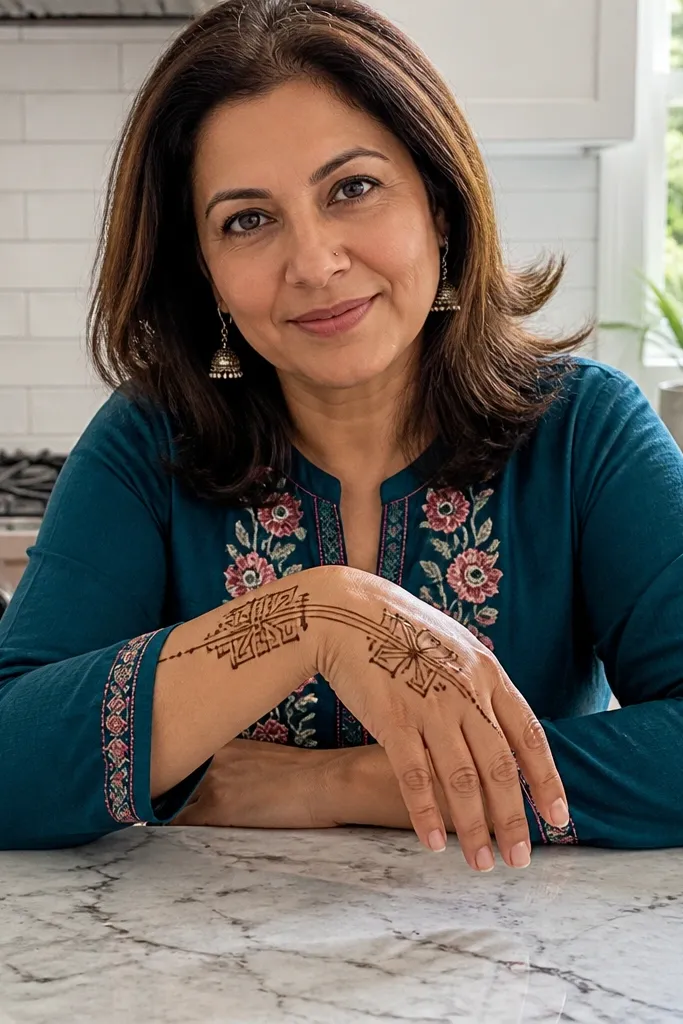
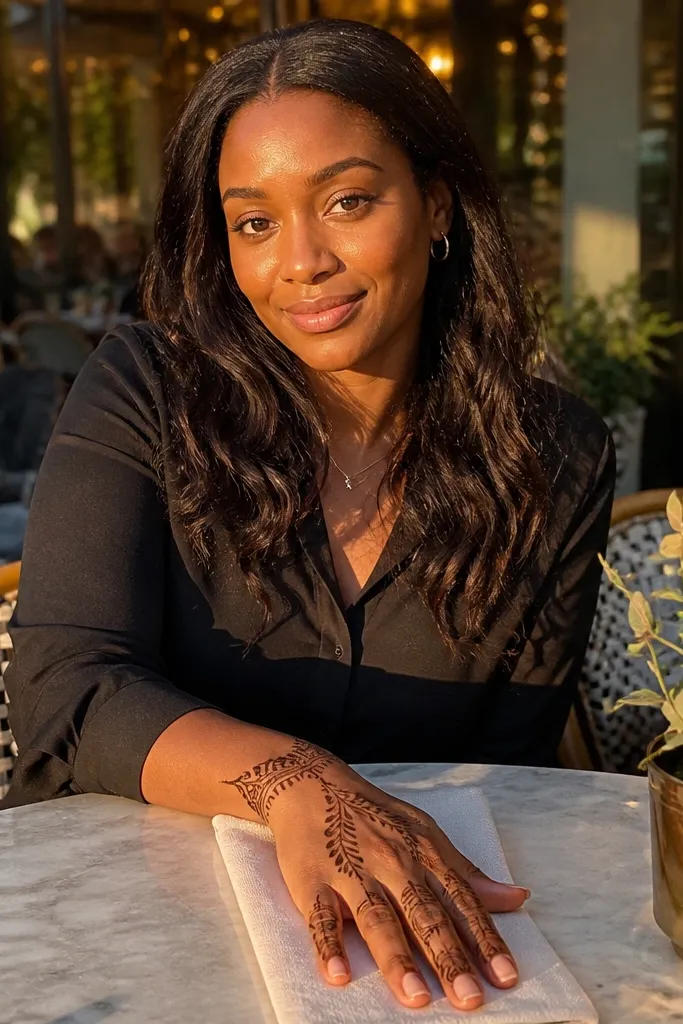
Geometric bridal mehndi looks sharp in photos because bands catch light and show clean edges. This pattern gives you that “designer” look using straight-ish lines, plus a bow-tie center that adds softness. Beginners do well here because the structure is repeatable: bands, then a single focal shape, then small corner fills. It also pairs well with rings and bangles since the design sits in clear sections.
Start by drawing 2 to 3 horizontal bands across the back of the hand, roughly parallel to the knuckles. Add a bow-tie center in the middle band using two mirrored teardrop shapes meeting at a point, with a dot in the center. Finally, frame the bow-tie with small triangles or dots in the corners, and end by drawing a thin wrist arc line with 6 to 8 tiny dots spaced evenly.
Use the cone tip edge for triangles so they look clean instead of rounded blobs.
Don’t overlap bands too tightly — let each band breathe so the geometry stays readable.
4. Peacock Feather Back-Hand Fan
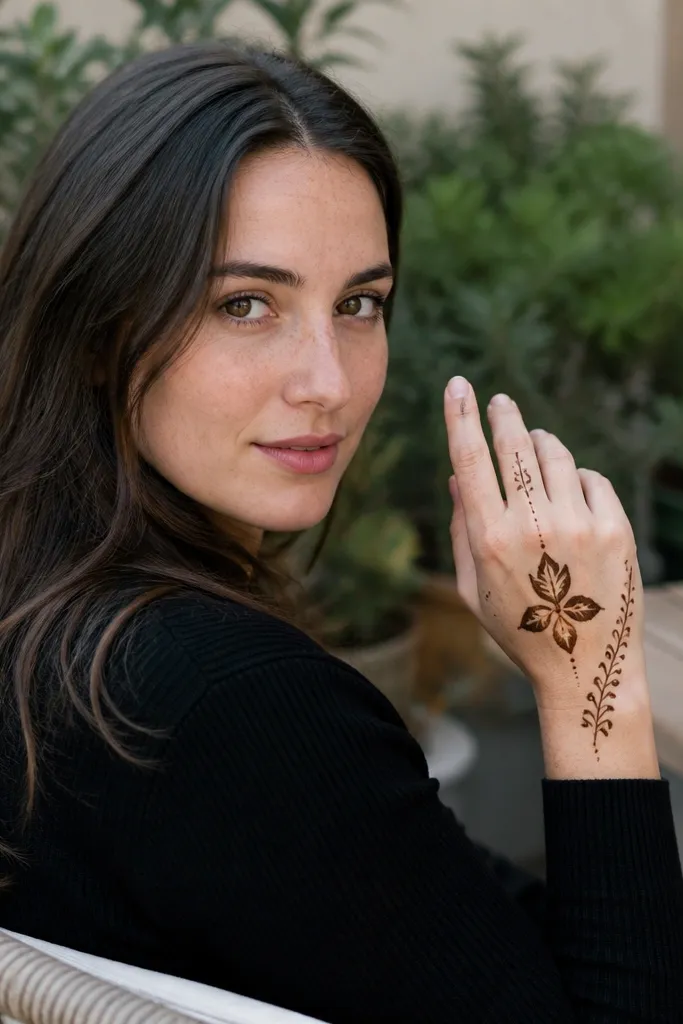
A peacock feather fan is a bridal showpiece even when you keep it simple. The feather “spine” gives you a guide line, and the eye-like dots create instant visual interest. It’s beginner-friendly because the feather segments are repeatable: you copy the same leaf shape on both sides of the spine. The fan shape also flatters the back of the hand by following its natural curve.
Draw a central spine line from the middle knuckle area up toward the wrist, then add 5 to 7 leaf segments on both sides, each segment shaped like a small teardrop with a dot at the tip. Add “eye” dots inside every second segment to create the peacock effect. Finish with a wrist cuff arc and add tiny dots between the leaf segments for sparkle.
Pro tipKeep leaf segments symmetrical by counting them out loud as you draw each side.
AvoidAvoid drawing too many segments — 5 to 7 keeps it bridal and clean.
5. Single Vine Mehndi with Double Knuckle Loops
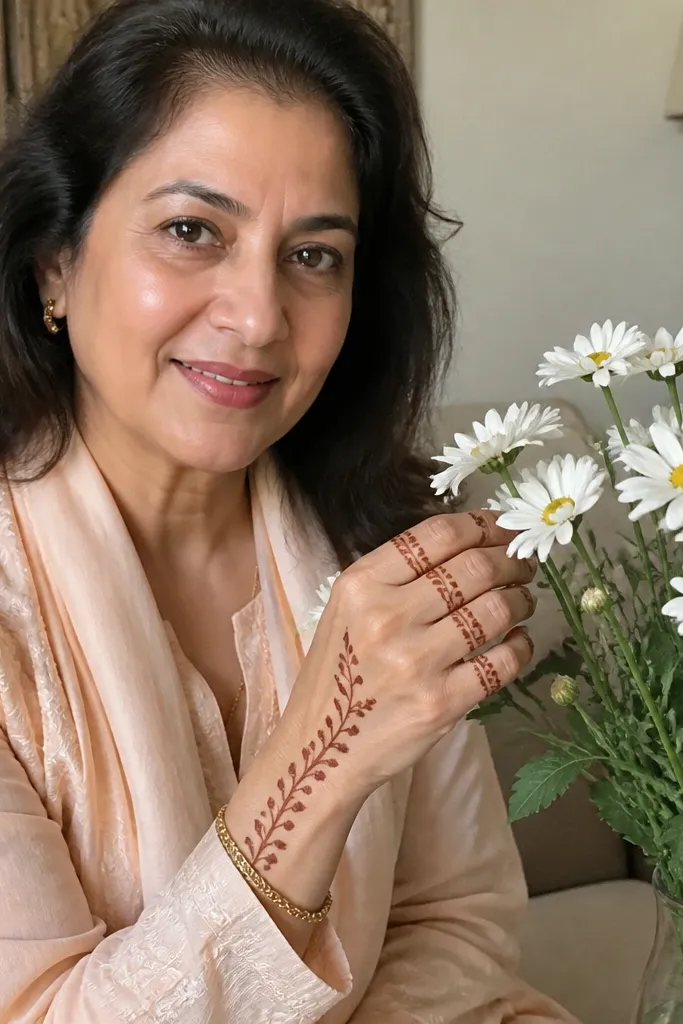
If you want a back-hand design that looks delicate but still bridal, this is it. The double loops around the knuckles create structure and make the hand look “finished” without filling the whole area. One main vine carries the eye upward, and the small side curls add movement. Beginners can handle this because there’s only one big line to commit to, and everything else supports it.
Begin by drawing two parallel curved loops across the knuckles — like a double ring, leaving a thin gap between the loops. Then draw one long vine from the center of the knuckle area toward the wrist, adding 3 small curls along the vine. Finish by adding a thin wrist cuff line and a row of tiny dots under the wrist cuff to anchor the design.
Practice your vine line on paper so it stays smooth from knuckles to wrist.
Don’t add extra fillers everywhere — let the double loops and vine do the work.
6. Mandala Half-Back Hand with Minimal Fill
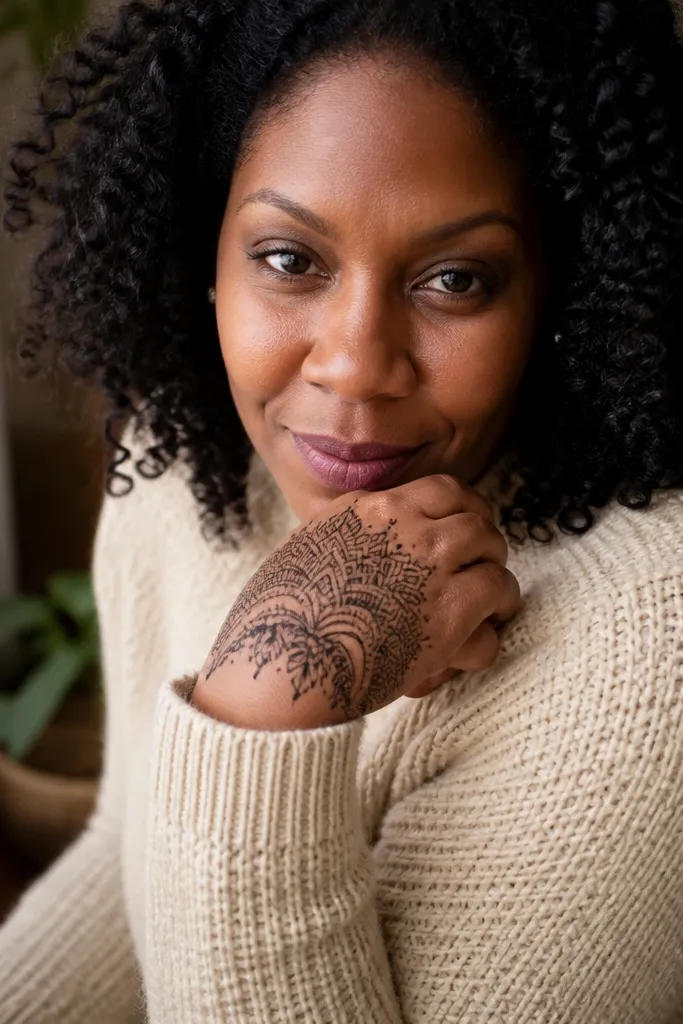
This half mandala is the sweet spot between bridal and beginner-friendly. You get a round, high-impact shape that looks like a full motif, but you only build one half so it’s easier to place and easier to balance. Minimal fill keeps the lines crisp so the design looks intentional in close-ups. It’s perfect for people who want a “main character” motif without spending hours on dense shading.
Sketch a half circle starting near the outer edge of the knuckles and curving toward the wrist. Add a small inner circle or oval in the center, then build 4 to 6 repeating petal-like loops around it. Finish the outer edge with a chain of dots and a thin wrist arc line to connect the mandala to the bracelet area.
Use dot markers to keep petal spacing even around the half circle.
Avoid heavy shading inside the mandala — minimal fill looks cleaner and dries darker.
7. Bridal Floral Grid with Airy Corner Fill

This design looks busy in a good way, but it stays beginner-manageable because the “busy” part is organized. A light grid gives structure, while small flowers in each section make it bridal. Airy corner fill stops it from feeling crowded on the back of the hand. It’s photogenic because the grid lines create crisp geometry that contrasts with the organic flower shapes.
Draw 2 vertical guide lines and 2 horizontal guide lines on the back of the hand to form 6 to 8 sections. In each section, draw a tiny flower using 5 petals around a dot center, skipping one or two sections near the wrist for breathing room. Finish by adding a wrist cuff arc and fill only the outer corners with dots or mini teardrops.
Keep each flower under 1 cm — small repeats look bridal and avoid smudging.
Don’t overfill every section — leaving blanks makes the grid look intentional.
8. Knot and Rope Vine Across the Back Hand
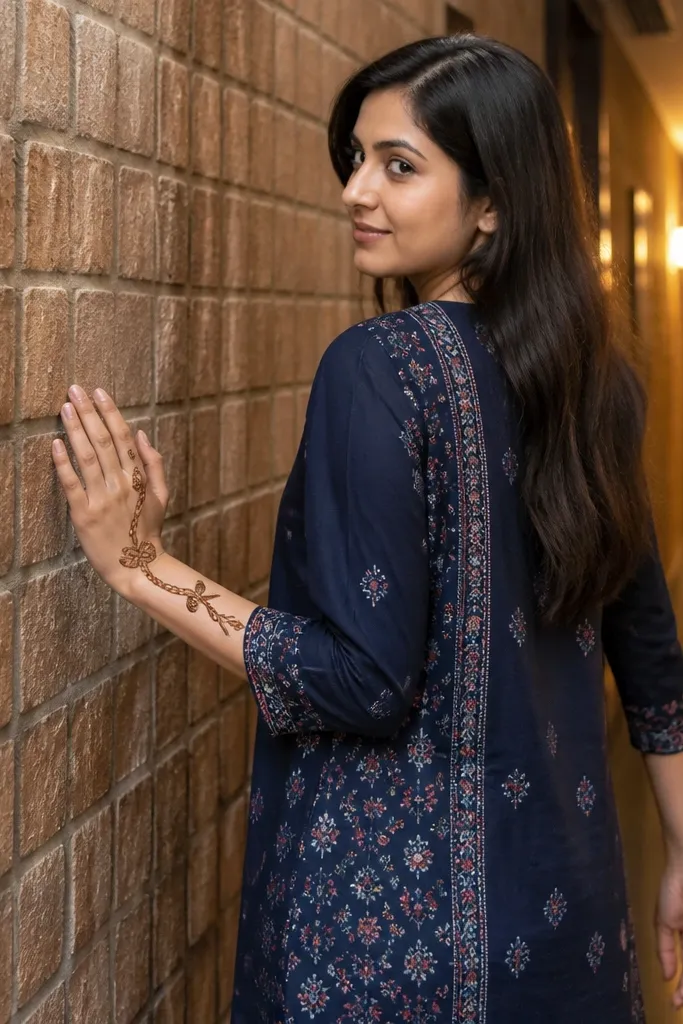
Rope-vine patterns look premium because they look dimensional even with simple lines. This one adds two knot shapes in the middle, which makes the design feel like it has “story” without needing complex shading. It’s a great option when you want something bridal but not overly floral. Beginners can do it because rope vines are repeatable — a twist line made from consistent curves.
Start with a rope vine: draw a long curved line and then add small parallel twists along it, like repeating figure-eight segments. Place two knot shapes on the center section by drawing an oval loop and crossing lines inside it, then add a dot at the center. Finish by outlining the knuckles with a thin line and add a light wrist cuff with 4 teardrop repeats.
Pro tipUse a steady hand and keep the twist spacing the same along the whole rope vine.
AvoidAvoid thick rope lines everywhere — too much thickness makes the design look heavy.
9. Lotus Bloom at Wrist with Upward Stems
A lotus at the wrist makes the back of the hand feel like a complete bridal piece. The bloom anchors the design, and upward stems create a soft ladder toward the knuckles. This is beginner-friendly because you draw one main lotus and then repeat stems with small leaf dots. The look is clean, feminine, and easy to photograph because the wrist motif is strong even if the hand lines are lighter.
Draw a lotus bloom at the wrist using 6 to 8 rounded petals around a dot center. From the bloom, draw 3 to 5 stems rising toward the knuckles, each stem with tiny leaf teardrops attached. Add a thin knuckle outline line beneath the stems and finish with a few dot fills between stems so the back of the hand doesn’t look bare.
Make the lotus petals slightly larger than the leaves so the eye lands on the wrist first.
Don’t place the lotus too high on the hand — it needs room to breathe near the wrist.
10. Paisley Stack with Side Lace
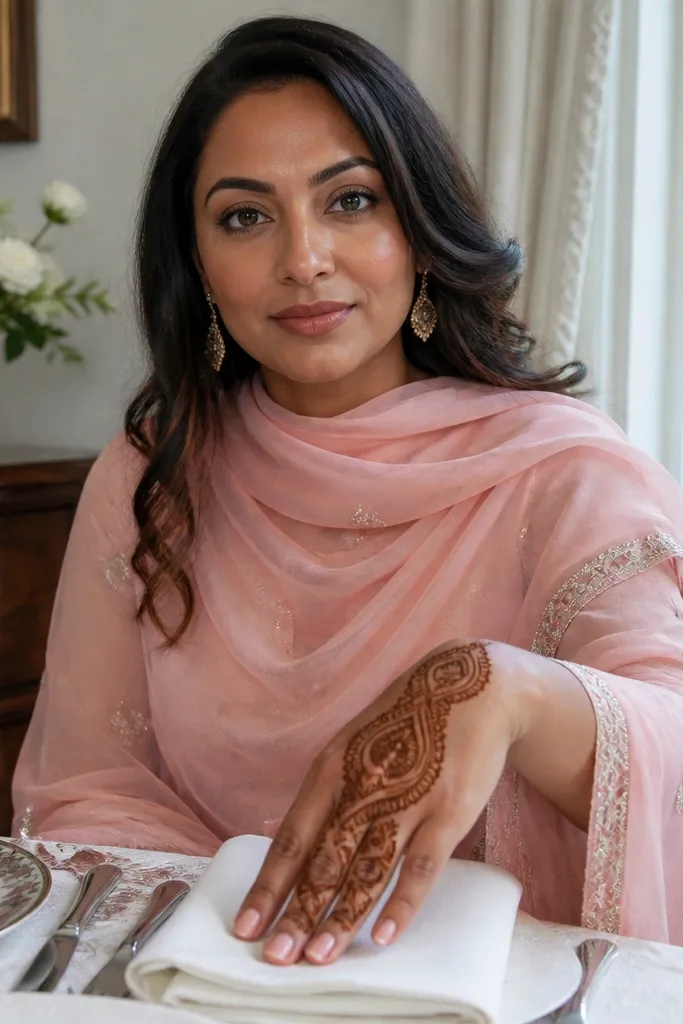
Paisley stacks give you bridal fullness without dense shading. You place two or three paisley shapes along the central back of the hand, then connect them with lace-like side lines. The result is photogenic because each paisley has a clear outline and the side lace adds delicacy. Beginners can handle it by keeping paisley shapes consistent and letting the outlines do most of the work.
Draw one paisley in the center of the back of the hand, then add a second paisley above it and a third below if there’s room. Connect the paisleys with thin vine lines so they look like one flowing arrangement. Finish by adding lace-like lines along the outer edges of the hand — simple curves with dots between them — and end with a wrist cuff arc line.
Use a dot at the paisley tip so even if your curve wobbles, the silhouette stays clear.
Avoid adding lots of tiny fillers inside paisleys — bold outlines look better at bridal distance.
11. Mehndi Bracelet Cuff with Two Finger Arches
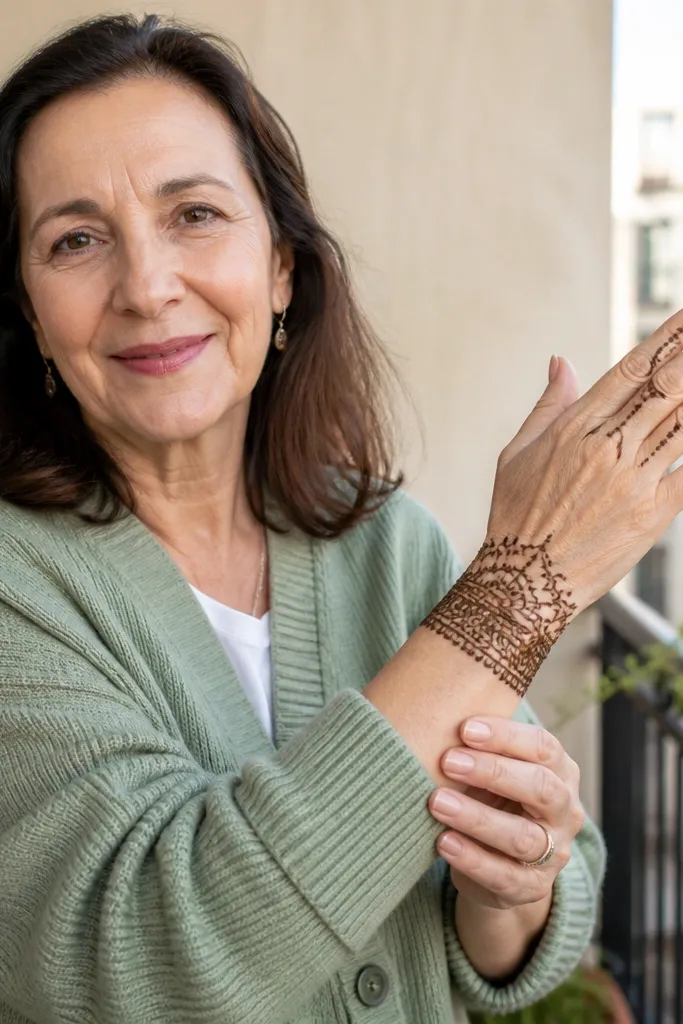
This design flatters the back of the hand and looks intentional even if you’re new. The wrist bracelet cuff is bold and repetitive, and the two finger arches add a bridal touch without covering every knuckle. It’s great for people who want a clean hand look that still feels festive. Because the design is concentrated at wrist and upper knuckle area, it’s easier to keep lines neat and dry evenly.
Start with a wrist cuff: draw a thick arc band at the wrist and fill it with repeating teardrop shapes or small leaf motifs. Next, draw two arches that start near the top of the cuff and curve toward the knuckles — one arch toward the index side, one toward the little finger side. Add a thin outline around the knuckles and a few dots between arches to keep the space from looking empty.
Pro tipKeep arches wide and curved; narrow arches look cramped on the back of the hand.
AvoidDon’t extend the cuff too far up the hand — a short cuff reads more bridal and cleaner.
12. Floral Corner Trio with Center Negative Space
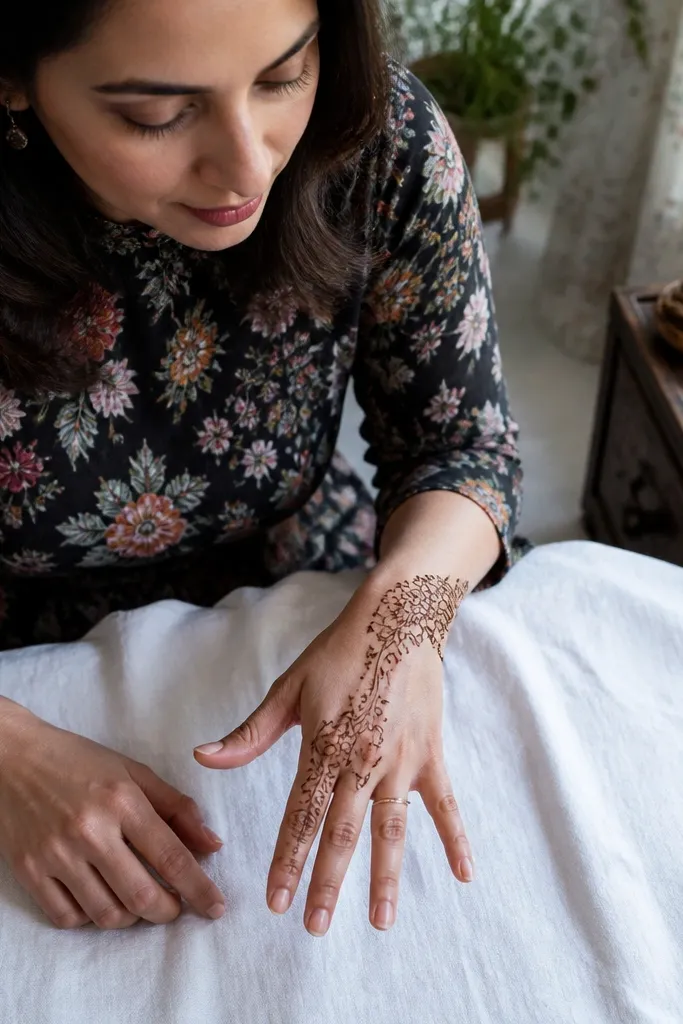
Negative space is your friend for bridal back hand mehndi. This layout keeps the center of the back of the hand mostly open, while three floral clusters sit at the corners and edges. It looks modern, airy, and still bridal because the clusters are detailed enough to stand out. Beginners get a clean result because you’re not trying to fill every square inch, and the open center helps lines dry evenly.
Draw a light guideline for the back of the hand and place three floral clusters: one near the wrist inner side, one near the outer edge above it, and one near the knuckle area. Each cluster uses the same motif — 5 petals around a dot, with a tiny vine connecting to one adjacent petal. Finish by drawing a thin knuckle outline and add a minimal wrist arc line, leaving the center mostly blank.
Use the same petal size across all three clusters so the design looks planned, not random.
Avoid thick filling in the center — it kills the airy bridal look.
13. Peony-Style Flower with Side Petal Fans
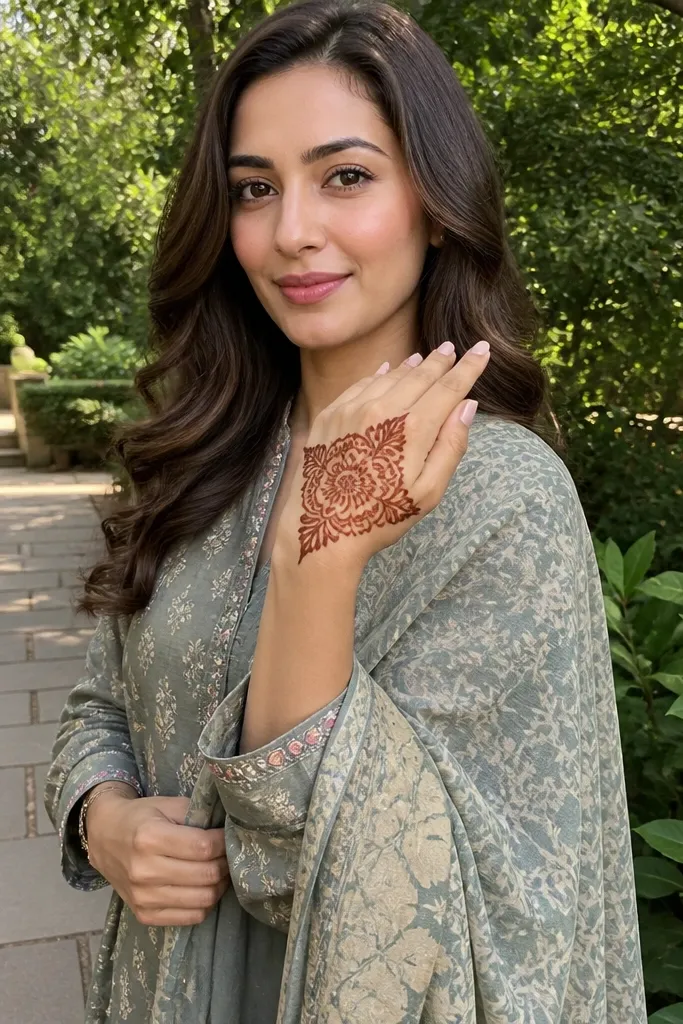
A peony-style flower gives you a bold bridal focal point without needing heavy shading. The side petal fans make it look fuller and more expensive in photos, even when the fill is minimal. This works well for beginners because you can draw the main bloom first, then repeat smaller fan elements on both sides. Symmetry is the only “skill test,” and you can simplify it by keeping the fans the same height and spacing.
Draw a large flower in the center with layered petals: start with 6 larger petals around a center dot, then add 6 smaller petals in the gaps. Add two side fans on the outer left and right edges by drawing 4 to 6 small petal shapes in a curved line. Finish with a thin wrist cuff arc and tiny dot accents between the fans and the center flower.
Pro tipIf your lines break, go back with the cone only on the outline — don’t start new interior fills.
AvoidDon’t make the center flower too tall — it will overlap the knuckles and look cramped.
14. Kashmiri-Inspired Vine with Three Leaf Bands
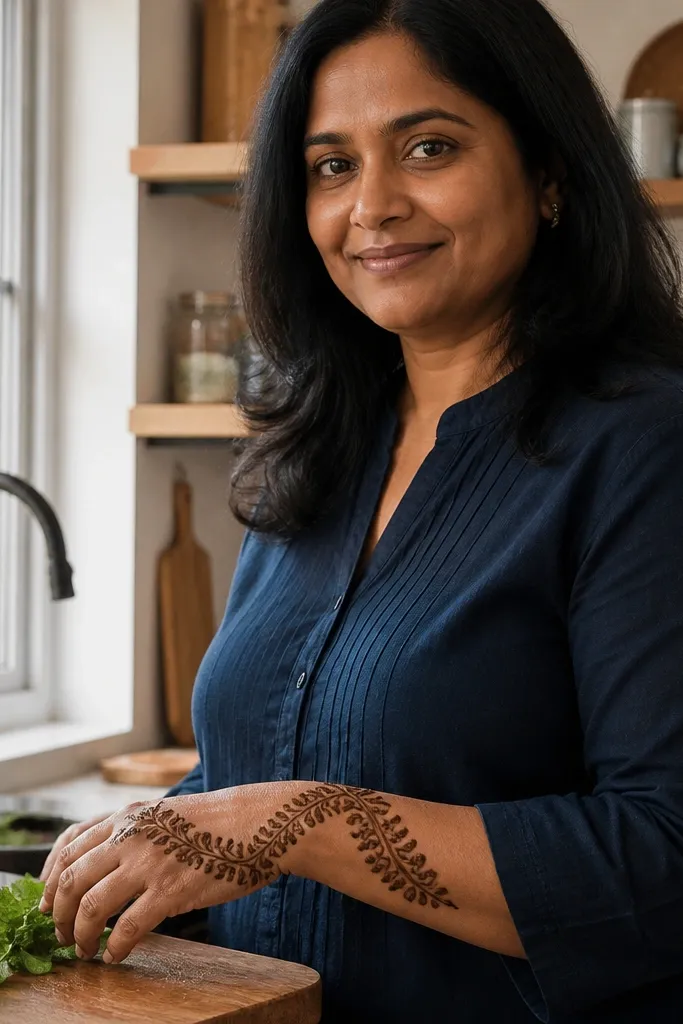
Kashmiri-inspired vines look bridal because the flow is continuous, not because you’re stuffing every space. This design uses a main vine that runs diagonally, plus three leaf bands that repeat the same motif. It’s beginner-friendly because the leaf band pattern gives you a rhythm — draw once, repeat twice. It also looks great with bangles since the diagonal vine naturally frames the wrist area.
Start with a diagonal vine line from the lower knuckle area up toward the wrist, keeping it smooth. Then create three leaf bands across the vine by drawing small leaf teardrops attached to short vine segments, one band near the knuckles, one in the middle, one near the wrist. Add a simple wrist cuff arc line and fill only the spaces between leaf bands with dots.
Pro tipDraw the diagonal vine first using light pressure, then retrace the outline once it’s straight.
AvoidAvoid adding extra side vines — three bands are enough for a bridal look.
15. Half Henna Back Hand with Fingerless Coverage
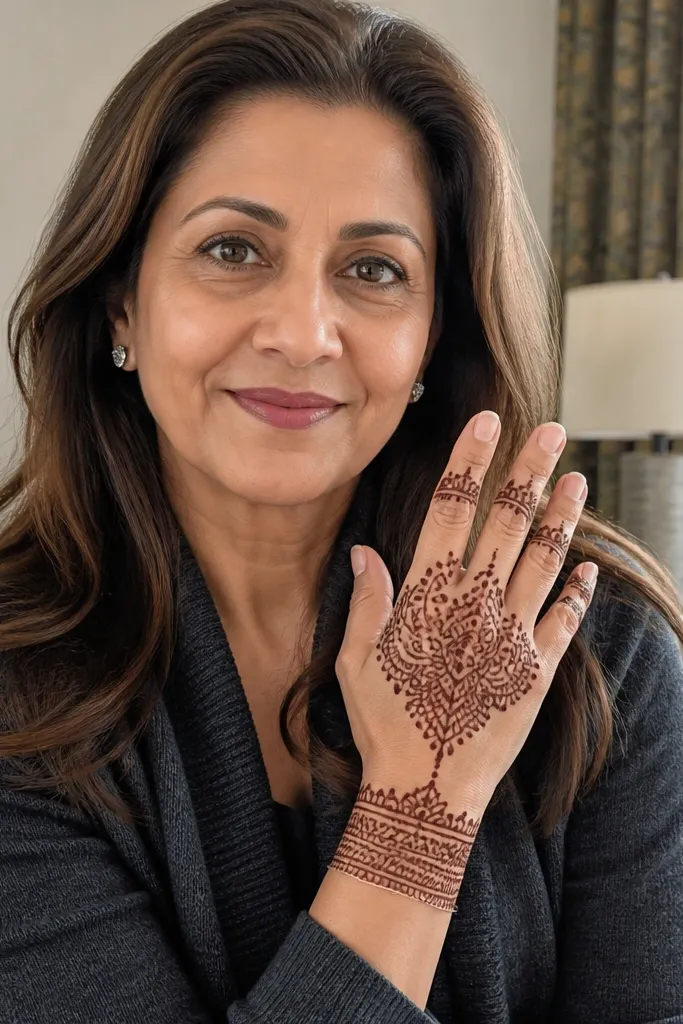
This is the “bridal but clean” option for people who hate getting their fingers covered too much. You focus on the back of the hand and knuckles, then stop at the finger joints. It looks intentional because you create a clear boundary line, and the wrist cuff finishes the piece like jewelry. Beginners like it because it reduces the surface area you need to fill while still giving a full bridal impression.
Draw a boundary line across the hand at the finger joints so your design stays on the back hand section. Outline the knuckles with a curved band, then add a central vine or floral stem that rises toward the wrist. Finish with a wrist cuff arc filled with small teardrops and dots, keeping the design density higher near the wrist and lighter near the boundary line.
Pro tipUse the boundary line to hide unevenness — if a section looks messy, keep it under the boundary.
AvoidDon’t let your design creep onto the fingers past the joints if you want a clean bridal look.



