
1. Wrist Band Medallion With Two Lean Vines
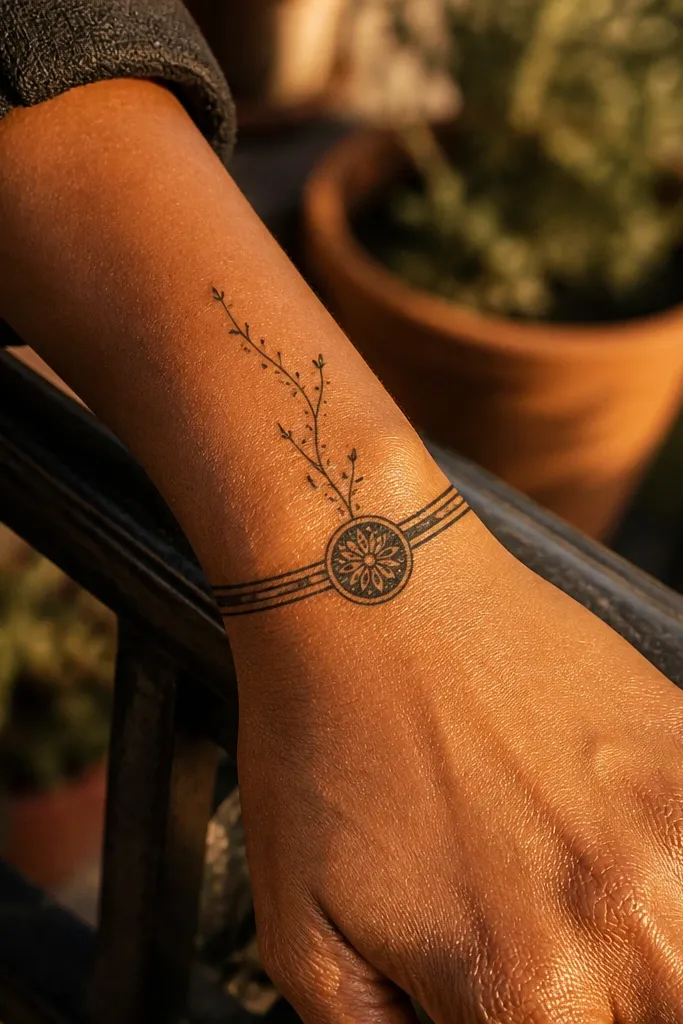
Start by drawing a 1 to 1.5 cm wrist band with a scalloped edge. Place a small medallion in the center of the back of the hand, about one palm-width above the wrist band line. Add two vines that rise from both sides of the medallion — keep them thin and add tiny leaf points every 1 to 1.5 cm. Finish with simple finger caps on the ring and middle fingers using short U-shapes and dots.
This is the cleanest “bridal but budget” layout because it uses only a few big shapes. The wrist band gives the formal base, and the center medallion makes it look planned without needing heavy filling. Two lean vines keep the design airy, so it still looks neat even if your henna dries a bit lighter. It suits most hand sizes because the motifs stay vertically aligned and don’t sprawl.
AvoidDon’t fill the medallion fully; partial micro-fill looks sharper and dries darker.
Pro tipPipe the vine outlines first, then go back to add dots — it keeps the lines from wobbling.
2. Diagonal Bridal Vine With Tiny Cross Dots
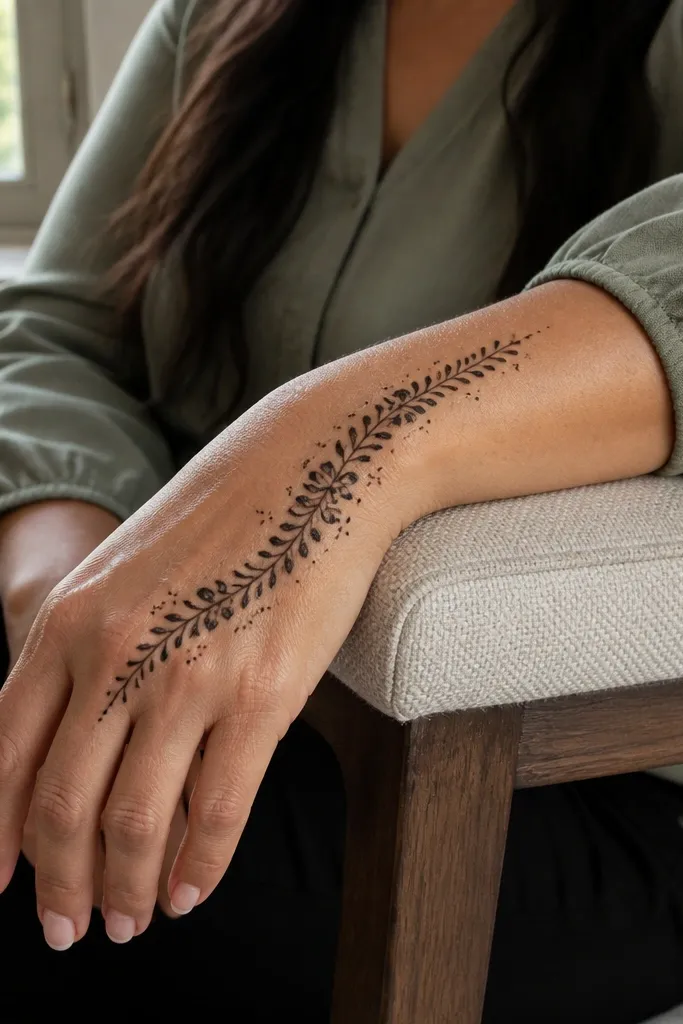
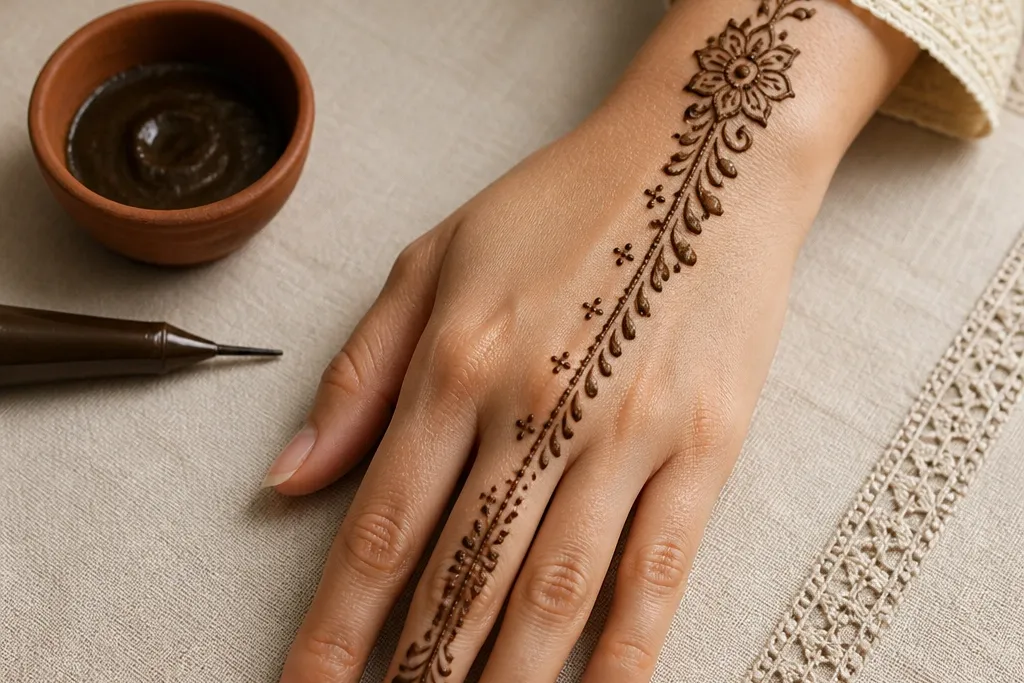
Sketch a diagonal guideline from the outer wrist toward the base of the index finger. Pipe a main vine along that line with alternating leaf curves, leaving space between each leaf. Add small cross dots at the gaps — each dot should be a tiny X or a dot with a short cross line. Close the look with finger caps on index and middle finger, keeping them smaller than the wrist band.
This design looks expensive because the diagonal flow creates movement in photos. Instead of covering everything, it concentrates detail along one main vine and then repeats tiny cross dots to make it feel ornate. It’s a lifesaver for uneven henna tone, since the lighter skin gaps keep the pattern crisp. It also works well for hands with longer fingers because the diagonal line naturally frames them.
AvoidSkip the urge to add extra vines everywhere — one diagonal line reads cleaner.
Pro tipUse a slightly thicker cone for the cross dots only; outlines can stay finer.
3. Back Hand Peacock Feather Fan
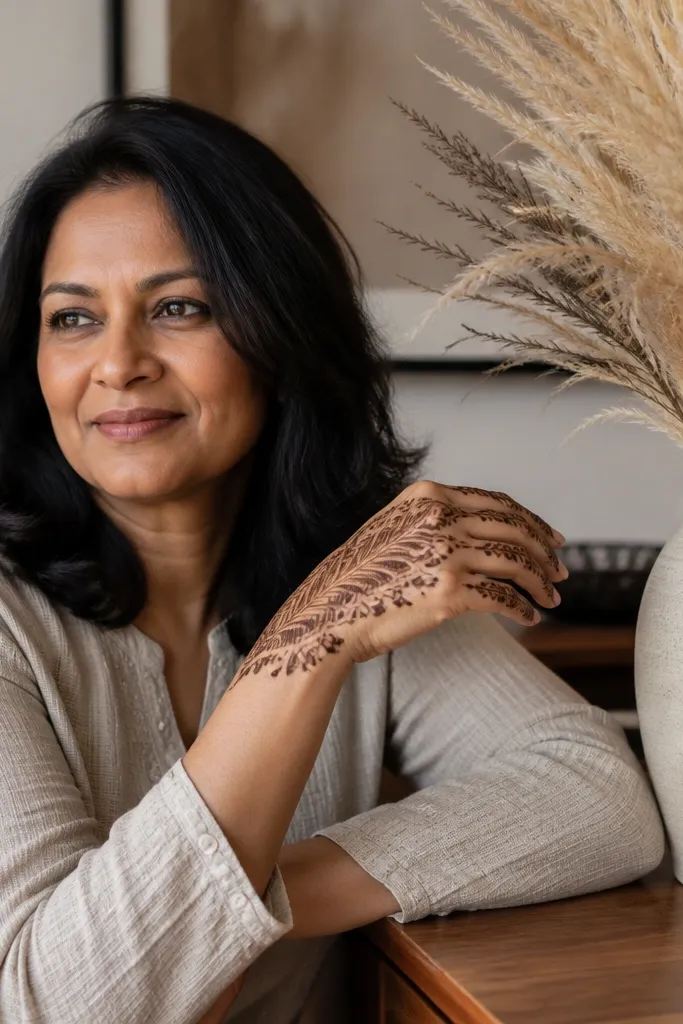
Start with a thin wrist band and a small central base dot where the feather fan will begin. Draw 7 to 9 feather strokes radiating upward like a fan, each feather getting a line down the middle and tiny side ticks. Add a dotted tip at the end of every feather stroke. Finish by capping the ring finger with a small leaf cluster and add two or three dots near the index finger.
A feather fan is instantly bridal because it has a clear silhouette. This one keeps the fill minimal, so it’s budget-friendly and still looks high-end. The dotted feather tips photograph beautifully and hide small unevenness in henna darkness. Place it so the fan points toward the fingers — it visually lengthens the hand.
AvoidDon’t overfill the feather lines; heavy fill turns the fan into a dark blob.
Pro tipKeep feather strokes the same length by marking spacing with your cone tip against the skin first.
4. Two-Layer Lotus Medallion Stack
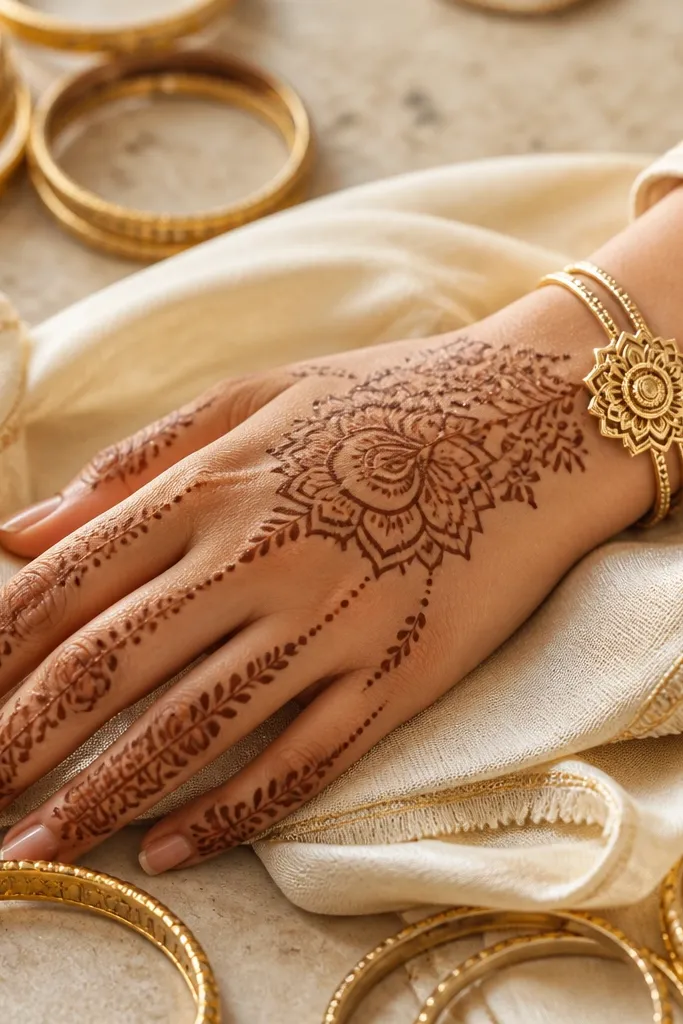
Draw a wrist band as a thin outline with a few petals cut into it. Place a medium lotus medallion in the center — 6 to 8 rounded petals around a dot center. Above it, add a smaller lotus with fewer petals, keeping the petals tighter. Add a thin vine border on both sides of the medallions and finish with tiny finger caps on middle and ring fingers.
Lotus stacks look bridal because they create depth without needing full coverage. The bottom lotus anchors the wrist area, while the top lotus gives the statement in the center. This works well on a budget because you’re repeating a simple petal shape instead of drawing complex vines all over. The thin border lines make it look refined rather than crowded.
AvoidAvoid thick outlines everywhere; keep the border thin so the petal detail shows.
Pro tipUse petal repetition: keep petal size consistent so the stack reads intentional.
5. S-Curve Vine With Center Teardrop Chain
Start with a simple thin wrist band. Pipe an S-curve vine from the outer wrist to the inner back of the hand, keeping it narrow. Along the middle of the S-curve, add a chain of teardrops facing the same direction, with a dot at each teardrop tip. Finish finger caps by placing two small teardrops on the index finger and one on the middle finger.
This layout is photogenic because the S-curve creates a smooth line that frames the back of the hand. The center teardrop chain adds bridal delicacy without requiring you to fill large areas. It’s also forgiving for beginners because your job is mostly consistent curve work. The result looks balanced — not too empty, not too busy.
AvoidDon’t make the S-curve too wide; it should stay inside the back-hand area, not spill into the palm.
Pro tipLet each teardrop touch the line slightly; that prevents gaps that lighten during drying.
6. Minimal Arabic Back Hand With Framed Center
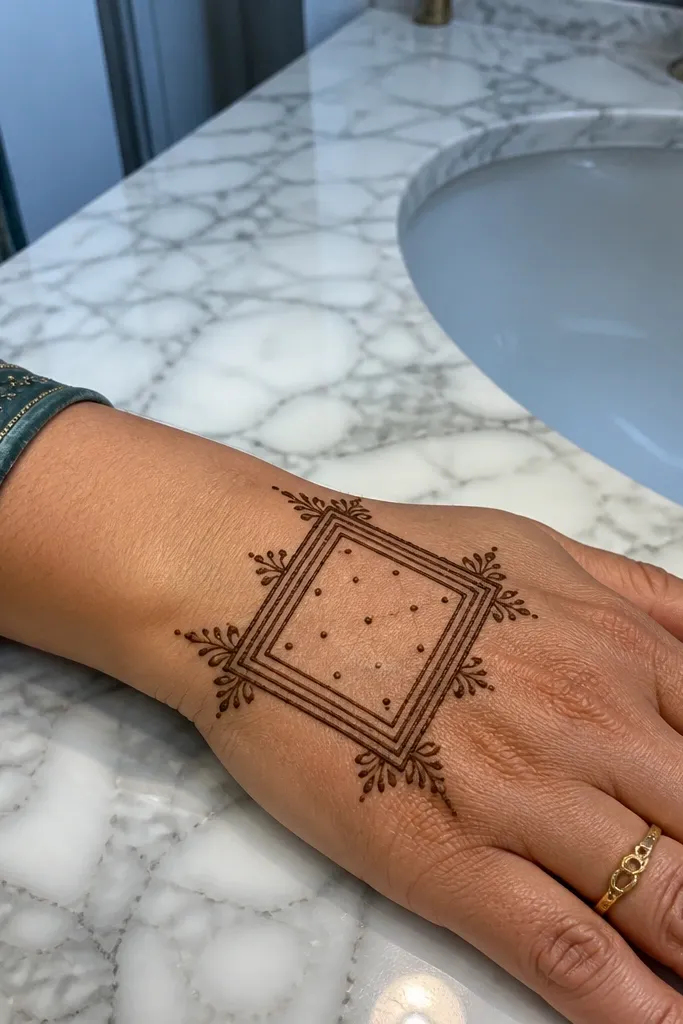
Draw a thin rectangular frame starting near the wrist and rising toward the middle of the back hand. Fill the center of the frame with a small geometric medallion: a dot center, then 4 to 6 petals around it. Add small dots along the frame corners and mid-sides. Finish with finger caps that are simple semicircles on the index, middle, and ring fingers.
Arabic-inspired frames look bridal because they create a “window” effect. You get structure without heavy coverage, so it stays budget-friendly and dries evenly. The framed center also hides small imperfections in your line thickness. This design is excellent if you’re doing mehndi for a short event and want it to look clean quickly.
AvoidAvoid filling the frame with dense patterns — the beauty is in the clean outline.
Pro tipKeep the frame lines light; thick frames can look heavy on the back of the hand.
7. Lattice Net Back Hand With Floral Corners
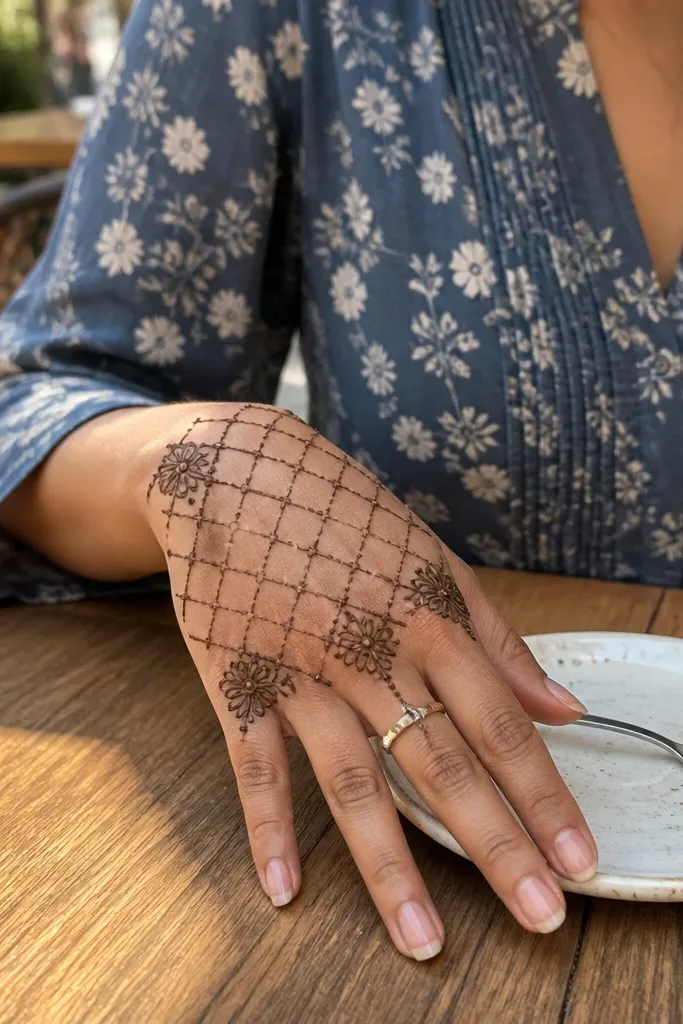
Lattice designs look high-end because the repeated grid creates texture. You don’t need to fill the whole back; just make a net panel and add floral corner points to keep it bridal. This is a great option when you want photos to show detail even if your henna stain is medium. The lattice lines also control the space so the pattern never feels random.
Start with a wrist band that has a scalloped edge. Create a net panel in the center of the back of the hand using diagonal lines that cross into small diamonds. Stop the net panel before the finger bases so finger caps can sit cleanly. Add floral corner motifs at the top-left and top-right of the net panel using 5-petal tiny flowers and a dot center.
Pipe the lattice lines in one direction first, then cross — it keeps diamonds even.
Don’t let the lattice reach the knuckles; it gets messy when fingers bend.
8. Round Bubble Dots With One Big Vine
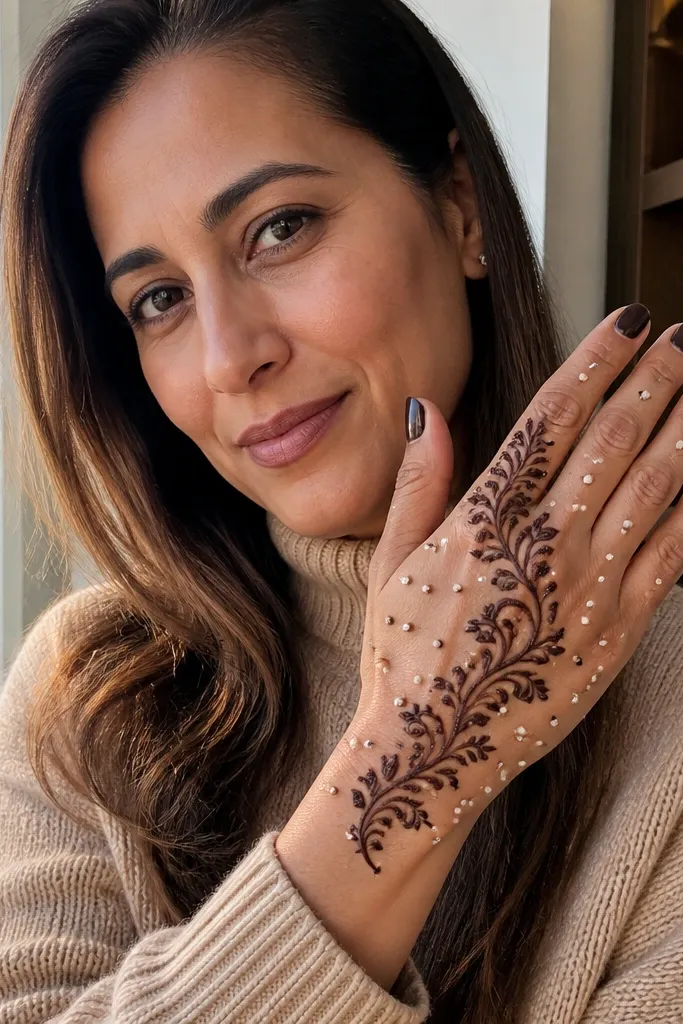
Outline a wrist band with a thin line and a few small curved ticks. Draw one main vine from the center of the wrist toward the middle of the back hand, with 5 to 7 leaf points. Around the vine, add round bubble dots in clusters: small group of 4 to 6 dots, then a gap. Finish with finger caps made of two short arcs and 3 dots at the base of each arc.
Bubble dots are a cheat code for aesthetic mehndi on a budget. You get a bridal look with minimal filling because the dots create sparkle-like detail. Pair that with one bold vine and the result looks intentional, not sparse. This works especially well for lighter stain because dots darken nicely and stand out. It’s also fast for busy schedules.
AvoidSkip huge dot fills; large dots can look uneven and take longer to dry.
Pro tipKeep dot size consistent by squeezing the cone the same amount each time.
9. Half-Moon Wrist Mandala With Side Leaves
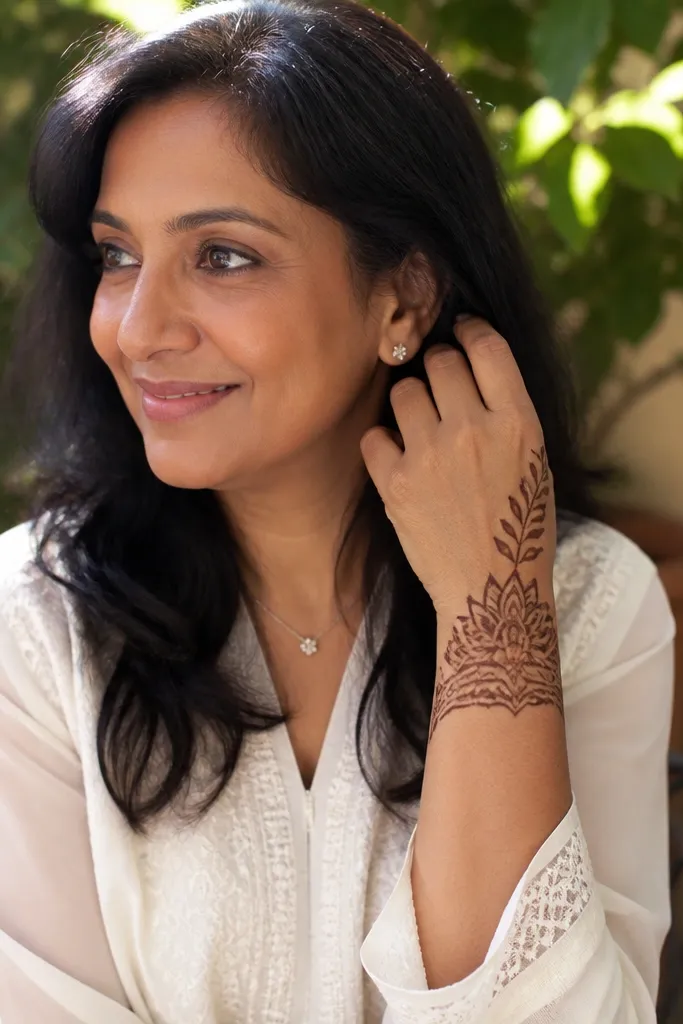
Draw a half-moon band across the wrist — thick outline on the outer edge, thinner on the inner edge. Inside the half-moon, create a small mandala using a ring of tiny petals around a dot center. From the left and right sides of the mandala, pipe two side leaves that rise toward the middle of the back hand. Add tiny finger caps on the index and ring fingers using short leaf pairs.
Half-moon mandalas frame the hand beautifully and look bridal even with minimal work. This design focuses detail at the wrist, then uses side leaves to guide the eye upward. It’s perfect for people who want a statement without covering the whole back. The half-moon shape also makes the back hand look more structured in photos.
AvoidDon’t extend the side leaves too high; stop around the knuckle line for a clean bridal look.
Pro tipUse a steady wrist while piping the half-moon; slight tremble shows up fast in curved bands.
10. Center Flower With Two Mini Panels
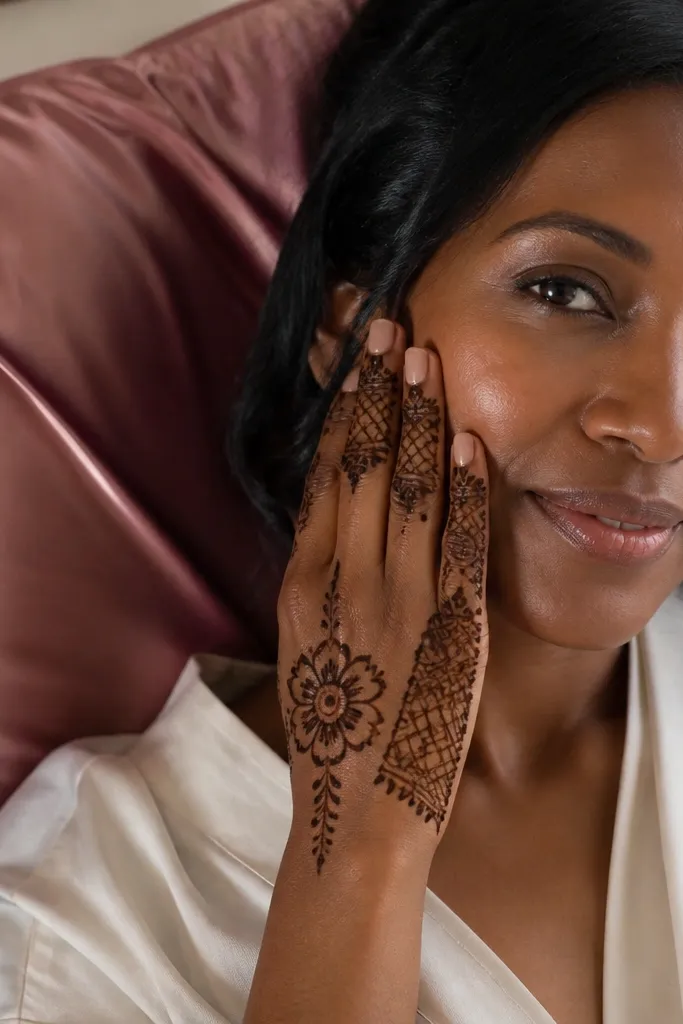
Start with a thin wrist band. Place a medium flower medallion in the center: 8 petals around a dot center, then add 3 tiny dots in the gaps between petals. On the left and right sides of the flower, draw two mini panels using vertical leaf strokes — each panel should be 3 to 4 leaf strokes only. Finish by adding finger caps with a single petal and dot at the base of each cap.
This is a balanced composition: one center flower does the heavy lifting, while two mini panels add detail without crowding. It’s budget-friendly because the panels use repeating small motifs rather than complex vines. The center flower creates a focal point that looks great when your hand is raised for photos. It also works for both short and long hands because the panels stay compact.
AvoidAvoid adding more than one flower; extra centers make the design look busy.
Pro tipKeep the side panels symmetrical — that’s what makes it look bridal, not accidental.
11. Bridal Chain Border With Open Center
Draw a thin wrist band and then create a chain border around the back hand area — think of a curved rectangle with rounded corners. Pipe chain links using small ovals connected by a line, leaving the center mostly open. Add a small teardrop cluster in the top corner of the border and one tiny cluster near the bottom corner. Finish with simple finger caps using two connected dots and a short arc.
An open center is the smartest way to keep back hand mehndi elegant on a budget. The chain border gives you texture and bridal structure, while the empty center prevents heaviness. This design looks sharp even with lighter henna because the lines are spaced. It’s also great if you want a design that won’t clash with accessories like a bracelet stack.
AvoidDon’t fully close the border around the center; open center is what keeps it photogenic.
Pro tipIf your cone smears, slow down on the chain links and let each link close before moving on.
12. Reverse Vine From Knuckle Line
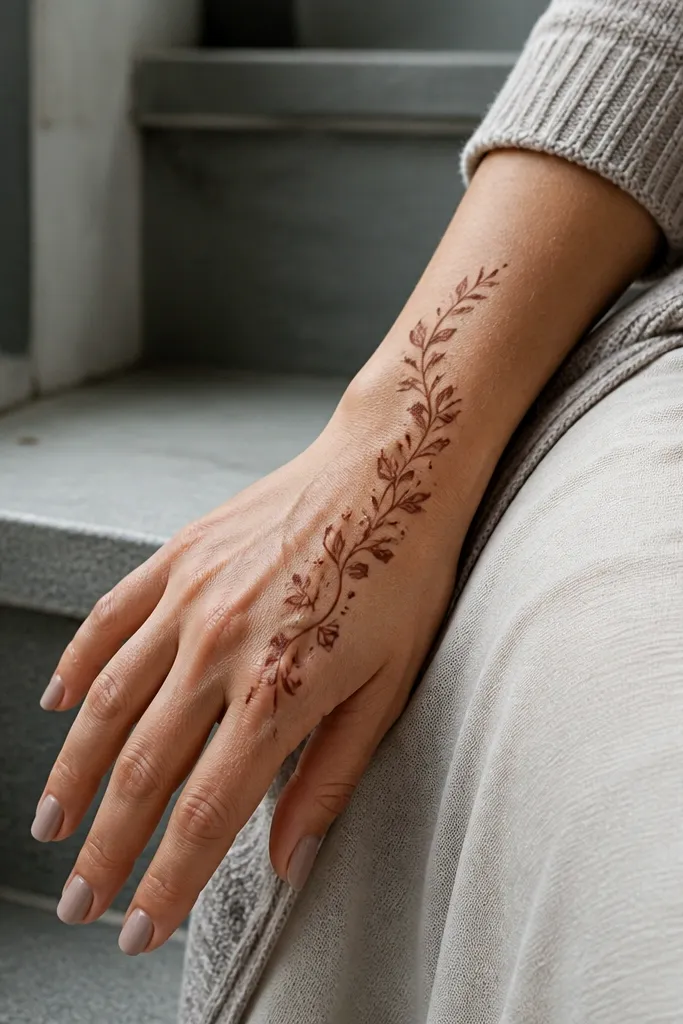
Begin with a light wrist band outline. From the base of the fingers on the back hand (near knuckles), draw a short vine line that points downward in a gentle curve. Add leaf points along the vine every 1 cm. Place small dot clusters at each leaf point and stop the vine around the center of the back hand. Add finger caps only on the middle and ring finger with tiny leaf pairs.
Starting from the knuckle line makes the design look modern and bridal at once. This layout uses a reverse flow: vines move toward the wrist instead of upward, which creates a flattering frame when fingers are relaxed. It’s also good for budget bridal back hand mehndi designs because you don’t need full finger coverage. The dots along the reverse vine add polish without extra drawing.
AvoidAvoid drawing vines too close to the wrist bracelet area; it can look messy with jewelry.
Pro tipKeep leaf points small near the knuckles; big leaves there can bunch when fingers bend.
13. Full Back Hand Outline With Feathered Corners
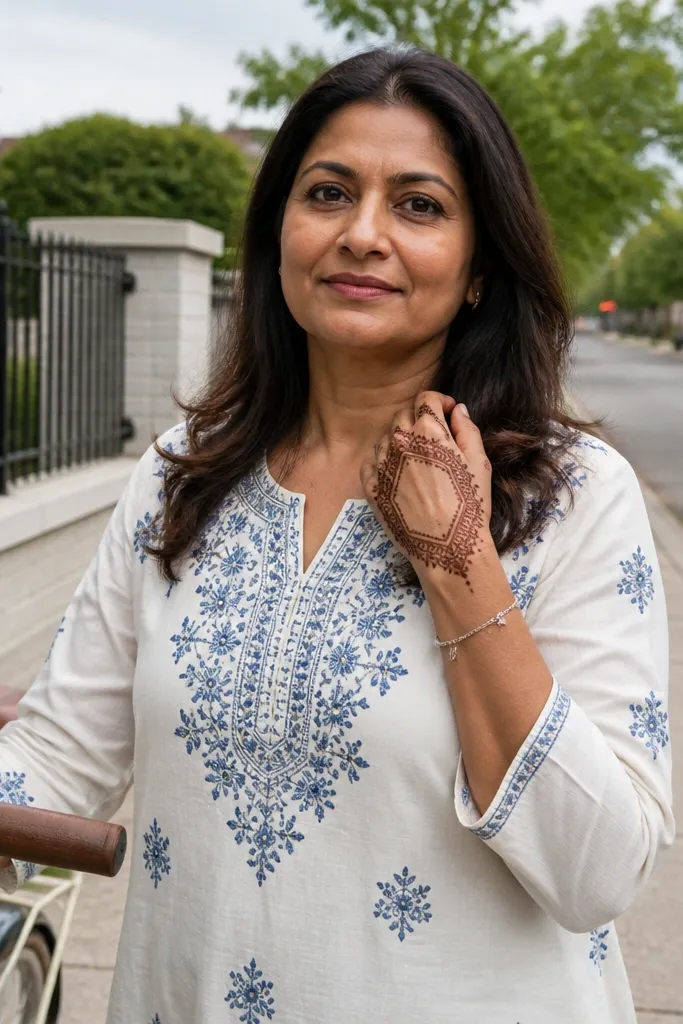
Draw an outer outline frame around the back hand area, starting from the wrist band height and curving toward the finger bases. In each top corner of the frame, add a mini feather: 5 to 7 short lines with a dot at the end. In the center, add only one small medallion using a dot center and 6 petals. Finish with finger caps on index and middle finger using short scallops.
This one reads bridal because it has an outer frame, but it stays budget because the center stays light. Feathered corners create a decorative edge that looks like you planned a lot more than you did. The outer outline also helps your henna dry evenly and keeps the design from looking scattered. Great for photos where the hand is angled — the frame stays visible.
AvoidDon’t add extra motifs inside the frame until the outline and medallion are clean.
Pro tipUse a single continuous outline line — it makes the frame look intentional.
14. Two Finger Statement Caps With Side Vines
Start with a simple wrist band that is thin and clean. Draw side vines from the wrist band toward the bases of the ring and middle fingers, with small leaf points along the way. Create two statement caps: on the ring finger, draw a half-circle with 7 to 9 tiny scallops; on the middle finger, draw a teardrop cap with dots inside. Connect the caps to the vine using a short line and 3 dots.
If you want the most photogenic look with the least coverage, this is it. You put the drama on two finger caps, then keep the rest as light side vines. That gives bridal impact without filling the entire back of the hand, which saves time and reduces patchiness. It also hides minor henna mistakes because the eye goes to the finger caps.
AvoidDon’t overfill the caps; use dots and scallops instead of heavy solid fill.
Pro tipMake both caps the same height; symmetry reads instantly bridal.
15. Marquee Diamond Panel With Micro Fill

Diamond panels look structured and bridal because they create a clear geometry. This design uses a single marquee diamond in the center, then uses micro-fill dots to add darkness without smearing. It’s ideal for budget bridal back hand mehndi designs because you only do detailed work in one area. The thin border keeps it airy and photogenic rather than heavy.
Draw a thin wrist band and then place a large diamond shape centered on the back of the hand. Inside the diamond, pipe a smaller diamond grid using crossed diagonal lines. Add micro-fill dots in the diamond cells — small dots, not big blobs. Outline the diamond with a slightly thicker line for contrast, then add tiny finger caps with two dots and a short arc on the ring finger.
Micro-fill looks best when dots touch the grid lines lightly, not when they pile up.
Don’t make the diamond too large; keep it to the back-hand center so it doesn’t crowd the fingers.
16. Arabesque Vine Looping Around Center
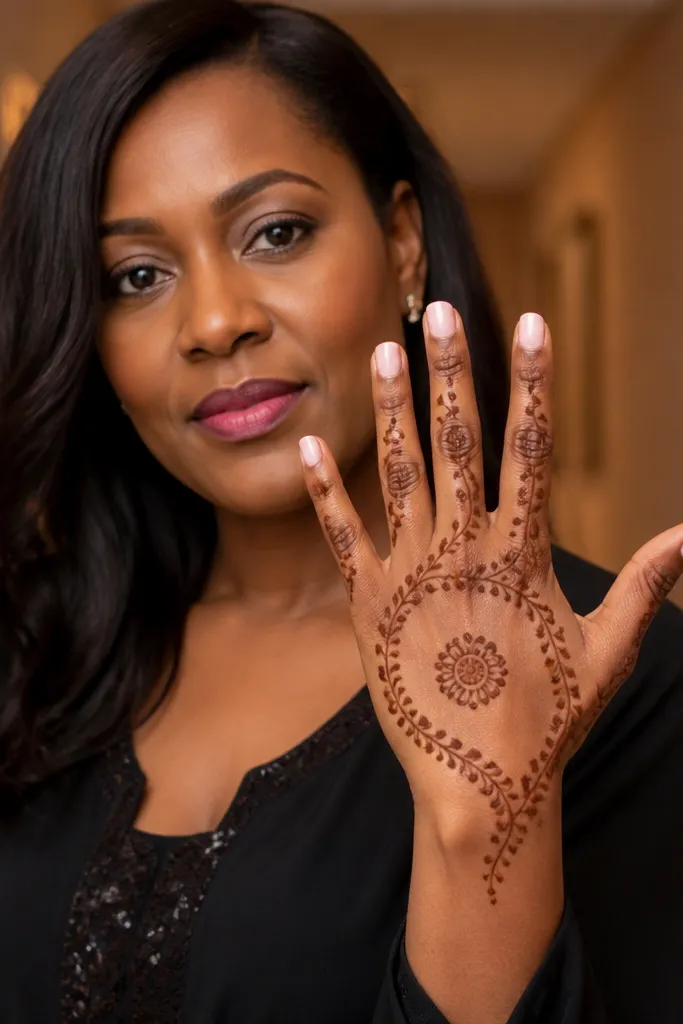
Start with a thin wrist band and place a small center motif — a dot with 4 petal arcs around it. From the sides of that center motif, pipe two arabesque vines that loop outward and back in, forming a rounded oval shape. Add dots along the vine curves at every bend. Finish with finger caps on index and ring fingers using small curved scallops connected by a thin line to the vine loops.
Arabesque loops create a bridal look because the pattern feels continuous and intentional. This version keeps the center small and lets vines loop around it, so you get coverage without filling the whole back. It also looks good when your henna stain is uneven because the fine outlines and dot accents keep the design readable. Great for people who want something more decorative than minimal frames.
AvoidAvoid thickening the loops mid-way; consistent line width makes it look premium.
Pro tipKeep vine loops smooth by drawing one loop at a time and not crossing over fresh lines.
17. Mehndi Bracelet Look With Back Hand Lines
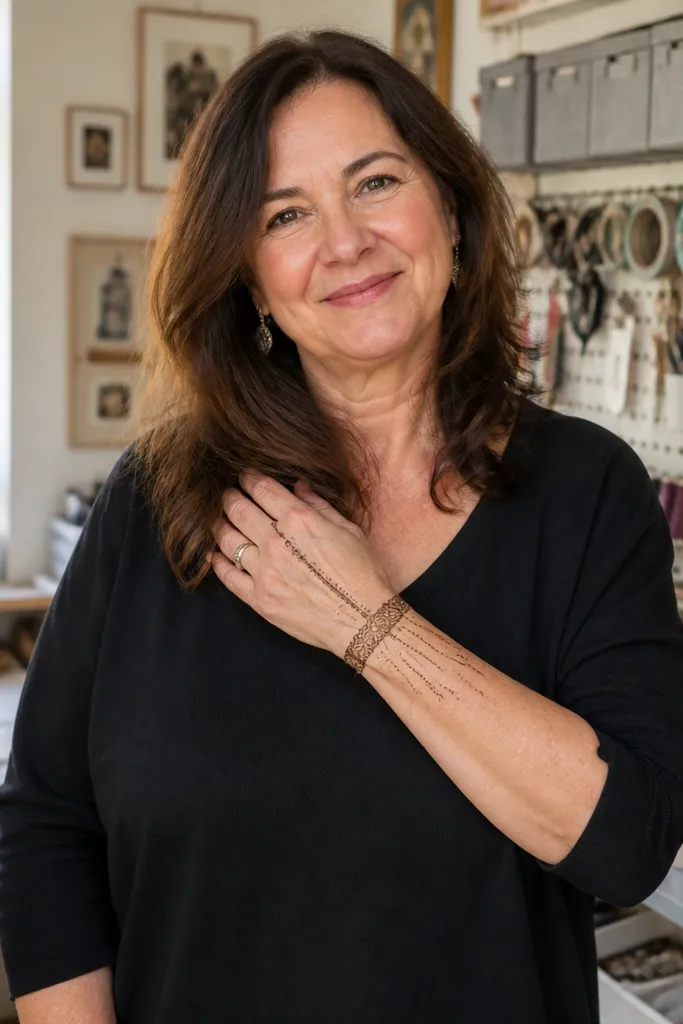
Draw a thick-ish wrist band like a bracelet using parallel lines and small cross ticks. From the bracelet, extend 3 to 4 thin vertical lines into the back of the hand, each ending with a tiny leaf point. Connect the tops of these vertical lines with a simple arc line to make a soft frame. Add finger caps with short scallops on the middle and ring finger only.
This design is bridal because it looks like a bracelet pattern plus a back-hand extension. It’s budget-friendly because the work is mostly straight lines and small connectors. The bracelet look also pairs well with bangles, so your mehndi doesn’t compete with jewelry. It’s also great for shorter sessions because it doesn’t require large medallions.
AvoidDon’t extend too many vertical lines; 3 to 4 keeps it clean.
Pro tipUse parallel lines for the bracelet — evenness matters more than complexity.
18. Center Star With Surrounding Petal Halos
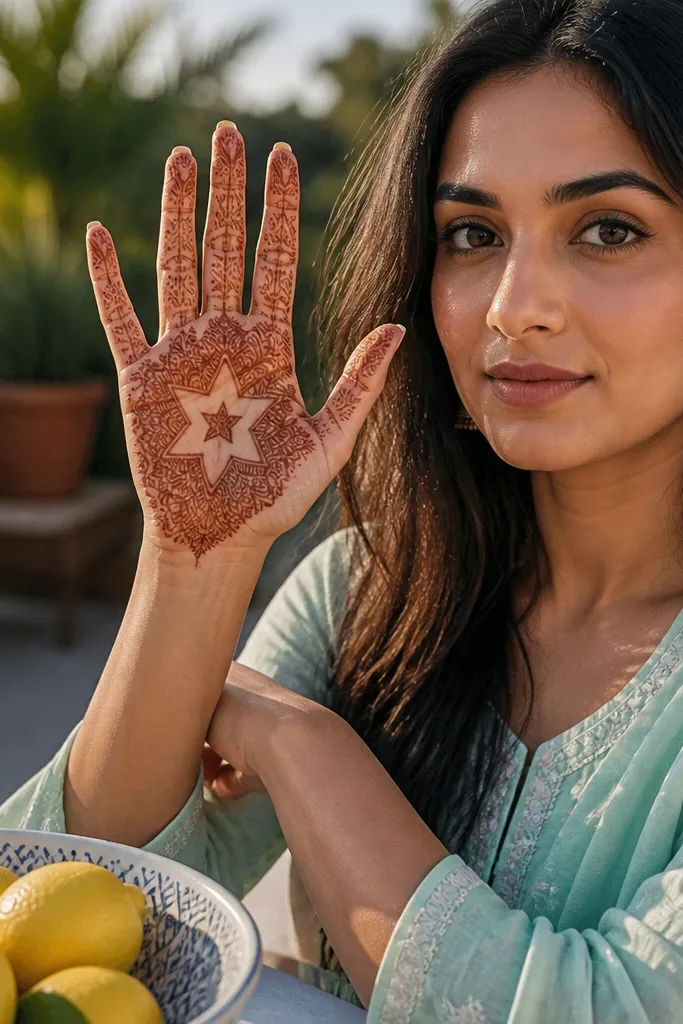
A center star reads bridal because it creates a crisp focal point. This design adds petal halos around the star to look ornate without doing full-fill work. It’s photogenic because the star edges stay sharp, and the halos create texture. It also suits budget bridal back hand mehndi designs because you can keep the rest of the hand light and still look complete.
Start with a thin wrist band and then place a small star in the center of the back of the hand. Outline the star with 5 points and add a dot at the center. Around the star, draw 2 rings of tiny petals — 6 petals in the inner ring, 8 in the outer ring. Add micro-dots between petals for sparkle. Finish with finger caps on index and middle finger using one petal each and a dot base.
If your star line breaks, redraw only the broken point — don’t redo the whole star.
Avoid filling the star solid; outlines + dots look cleaner and stain darker.
19. Triple Teardrop Cascade Down the Back Hand
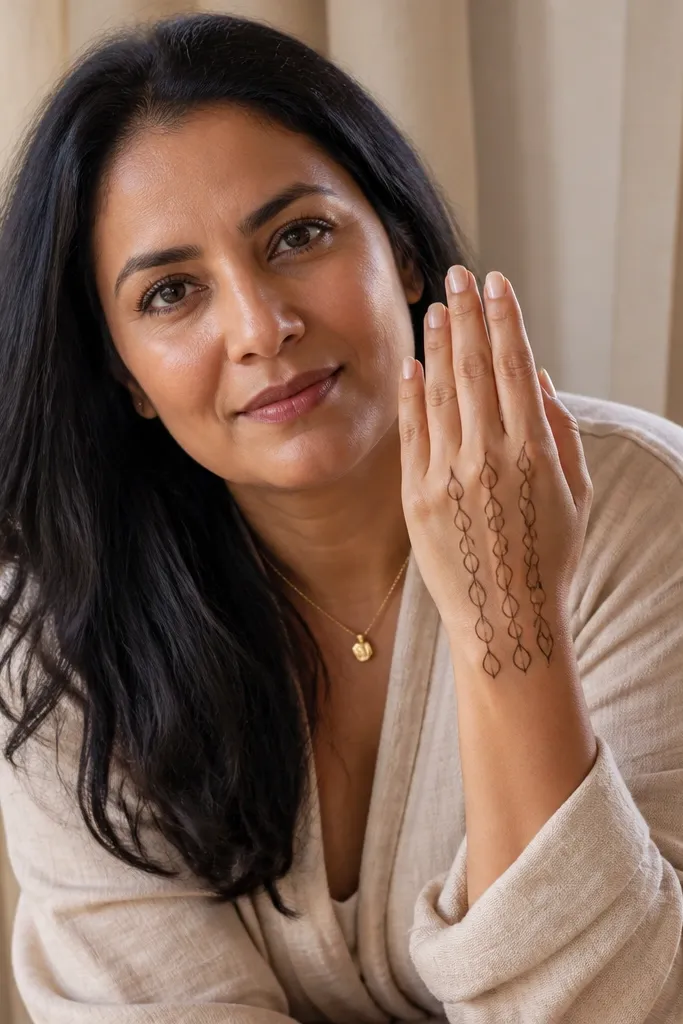
Teardrop cascades look delicate and bridal because they guide the eye in a smooth vertical line. This layout uses three cascades of equal spacing, which makes it look balanced even if your henna is lighter. You get a strong structure without heavy motifs. It’s a good choice when you want a design that stays readable from the wrist up to the fingers.
Start with a wrist band outline and add a small center dot just above it. Pipe three vertical teardrop cascades from that dot area toward the middle of the back hand. Each cascade has 6 to 7 teardrops, with dots between them. Keep the teardrops small near the wrist and slightly larger as you go upward. Finish with finger caps on ring and middle finger using two teardrops connected by a short line.
Use the same teardrop angle across all three cascades for a uniform look.
Don’t let teardrops touch each other; tiny gaps keep it airy.
20. Geometric Frame With Side Flower Sprigs
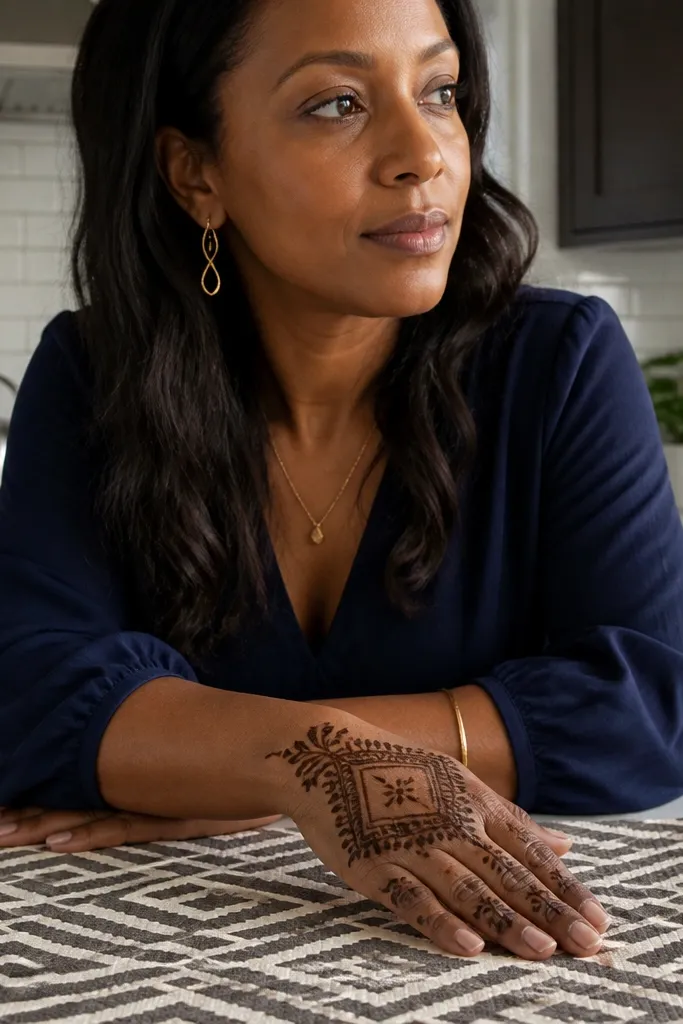
Draw a thin rectangular geometric frame around the back hand area with rounded corners. Inside the frame, keep the center light and add only one small geometric knot near the center using a dot and crossing lines. On both sides of the frame, add two tiny flower sprigs — each sprig has a 5-petal flower and two leaf strokes. Finish with scalloped finger caps on index and ring finger.
A geometric frame gives you instant structure, and side flower sprigs add bridal softness. This is a smart budget bridal back hand mehndi design because the frame is repeatable and the flower sprigs are small. The look is clean in photos and doesn’t depend on heavy fill. It also handles different hand shapes well since the frame controls the placement.
AvoidDon’t overfill the center; the frame should do most of the work.
Pro tipMake the frame corners rounded, not sharp — it looks more bridal and less harsh.



