
1. Wrist Medallion with 8 Petal Ring
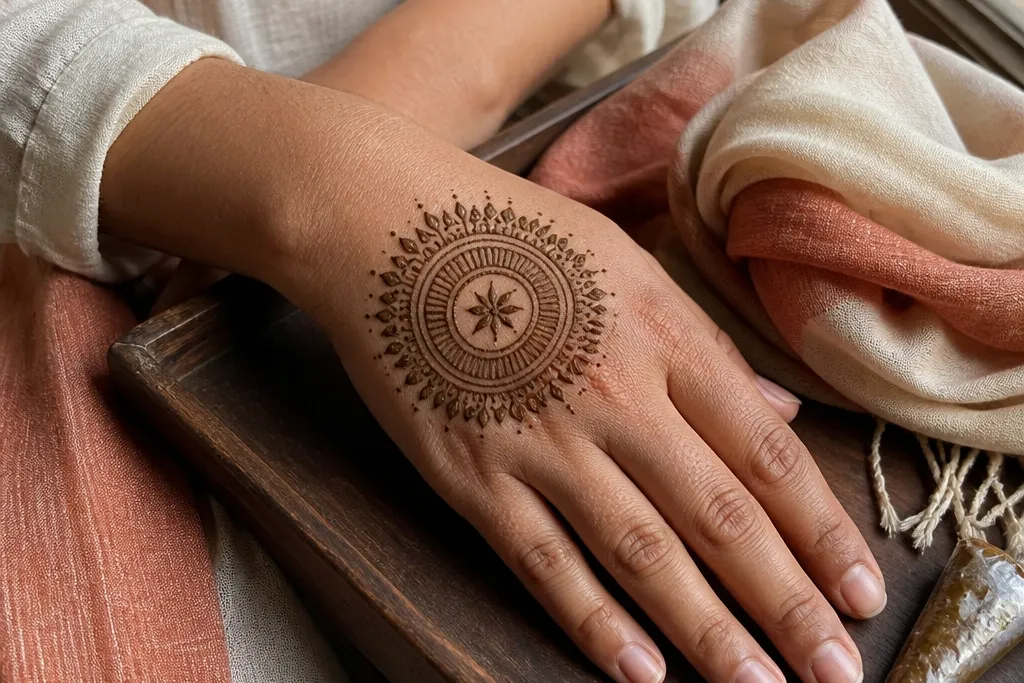
This design is the one you pick when you want a round mehndi look that still feels light and wearable. The outer ring has eight petal segments, so your eye reads a perfect circle even if the inside lines aren’t identical. The center stays minimal with a tight dot cluster, which keeps the whole thing from looking messy. It’s great for beginners because you only repeat one petal shape, then fill the gaps with tiny ticks. It also photographs well on wrists because the medallion doesn’t fight the natural crease.
Start by drawing a small circle on the wrist area where you want the medallion, then outline the outer ring with a smooth loop. Make eight petal shapes like teardrops around the ring, each touching the next. Add a tiny center dot cluster, then connect the inner edges of two petals using a thin curved line so the medallion looks structured. Finish with a few micro dots in the empty spaces between petals.
Keep your petal width consistent — if one petal is thicker, the whole ring will look lopsided in photos.
Don’t fill every gap with heavy shading; leave the inner spaces airy so the circle stays readable.
2. Half-Round Bracelet Circle on the Back of Hand
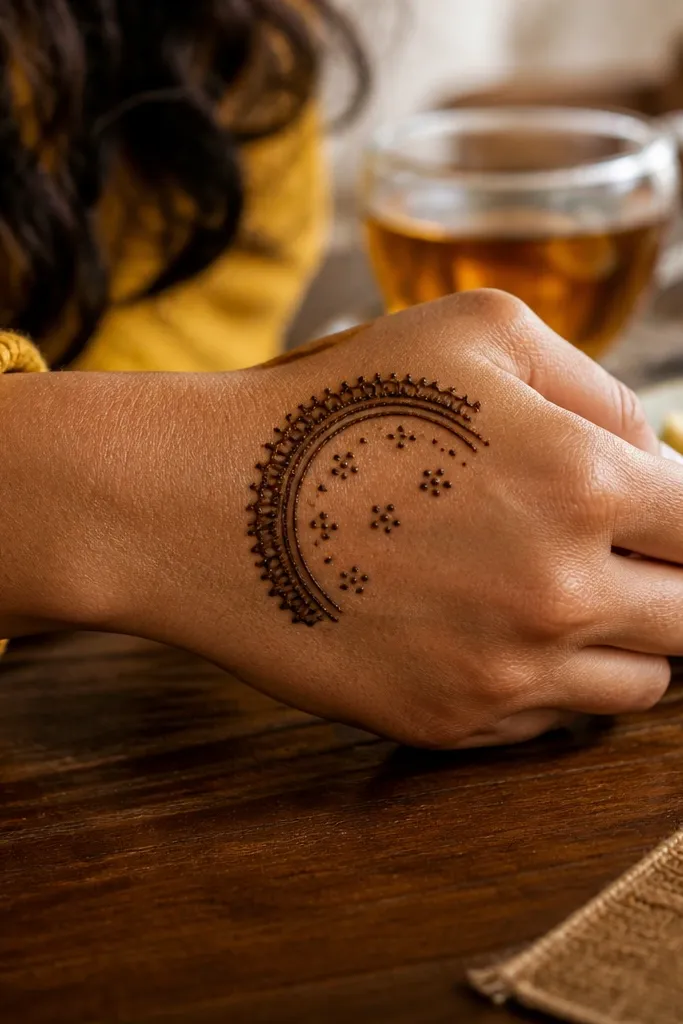
This is a smart option when you want round mehndi but you don’t want to cover the whole hand. You draw a half-round bracelet arc across the back of the hand, then add small dot clusters inside the arc to keep it crisp. The look feels festive without being heavy, and the arc shape naturally frames your fingers in photos. It’s especially good for short sessions because the pattern is mostly one big curve plus small fillers. If your lines wobble, the dot clusters hide it while still making the design look intentional.
Draw a curved arc from the outer wrist toward the inner wrist across the back of the hand, keeping the ends slightly higher than the middle. Inside the arc, add 5-7 small round dots in a loose repeating pattern, then connect them with thin curved lines so the dots look set in place. Add a thin outer line along the arc for a clean border. Finish by placing tiny dot clusters near the knuckles where the arc ends.
Use the back-of-hand knuckle line as your height guide so the arc stays even when your hand flexes.
Don’t make the arc too wide; if it stretches over too much skin, the circle feel disappears.
3. Round Fan Frame with Center Star
This design gives you a bold holiday look while staying simple. The outer circle is divided into fan segments, which creates motion and texture without complex shading. The center star is small and clean, so it reads clearly even when the rest of the design is airy. It’s a good choice if you like geometric mehndi and want the round shape to look sharp in photos. The star also helps your symmetry — you’re aiming for one center point, not a full busy medallion.
Draw a circle outline first, then split it into 6-8 wedge sections using light curved lines. Inside each wedge, draw a fan shape by sketching two parallel curves that taper toward the circle’s inner edge. Place a small five-point star in the center, then connect the star points to the nearest inner wedge edges with thin lines. Fill wedge gaps with micro dots along the inner curve.
If your star points look uneven, make the star smaller — a smaller star forgives line wobble.
Don’t overfill the fans; keep the fan outline lines visible so the round frame stays delicate.
4. Tiny Round Dots with Spiral Center

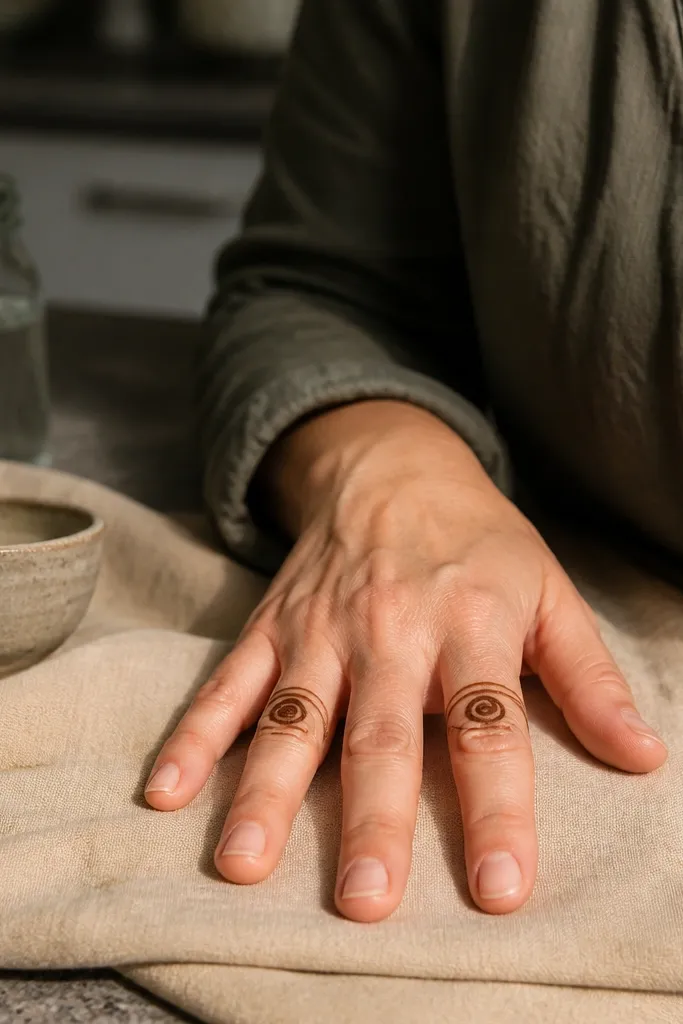
This one is for the days you want super light mehndi that still looks designed. The outer ring is made of tiny dots, so you don’t need steady curved lines for a full medallion. The center spiral gives the design a focal point that reads instantly in photos. It’s also a great way to practice pressure control because dots are forgiving, and the spiral is one continuous line you can refine. If you’re short on time, this design looks finished fast and dries evenly because it has fewer thick areas.
Place a small circle on the wrist or back of the hand and mark the outer ring points lightly. Dot evenly around the circle to create a dotted border, keeping the dot size consistent. In the center, draw a tight spiral starting from the middle and moving outward. Finish by adding one or two small curved lines near the spiral edge to make the spiral look anchored.
Pro tipUse a slightly slower cone pace for dots — fast dots look like smudges in close-up photos.
AvoidDon’t press hard for dots; heavy paste makes the ring look like a blob instead of a dotted circle.
5. Round Vine Frame with Micro Leaves
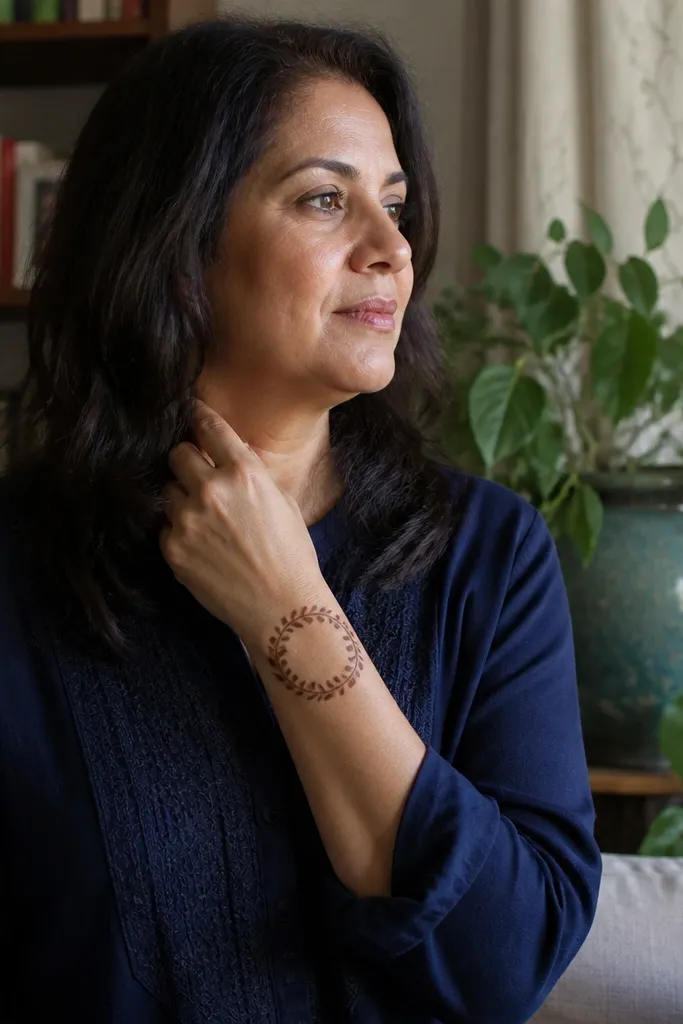
This design gives you that delicate “grown” look without needing big flowers. The outer ring is a vine line, then each segment has a tiny leaf — simple shapes that repeat nicely. The leaves create texture so the design doesn’t look empty, but it stays light enough for everyday holiday wear. It’s also excellent for people who struggle with symmetry because the vine line naturally guides your spacing. In photos, the micro leaves catch contrast and make the circle look fuller.
Draw an outer circle as a thin vine line — make it slightly wavy instead of perfectly smooth. Inside, split the circle into 5-7 sections using faint curved guidelines. In each section, draw one micro leaf shape that points toward the circle center. Add tiny dots at the leaf base, then connect a few leaf tips with thin curved lines so the leaves look part of the same vine system.
Pro tipKeep leaf size consistent by tracing the same leaf width for each segment before you start filling.
AvoidDon’t turn every leaf into a thick fill; outline leaves read better and dry cleaner.
6. Double Circle with Center Teardrop Cluster
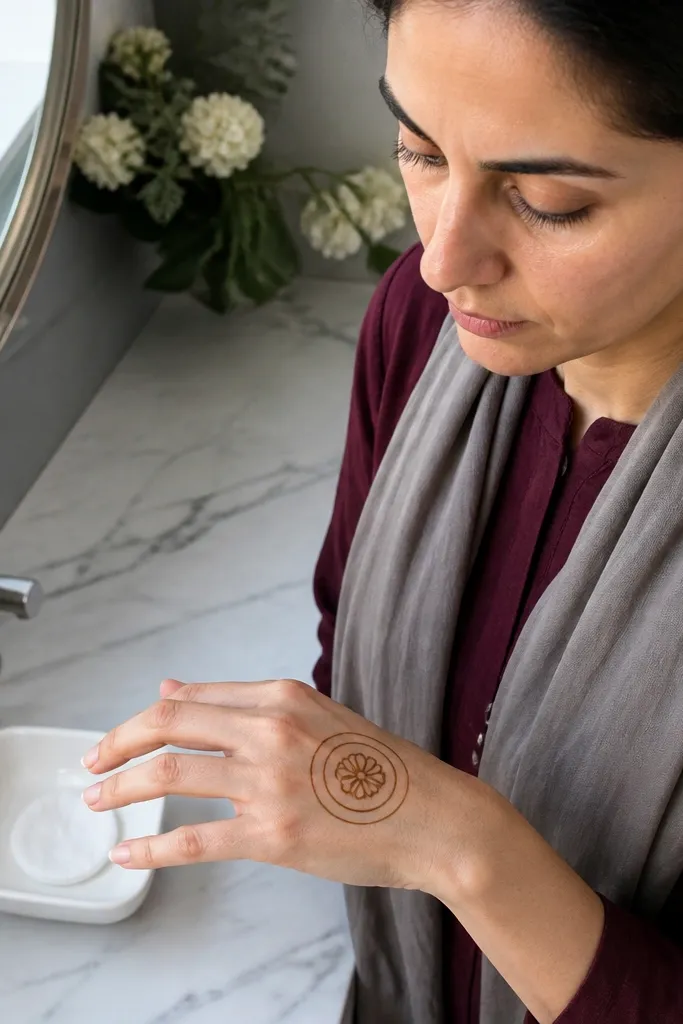
If you want a round design that looks more “complete” without adding lots of motifs, do a double circle. The two rings give structure and depth, and the center teardrop cluster adds a festive focal point. This is a good choice for beginners because you’re repeating one shape in the middle, not drawing complicated flowers. It also photographs well because the double ring creates clear negative space. It’s especially pretty on wrists where you can keep the rings tight and even.
Draw two circles close together — keep the outer circle about twice the diameter of the inner circle gap. Outline the outer ring first, then repeat the circle line for the inner ring. In the center, draw 6-8 teardrops pointing outward, with their tips almost touching the inner circle. Fill the teardrop gaps with tiny dots and a few short curved connector lines between teardrops.
Check spacing by lightly tapping the circle with your cone — if the gap between rings changes, correct it before adding teardrops.
Don’t make the center teardrops too large; large teardrops crush the negative space and the design stops looking “round.”
7. Round Circle with 3-Layer Border Bands

This is one of those designs that looks harder than it is. The three-layer border bands create a bold, layered frame, so the mehndi stands out in photos even if the center is simple. You’ll use thin lines for the bands and light dot fillers so it doesn’t become heavy. It’s a great option for holiday events when you want your mehndi to show clearly under jewelry. The center can be just a small dot cluster or mini teardrops — the border does most of the visual work.
Mark a center circle on the wrist and draw the outer border line with a smooth loop. Add a second circle line slightly inside it, then a third line inside that, keeping gaps even. Between the bands, place tiny dots or short dashes at regular intervals so the bands look textured. In the center, add a small teardrop or dot cluster and connect it to the inner band with 3-4 thin curved lines.
Keep band gaps equal by using the same cone stroke length as a visual measuring guide.
Avoid thick paste on the border bands; thick bands blur and lose the layered look.
8. Round Medallion with Ladder Segments

This one looks crisp and geometric, and it’s perfect for people who like clean straight-ish lines. The outer circle is divided into ladder segments — small rectangles stacked in a curve. It gives you a strong round frame without requiring floral skills. The center stays simple so the ladder pattern stays sharp and readable. In photos, the ladder texture creates contrast and makes the design feel “intentional,” even on a small wrist area.
Draw a circle outline on the wrist. Split the circle into 6-9 curved segments using faint guidelines. In each segment, draw two or three small rectangular rungs, stacked like a mini ladder, following the curve. Add a small dot cluster or tiny star in the center, then outline the inner edge of the circle with a thin line to frame everything.
Use short, controlled cone strokes for the rectangles — long strokes wobble and ruin the ladder look.
Don’t fill the rectangles completely with dark paste; keep them outlined with light dot shading.
9. Round Mandala Lite with 12 Spokes
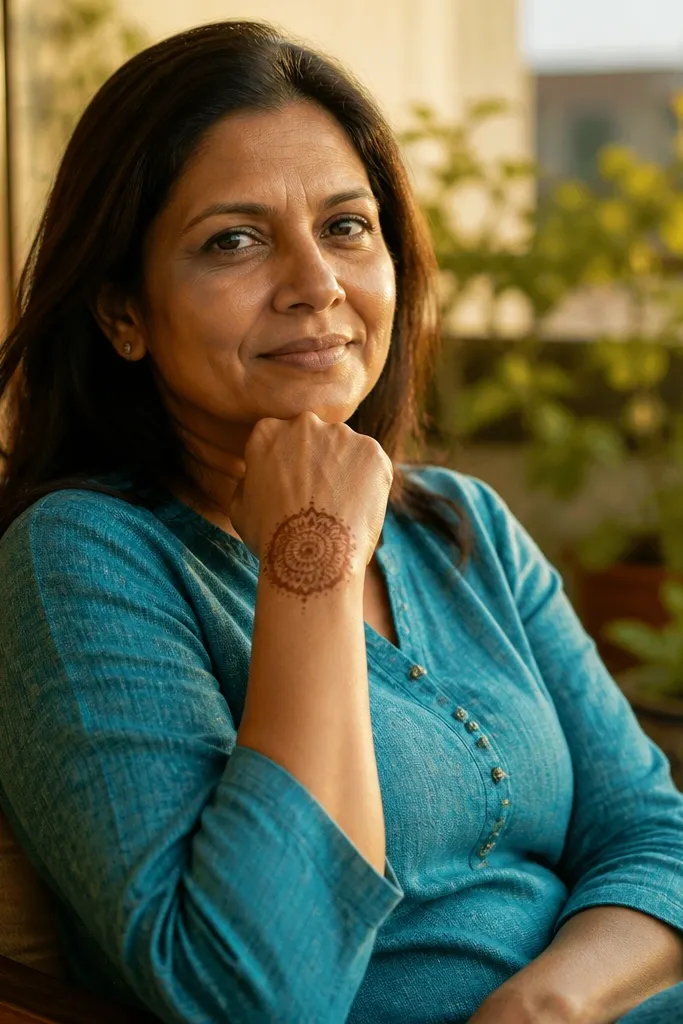
This is a mandala look without the heavy work. The round medallion has 12 spokes, which creates instant symmetry, then each spoke has a small petal at the outer edge. The center stays minimal with a small circle and dots. This design is excellent for holiday season because it reads festive and balanced on wrist and forearm. If you’ve tried mandalas before and got overwhelmed, this “lite” version is the fix — fewer layers, strong structure.
Draw a circle and lightly mark 12 points around it for your spoke ends. Connect the points to the center with thin lines to form 12 spokes. At each outer spoke end, draw a small petal shape pointing inward. Add a small inner circle and dot it lightly, then finish with a few tiny dots between spokes to tighten the look.
Don’t try to make all 12 spokes perfectly equal — the eye reads symmetry from the even spacing, not identical line length.
Skip heavy shading between spokes; it makes the center look crowded and blurs the outline.
10. Round Bracelet Circle with Side Dots
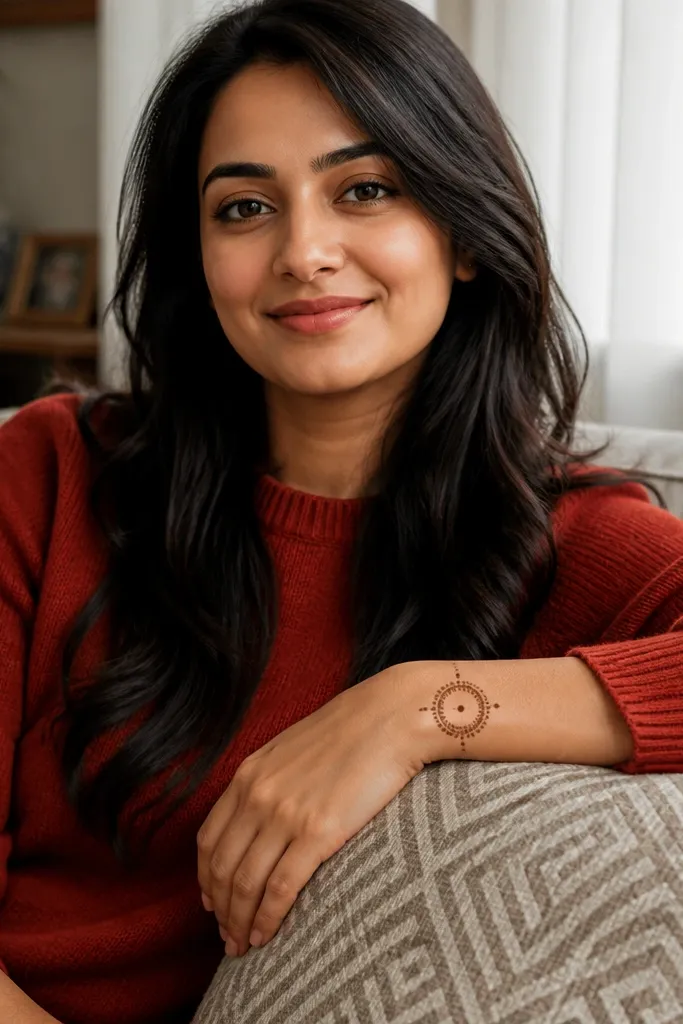
This design makes the round shape look like jewelry. You draw a round circle near the wrist crease, then add small dot clusters on the left and right sides like decorative studs. It’s a clean holiday option for anyone who wants mehndi that feels neat with bangles. It also helps if your circle line isn’t perfect — the side dots pull attention outward and balance the composition. The center is simple, so it’s fast and still photogenic.
Draw a medium circle on the wrist and outline it with a thin line. Inside the circle, add a small teardrop or dot cluster in the center. Now place two side dot clusters outside the circle on each side, aligned with the circle’s midline. Connect each side cluster to the circle edge using 2-3 short curved lines so it looks like one set.
Keep the side dot clusters slightly smaller than the circle — if they’re too big, the design stops looking like a frame.
Don’t overextend the connecting lines; short connectors look cleaner under bangles.
11. Round Flowerless Circle with 6 Crescent Loops

This is the easiest “wow” design if you don’t want flowers. The outer ring is a set of six crescent loops that curve around the circle, giving a soft round texture. The center is just a dot cluster or tiny spiral, so the pattern stays light. It’s a good pick for short sessions because you repeat one crescent loop pattern six times. In photos, the crescents create a gentle rhythm that looks polished even with beginner-level lines.
Draw a circle outline lightly on the wrist. Inside the circle, create six crescent loops by drawing a curved “C” shape that opens toward the center, then repeating it around the circle. Keep each crescent touching the next so the ring looks continuous. Add a small dot cluster in the center and outline the outer circle again with a slightly darker line for definition.
Pro tipMake crescents the same height by counting the curve length — count your strokes, not your eyes.
AvoidDon’t leave big gaps between crescents; gaps make the circle look broken.
12. Round Circle with Moustache Border and Dots
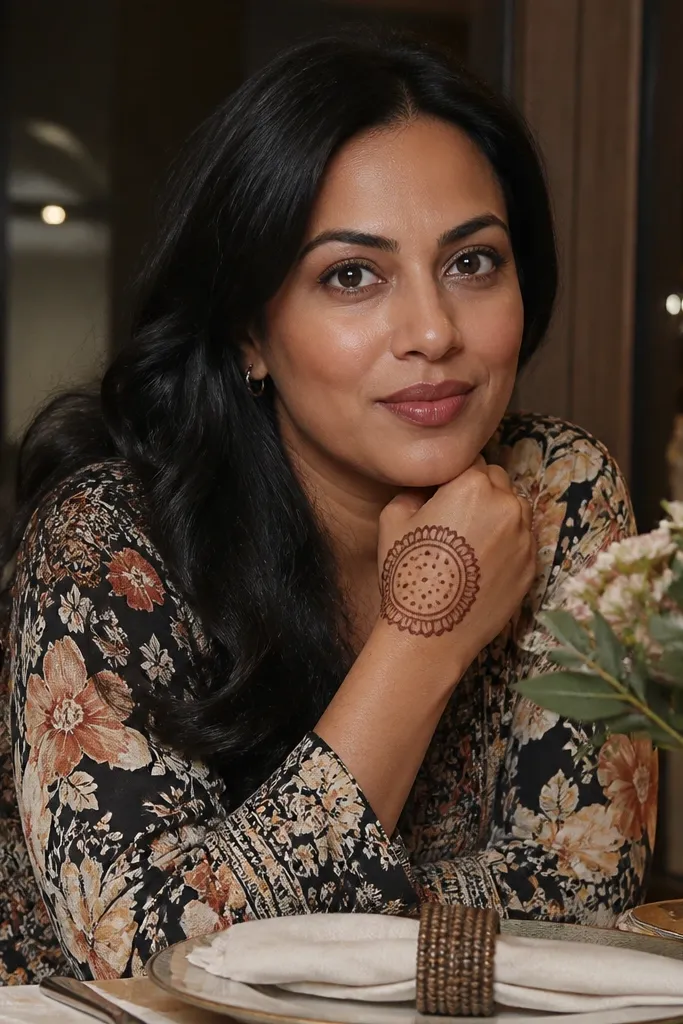
This design is playful and bold, and it stays simple. The outer border uses a moustache-like wave pattern — repeated curves that look decorative. Inside, you fill with tiny dots and a few short line connectors. It’s great for holiday outfits because it looks fun and youthful, not overly floral. This is also one of the best designs to practice consistent cone pressure since the border is repetitive and the dot filling hides minor line wobble.
Outline a circle on the wrist. Along the outer edge, draw moustache waves: two small curves that meet at a point, repeated around the circle like a ring of tiny peaks. Inside the circle, place a few dot rows following the curve, then add 3-4 thin curved lines that connect the dot rows to the center dot. Finish with a small center dot and a tiny line curl if you want extra definition.
Keep the peaks small; large peaks make the ring look heavy and less round in photos.
Avoid thickening the moustache border — heavy paste turns the waves into a dark outline blob.
13. Round Circle with Center Geometric Kite
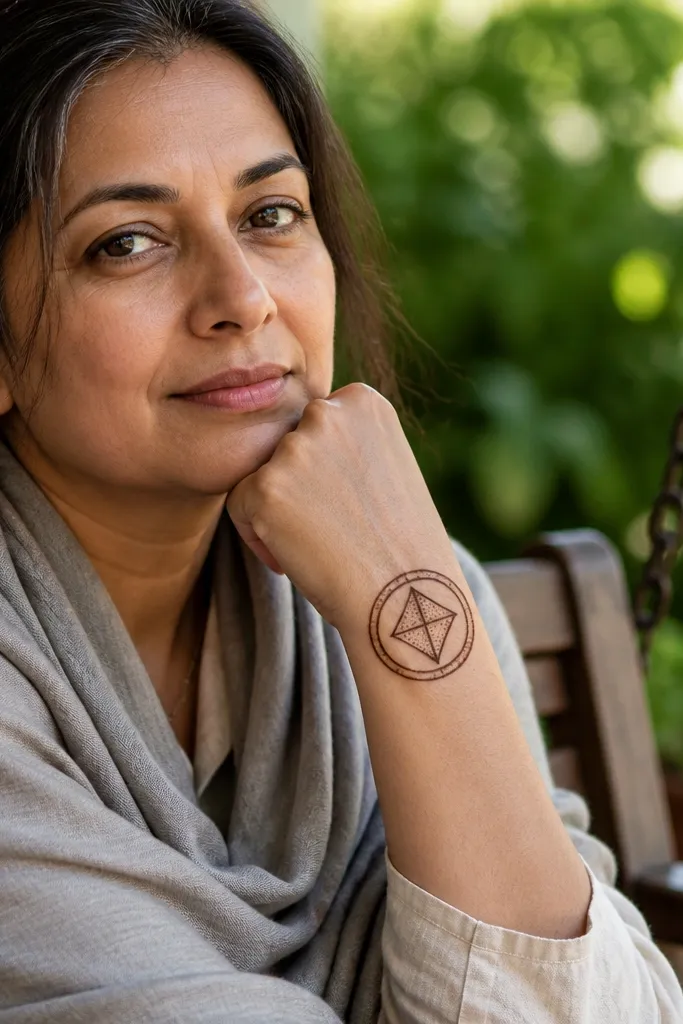
This design is geometric and tidy, which is exactly why it looks good in photos. The round border stays clean, and the center kite shape becomes the focal point. You can keep the center kite outlined with light dot shading, so it doesn’t get messy. It’s a good choice if you want something modern for seasonal events without doing full florals. The kite also gives you a clear reference point for symmetry — draw it once, then repeat the circle border evenly.
Draw a clean circle on the wrist or back of the hand. Add a thin inner circle line to frame the center. In the center, draw a kite by making a diamond shape with a pointed top and bottom. Outline the kite and fill only the upper half with tiny dots, then add small dot clusters along the inner circle edge. Finish with a few short curved lines from the kite corners to the inner circle.
Pro tipIf your kite leans, rotate the paper or your wrist slightly so you can draw the diamond without fighting your arm angle.
AvoidDon’t fill the kite completely; full fill makes it look like a stain instead of a shape.
14. Round Frame with 5 Hanging Teardrops

This one looks festive because the hanging teardrops add movement. The round frame is simple — an outline circle — and the teardrops hang inward like decorations. You get a clean holiday look without heavy floral work, and the design reads well on small areas like the wrist. It’s also a great way to practice spacing because you’re placing exactly five teardrops in consistent size. In photos, the teardrops create depth even if you keep the rest minimal.
Draw a circle outline on the wrist and add a thin inner circle line for framing. Inside the circle, place five teardrops pointing downward toward the center, spaced evenly around the inner circle. Outline each teardrop and add tiny dot shading near the base of each one. Add a small center dot cluster and connect it to the teardrops with 1-2 thin curved lines so the center feels anchored.
Pro tipMake teardrops slightly taller than you think — they read better and look more “hanging” in photos.
AvoidDon’t crowd the teardrops into the center; leave a clear center space so the round frame stays visible.
15. Round Circle with Cross-Hatch Fill in Sections

This design gives you texture without using flowers or thick shading. You draw a circle and divide it into 6-8 curved sections, then fill each section with light cross-hatching lines. The center is kept minimal with dots, so the cross-hatch texture stays the hero. It’s a strong option for holiday wear because the cross-hatch pattern looks crisp and graphic. If you want something that feels polished but still beginner-friendly, this one is a solid pick.
Outline a circle on the wrist and draw 6-8 curved dividing lines from near the center to the outer edge. In every other section, add cross-hatch filling by drawing short diagonal lines, then layering a second diagonal direction on top. Keep the hatch lines light so they don’t merge into a dark block. Finish by adding a small dot cluster in the center and outlining the circle border again for contrast.
Cross-hatch works best when the lines are short — long lines turn into muddy streaks near the curve.
Don’t hatch all sections heavily; alternate filled and empty sections so the circle outline stays crisp.



