
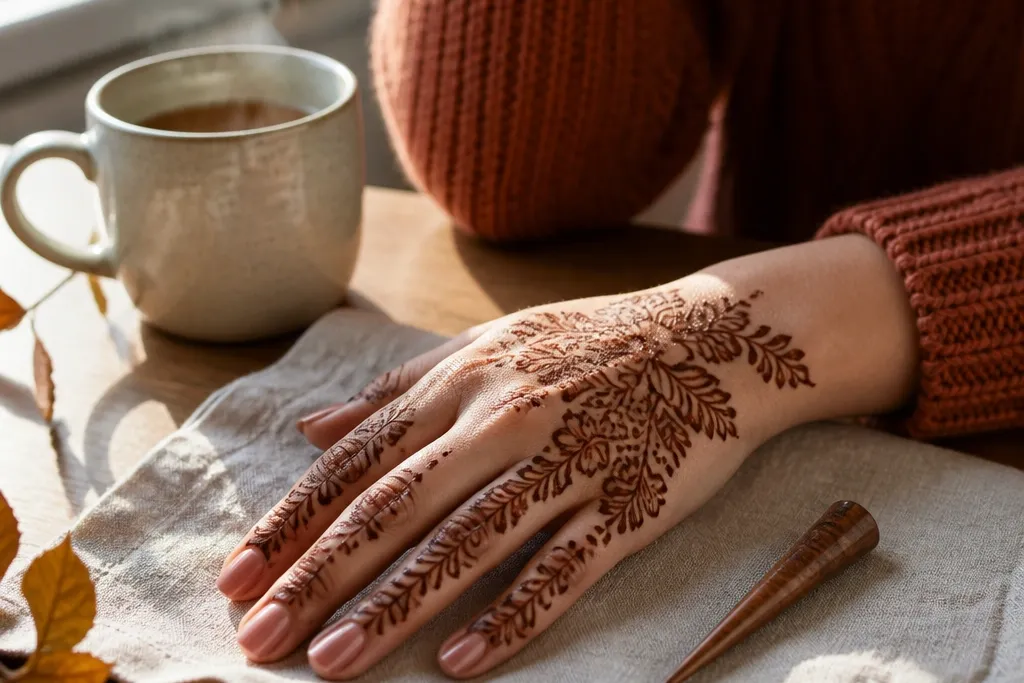
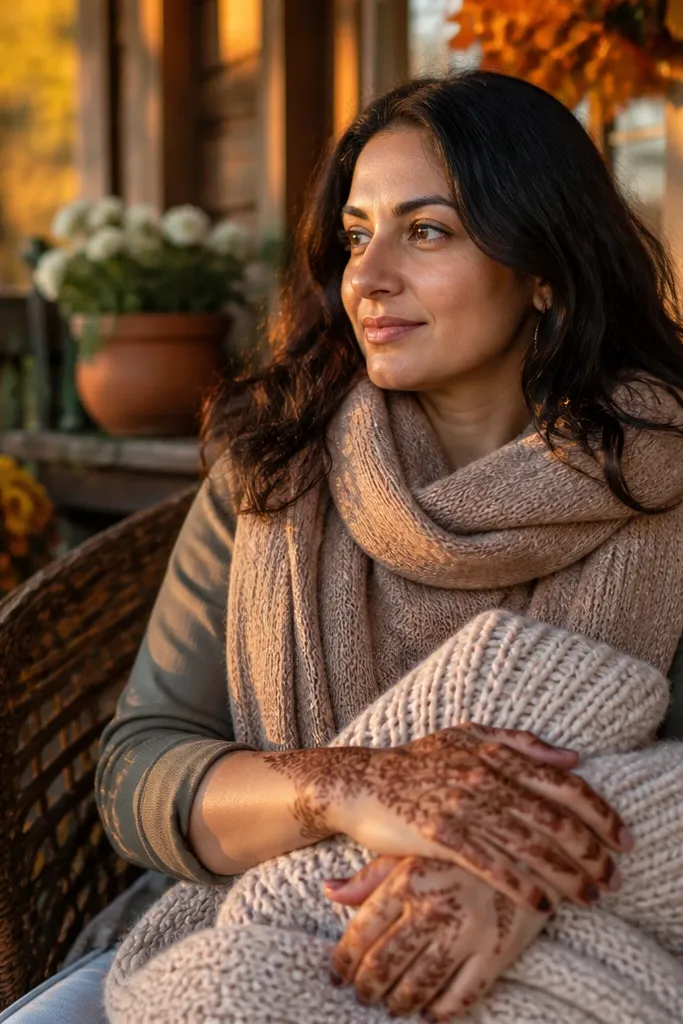
1. Wrist Band + Center Trail Rose
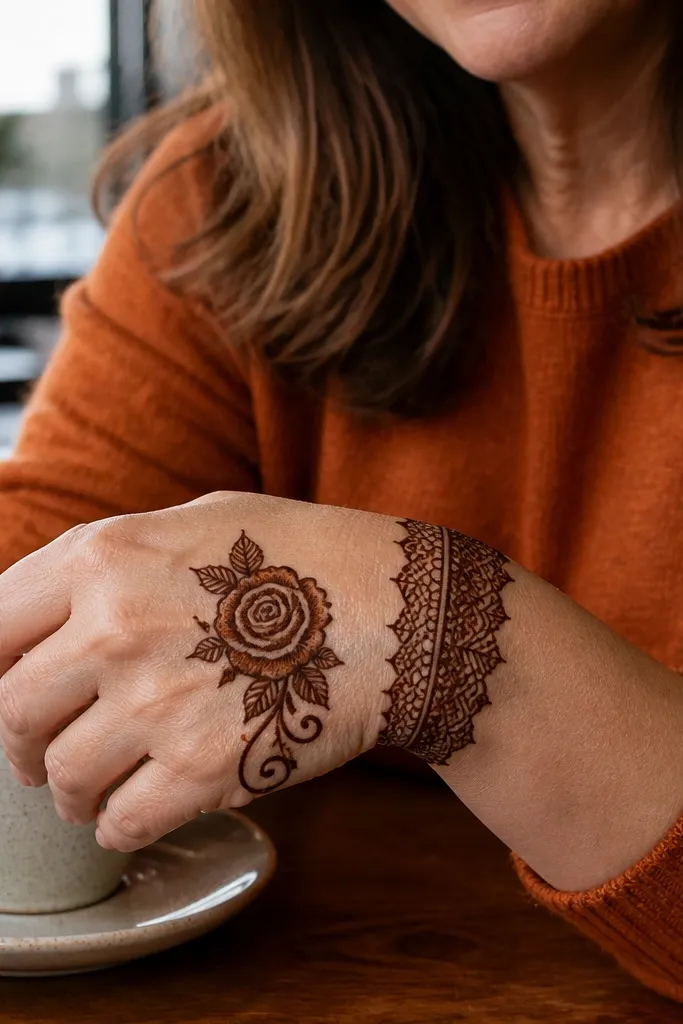
This design is the easiest way to get a cozy warm look without covering the whole hand. The wrist band anchors everything, and the center rose gives you one clear focal point that reads well in photos. The side spaces stay open, so even if your henna paste is a little thick, the design still looks intentional. Use rounded rose petals and small leaf curls around the trail to keep the vibe soft and seasonal. It suits beginners who want a clean result and people who prefer elegant coverage rather than full lace.
Start by drawing a scalloped wrist band about 1.5 cm wide using a thin outline. Then draw a straight-ish center trail from the top of the band toward the middle finger, placing 3-5 teardrop leaves along it. Finish with a rose at the mid-point: draw a small spiral center, then add 6-8 rounded petals around it. Fill only the petal centers with light dot shading and leave the petal outlines crisp. Finally, add 5-8 tiny dots near the trail to mimic warm “sparkle” points.
If your lines blur, outline the center trail twice — first lightly, then go over once when it’s set.
Don’t fill the rose petals completely; full fill makes the center look heavy on the back hand.
2. Thumb Curve Side Swoop Paisleys
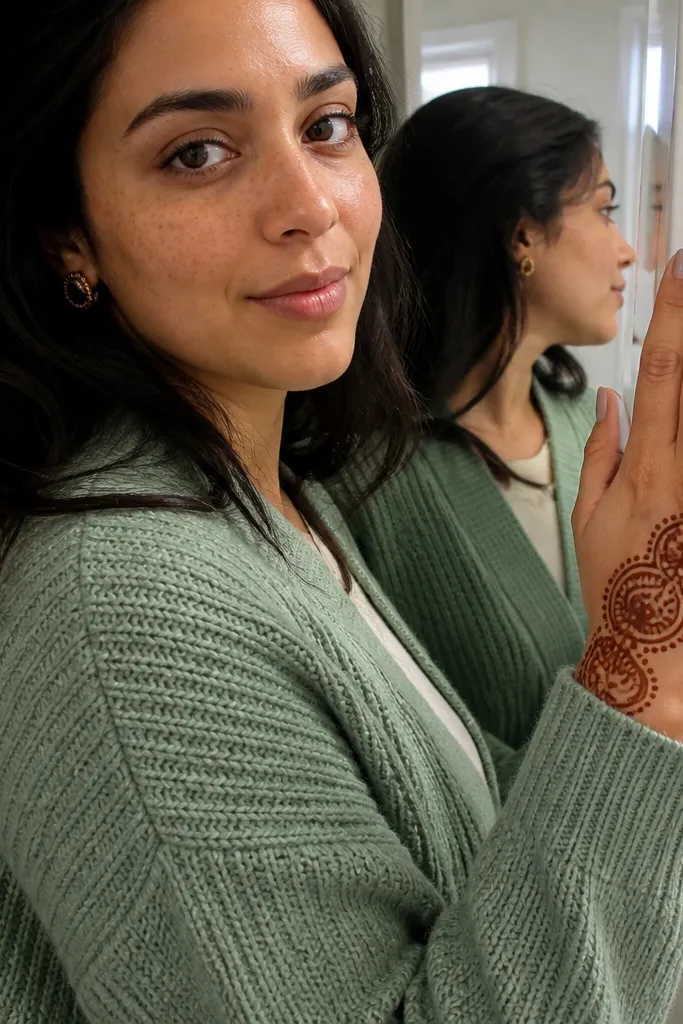
A side-swoop layout flatters the back hand because it follows the natural curve from the thumb area down to the wrist. Paisleys give you that warm, festive feel without requiring lots of tiny details. The motifs can be medium-sized, so the design still looks full even if you keep finger space open. This is a great choice when you want a statement look but you don’t want to spend time on every finger. It also photographs well because the swoop creates a clean diagonal line.
Draw a thin border line following the thumb-to-wrist curve, starting near the base of the thumb and ending at the wrist. Then place 4-6 paisleys along that border, with their tips pointing toward the wrist band. Add small rounded leaf clusters between paisleys to connect the gaps. Create a simple wrist band with 8-10 scallops, then add 6 tiny dots above the band to balance the weight. Leave the knuckles mostly open so the paisleys stay the star.
Pro tipKeep paisley widths consistent — aim for paisleys about the size of your thumbnail, not bigger.
AvoidAvoid pushing paisleys up onto the finger joints; it crowds the knuckle curves.
3. Knuckle Fan with Mini Flowers
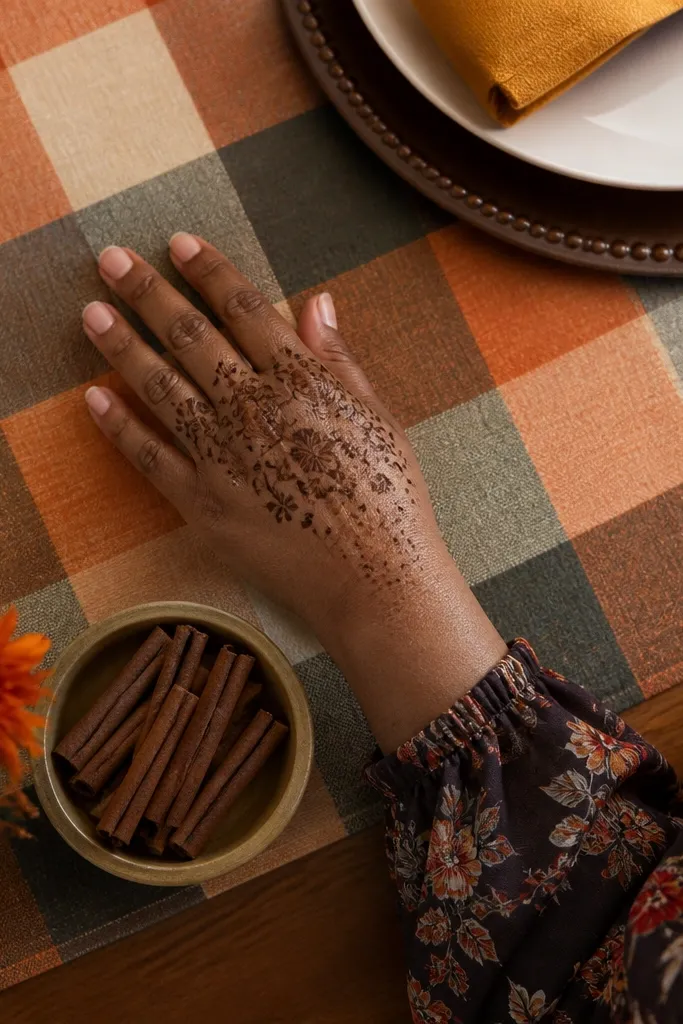
This one is all about the back-of-hand “fan” look. You focus density at the knuckles and upper hand, then taper down into lighter spacing toward the wrist. Mini five-petal flowers keep it cozy and holiday-friendly, and the dot sparkle points make it feel warm even with minimal fill. It’s also forgiving: if your flower petals are slightly uneven, it still looks hand-drawn and charming. Great for short sessions and for people who want the design to look cute from every angle.
Start with a curved arc line across the knuckles, from near the index knuckle to near the pinky knuckle. Place 6-9 mini five-petal flowers along the arc, keeping each flower centered under the arc line. Add a dot at the center of each flower, then connect flowers with tiny leaf curls. At the wrist end, draw a thin scalloped line only 1 cm wide to finish. Keep the mid-hand mostly open and let the arc do the work.
Pro tipUse a dotting tool technique: squeeze for 1 second for centers, then lift cleanly for sharp circles.
AvoidDon’t draw a full finger band; it will flatten the fan shape.
4. Lattice Corner Frame
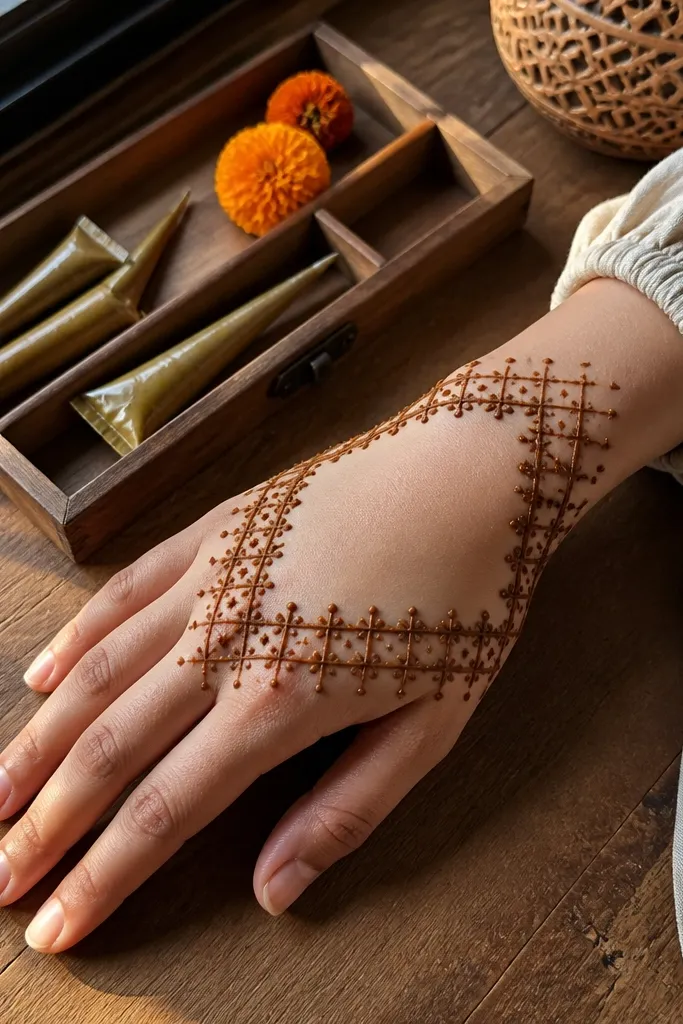
If you want a clean, aesthetic mehndi that looks neat even when it fades, try a corner frame. The lattice corners create structure and visual interest, while the center stays open for that airy cozy look. This design is simple because you repeat one pattern: small square lattice lines with dots at intersections. Add tiny leaf clusters only in the corners and near the wrist. It suits beginners and people who hate bulky fillings, because the negative space does the beauty work.
Draw a light rectangular frame that sits mostly on the outer edges of the back hand, leaving the center clear. Create lattice corners by drawing two vertical lines and two horizontal lines at each corner, then cross them into small squares. Add 10-14 dots at lattice intersections for a warm sparkle effect. Finish with a thin wrist line and two small leaf curls on each side. Let the center remain mostly unfilled so the frame reads clearly.
Mark the frame edges lightly first with a henna-spot dot, then connect them — straight lines look cleaner.
Avoid thick lattice lines; heavy squares look messy on the back of the hand.
5. Scalloped Border + Central Teardrop Cluster
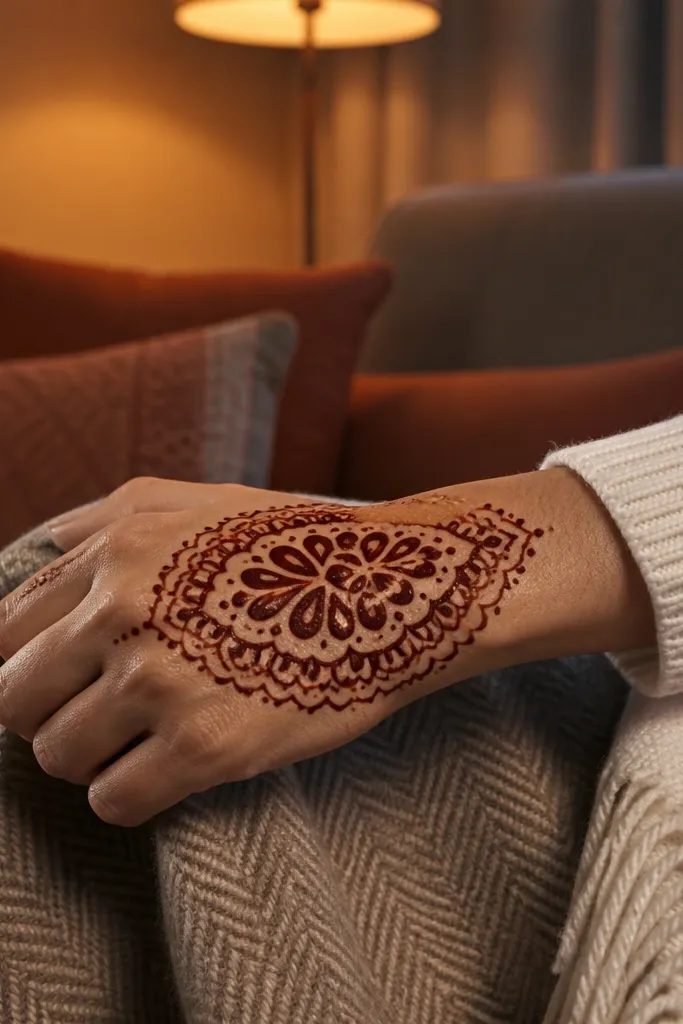
This design gives you a cozy warm look by combining a soft scalloped border with a single central cluster. The border makes the hand look “finished,” while the teardrops create movement without needing a full lace background. Keep the teardrops rounded and slightly varied in size for a natural feel. This is a strong option for holiday events when you want something pretty but not too time-consuming. It also works with thin henna paste because the border lines define the shape.
Draw a scalloped border around the back hand area, starting from just above the wrist and wrapping toward the outer edge near the thumb side. Make scallops about 3-4 mm wide. Then draw a central column of 5-7 teardrops, tips facing down toward the wrist. Add small leaf curls between teardrops and fill only the inner half of each teardrop. Finish with a thin line connecting the bottom of the column to the wrist border for a neat end point.
Pro tipUse consistent teardrop taper: start wide, squeeze to a point, then stop the squeeze before lifting for a clean tip.
AvoidDon’t add extra motifs to the empty center; it breaks the “frame + focus” look.
6. Flame Petals Wrist to Middle Finger
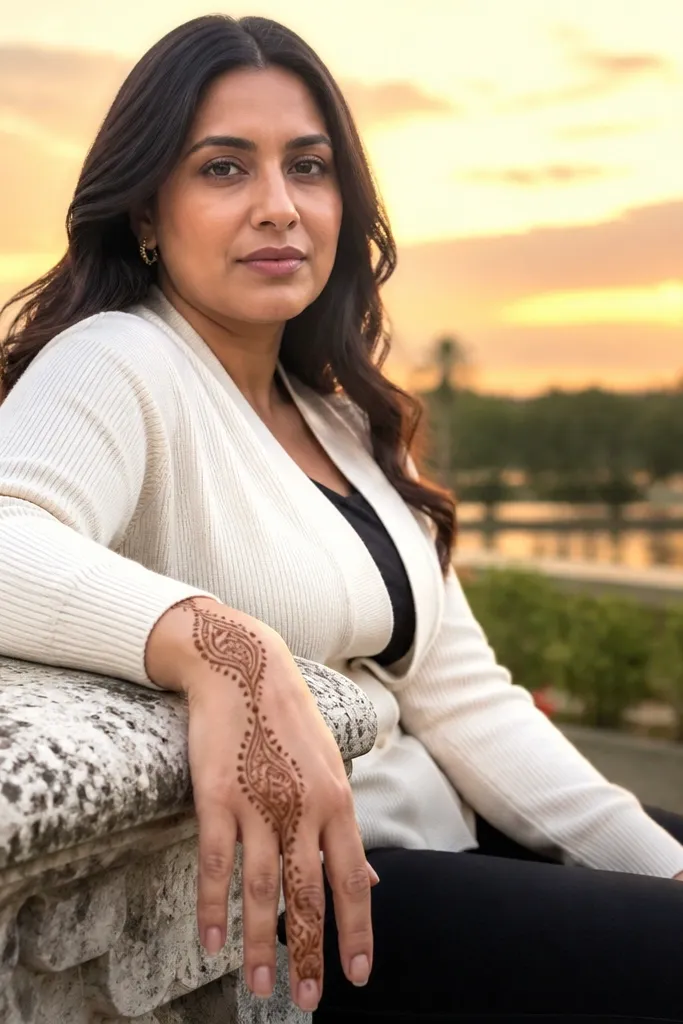
Flame-petal motifs look warm and festive because they have that curled, glowing shape. This design is a vertical chain, so you get a strong look without filling the entire hand. The petal chain works especially well on the back hand because the space naturally guides the eye upward. It’s also fast: you repeat one petal shape several times and add dots as separators. If you want something simple but still “designed,” this is one of the best.
Start with a thin wrist band line about 1 cm wide. Then draw a vertical center line up toward the middle finger and place 7-10 flame petals along it, each petal pointing outward slightly. Add small dots between petals, about one dot per gap. At the top, add a single larger petal cluster (3 petals) to finish the focal point. Leave the sides open so the vertical chain stays clean.
Pro tipKeep petal spacing even by drawing two guideline dots at the top and bottom of your chain first.
AvoidDon’t make petals too wide; wide flames can overlap and look like a smear.
7. Half-Moon Side Scrolls
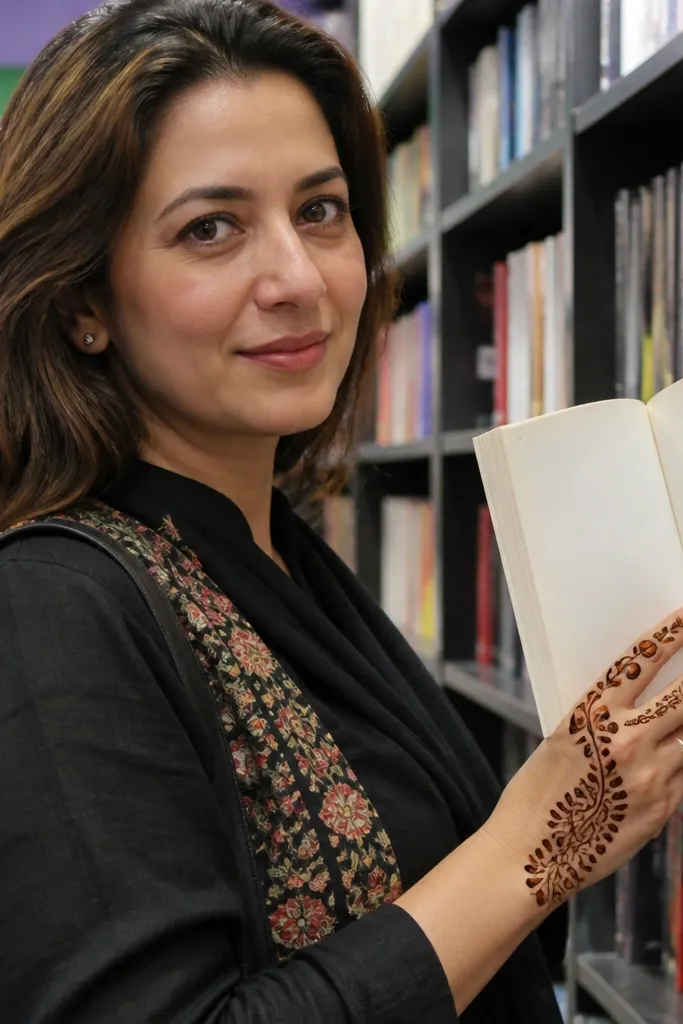
Half-moon scrolls create a cozy warm feel because they curve like a soft wave. This pattern is perfect if you want coverage on the outer edge but you still want breathing room near the knuckles. The scrolls are simple to repeat and look polished even with minimal filling. Add tiny leaf dots at the scroll ends for that seasonal sparkle effect. This is a good pick for anyone who wants a clean, feminine back hand without heavy lace work.
Draw a half-moon arc on the outer side of the back hand from near the wrist to just above the ring finger knuckle. Then add 5-7 scrolls along the arc, each scroll starting from the arc line and curling inward. Add one tiny leaf at the end of every other scroll and dot the remaining ends. Finish with a thin scalloped line at the wrist that matches the arc curve. Keep the center area open.
Pro tipIf your scrolls look wobbly, slow down at the curl and lift the cone only after the curl tip is closed.
AvoidAvoid crossing scrolls into the center; that’s where it turns cluttered.
8. Pearl Dots and Leaf Steps
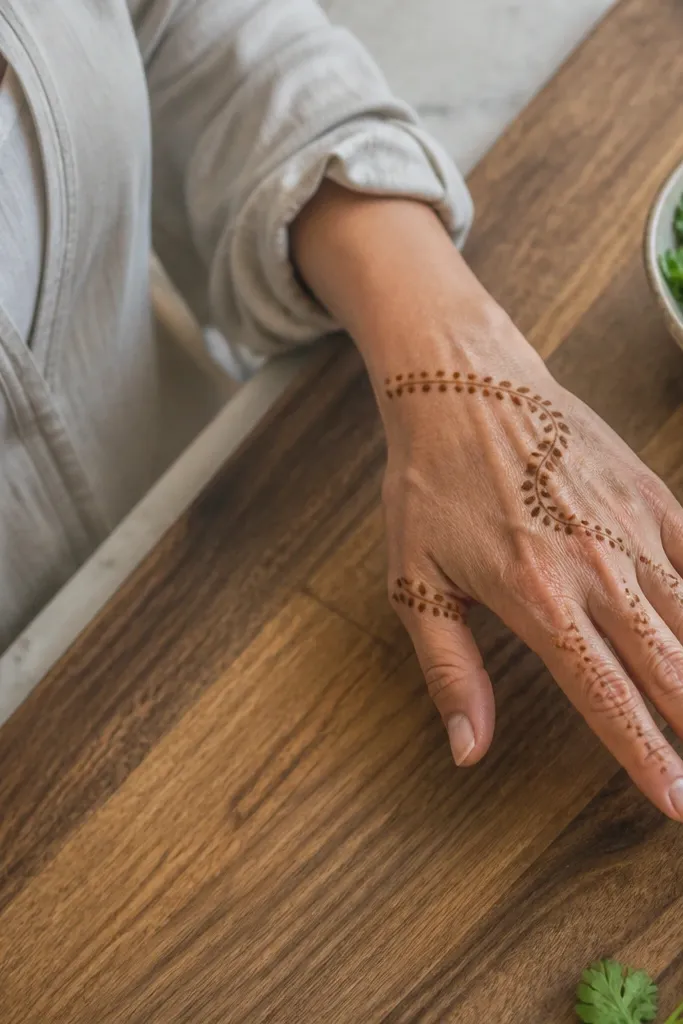
This design looks cozy because it uses dots like “pearls” and builds a gentle step pattern. It’s minimal but still decorative, and it works well when you want something that looks good even after fading. The leaf steps add movement without taking over the whole hand. It’s ideal for short sessions because you repeat a small unit. If you want a warm, soft look without lots of tiny petals, this is the one.
Start with a diagonal guideline from the mid-hand toward the wrist. Place a chain of 12-18 pearl dots along the guideline, each dot about 2-3 mm wide. Then add leaf steps on alternating sides of the dot chain, each leaf facing the center. Fill only the leaf tips with a light dot cluster. Finish with a small wrist line and two larger leaf steps at the ends of the diagonal.
Dot size consistency matters more than you think — aim for one steady squeeze pressure the whole time.
Don’t connect every dot with lines; leaving them as pearls keeps the look airy.
9. Center Starburst with Soft Rays
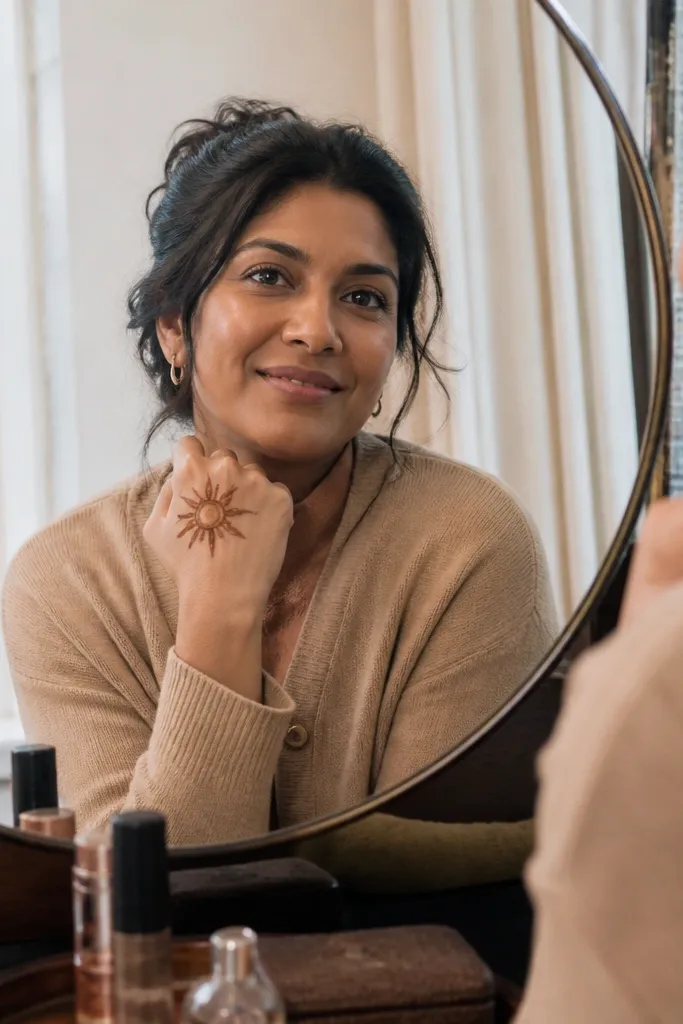
A starburst gives you a cozy warm look because it creates a focal point without filling the entire hand. Keep the rays soft and rounded, not sharp spikes, so it reads friendly and seasonal. This design is also forgiving for beginners because you can keep the starburst small and let the rays be simple curves. Add a few leaf curls near the rays to make it feel designed, not random. Great for parties where you want one clear center feature.
Draw a small circle in the center of the back hand area, roughly between the index and middle finger knuckles. Then add 8 rounded rays around it, each ray shaped like a teardrop with the point inward. Fill the circle with a dot cluster and lightly shade the base of each ray. Add two leaf curls on each side of the starburst, then scatter 6-10 tiny dots around the rays. Keep the wrist mostly clean with only a thin line finish.
Pro tipUse a slightly thicker paste only for the circle — the rays should stay light so they look airy.
AvoidDon’t make rays too long; long rays crowd the finger joints.
10. Wrist Anklet Band with Two Hanging Drops
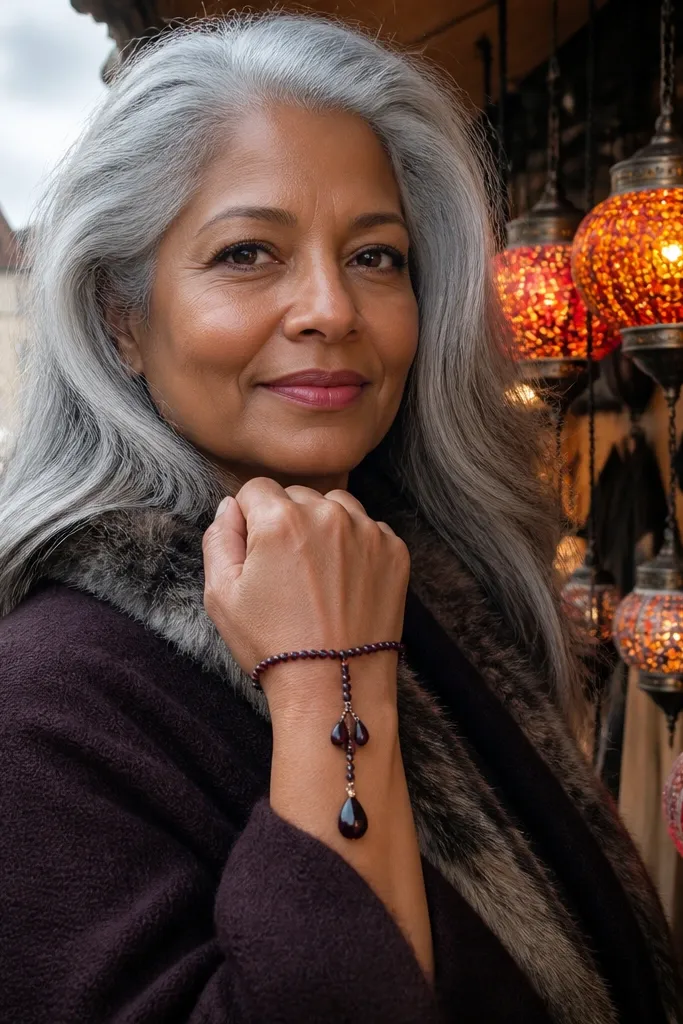
This is a holiday-friendly back hand design because it frames the wrist like jewelry. The anklet band gives you a finished base, and the two hanging drops give movement down the center. It’s simple enough for beginners and looks extra cute on camera because the hanging shapes catch light as henna darkens. You can keep it minimal or add tiny dots inside the drops for warmth. This works well when you want a clean look that still feels festive.
Draw an anklet-style wrist band with 14-18 small scallops or half-circles. Then draw a center vertical line from the middle of the band up about 2-3 cm. Create two teardrop drops hanging from the top of that line: one larger near the wrist, one smaller above it. Add a few leaf curls on the sides of the drops and dot the centers lightly. Finish by extending a thin line from the top of the upper drop toward the middle finger knuckle, then stop.
Pro tipLet the wrist band dry fully before adding drops so the drops don’t smear into the band.
AvoidAvoid overfilling the drops; keep the outlines bold and the inside light.
11. Finger Band Trio with Open Back
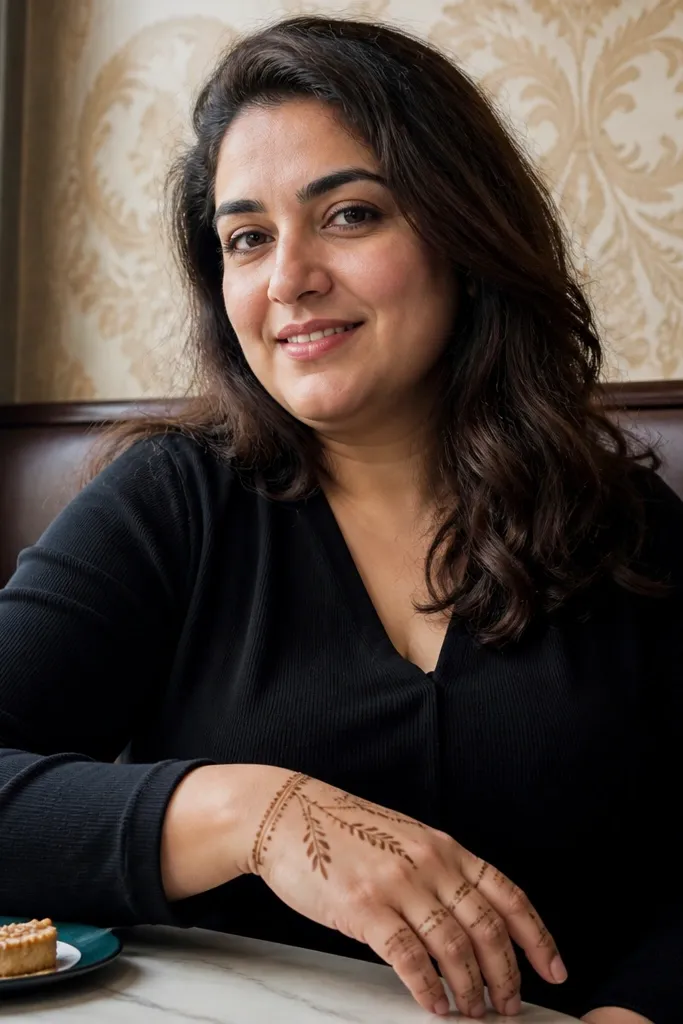
If you want back hand mehndi that looks neat and cozy without the heavy “full back lace” vibe, do thin finger bands only on three fingers. This design uses the back hand space as a clean canvas while the finger bands bring the detail where it matters. Small leaves and dots connect the bands to a light wrist line, so it feels cohesive. It’s flattering because it elongates the hand and avoids crowding knuckles. Great for events where you want a polished look but still want comfort.
Start with thin bands on three fingers — usually index, middle, and ring — each band about 1 cm wide at the base. Outline each band with a scalloped edge, then leave the inside mostly open with only 3-5 dots. Connect the band bases to the back hand with a single diagonal leaf curl on each side. Add a thin wrist line with two small leaf clusters at the ends. Keep the center back hand clear to preserve the airy look.
Pro tipUse the same band height on all three fingers so the layout looks intentional, not accidental.
AvoidDon’t add dense filler inside every band — open centers keep it cozy.
12. Outer Edge Vine + Tiny Berries

A vine along the outer edge gives you a gentle cozy warmth because it traces the hand’s shape instead of fighting it. Tiny berries add that festive dot sparkle without needing large petals. This design is photogenic because it creates a clear outline and movement from wrist to knuckles. It also works for people who want something light and quick but still looks “done.” Keep the vine line consistent and the berries small for the best result.
Draw a thin outer border vine starting near the wrist and curving toward the pinky side of the knuckles. Place 7-9 berry dots along the vine, each dot sitting slightly off the line. Add small leaf pairs next to every third berry, with leaves pointing outward. Keep a small wrist finish: a single scalloped line or 6-8 half circles. Leave the inner side of the hand open so the vine remains the main feature.
Pro tipIf your vine gets shaky, draw the guideline first with one continuous light line, then go back over it with darker paste.
AvoidAvoid putting berries on every inch; too many dots can make it look like a stamp.
13. Scalloped Window Center with Side Leaves
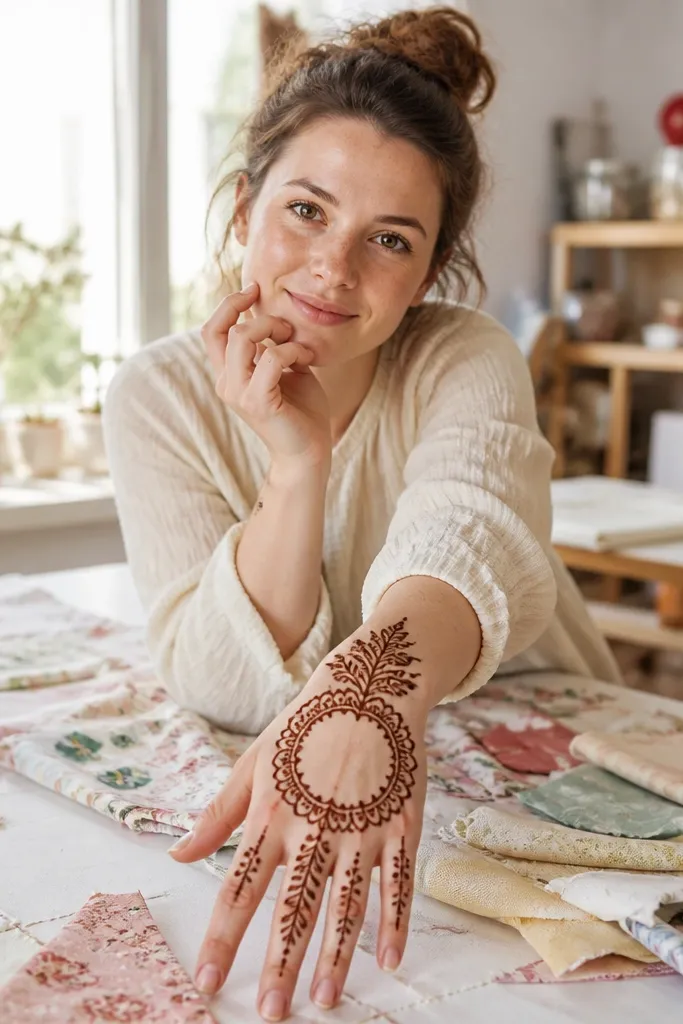
This design creates a cozy warm look by using a “window” center. The scalloped frame around the center area gives structure, while side leaves fill the edges with softness. You get a clean, modern vibe without looking empty. It’s also a practical choice if you want a design that stays readable as henna fades — the frame lines hold the shape. Add small dot accents inside the window for warmth, but keep the window mostly open.
Draw a scalloped rectangle or rounded square in the center of the back hand, about the size of two knuckles stacked. Outline it with 10-14 scallops and keep the lines evenly spaced. Then add two leaf clusters on the left and two on the right, each cluster made of 3 leaves with one dot at the tip. Add a thin wrist line and two tiny dots at the corners of the window. Fill only the leaf centers with light dot shading; keep the window interior mostly empty.
Make the scallops bigger than you think — small scallops can disappear when henna fades.
Don’t draw extra patterns inside the window; the frame is what keeps it pretty.
14. Paisley Ladder Across the Back
A paisley ladder gives you cozy warm coverage without the heaviness of full filling. You repeat a simple paisley shape in a ladder rhythm, alternating direction so it looks lively but still controlled. The back hand benefits from this because fingers create natural steps for each paisley. Add small dot separators to keep the ladder crisp and photogenic. This is a solid mid-skill design that still feels simple because you’re repeating one unit.
Start with a horizontal line across the mid-hand area, then place 5-7 paisleys along it, alternating the direction of the tips. Each paisley should sit about 1-1.2 cm apart so they don’t merge. Add a dot at the center of each paisley and a tiny leaf curl at the top of every other paisley. Create a light wrist band with 8 scallops underneath the lowest paisley. Finish by adding 6-8 tiny dots around the ladder to connect the motifs.
Pro tipKeep paisley outlines consistent thickness; changing line weight makes the ladder look patchy.
AvoidAvoid touching paisley tips to finger lines; keep them floating to preserve the ladder look.
15. Halo Flower at Wrist with Side Spirals
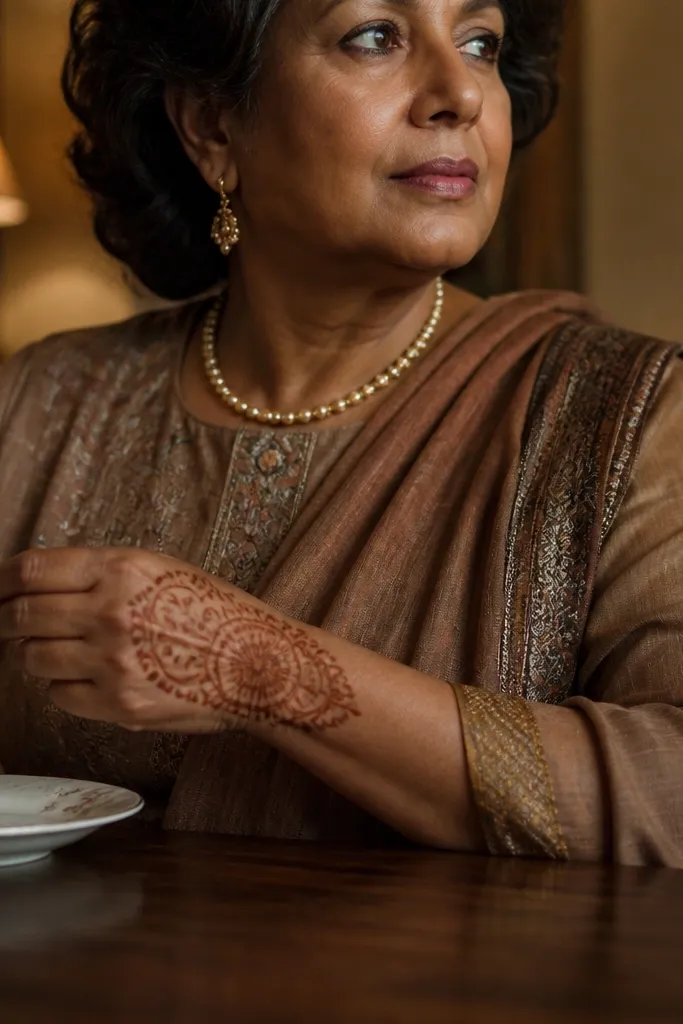
This one is extra pretty for seasonal looks because it feels like a halo at the wrist. The center flower draws attention, and side spirals bring softness toward the knuckles without needing lots of fill. It’s simple to do because spirals are repeatable, and the flower can be small. This design suits medium coverage lovers who want a focal point but still want an airy back hand. It also looks great when the henna fades because the outlines remain visible.
Draw a small flower at the center of the wrist area, using 8 rounded petals around a dot center. Then draw a halo ring around it using a thin scalloped or dotted circle. Add two spirals on each side of the wrist flower, extending toward the knuckles but stopping before the finger bases. Connect each spiral end to a tiny leaf curl. Keep the mid-hand open with only scattered dots, about 5-7 dots total.
Pro tipUse dot centers inside petals instead of full shading for a cleaner, softer look.
AvoidAvoid making the halo too thick; thick rings can look heavy on the wrist.
16. Center Lattice Column with Side Dots
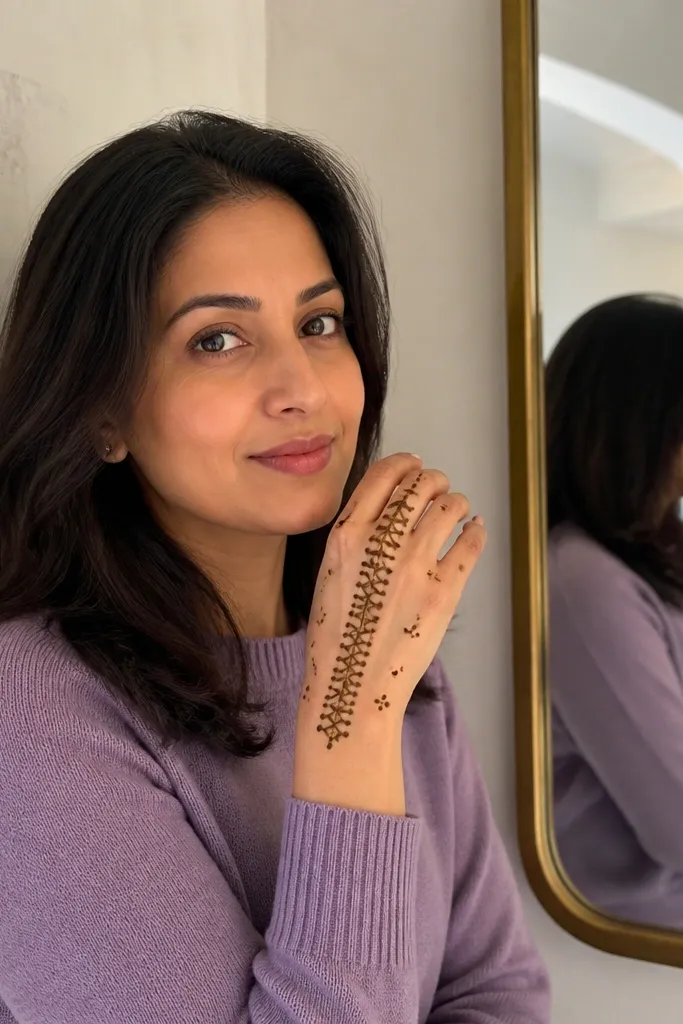
A center lattice column looks modern and cozy because it gives structure while leaving the rest of the hand airy. The vertical line makes the hand look longer, and the lattice creates warmth through repetition. Side dots add sparkle without turning it into dense lace. This is an excellent choice if you want something that looks clean and intentional from different angles. It also works well for people who struggle with symmetry — the column gives a clear guide.
Draw a vertical guideline from the wrist upward to the space between index and middle knuckles. Then build a lattice column on that line: create 4-6 small square blocks by drawing two vertical parallel lines and crossing them with short horizontals. Add a dot at each intersection for warmth. On both sides of the column, place 6-10 tiny dots in pairs spaced evenly. Finish with a thin wrist line and stop there — keep the rest open.
Pro tipPre-plan the lattice height: aim for 4-6 blocks, not 10, so it stays readable.
AvoidDon’t add extra motifs inside the open areas; the lattice column needs breathing room.
17. Triangle Corner Motifs with Warm Dots
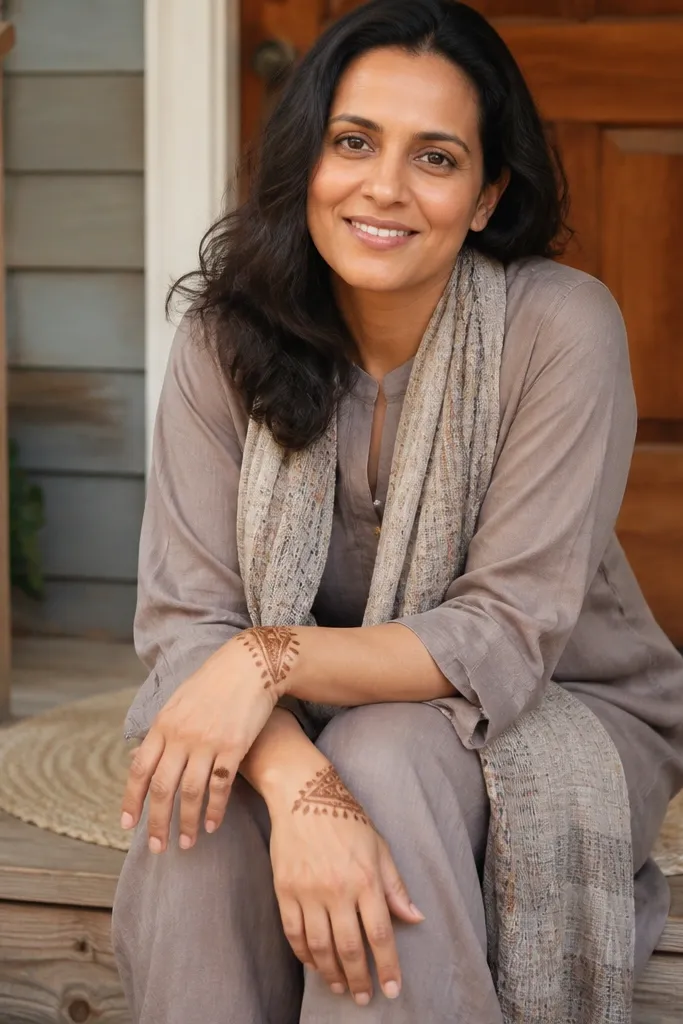
Triangle corner motifs give a cozy warm look because they feel geometric but soft when you use rounded dots and teardrop fills. You place the design at the corners of the back hand, leaving a clear middle. That makes it easier to keep lines neat and makes the pattern look intentional even if you’re working quickly. Warm dot clusters add the festive feel without heavy filling. This is a great option for short sessions and for people who want a tidy back hand.
Draw two triangle corner shapes on the upper back hand — one closer to the thumb side and one closer to the pinky side. Each triangle should point inward toward the center and have rounded edges. Add a small teardrop inside each triangle and outline it with 2-3 extra curves. Fill the triangle base with 10-14 dots arranged like a small mound. Finish with a thin wrist line and two tiny leaf curls at the triangle bottoms.
Keep triangle edges rounded, not sharp. Sharp corners look harsh on back hands.
Avoid filling the triangles with solid blocks; dots look warmer and more forgiving.
18. Wrist Rosette + Side Leaf Steps
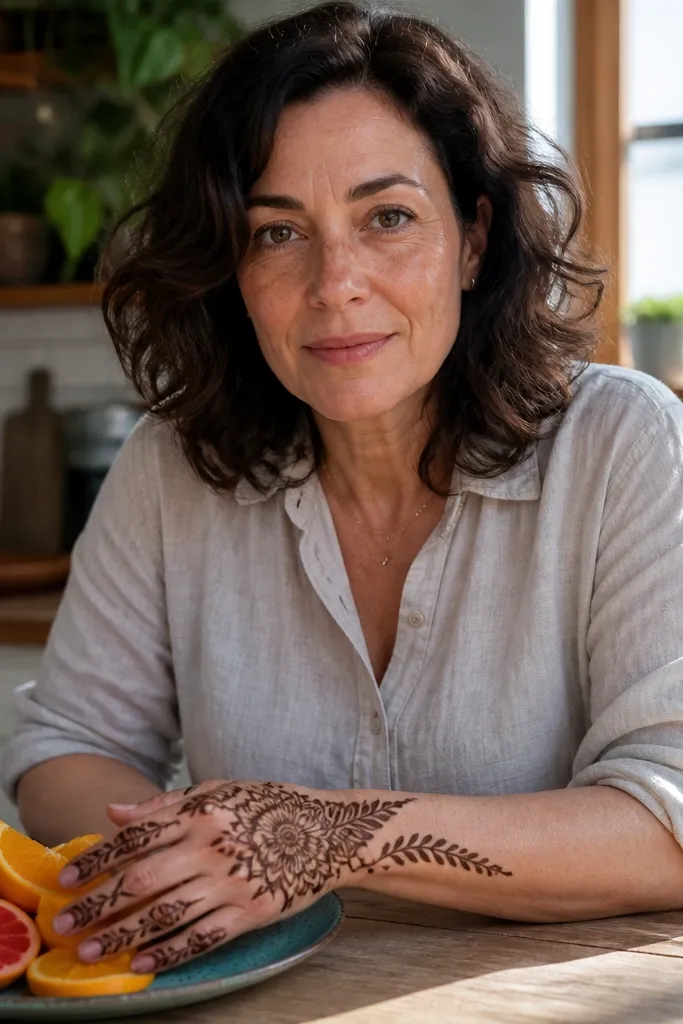
A wrist rosette is a classic cozy warm anchor, and pairing it with leaf steps keeps the design simple but not boring. The rosette is your focal point at the wrist, and the leaf steps extend outward to frame the hand. This layout hides mistakes well because the pattern is built from repeating leaf units. It also looks great for seasonal looks because rosettes read like festive blooms. Choose this when you want a fuller wrist area but lighter coverage up top.
Start by drawing a rosette at the center of the wrist using 10-12 rounded petals around a dot center. Then create leaf steps on both outer sides: draw 3-4 leaf pairs per side, each pair angled slightly upward toward the knuckles. Add tiny dots between leaf steps to connect them visually. Outline the wrist rosette with a second thin ring to make it pop. Keep the mid-hand mostly open and stop the leaf steps before the finger bases.
If your rosette petals blur, outline each petal once, then fill only the petal center with dots.
Don’t extend leaf steps into finger joints; it crowds and looks messy.
19. Open Lace Band with Dot Knots

This design gives you lace vibes without the heavy filling that makes mehndi look muddy. You draw an open band across the back hand and decorate it with dot knots and leaf curls. The open lace spaces stay airy, so the design stays cozy and photogenic. It’s great for holiday photos because the band catches attention immediately. It takes a bit more patience than the simplest patterns, but it stays manageable because you repeat the band unit.
Draw a horizontal band across the back hand from near the thumb side to the pinky side, about 3 cm wide. Create open lace by outlining small arches along the band, leaving visible gaps inside. Add dot knots at the arch ends: 2-3 dots clustered where arches meet. Insert leaf curls between arches and keep them small so they don’t overtake the lace. Finish with a thin wrist line and a few scattered dots around the band edges.
Pro tipKeep arch size consistent — measure with your fingertip width so the band looks balanced.
AvoidAvoid fully filling the arches; open lace is the whole point here.
20. Two-Flower Diagonal with Dotted Connectors
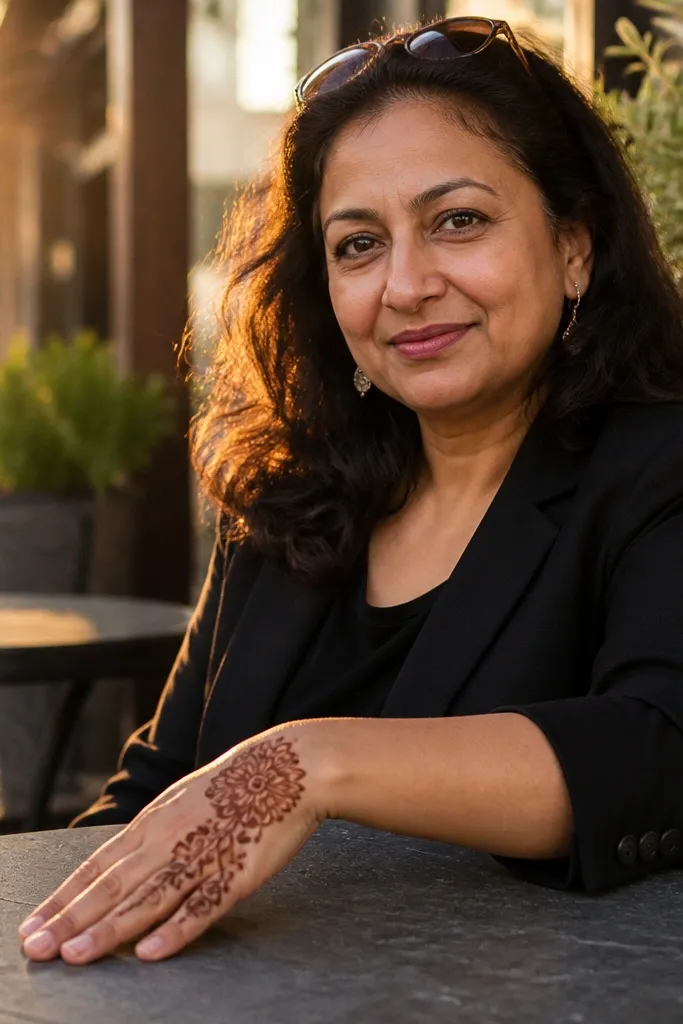
A diagonal two-flower design looks cozy and intentional because it gives you two focal points instead of one big mess. The dotted connectors tie everything together and create warm sparkle without extra filling. You get a balanced look across the back hand, and the diagonal line flatters finger curves. This one is a good choice when you want something photogenic but still quick. It also works if your hand has a lot of natural lines — the diagonal pattern follows them.
Draw a diagonal line from the wrist toward the space between index and middle fingers. Place one small five-petal flower near the mid-hand and another smaller flower closer to the wrist. Connect each flower to the diagonal line with 6-10 dotted connectors, spacing dots evenly. Add 3 leaf curls around each flower, keeping the leaves rounded. Finish with a thin scalloped wrist edge, then add 5 tiny dots near the diagonal end.
Pro tipMake the top flower slightly smaller than the bottom one so the diagonal feels natural.
AvoidDon’t add extra flowers in the empty areas; two is the sweet spot for a clean look.



