
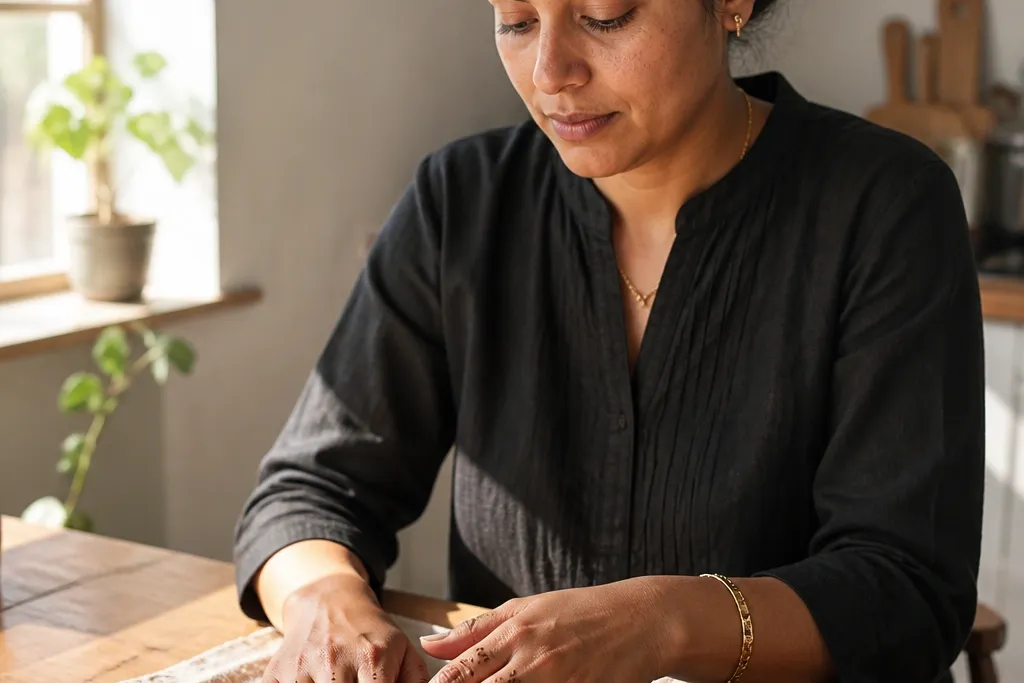

1. Micro Arches with Dot Tips
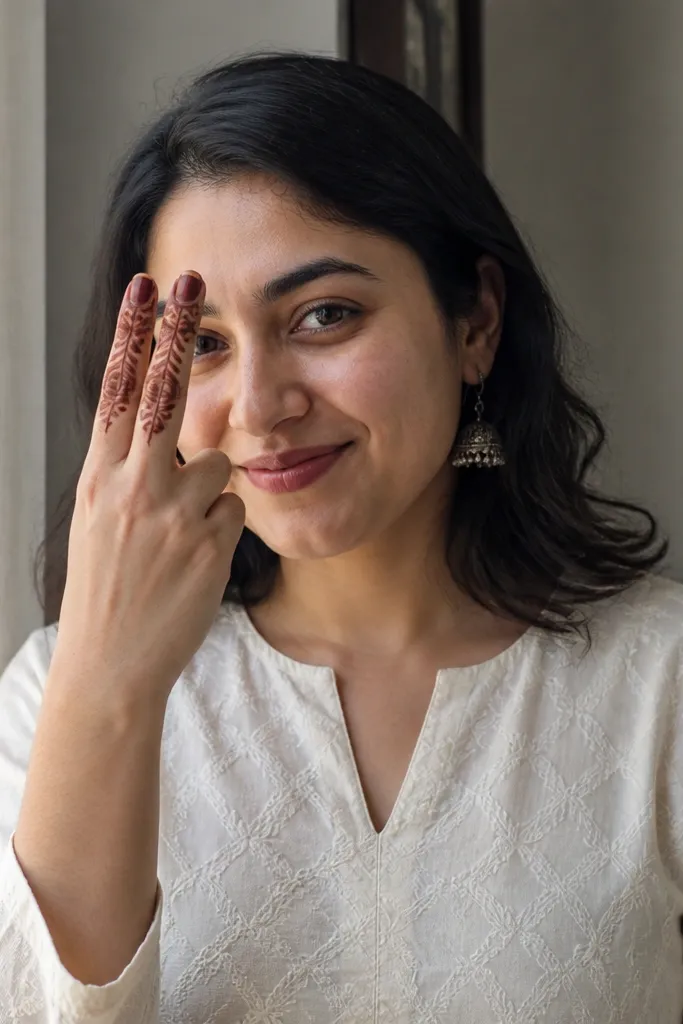
This one looks clean because it repeats the same arch shape in a controlled rhythm. Start near the knuckle and place 3 to 5 mini arches down the finger, leaving a thin strip of skin between them so the mehndi doesn’t blend into a single dark line. Add a dot at the end of each arch — it gives the design a “finished” look without heavy filling. It’s perfect when you want a delicate vibe but still want your fingers to stand out in photos.
Step 1: Draw a thin line from the knuckle area down the finger as your guide, then add 3 to 5 small arches on one side of that line. Step 2: Put a tiny dot at the tip of each arch and keep the dots same size. Step 3: Finish with one short dash near the fingertip to balance the composition.
Use the cone tip like a pen — drag gently and lift cleanly to avoid blob ends.
Don’t fill between arches with dense paste — it kills the crisp, airy look.
2. Single Side Vine with Leaf Halves

A single-side vine is a cheat code for quick finger mehndi. It takes almost no space, yet it looks stylish because the line travels with natural finger curves. Use leaf halves instead of full leaves — they’re faster, and the negative space keeps the design light. This style is great for hands with rings too, because the vine frames the jewelry rather than covering it.
Pro tipKeep the vine line slightly thicker than the leaf outlines so the finger has a clear focal point.
Step 1: Outline a thin vine line from near the knuckle down toward the middle of the finger, staying close to one edge. Step 2: Add leaf halves on the vine at regular intervals using a teardrop shape with one side open. Step 3: Cap the bottom with a small dot cluster (3 dots in a triangle) to anchor the end.
AvoidDon’t add leaves on both sides — it makes the finger look crowded.
3. Knot Band Across the Middle Finger

This design gives you a bold look without time-heavy filling. The “knot band” sits across the middle of the finger, so it reads clearly even from a distance. The center knot shape creates a focal point, while the side curls keep it decorative. It’s especially good if you want one statement finger design and lighter details on the others.
Pro tipLet the band dry a bit before adding curls so the loops don’t merge.
Step 1: Draw a horizontal band across the middle of the finger with two parallel thin lines, leaving small gaps between them. Step 2: Make a simple knot in the center using two interlocking curved loops, then add tiny curls at both ends of the band. Step 3: Add 2 to 3 dots above and below the band to make it look intentional.
AvoidDon’t make the knot too wide — a thick knot turns into a dark blob on small fingers.
4. Dot Column with Tiny Arrows
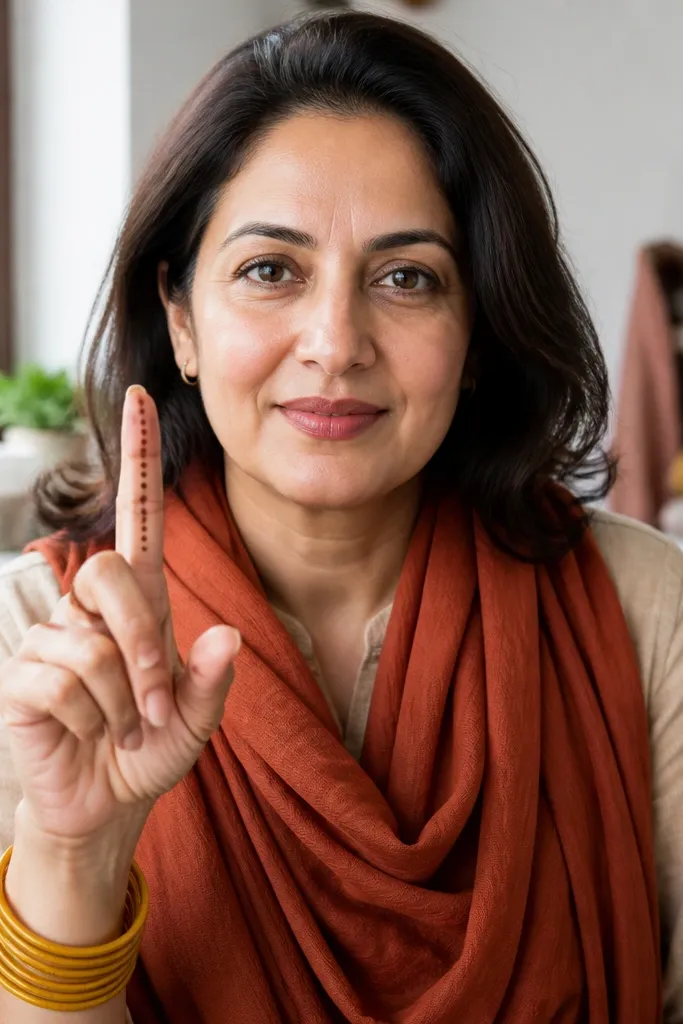
A dot column is the cleanest way to get a neat look quickly because every element is the same size. Place dots in a straight vertical line down the finger, then add tiny arrow-like marks near the top to break the repetition. This style looks modern and crisp, and it works well for minimal outfits or when you want your hands to look tidy rather than heavy. It also helps beginners because alignment is forgiving.
Step 1: Start at the knuckle and pipe 6 to 10 dots down the finger in a straight column. Step 2: Near the top 1/3, add 2 small arrow shapes pointing down (a triangle tip with a thin tail). Step 3: Finish with a single dot at the fingertip to close the pattern.
Keep dot spacing consistent by counting dots as you go — 2, 3, 2 spacing works nicely.
Don’t over-thicken the cone line while placing dots — it makes them look like streaks.
5. Half Paisley Frame for Each Finger
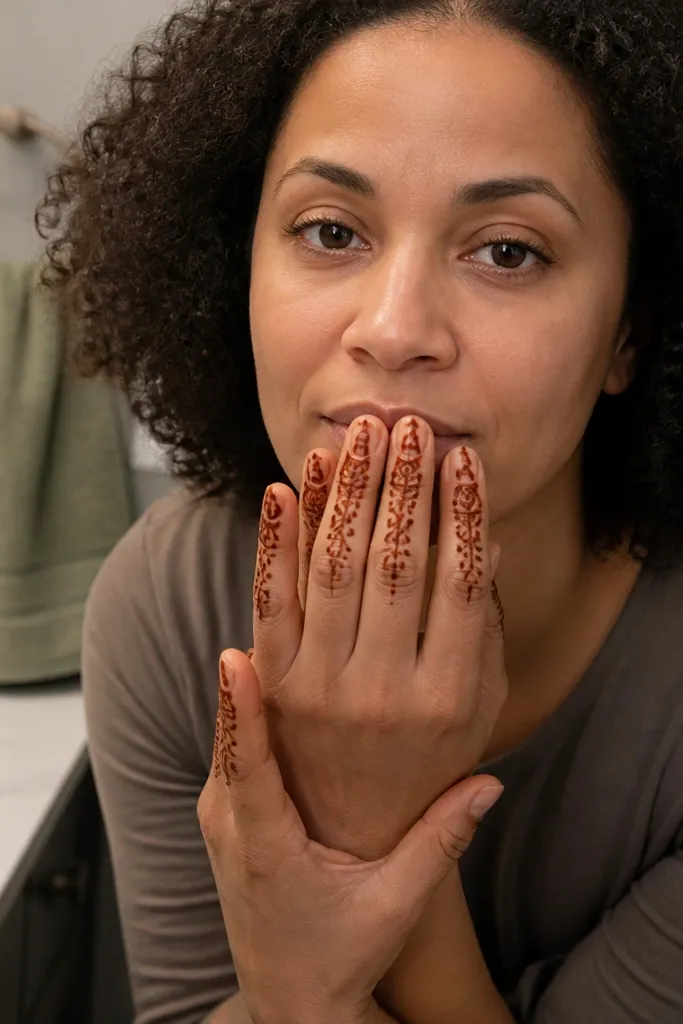
Half paisleys give you that classic mehndi look without committing to a full paisley that takes forever. Frame the finger with one paisley half on each side of a central thin line, leaving the center lightly open. Add a few dots inside each paisley half so it has texture but still dries fast. This design is perfect for festive days because it looks traditional and camera-friendly.
Pro tipUse the same paisley size on every finger so your set looks coordinated.
Step 1: Draw a thin vertical line in the center of the finger from knuckle down to near the fingertip. Step 2: On each side, pipe one half paisley at a time — use a curved leaf outline with a pointed bottom, then stop halfway. Step 3: Add 5 to 7 tiny dots inside each paisley half and keep the fill light.
AvoidDon’t fully outline a full paisley — on fingers it crowds and smears as it dries.
6. Feather Slash with Micro Dots

This is a simple finger design that looks artsy because it uses negative space like part of the pattern. Draw a diagonal “feather slash” across the finger, then add thin branching lines that taper — think feather ribs, not full leaves. Finish with micro dots along the diagonal so it looks delicate instead of empty. It’s great on fingers with nail polish because the contrast makes the mehndi look sharper.
Step 1: Draw a diagonal main line from near the knuckle toward the outer side of the finger. Step 2: On the main line, add 4 to 6 thin tapered branches on both sides, each shorter as you go down. Step 3: Place tiny dots between branches, then add one small dot at the tip of the feather slash.
Keep branch lines very thin — thicker branches overpower the look.
Don’t fill the feather slash — keep it airy so it stays photogenic.
7. Knuckle Star + Downward Dots

This design starts at the knuckle with a star, which instantly makes fingers look styled. The downward dots create a tidy path that’s easy to execute and looks crisp even when your application is light. It’s also forgiving if your dots aren’t perfect circles — the star anchors the eye. Use this on thumb and index fingers when you want the set to look intentional.
Pro tipTrace the star outline in one smooth movement per point to keep it sharp.
Step 1: Pipe a small 5-point star right on the knuckle area, keeping the lines thin. Step 2: Draw a vertical line from the star downward, then place 7 to 12 dots along it. Step 3: Add one tiny curved hook at the fingertip so the design doesn’t feel cut off.
AvoidDon’t make the star too big — knuckles already have texture and it can blur.
8. Chain Links Around the Finger

Chain links look like jewelry, and that’s exactly why they work on fingers. You get a repeating pattern that looks neat without dense shading. Pipe small oval links in a line down the finger, with each link slightly offset from the one above. For a better look, leave a thin negative space line between links so they don’t merge into one dark strip. This is a great pick when you want a bold but clean look.
Pro tipIf links start to smear, slow down and let each link set for a second before moving on.
Step 1: Draw a center guide line down the finger. Step 2: Pipe small oval links on the guide — each link should touch the next lightly but not overlap. Step 3: At the bottom, add two tiny dots on either side of the last link to balance the end.
AvoidAvoid filling inside the chain links — it turns the pattern into a thick bar.
9. Zigzag Center Line with Side Dashes
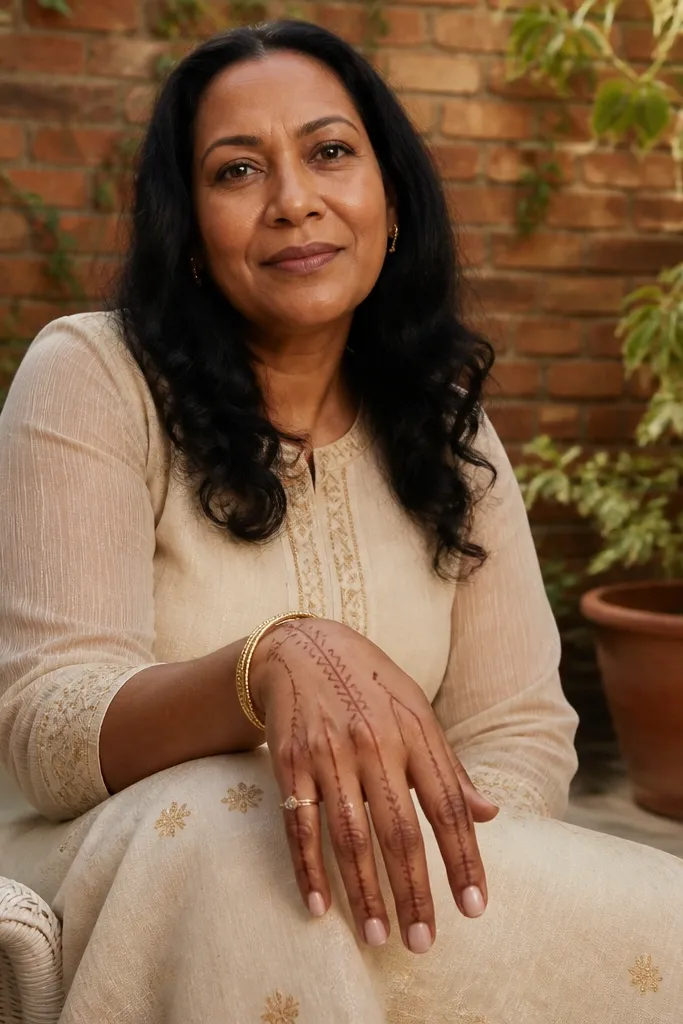
A zigzag center line gives instant energy and makes fingers look longer in photos. Keep the zigzag narrow and crisp, then add side dashes that mirror the zigzag points. The combination creates a pattern that reads clearly even if your mehndi isn’t super dark. It’s a good choice for quick sets because it’s mostly outlines and short strokes.
Pro tipUse lighter pressure at the corners — corners get thicker and can blob.
Step 1: Draw a thin zigzag line from knuckle to near the fingertip, keeping the angles sharp. Step 2: Add one short dash on each side at every other zigzag point. Step 3: Finish with a tiny dot at the fingertip and one dot near the top to frame the pattern.
AvoidDon’t add too many side dashes — it crowds the finger and blurs the zigzag.
10. Tiny Flower Buds in a Row
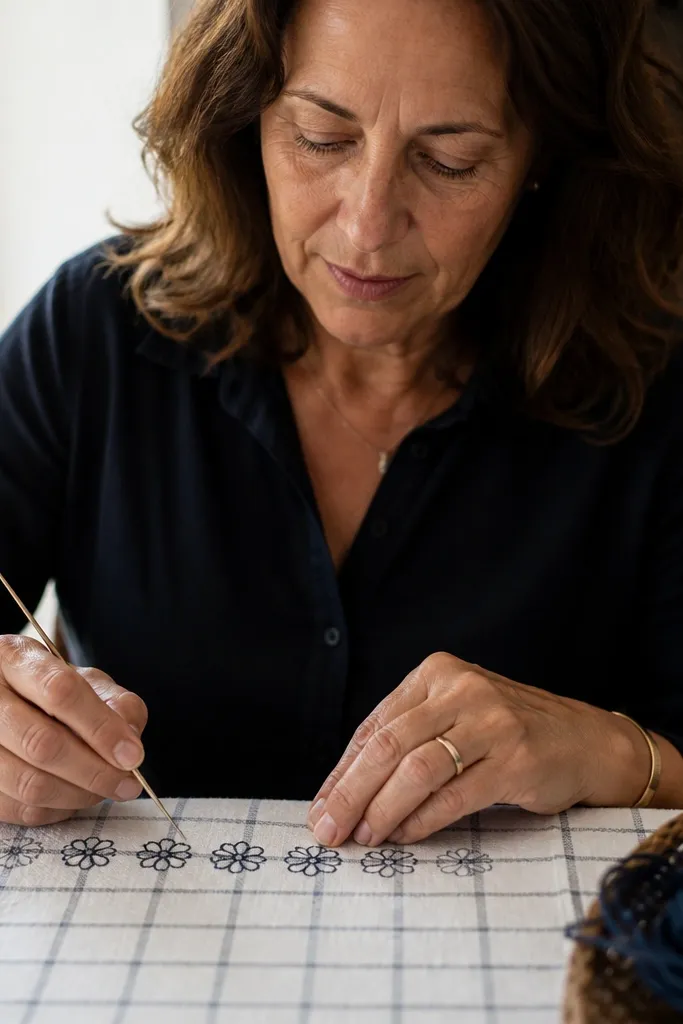
Flower buds are classic, but the trick is to keep them small and consistent so they finish fast. Place a bud at intervals down the finger, each made from 4 to 5 thin petals around one center dot. This gives you a feminine look without heavy filling. It also looks great on rings because each bud sits in open space between jewelry areas.
Step 1: Mark 4 to 6 positions down the finger with faint dots as spacing guides. Step 2: At each position, pipe 4 or 5 tiny petal outlines around a center dot. Step 3: Connect the buds with a single thin line or skip connecting and use a dot-only bridge between them.
Make petals slightly taller than they are wide so the buds look like they’re growing down the finger.
Don’t over-pipe thick petal lines — tiny flowers need thin edges to stay crisp.
11. Leafy Corner Scroll at the Knuckle

This design puts the action near the knuckle where fingers start to curve, so it looks natural instead of pasted on. You create a small scroll shape on the side, then let thin trailing lines taper down the finger. Add 2 to 3 tiny leaf shapes along the trail and keep everything else light. It’s a smart choice for quick mehndi because you get a lot of visual detail in a small area.
Step 1: Pipe a corner scroll at the knuckle, like a sideways C with a pointed end. Step 2: From the scroll, draw a thin line trailing down the finger and add 2 to 3 small leaf shapes along it. Step 3: End the trail with one dot and one short dash to balance the bottom.
Keep the scroll tight and the trail thin — that contrast makes it look intentional.
Don’t add full leaf pairs on both sides — it takes longer and smears on fingers.
12. Ring of Dots at the Base + Center Dash

This is a clean, minimal design that still looks decorative because it uses a strong base element. Make a ring of dots around the base of the finger near the knuckle, then add a single center dash line down the middle. Add two tiny side hooks halfway down to make it feel finished. It works for last-minute events because it’s fast, but it still looks neat and planned.
Pro tipUse the same dot size across the ring so the base element looks even.
Step 1: At the finger base, pipe 8 to 10 dots in a curved band around the top portion of the knuckle area. Step 2: Draw a thin center dash line from the middle of the dot ring down toward the fingertip. Step 3: Add two tiny hooks on the left and right halfway down the finger, then finish with one dot at the tip.
AvoidAvoid thickening the center dash — it should stay hairline thin for that minimal look.
13. Split Vines with One Side Fill
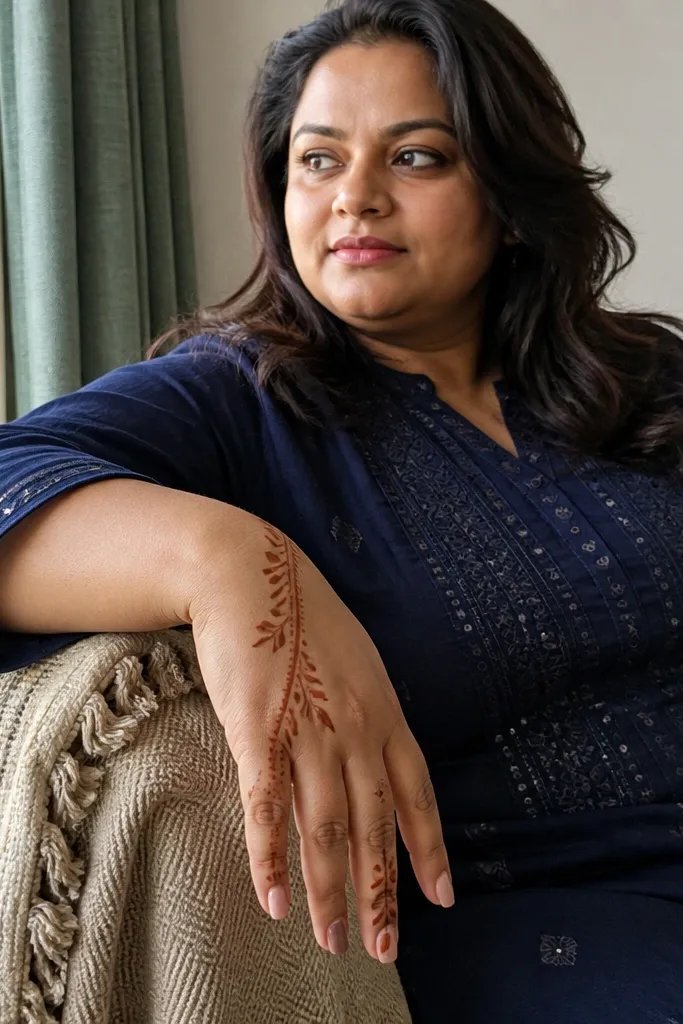
Split vines look busy in a good way, but you keep them quick by filling only one side. Start with a thin split at the knuckle — two lines that diverge slightly down the finger. Add small leaf outlines on both sides, then fill just one leaf group with light dots or short strokes. The asymmetry makes it look stylish instead of symmetrical and boring.
Step 1: Draw a short line at the knuckle, then split into two thin vine lines that go down the finger. Step 2: Add 3 to 4 small leaf outlines along each vine side. Step 3: Fill only the leaves on one side with 3 to 4 short strokes each and leave the other side unfilled.
Pick one side and commit — partial fill looks intentional when it stays consistent.
Don’t fill both sides evenly — it turns finger mehndi heavy fast.
14. Paisley Teardrop with Open Center
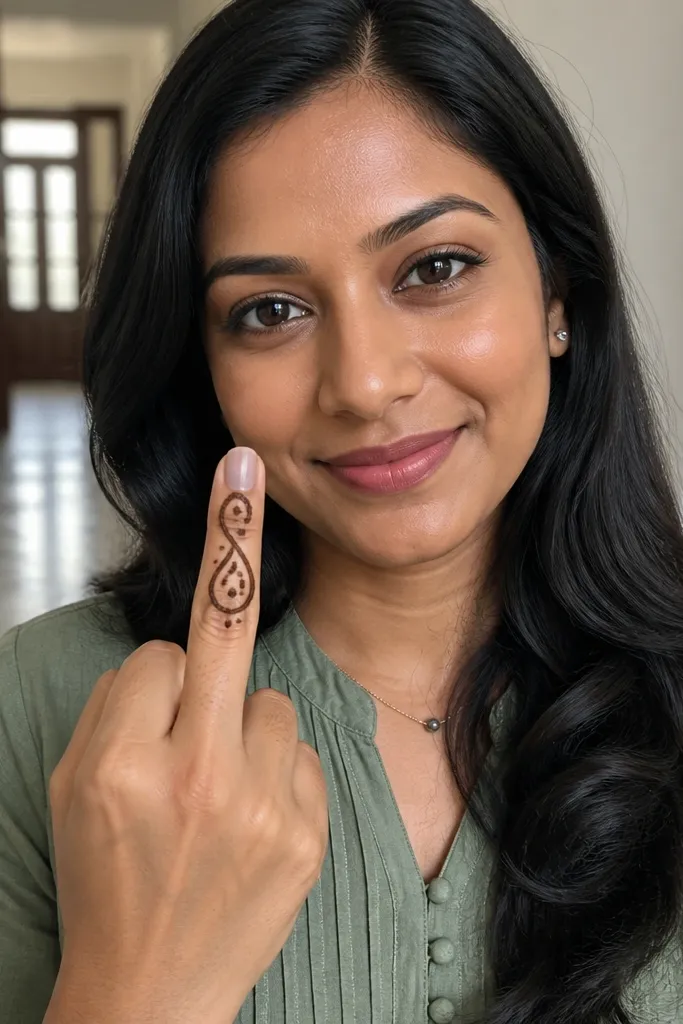
This design gives you a classic paisley silhouette but keeps the middle open so it dries faster and looks lighter. Place one teardrop paisley on the center of the finger, with the outline crisp and the center left mostly bare. Add a small dot cluster near the top curve and a few dots near the bottom point. It’s a standout look for fingers because the silhouette is easy to read.
Pro tipKeep the teardrop narrow — narrow paisleys look sharper on fingers than wide ones.
Step 1: Draw one tall teardrop paisley in the center from just below the knuckle toward mid-finger. Step 2: Outline the paisley fully, then leave the center mostly empty. Step 3: Add 6 to 8 dots — 3 near the top curve and 3 to 5 near the bottom point.
AvoidDon’t overfill the center — open space is what keeps it clean.
15. Feather Fan at the Fingertip

A fingertip fan design looks extra cute because it focuses where the eye naturally goes. It’s also quick because you only need a small cluster of lines. Start with a tiny dot base near the very top of the finger, then pipe 5 to 7 thin feather strokes fanning outward. Add one short curved hook at the top to connect the fan to the rest of the finger. This is a great finishing design for ring fingers and pinkies.
Pro tipIf your fan lines blob, lift the cone and redraw with lighter pressure — feather strokes need thin flow.
Step 1: Place a small dot right near the fingertip area as the anchor point. Step 2: Pipe 5 to 7 thin lines radiating outward like a fan, keeping them all similar length. Step 3: Add one short curved line connecting the fan to a tiny dash down the finger.
AvoidAvoid making the fan too wide — wide fans take longer and blur into one dark patch.



