
1. Tea-Stained Ticket Pocket Page with Red Thread Tie
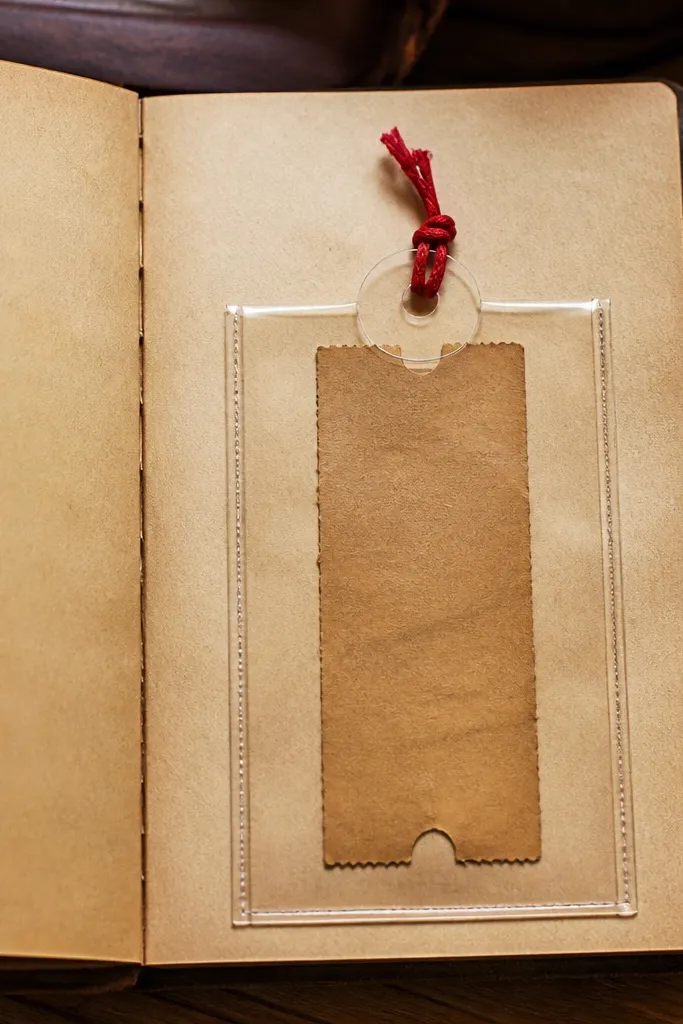
This page looks expensive because the pocket has a clear shape and the tie adds a crisp, graphic accent. Start with a tea-stained base for soft color variation, then glue a pocket that’s sized to a single ticket strip so it always looks tidy when you slide it in and out. The red thread tie gives movement and a strong focal point that reads well in photos. It’s also practical: you can store a small note, a receipt, or a tiny journaling card without the page getting cluttered. Skill level is beginner-friendly, and you can finish one in about 30-45 minutes.
Cut a sheet of cardstock to 5x8 inches, then tea-stain it and let it dry flat under a book. Create a pocket from patterned paper or thicker scrap paper — make it 3.75 inches tall and wide enough to fit your ticket strip plus a 1/4 inch margin. Glue only the sides and bottom of the pocket, leaving the top open. Punch a small hole near the top edge, thread red embroidery floss through, and tie a simple bow on the outside so it stays photo-ready.
Pro tipSeal the tea-stained paper with a thin layer of matte gel medium or watered-down white glue to prevent smudges.
AvoidDon’t glue the pocket top edge — it makes the page look blocked and ruins the tuck action.
2. Magazine Cutout Flip Panel with Black Washi Hinges
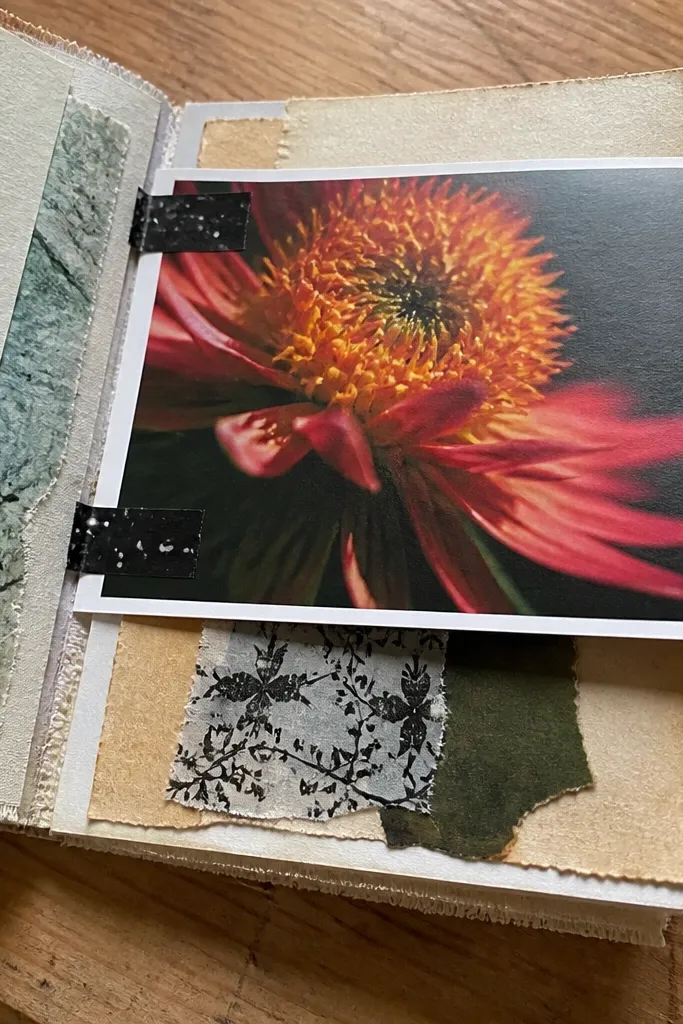
Flip panels create that satisfying “reveal” moment, and magazines give you instant visual interest without extra drawing. Use a single bold cutout (a face, a building, a flower, or typography) and frame it with a clean border so the page doesn’t look chaotic. Black washi tape hinges keep the fold crisp and photograph well because they create a dark line. This idea is great when you want a page that looks designed even if your scraps are random. It takes about an hour for your first one, then it gets faster.
Cut a base page to 5x8 inches. Make a flip panel by cutting a second rectangle from cardstock (around 4.5x5.5 inches), then score a 1/2 inch hinge line on one side. Attach the panel to the base using black washi tape along the hinge — apply tape on both sides if you want it sturdier. Glue your magazine cutout to the flip panel, then add a small journaling tab at the bottom with a strip of paper.
Pro tipUse a craft knife and metal ruler for straight hinge lines — wonky folds show up fast in photos.
AvoidSkip heavy glue on the hinge area; it makes the fold stiff and ugly.
3. Book Page Belly Band Holding a Mini Poetry Card
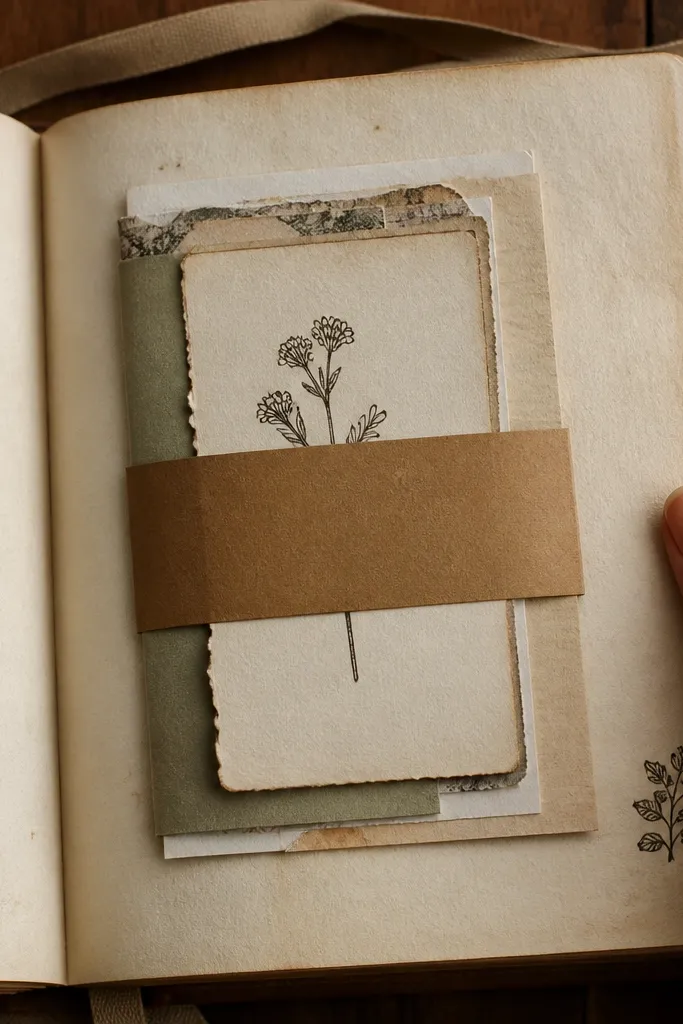
Belly bands are the quickest way to make junk journal pages look polished because they frame something inside. Book pages give a natural vintage texture, and a mini card keeps the page from feeling empty. The band also makes the page interactive without bulky pockets. This is a great choice if you want a page that looks neat from the front even when you haven’t filled everything yet. It’s easy and fast, usually 25-35 minutes.
Cut a journal page base to 5x8 inches from cardstock or thick paper. Cut a belly band strip about 1.25 inches wide and long enough to wrap with a 1 inch overlap. Glue the ends of the band to the page, then slide in a mini card sized around 3.5x5 inches. Decorate the mini card with handwritten lines using a fine black pen and add a small washi strip border.
Pro tipMake the belly band slightly tight so the mini card feels snug when you pull it out for journaling.
AvoidDon’t use a stretchy ribbon for the band; it sags and looks sloppy in photos.
4. Cereal Box Chipboard Corner Tuck with Patterned Label
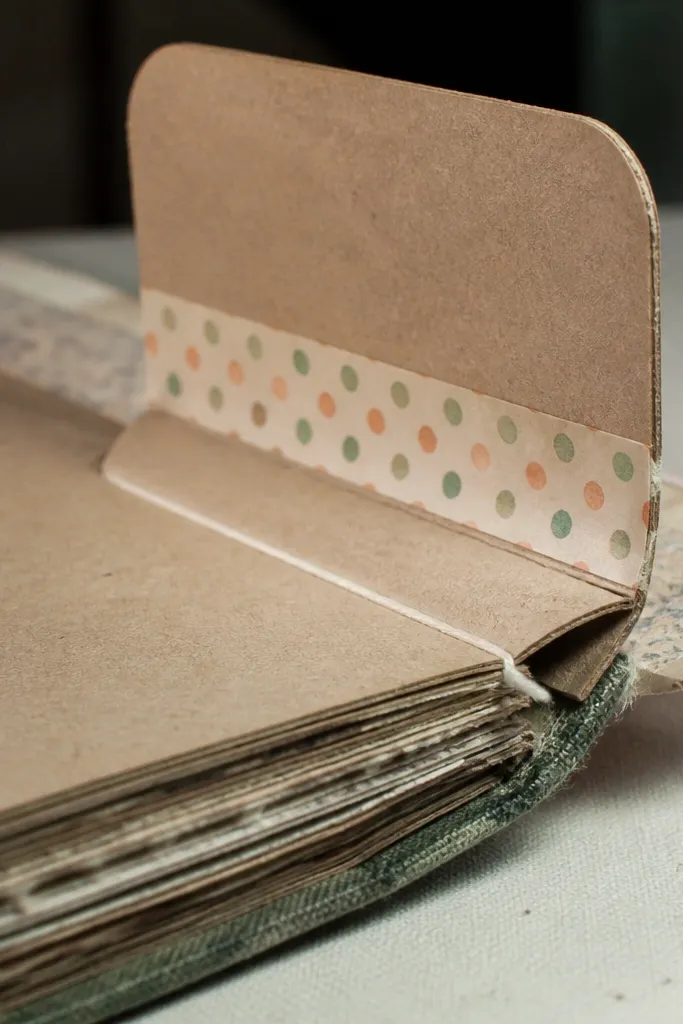
Corner tucks are underrated because they create a clean, geometric look with zero bulk. Using cereal box chipboard makes the tuck stiff and keeps the flap standing up the way store-bought inserts do. A patterned label strip adds color without overwhelming the page. This project is ideal for beginners who want structure but don’t want to sew or bind anything. It looks great on a plain page with one strong focal element.
Cut a base page to 5x8 inches and choose a plain background paper for contrast. Cut a chipboard rectangle for the corner tuck flap, about 2.5x2.5 inches, and round the outer corner with scissors. Glue the flap only on the back and only along the edges that create the tuck opening, leaving the top edge free. Add a small patterned label strip across the flap using glue stick, then tuck in a mini tag cut to about 2x3 inches.
Pro tipSand the chipboard edges lightly so the tuck doesn’t catch on paper and looks smooth.
AvoidDon’t leave chipboard unsealed; it flakes and leaves rough edges.
5. Clear Tape Pocket Over Collage Squares
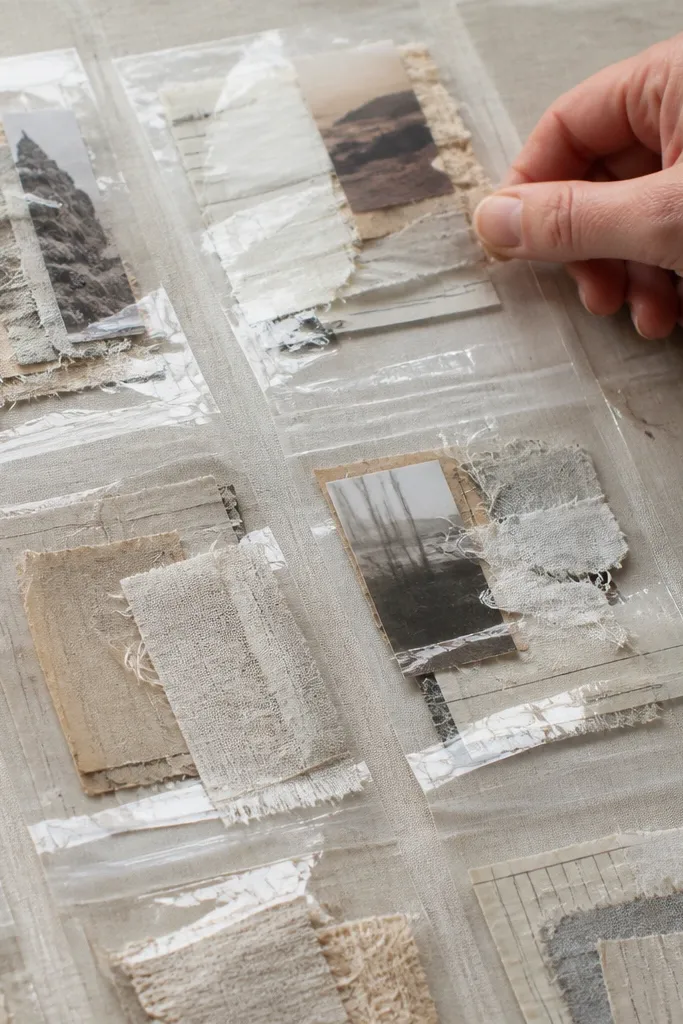
This page is all about texture under transparency. Clear tape pockets let you stack little scraps and still keep the page looking airy, not bulky. The collage squares underneath create a “window” effect that reads well in photos and makes the page feel interactive. It’s also a smart use for tiny scraps you’d normally toss. You’ll get a finished, photogenic pocket page in about 40 minutes.
Cut a base sheet to 5x8 inches and glue down a grid of small scraps (like 1 inch squares) with matte glue. Cover the area with a clear tape pocket by placing a strip of clear tape horizontally, then another strip vertically, leaving the center open like a window. Reinforce the pocket edges with a second layer of tape if you’re storing thicker bits. Add a small caption strip on the side using patterned paper and a fine-tip marker.
Pro tipUse matte glue for the collage so the tape pocket looks clean and doesn’t trap shiny lumps.
AvoidAvoid shiny glue under clear tape; it makes glare in photos.
6. Washi-Wrapped Index Tab Page with Numbered Inserts
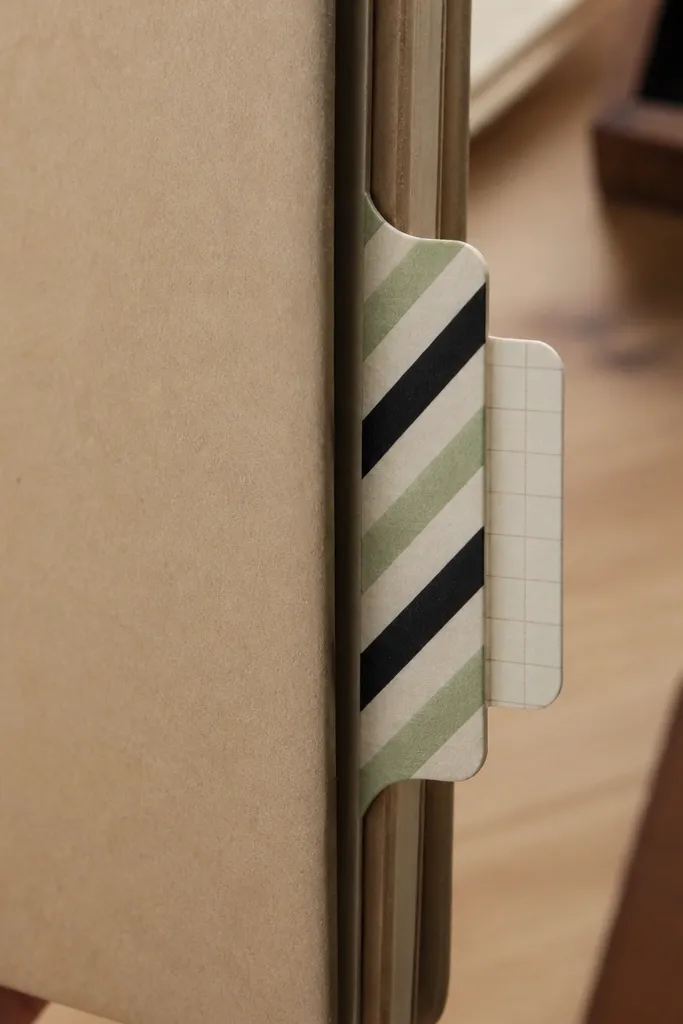
Index tabs make your journal look organized, not random, and they photograph like little design elements. Wrap the tab with washi tape so it looks intentional even if your base paper is plain. Then tuck in numbered mini cards so the page has structure and a clear theme. This is great for people who love aesthetics but want a system to keep track of what they’ve saved. Build time is around 30-50 minutes.
Cut a journal base to 5x8 inches. Make an index tab by cutting a strip of cardstock about 1.5 inches wide and 3 inches tall, then folding it in half to attach to the page. Wrap the tab with washi tape, covering the edges for a clean look. Punch or trim three mini inserts, about 1.5x2.5 inches, and write numbers with a black gel pen. Slide the inserts under the tab flap so they peek out.
Pro tipKeep all numbers the same font style and size for a crisp, gallery-like look.
AvoidDon’t make the tab too wide; big tabs cover the page and flatten the composition.
7. Handwritten Map Strip Page with Folded Landmark Tag
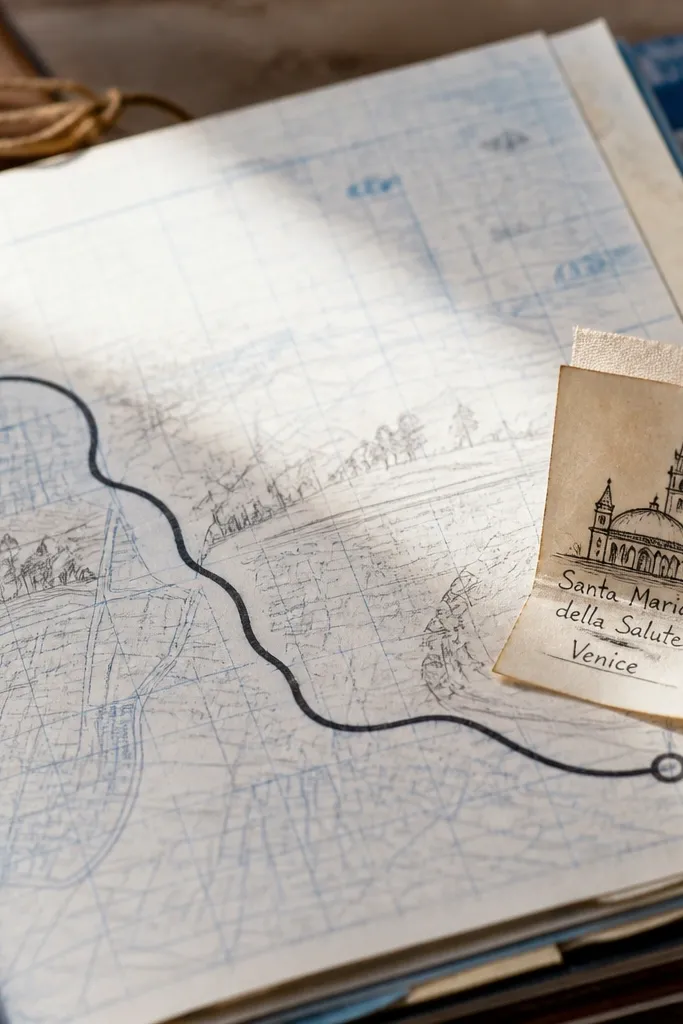
This page looks good because the typography does the work. A map strip background gives natural lines, and a folded tag with a landmark label adds a focal point that feels like a mini travel artifact. You can draw simple roads with a black marker and keep it consistent. The folded tag adds dimension without needing pockets. It suits journals themed around travel, lists, or place-based memories. Plan for 45-60 minutes for the first one.
Create a base by gluing a strip of map paper or printed map sheet across the center of a 5x8 page. Draw simple road lines with a fine black marker and add a compass rose in one corner. Cut a tag from cardstock about 2.5x4 inches and score a fold line 1 inch from the top. Write a landmark name on the folded section and glue the tag so it tucks under a small paper tab on the map strip.
Pro tipUse a ruler for the road lines — messy lines can work, but rulers make it look deliberate.
AvoidSkip low-contrast ink like gray pencil; it disappears in photos.
8. Fabric Scrap Pocket with Button Closure
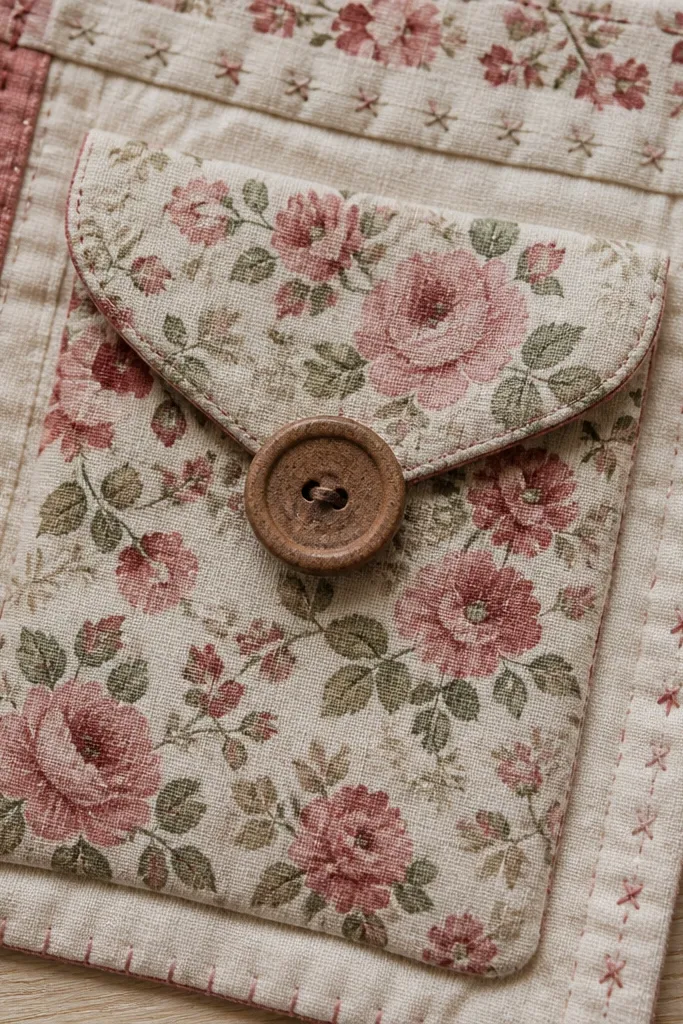
Fabric pockets look soft and high-end because they add a different surface than paper. A small button closure makes the page feel like a keepsake, and it’s easy to make without sewing machines. Choose one fabric print and one solid thread color for a clean look. This idea is best for journals that need a “special” pocket page — something you can keep returning to. It takes about 60-90 minutes the first time because you’re getting clean edges and placement right.
Cut a base page to 5x8 inches. Make a fabric pocket by cutting two fabric rectangles (about 4x5 inches) and a thin backing layer from cardstock so it holds shape. Glue the fabric pocket to the page at the sides and bottom, then fold the top edge inward for a neat finish. Add a button closure by gluing a small button on the front flap and tying or gluing a thread loop on the page edge so it catches when closed.
Pro tipUse fabric glue for placement, then reinforce the pocket edges with a thin line of matte gel medium so it stays flat.
AvoidDon’t use slippery satin fabric; it shifts and makes the pocket look uneven.
9. Autumn Leaf Stencil Background with Seed Tag Tuck
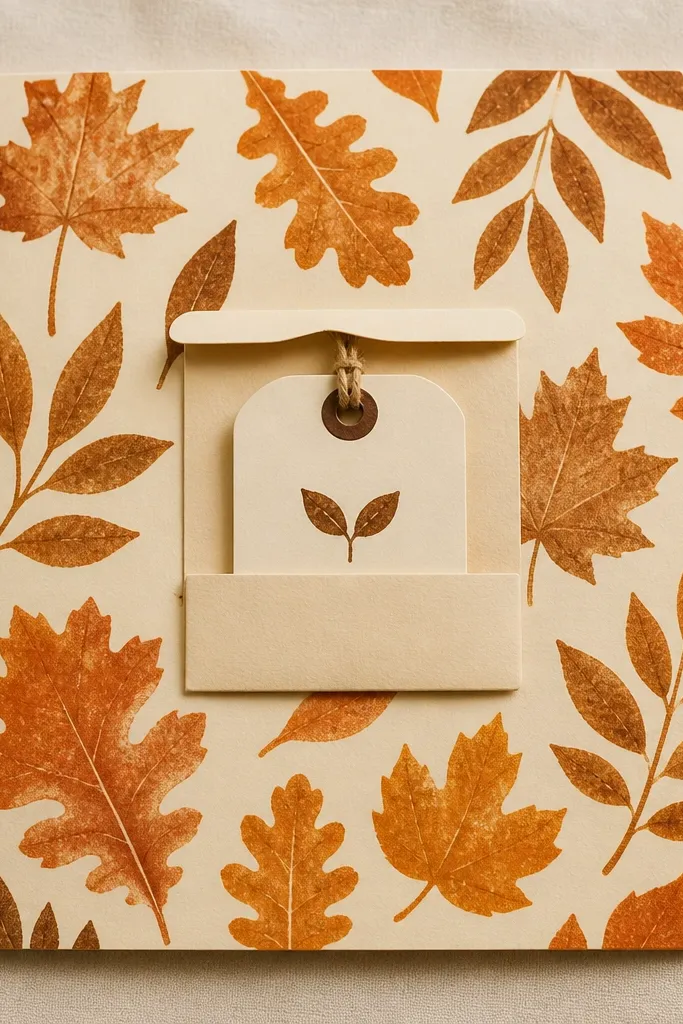
Leaf stencils make pages look artsy without needing fancy drawing. The background texture gives you a full page look, and the seed tag tuck adds a clear storage element. Choose a limited color palette — burnt orange, warm brown, and a touch of cream — so it stays photogenic instead of muddy. This is a good pick when you want seasonal pages that still feel cohesive across a whole journal. Budget supplies: stencil, paint or ink, cardstock, and scraps. Time is about 45 minutes.
Stabilize a base page by taping it flat to a craft mat. Use a leaf stencil and sponge paint to stamp a pattern across the page — start light, then build density only in one area for a better look. Let it dry completely. Cut a side pocket from sturdy scrap paper and glue it along the right edge, leaving the top open. Make a seed tag from cardstock (about 2x3.5 inches) and tuck it into the pocket.
Wipe the stencil between stamps so you don’t get thick blobs that ruin the clean photo look.
Don’t cover the whole page evenly; uneven density looks more natural and intentional.
10. Sticker Sheet Layering Page with Clear Label Strip
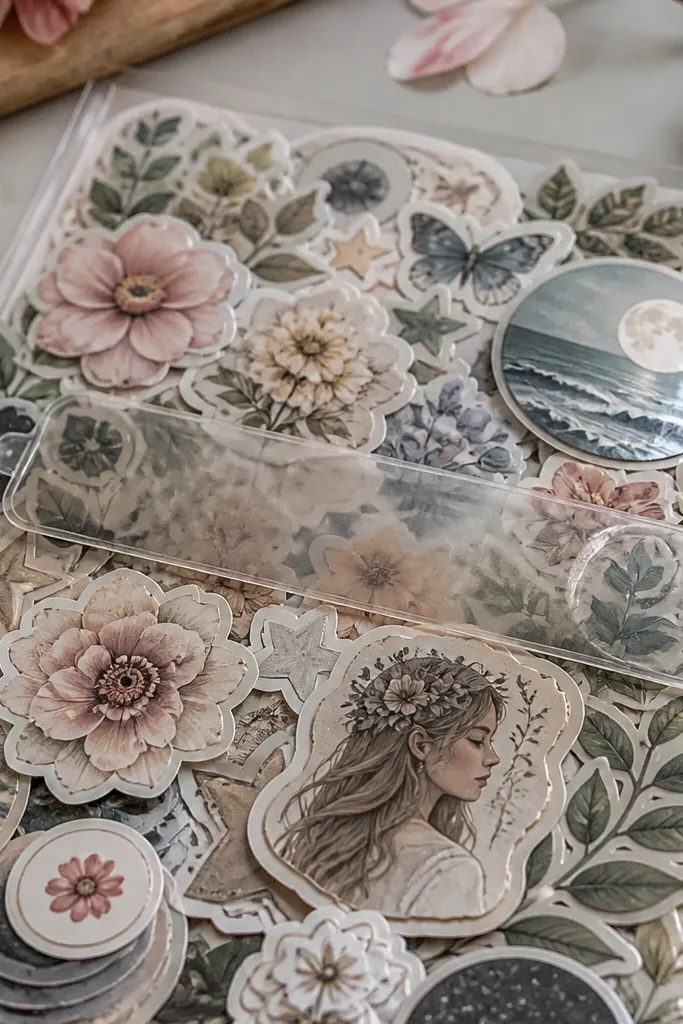
Layered sticker pages look bold because stickers bring color and shape immediately. The key is to layer in a planned way, then add one “label” strip to anchor the composition. A clear label strip (clear tape or a cut acetate sheet piece) makes the page look like a product insert. It’s perfect for journaling prompts, quick notes, or saving mini stickers you don’t want to paste flat. Skill level is easy, and you can finish in about 30-40 minutes.
Cut a base page to 5x8 inches and choose three sticker clusters that share a color theme. Arrange them first without glue — overlap slightly but keep one cluster centered. Glue each cluster down with a glue stick, then add a clear label strip across the top third. Write a short title on the label strip with a fine black marker, then add a small journaling box at the bottom using scrap paper.
Pro tipPress stickers with a bone folder or clean ruler so edges lay flat for photos.
AvoidDon’t paste everything at full size; scaling one cluster smaller makes the page look designed.
11. Graph Paper Window with Layered Frames
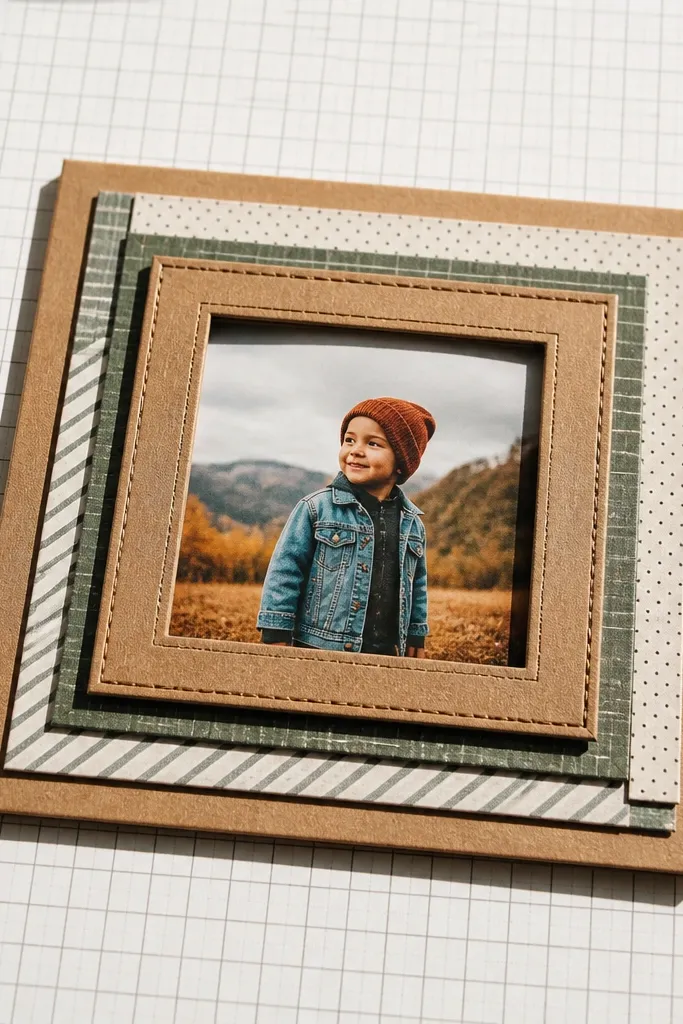
Graph paper gives instant structure and makes any junk journal page look organized. A window frame adds depth, and layered frames make it look like you built a mini display. This page is great when you have scraps but want a clean, modern look. It also works well for lists, measurements, or a photo you print at home. Build time is around 50 minutes.
Cut a base page to 5x8 inches. Cut a graph paper rectangle about 3.5x4.5 inches and glue it slightly off-center. Build layered frames by cutting two more rectangles from cardstock — one about 4x5 inches and one about 4.25x5.25 inches — and glue them around the graph paper like a mat. Add a small caption strip at the bottom corner and glue a tiny photo or journaling card behind the window opening.
Pro tipUse a contrasting cardstock color for the outer frame, like black or deep navy, for instant pop.
AvoidDon’t use thin paper for frames; it warps and makes the window look crooked.
12. Receipt Strip Timeline with Folded Date Tag

A timeline page looks great because receipts already have lines and dates. You’ll create a visual path using receipt strips, then add a folded date tag that points to one spot. It’s a clean way to add journaling without drawing a lot. This works for planning, monthly recaps, or “saves” pages. It takes about 35-55 minutes depending on how many receipts you use.
Cut a base page to 5x8 inches and arrange receipt strips diagonally across the center. Glue them down with matte glue, leaving tiny gaps between strips for readability. Make a folded date tag from cardstock about 2x3 inches and score a fold line 3/4 inch from the top. Glue the tag so the folded part sticks out like a flag, then write a date on the flag and a short note on the underside.
Pro tipUse one pen color for dates and another for short notes to keep it photo-clean.
AvoidDon’t overlap too many receipts — the page gets visually noisy fast.
13. Polaroid-Style Photo Mat with Faux Photo Frame
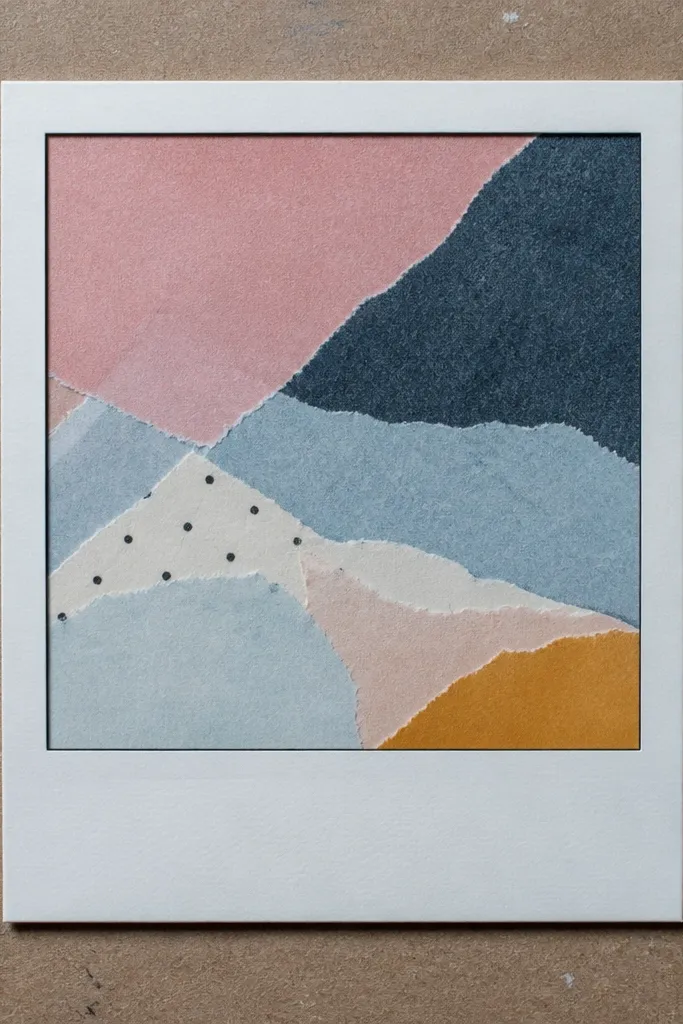
This is a classic look because polaroid-style mats read instantly in photos and on the page. Instead of printing photos, use a printed texture or a small collage square as the “photo” so it stays budget. A faux frame border makes it feel like a real snapshot without needing expensive supplies. It’s perfect for a single focal page where you want everything else to be simple. Build time is about 40 minutes.
Cut a base page to 5x8 inches. Create a polaroid mat by cutting a cardstock rectangle about 3.25x4.25 inches, then add a white border mat using another strip of cardstock about 0.5 inches around the inner photo area. Glue the “photo” (a small collage square or printed image) behind the opening. Add a thin border line with a black marker and attach a mini journaling strip at the bottom.
Pro tipRound the corners of the mat with scissors for that soft photo feel.
AvoidDon’t use overly patterned paper for the mat; it steals attention from the focal square.
14. Long Skinny Pocket for Glossy Cutouts and Notes
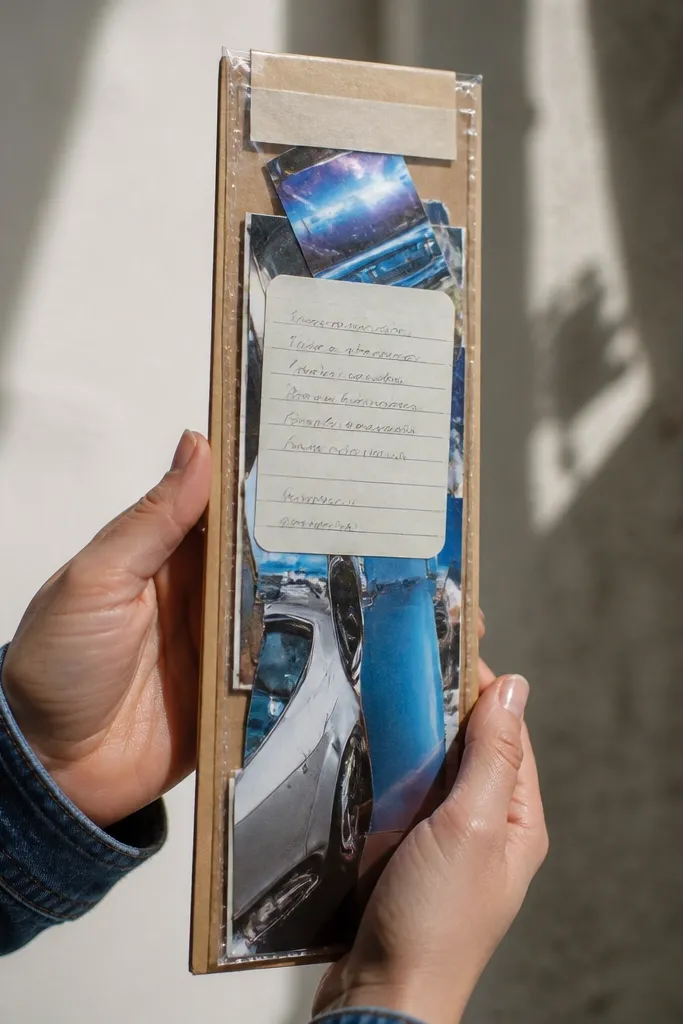
Long skinny pockets look sleek and give you vertical storage, which is great when you want your journal to stay visually clean. Glossy cutouts from catalogs or magazines pop inside the pocket because the pocket acts like a frame. This page is also easy to customize for seasons or themes by choosing one color family of cutouts. It’s a strong pick when you have lots of small paper bits but need them organized. Time is about 30-45 minutes.
Cut a base page to 5x8 inches. Make a pocket from sturdy paper — aim for about 1 inch wide and 6 inches tall, leaving a top opening. Glue the pocket along one side of the page, keeping the pocket opening perfectly aligned with the page edge. Decorate the top edge with a thin washi strip so it looks intentional. Slide in one glossy cutout strip and one folded note strip.
Pro tipBurnish the pocket opening with a ruler so it stays crisp and doesn’t fray.
AvoidDon’t make the pocket too wide; wide pockets hide the cutouts and look bulky.
15. Layered Tag Stack with Threaded Twine Loop
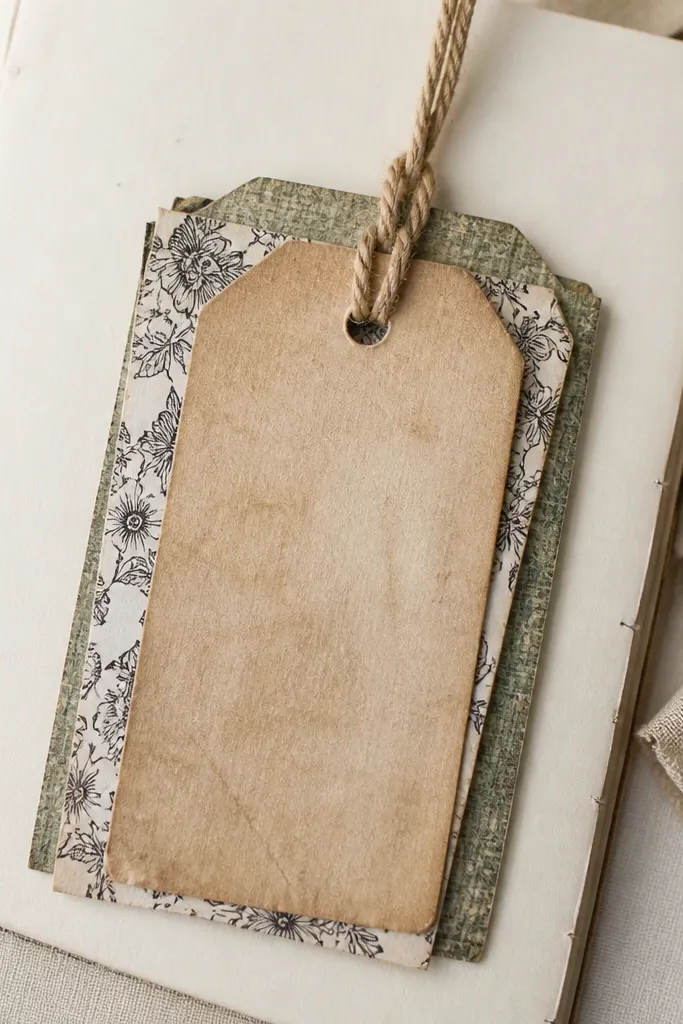
Tag stacks are photogenic because they show depth and layered materials. Twine loops add a handmade look and let you pull tags out without fiddling with tiny pockets. Use three tags of different textures — one printed, one tea-stained, one patterned — so the page looks curated even on a budget. This is a great “statement page” when you want a page that feels like a little drawer. Plan for 60 minutes.
Cut a base page to 5x8 inches. Make a tag stack by cutting three tags about 2.5x4 inches each, then layer them with different paper sizes so edges peek out. Punch two holes near the top of all tags and align them. Thread twine through the holes and tie a loop on the back side, then glue the bottom of the tag stack to the page so the tags hang and show their edges.
Pro tipUse baker’s twine and keep the loop tight; loose twine looks messy in photos.
AvoidDon’t glue tags fully flat; leave the top area free so the stack looks dimensional.
16. Corner Flip Photo Frame with Rounded Tab
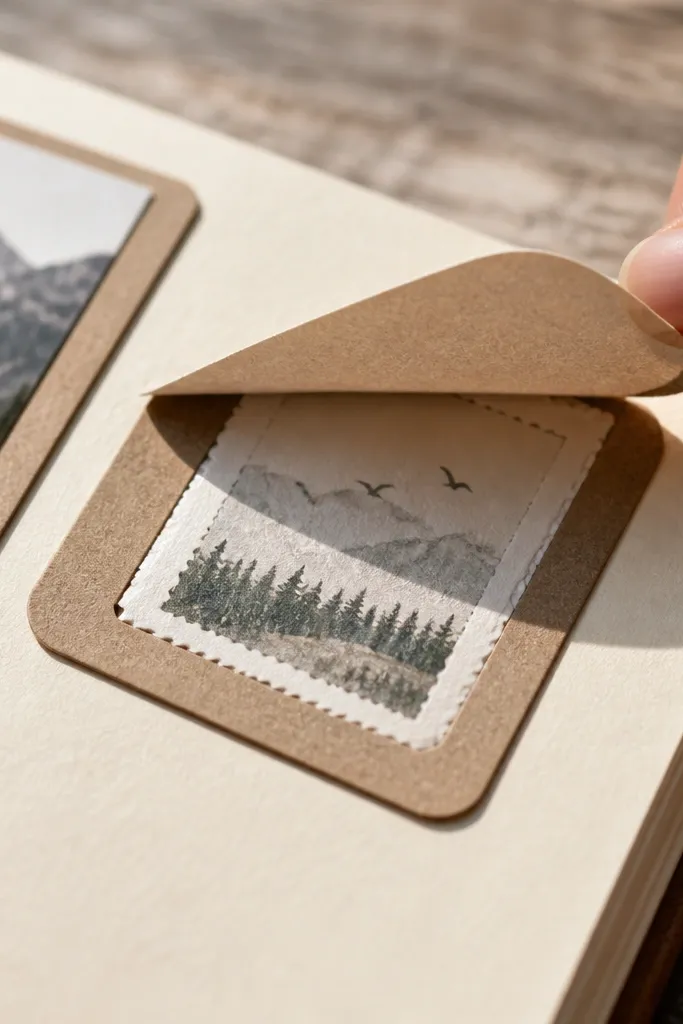
Corner flip frames are clean and modern — they don’t take over the whole page, but they still give you that reveal action. Rounded tabs are softer visually and look good against straight paper edges. This idea makes a page feel like a mini album insert without bulky binding. Use it for a small photo card, a stamped image, or a cutout collage. It’s beginner-friendly and usually takes 45-60 minutes.
Cut a base page to 5x8 inches. Create a corner flip by cutting a cardstock rectangle about 4x4 inches and rounding one corner. Score a hinge line about 1/2 inch from the edge and attach with strong tape or washi on the hinge side. Glue a small photo card to the inner side of the flip so it shows when open. Add a small journaling strip tucked under the corner tab when closed.
Pro tipUse a bone folder to crease the hinge — the flip should open flat and stay neat.
AvoidAvoid thick embellishments near the hinge; they stop the flip from closing smoothly.
17. Watercolor Wash Background with Dry Embossed Word Strip
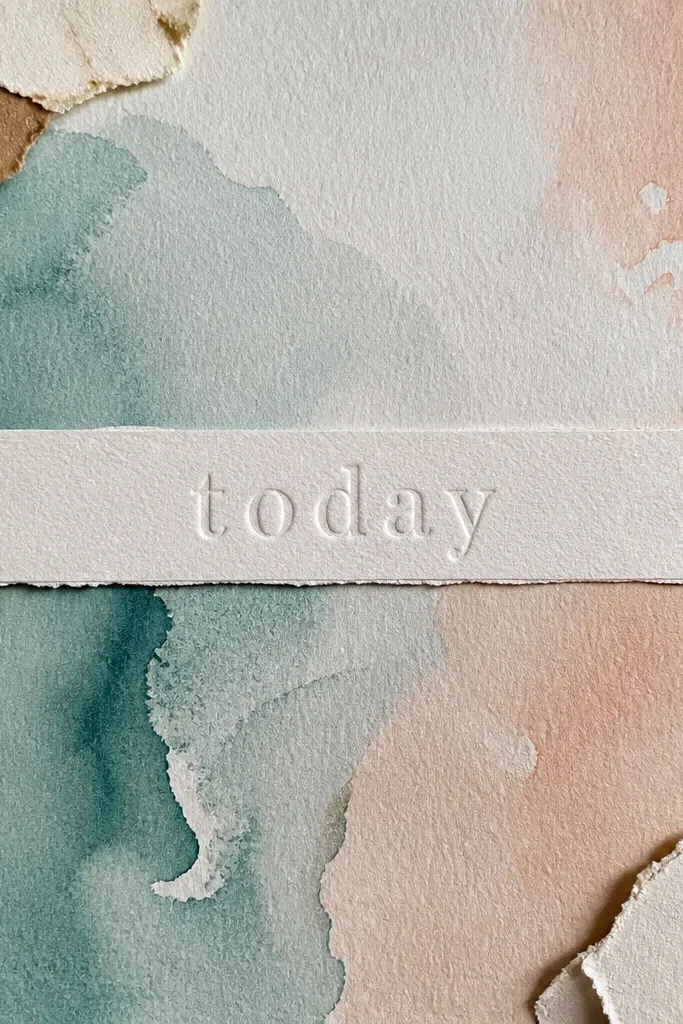
A watercolor wash background makes your journal look artsy fast, and the raised word strip gives it that tactile, designer feel. You don’t need calligraphy — stick to one short word like “today,” “notes,” or “home.” Dry embossing with a word stencil or texture plate makes the word catch light in photos. Add tiny scraps around the corners for balance, then keep the center clean. This one looks great when your theme is calm, self-care, or journaling prompts. Time is about 1-1.5 hours.
Paint a loose watercolor wash on a 5x8 page using 2-3 diluted colors and let it dry completely. Place a word stencil or texture template where you want the raised strip, then use an embossing stylus or embossing paste sparingly. Let the raised strip dry, then brush off any loose powder. Cut a thin strip of paper for the journaling line and glue it below the embossed word. Finish by adding two small corner scraps with matte glue.
Pro tipLet watercolor dry fully before embossing paste — wet surfaces blur the raised texture.
AvoidDon’t add too many colors; more than three washes makes the page look muddy.
18. Stitched-Edge Paper Frame with Layered Scrap Inside
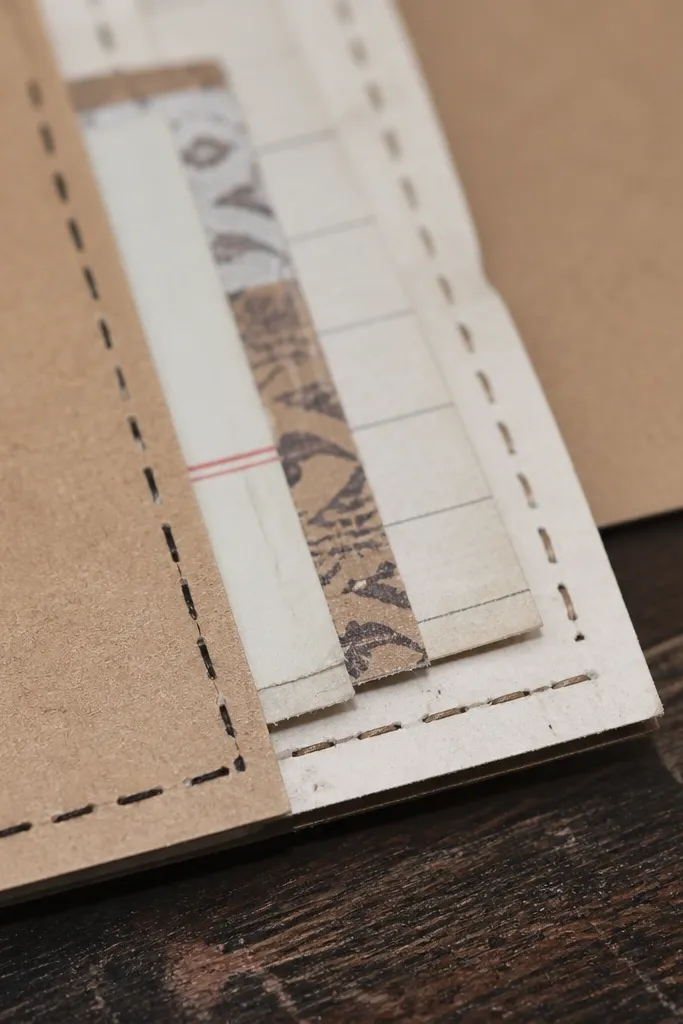
A stitched-edge frame makes junk journal pages look handmade and intentional, even if you don’t sew. You can fake the stitch with a simple running line using a fine pen, or you can use a glue-and-thread method for more texture. The frame gives you a clean border, and the layered scrap interior gives visual interest without chaos. This is a good choice when you want a strong page structure that holds up across many spreads. Build time is about 45 minutes.
Cut a base to 5x8 inches. Create a rectangle frame by gluing a cardstock mat strip about 0.75 inches from the page edges. Fill the center with layered scraps — one patterned paper piece, one text piece, and one solid color strip — glued in a simple stack. Add a faux stitch line by drawing tiny dots and short lines with a fine black pen along the frame edge. Finish by gluing a small journaling tag on one side.
Pro tipMake your faux stitches consistent by using a ruler edge as a guide for dot spacing.
AvoidDon’t freestyle the frame spacing; uneven borders make the whole page look off.
19. Stamp-Set Background with Washi Border and Plain Label
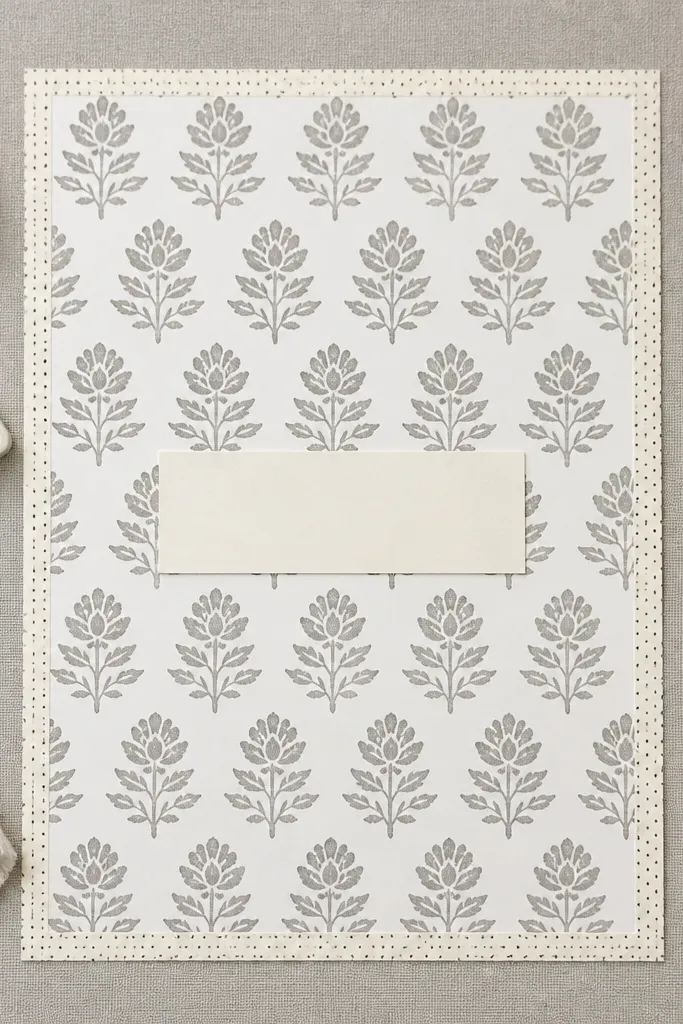
Stamp backgrounds look clean and intentional because the pattern repeats. Pair it with a washi border for a crisp outline, then add a plain label strip for journaling. The label strip keeps the page from feeling like a random stamping session. This is a budget-friendly way to make pages with very little paper waste. It suits all journal styles because it’s easy to theme with your stamps — florals, stars, letters, or dates. Time is about 40 minutes.
Stamp a pattern across a 5x8 base page using one ink color — black or dark brown looks best. Use a washi strip border around the outside edge of the page to frame the stamps. Cut a label strip about 1 inch tall and 3.5 inches wide, then glue it near the center. Write a short header on the label with a fine pen. Add one small sticker or die-cut piece near the label corner.
Test stamp pressure on scrap paper first so you get crisp images instead of muddy prints.
Skip multiple ink colors; mixing inks makes it look messy fast.
20. Black Gesso Splatter Page with Gold Foil Quote Strip
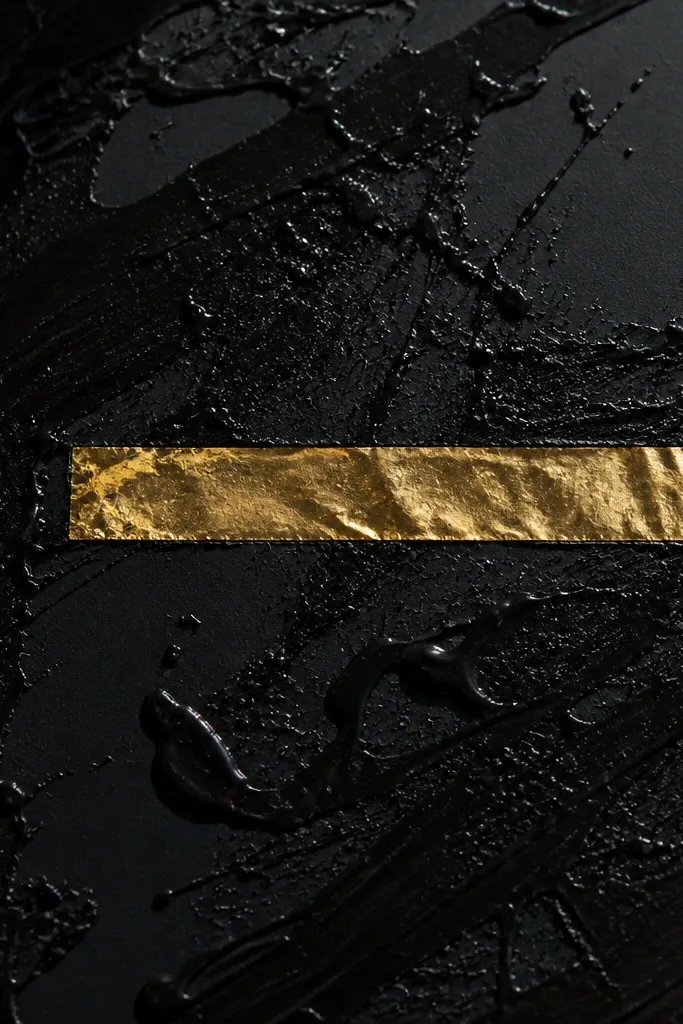
This page is loud in the best way. Black gesso splatter creates a bold texture, and a gold foil quote strip gives you that high-contrast, graphic look. You don’t need lots of decorations because the background is already doing the heavy lifting. The quote strip is where you write a short line, then you anchor it with a clean border so it doesn’t float. This is great for covers, title pages, and “statement” journal entries. Build time is about 30-45 minutes.
Cover a 5x8 page with a light layer of black gesso or black acrylic wash, then splatter extra gesso using a stiff brush. Let it dry completely so the texture doesn’t smear. Cut a gold foil strip and glue it in the center — about 1 inch tall and 4.5 inches wide. Write a short quote on clear label paper and glue it over the foil strip, or just leave foil as the text area. Add a thin white pen line border around the foil strip for contrast.
Spray a light mist of water on your brush before splattering for finer droplets.
Don’t over-splatter; too much texture makes the quote strip unreadable.