
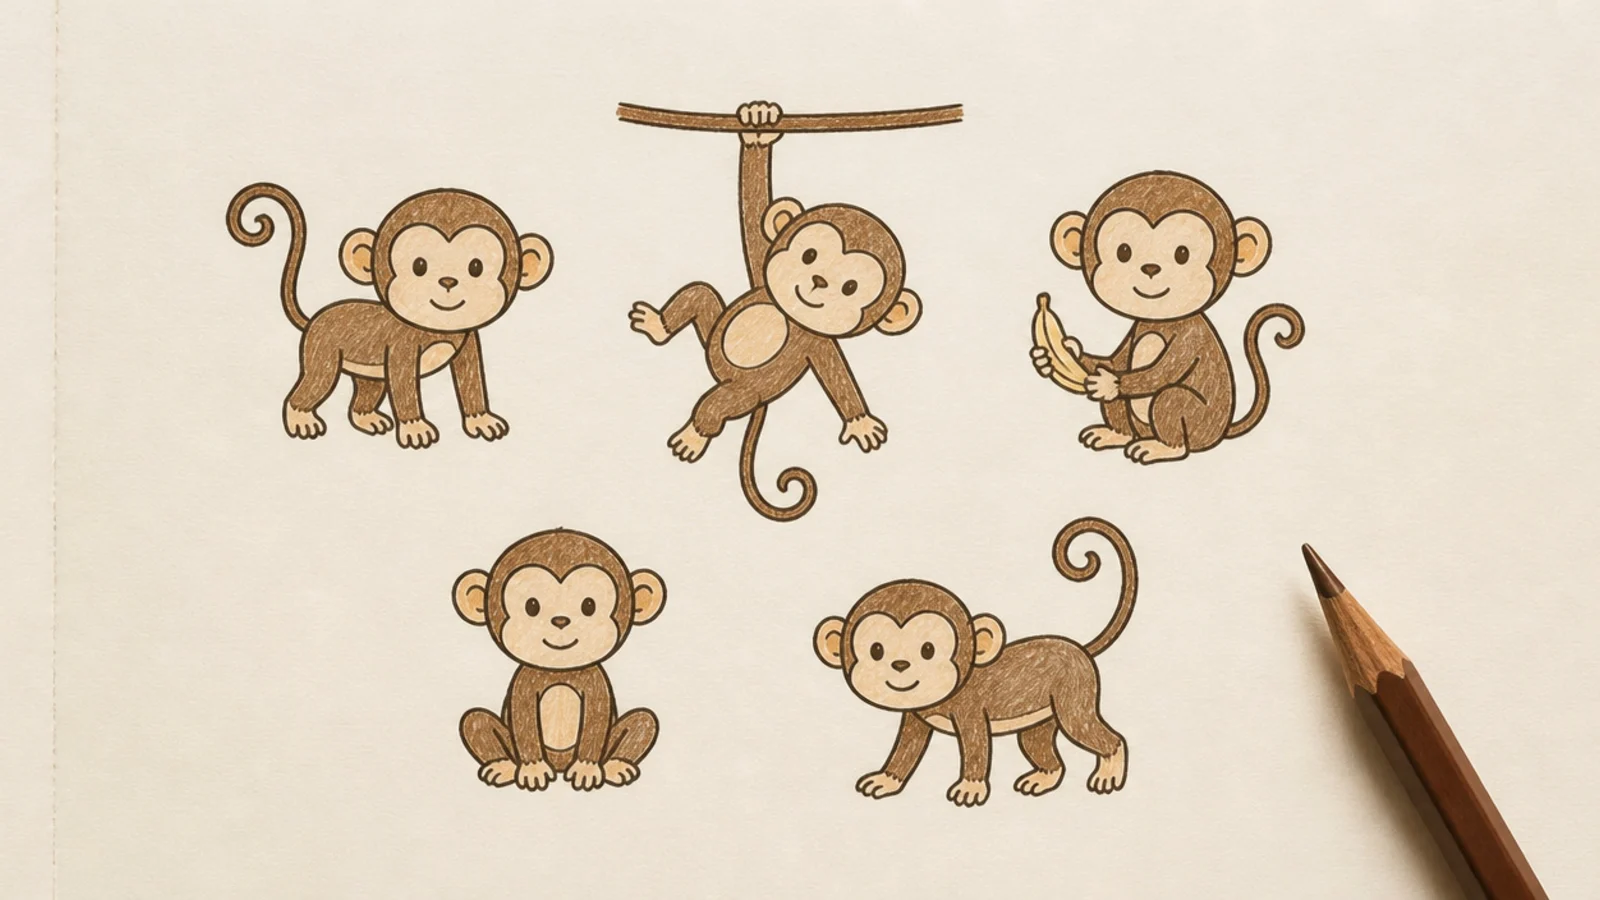
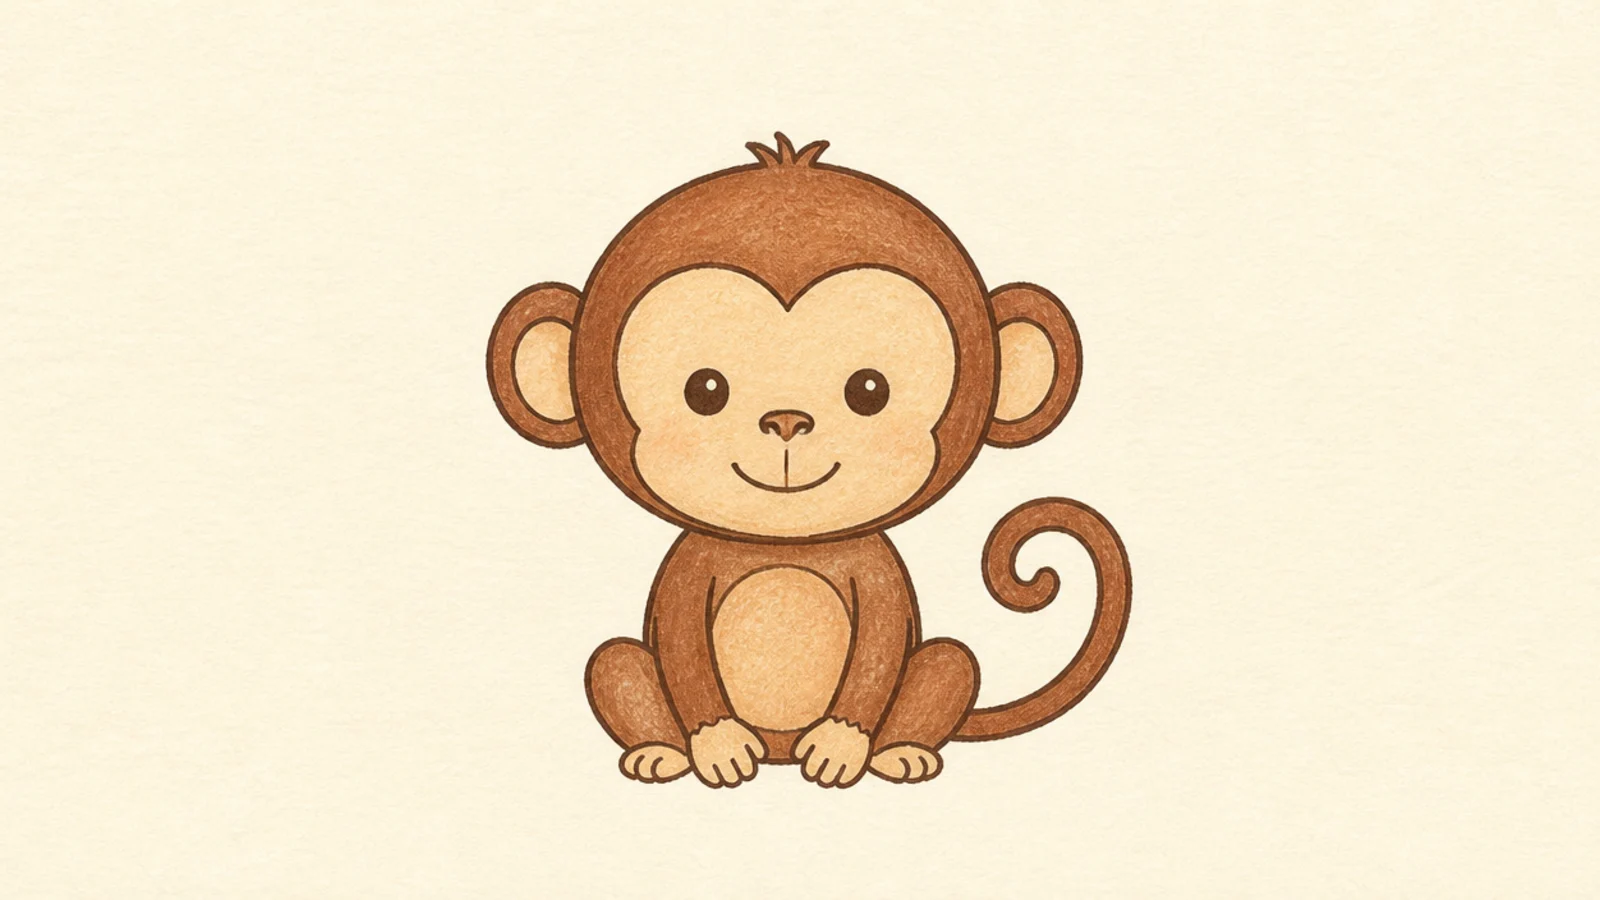
1 Two-Circle Simple Monkey
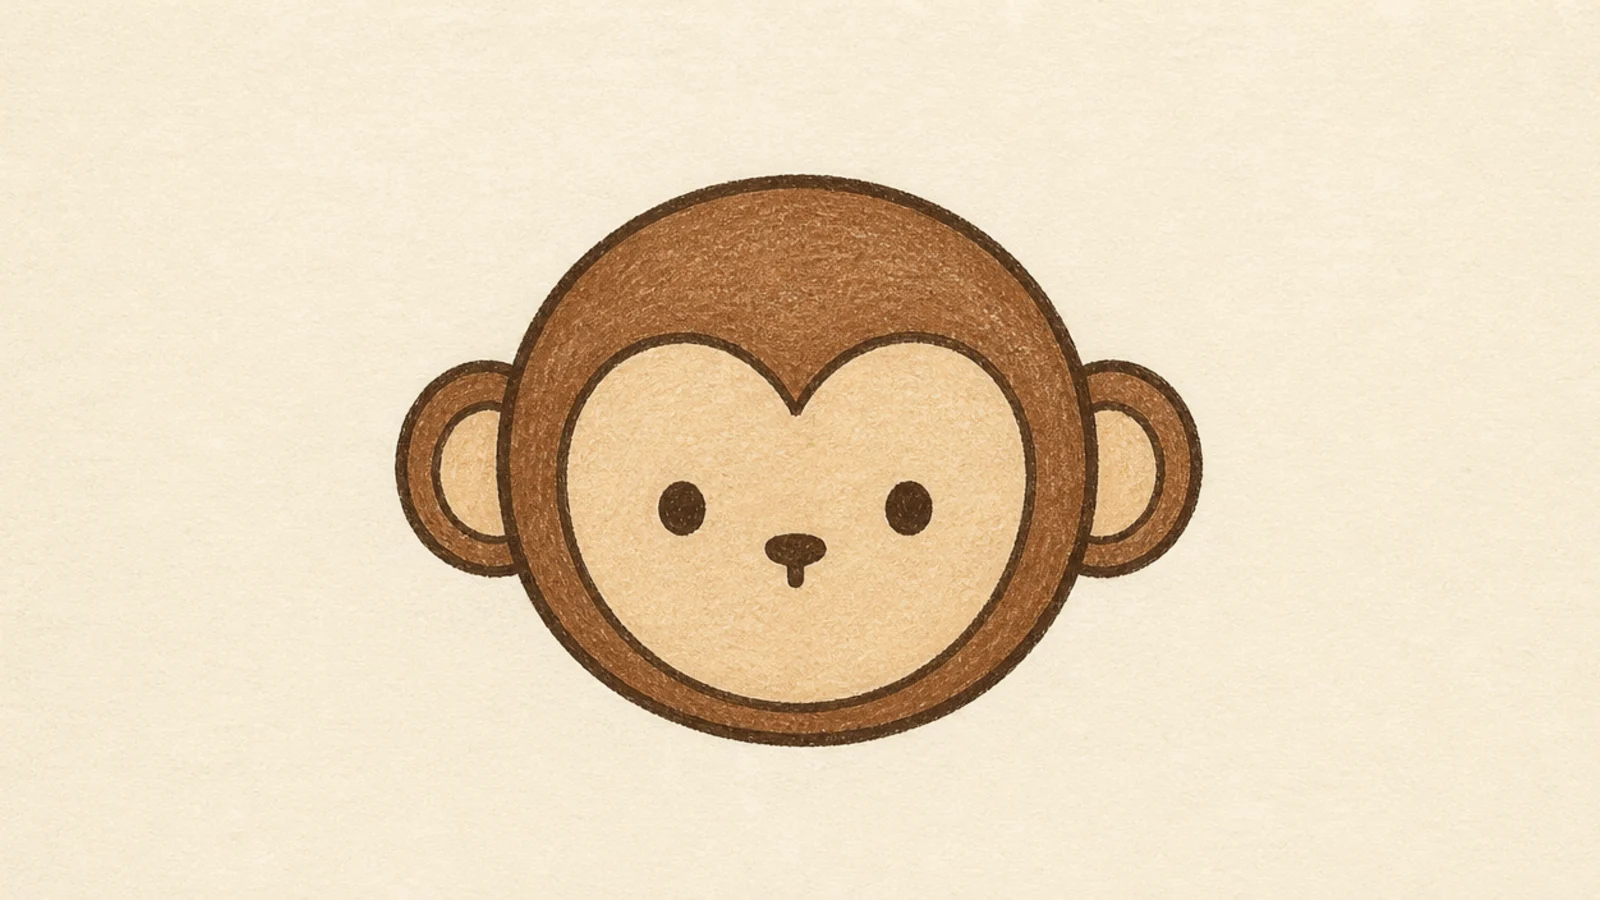
This is the simplest monkey possible — one head circle, a heart face patch, and two ears. It looks clean because there is nothing to get wrong. It is the perfect first attempt and the base for everything else.
Step 1 draw a circle for the head. Step 2 draw a soft heart-shaped patch low inside it for the face. Step 3 add a round ear on each side and two dot eyes with a tiny nose.
Pro tipSit the face patch low so the forehead stays tall and cheeky.
AvoidDon’t put the ears on top; monkey ears sit on the sides, level with the eyes.
2 Big Round-Ear Monkey Face
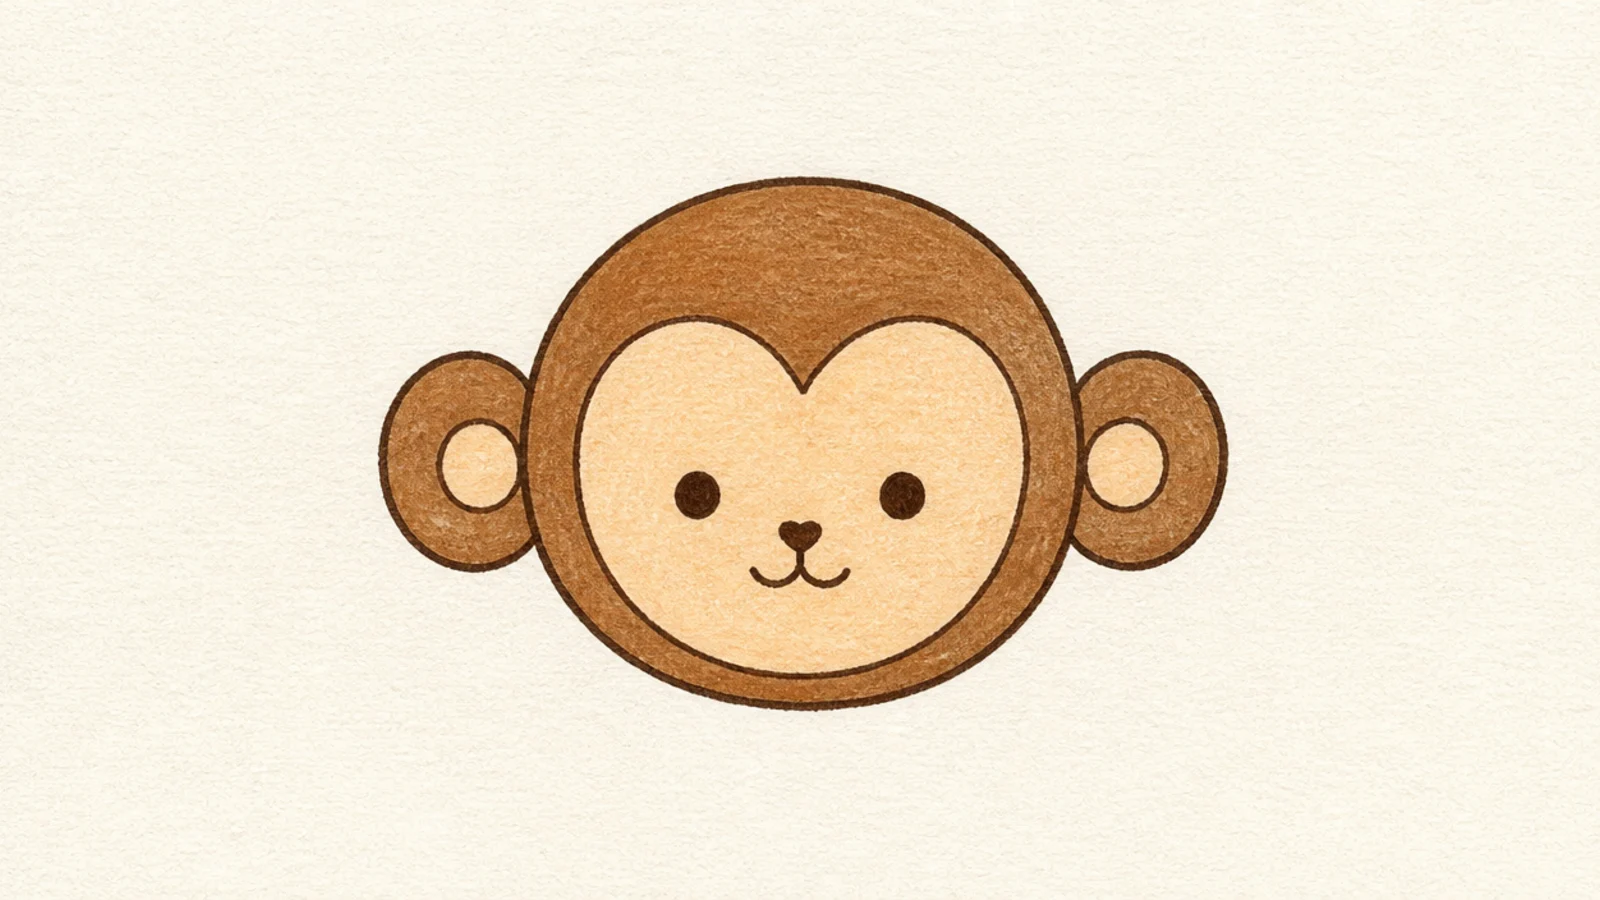
Making the two side ears extra big gives the monkey a friendly, cartoon feel. The oversized ears are still just circles. It reads as a monkey instantly.
Step 1 draw the head circle. Step 2 add two large circle ears touching the sides. Step 3 tuck a heart face patch low and add dot eyes and a small mouth.
Pro tipDraw a smaller circle inside each ear for the pink inner ear.
AvoidDon’t make the ears tiny; big round ears sell the monkey look.
3 Heart-Patch Monkey
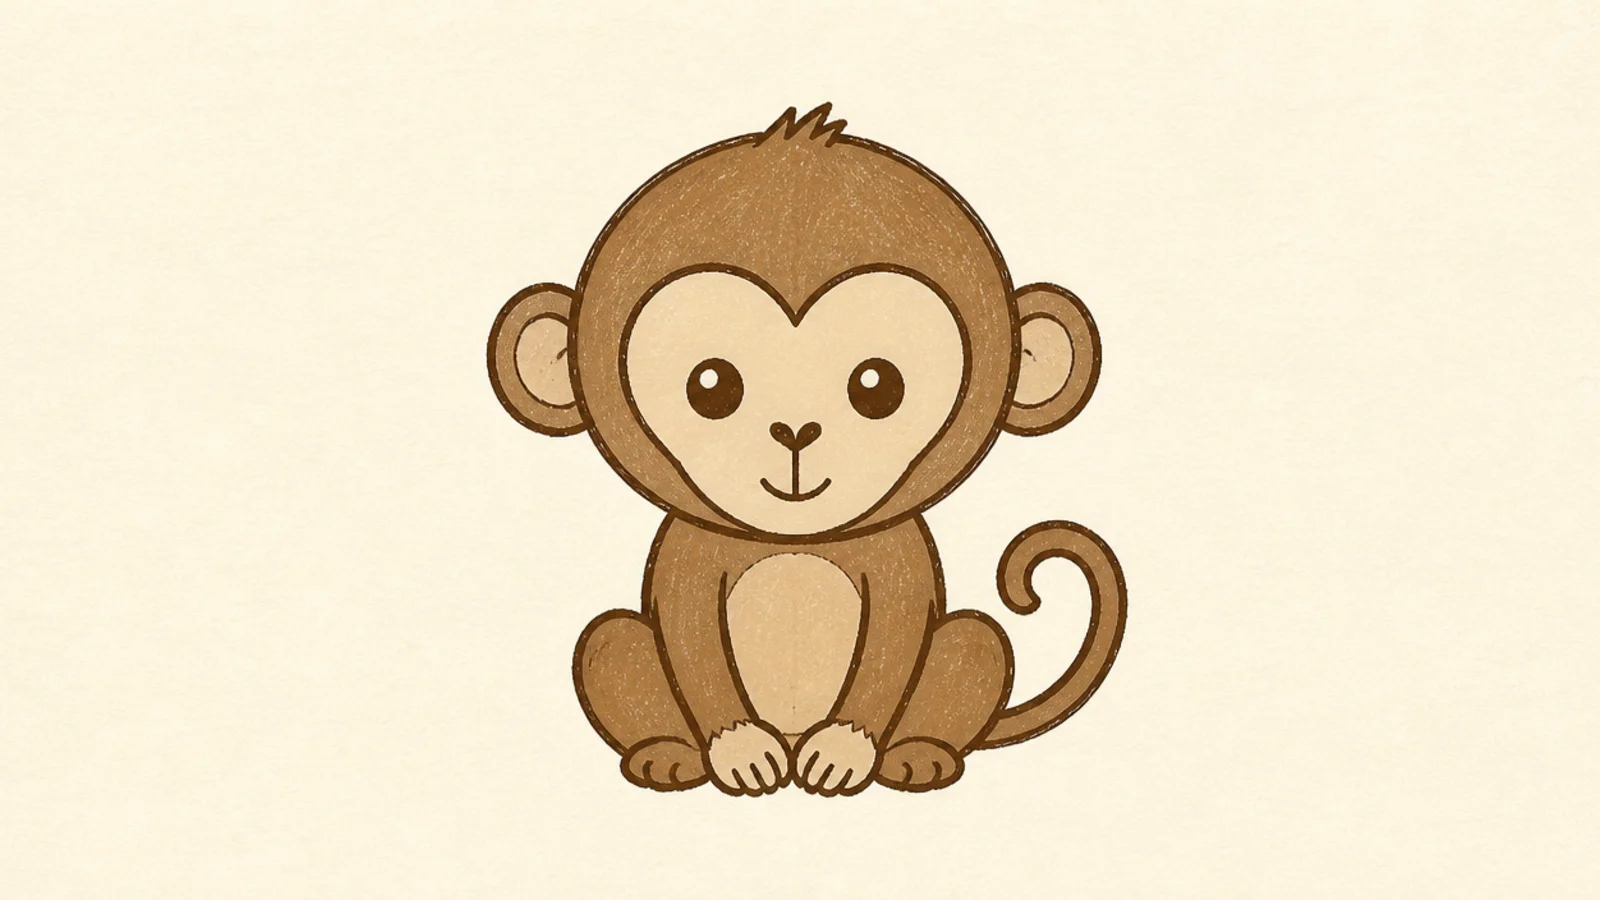
Leaning into the heart shape for the face patch makes an especially sweet monkey. The heart frames the eyes and muzzle. It is easy and charming.
Step 1 draw the head and ears. Step 2 draw a clear heart shape low inside the head for the face. Step 3 put the eyes at the top curves of the heart and the nose at its point.
Line the two eyes up with the two humps of the heart for a balanced face.
Don’t make the heart too big; leave a tall forehead above it.
4 Peanut-Patch Monkey
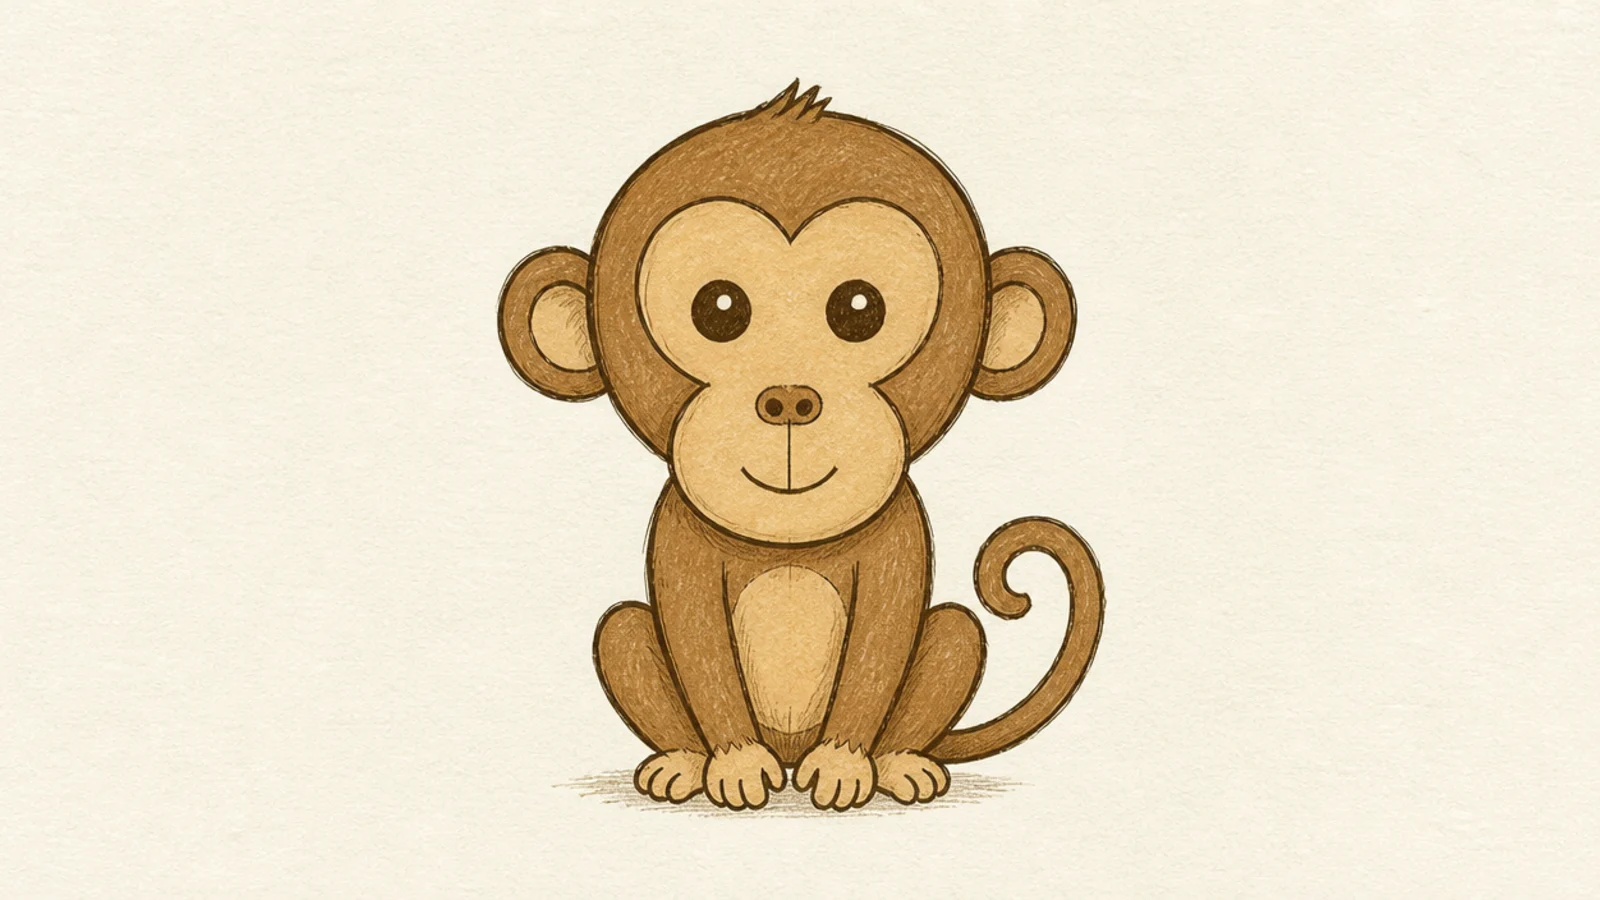
A figure-eight peanut shape is the other classic monkey face patch. It gives a rounder muzzle and a slightly older look. It is just as simple as the heart.
Step 1 draw the head and ears. Step 2 draw a peanut (figure-eight) shape low inside for the face. Step 3 put the eyes at the top loop and the nose and mouth in the bottom loop.
Pinch the peanut in the middle so the eyes and muzzle read as separate.
Don’t draw one flat oval; the pinched peanut looks more like a monkey.
5 Monkey Hanging by One Arm
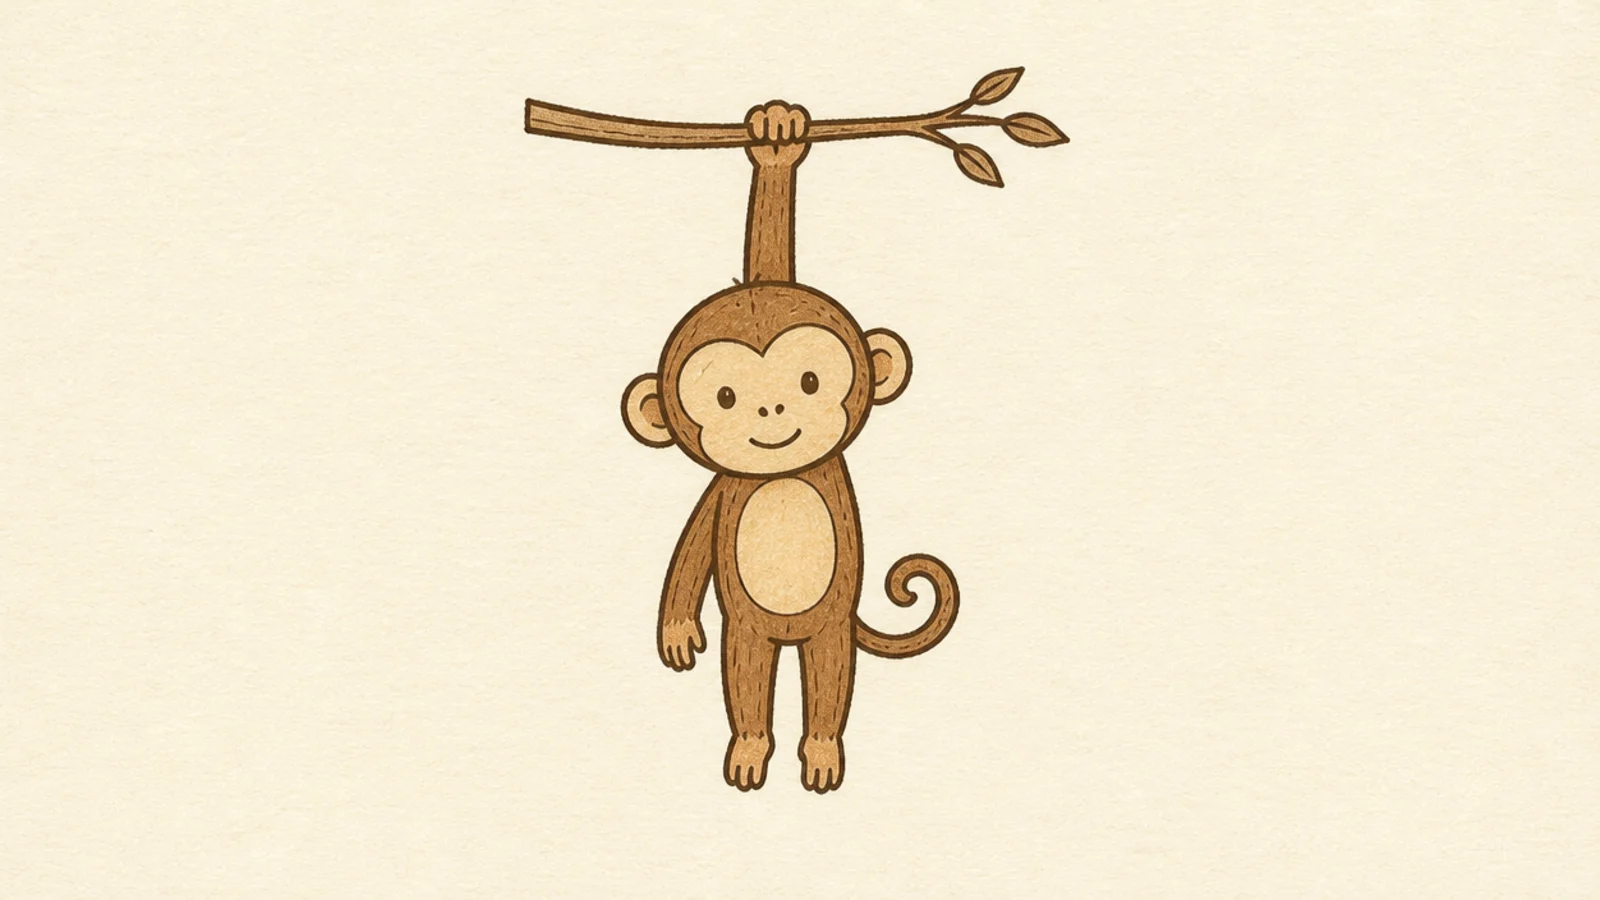
A monkey hanging by one arm is the pose everyone pictures, and it is easy. One arm reaches up and the body dangles. It adds instant personality.
Step 1 draw the head and face patch. Step 2 add a bean body below and one arm reaching straight up. Step 3 add the other arm, two legs, and a curling tail.
Pro tipDraw a small line above the raised hand to suggest the branch it grips.
AvoidDon’t make the hanging arm bent; a straight reach reads as gripping.
6 Curled-Tail Monkey
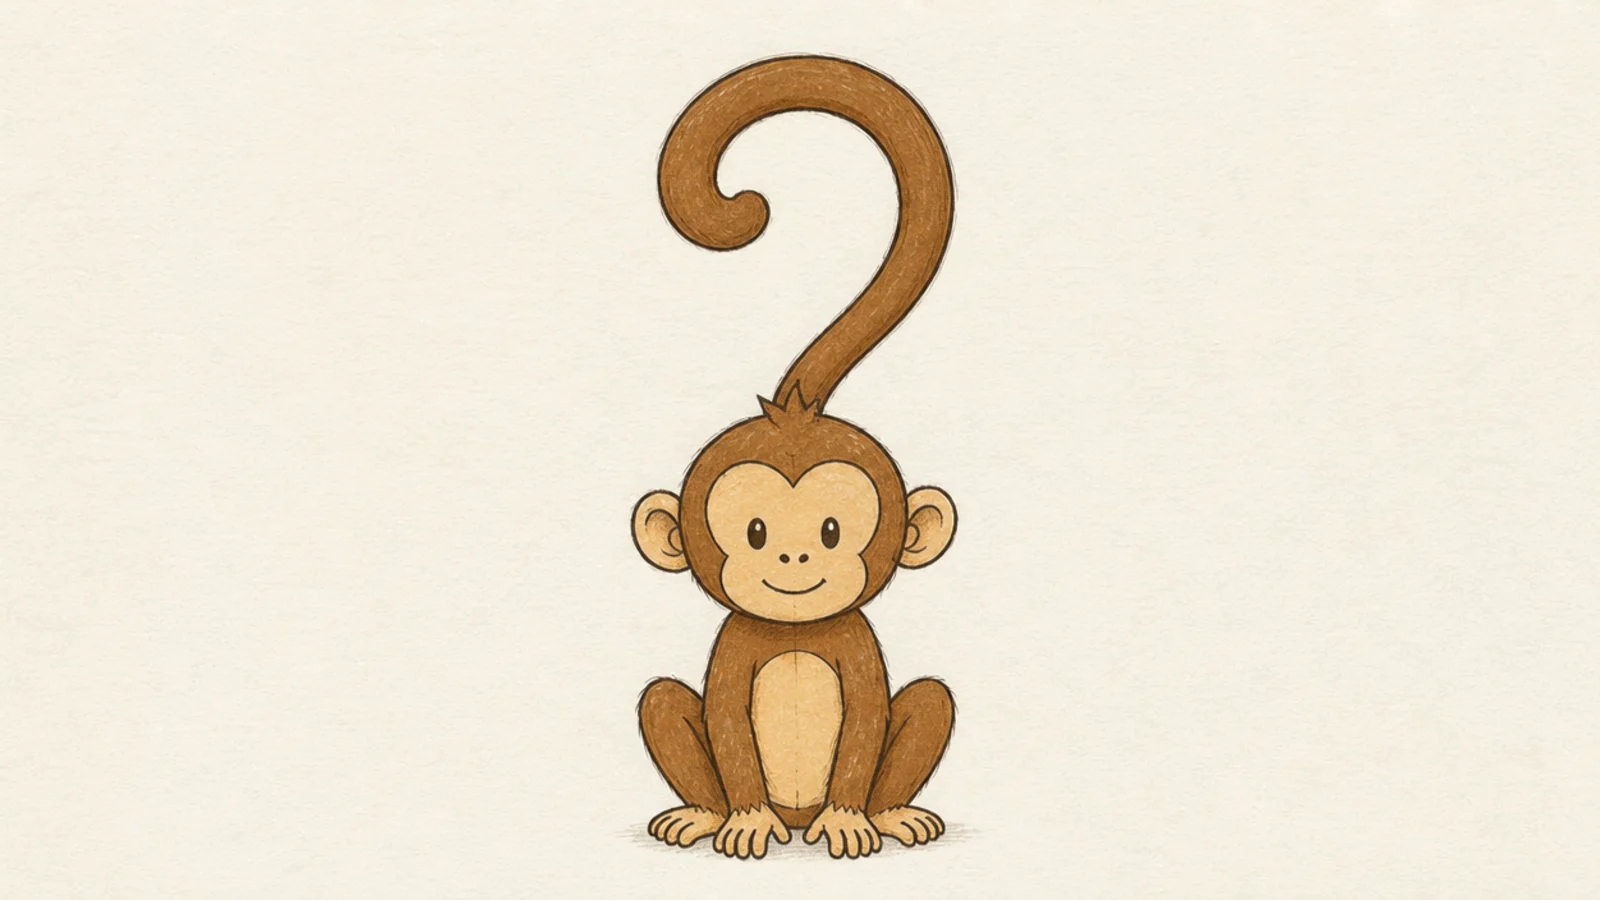
This one makes the curling tail the star. The big loose spiral is fun to draw. It shows off the most monkey-like feature.
Step 1 draw a simple sitting monkey. Step 2 draw one smooth line curving out from the lower back. Step 3 spiral the end into a loose curl like a question mark.
Pro tipDraw the tail in one confident stroke so the curl looks smooth.
AvoidDon’t make the tail straight; the curl is the whole point.
7 Simple Sitting Monkey
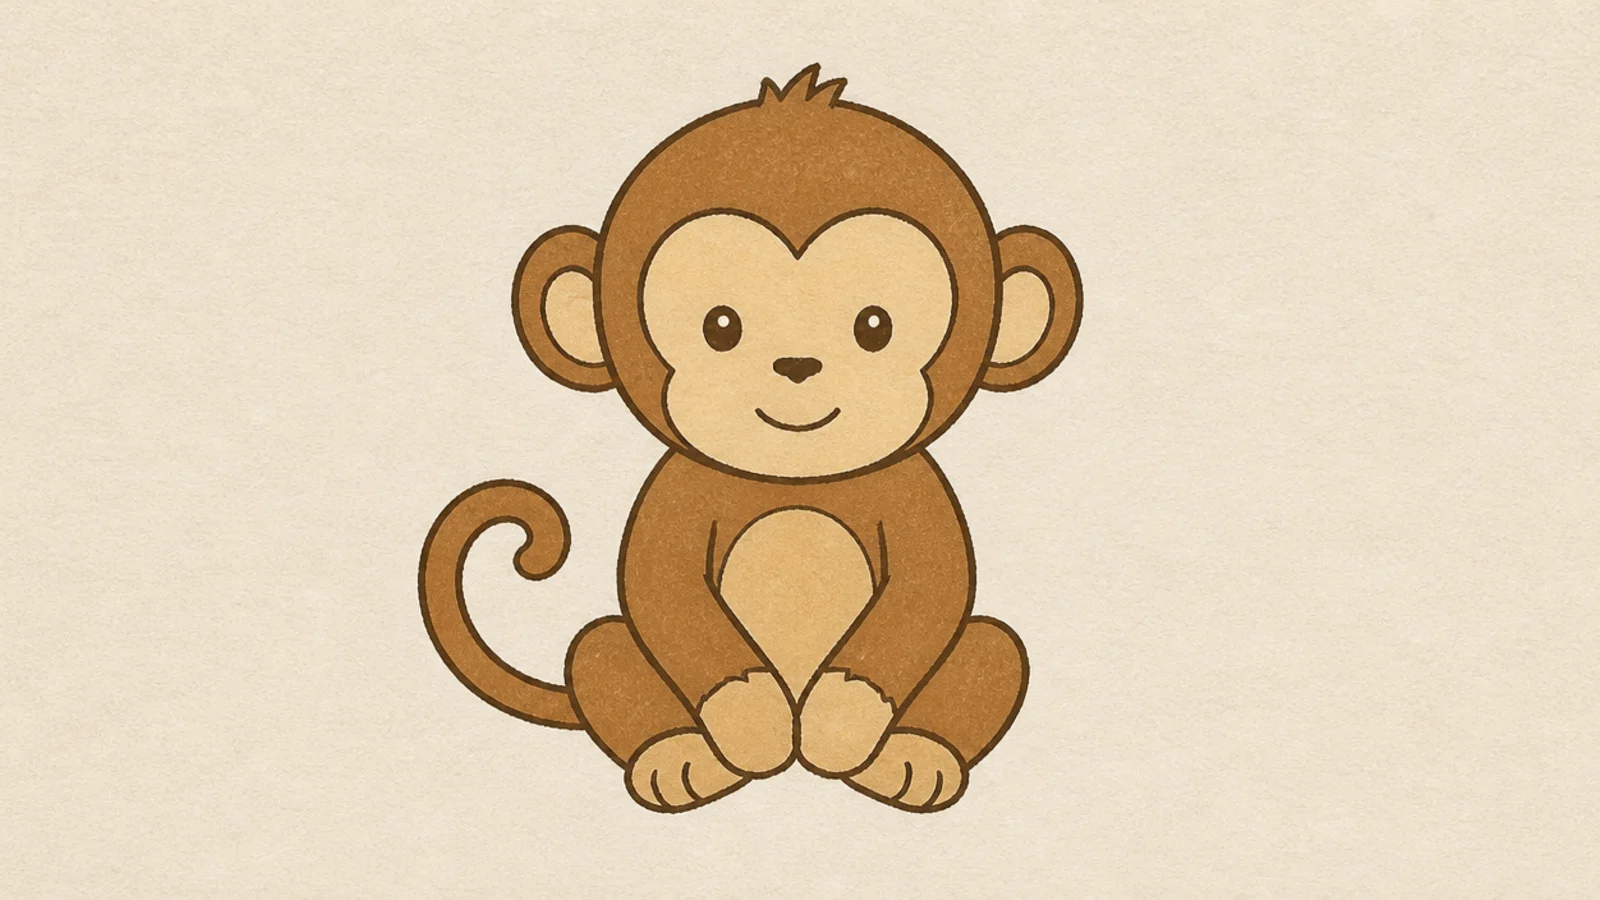
A seated monkey turns the face into a whole little animal. The sitting pose is calm and easy. It looks finished with barely more effort.
Step 1 draw the head and face. Step 2 add a rounded bean body below. Step 3 add two short arms resting in the lap, two feet, and a tail curling to one side.
Let the hands and feet stay simple mitten shapes at this size.
Don’t add fingers and toes; simple mittens keep it clean.
8 Monkey Holding a Banana
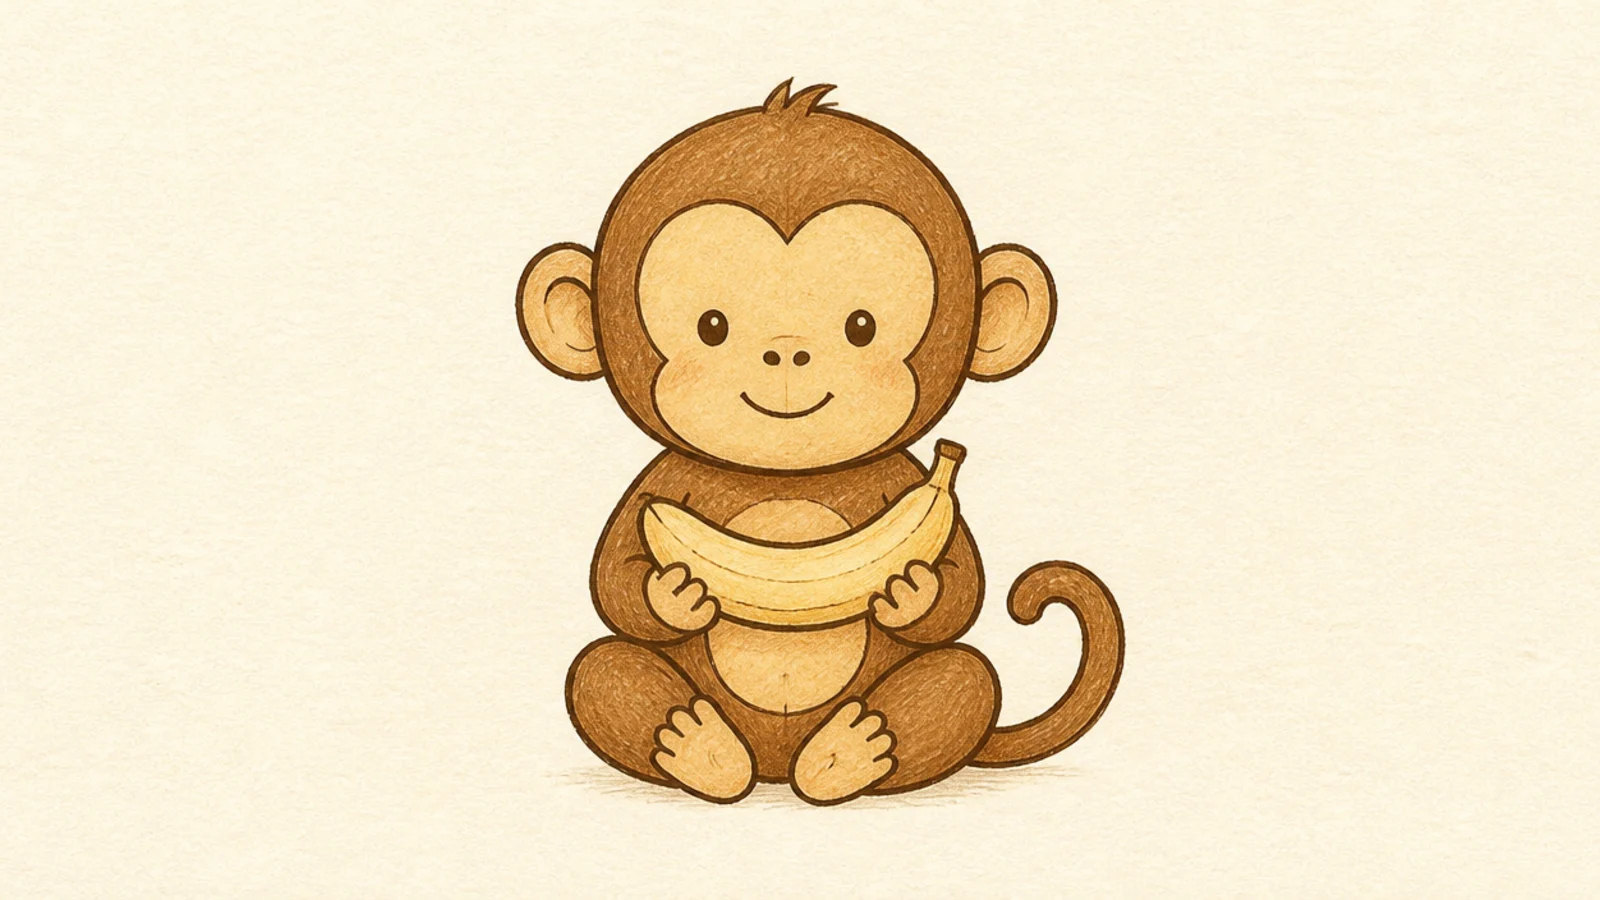
A monkey with a banana is the classic pairing and instantly readable. The banana is one curved shape. It gives the monkey something to do.
Step 1 draw a sitting monkey. Step 2 bring both hands together in front. Step 3 draw a curved banana in the hands with a small stem.
Draw the banana as a simple curve with two lines and a stem tip.
Don’t overdetail the banana; a plain crescent reads clearly.
9 Peeking Monkey
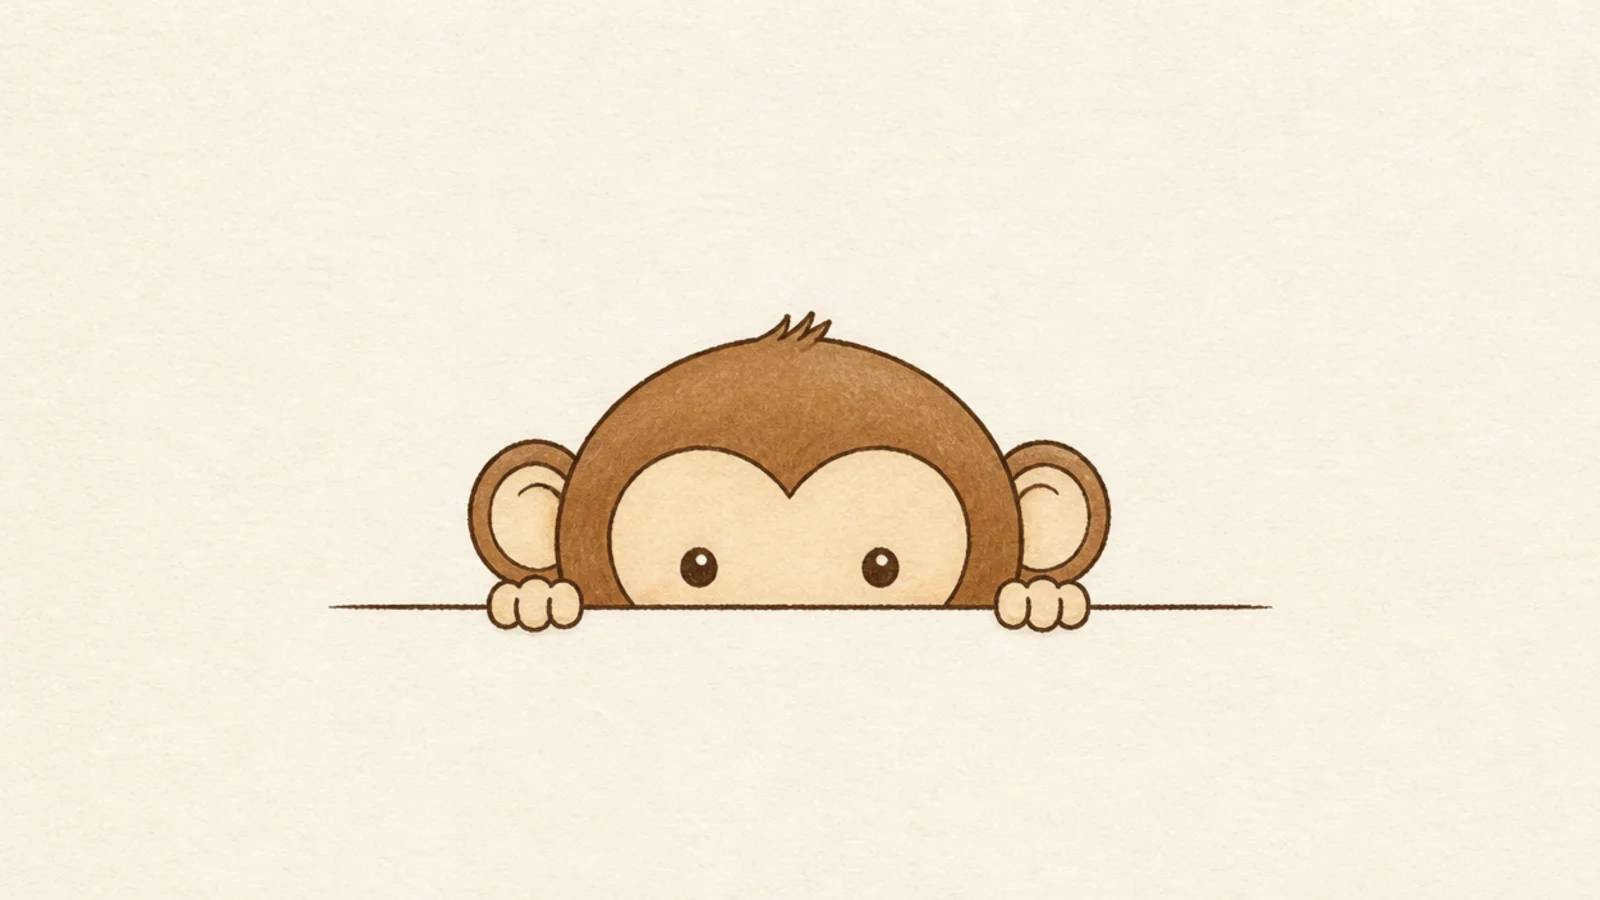
A monkey peeking over an edge is playful and shows only the fun part — the face and hands. The hidden body keeps it simple. It reads as curious and sneaky.
Step 1 draw a horizontal line for the edge. Step 2 draw the top of a monkey head and two ears above it. Step 3 add two little hands gripping the line and dot eyes peeking over.
Show only the eyes and up so it clearly reads as peeking.
Don’t draw the whole body; hiding it below the line is the joke.
10 Outline-Only Monkey Head
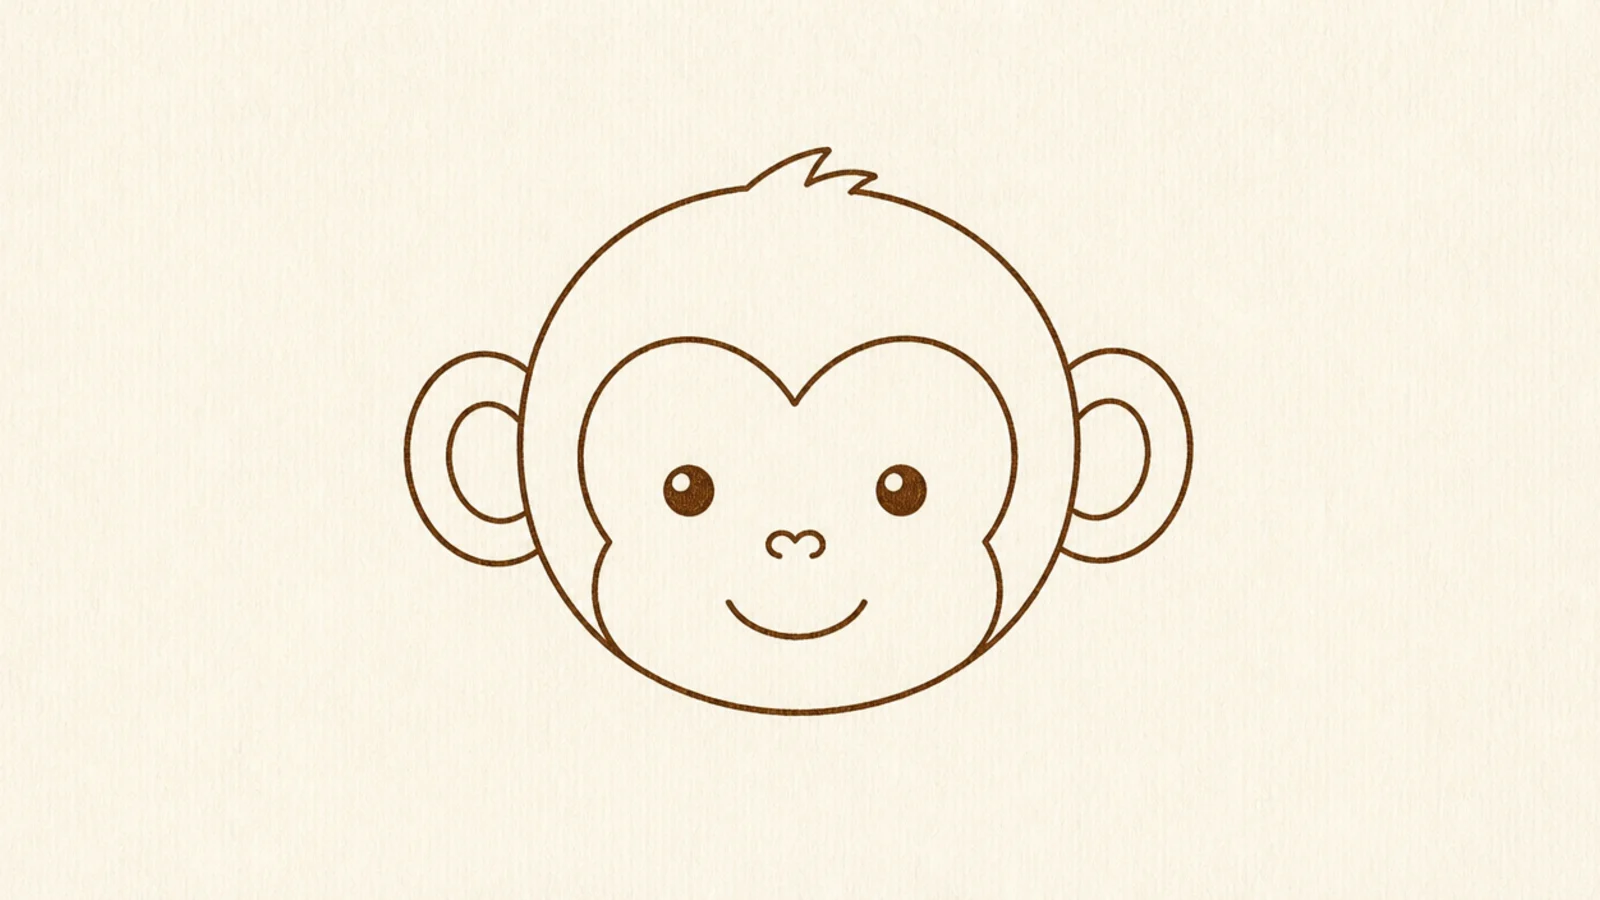
A crisp outline monkey head with no fill looks clean and modern, like a coloring page. It puts all the focus on the shape. It is the easiest to keep neat.
Step 1 sketch the head, ears, and face patch lightly. Step 2 trace once with a fineliner in a steady pass. Step 3 erase the pencil and leave it unfilled.
Use one even line weight so the outline looks crisp and intentional.
Don’t over-trace the lines; one clean pass looks best.
11 Loose Doodle Monkey
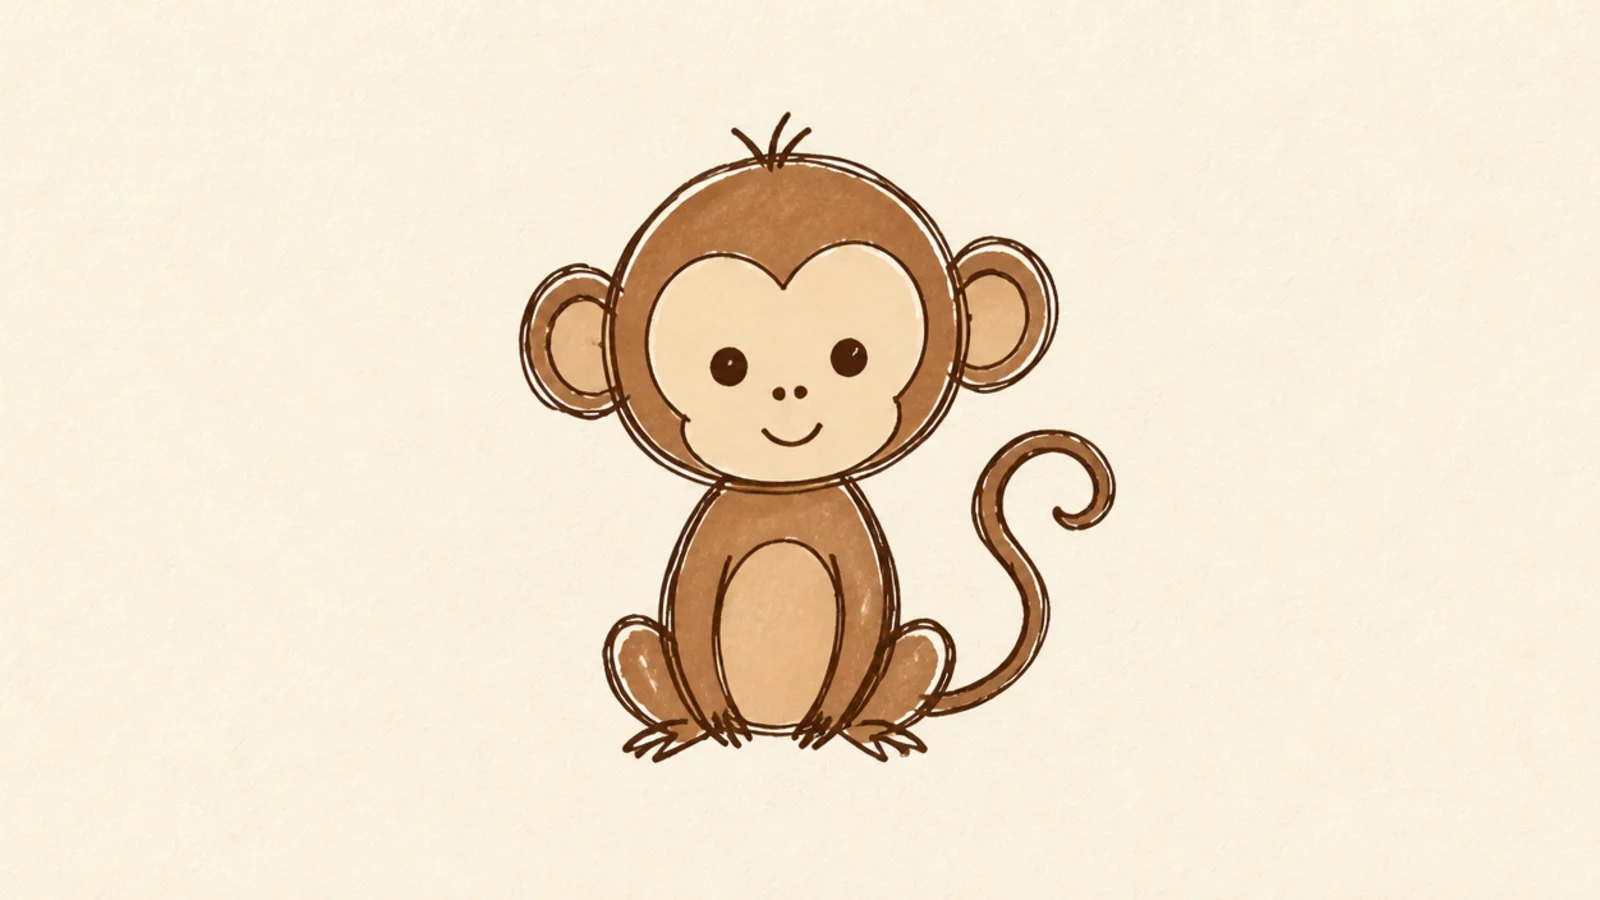
A loose doodle monkey is quick and charming, and imperfection is the whole style. The casual lines feel relaxed. It is perfect for margins and quick practice.
Step 1 doodle a rough head circle and ears fast. Step 2 add a loose face patch and dot eyes. Step 3 sketch a quick bean body and a squiggly tail without lifting much.
Draw it quickly and let the lines stay a little wobbly.
Don’t try to make it perfect; the loose look is the appeal.
12 Side-View Monkey
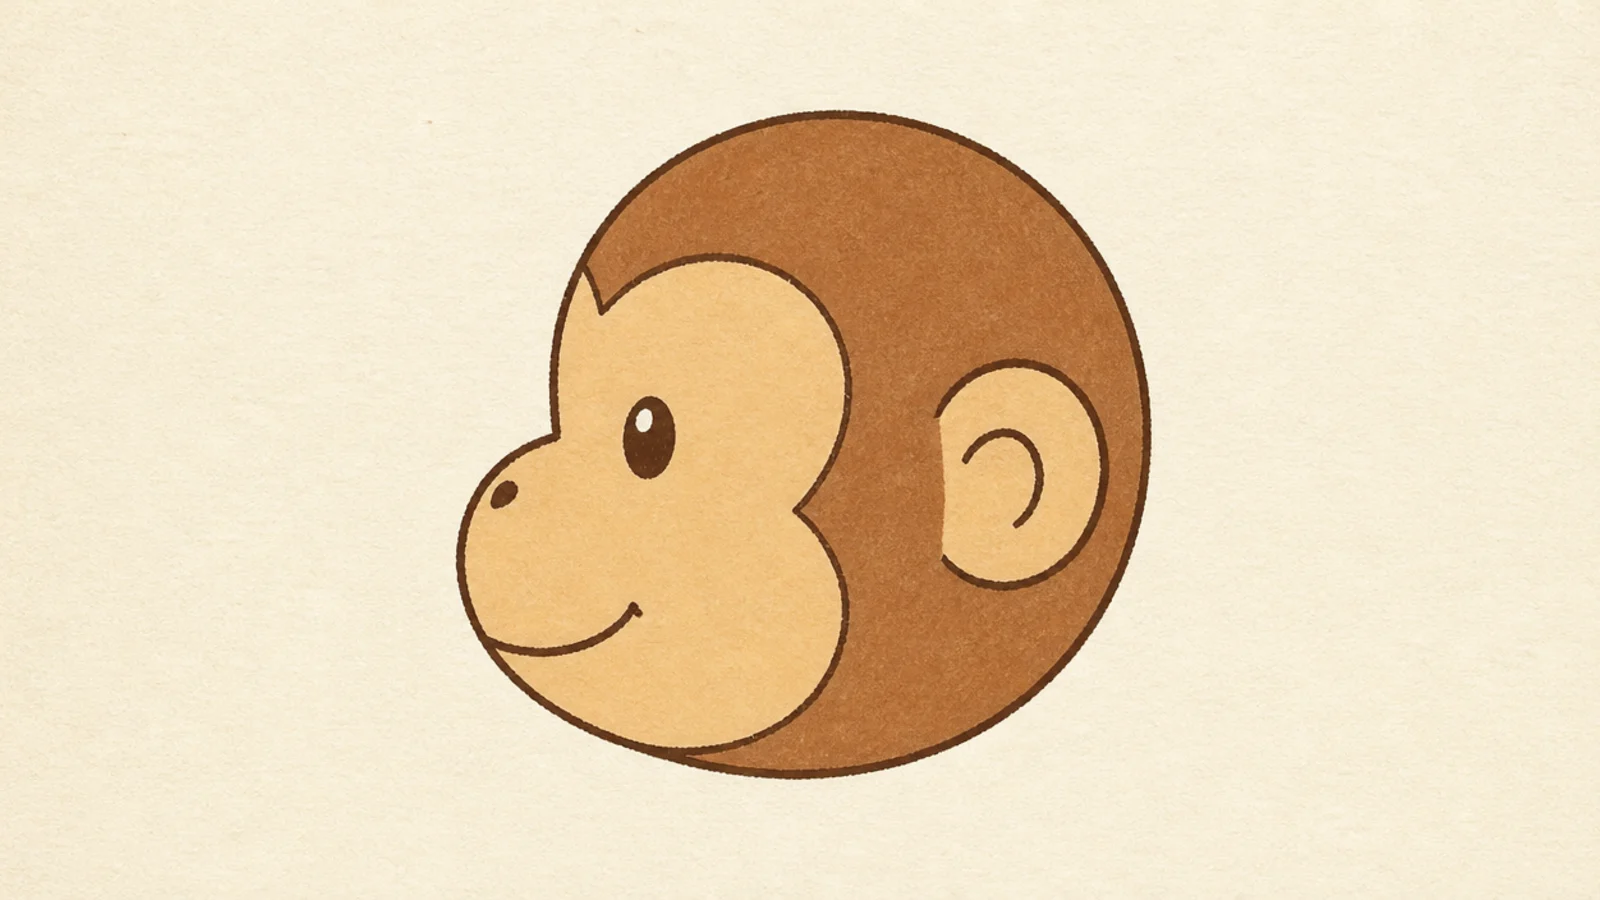
A side-view monkey shows the muzzle sticking out, which looks a little more real. You only draw one ear and one eye. It is a nice change from the front view.
Step 1 draw a circle head and add a rounded muzzle bump on the front. Step 2 add one ear on the near side and one eye above the muzzle. Step 3 add a curved mouth line and a small chin.
Push the muzzle out from the lower front of the head for a clear profile.
Don’t draw two eyes; a side view shows only the near one.
13 Mini Monkey
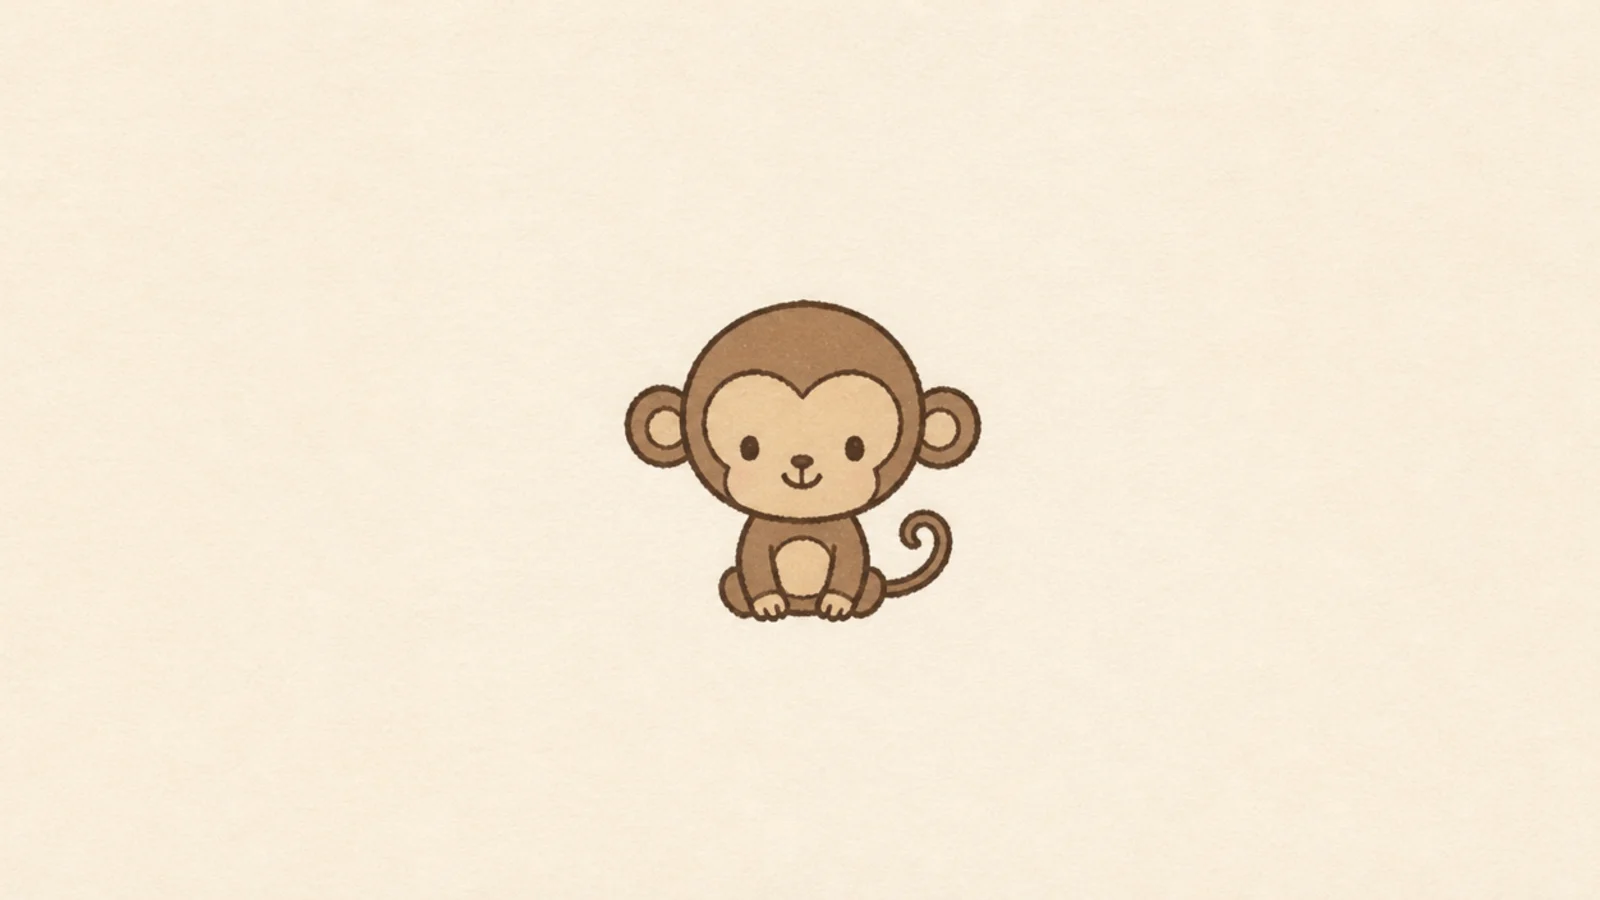
A tiny monkey is the perfect little accent for a journal or card. Small size means fewer details and less pressure. It adds fun without taking over.
Step 1 draw a small head with two ear circles. Step 2 add a quick face patch and dot eyes. Step 3 add a tiny bean body and a curl of tail.
Keep it small and skip the fingers; a mini monkey looks best kept plain.
Don’t add lots of detail at this size; tiny monkeys read best simple.
14 Monkey Sitting on a Branch
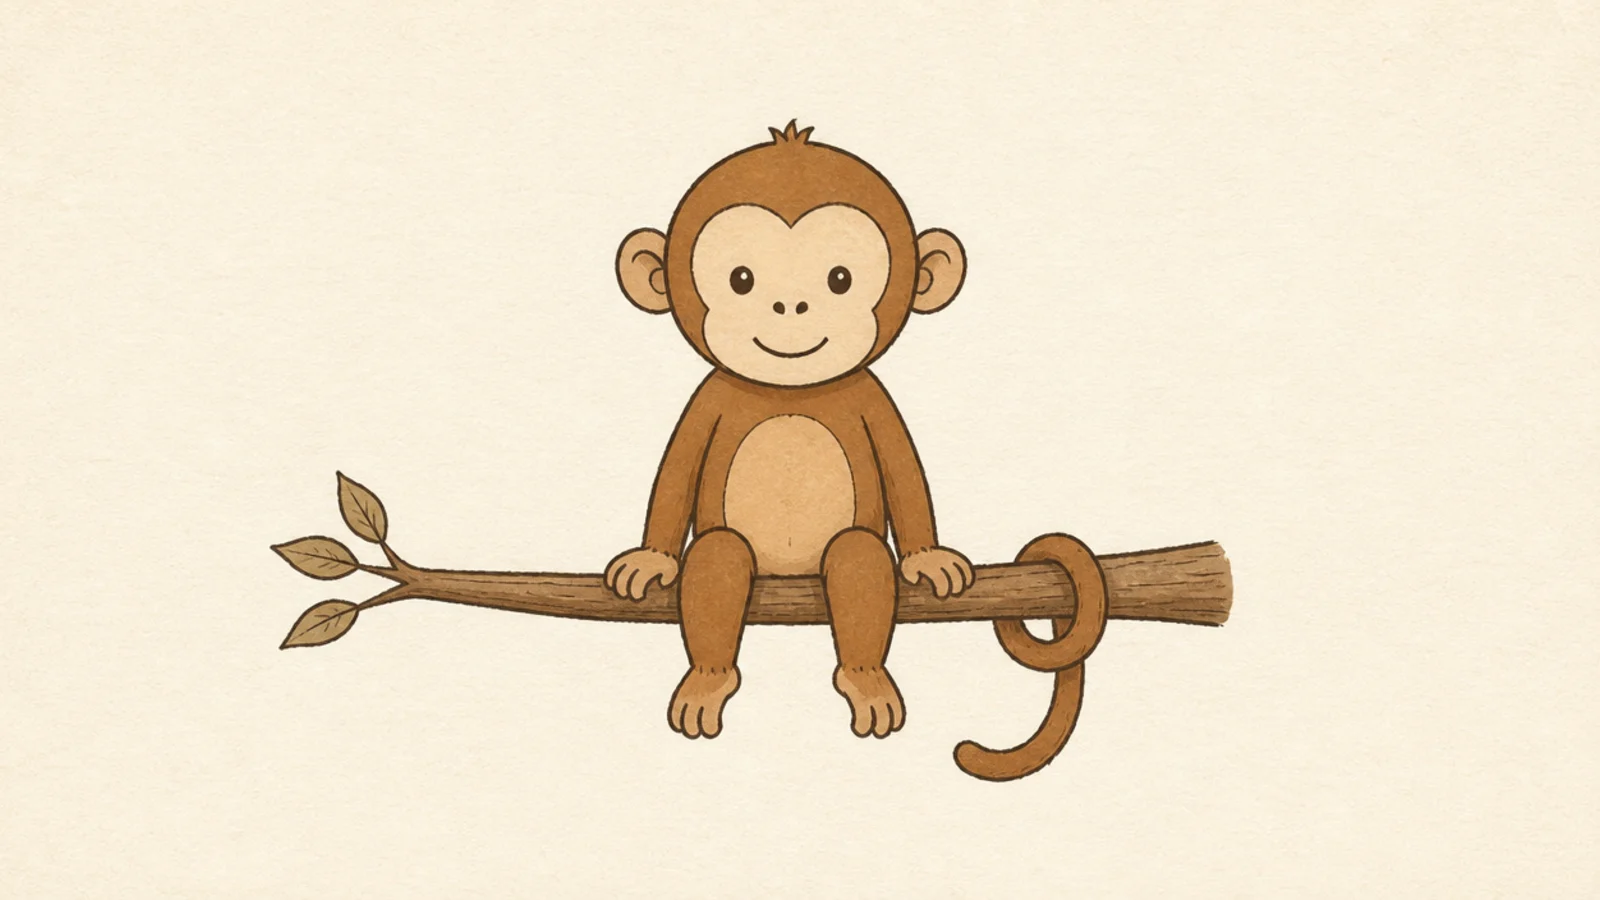
A monkey perched on a branch makes a little scene from a simple animal. The branch is one line. It feels like the monkey has somewhere to be.
Step 1 draw a horizontal branch line. Step 2 sit a simple monkey on it with legs dangling. Step 3 wrap its tail around the branch for a nice touch.
Pro tipCurl the tail around the branch so it looks like it is holding on.
AvoidDon’t float the monkey above the branch; sit it right on the line.
15 Monkey Swinging on a Vine
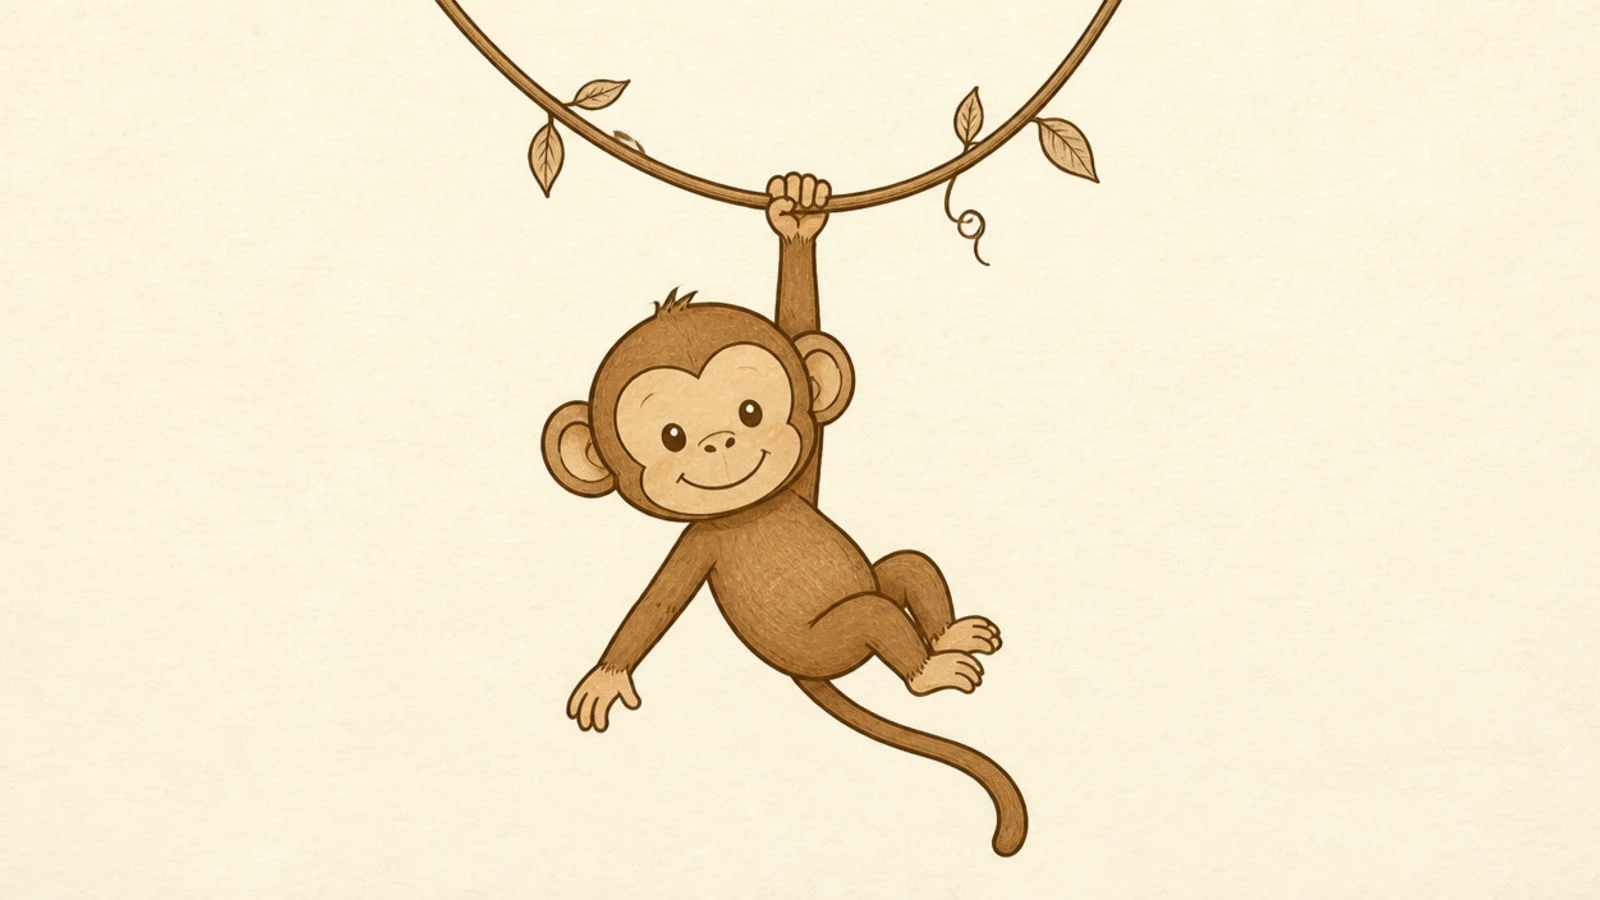
A swinging monkey full of motion is livelier than a sitting one and just as simple. One arm grips a vine as the body swings. It feels playful and energetic.
Step 1 draw a curved vine line from the top. Step 2 add a monkey gripping it with one raised arm. Step 3 sweep the body and legs to one side and trail the tail behind.
Angle the whole body to one side so it looks mid-swing, not still.
Don’t draw the body straight down; the lean shows the motion.
16 Two-Tone Simple Monkey
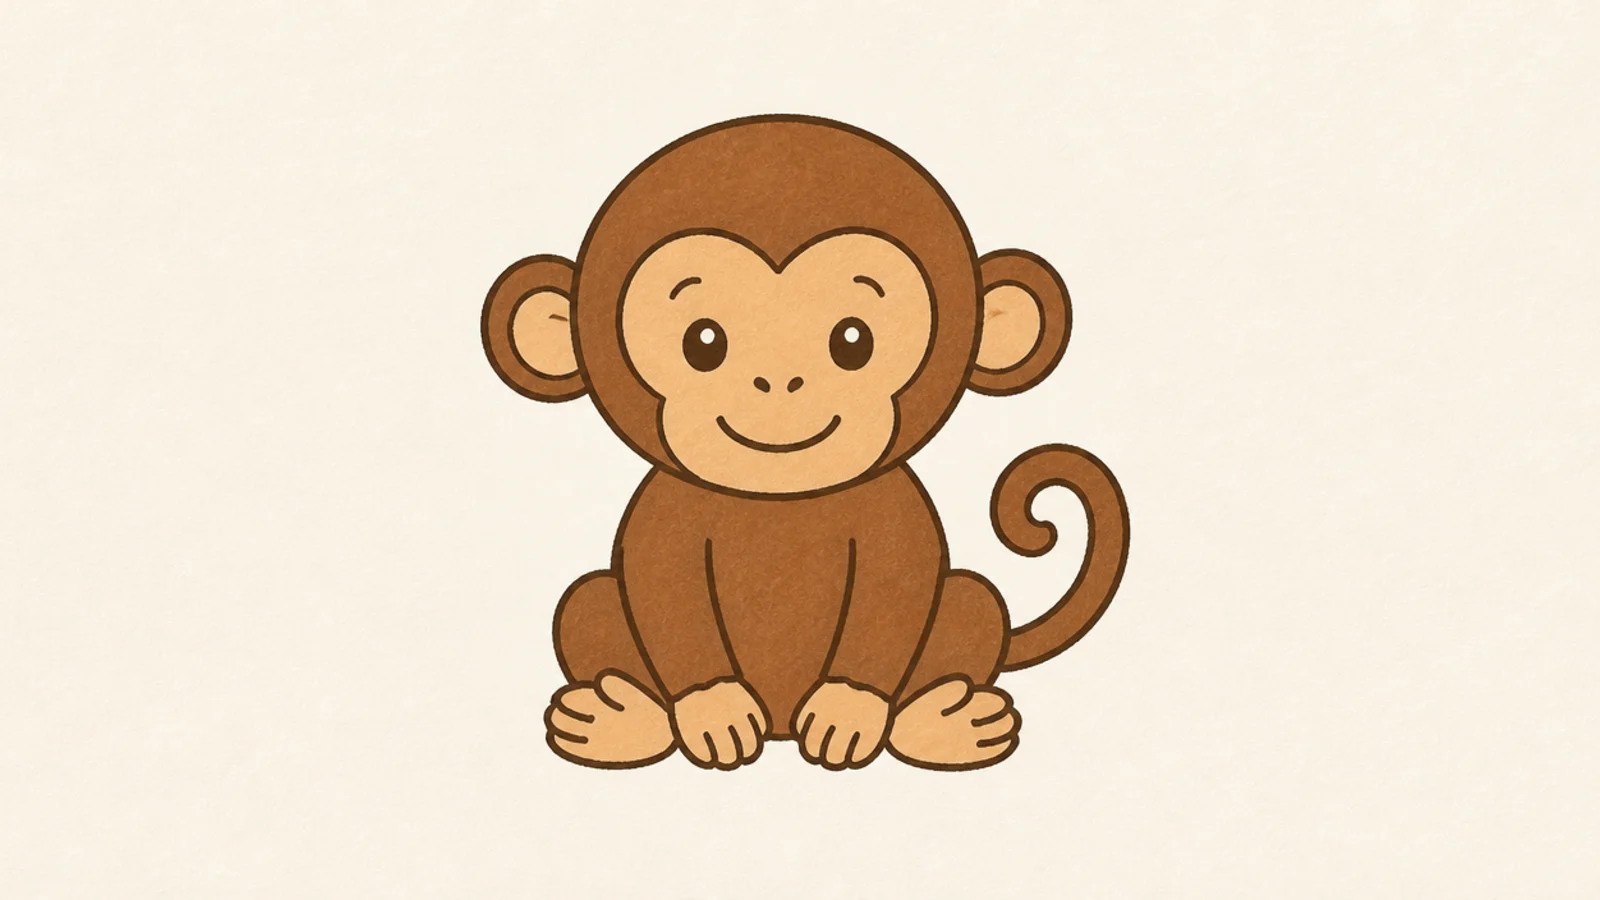
Two colors — brown body and a tan face — make a simple monkey look complete. Two tones is all it takes to feel finished. It stays easy with no blending.
Step 1 draw the monkey outline. Step 2 fill the body, arms, legs, and tail medium brown. Step 3 fill the face patch, ears, hands, and feet a lighter tan.
Pro tipUse a warm medium brown and a soft tan for the classic monkey coloring.
AvoidDon’t shade it; flat brown and tan look clean and cheerful.
17 Monkey Face Sticker
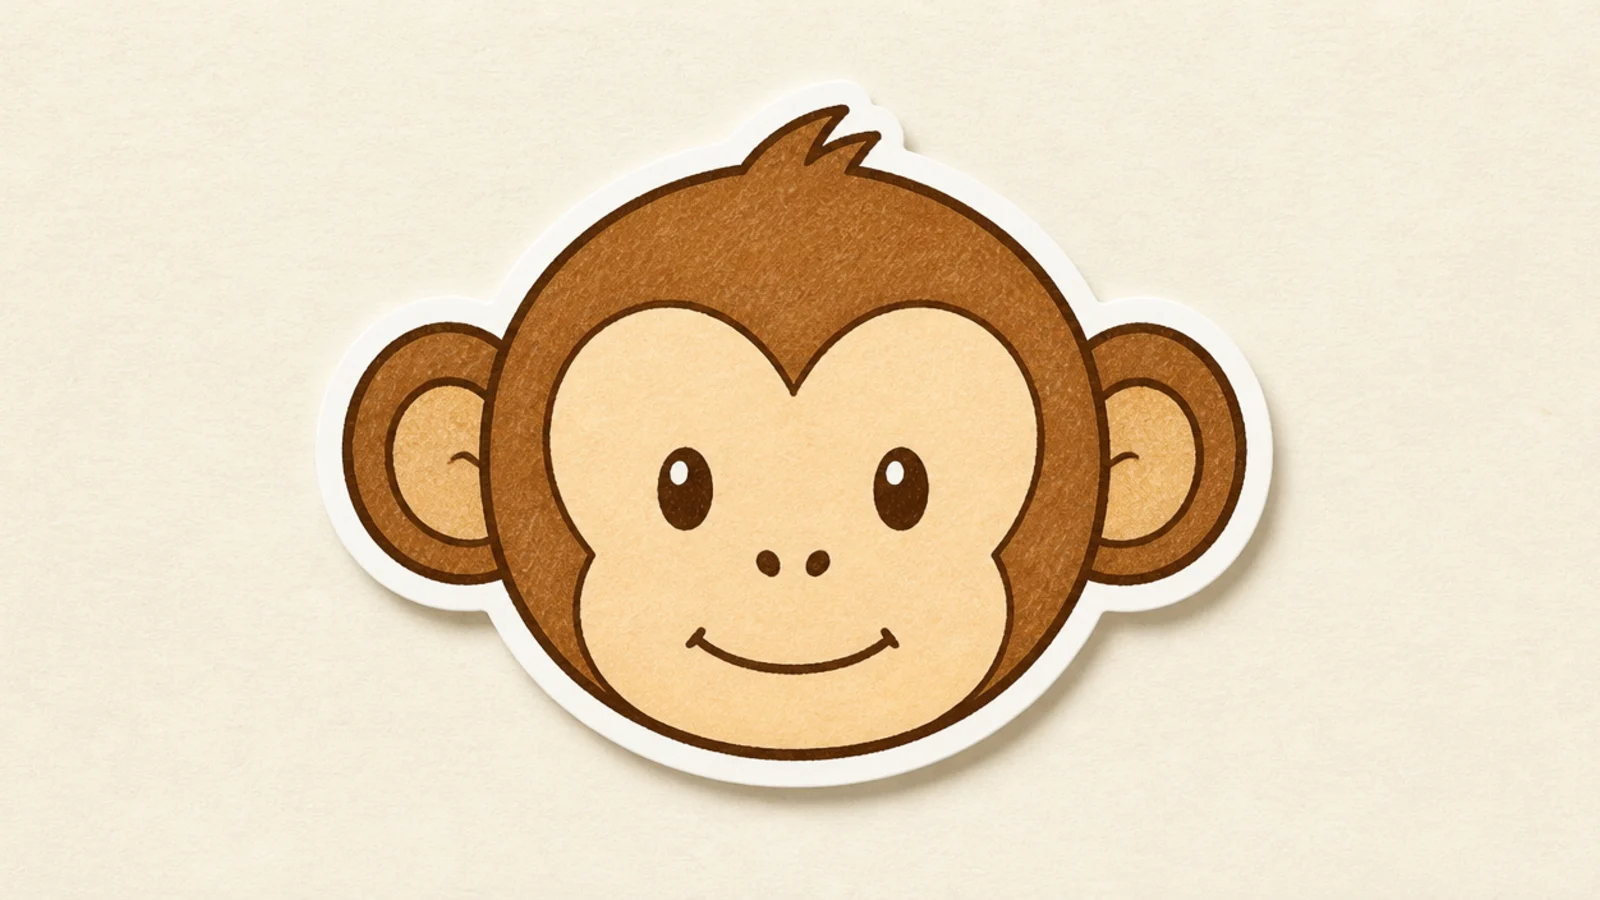
Just the face and ears with a thick outline makes a cute little sticker. Cropping to the head keeps it bold. It is satisfying and quick.
Step 1 draw a bold monkey face with big ears. Step 2 keep the features simple and clean. Step 3 trace a thick even white border around the whole shape.
Pro tipAdd a soft drop shadow under the border so it lifts off the page.
AvoidDon’t add a body; a sticker face is just the head and ears.
18 Sleeping Monkey
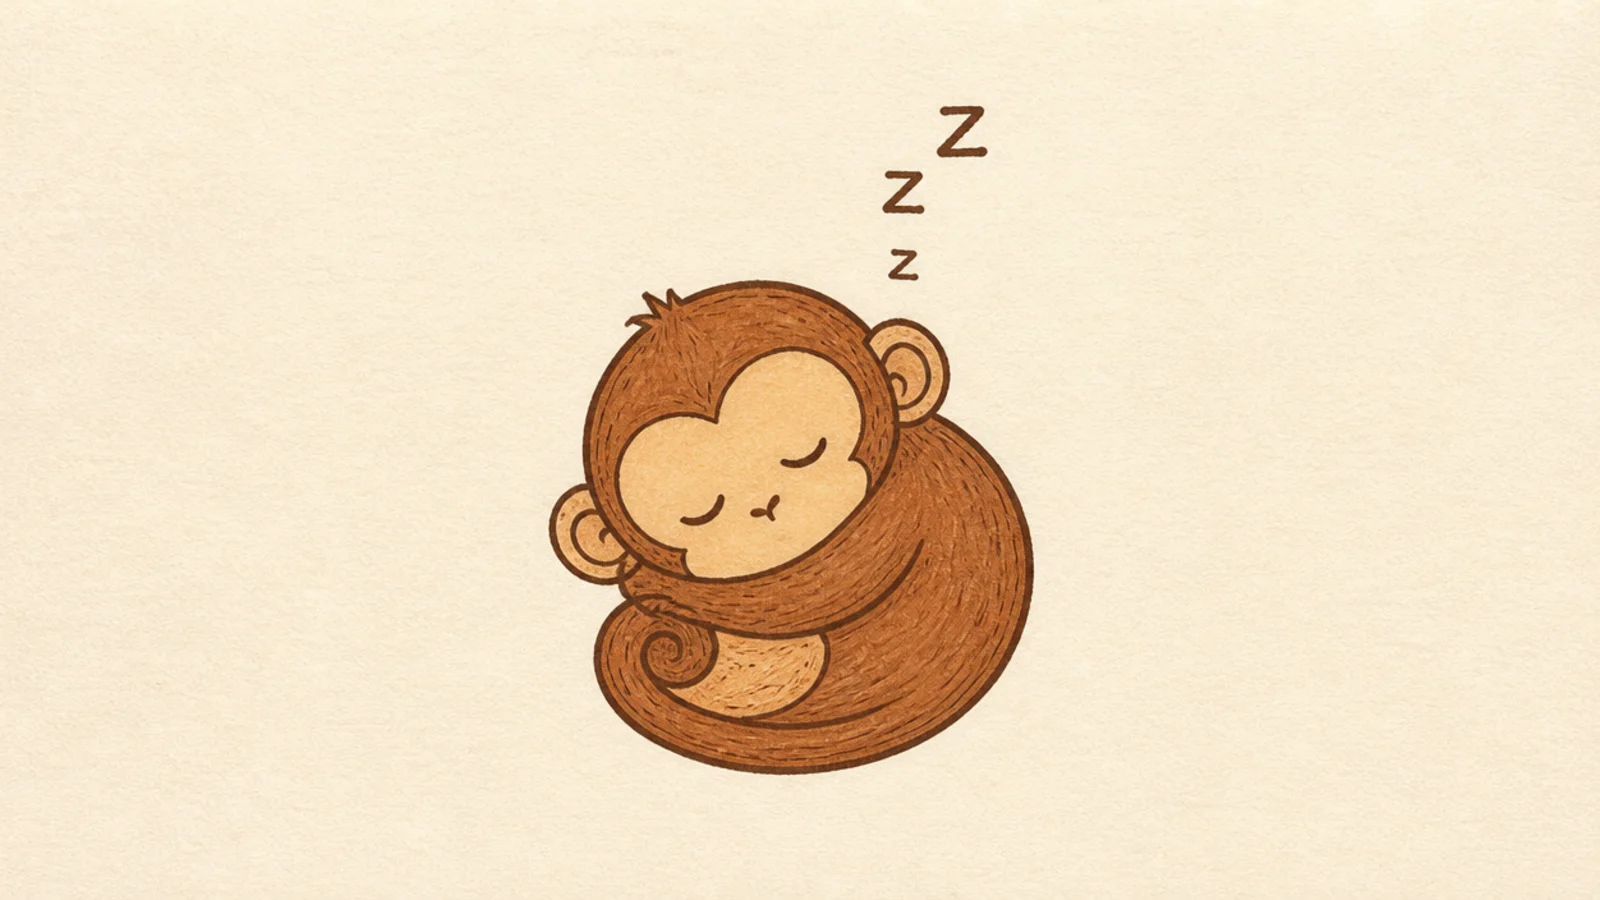
A sleeping monkey curled into a ball is cozy and easy. Closed curved-line eyes are the simplest face. Little sleep marks sell the nap.
Step 1 draw a curled comma body. Step 2 add the head with two closed curved eyes and a small mouth. Step 3 tuck the tail around and add small floating sleep symbols.
Curve the closed eyes gently downward for a peaceful, sleeping look.
Don’t draw open eyes; soft closed curves read as sleeping.
19 Climbing Monkey
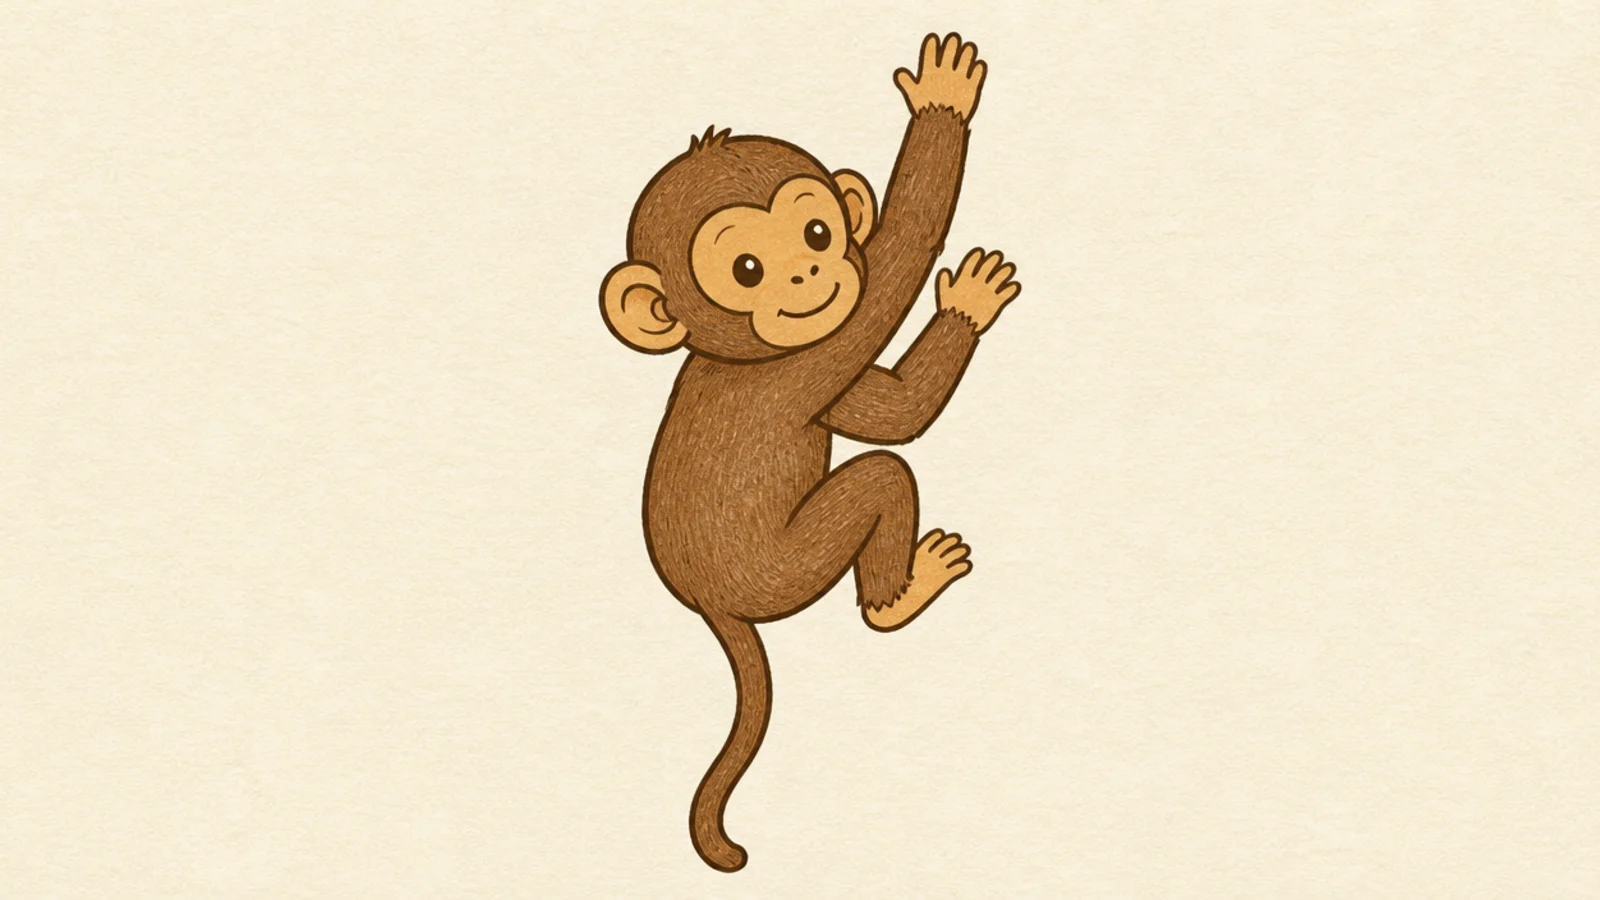
A climbing monkey seen from behind and below is a fun angle that is still simple. The reaching limbs show effort. It feels like it is scrambling up.
Step 1 draw the head looking up and slightly back over a shoulder. Step 2 add a body with both arms reaching up. Step 3 bend the legs up as if gripping and trail the tail down.
Point all four limbs upward so the climb reads clearly.
Don’t leave the limbs relaxed; reaching limbs show the climb.
20 Monkey Back View
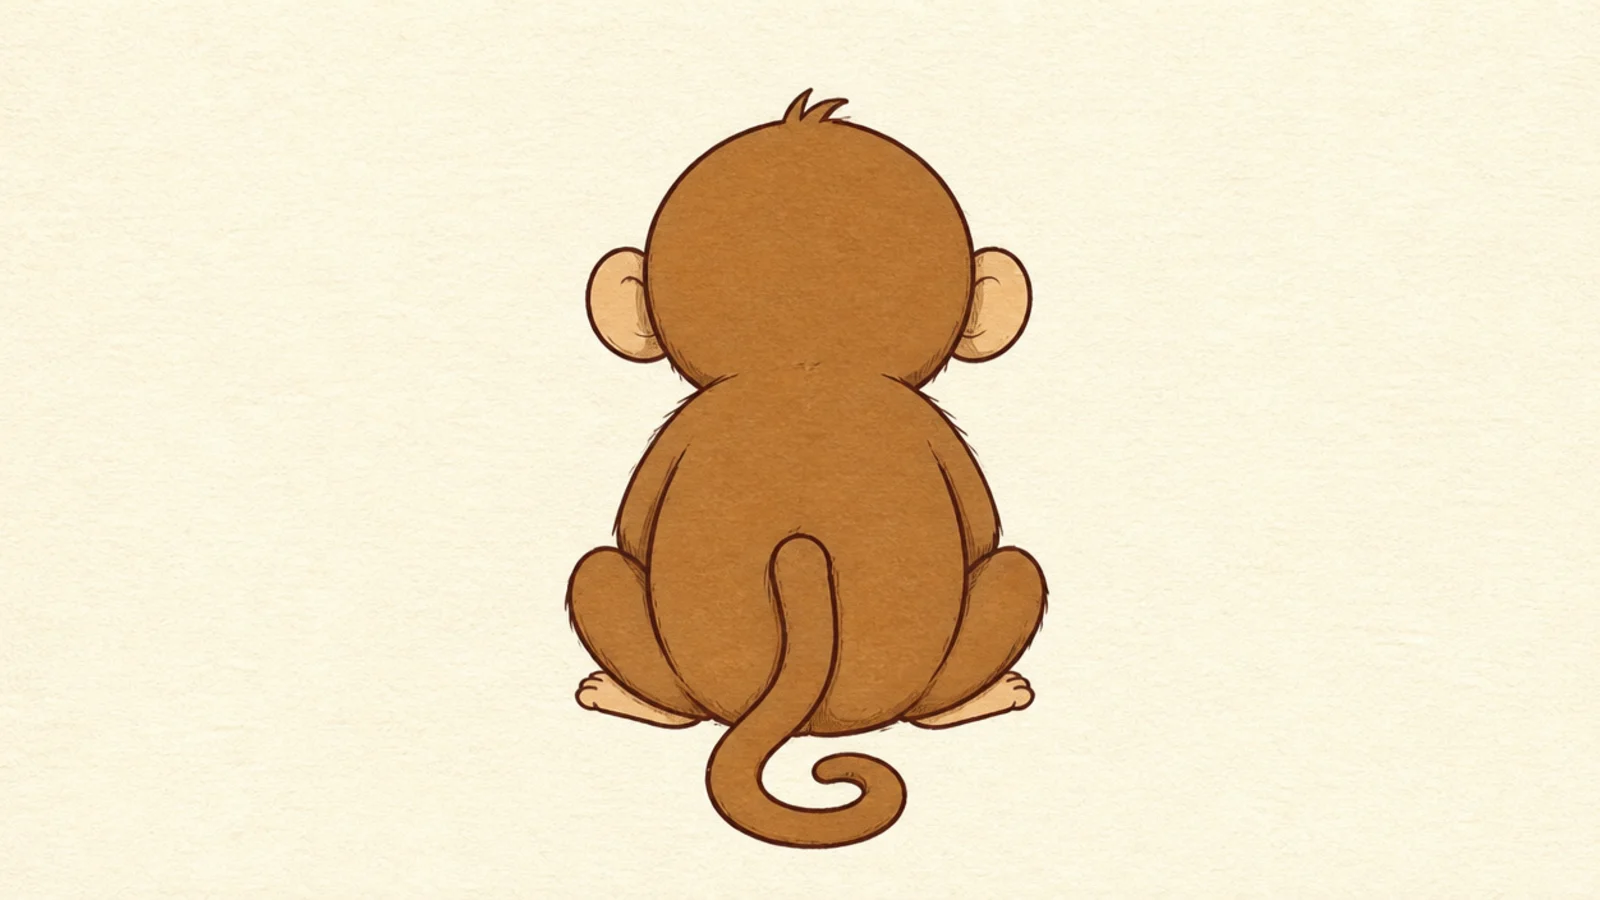
A monkey from behind is unexpected and shows off the curling tail. You skip the face entirely. It is a clever, easy variation.
Step 1 draw a rounded back and head from behind. Step 2 add the backs of two ears poking out at the sides. Step 3 draw two legs, two arms peeking out, and a big curled tail.
Show just the edges of the ears so it still reads as a monkey.
Don’t draw a face; the back view is the whole idea.
21 Long Stick-Arm Monkey
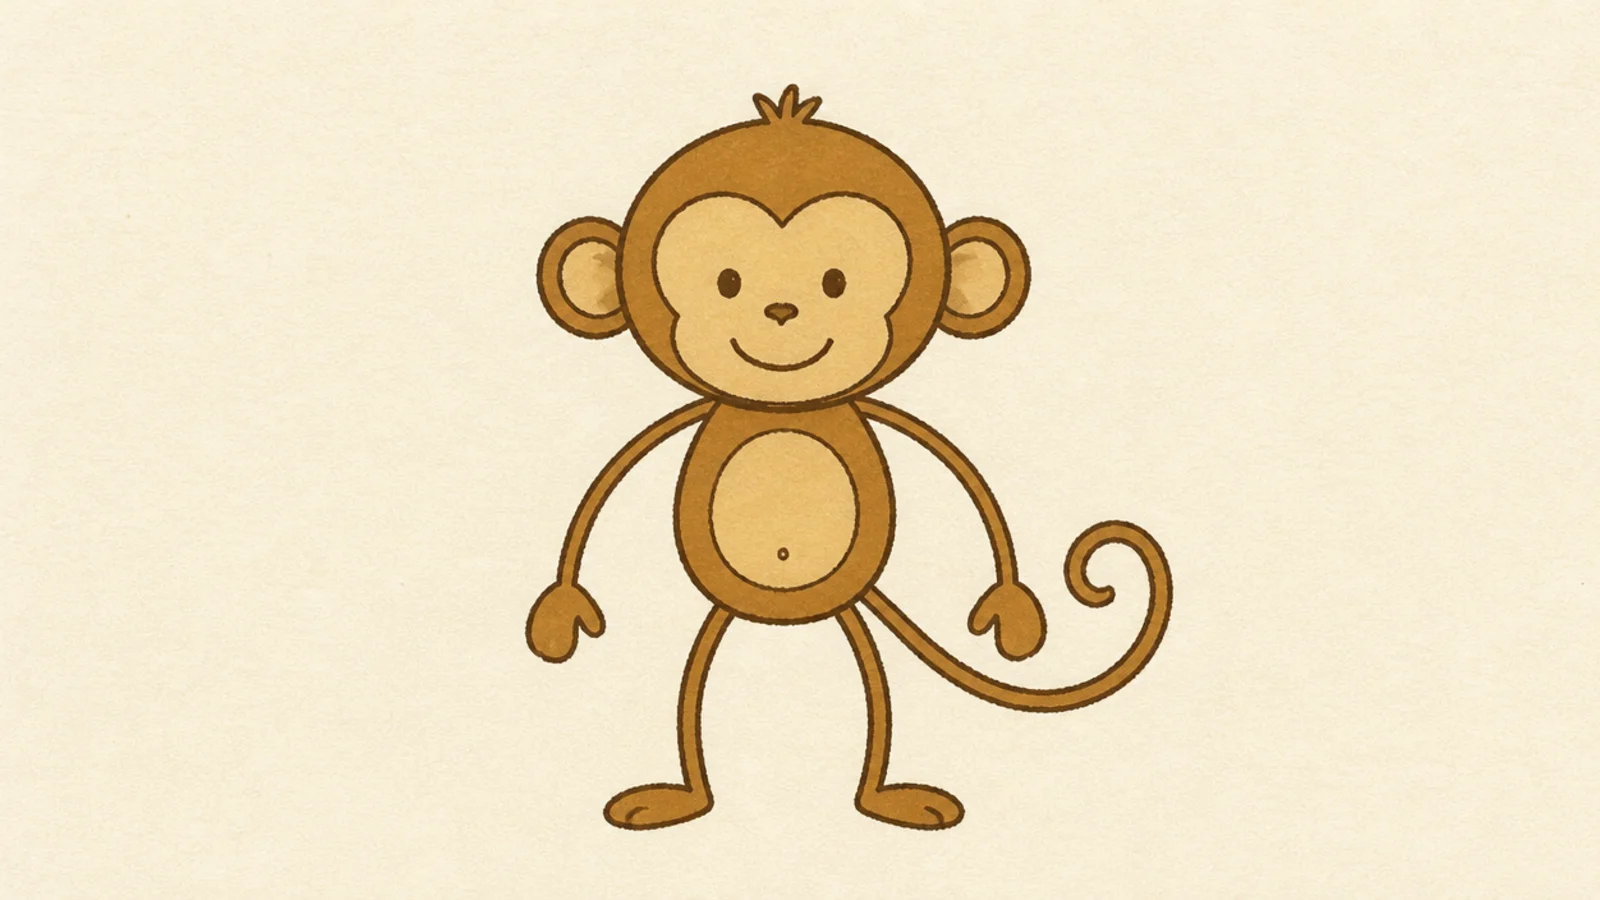
A round body with long thin arms is a super-simple cartoon monkey. The stick limbs are the easiest to draw. It looks goofy and fun.
Step 1 draw a round head and a round body. Step 2 add long thin curved arms and legs like noodles. Step 3 add simple mitten hands, a face patch, and a curl of tail.
Keep the arms as single curved lines with a little mitten at the end.
Don’t add muscle or bends; noodle limbs suit this simple style.
22 Simple Monkey Trio
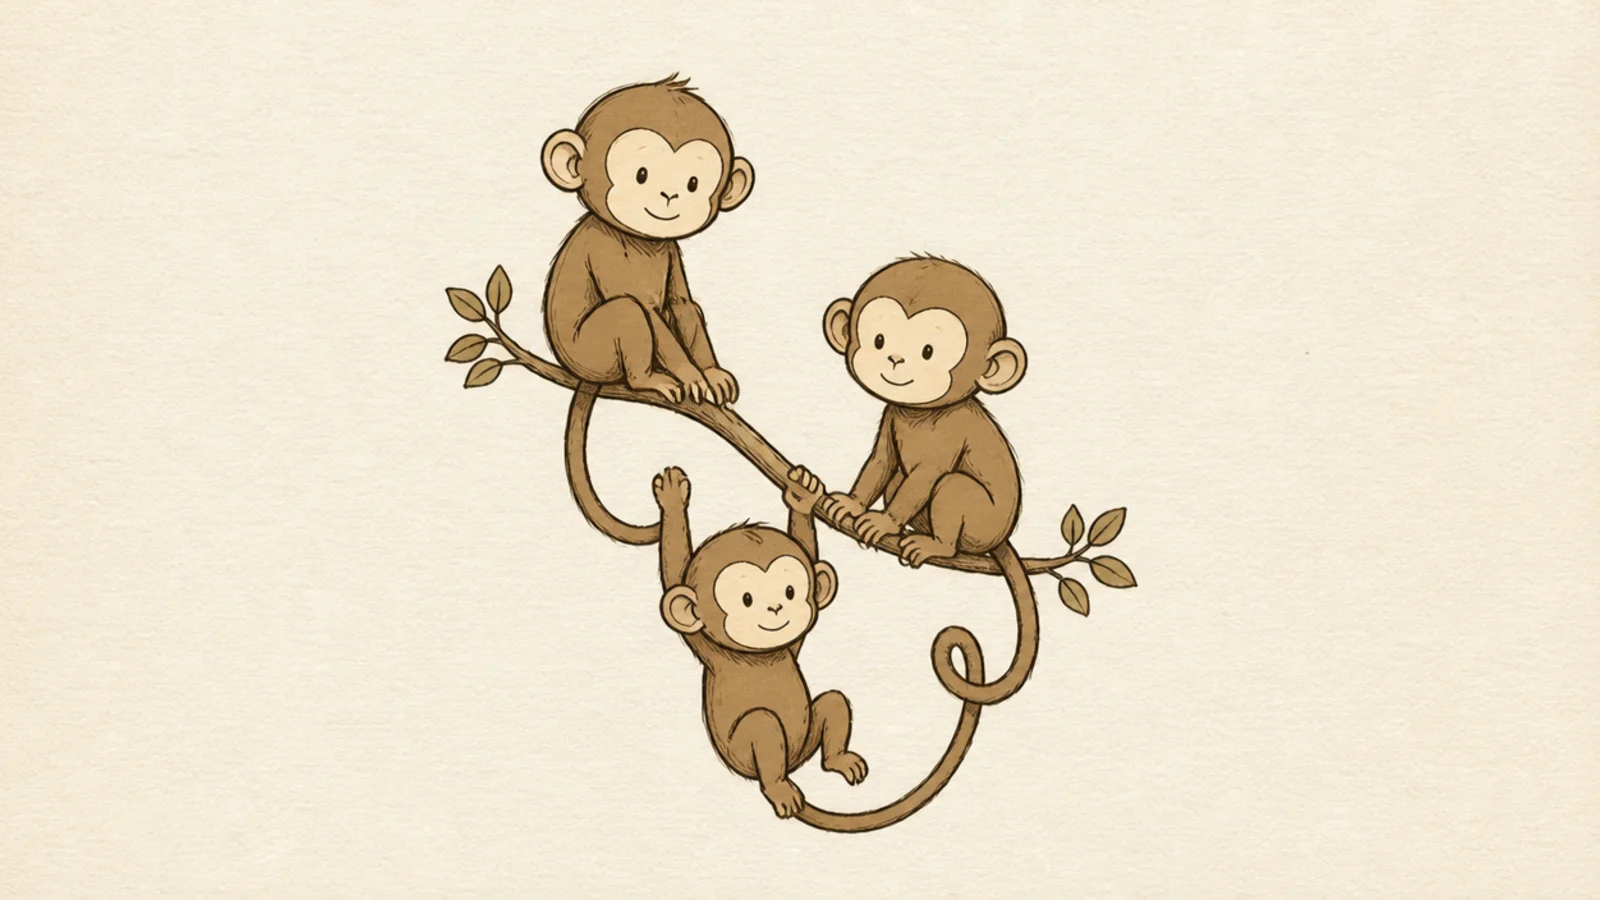
Three little monkeys together make a cheerful group. Grouping them looks more finished than one alone. It is an easy way to fill a page.
Step 1 draw three simple monkeys at different heights. Step 2 turn them slightly toward each other. Step 3 link them with a branch or overlapping tails.
Stagger the three at different heights so the group looks natural.
Don’t line them up level; a little height variation looks better.
23 Round Balloon-Body Monkey
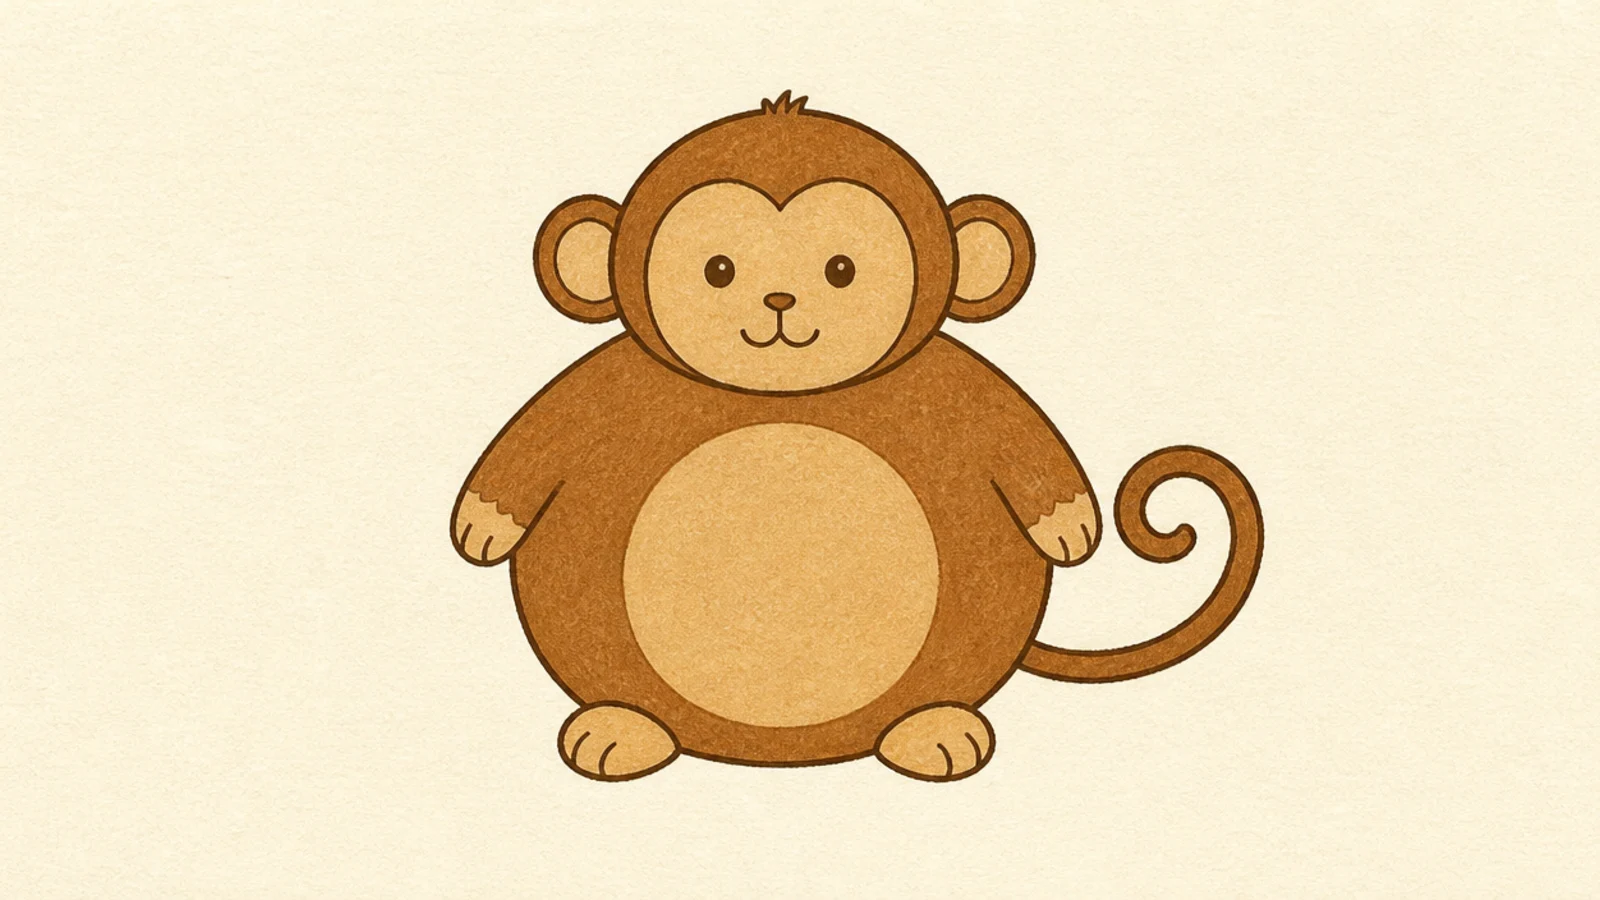
Making the body extra round turns the monkey plump and huggable. The rounder the shapes, the cuter it reads. Short limbs complete the chubby look.
Step 1 draw a big round body. Step 2 add a round head with two ears on top of it. Step 3 add short stubby arms and legs, a small face patch, and a curly tail.
Keep the arms and legs short and fat to match the round body.
Don’t use long thin limbs; short stubby ones suit the plump look.
24 Monkey Holding a Heart
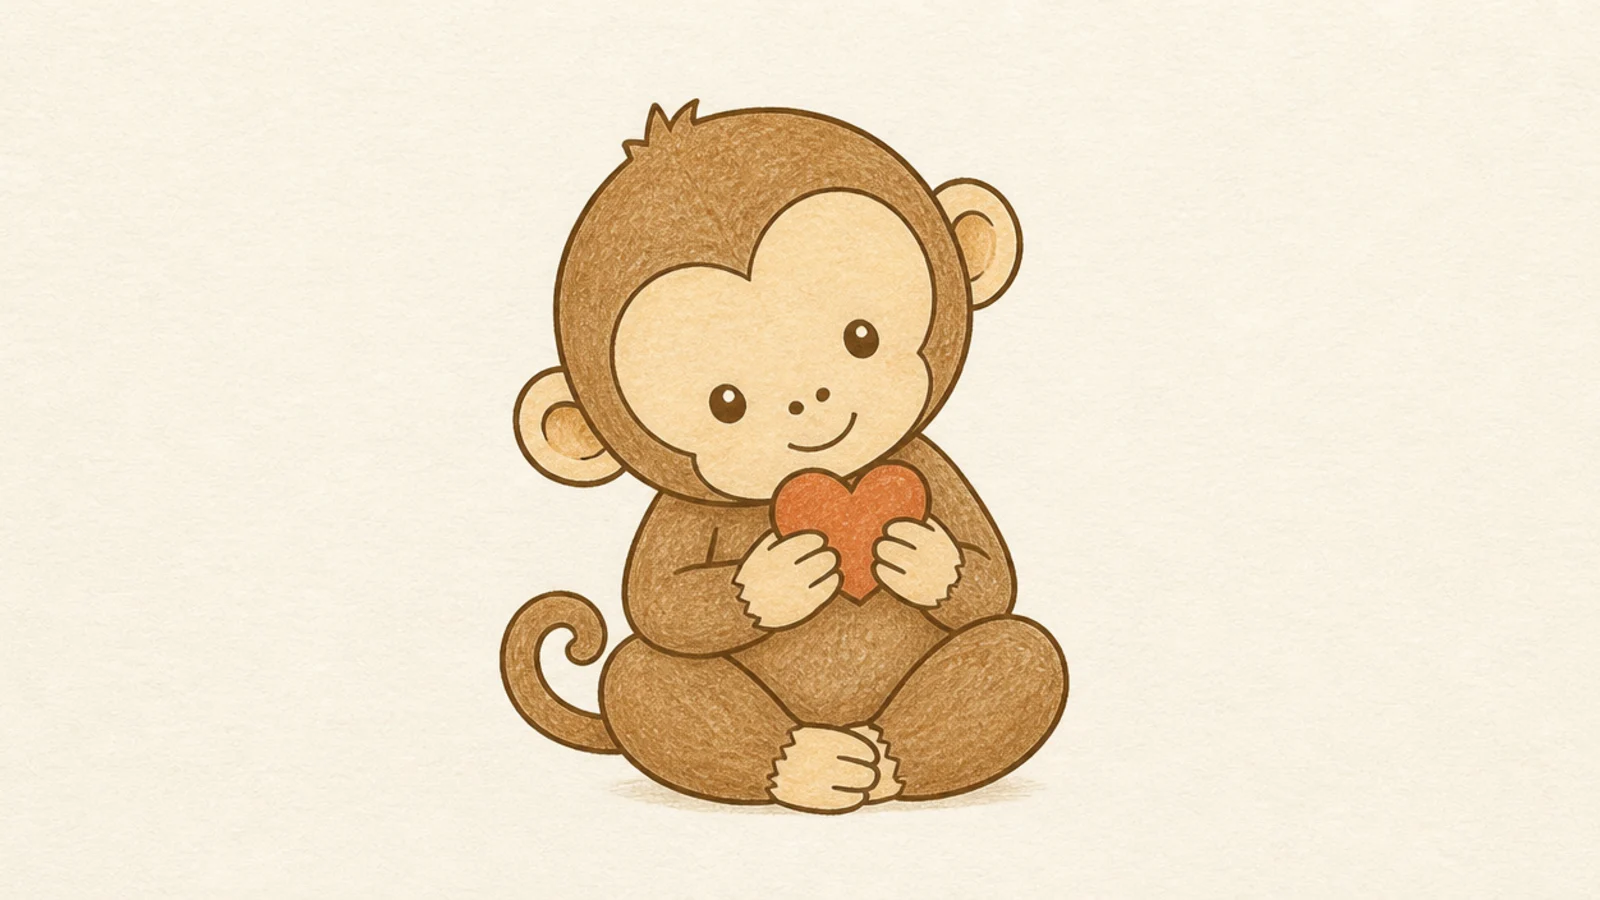
A monkey holding a little heart is sweet and story-like. The heart gives it purpose. It is adorable for cards and love notes.
Step 1 draw a sitting monkey. Step 2 bring both hands together in front. Step 3 draw a small heart resting in the hands.
Pro tipTilt the head slightly toward the heart for a fond, gentle look.
AvoidDon’t add more than one heart; a single held heart is the sweet spot.
25 Monkey Silhouette
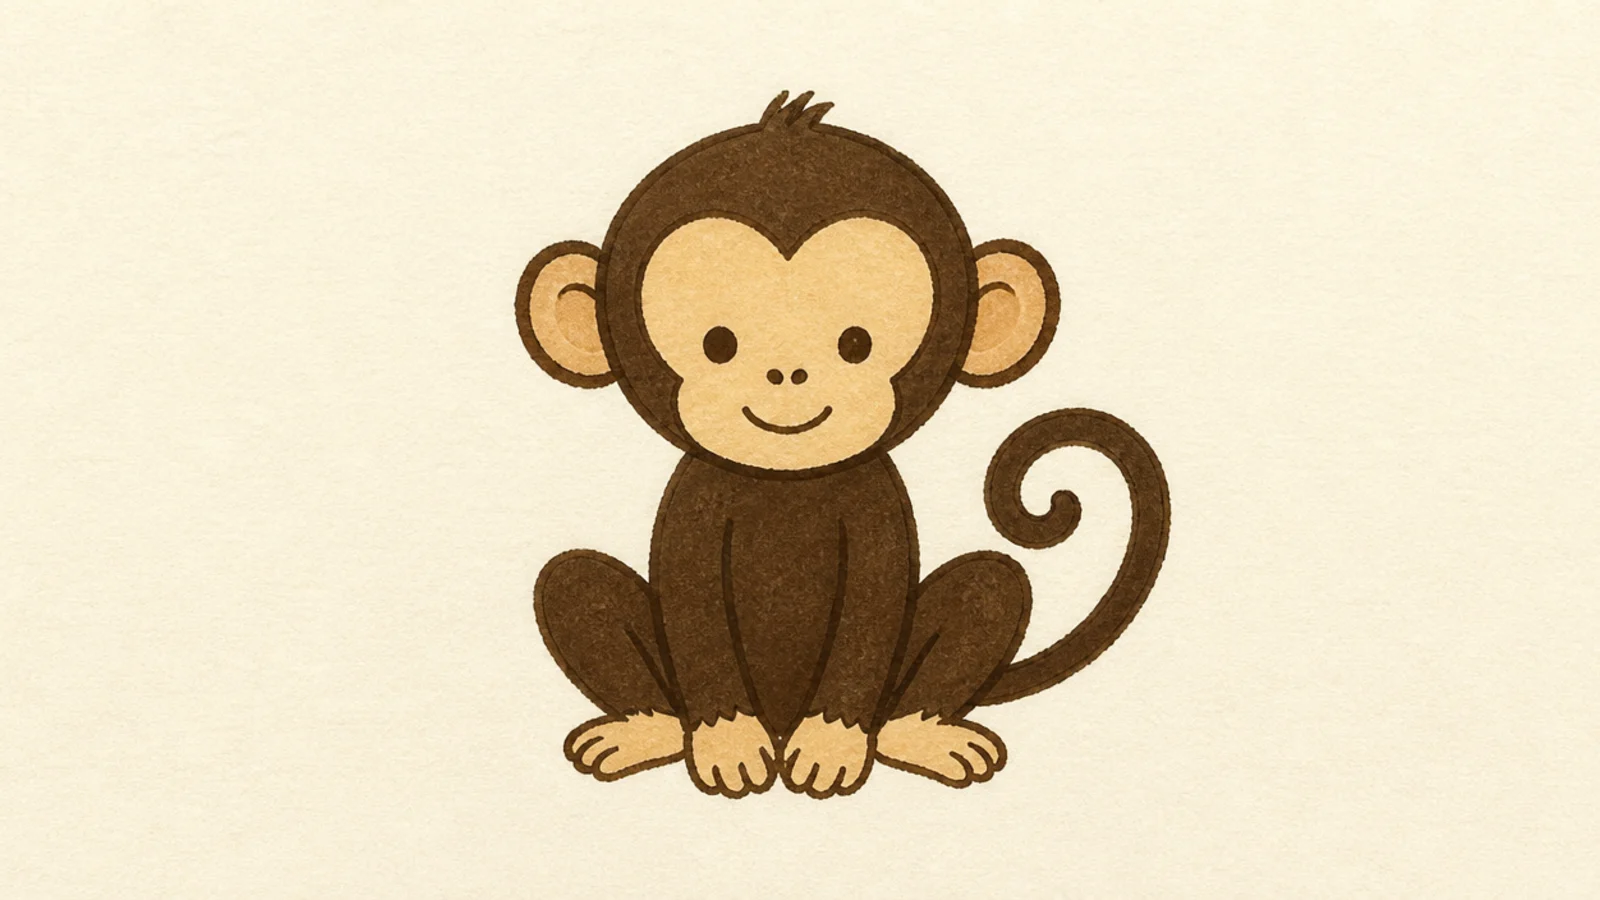
A solid black monkey silhouette is bold and forgiving — no interior detail needed. The strong shape reads clearly. It looks graphic and clean, a great closer.
Step 1 draw the monkey outline in a clear pose with a curled tail. Step 2 fill it solid black or one color. Step 3 keep the edges crisp so the shape stays readable.
Pick a pose with a clear tail curl so the silhouette reads as a monkey.
Don’t add interior detail; a silhouette works as a flat solid shape.



