
1 One-Minute Gesture Scribble
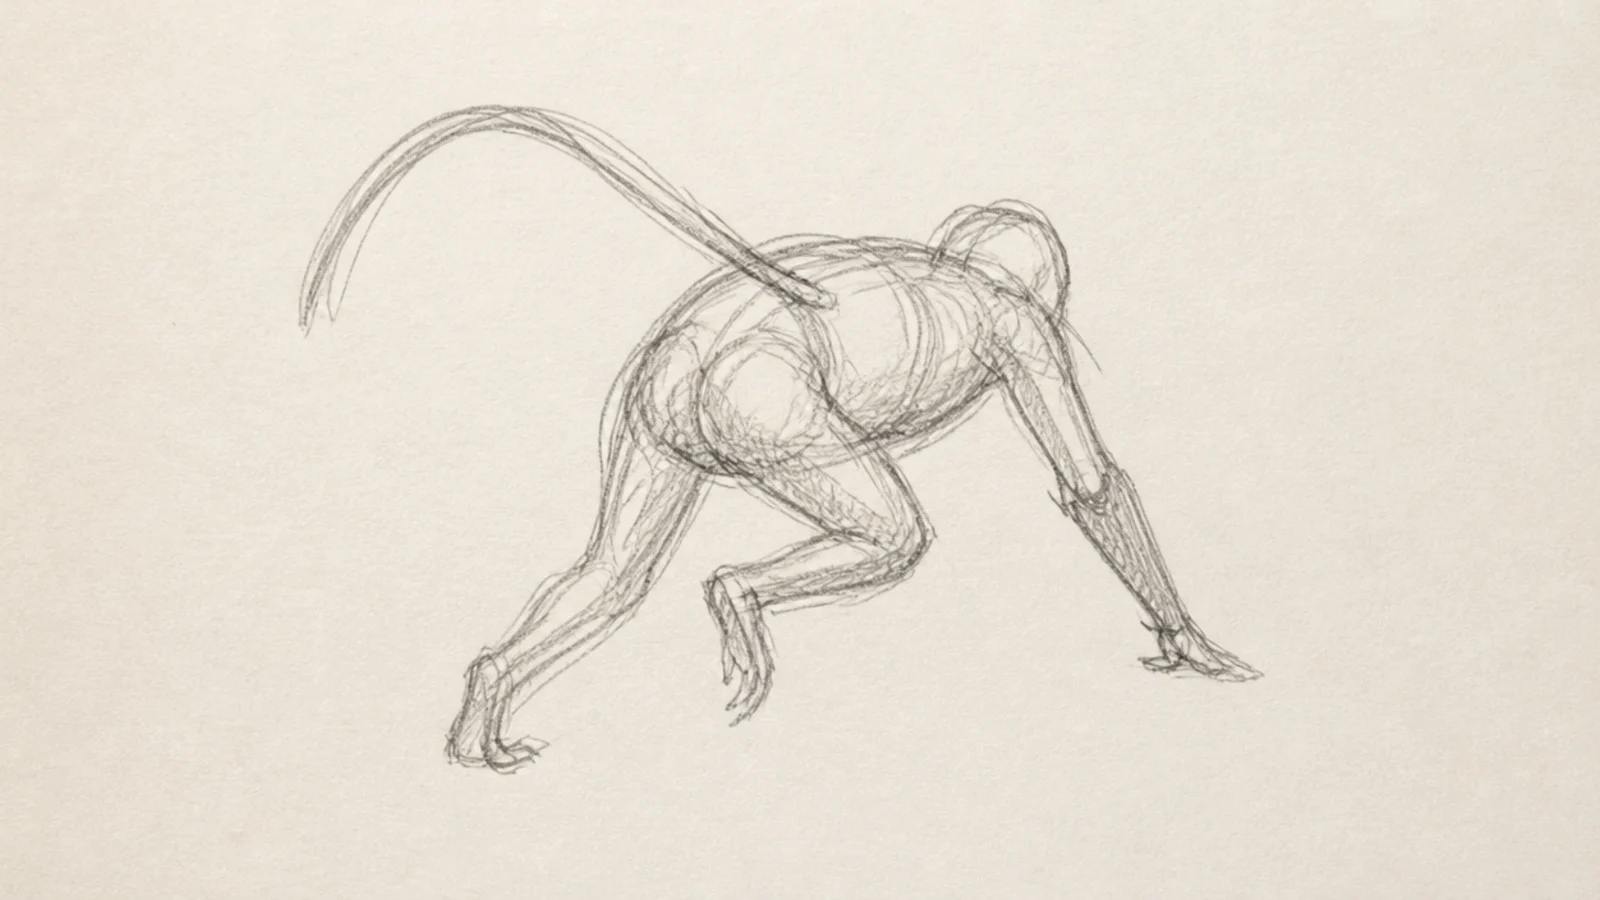
The fastest possible study — a one-minute scribble that captures the pose and nothing else. It trains you to see the flow first. It is the warm-up every sketch page should start with.
Step 1 draw a curved line of action for the spine. Step 2 scribble a rough ribcage and hip mass on it. Step 3 add quick limb lines and a tail sweep in under a minute.
Set a one-minute timer so you commit to gesture over detail.
Don’t add a face or fingers; a gesture is pure pose.
2 Continuous Contour Face
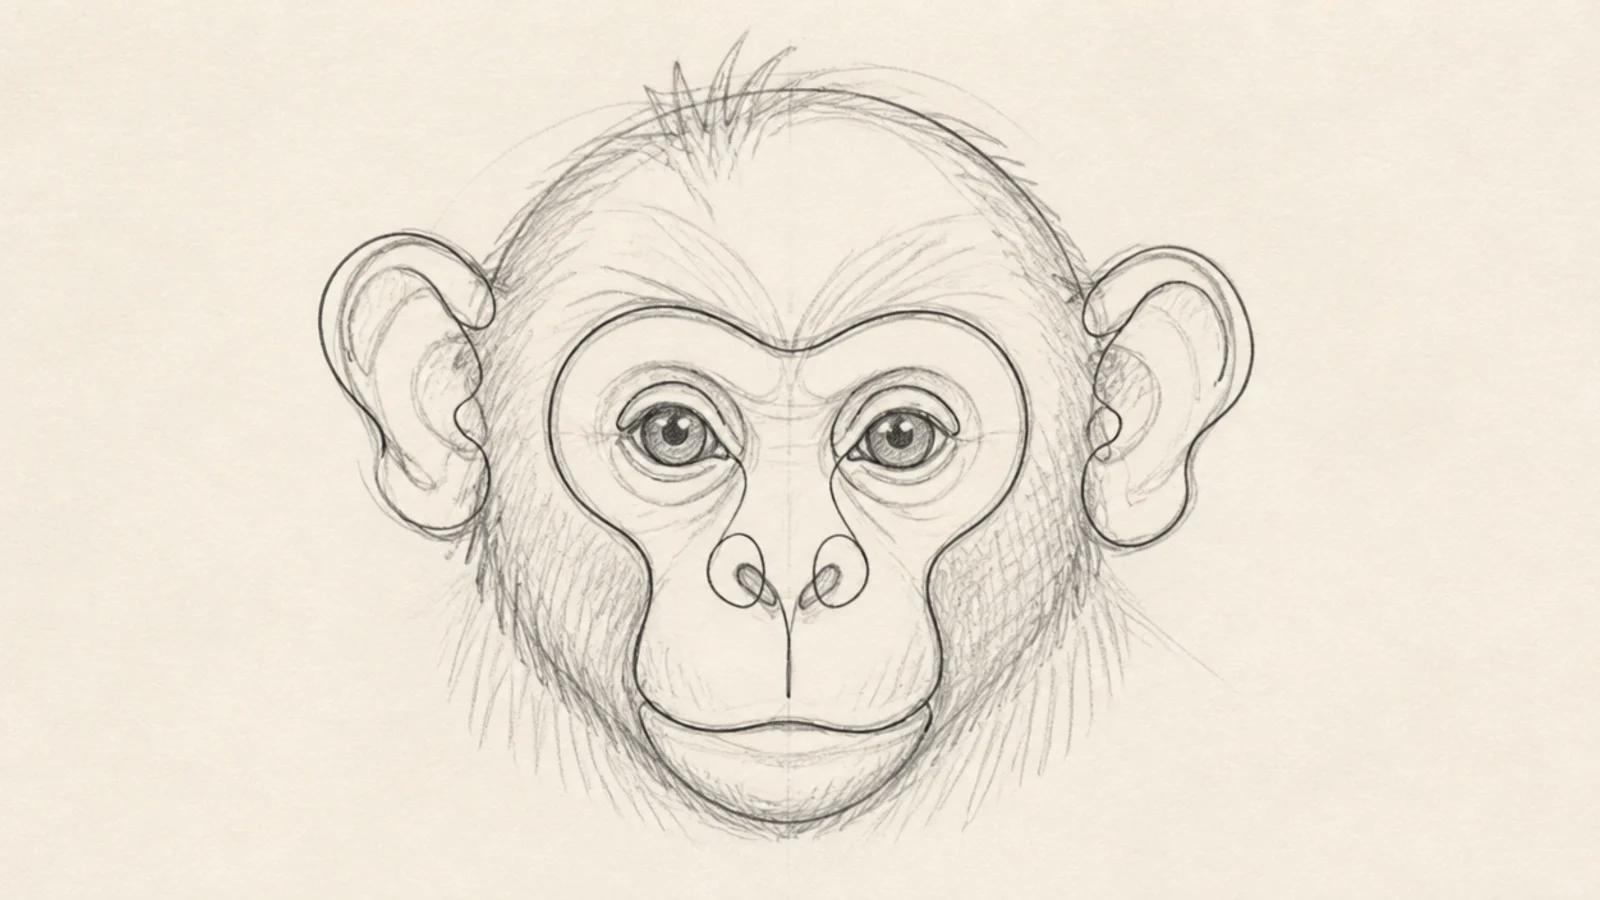
A monkey face drawn without lifting the pen is a classic loosening exercise. The single line looks artistic and forces you to slow your eyes down. It is oddly satisfying.
Step 1 start at one ear and trace the head outline slowly. Step 2 flow into the face patch, eyes, and nose without lifting. Step 3 loop back out to the second ear in one connected line.
Move your eyes and pen at the same slow speed for a truer contour.
Don’t lift the pen; the unbroken line is the whole exercise.
3 Loose Hanging Study
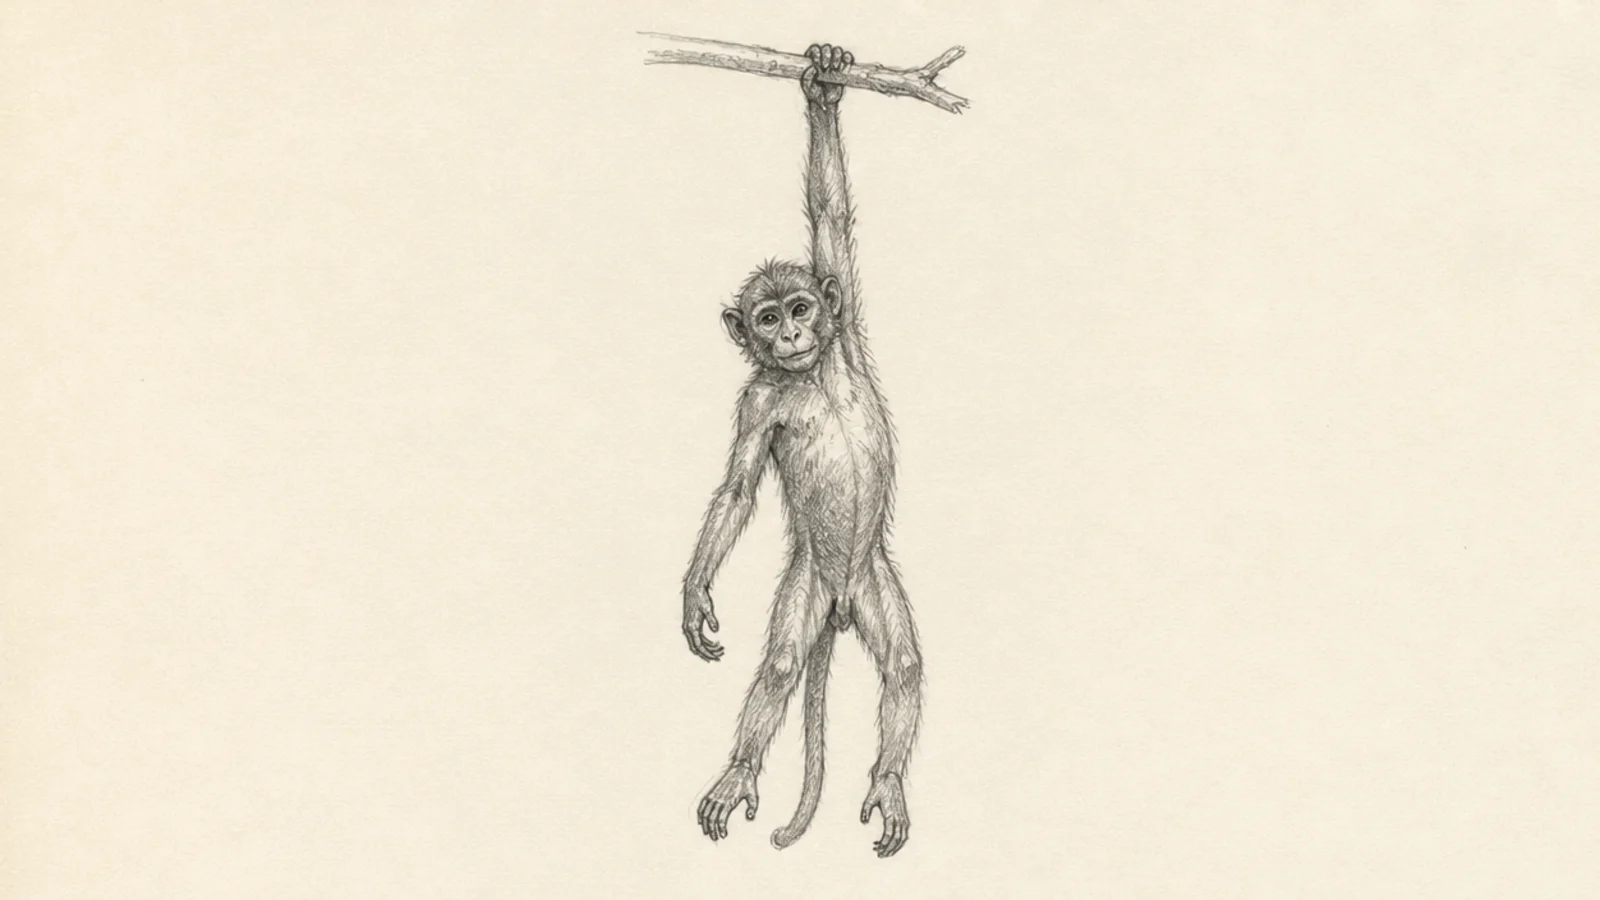
A hanging monkey is the perfect line-of-action subject because gravity stretches the whole body. The long straight pull reads instantly. It is a fun, dynamic sketch.
Step 1 draw a long straight line of action from the gripping hand down to the tail. Step 2 hang a stretched body on it. Step 3 add the dangling limbs loosely and a branch stub above.
Stretch the whole body long to show the pull of gravity.
Don’t bunch the body up; hanging poses are long and stretched.
4 Quick Face Study
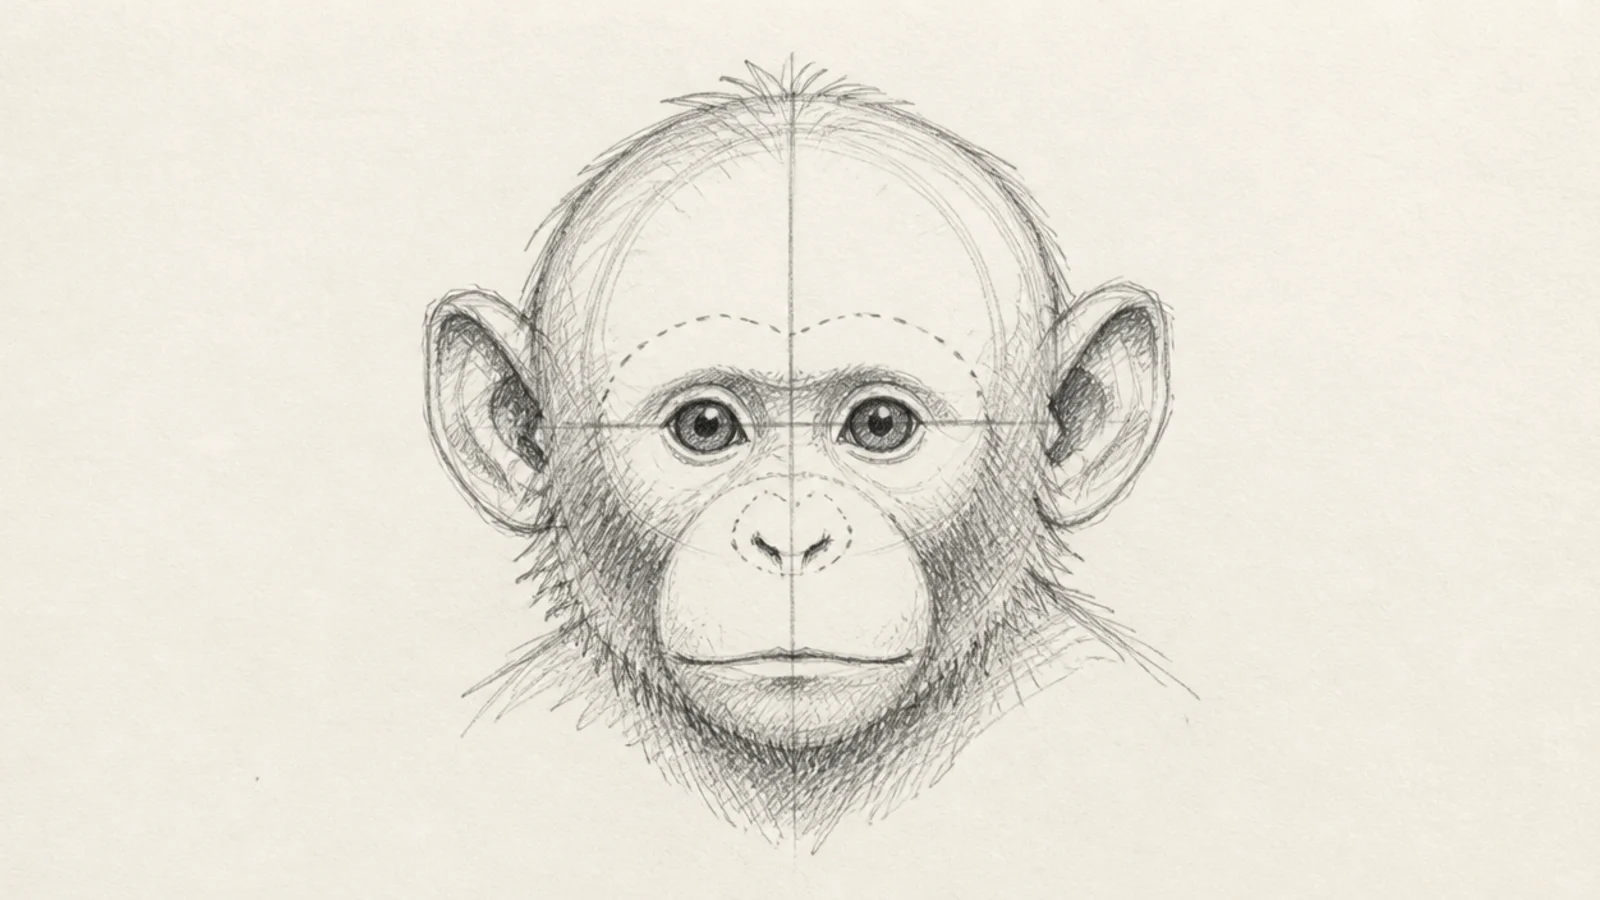
A fast study focused only on the face teaches you where the features sit. Sketching just the head lets you repeat it cheaply. It builds real familiarity with monkey proportions.
Step 1 sketch a light sphere for the head with a center line. Step 2 place the eyes on the center line and the muzzle patch below. Step 3 add ears at the sides and dash in the brow and nose loosely.
Use the center line to keep both eyes level as the head tilts.
Don’t polish it; a face study is meant to be quick and rough.
5 Hatched Value Monkey
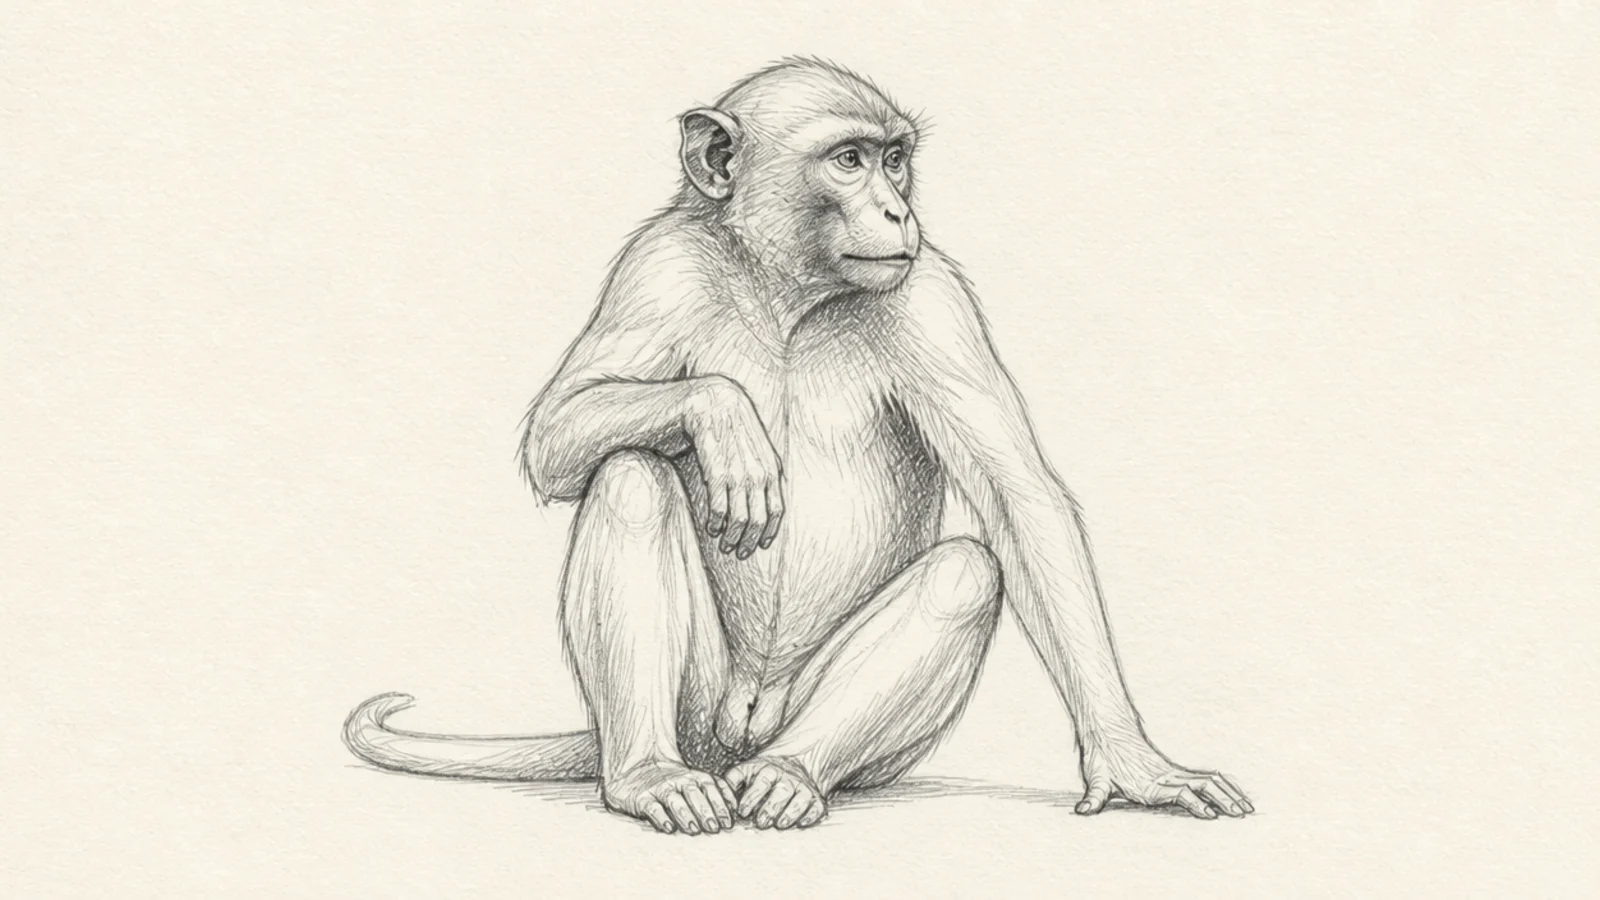
This study adds form with hatching alone — no blending, just lines. It teaches value the sketchbook way. The shaded side gives the flat drawing real roundness.
Step 1 sketch the monkey lightly. Step 2 pick one light direction. Step 3 hatch straight parallel lines on the shadow side and underbelly, packing them tighter in the darkest spots.
Pro tipKeep every hatch line going the same direction for a clean look.
AvoidDon’t scribble randomly; ordered hatching reads as controlled value.
6 Three-Pose Sketch Page
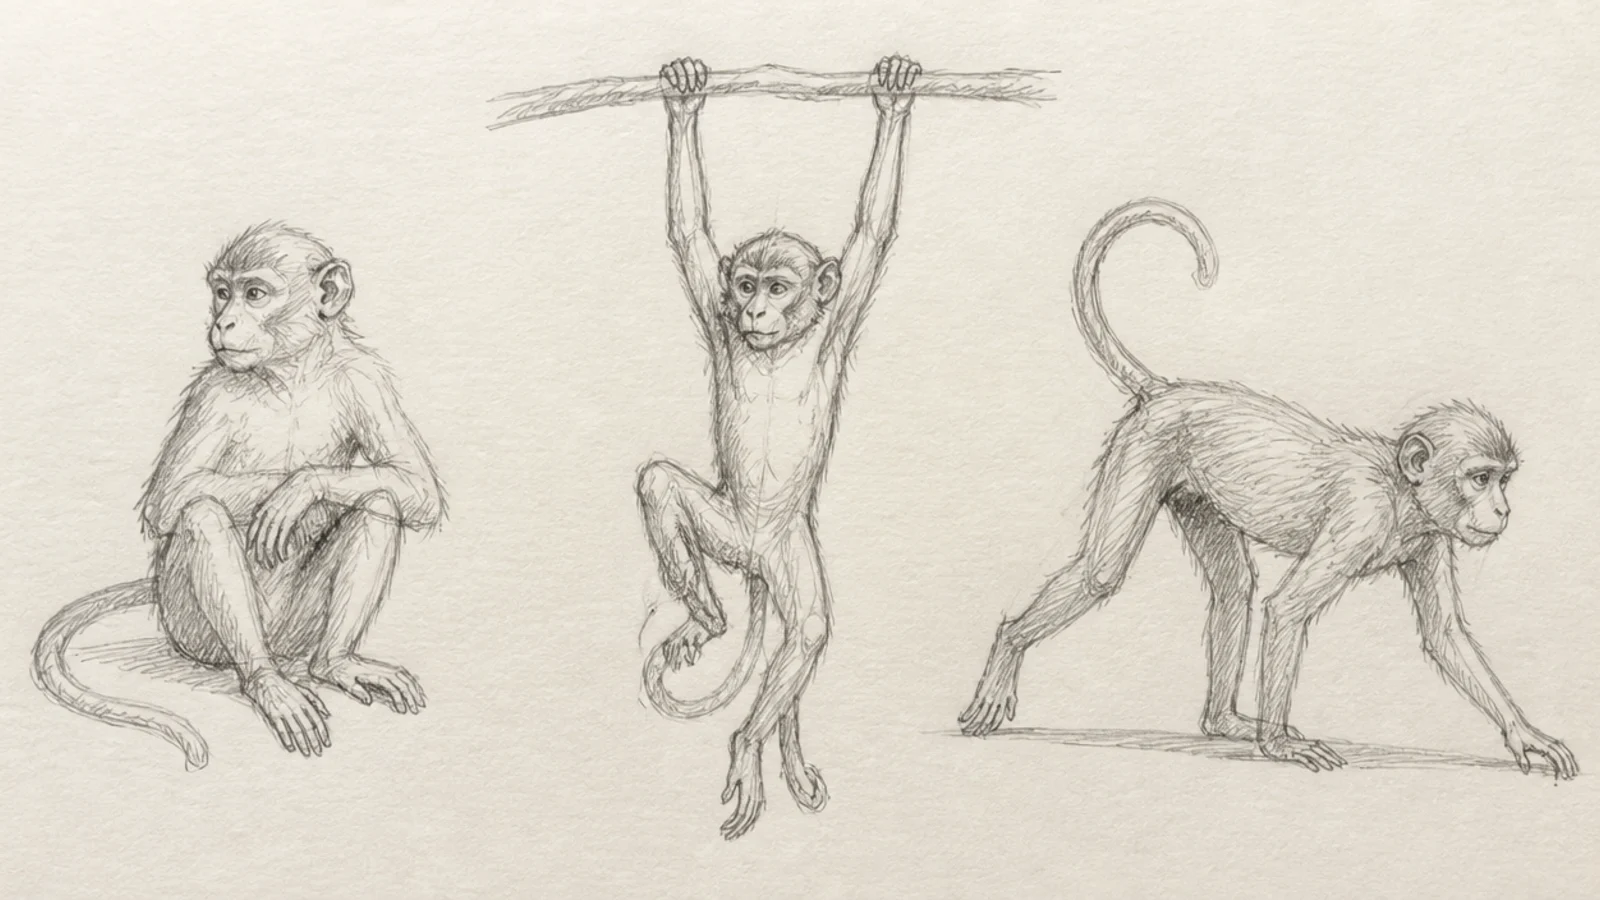
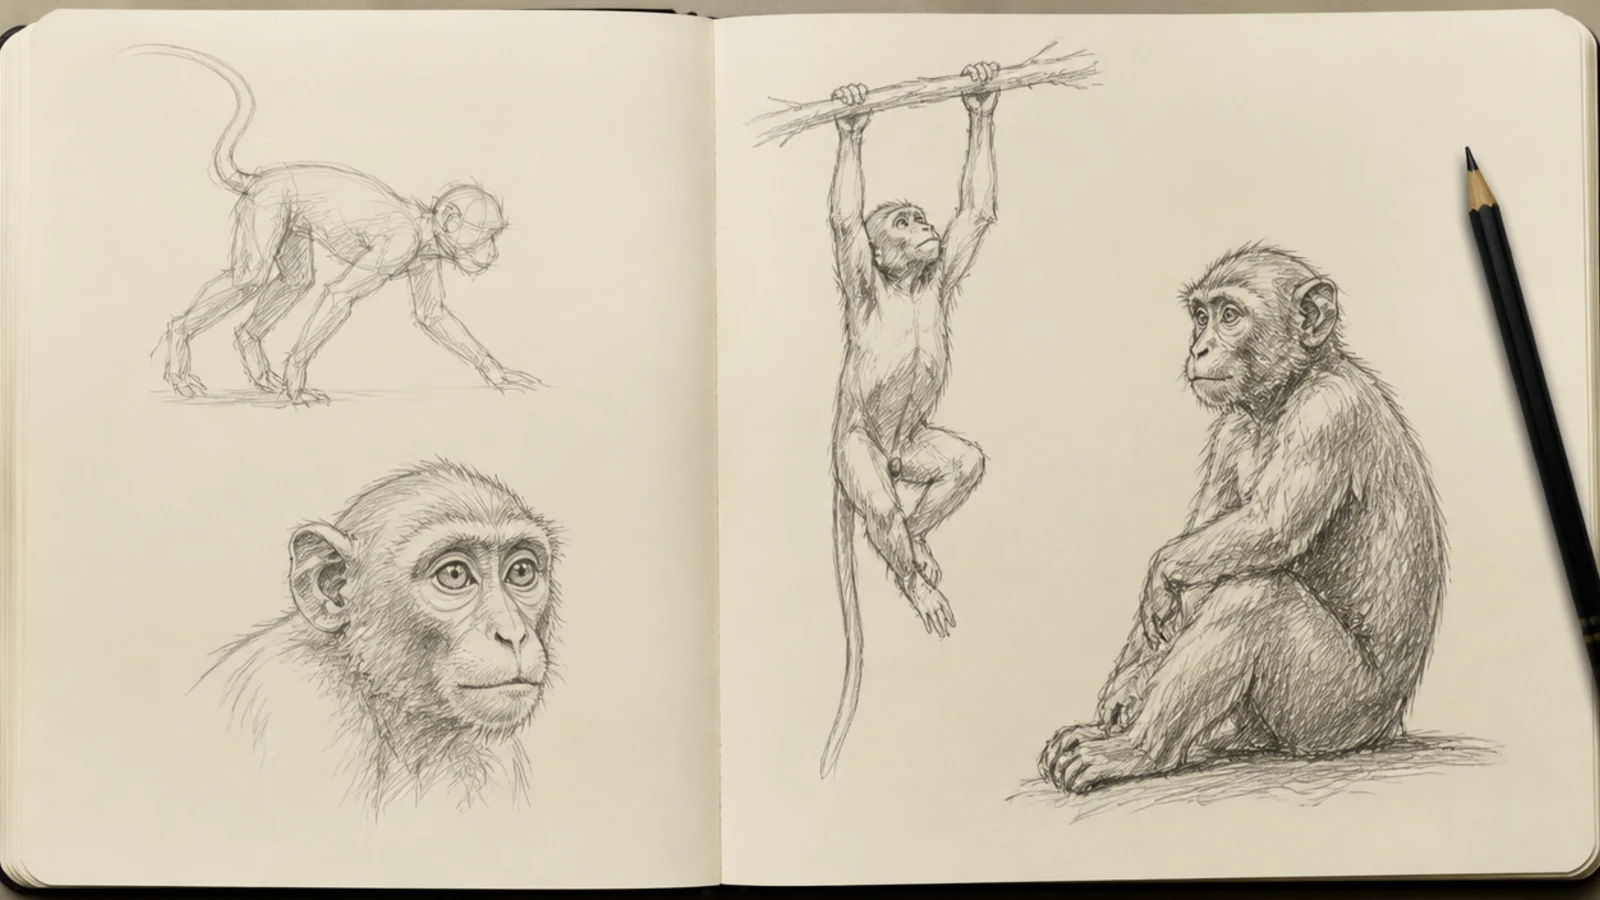
A page of three quick poses is how sketchbooks really fill up. Repeating the animal in different actions builds range fast. It looks like a genuine study sheet.
Step 1 sketch a sitting pose with a quick line of action. Step 2 add a hanging pose beside it. Step 3 add a walking pose, keeping all three loose and unfinished.
Give each pose a different line of action so they feel distinct.
Don’t finish one fully; a study page stays loose across all three.
7 Scribble-Fur Texture Study
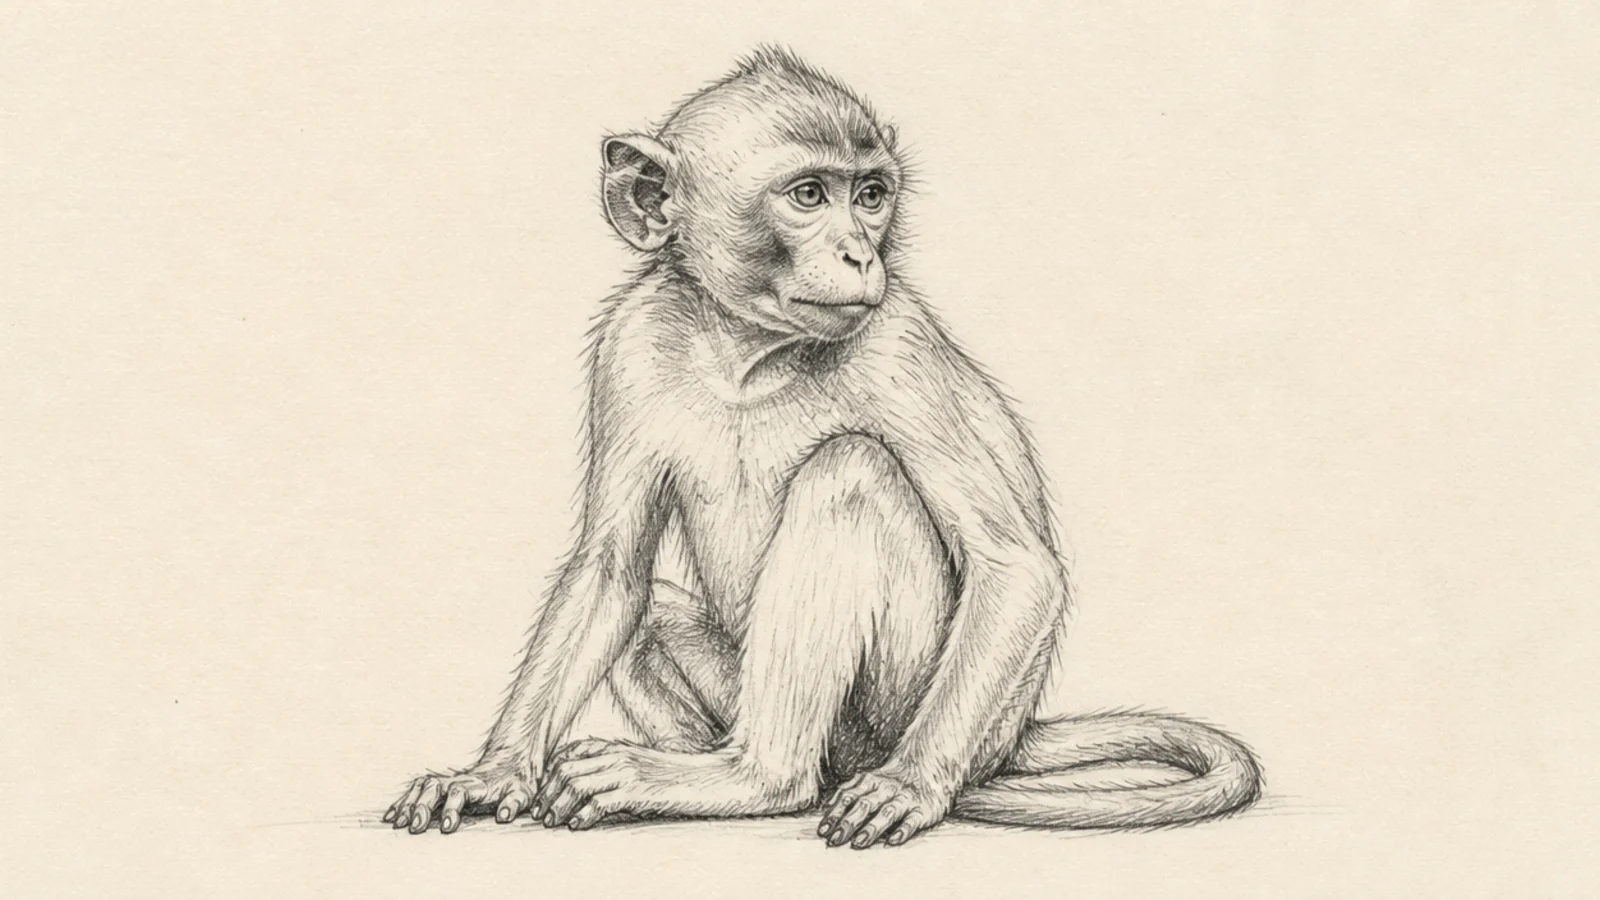
Short flicked strokes turn a plain outline into a furry monkey. It is a texture study more than a shape one. The scribbly coat feels alive.
Step 1 sketch the monkey shape lightly. Step 2 flick short strokes outward along the edges in the fur’s growth direction. Step 3 add a few strokes inside the shadow areas only.
Flick the strokes in the direction the fur grows, not against it.
Don’t outline hard then fur over it; let the fur strokes be the edge.
8 Ballpoint Pen Sketch
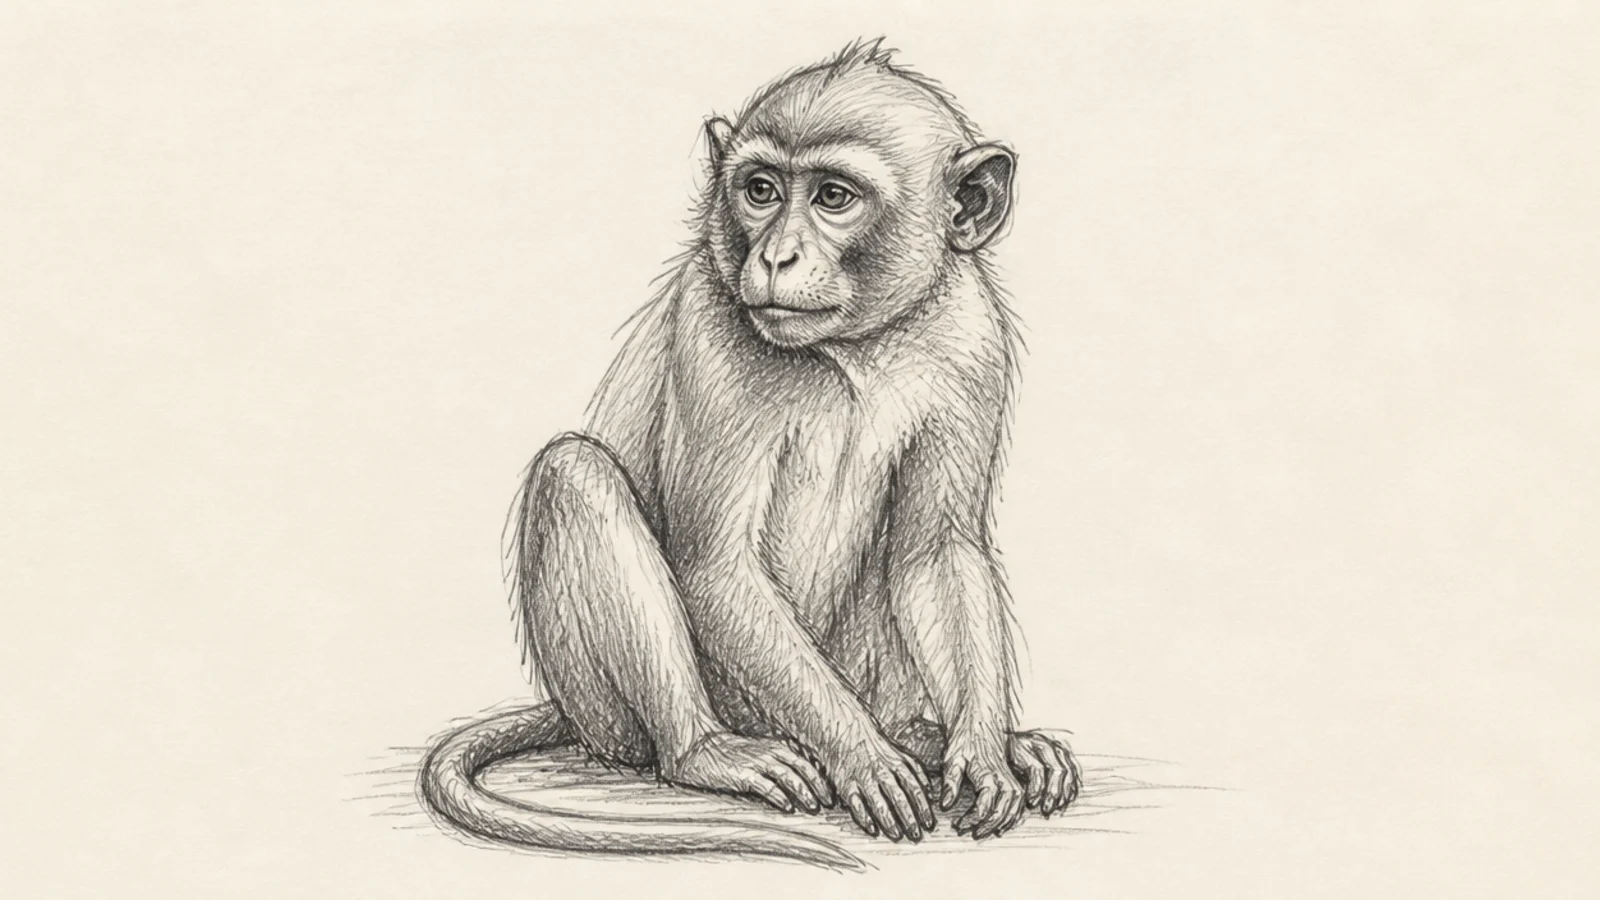
Sketching in ballpoint forces confidence because you cannot erase. The built-up tone looks rich and inky. It is a favorite sketchbook challenge.
Step 1 draw the monkey in light loose pen loops. Step 2 commit to the truest lines with firmer pressure. Step 3 build tone with layered crosshatching, going darker in the shadows.
Build tone slowly in layers; ballpoint darkens as you cross-hatch.
Don’t press hard from the start; light loops first, commit after.
9 Jumping Gesture
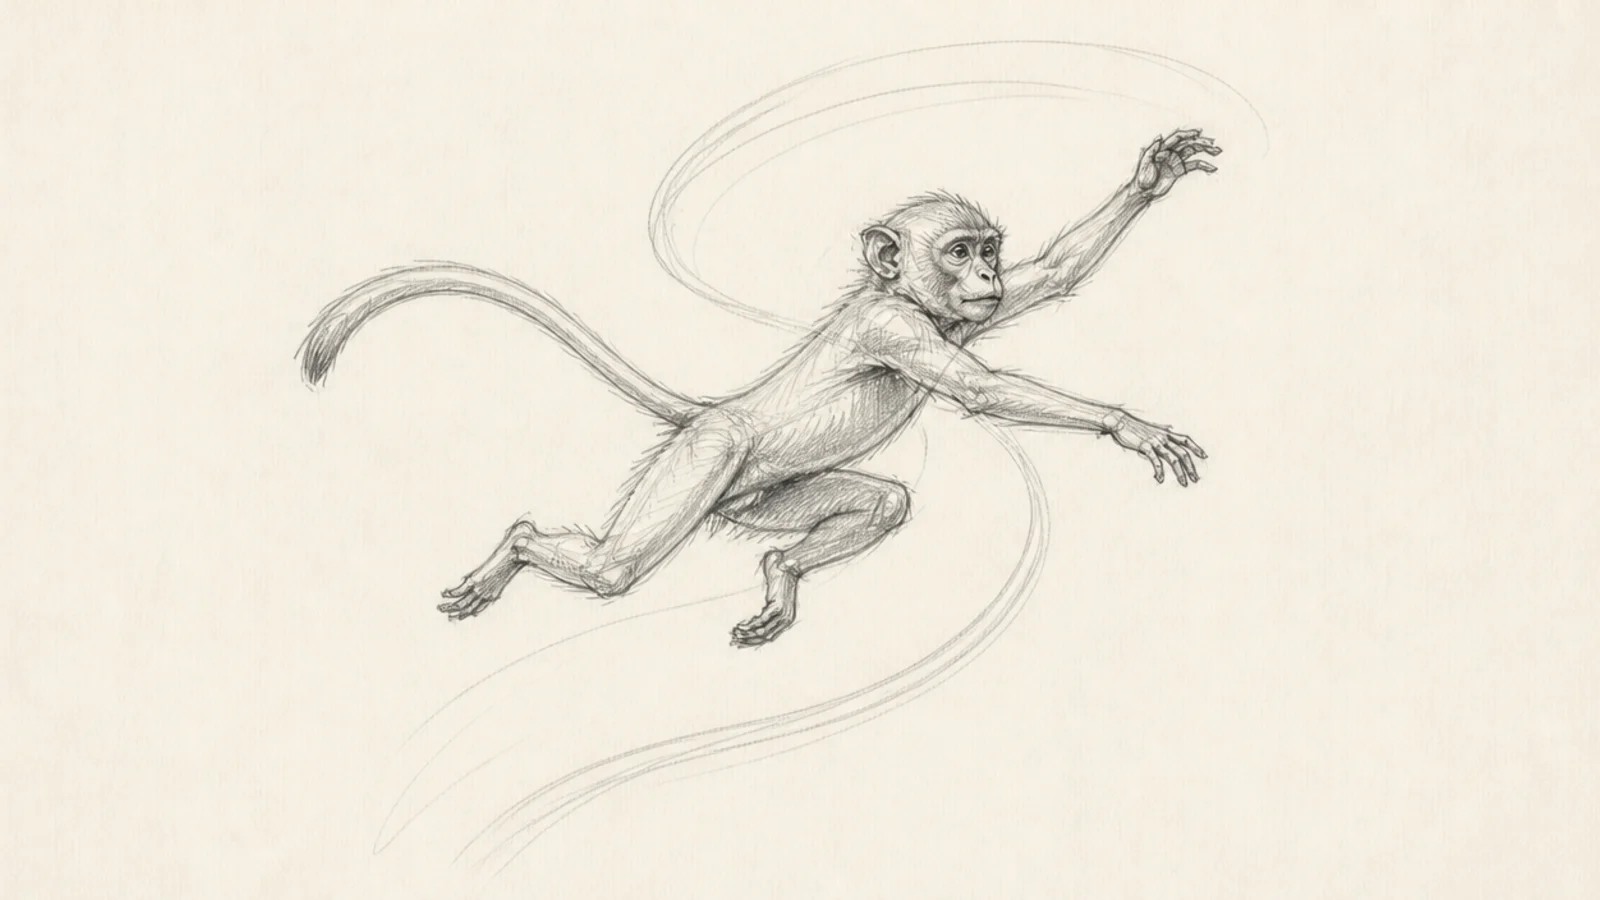
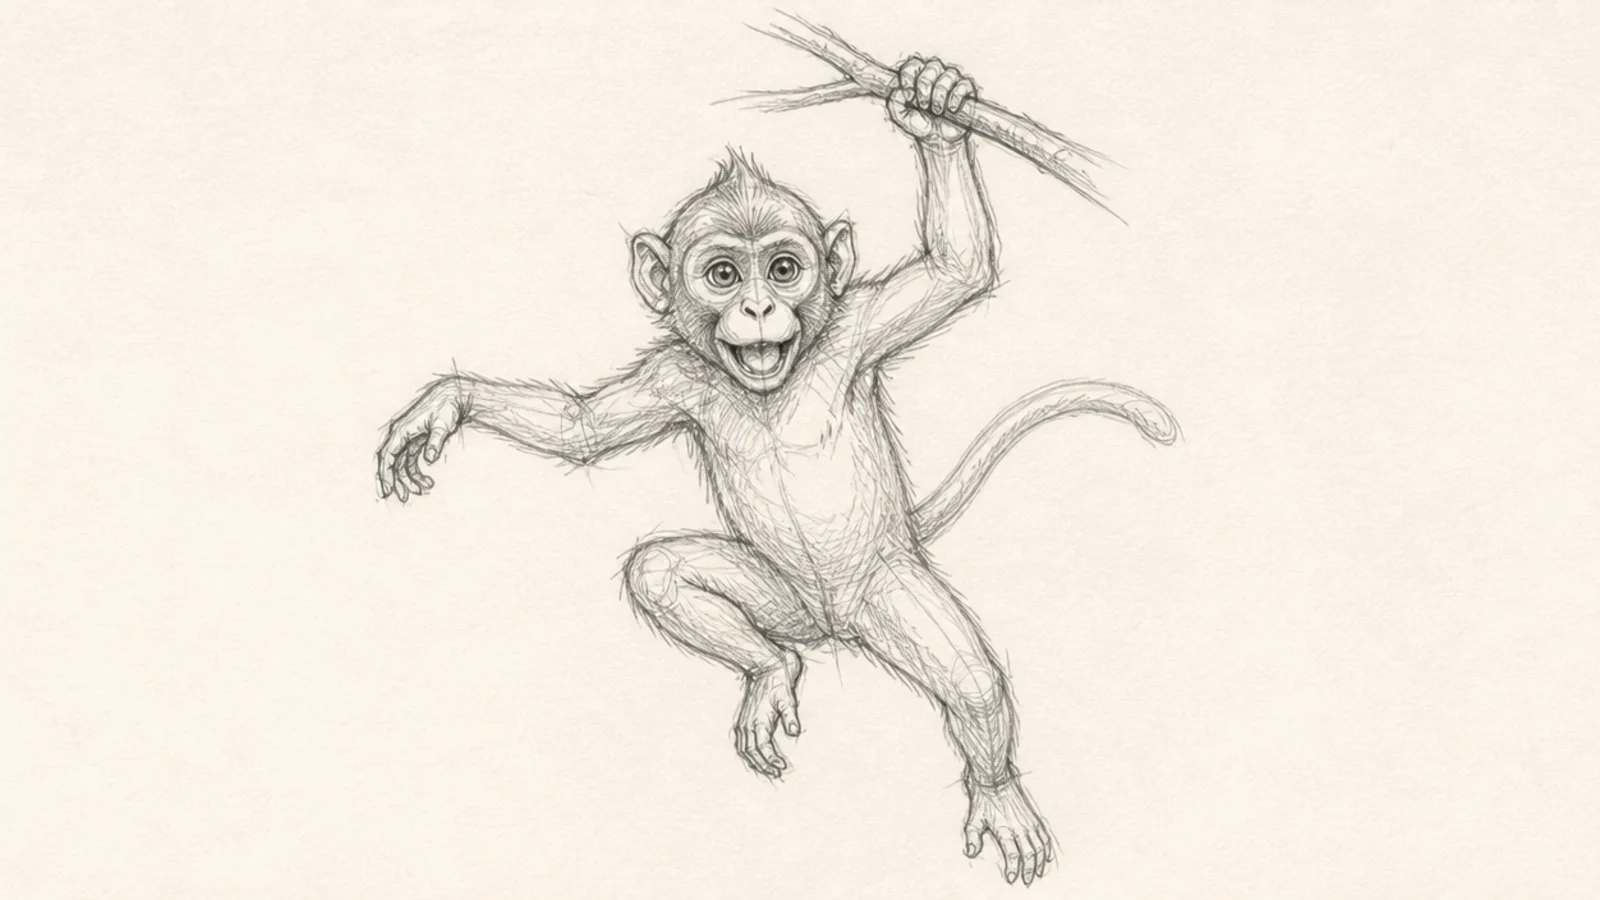
A leaping monkey is the most dynamic gesture on the page. The airborne stretch is pure energy. It pushes you to exaggerate the line of action.
Step 1 draw a big sweeping C-curve or S-curve line of action. Step 2 fling the limbs out along the direction of the leap. Step 3 trail the tail behind for extra motion.
Exaggerate the arc of the spine to sell the mid-air jump.
Don’t draw it upright; a jump needs a strong diagonal line of action.
10 Profile Head Sketch
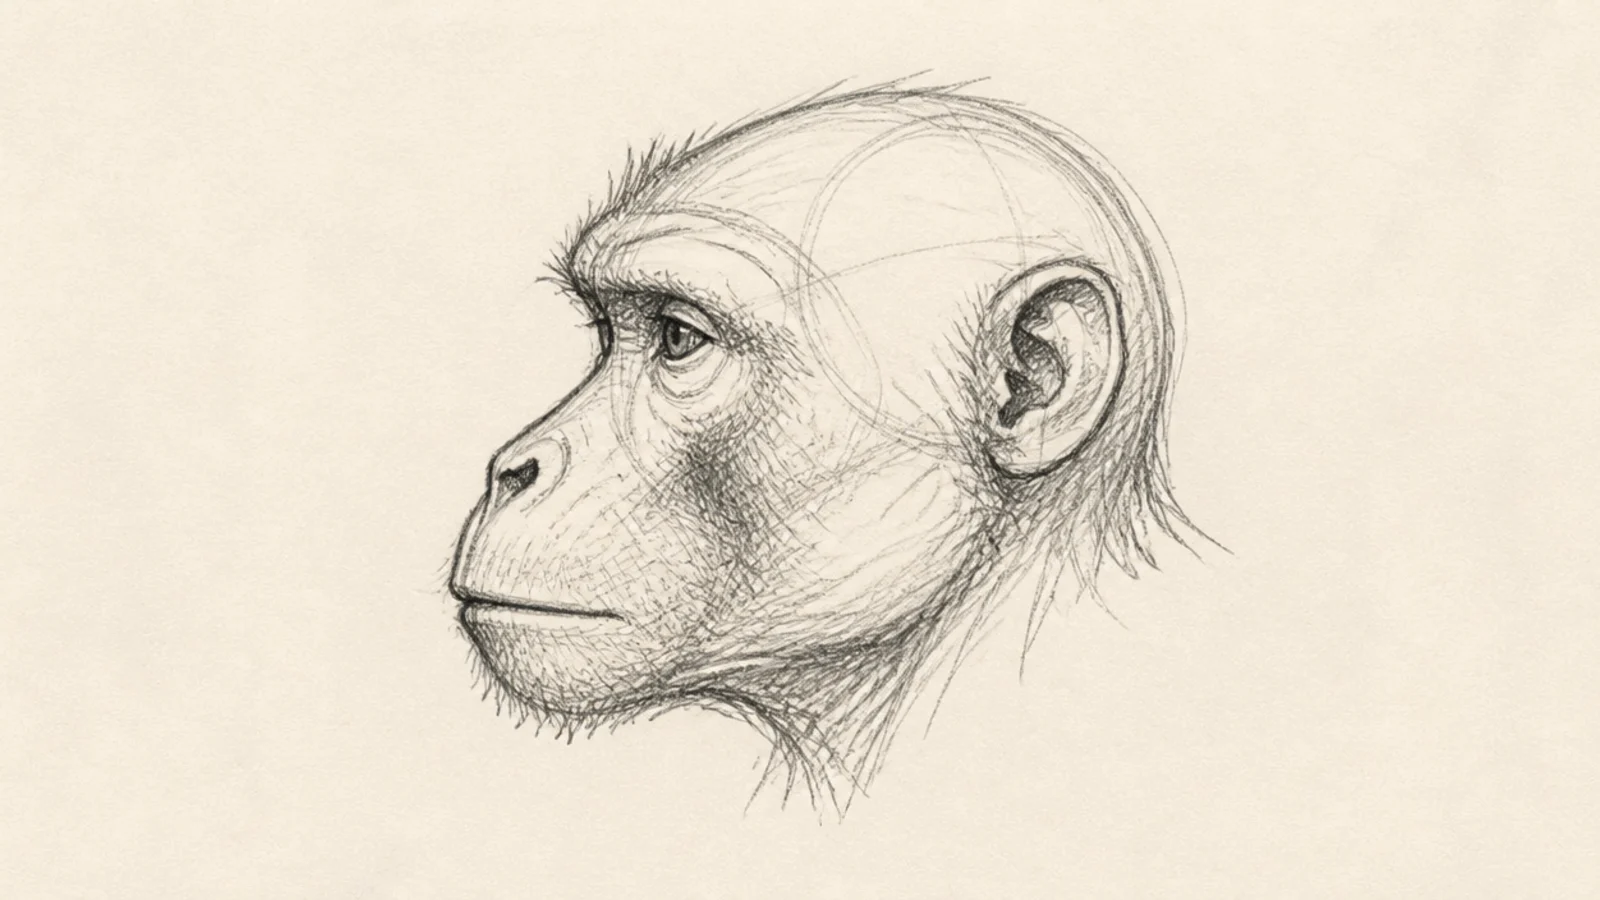
A profile sketch shows the muzzle and brow shape you miss from the front. The side view is great construction practice. It looks thoughtful and studied.
Step 1 sketch a light circle for the cranium. Step 2 push a muzzle wedge out from the lower front. Step 3 add the brow ridge, one eye, the ear behind, and a jaw line.
Pro tipSet the eye just above where the muzzle meets the forehead.
AvoidDon’t flatten the muzzle; monkeys have a clear forward jaw and brow.
11 Crouching Monkey Study
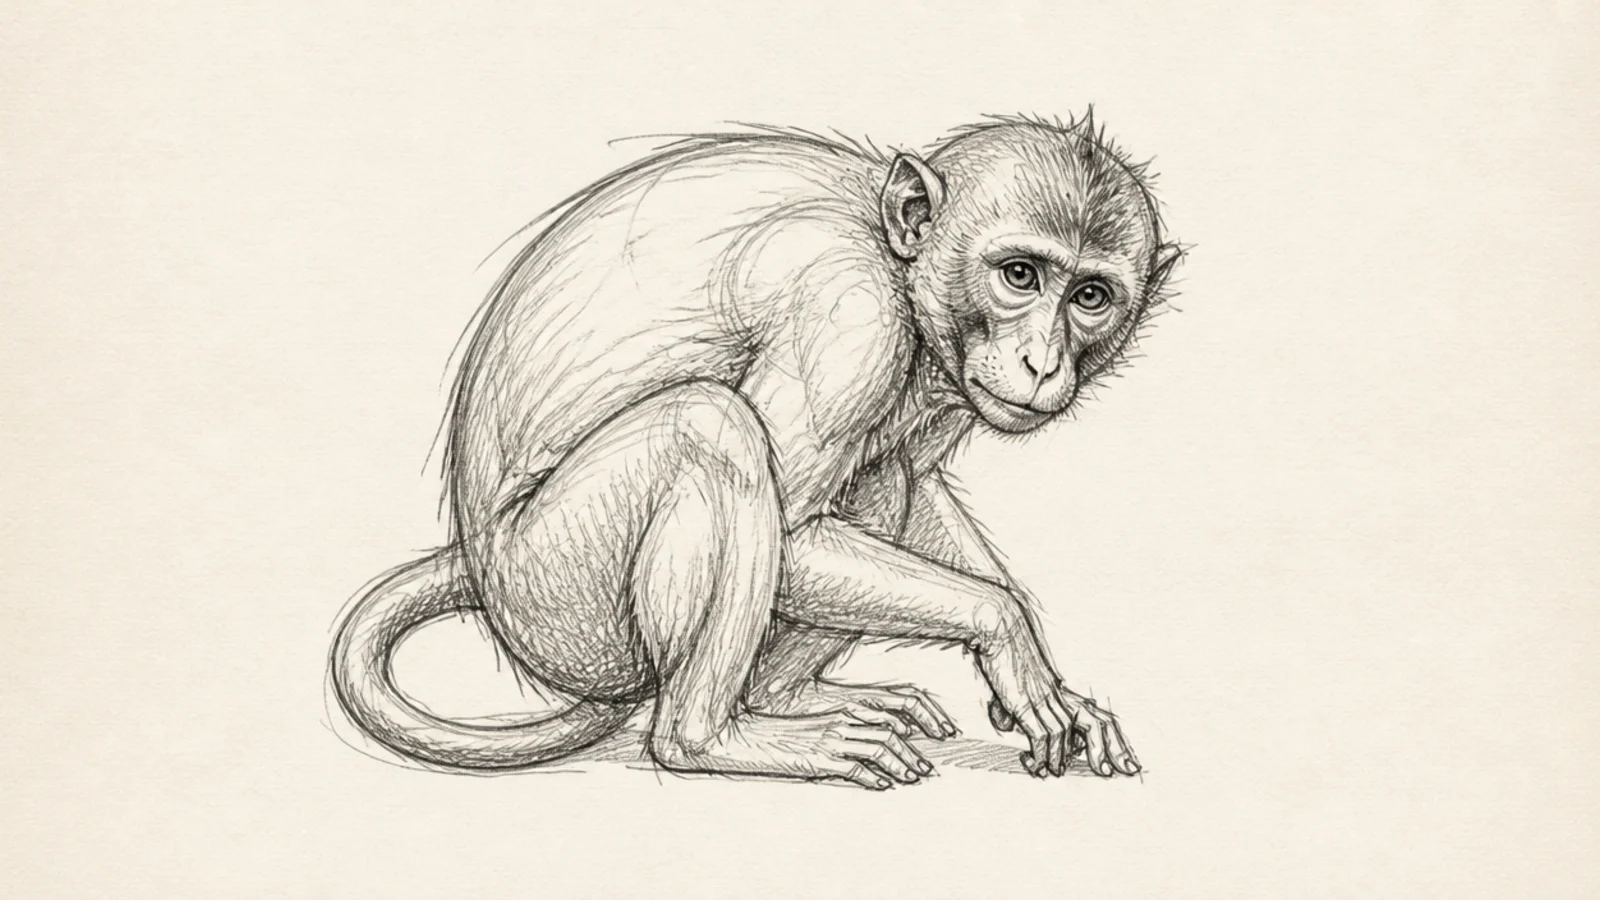
A crouched monkey compresses the body into a tense coil. The folded pose is great for practicing overlap. It feels ready to spring.
Step 1 draw a tight curved line of action for the hunched spine. Step 2 stack the ribcage and hips close together. Step 3 fold the arms and legs under, letting shapes overlap, and curl the tail.
Overlap the near limbs in front of the far ones to show depth.
Don’t spread the pose out; a crouch is compact and coiled.
12 Hand and Foot Study
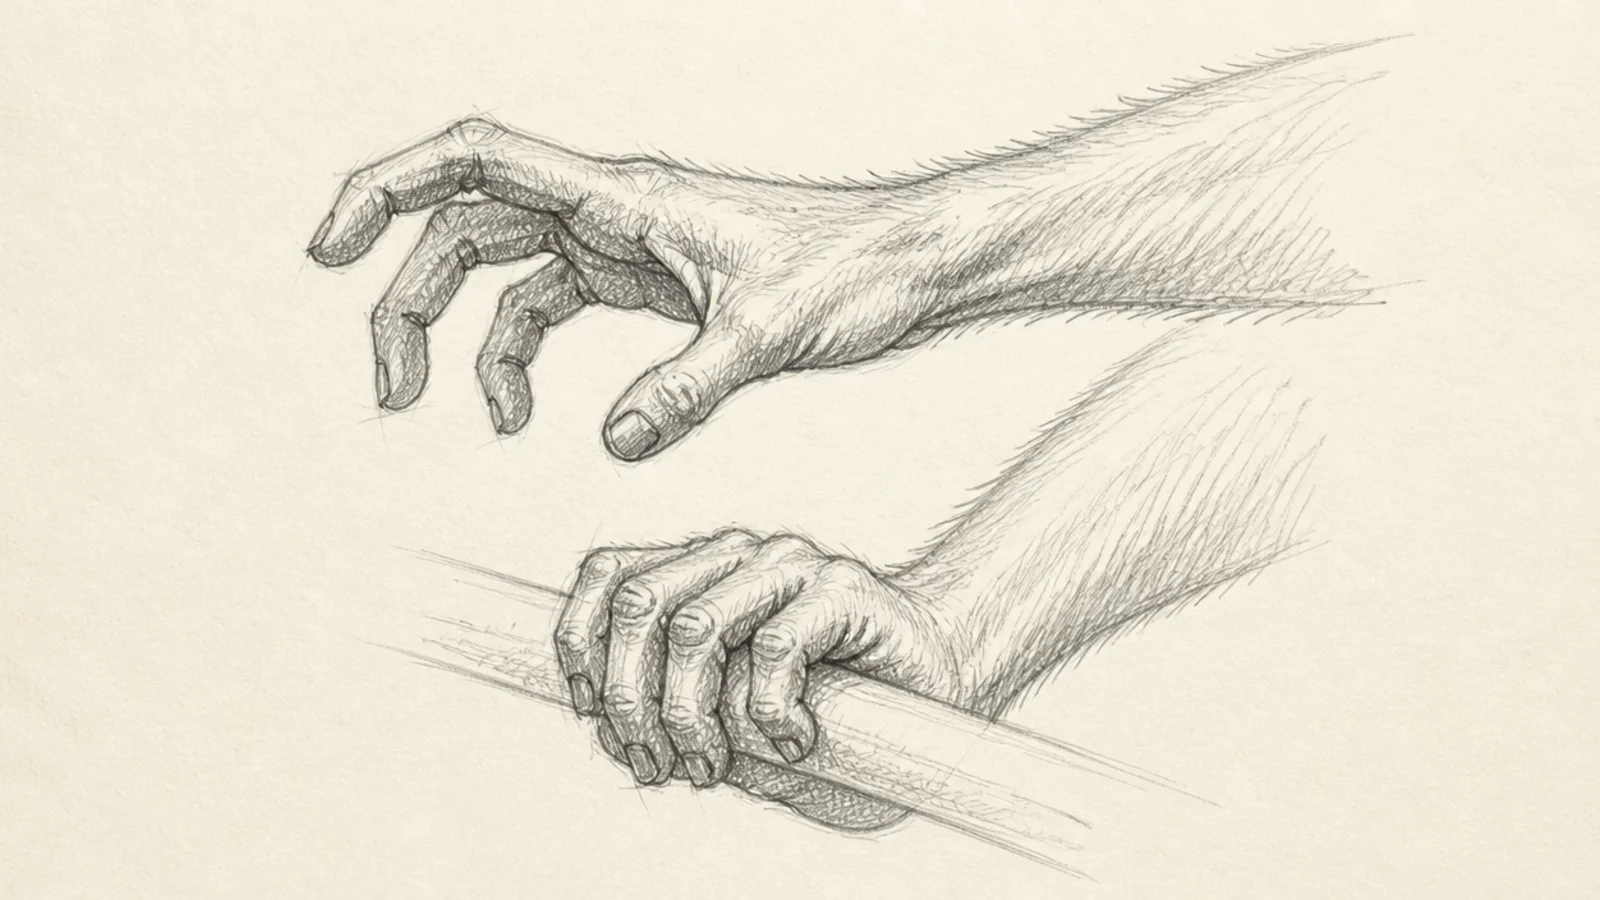
A close study of the hands and feet fixes the part beginners fudge. Monkey hands are long and grippy, and drawing them alone builds skill. It is a genuinely useful page.
Step 1 sketch the palm as a soft square. Step 2 add four long curved fingers and a lower thumb. Step 3 repeat for a gripping foot, curling the digits around an imaginary branch.
Pro tipMake the fingers long and curved; monkey hands are built for gripping.
AvoidDon’t draw stubby human hands; monkey digits are longer and thinner.
13 Tail Curl Study
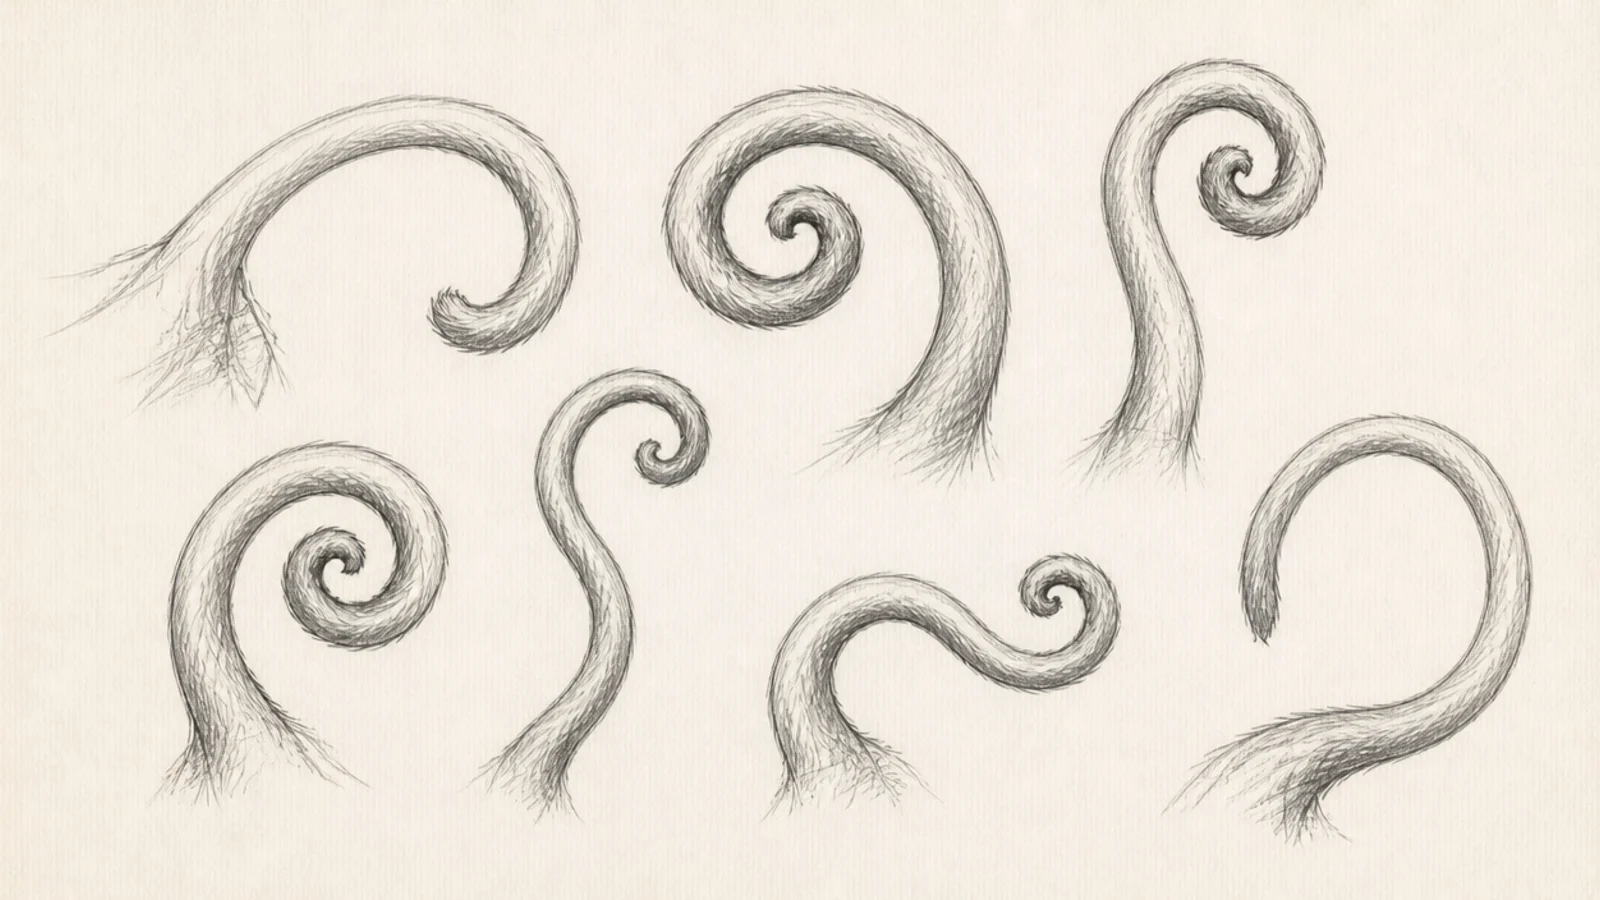
A page of tail curls teaches one of the most expressive monkey features. Different curls read as different moods. It is a quick, meditative study.
Step 1 draw a smooth base line for the tail. Step 2 spiral the end into a loose curl, keeping the line flowing. Step 3 repeat with tighter and looser curls to compare.
Pro tipTaper the tail thinner as it curls toward the tip.
AvoidDon’t draw the tail an even width; taper it for a natural curl.
14 Quick Value Blob Sketch
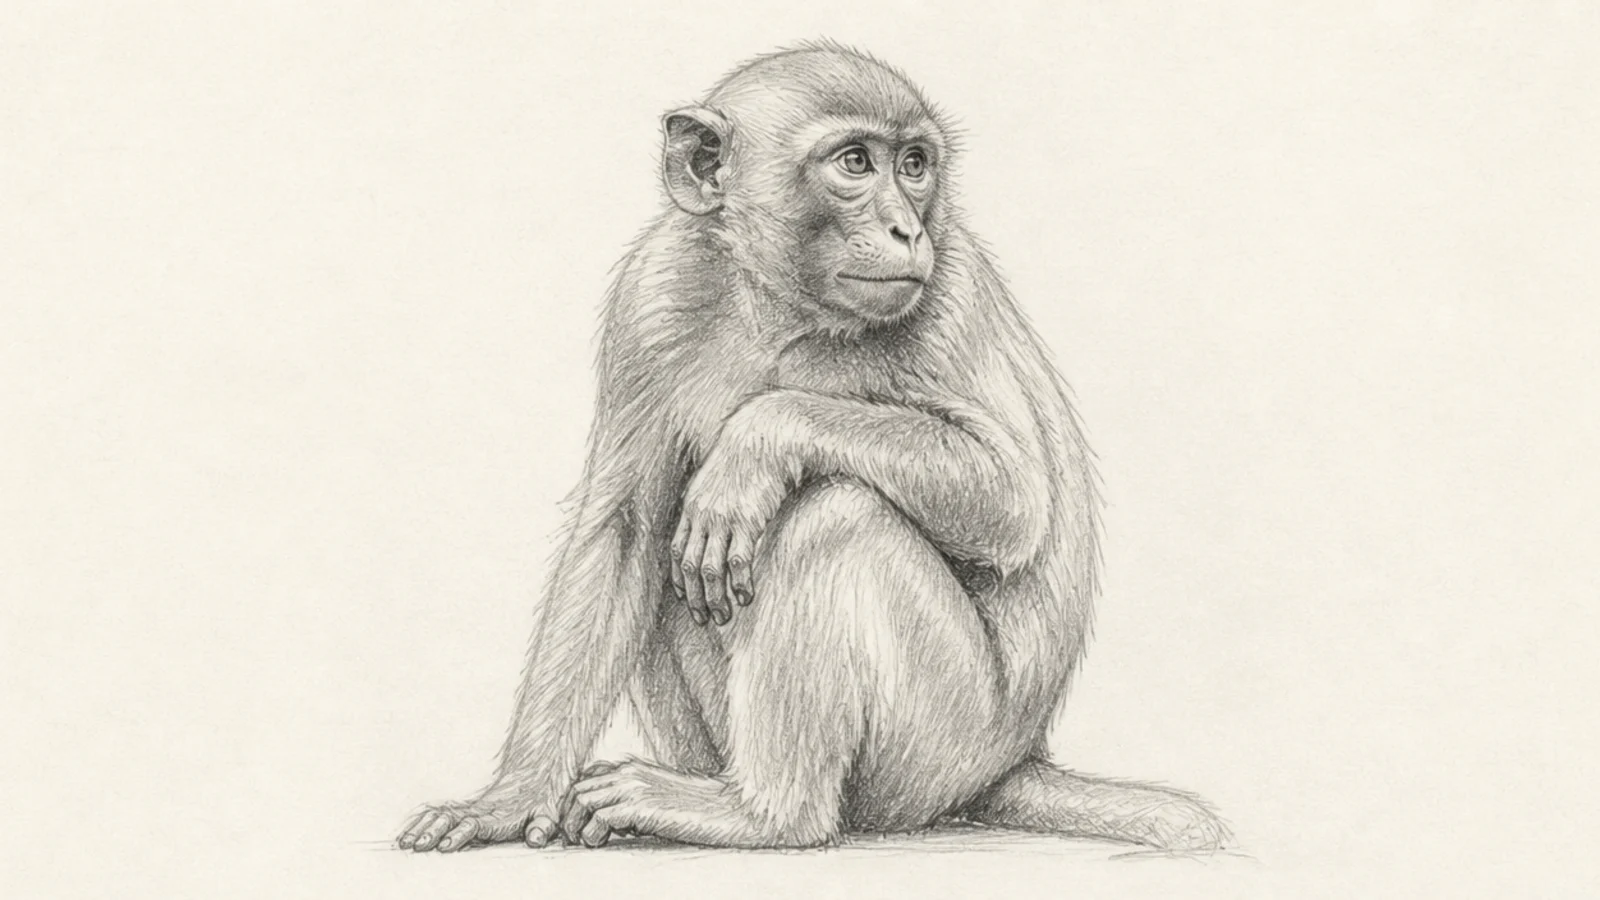
This study skips outlines and builds the monkey from blocks of light and dark. Seeing in value is a huge skill jump. The shapes read even squinted.
Step 1 squint and lay in the big shadow shape as one soft tone. Step 2 leave the paper white for the lit areas. Step 3 add the darkest accents last in the deepest folds.
Pro tipSquint at your subject to simplify it into just light and shadow.
AvoidDon’t outline first; let the value shapes define the form.
15 Sketchbook Corner Monkey
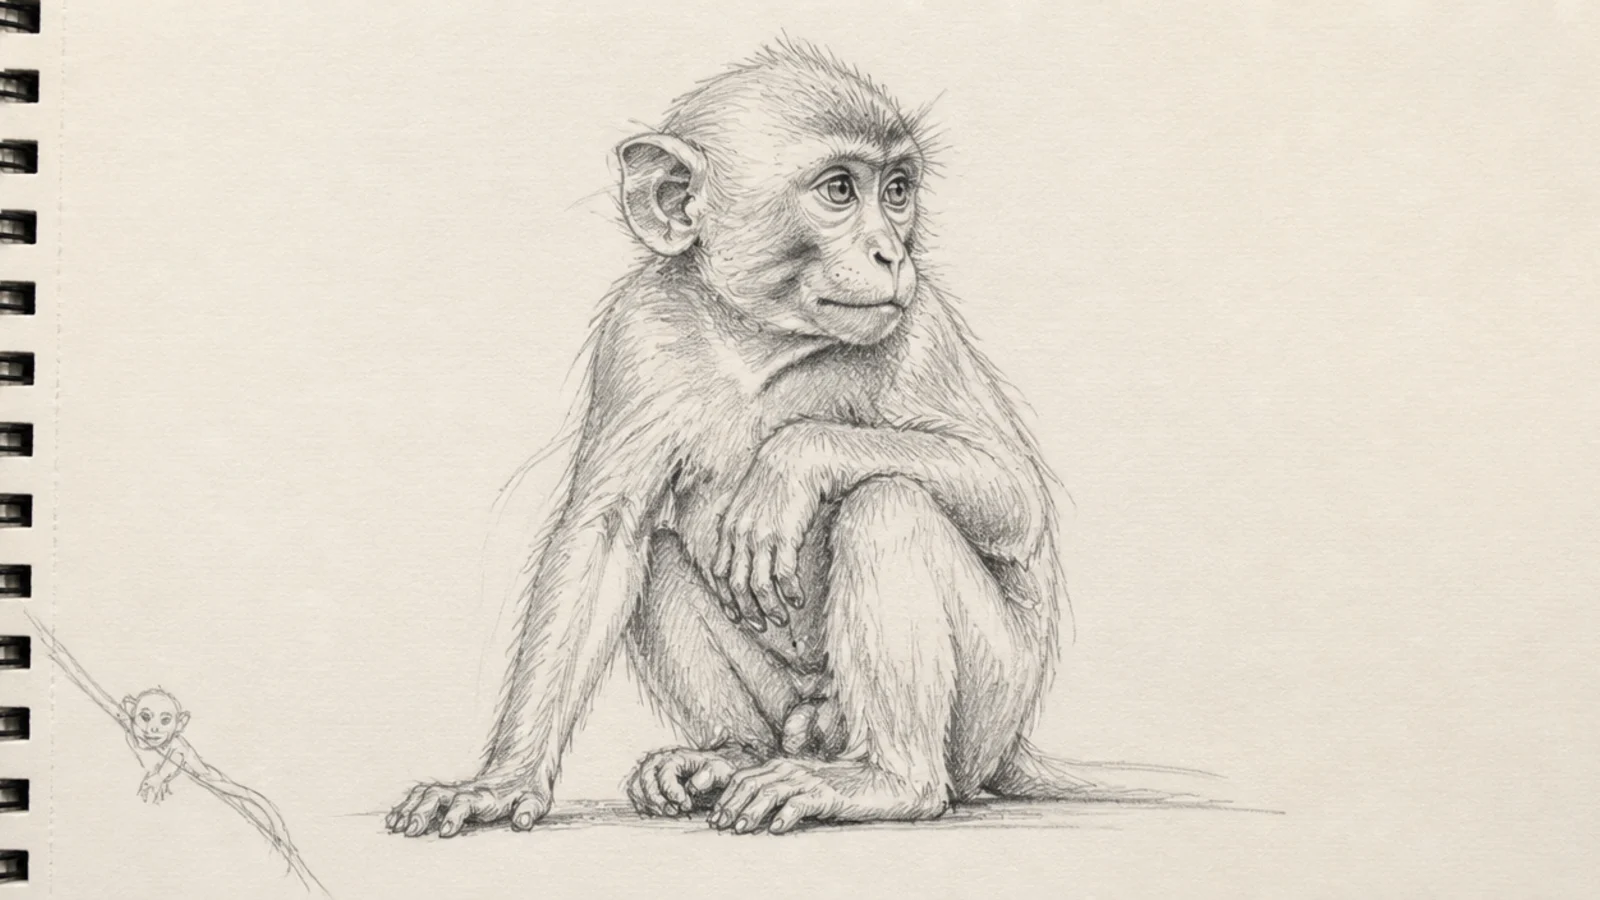
A little monkey tucked in a corner is the perfect page filler between studies. Small and quick, it decorates the margin. It keeps a sketchbook feeling lived-in.
Step 1 in a corner, sketch a small quick monkey peeking or sitting. Step 2 keep the lines light and loose. Step 3 let a hand or tail trail along the page edge.
Let the monkey interact with the page edge for a playful touch.
Don’t make it big or careful; a corner sketch stays small and loose.
16 Eating Monkey Sketch
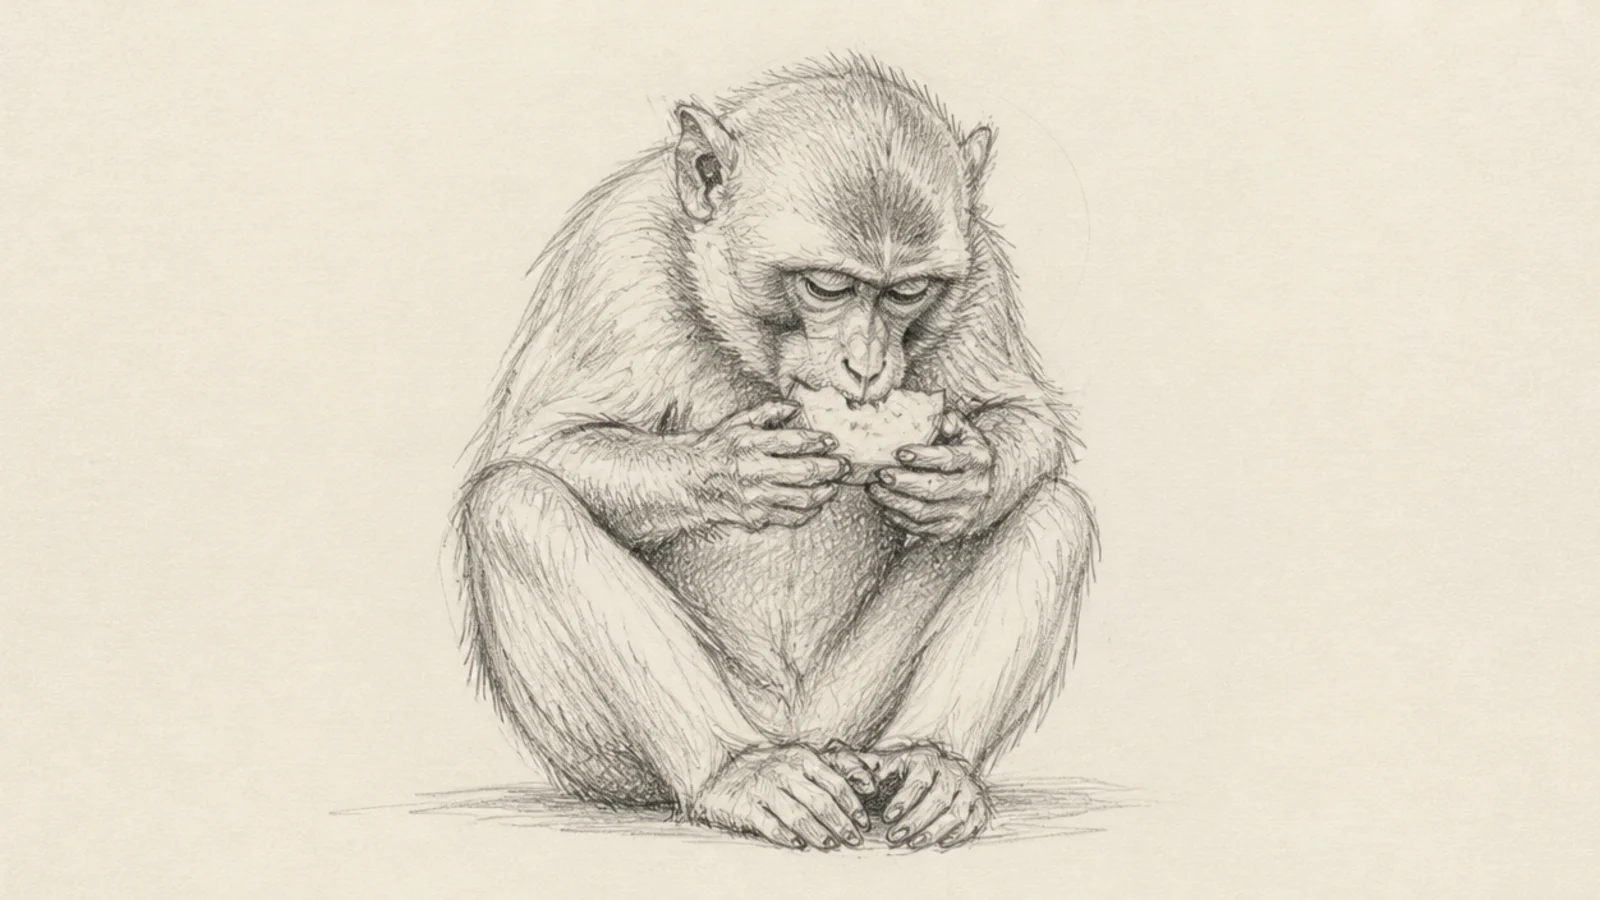
A monkey eating is a natural, characterful pose full of little overlaps. Both hands to the mouth curls the body inward. It tells a tiny story in a sketch.
Step 1 draw a curved line of action for the hunched-over pose. Step 2 bring both hands up to the mouth holding a piece of fruit. Step 3 tuck the head down toward the hands and add the seated legs.
Pro tipCurl the whole body toward the food to focus the pose.
AvoidDon’t sit it upright; leaning into the food makes the action read.
17 Grooming Pair Sketch
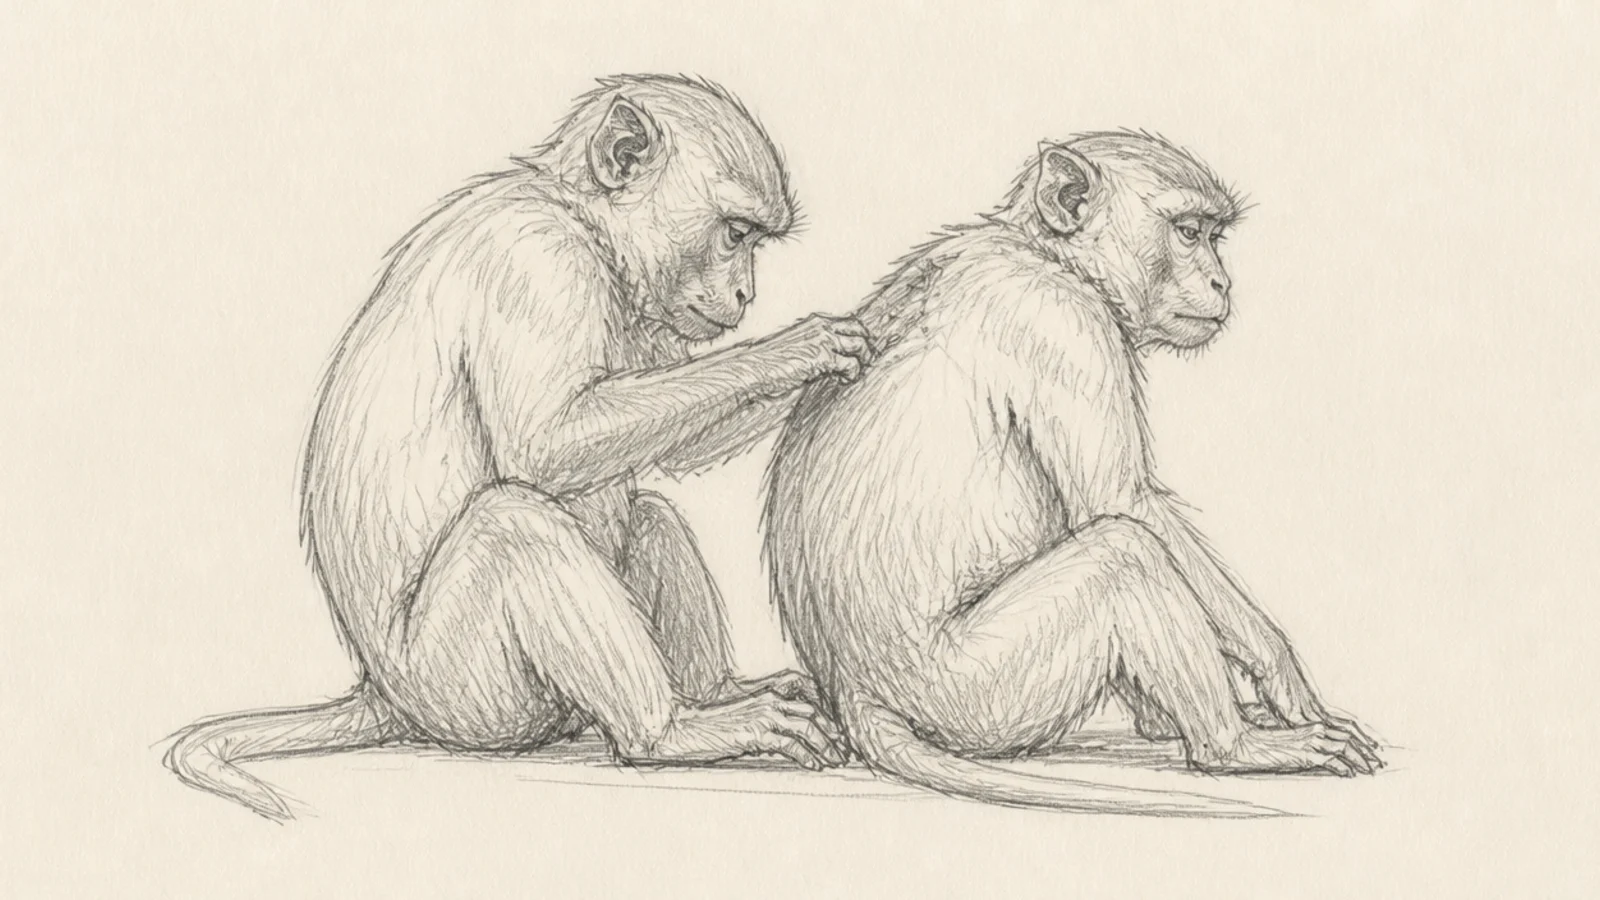
Two monkeys grooming is a real, tender behavior and a great two-figure study. The overlap between them teaches grouping. It feels observed, not invented.
Step 1 sketch two seated lines of action angled toward each other. Step 2 overlap the bodies so one leans into the other. Step 3 add the grooming hands reaching to the partner’s back and loose faces.
Pro tipOverlap the two bodies so they read as one connected group.
AvoidDon’t leave a gap between them; grooming monkeys sit touching.
18 Clinging Baby Sketch
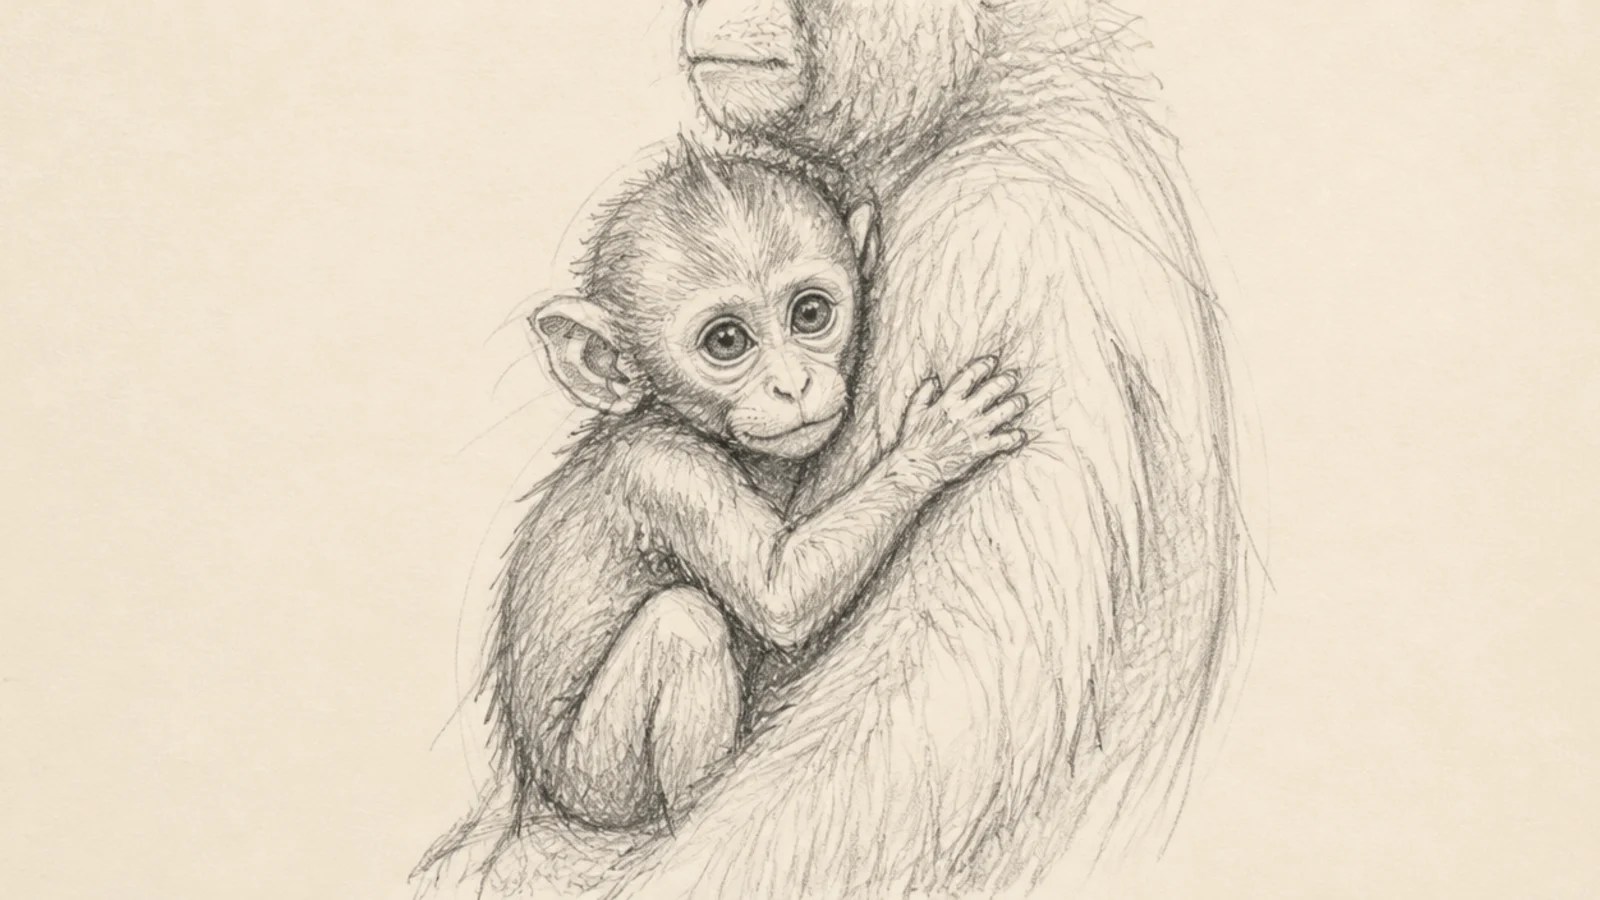
A baby clinging to a parent is a classic monkey study and pure charm. The small figure wrapped on the big one teaches scale. It is a heartwarming sketch.
Step 1 sketch the parent’s body as a large mass. Step 2 wrap a small baby onto the chest with arms and legs gripping. Step 3 keep the baby’s head large and its limbs curled tight around the parent.
Pro tipMake the baby’s head oversized relative to its body for a young look.
AvoidDon’t draw the baby loosely posed; clinging means gripping tight.
19 Expression Row Sketch
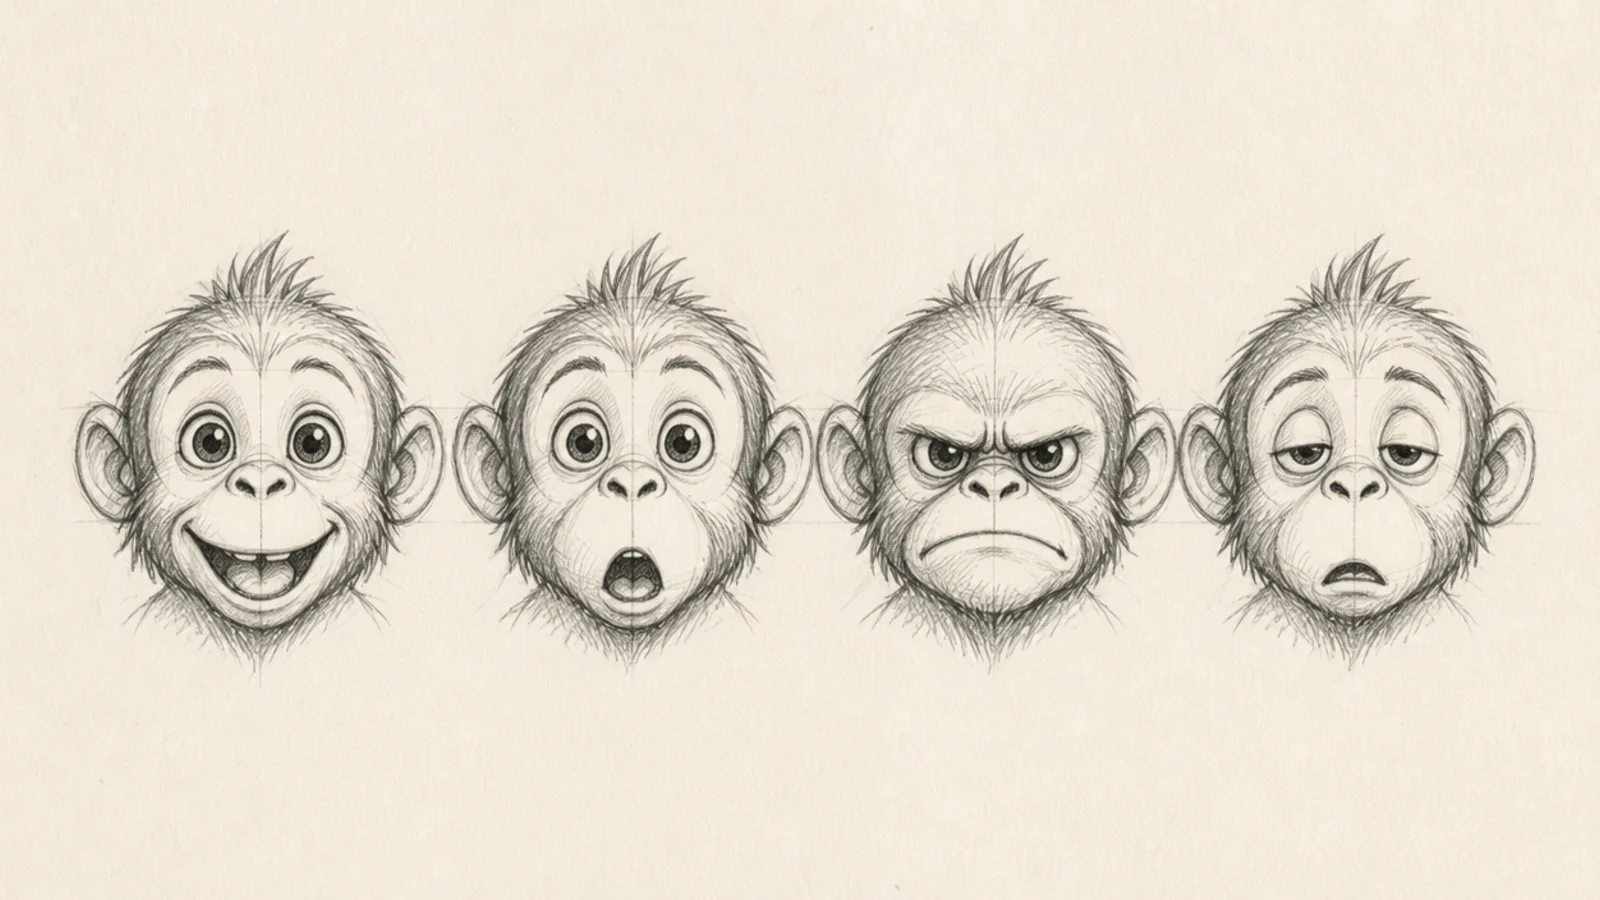
A row of quick faces exploring expressions is a fun, useful study. Small changes to the brow and mouth shift the whole mood. It builds a face vocabulary.
Step 1 sketch four small identical monkey heads in a row. Step 2 change only the brows and mouth on each — happy, surprised, grumpy, sleepy. Step 3 keep the eyes simple so the brow does the work.
Let the brow angle do most of the emotional work in each face.
Don’t redraw the whole head each time; change only the expression.
20 Resolved Monkey Portrait
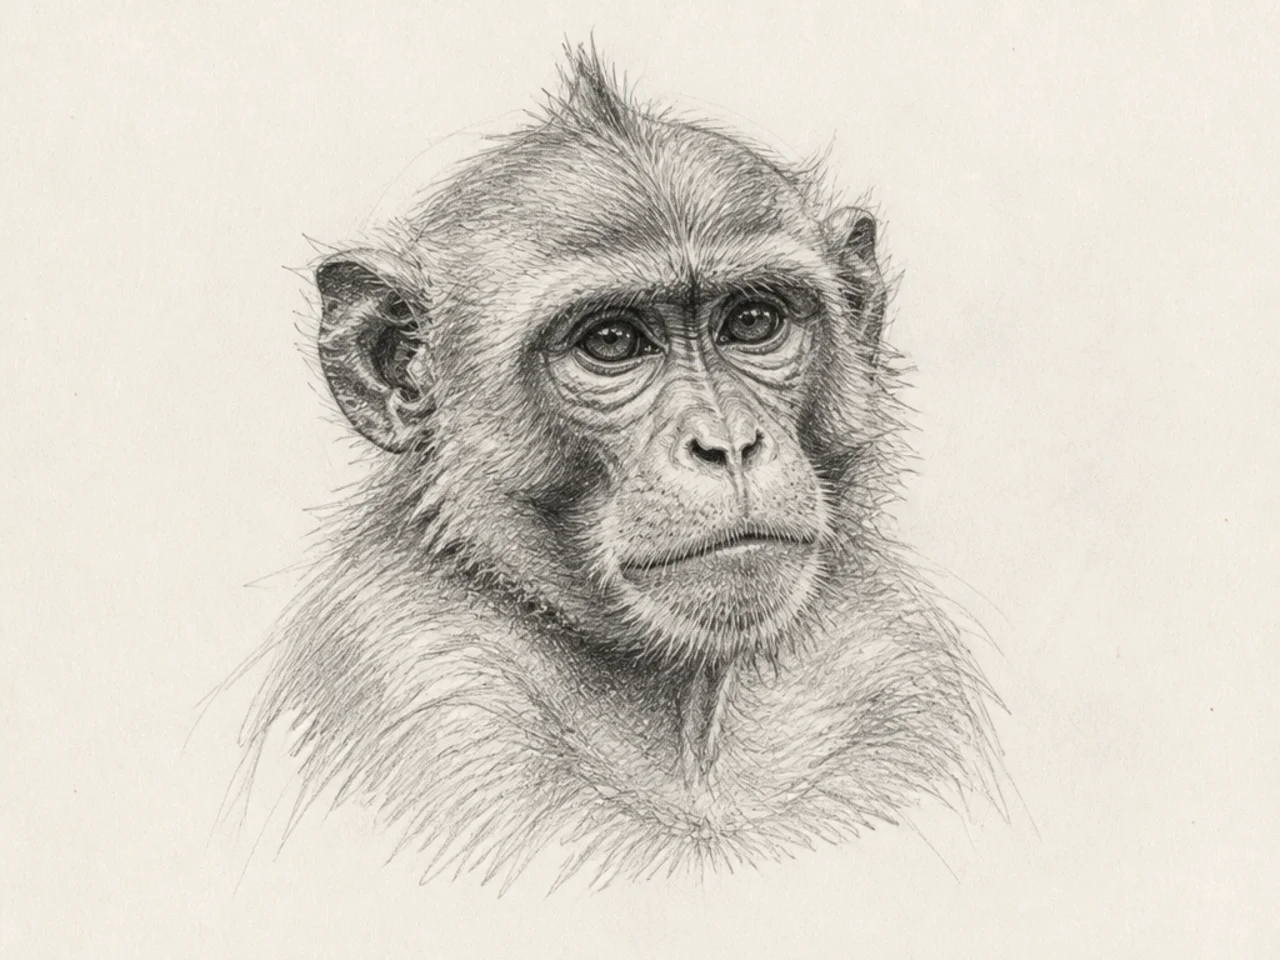
The one study you take further — a resolved portrait that pulls together gesture, construction, and value. It shows how a loose start becomes a real drawing. It is a satisfying page-closer.
Step 1 build the head with light construction spheres and a center line. Step 2 refine the features and commit the true lines. Step 3 add layered hatching for soft form and a few flicked fur strokes at the edges.
Pro tipKeep the loose construction faintly visible under the finished lines.
AvoidDon’t over-render it smooth; keep the honest sketch energy underneath.



