
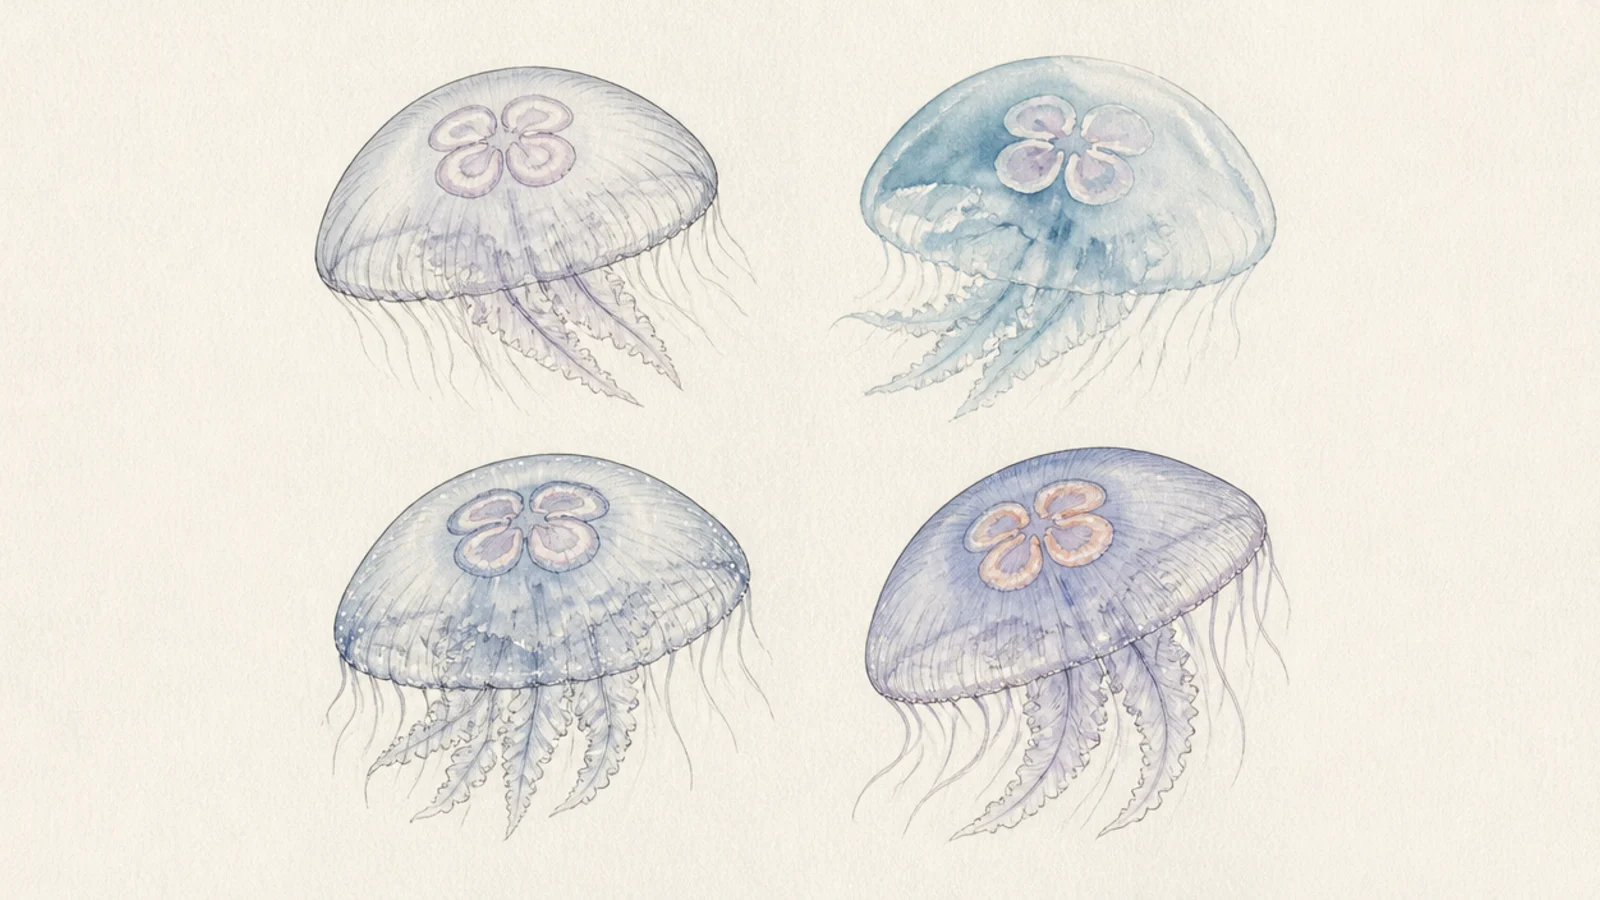
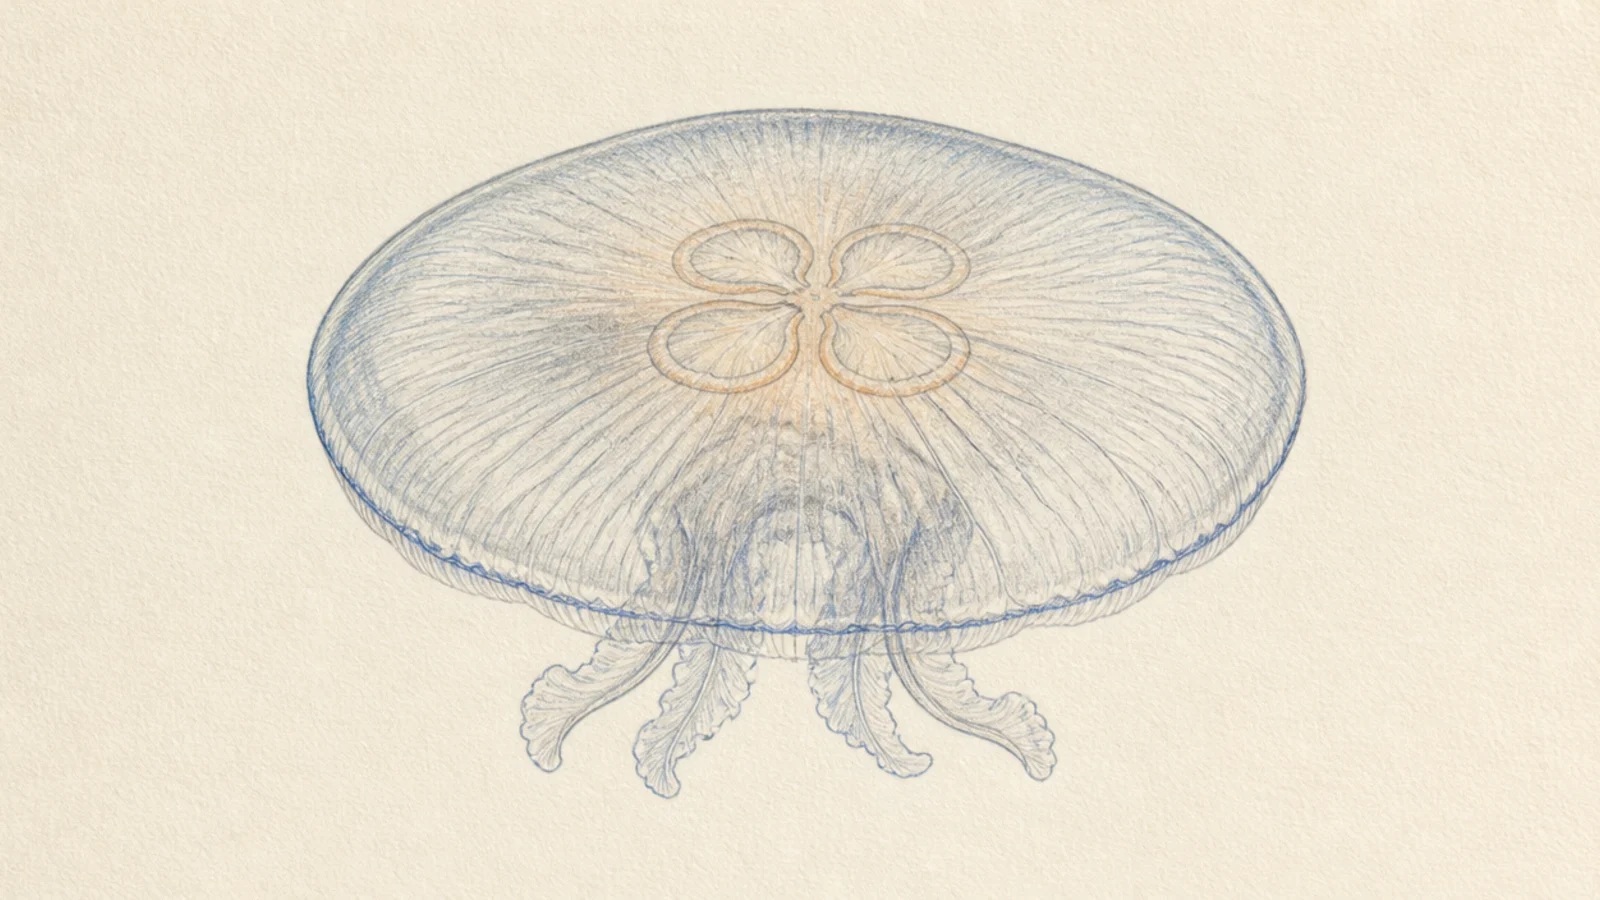
1 Classic Translucent Moon Jelly
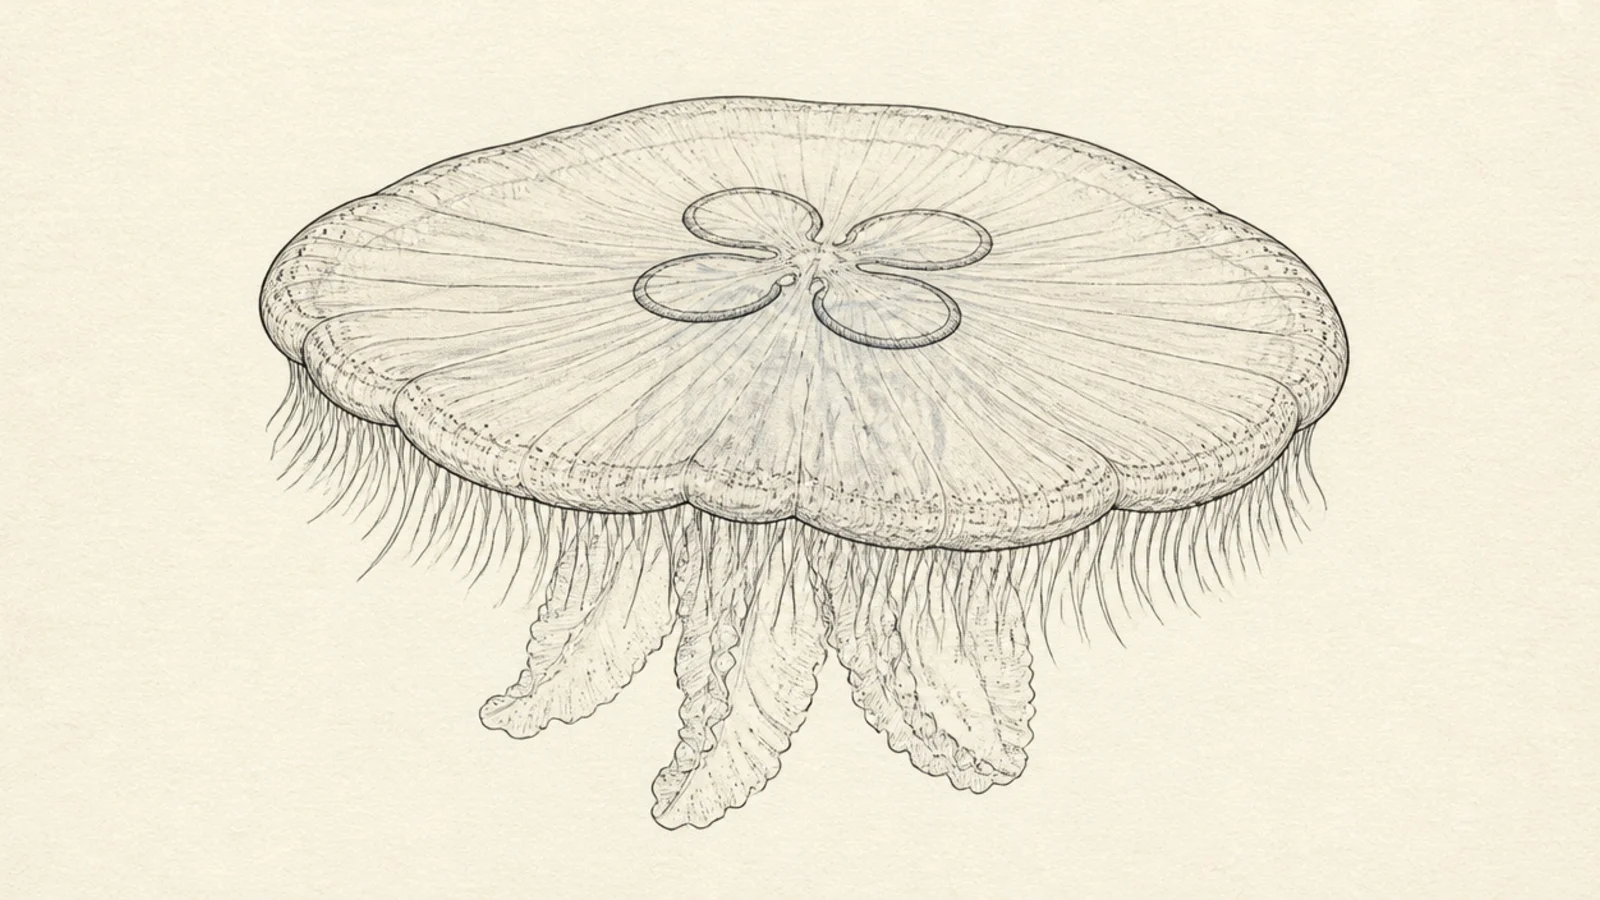
This is the definitive moon jelly: a wide, flat, pale bell with the four clover rings and a fine fringe of tentacles. It looks delicate and instantly recognizable. Master this and every other version is a variation.
Step 1: Draw a wide, low dome. Step 2: In the center, add four small horseshoe rings in a cloverleaf. Step 3: Fringe the whole rim with many short tentacles and add four slightly longer frilly arms from the center; wash it pale blue.
Keep the bell center almost white and let the palest color sit only near the edges for a see-through feel.
Don’t outline the rings in heavy black; keep them soft or they look printed on.
2 Watercolor Moon Jelly
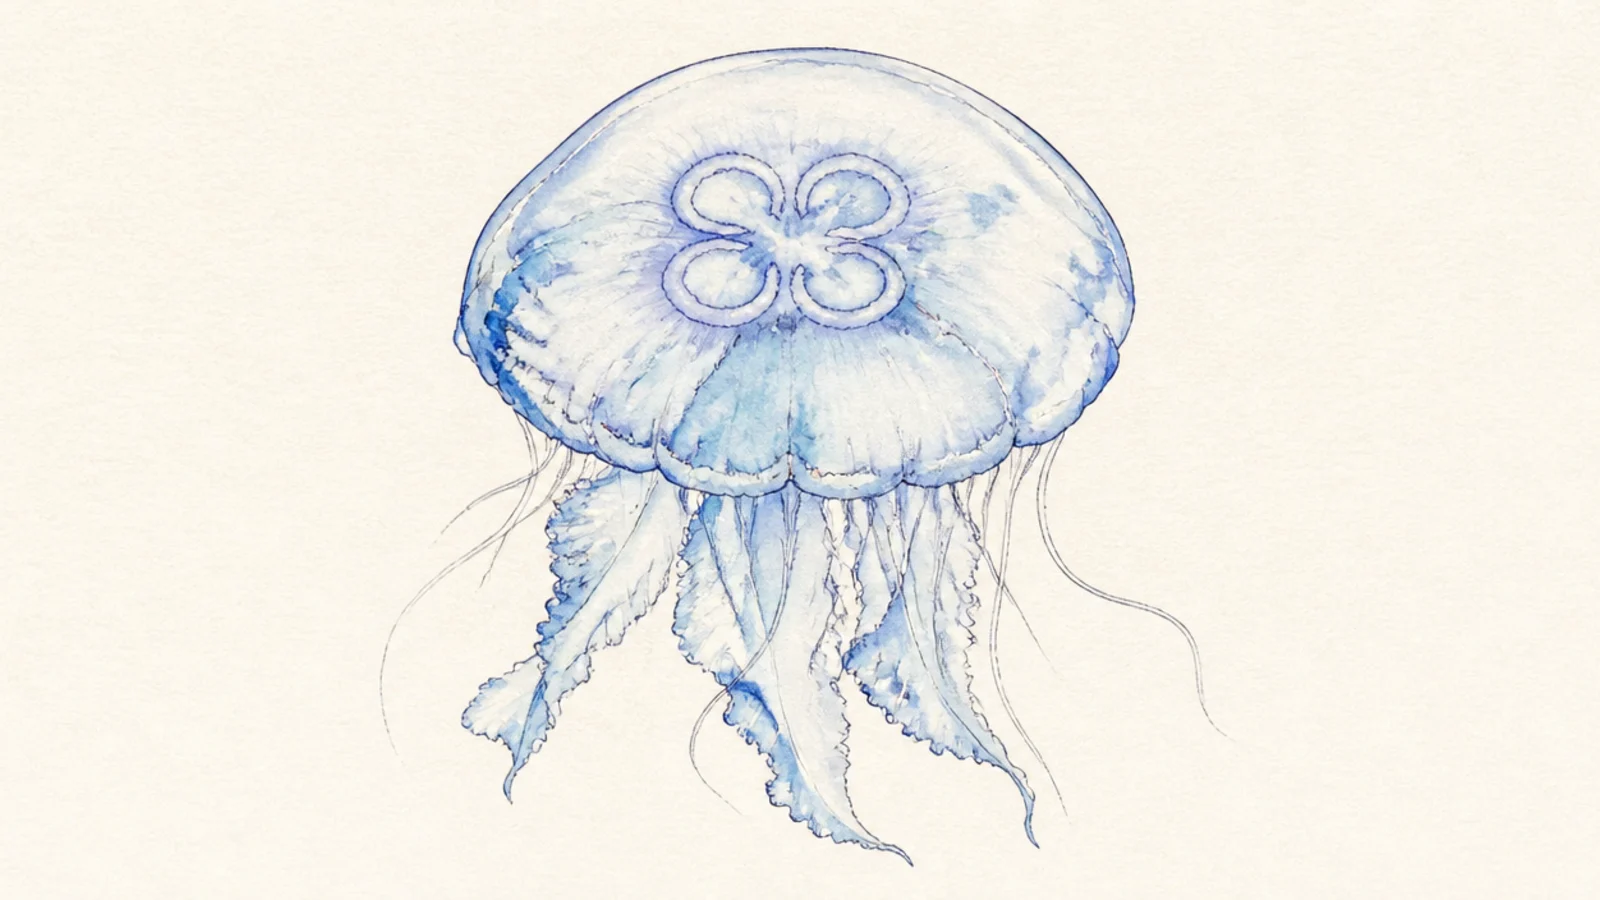
Loose watercolor is perfect for the moon jelly’s translucent body. The soft blooming edges look exactly like clear jelly in water. You let the paint do the work and add rings on top.
Step 1: Wet a wide dome shape and drop in pale blue, letting it bloom. Step 2: Pull faint color down for the short arms while damp. Step 3: Once dry, add the four rings and a light tentacle fringe with a fine brush or pen.
Pro tipLeave the very center of the bell unpainted so the paper shows through as the brightest spot.
AvoidDon’t add the ink rings while the paint is wet or they’ll feather and lose their shape.
3 Glowing Night Moon Jelly
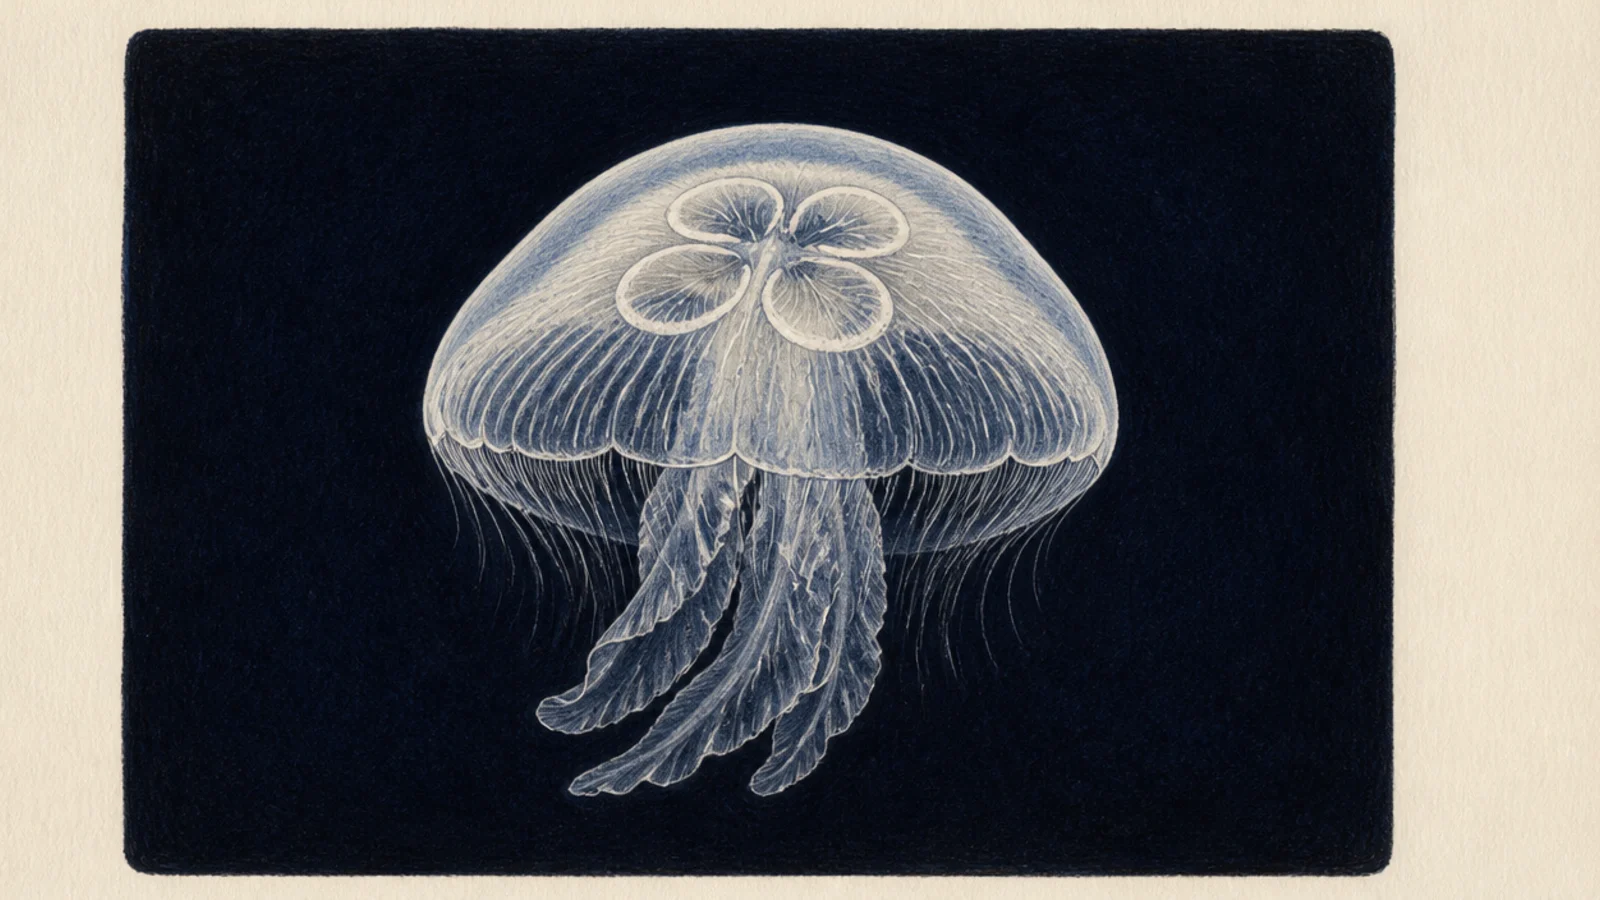
Against dark water, the pale moon jelly looks lit from inside. The contrast makes a simple sketch feel magical. It’s the dreamiest version on the list.
Step 1: On dark blue or black paper, sketch the wide bell in white. Step 2: Fill it with the faintest blue-white and add the four rings a touch brighter. Step 3: Add a soft glowing halo around the bell and a pale tentacle fringe.
Keep the glow color the same as the body, just softer and spread wider, so it reads as light not a second outline.
Don’t use bright saturated color; the moon jelly glows because it stays pale against the dark.
4 Minimalist Moon Jelly Outline
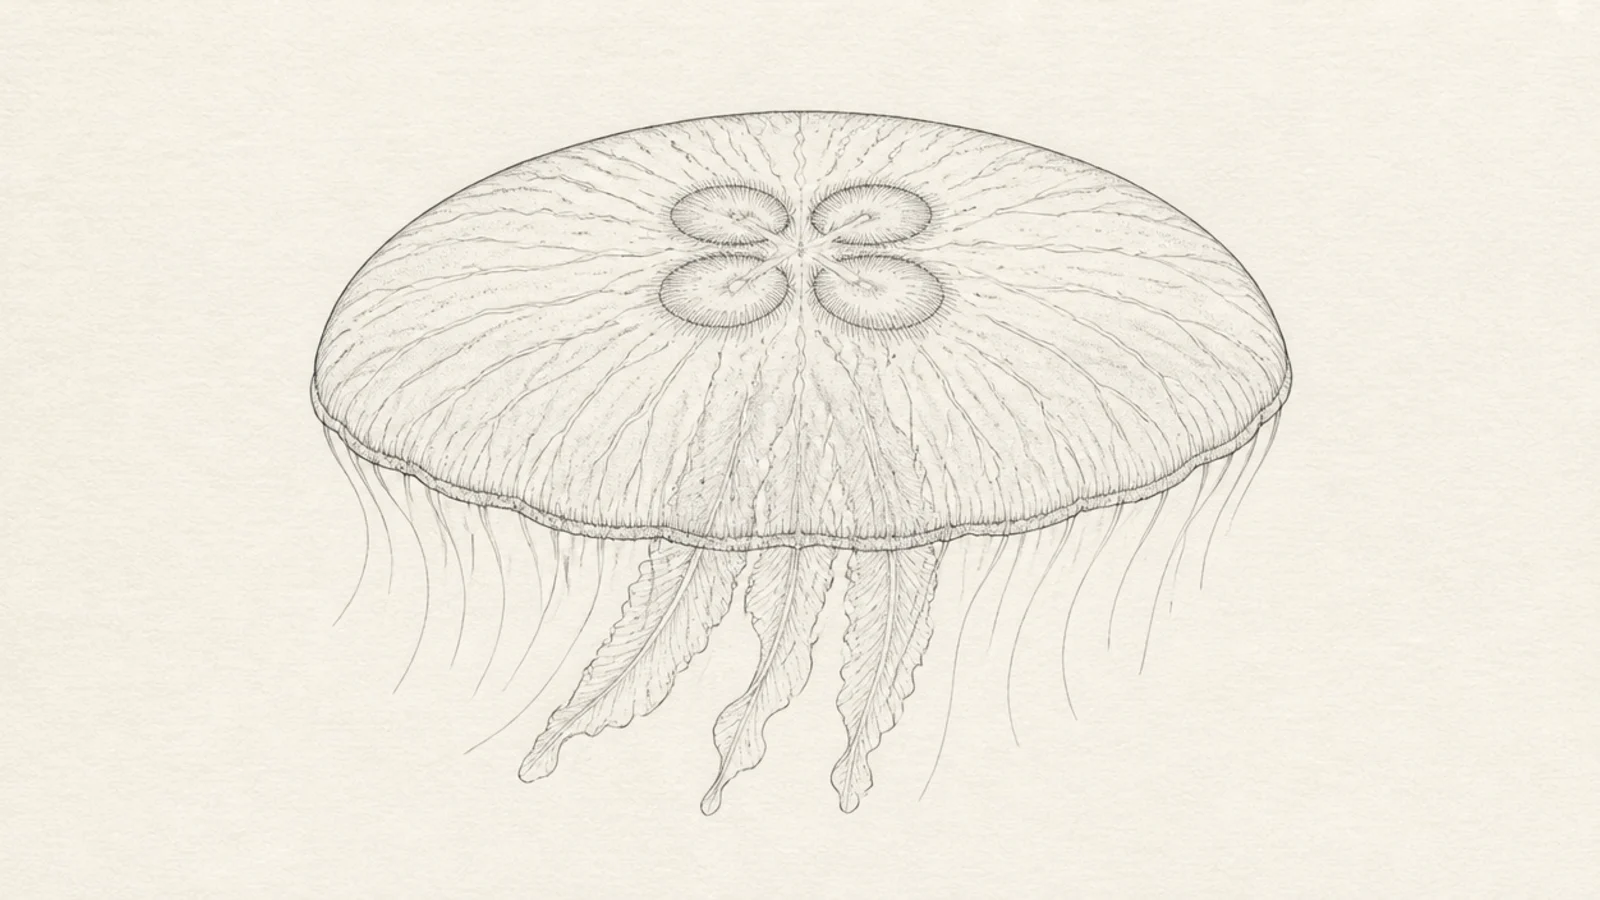
A clean outline lets the moon jelly’s shape and rings speak for themselves. No color, just confident lines. It looks modern and tidy in a journal.
Step 1: Draw the wide dome in one smooth line. Step 2: Add the four clover rings with simple thin strokes. Step 3: Suggest the tentacle fringe with a few short ticks around the rim — don’t fill it in.
Imply the fringe with just a handful of ticks rather than drawing every tentacle; the eye fills in the rest.
Don’t crowd the rim with too many lines; minimalist works because it leaves space.
5 Moon Jelly Pair
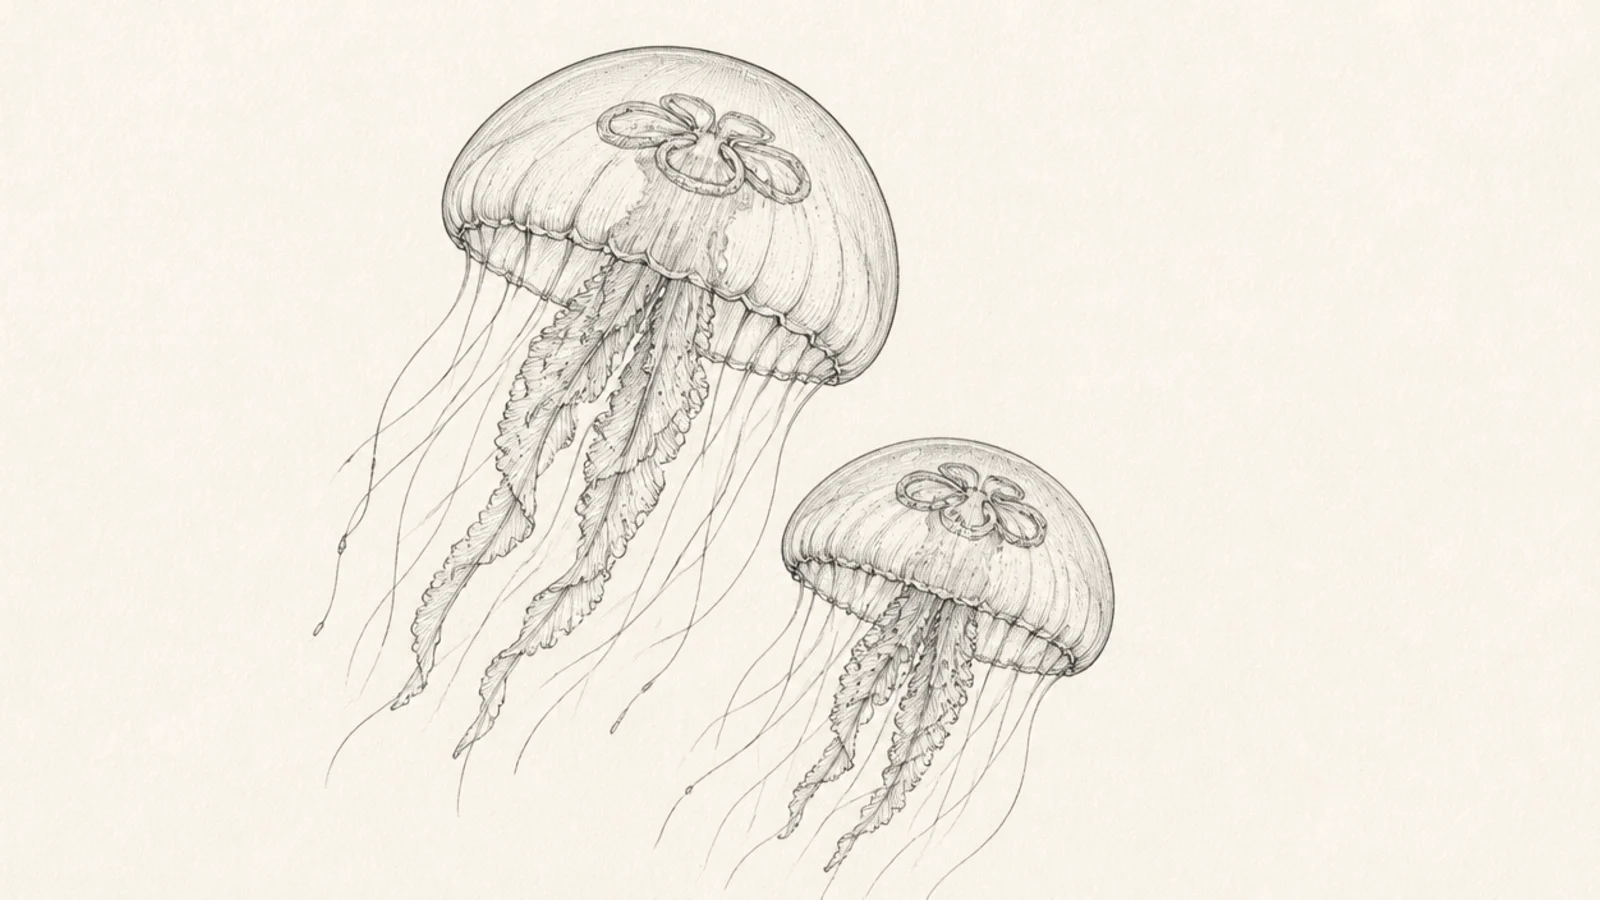
Two moon jellies drifting together feel calm and companionable. Offsetting their heights adds gentle movement. A pair looks more finished than a single.
Step 1: Draw one moon jelly slightly higher and one lower. Step 2: Give each the four rings and a short fringe. Step 3: Overlap their tentacle fringes a little so they feel connected, and keep both pale.
Make one slightly larger and closer, the other smaller and paler, so the pair has depth.
Don’t draw them the same size at the same height; a little offset looks far more natural.
6 Top-Down Clover Moon Jelly
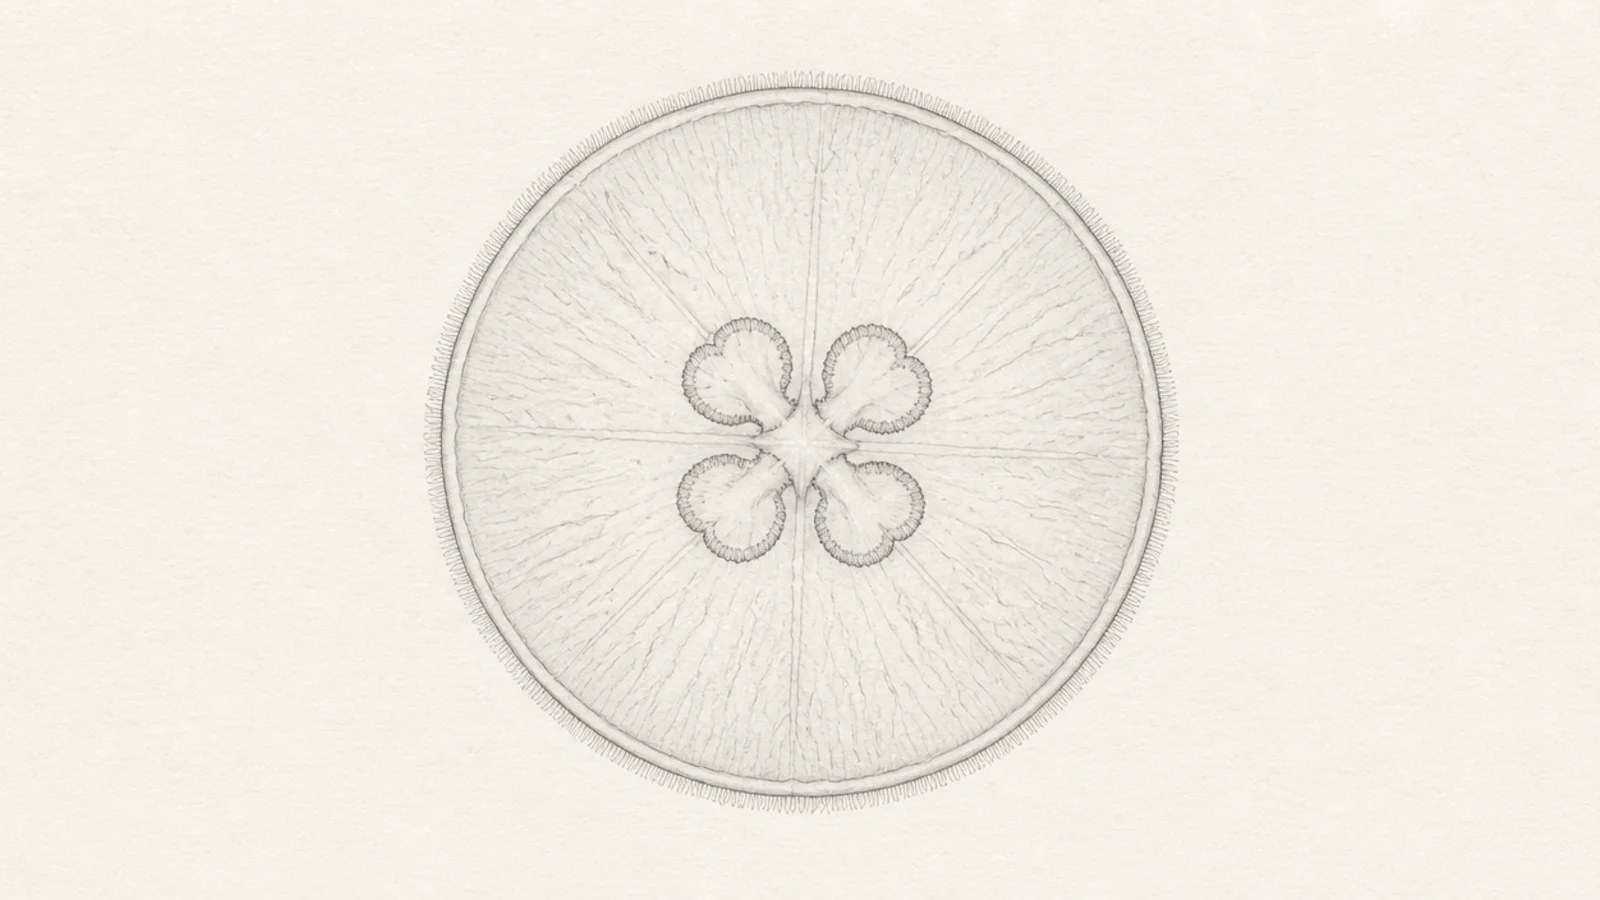
Seen from directly above, the moon jelly becomes a soft circle with the four clover rings front and center. It’s an unusual, almost mandala-like view. The symmetry is very satisfying.
Step 1: Draw a soft circle for the bell seen from the top. Step 2: Place the four horseshoe rings in a symmetrical cloverleaf in the middle. Step 3: Add a fine, even fringe of short tentacles all around the circle’s edge.
Keep the four rings evenly spaced and equal in size so the top-down symmetry feels balanced.
Don’t add long trailing tentacles here; from above you’d only see the short even fringe.
7 Pastel Moon Jelly
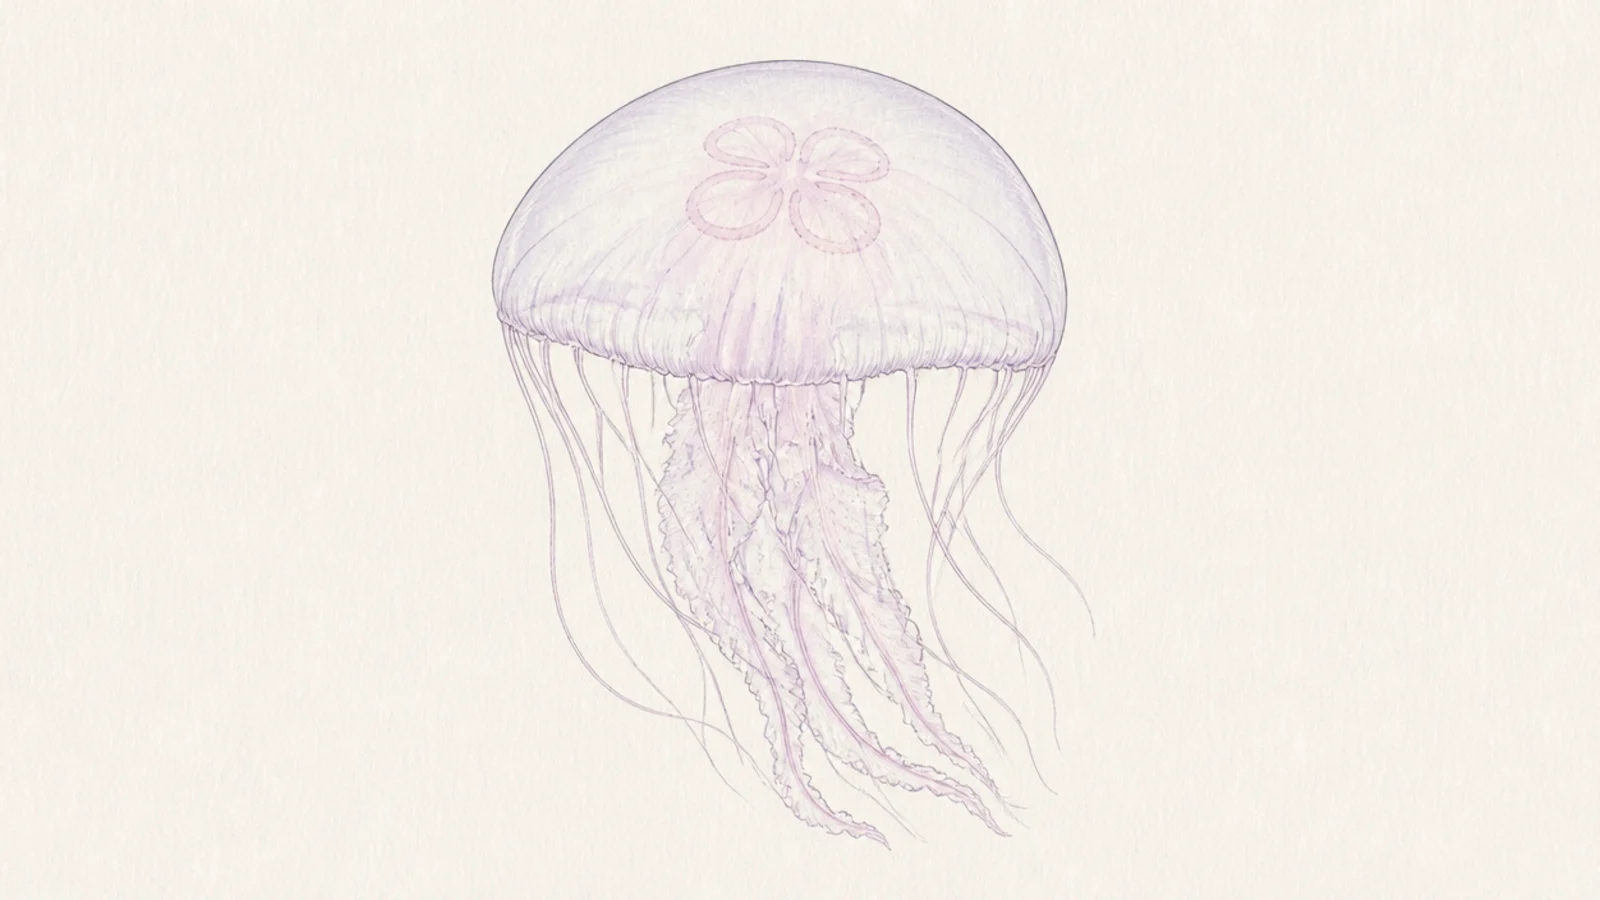
Pale lavender and pink give the moon jelly a soft, dreamy candy feel. The gentle colors suit its translucent body perfectly. It’s calm and aesthetic.
Step 1: Draw the wide bell and rings lightly. Step 2: Blend pale lavender and the faintest pink across the dome, lightest in the center. Step 3: Add a soft fringe in the same pastels and a couple of tiny sparkles.
Pro tipBlend the two pastels softly where they meet so there’s no hard line between them.
AvoidDon’t outline in black; a soft grey or colored outline keeps the pastel mood gentle.
8 Moon Jelly Under a Crescent Moon
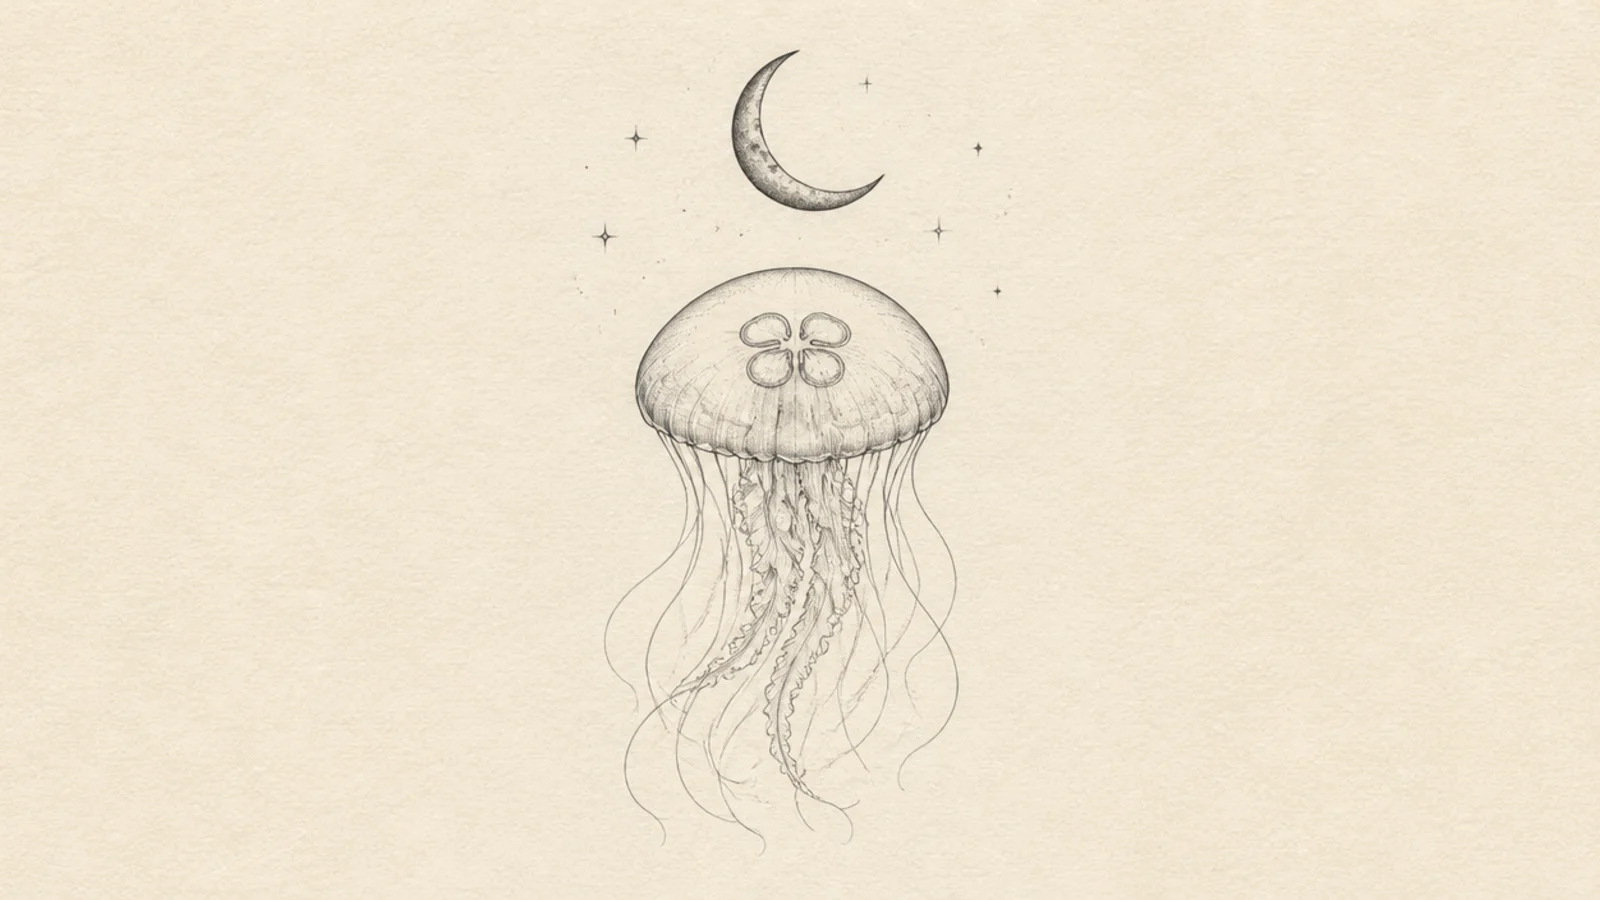
Pairing a moon jelly with an actual crescent moon leans into the name and looks dreamy. The moon adds a second glow and a night mood. It’s a favorite aesthetic combo.
Step 1: Draw a crescent moon and a few stars in the upper area. Step 2: Draw a pale moon jelly drifting below it. Step 3: Wash a deep blue night background and add a soft matching glow to both the moon and the jelly.
Echo the moon’s pale glow color in the jelly so the two feel part of the same scene.
Don’t overfill the sky with stars; a few keep the focus on the moon and jelly.
9 Moon Jelly Bloom
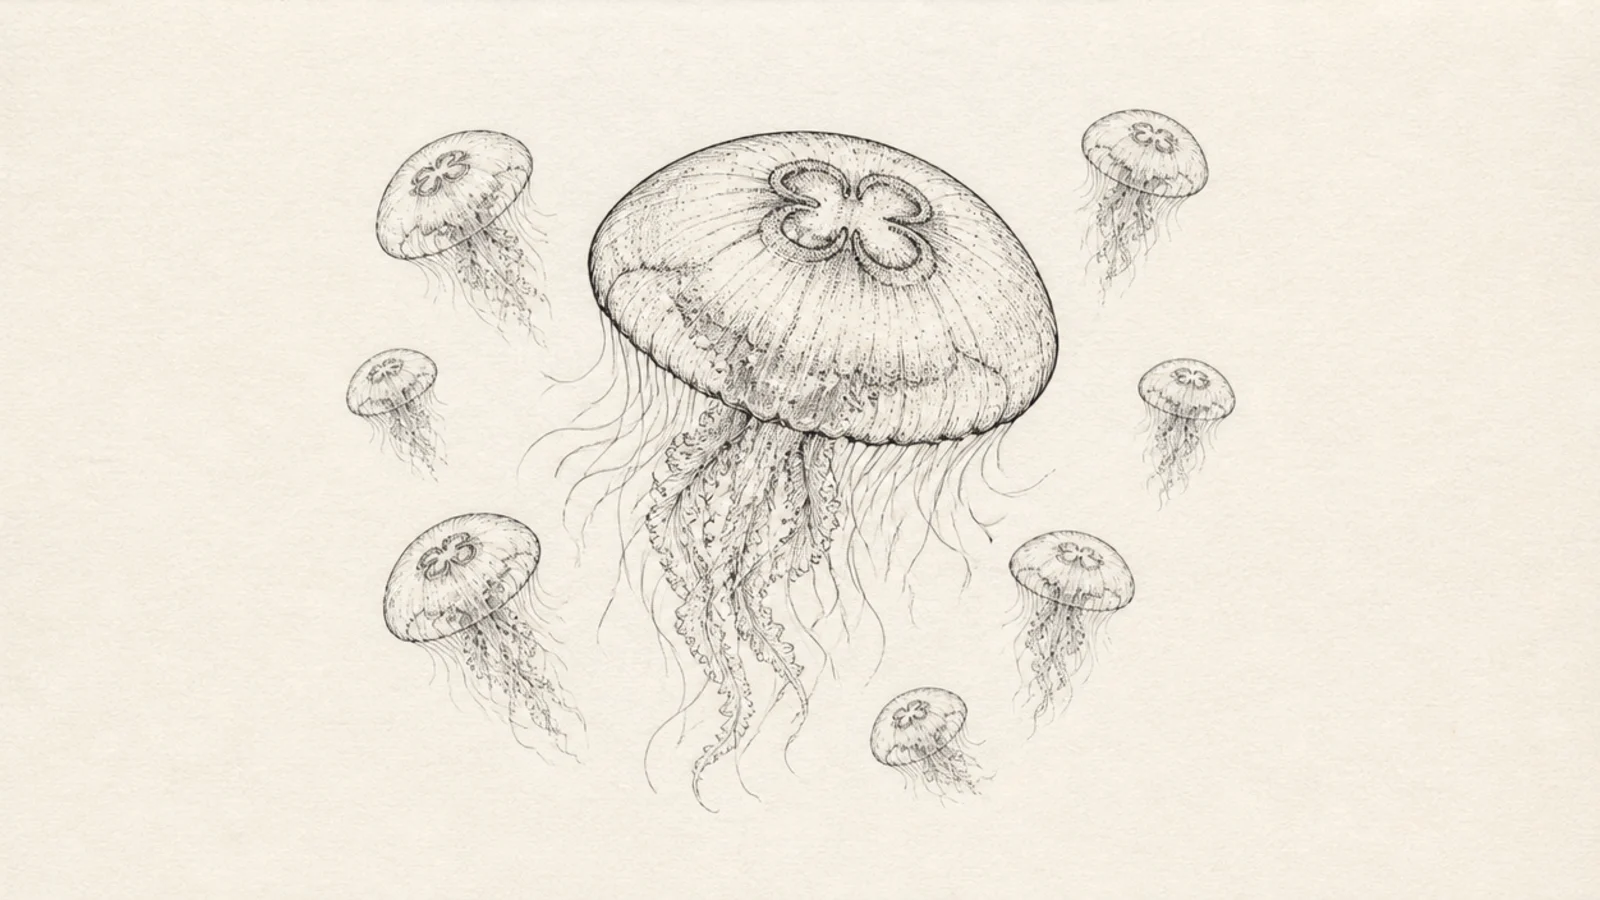
A group of moon jellies drifting together fills the page with soft, repeating shapes. Varying their sizes creates depth. A bloom of pale saucers looks serene.
Step 1: Draw one larger moon jelly as the focus. Step 2: Add 5-8 smaller ones at different sizes around it. Step 3: Make distant ones paler and simpler, keeping only the closest ones fully detailed.
Only fully detail the front two or three; fade the rest to pale shapes so the group has depth.
Don’t give every jelly full rings and fringe; distant ones should be simple pale blobs.
10 Blue Ombre Moon Jelly
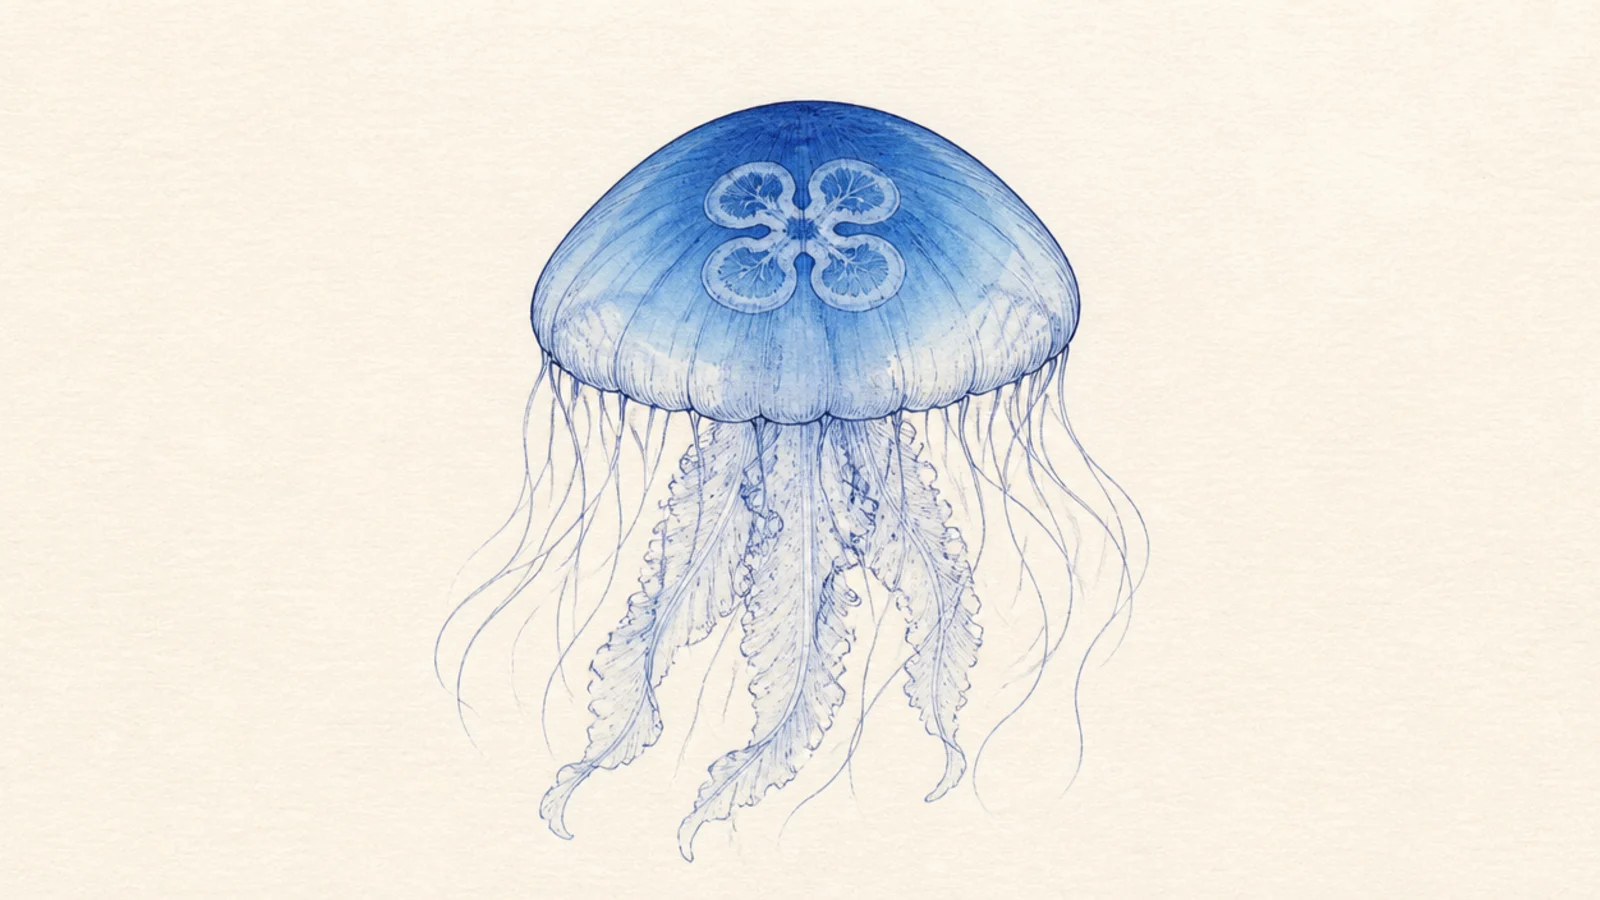
A soft blue ombre — deeper at the rim, pale in the center — gives the moon jelly a rounded, glassy look. The gradient does all the shading for you. It looks polished with one color.
Step 1: Draw the wide bell and rings. Step 2: Shade pale blue heaviest around the outer rim and fade to white at the center. Step 3: Add the short fringe in the deeper blue so it frames the pale dome.
Pro tipFade toward the center, not the edge — a bright center is what makes the dome look domed.
AvoidDon’t leave a hard ring where the blue meets the white; keep blending until it’s smooth.
11 Ring-Focus Close-Up Moon Jelly
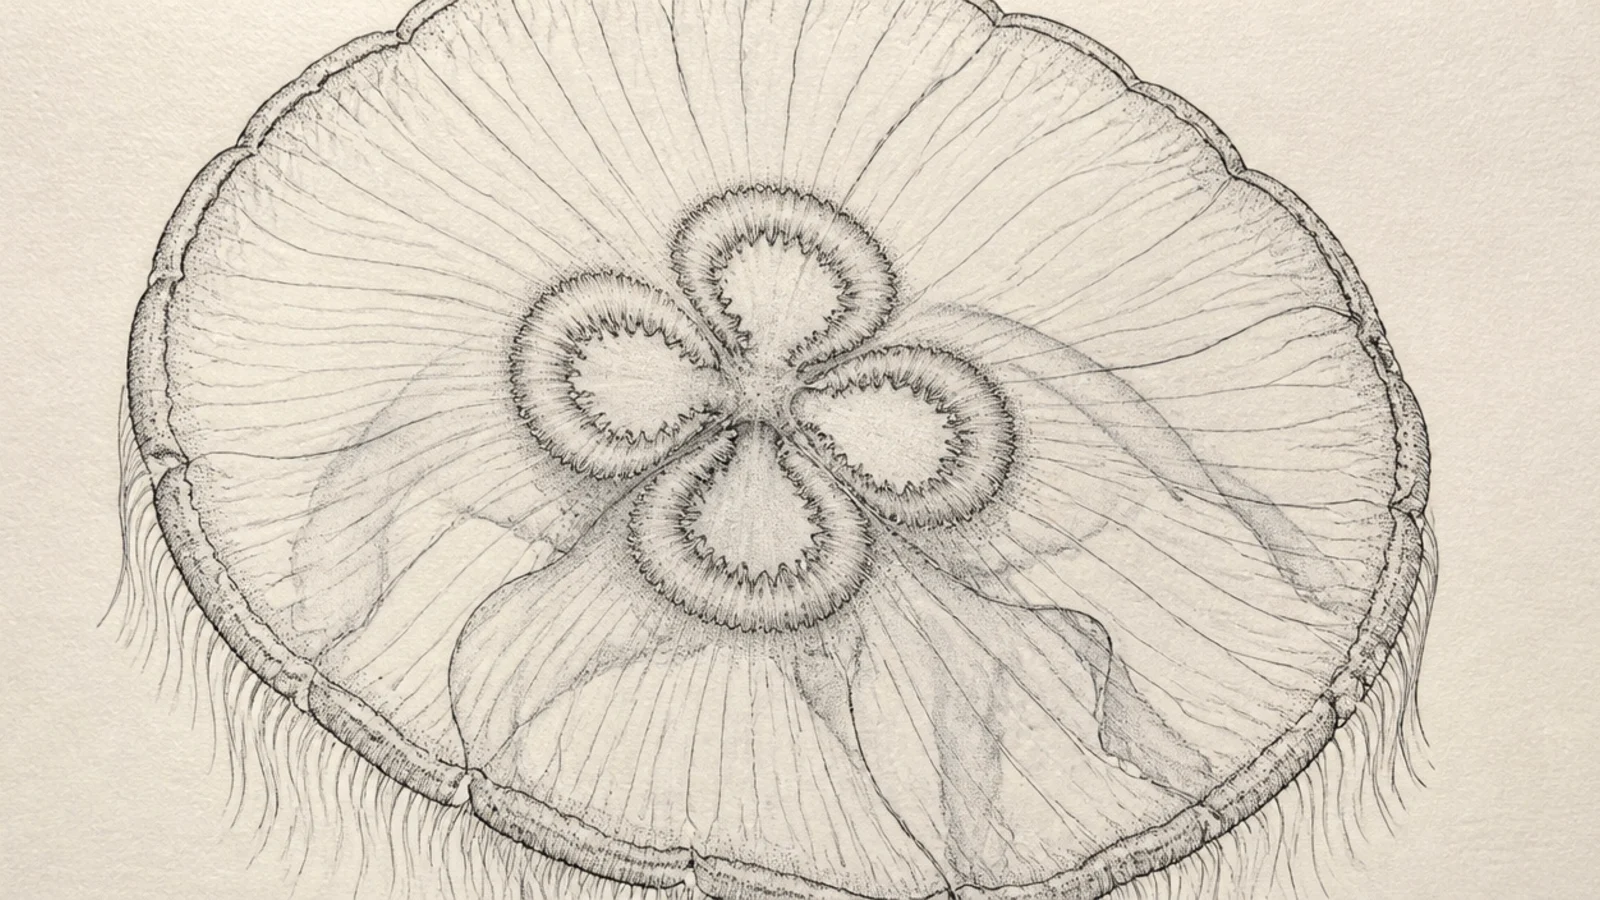
Zooming in on the bell makes the four clover rings the hero of the drawing. The close crop feels artistic and detailed. It’s a fresh take on a familiar subject.
Step 1: Draw a large bell that fills most of the page. Step 2: Make the four rings detailed and central, with soft shading inside each. Step 3: Let the tentacle fringe run off the bottom edge of the frame.
Add the faintest shadow inside each ring so they look slightly recessed into the translucent bell.
Don’t shrink the bell to fit the whole jelly; the point of this one is the close, cropped view.
12 Starry Moon Jelly
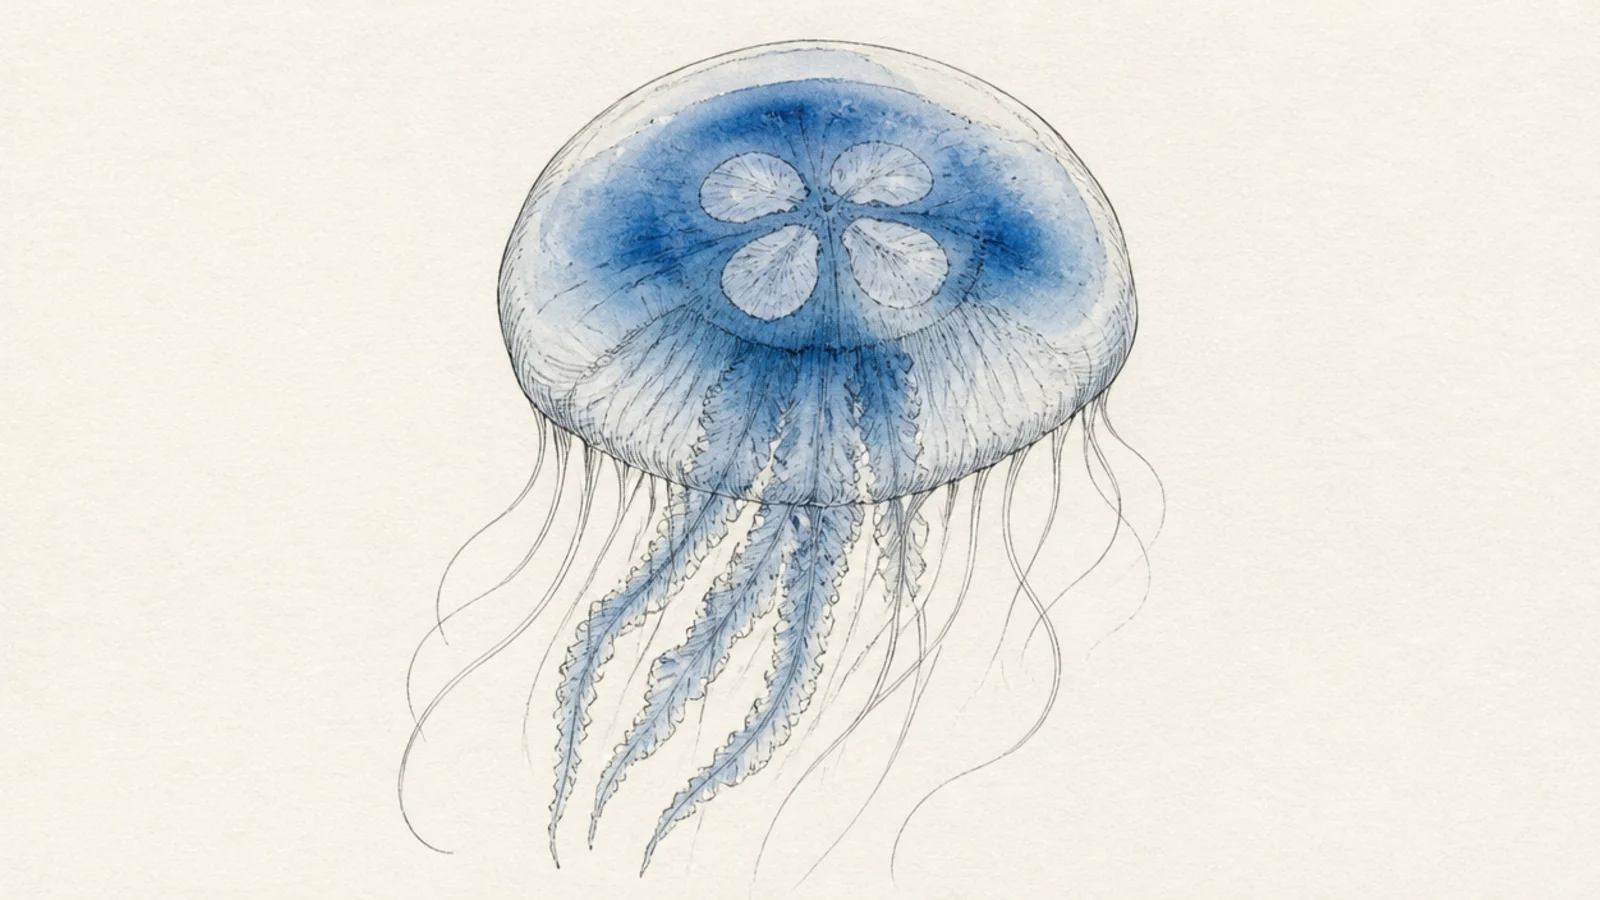
Filling the pale bell with a faint scatter of stars makes the moon jelly feel cosmic. It ties the 'moon' theme to the night sky. The soft speckles hide any uneven color.
Step 1: Draw the wide bell and rings. Step 2: Wash it a soft deep blue and dot tiny white stars across the dome. Step 3: Keep the four rings visible through the stars and add a pale fringe.
Cluster the stars loosely rather than spreading them evenly, and keep the rings readable through them.
Don’t make the bell too dark; it should still feel like a pale, translucent moon jelly.
13 Moon Jelly in a Jar
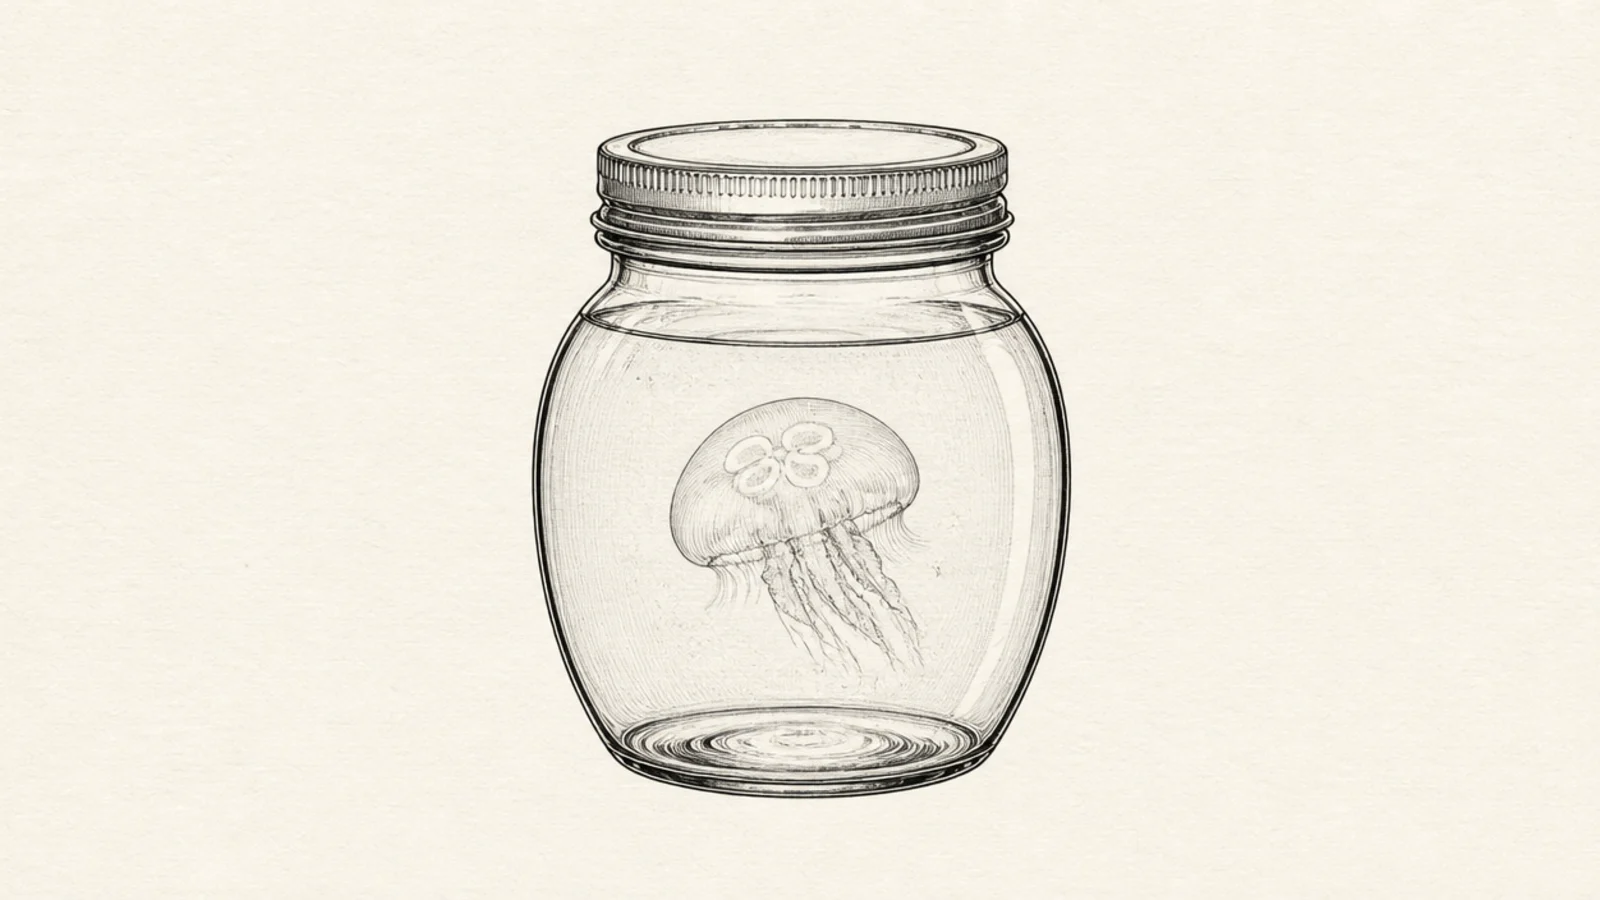
A moon jelly sealed in a glass jar looks precious and calm, like a tiny captured galaxy. The jar frame makes a simple jelly feel finished. The straight glass contrasts the soft body.
Step 1: Draw a rounded glass jar with a lid. Step 2: Float a small moon jelly inside near the top. Step 3: Add a shine streak on the glass, a soft glow around the jelly, and a pale water wash.
Pro tipLet the jelly’s glow spill faintly onto the inside of the glass so it looks like the light source.
AvoidDon’t fill the jar completely; leave water space so the jelly looks like it’s floating.
14 Detailed Line-Art Moon Jelly
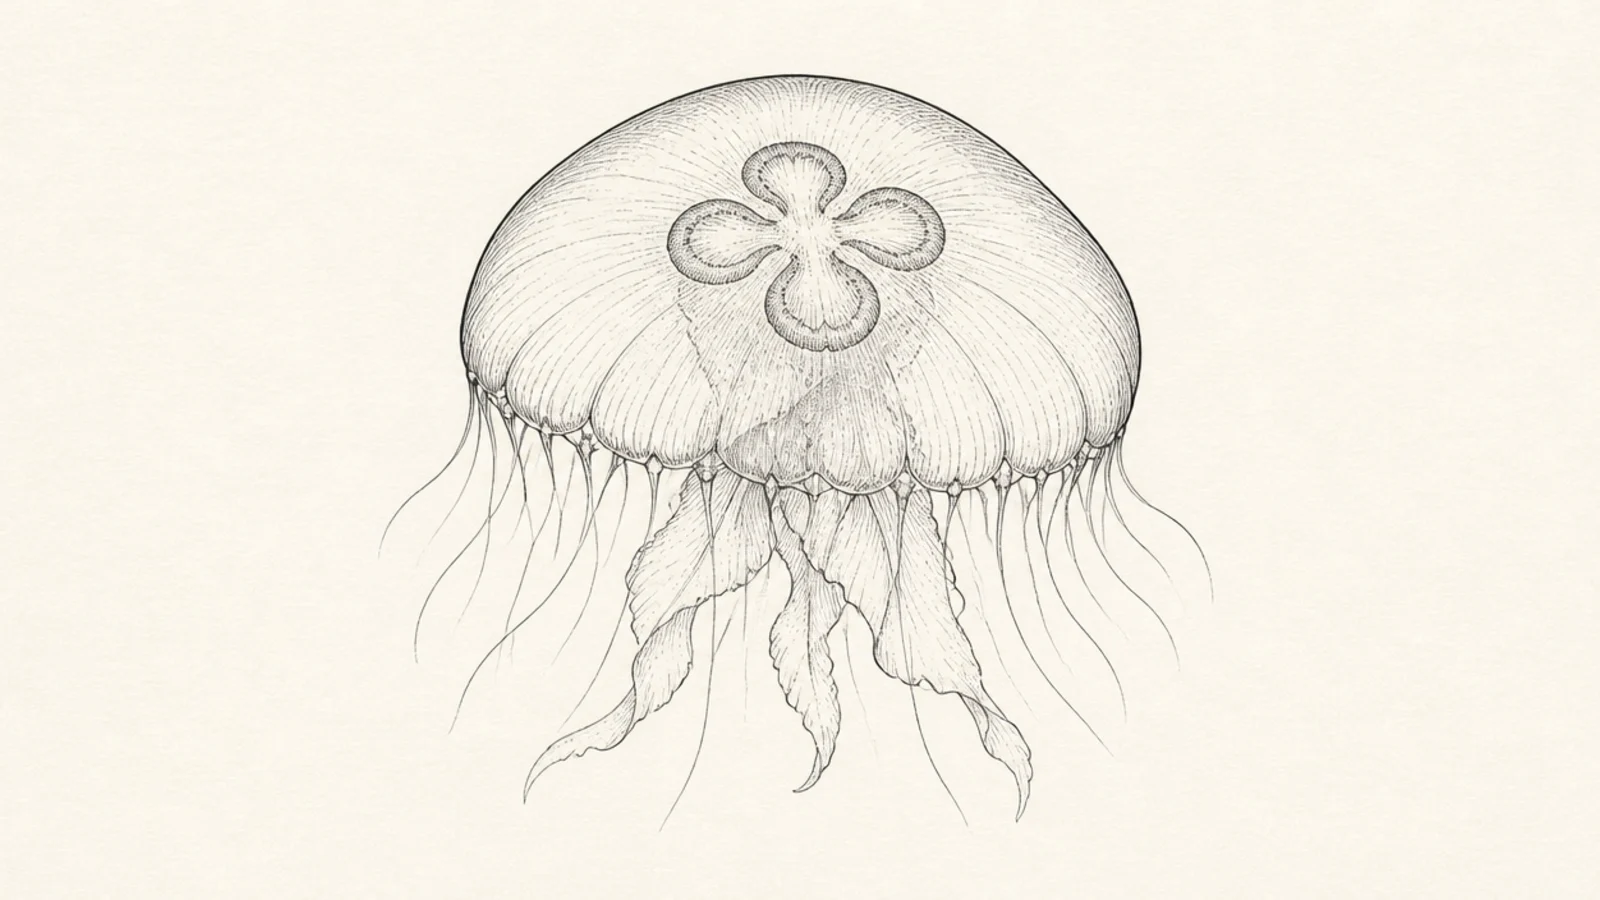
Fine hatching and delicate linework turn the moon jelly into a detailed ink study. It looks intricate but is just patient, light strokes. Great if you enjoy detail work.
Step 1: Draw the bell and rings in fineliner. Step 2: Add gentle hatching around the rim and inside the rings for soft shadow. Step 3: Draw each short tentacle in the fringe as a fine, individual line.
Pro tipKeep the hatching light and only in the shadowed areas so the bell still reads as translucent.
AvoidDon’t over-hatch the whole bell; heavy shading makes a translucent jelly look solid.
15 Dreamy Purple Moon Jelly
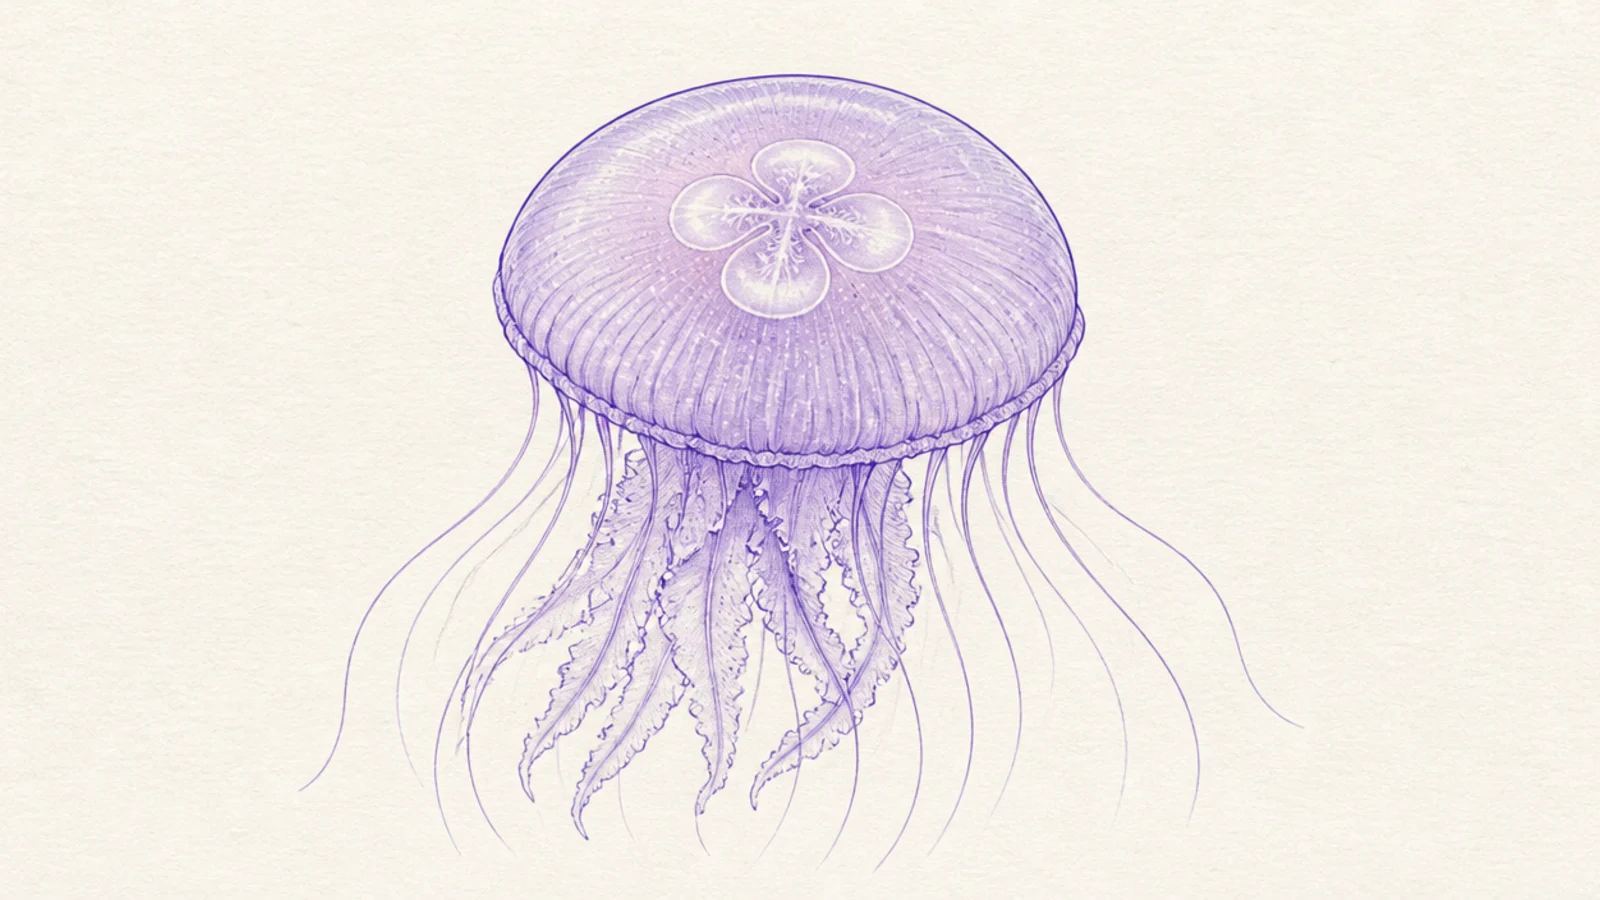
A soft purple wash gives the moon jelly a dusk, dreamy mood. Purple reads as calm and a little magical. It’s a lovely closing variation for an aesthetic page.
Step 1: Draw the wide bell and rings. Step 2: Wash a soft lavender-purple, keeping the center pale. Step 3: Add a gentle glow around the bell and a fine purple tentacle fringe.
Pro tipAdd a whisper of pink where the purple is lightest to keep it warm and dreamy, not cold.
AvoidDon’t go too dark or saturated with the purple; the moon jelly should stay soft and translucent.



