
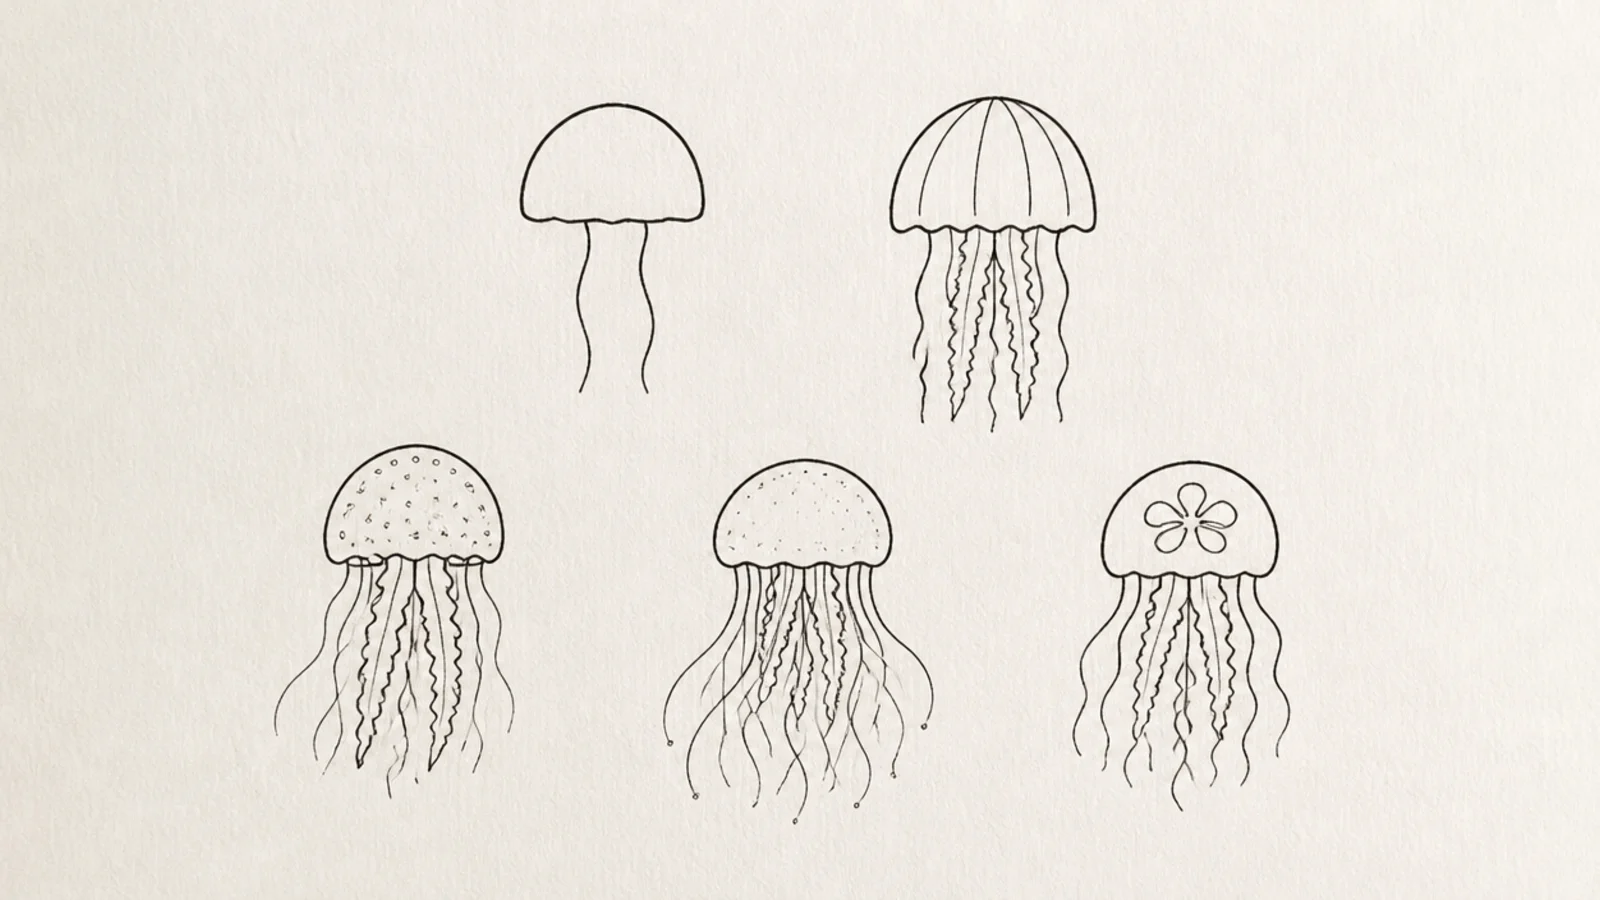
1 Two-Line Jellyfish
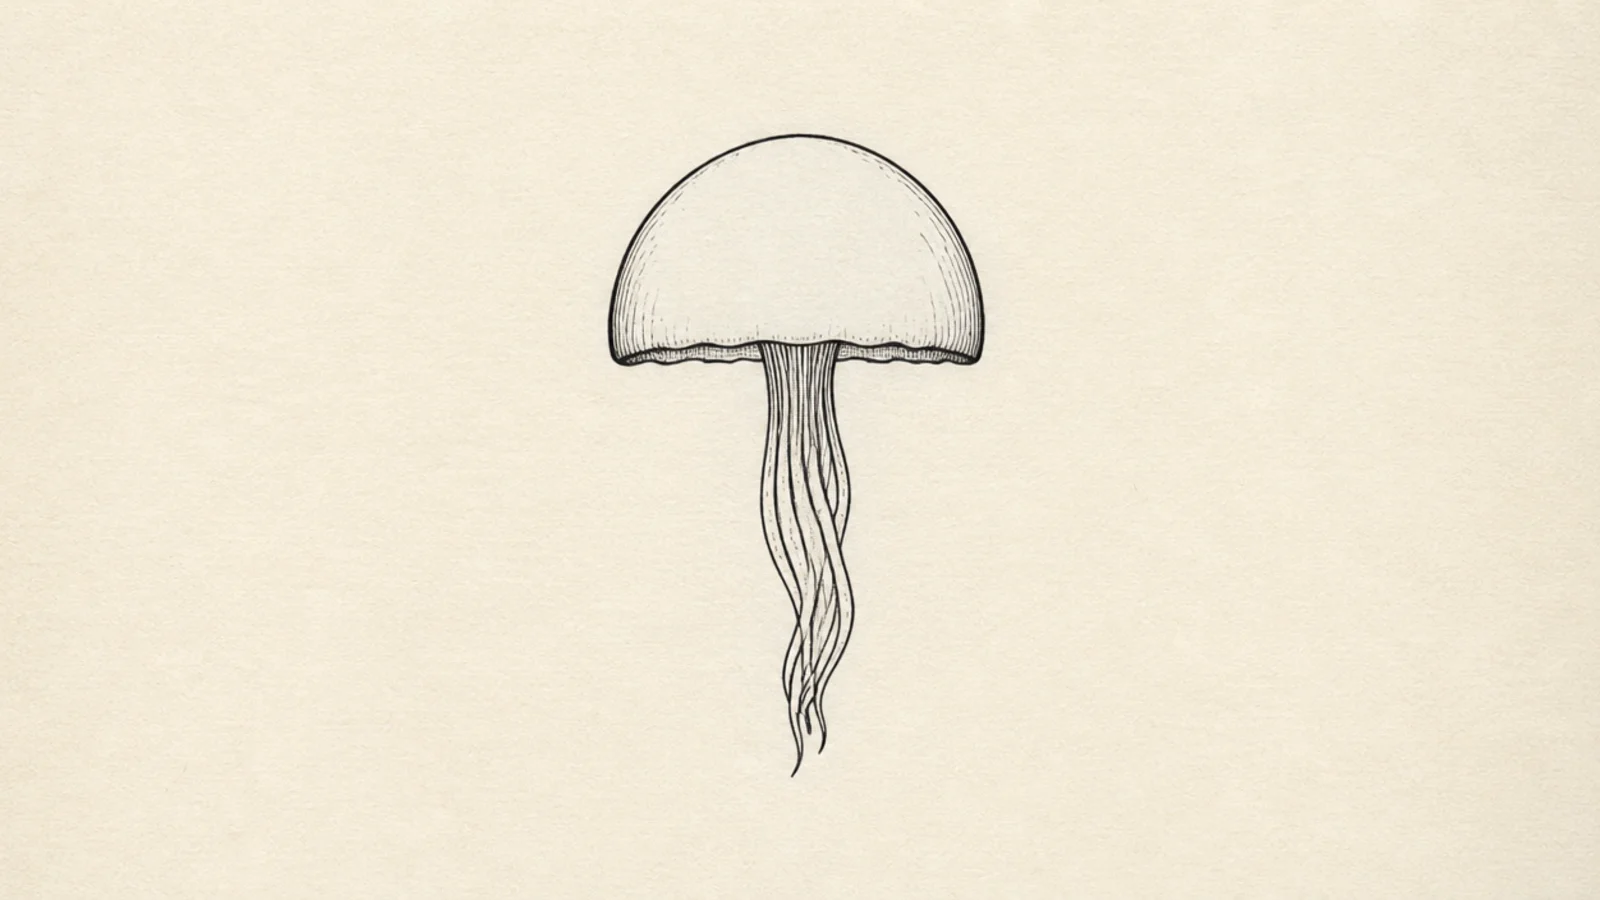
Step 1: Draw a smooth half-circle for the bell. Step 2: Under it, draw one wavy horizontal line that dips and rises like a curtain hem. Step 3: Stop there, or add two short vertical ticks for a hint of tentacles.
This is the simplest jellyfish possible — one dome and one wavy line. It looks clean because there is nothing to get wrong. It’s the perfect first attempt and a great warm-up before any other design.
AvoidDon’t press hard or rush the dome; one calm, smooth arc is what makes this read as a jellyfish.
Pro tipMake the wavy line dip lowest in the middle so the tentacles look like they’re hanging naturally.
2 Umbrella Jellyfish
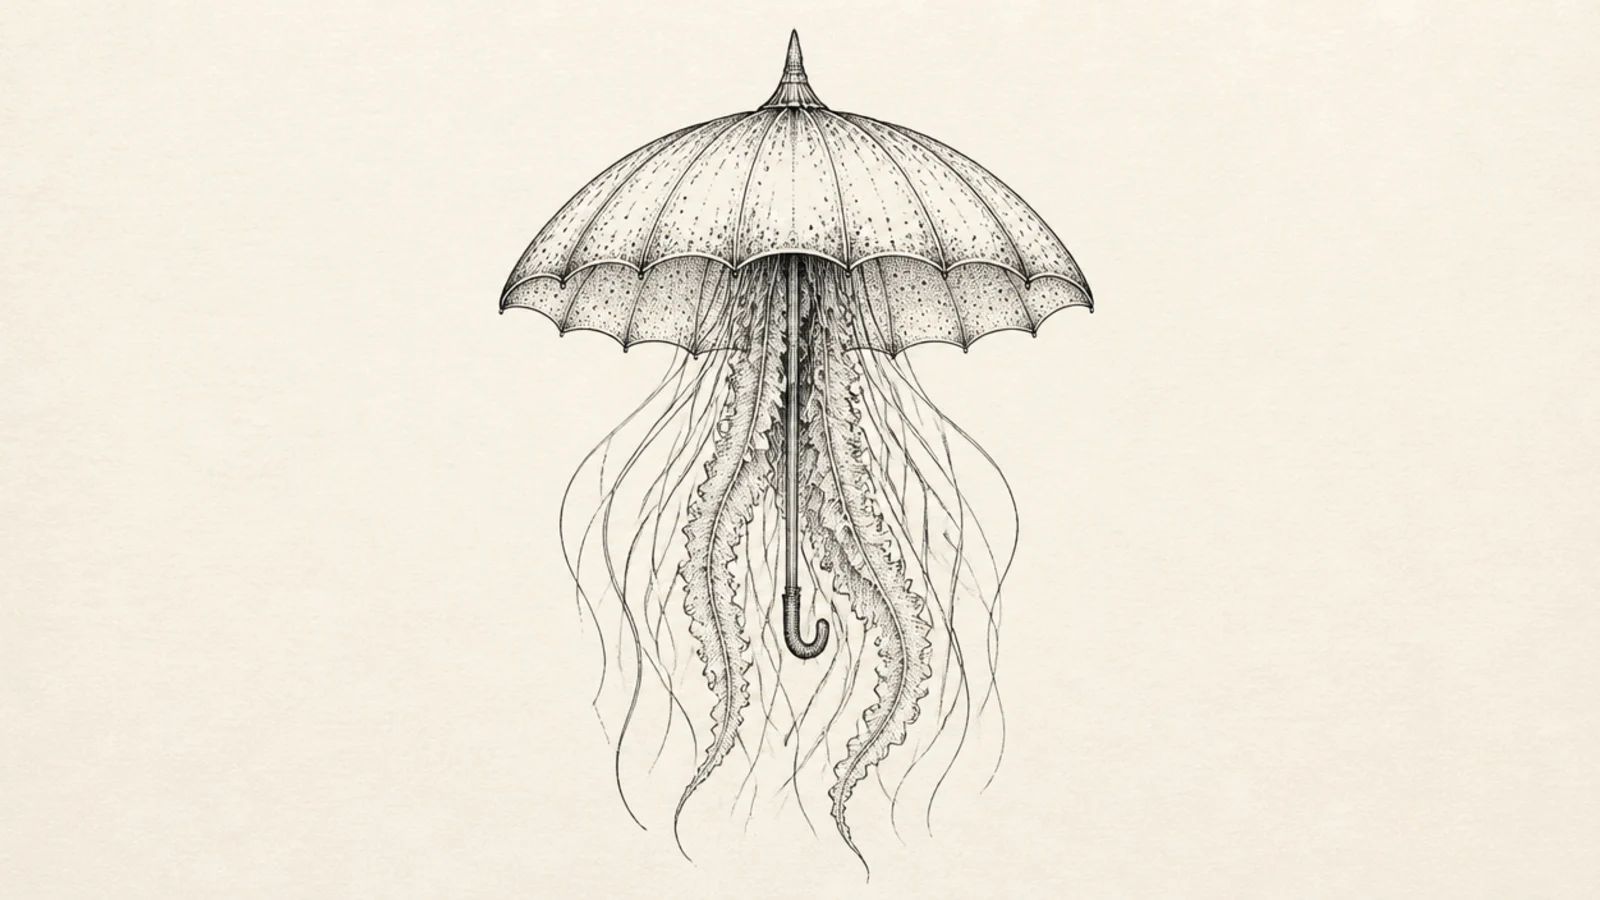
Step 1: Draw a dome, then add a scalloped (bumpy) line along the bottom like an umbrella edge. Step 2: Drop 4-5 straight tentacle lines from the scallop points. Step 3: Add a tiny knob on top of the dome, like an umbrella tip.
Thinking of the bell as an open umbrella makes it instantly easy to draw. The scalloped bottom edge gives it a finished look with almost no effort. Straight tentacles keep it clean and graphic.
AvoidDon’t make the scallops too big; small, even bumps look neater than a few large ones.
Pro tipLine up each tentacle under a scallop bump so the spacing looks even and deliberate.
3 Dome With Dot Eyes
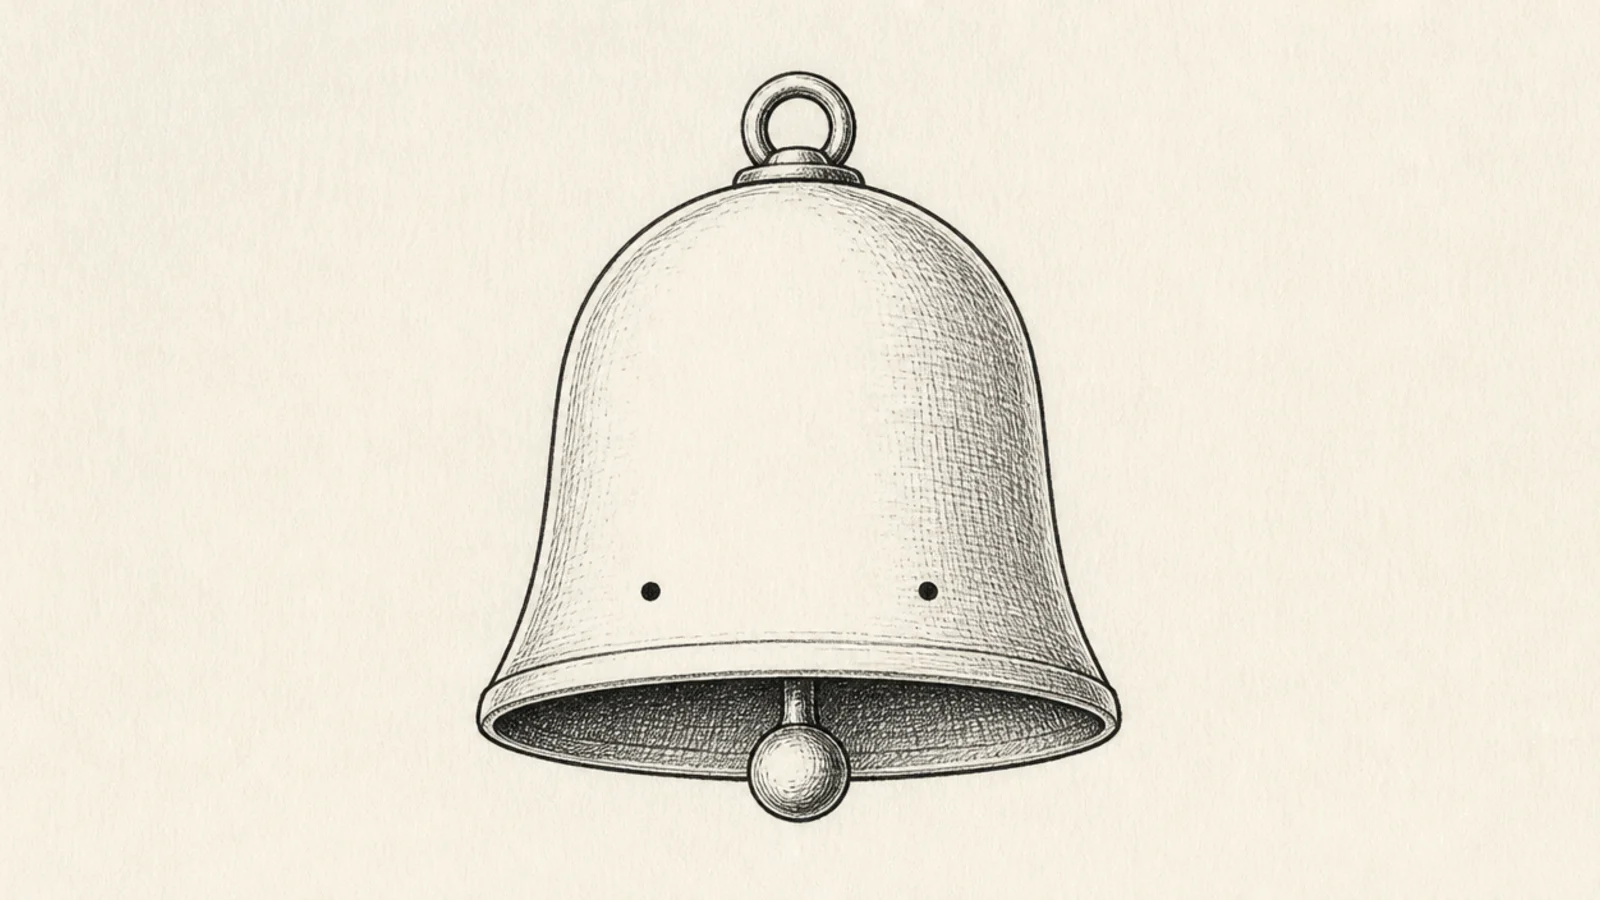
Adding two dots turns a plain dome into a character in one second. It’s the fastest way to make a simple jellyfish look cute. Keep the eyes low on the bell so it looks friendly.
Step 1: Draw a rounded bell. Step 2: Add two small dot eyes low and slightly apart. Step 3: Hang 4-5 short straight tentacles below and, if you like, a tiny curved smile.
Leave a tiny white gap in each dot eye if you want an extra-cute, shiny look.
Don’t place the eyes high or close together; low and spaced apart reads much friendlier.
4 Loop Tentacle Jellyfish
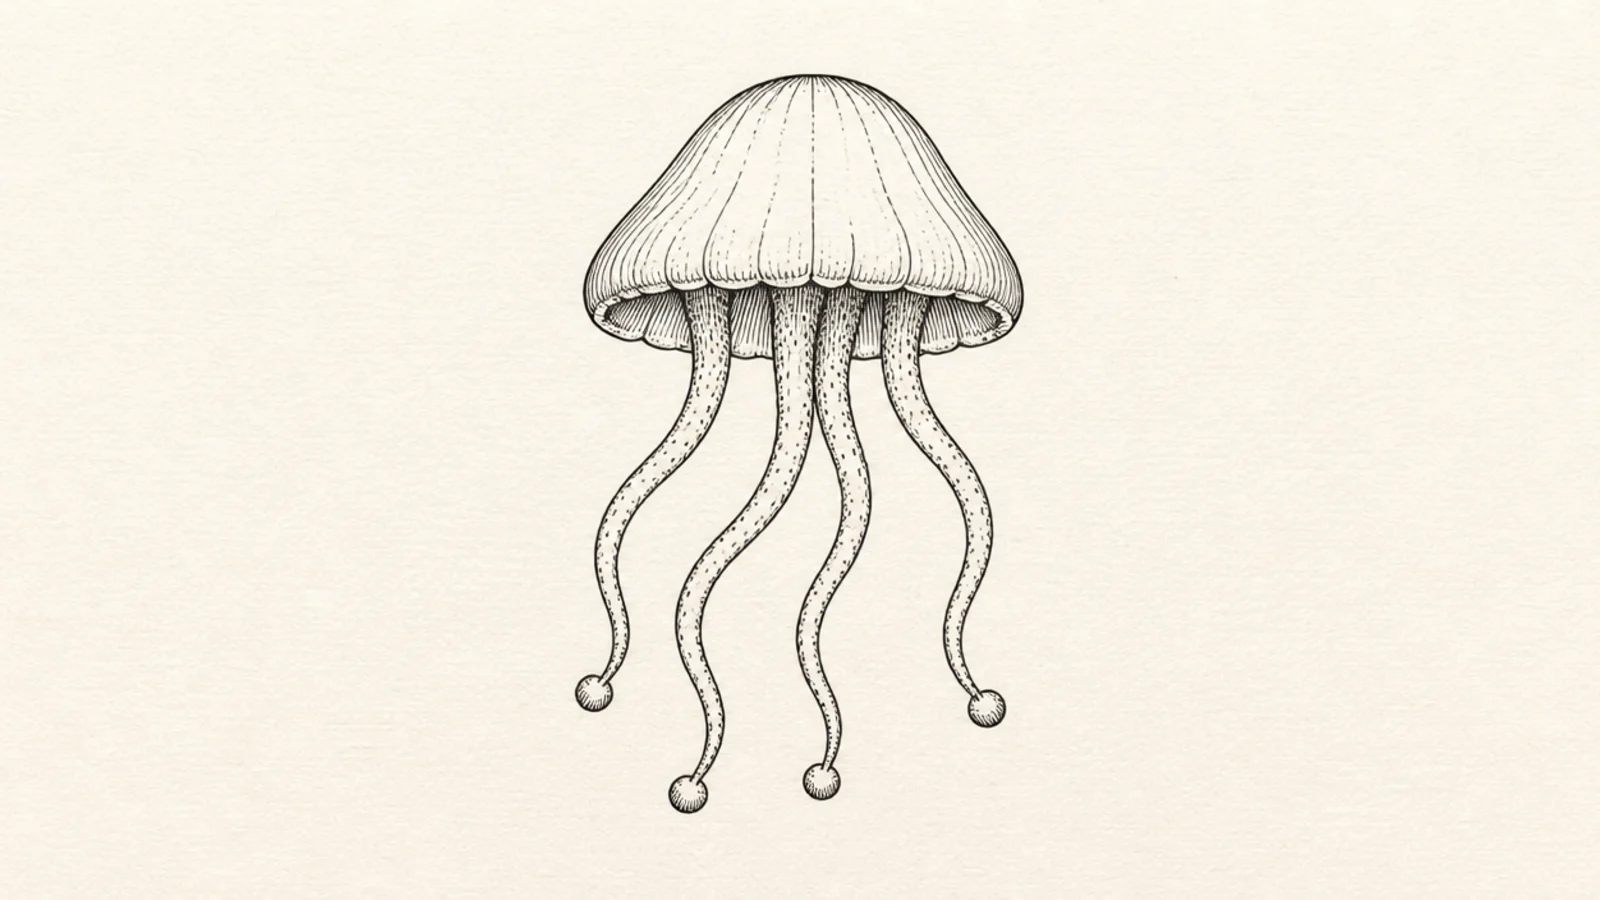
Step 1: Draw a bell. Step 2: Draw 4-6 tentacle lines and curl each one into a small loop at the bottom. Step 3: Vary which way the loops curl for a livelier feel.
Ending each tentacle in a little loop makes the drawing playful and hides shaky line ends. The loops add interest without any real skill. It’s simple but looks decorative.
AvoidDon’t make every loop the same size; slightly different loops look more natural.
Pro tipAlternate loop directions — one curls left, the next right — so the row doesn’t look mechanical.
5 Three-Tentacle Minimal Jellyfish
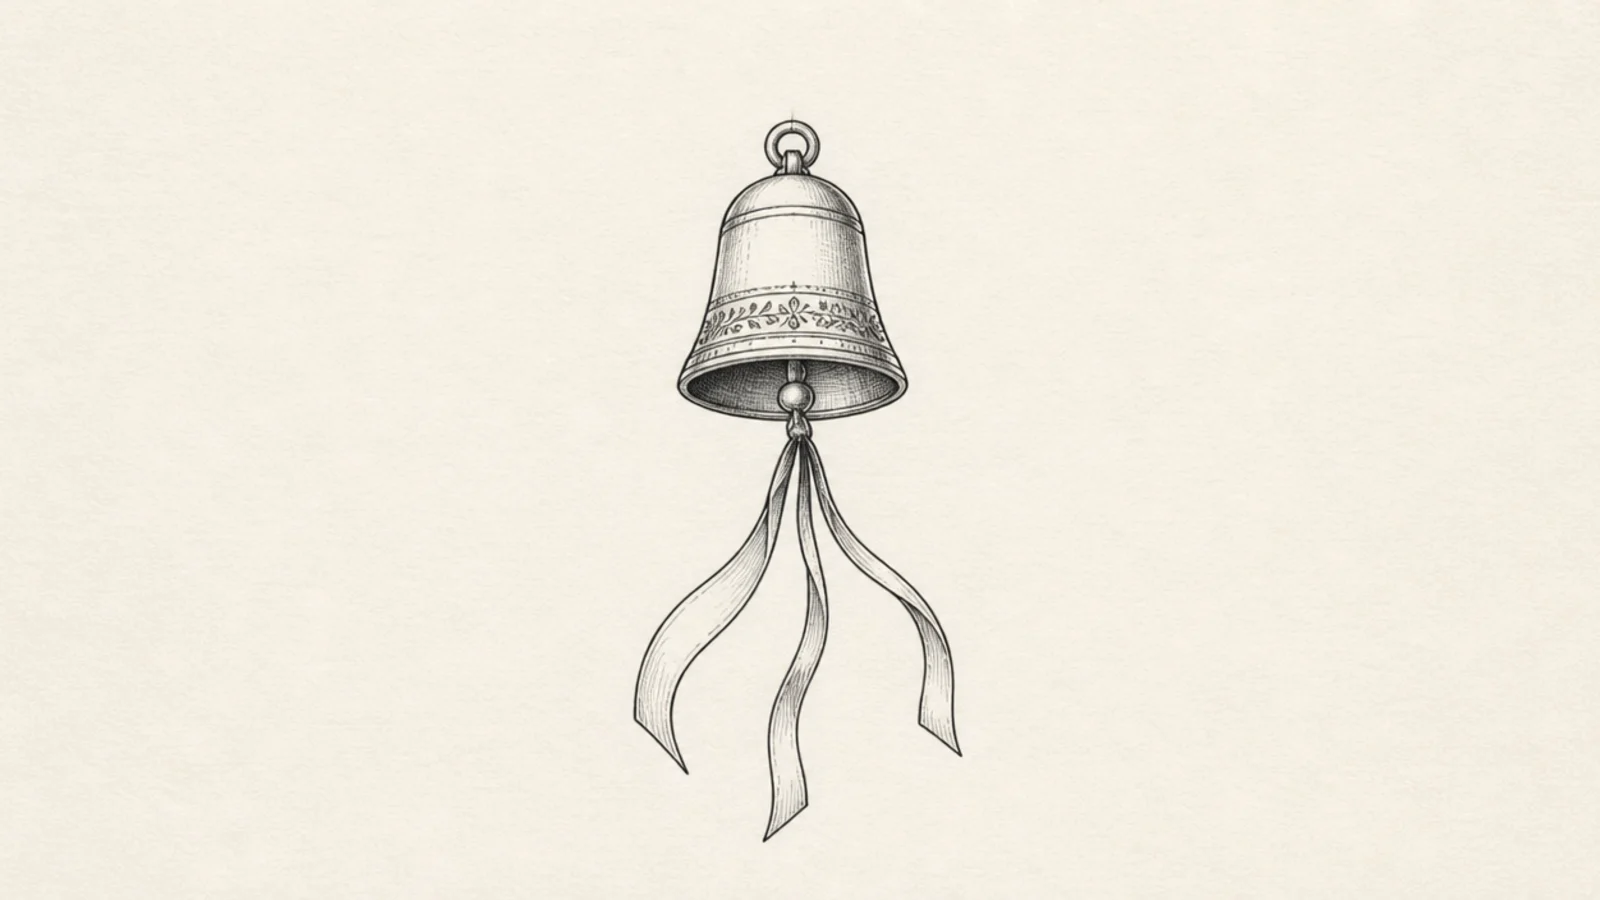
Three tentacles is the minimum that still looks like a jellyfish, which makes this super clean and modern. The empty space around it is part of the design. Great for a tidy journal page.
Step 1: Draw a small, neat bell. Step 2: Add exactly three flowing tentacles of different lengths. Step 3: Leave lots of white space around it and don’t add anything else.
Make the middle tentacle the longest so the shape has a clear center of gravity.
Don’t be tempted to add more lines; the restraint is what makes this look intentional.
6 Scalloped-Edge Jellyfish
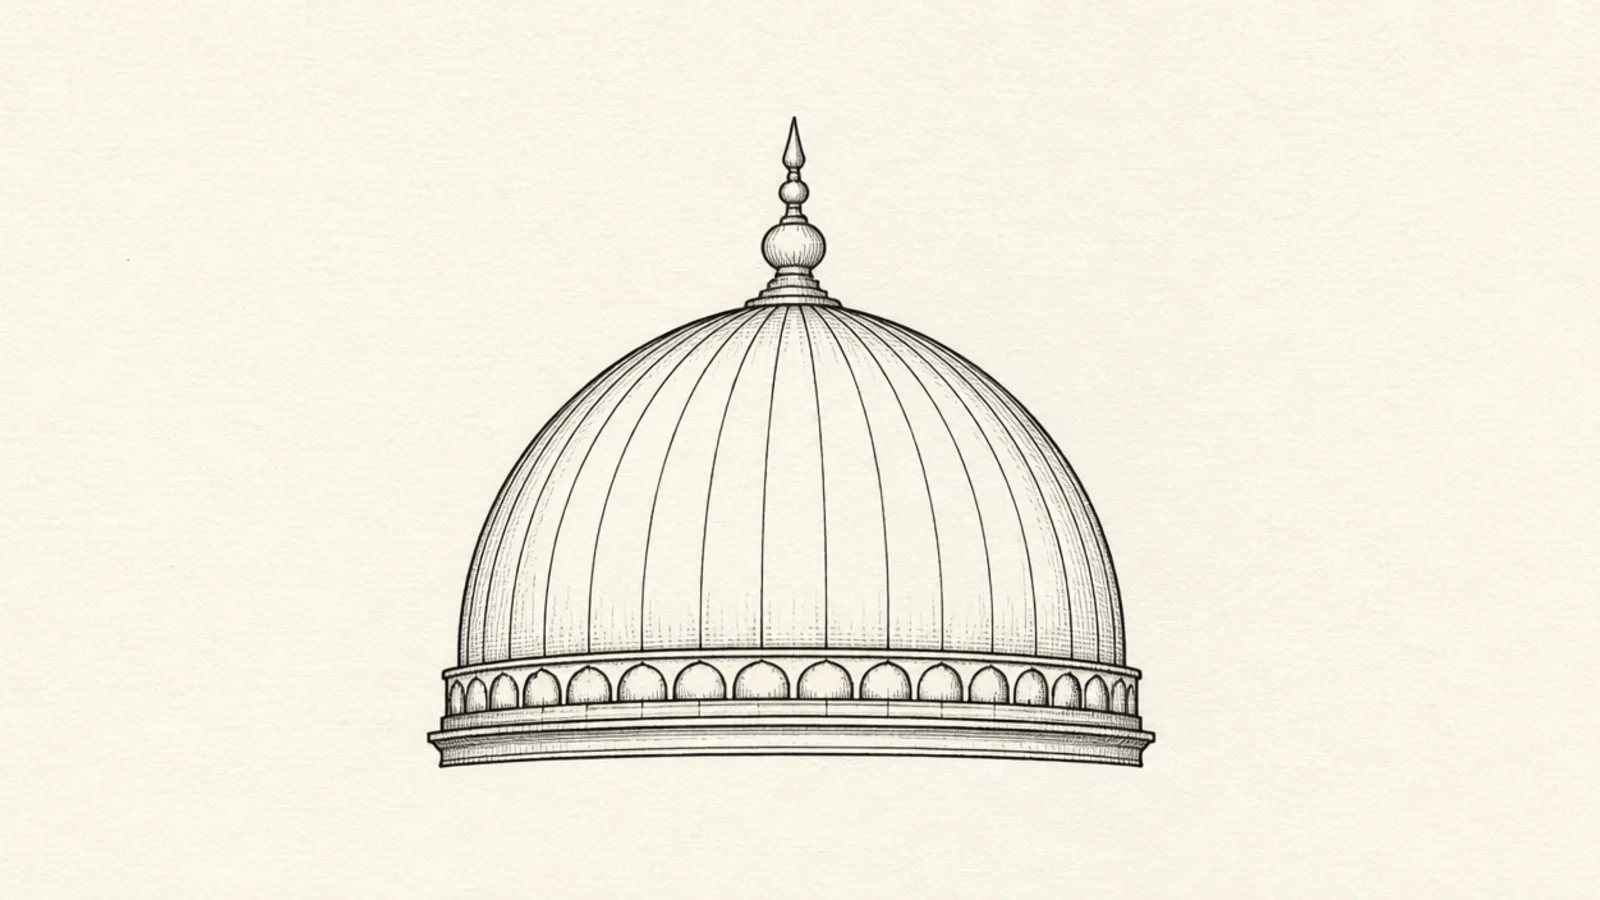
A row of scallops along the bell’s edge adds a decorative touch with one repeated shape. It looks more finished than a plain dome for barely any extra effort. The repetition feels satisfying to draw.
Step 1: Draw a dome. Step 2: Along the bottom, draw a row of small even scallops (like a cloud edge). Step 3: Hang a few thin tentacles from under the scallops.
Keep the scallops the same height the whole way across for a clean, ribbon-like edge.
Don’t let the scallops shrink or grow toward the ends; even sizing is what looks polished.
7 Balloon Jellyfish
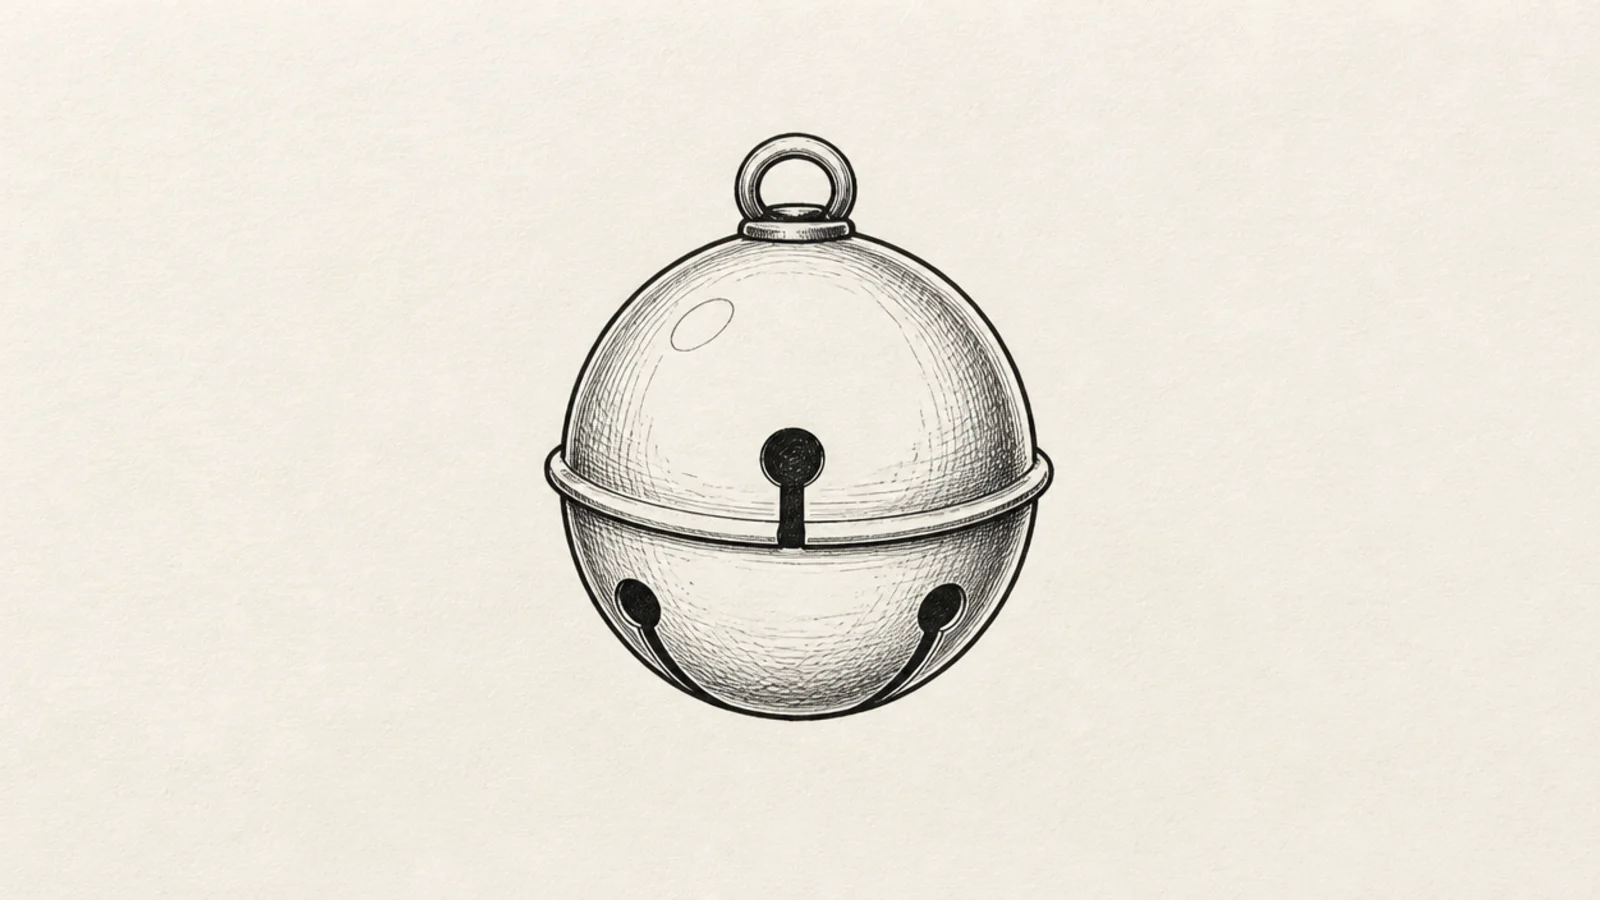
Step 1: Draw a round, slightly tall bell like a balloon. Step 2: Add a small oval highlight near the top. Step 3: Trail two thin, wavy tentacles like balloon strings.
Drawing the bell as a round balloon with a shine spot makes it look glossy and cheerful. The single highlight does all the work. Two string-like tentacles keep it light and simple.
AvoidDon’t shade the whole bell; the single white highlight is what makes it look glossy.
Pro tipPut the shine highlight in the same top corner every time so your jellyfish looks consistently lit.
8 Mushroom-Cap Jellyfish
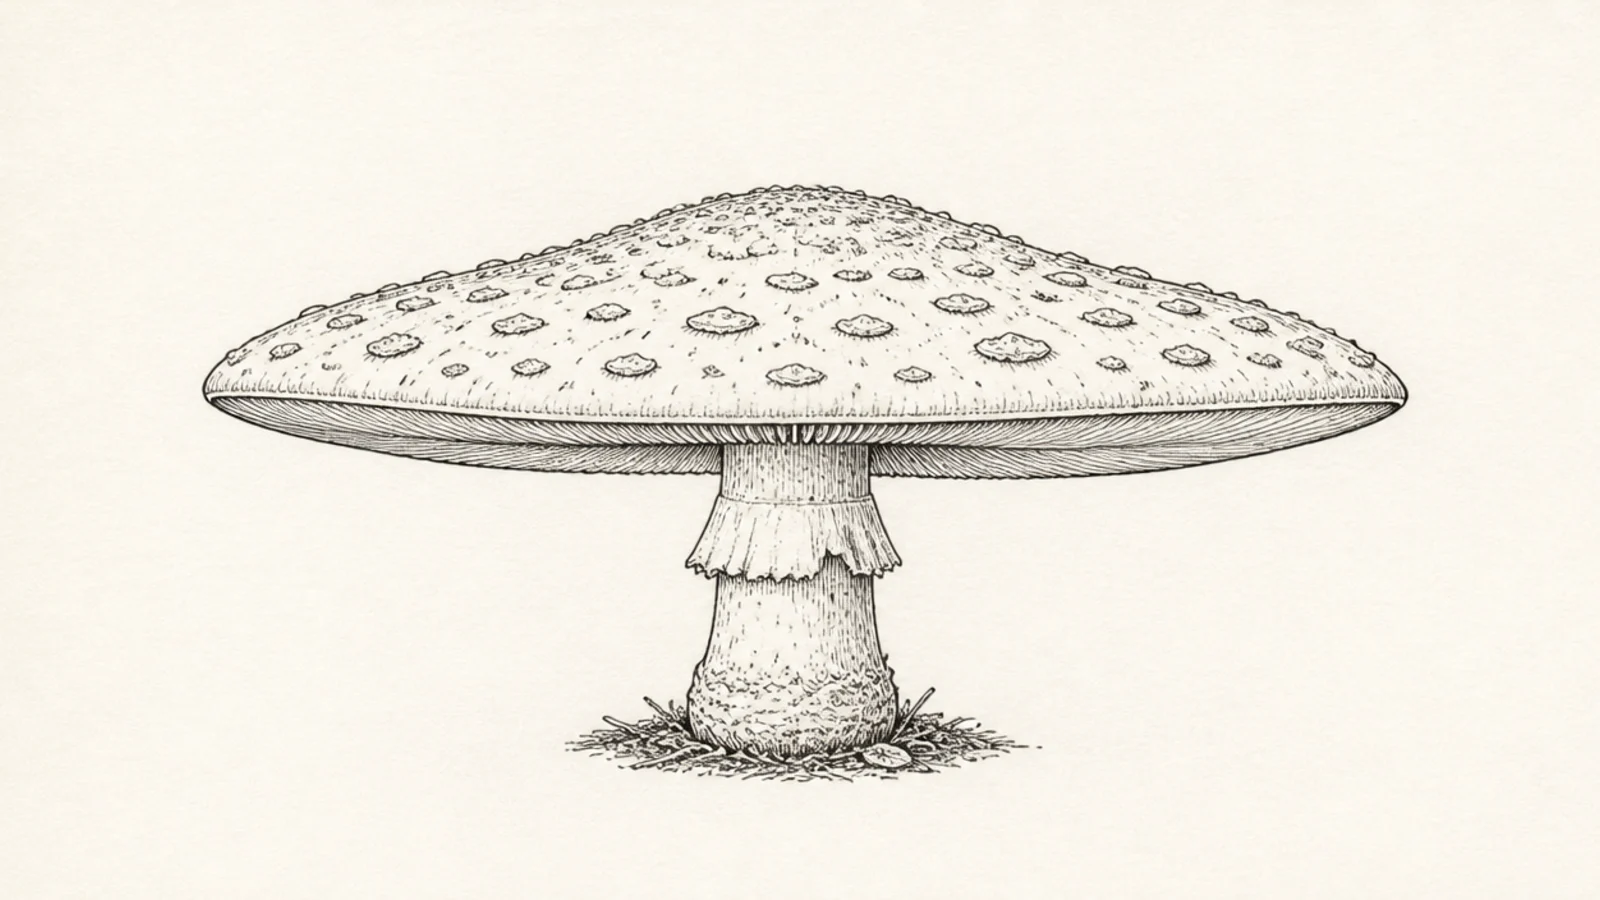
Step 1: Draw a wide, low dome like a mushroom cap. Step 2: Add a slightly curved line under the cap for the rim. Step 3: Hang 5-6 short, straight tentacles close together.
A wide, flat mushroom-cap bell is a fun change from a tall dome and just as easy. The low, broad shape feels cozy and cute. Short tentacles keep the proportions balanced.
AvoidDon’t add long trailing tentacles; short ones suit the low, wide cap much better.
Pro tipKeep the cap wider than it is tall so it clearly reads as a mushroom shape, not a ball.
9 Curly-Q Tentacle Jellyfish
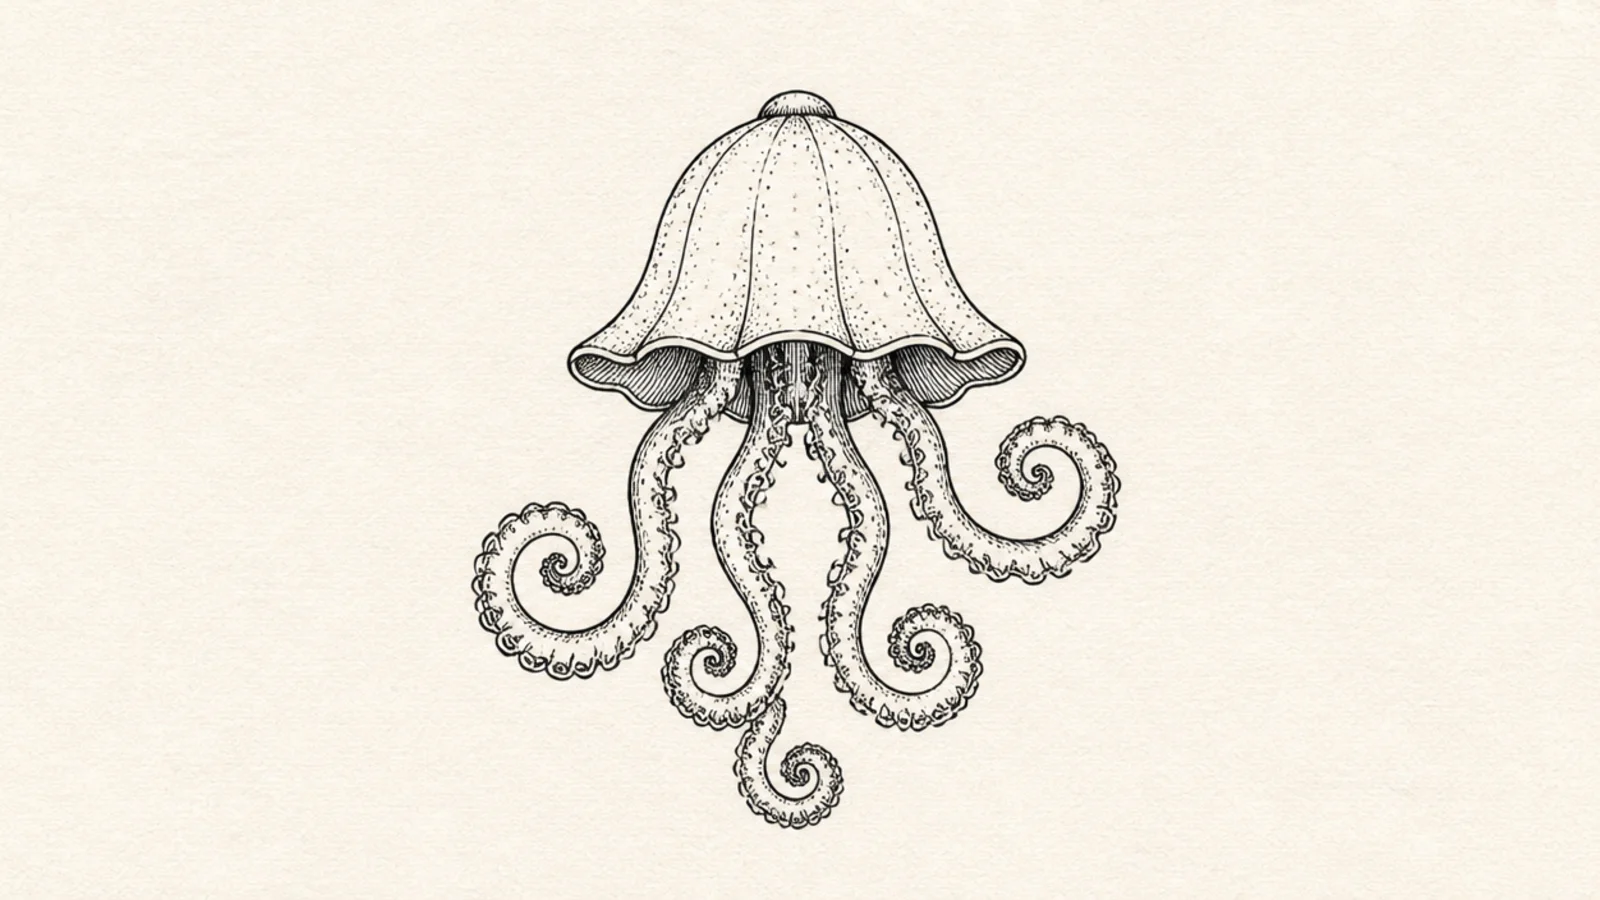
Step 1: Draw a bell. Step 2: From the bottom, draw 4-5 tentacles that spiral into loose curls like ribbon. Step 3: Let some curls be tight and some loose for variety.
Spiral curly-q tentacles make a plain jellyfish look bouncy and fun. The curls are forgiving because wobble just adds character. It’s a cheerful, doodle-friendly style.
AvoidDon’t make the curls too tight and even; a little looseness keeps them from looking like springs.
Pro tipDraw the curls in one smooth motion rather than tracing slowly — relaxed curls look best.
10 Simple Smiling Jellyfish
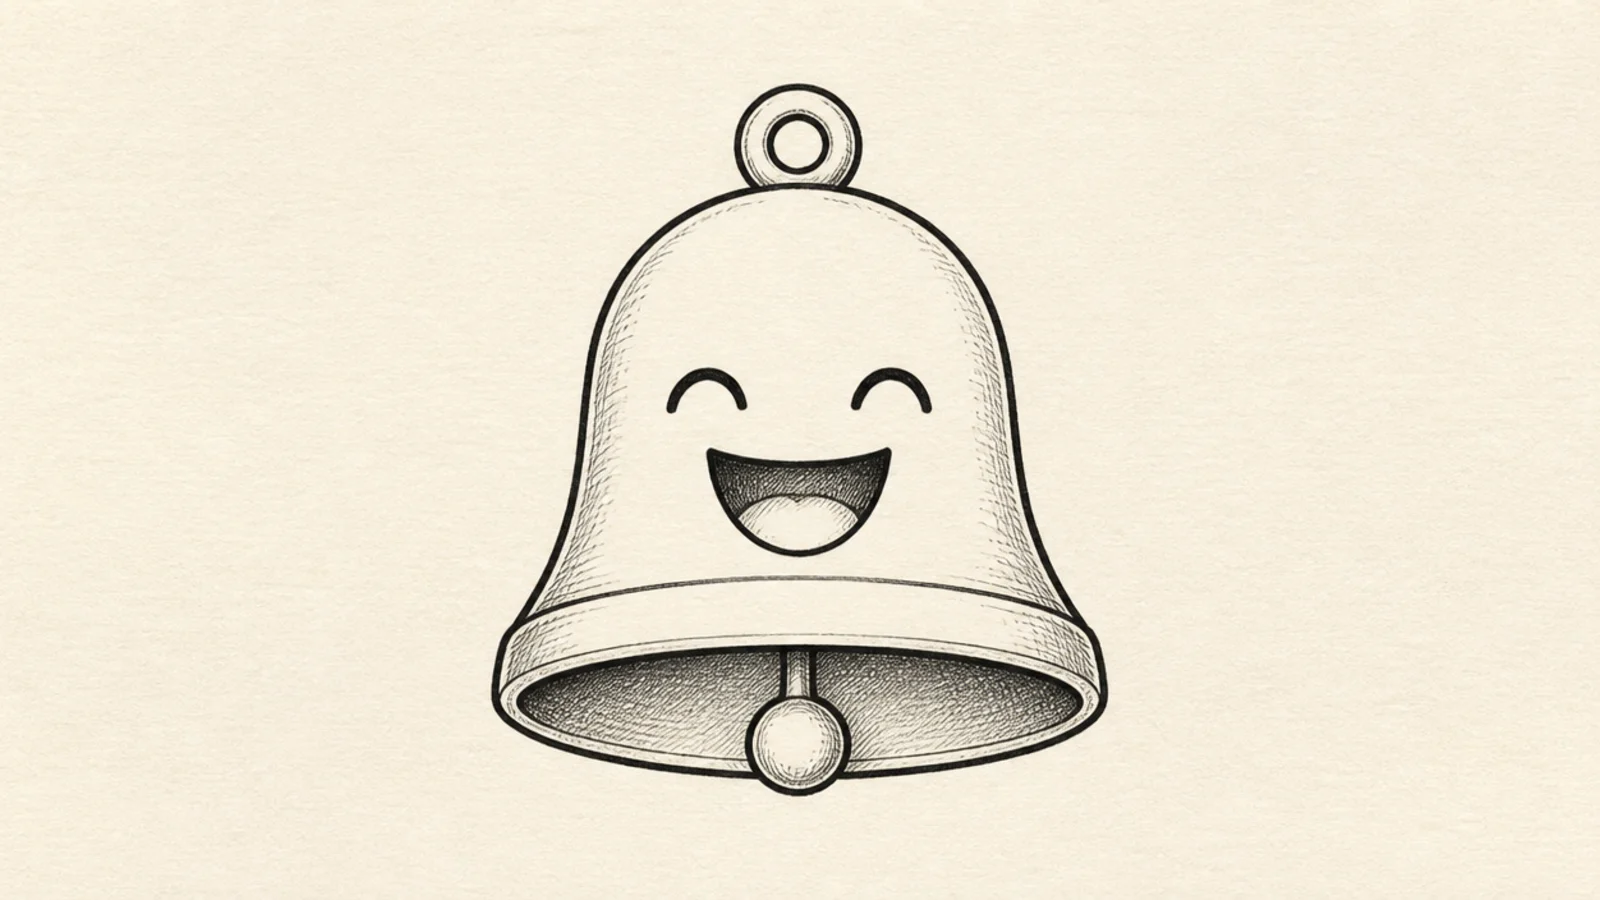
Step 1: Draw a rounded bell. Step 2: Add two upward-curved 'u' eyes and a wide smile. Step 3: Hang a few short, chunky tentacles below.
A big simple smile and two closed 'happy' eyes make this jellyfish instantly lovable. It’s a plain bell with a cheerful face, nothing more. Perfect for cards and stickers.
AvoidDon’t overcomplicate the face; a smile and two curved eyes are all it needs.
Pro tipCurve the eyes upward like little smiles too — matching eyes and mouth reads extra happy.
11 Outline-Only Jellyfish
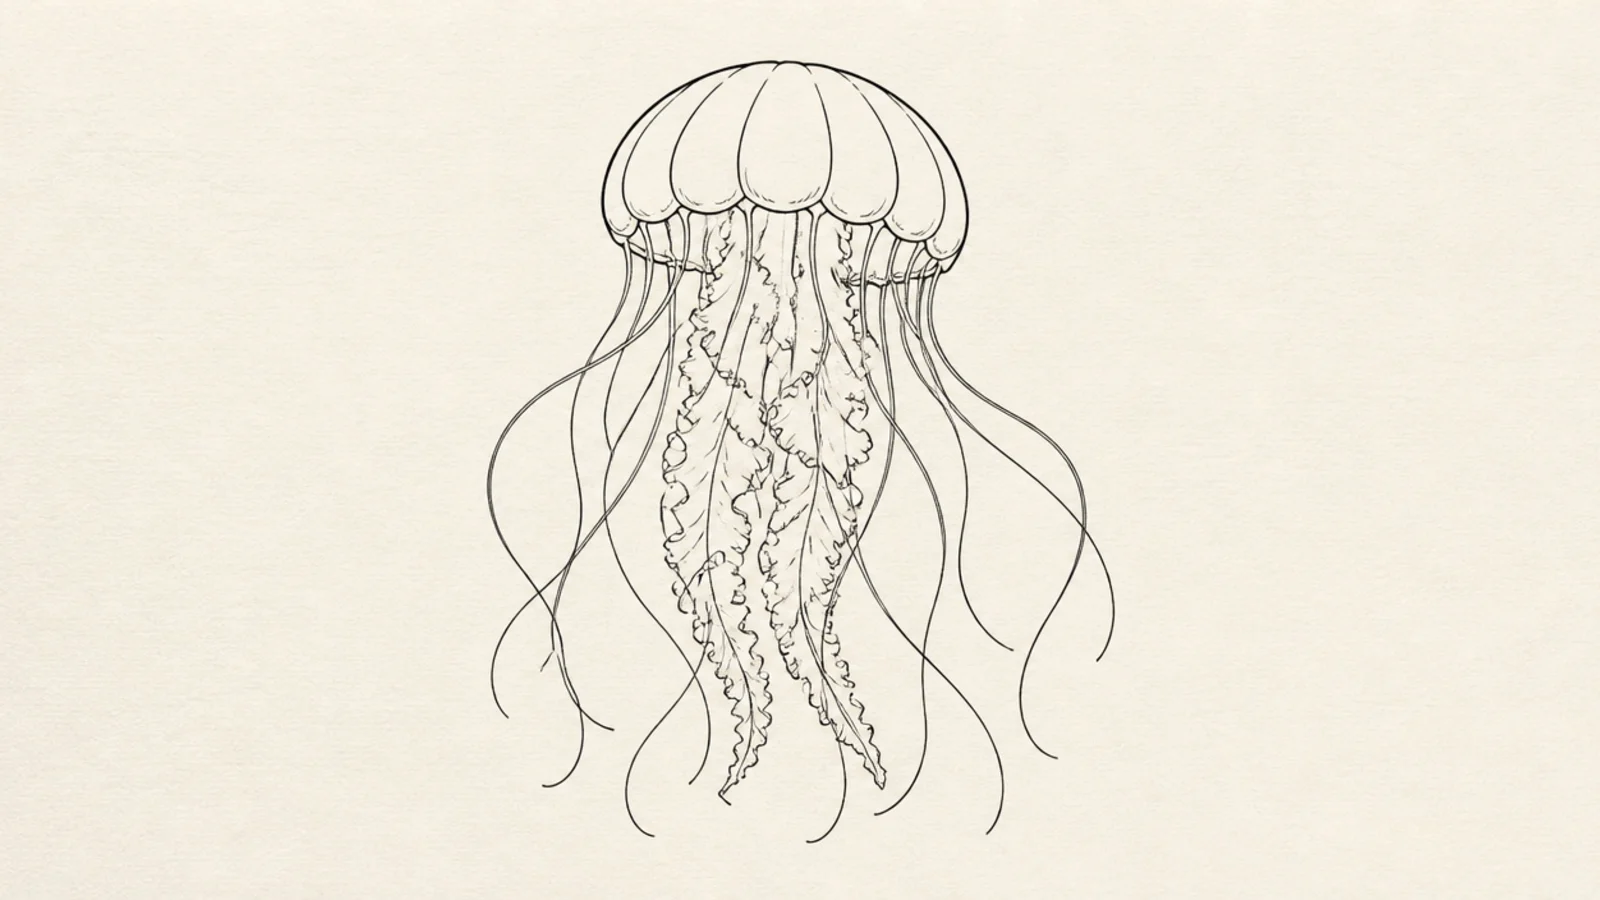
A crisp outline with zero fill looks clean and modern, like a coloring-book page. It puts all the focus on the shape, so a nice bell really shines. It’s also the easiest to keep neat.
Step 1: Draw the bell and tentacles lightly in pencil. Step 2: Trace once with a fineliner in a single confident pass. Step 3: Erase the pencil and leave it completely unfilled.
Use one steady line weight throughout so the outline looks even and professional.
Don’t sketch over the same line many times; one clean pass looks far better than a fuzzy outline.
12 Zigzag Tentacle Jellyfish
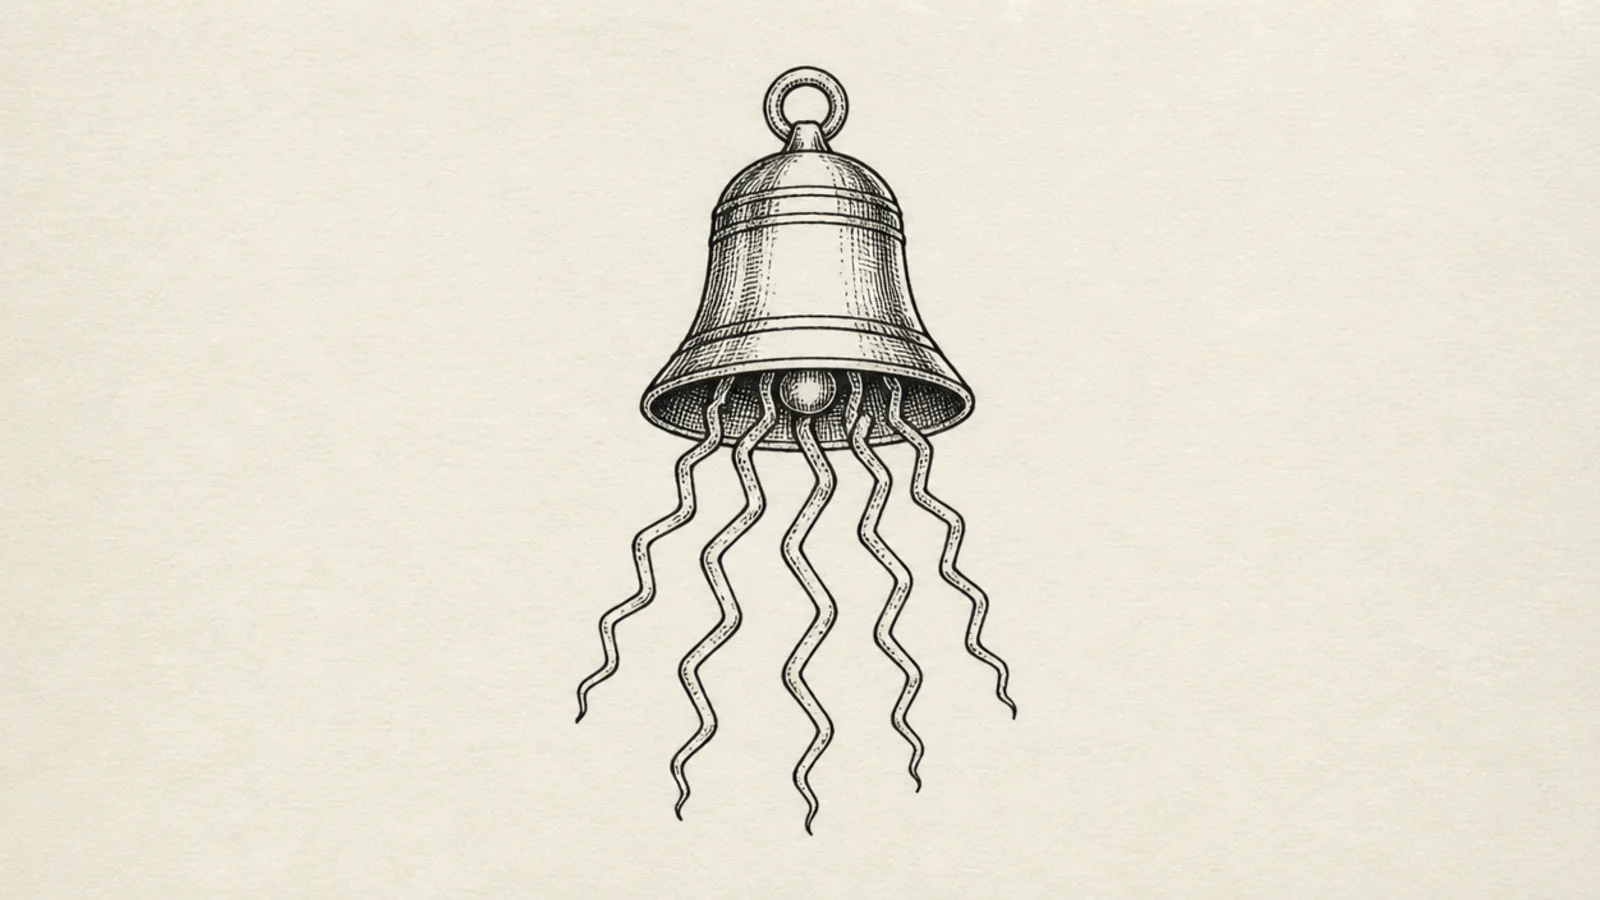
Step 1: Draw a bell. Step 2: Draw 4-5 tentacles as gentle zigzag lines instead of curves. Step 3: Keep the zigzags loose and slightly different from each other.
Zigzag tentacles give a plain jellyfish a fun, electric energy. Sharp angles are easy to draw and look intentional. It’s a nice change from soft curves.
AvoidDon’t make the zigzags too sharp or robotic; a soft zigzag reads friendlier than jagged spikes.
Pro tipMake the zigzags smaller and tighter near the bell, then wider toward the tips for a natural taper.
13 Tiny Corner Jellyfish
Step 1: In a corner, draw a small bell about the size of a coin. Step 2: Add three short tentacles. Step 3: Optionally add one or two tiny bubbles beside it.
A tiny jellyfish tucked into a corner is the perfect little accent for a journal or letter. Small size means fewer lines and less pressure. It adds charm without taking over the page.
AvoidDon’t add lots of detail at this size; tiny drawings look best kept ultra simple.
Pro tipKeep it small and light so it decorates the page instead of competing with your writing.
14 Two-Tone Simple Jellyfish
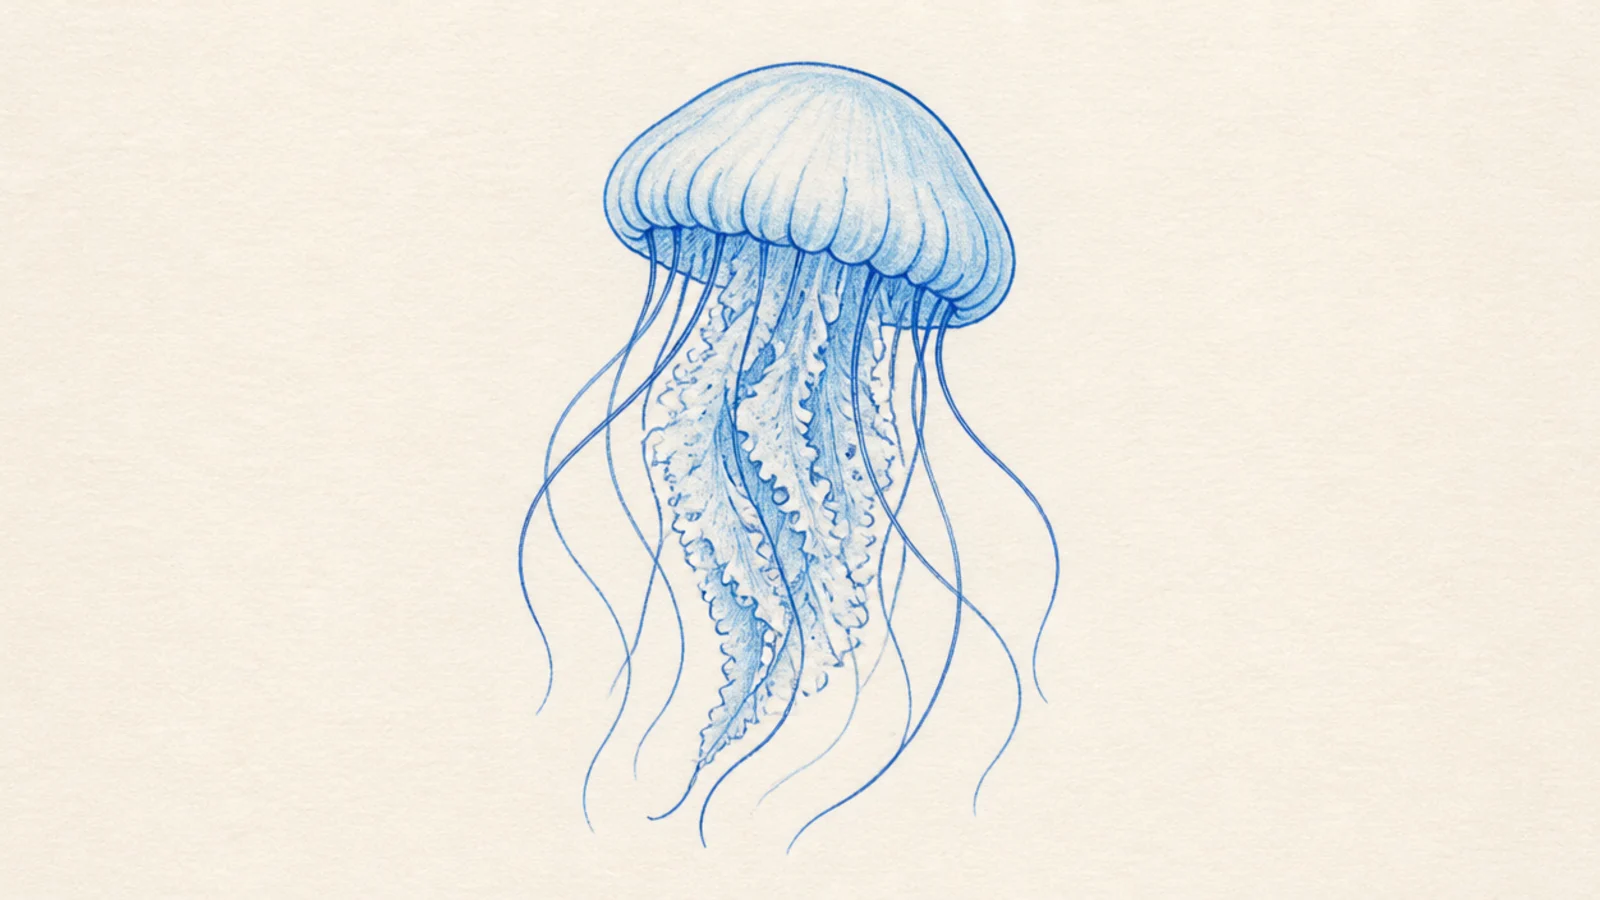
Step 1: Draw a plain bell and tentacles. Step 2: Fill the bell with one light color. Step 3: Fill or line the tentacles with a second, slightly different tone.
Using just two light tones — one for the bell, one for the tentacles — makes a simple jellyfish look colored and complete. Two colors is enough to feel designed. It stays easy because there’s no blending.
AvoidDon’t use clashing bright colors; two soft, related tones keep it clean and calm.
Pro tipPick two shades from the same color family (like sky blue and teal) so they always look good together.
15 Wavy Line Trio Jellyfish
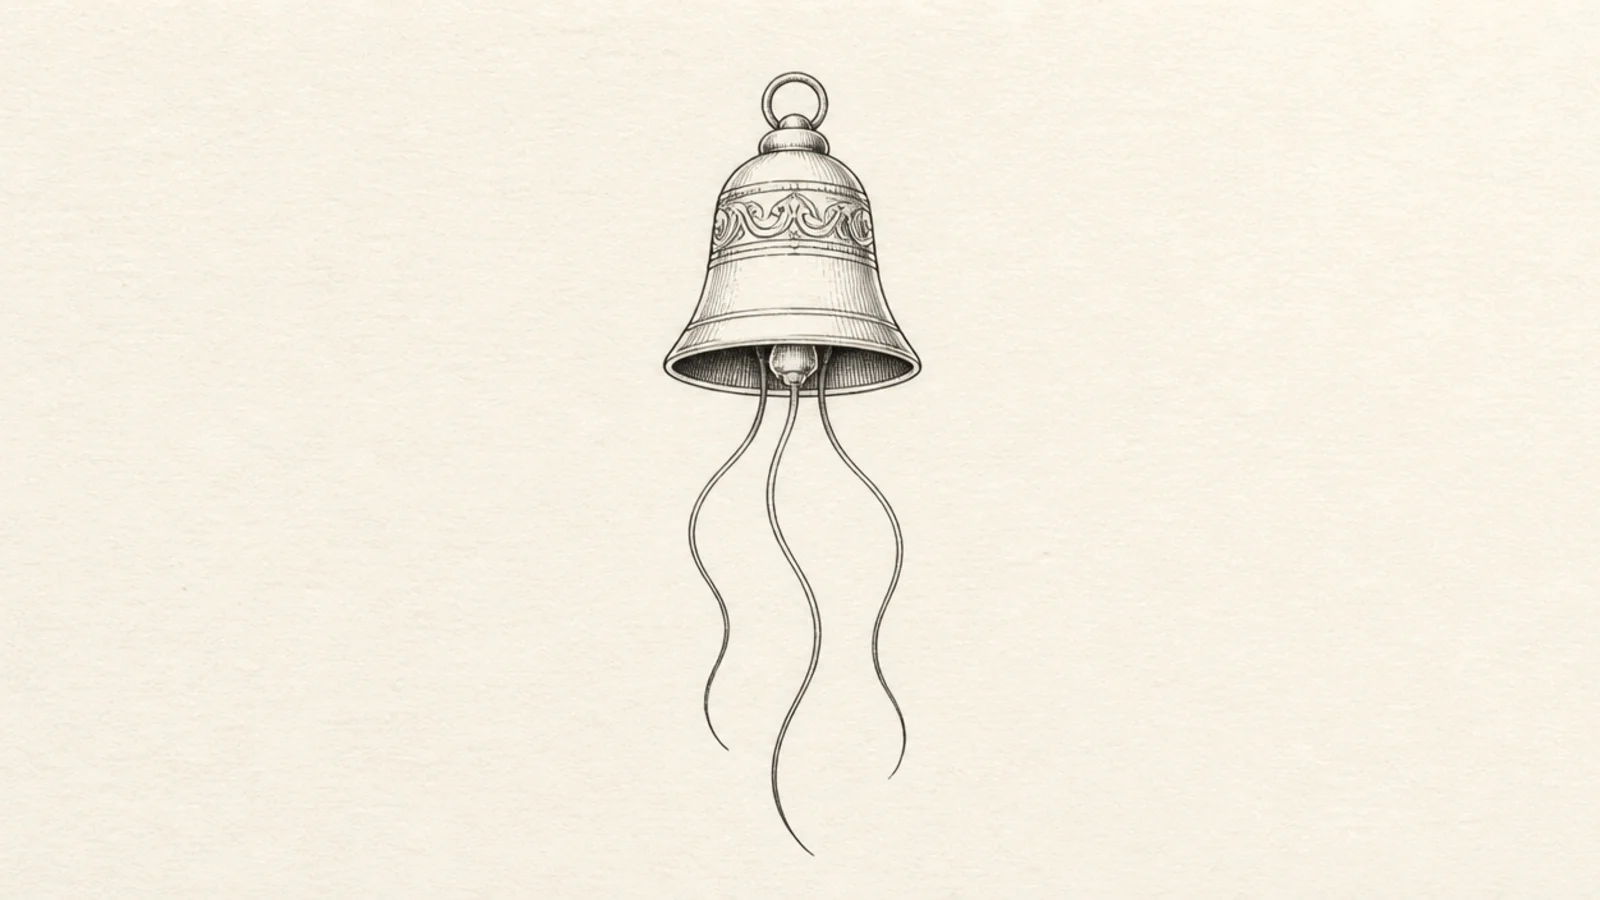
Three long, flowing wavy lines make elegant tentacles with barely any effort. The gentle waves look graceful and calm. It’s simple but has real movement.
Step 1: Draw a small bell. Step 2: Under it, draw three long wavy lines that ripple like water. Step 3: Make the middle line longest and let all three drift the same direction.
Keep the waves gentle and even, like slow ripples, rather than tight squiggles.
Don’t make the waves too busy; smooth, relaxed curves look more elegant than tight zigzags.
16 Dotted-Tentacle Jellyfish
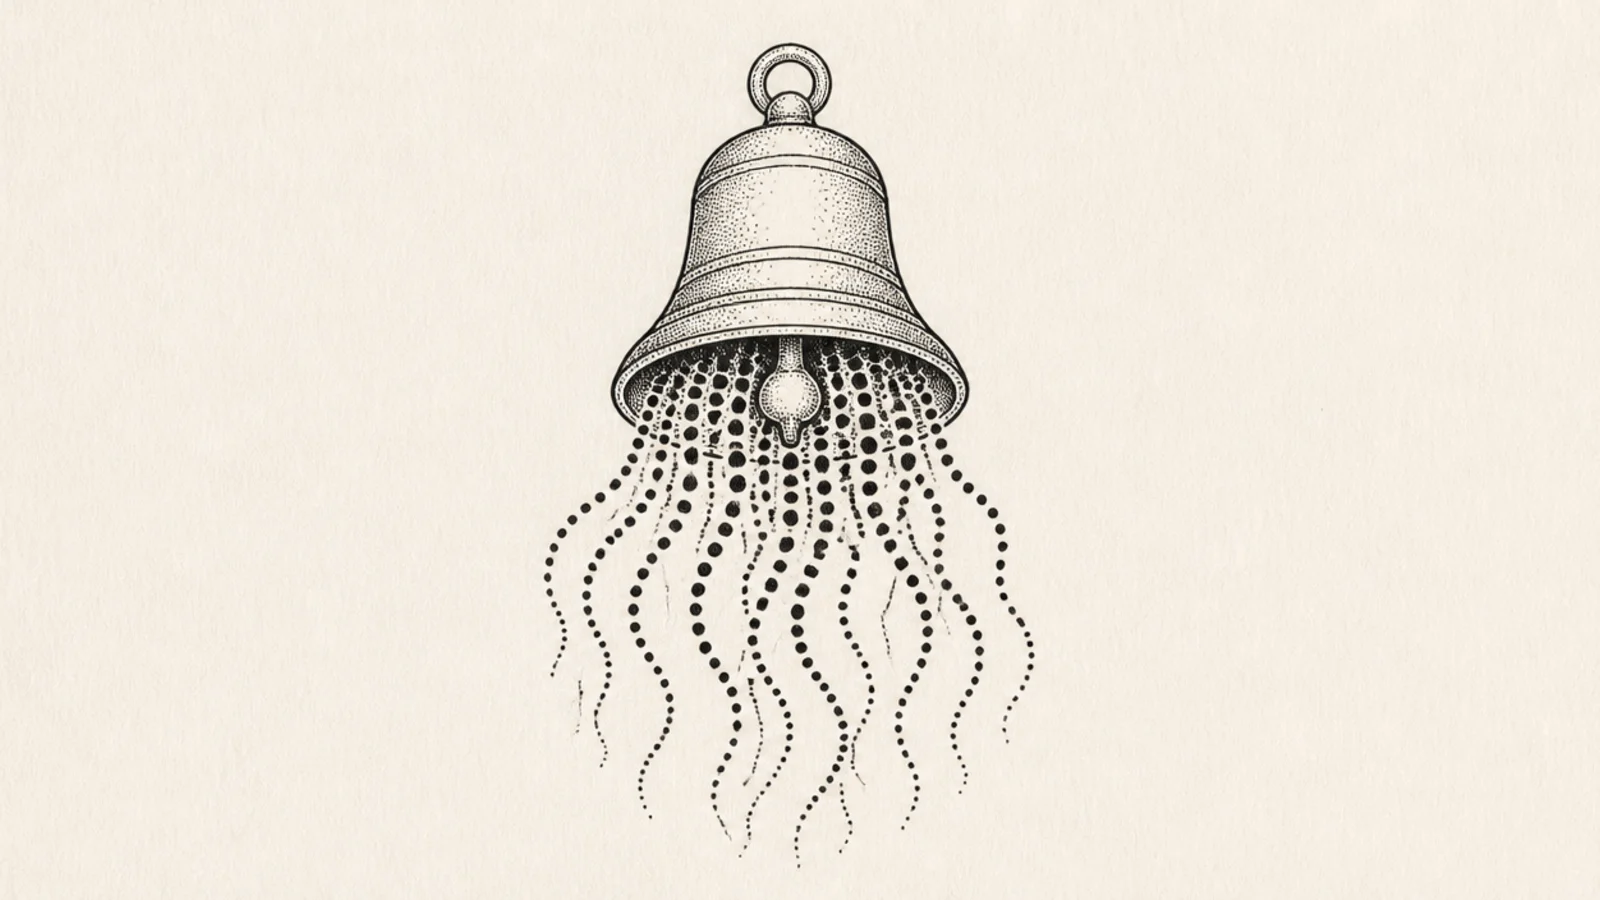
Step 1: Draw a bell. Step 2: Instead of solid tentacles, draw downward rows of small dots. Step 3: Keep the dot rows loosely curved and fading toward the bottom.
Drawing the tentacles as dotted lines gives a soft, delicate feel and is very forgiving. Dots don’t need to be perfectly straight. It looks light and airy.
AvoidDon’t make the dots perfectly even; a natural, slightly irregular spacing looks softer.
Pro tipSpace the dots a little farther apart toward the tips so the tentacles look like they’re fading into the water.
17 Beginner Bell With Rim Line
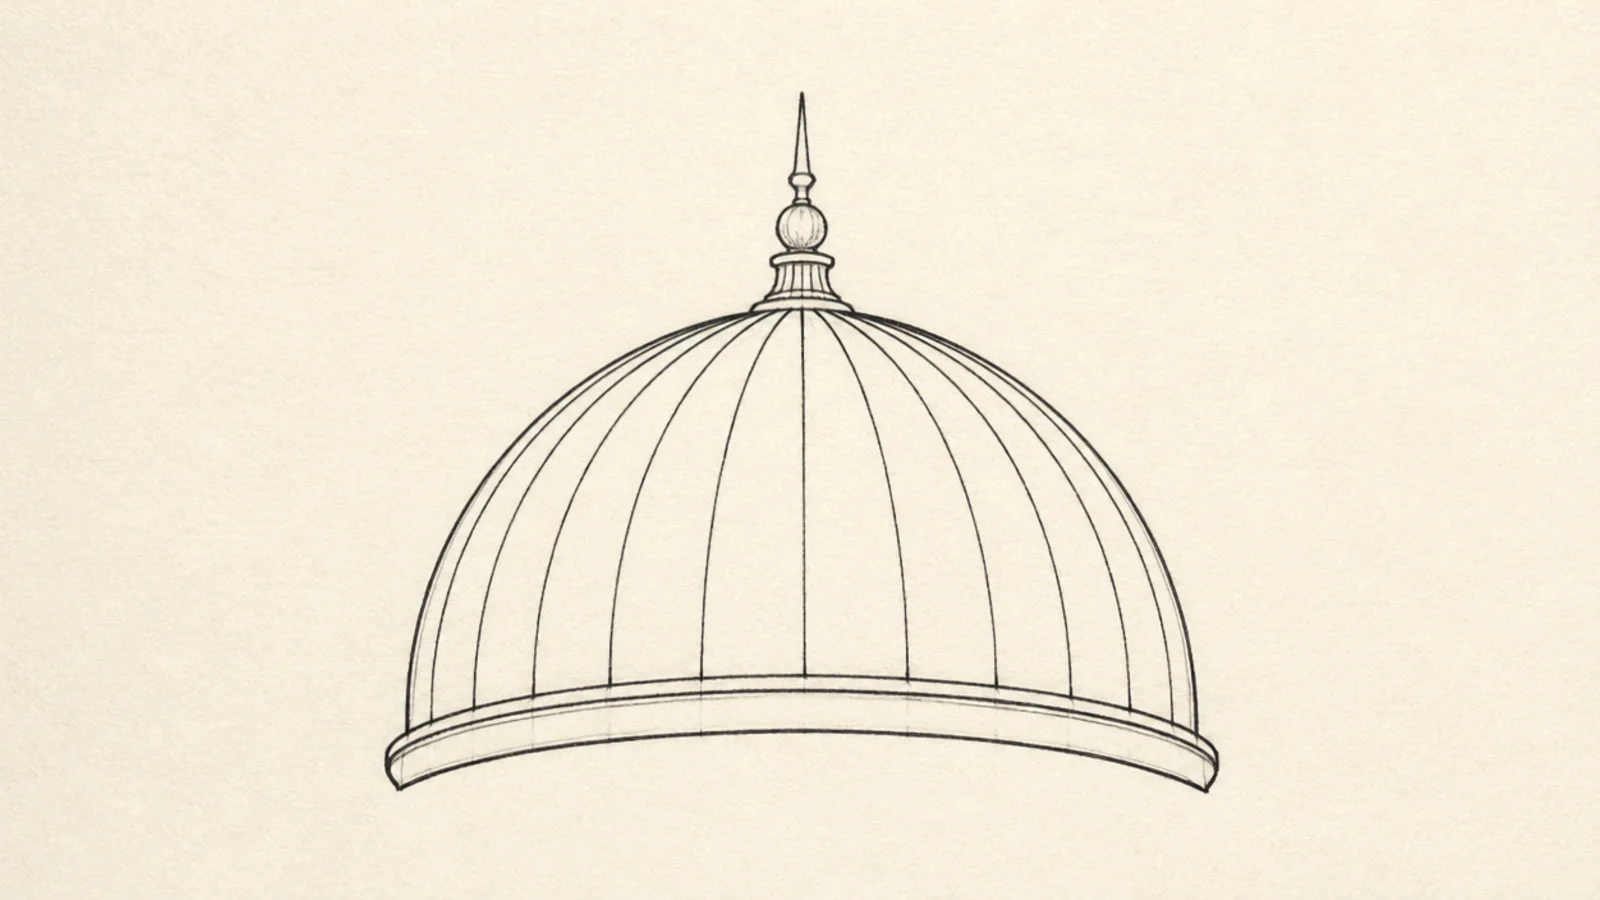
Adding one curved line just inside the bottom of the bell instantly gives it depth, like you can see under the dome. It’s one extra line for a big upgrade. This is the trick that makes a bell look three-dimensional.
Step 1: Draw a dome. Step 2: Just above the bottom edge, add a second curved line that follows the rim. Step 3: Hang simple tentacles from the lower edge.
Curve the rim line the same way as the bell’s bottom so it looks like the underside, not a crack.
Don’t draw the rim line straight across; a matching curve is what creates the 3D illusion.
18 Heart-Tentacle Jellyfish
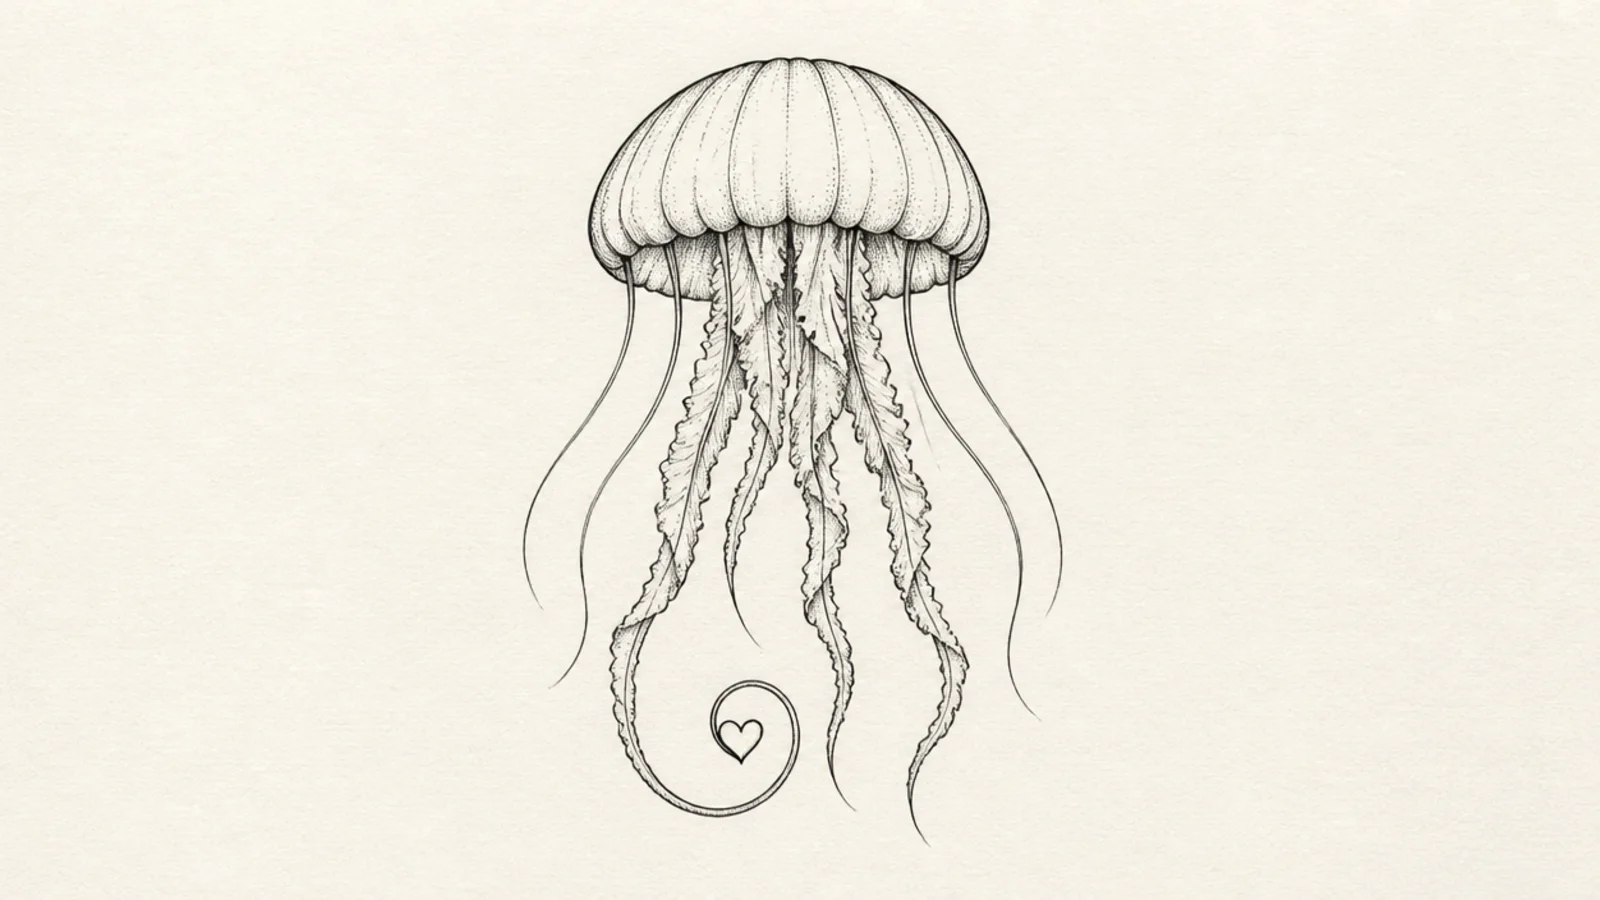
Step 1: Draw a simple bell and a few tentacles. Step 2: On one tentacle, curl the end into a small heart shape. Step 3: Keep the other tentacles plain so the heart stands out.
Ending one tentacle in a tiny heart adds a sweet surprise to an otherwise plain jellyfish. It’s a single small detail that makes people smile. Great for valentines and cute notes.
AvoidDon’t make the heart too big; a small, subtle heart is cuter than a large one.
Pro tipOnly add one heart — a single accent reads as intentional, while several look cluttered.
19 Simple Blue-Wash Jellyfish
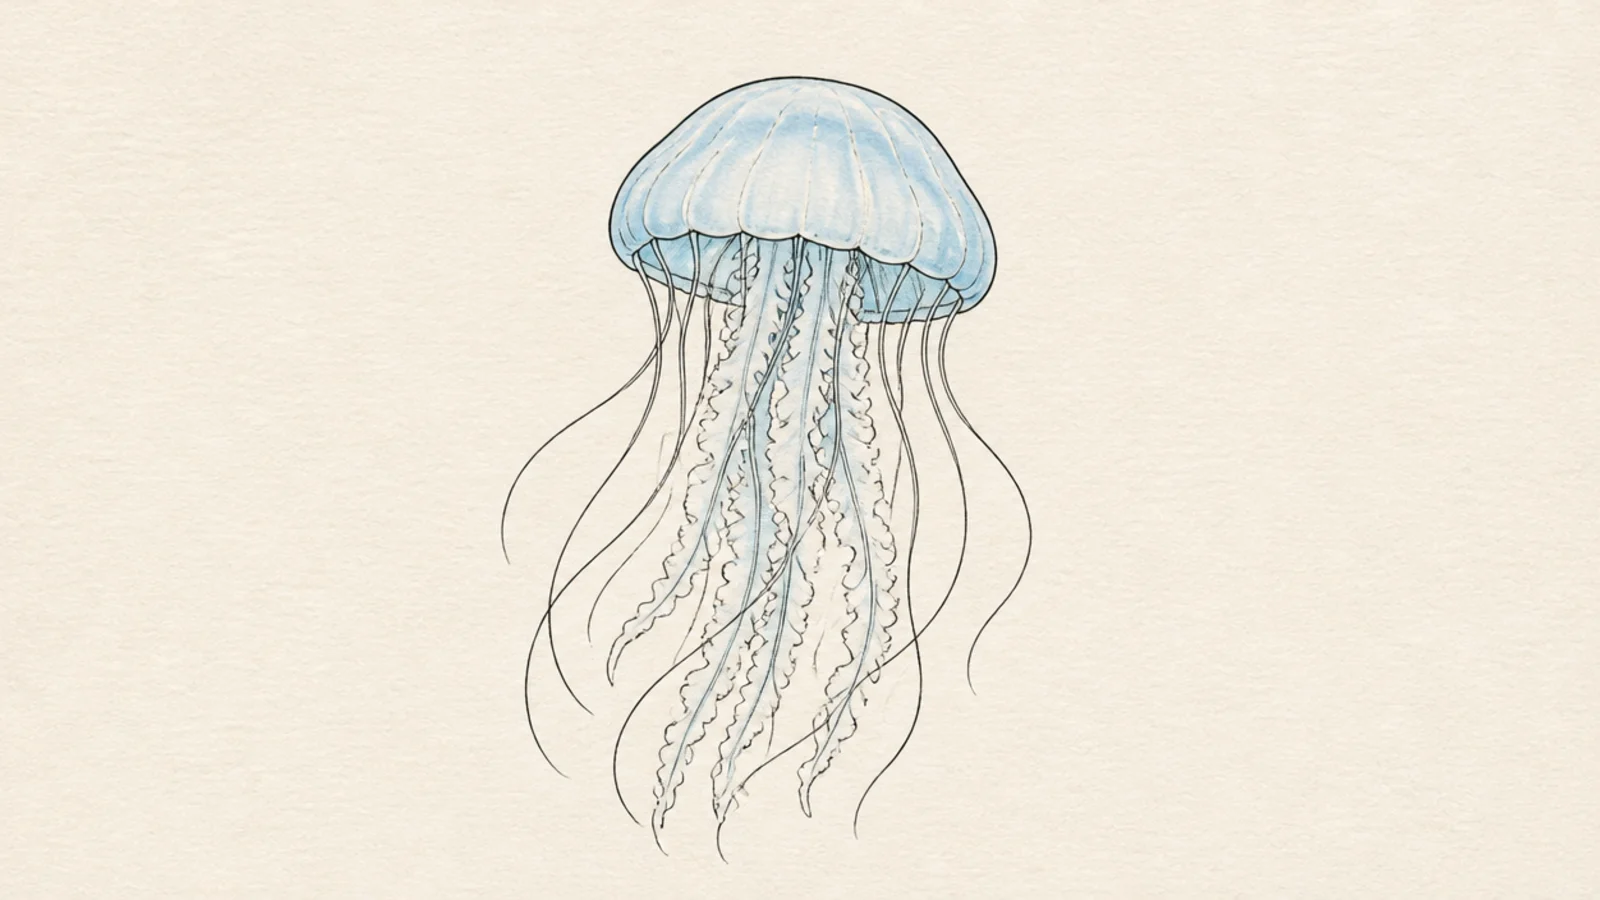
Step 1: Draw a simple outline jellyfish and let the ink dry. Step 2: Brush one light, watery blue wash over the whole shape. Step 3: Leave a small unpainted spot on the bell for a highlight.
One light blue wash over a simple outline makes the jellyfish look watery and soft with almost no skill. The single color keeps it easy and calm. It’s the fastest way to add mood.
AvoidDon’t scrub the wash back and forth; one gentle pass keeps it soft and translucent.
Pro tipKeep the wash pale and let it dry fully before adding any more; one light layer looks cleaner than a heavy one.
20 Simple Jellyfish Trio
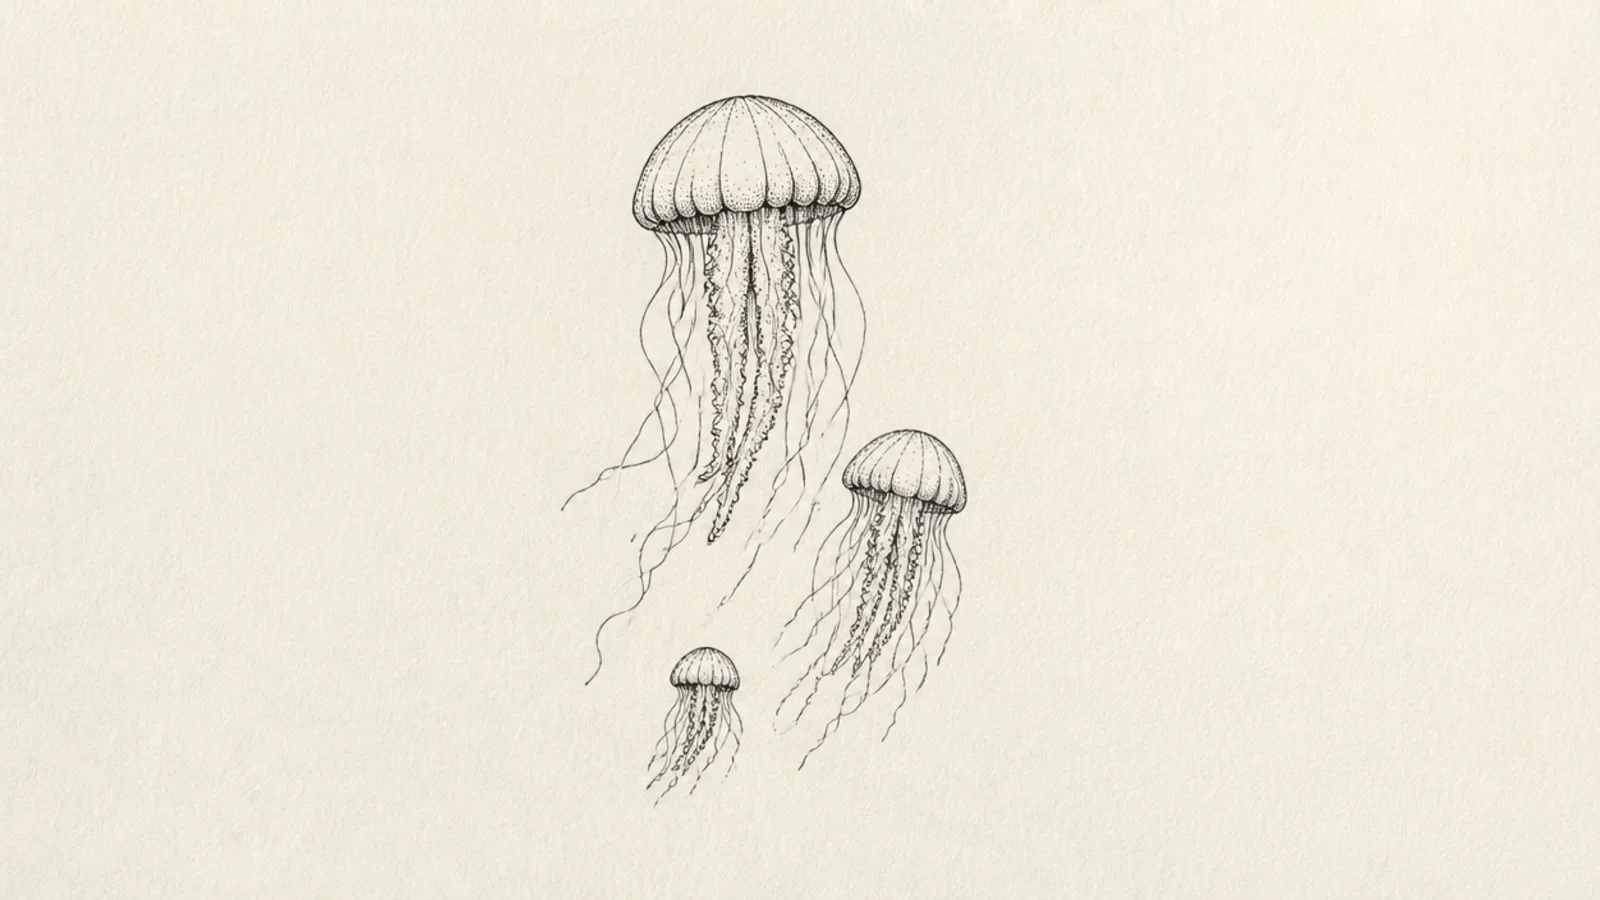
Step 1: Draw three small simple bells at different heights. Step 2: Give each a few short tentacles. Step 3: Add a couple of tiny bubbles between them to tie the group together.
Three little jellyfish drifting at different heights make a cute mini-scene from the simplest shapes. Grouping them looks more finished than one alone. It’s an easy way to fill a page.
AvoidDon’t make all three identical and level; a little variation makes the trio feel alive.
Pro tipStagger the three at different heights and sizes so the group looks natural, not lined up.



