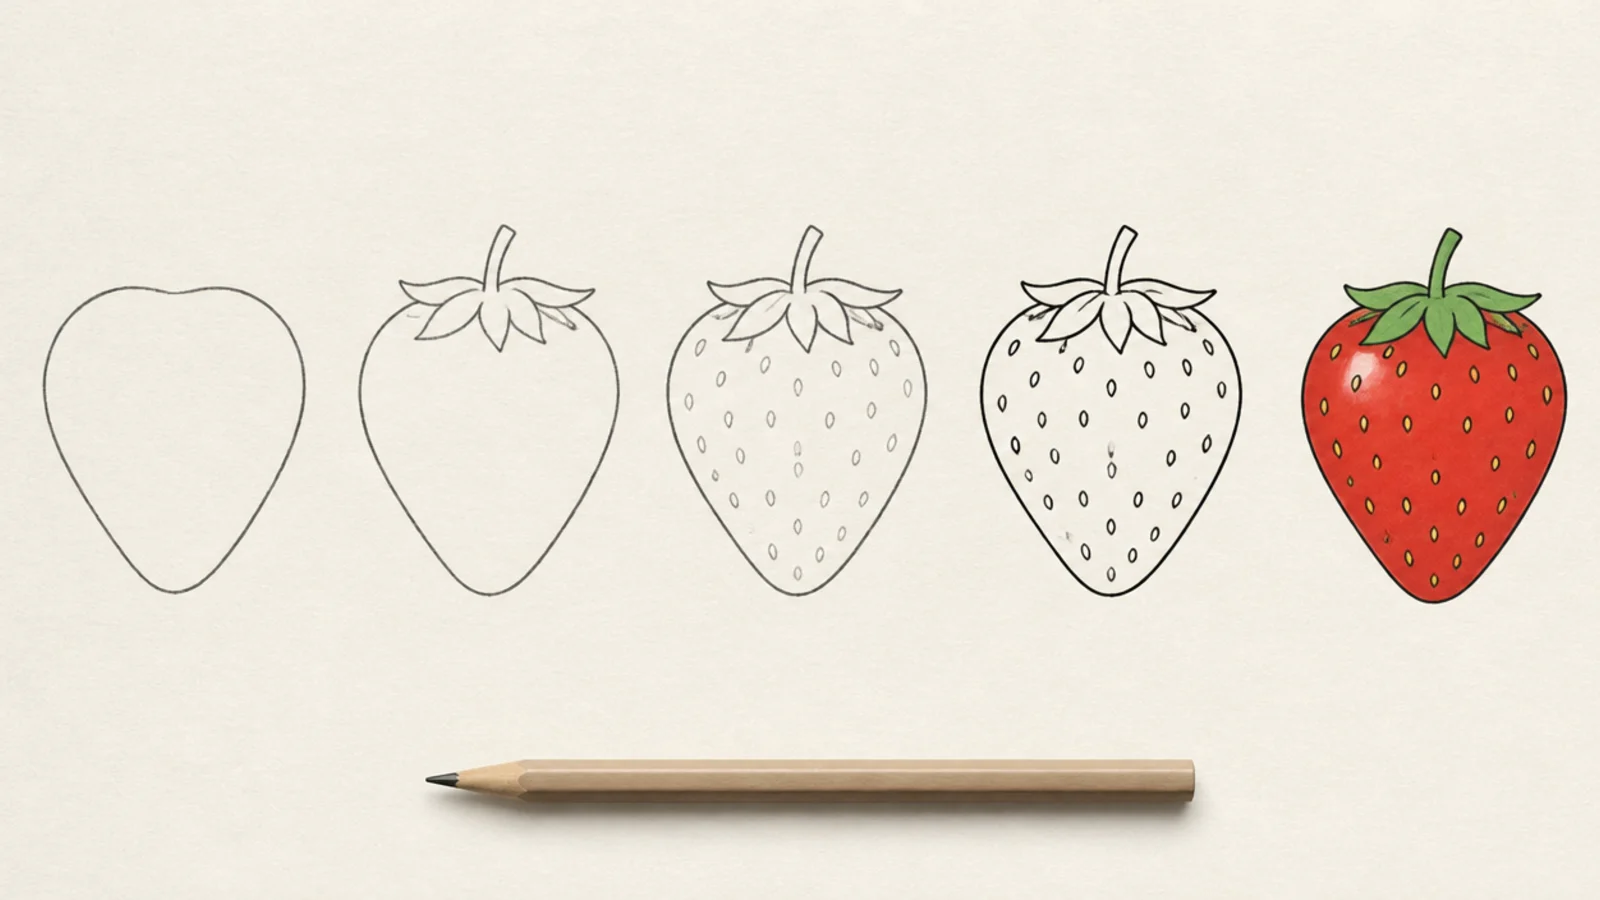
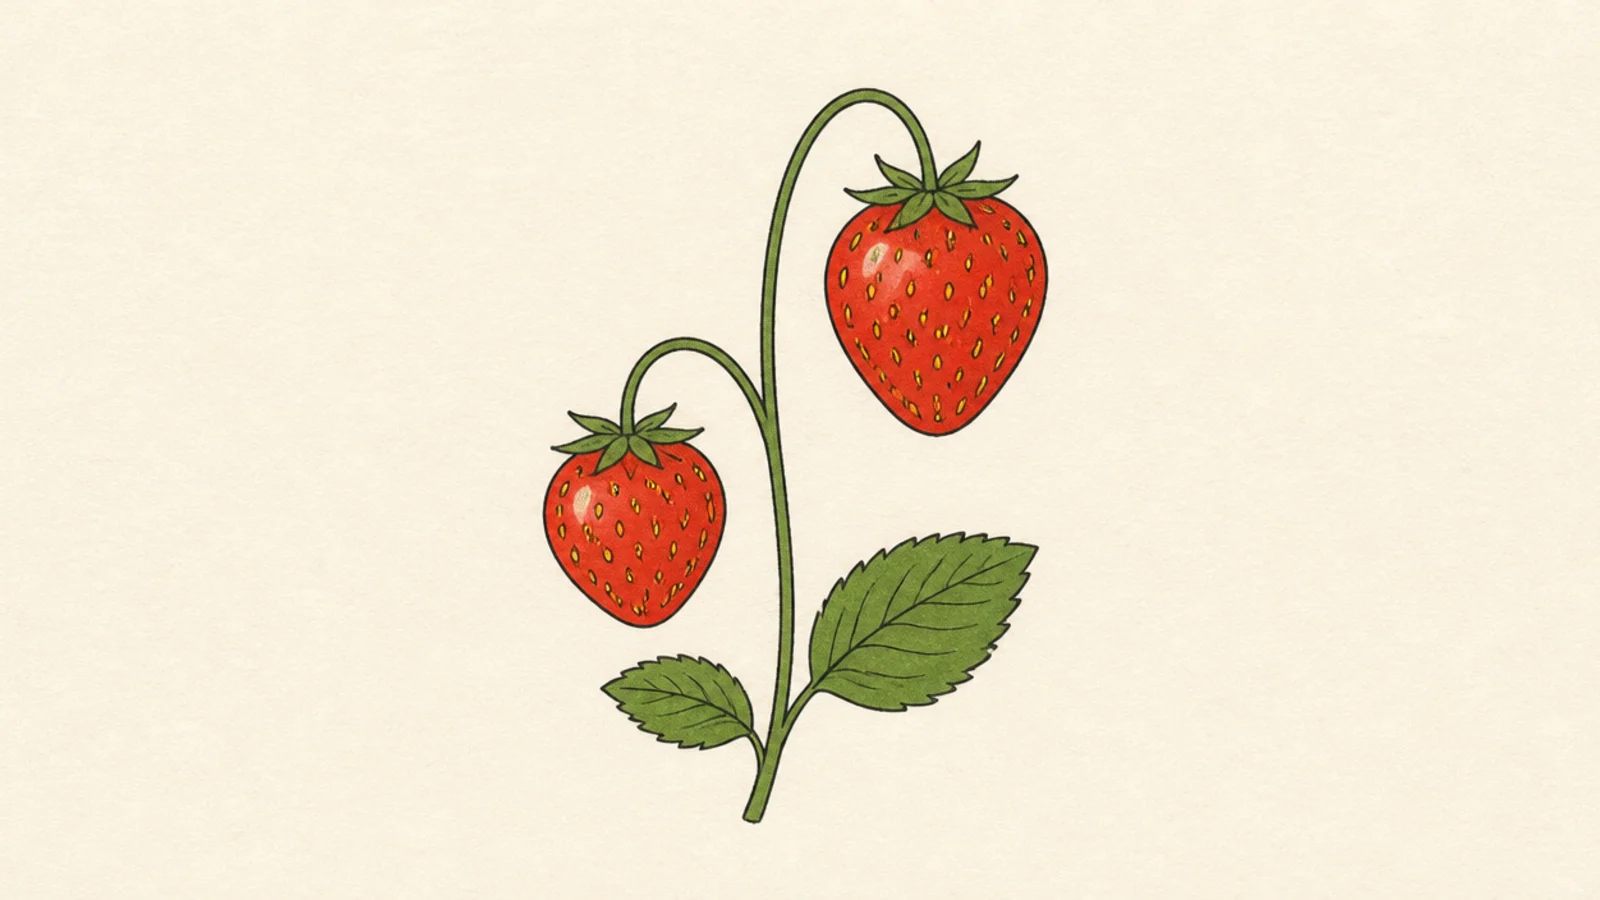
This strawberry drawing tutorial breaks the berry into 5 simple steps so you get a clean, cheerful result every time — body, leaf cap, seeds, stem, then color. Work in that order and each step sets up the next, so you never feel lost or end up with a lopsided berry. It works with any pencil and pen, and once you have the basic shape down, a few bonus variations show how to change it up. Follow the steps once as written, then make the berry your own.
The key to an easy strawberry is building it big shape to small detail. Start with the whole body first, then add the leaf cap, then the small details like seeds and the stem. If you start with tiny seeds or the cap before the body, the proportions drift. This tutorial is ordered so the big shape anchors everything that follows.
A strawberry only needs two shapes to read clearly — a rounded heart body and a small leaf star on top. Keep the body plump with a soft point at the bottom, and keep the cap small so it sits neatly like a little green hat. Get those two right and you already have a recognizable berry before adding a single seed.
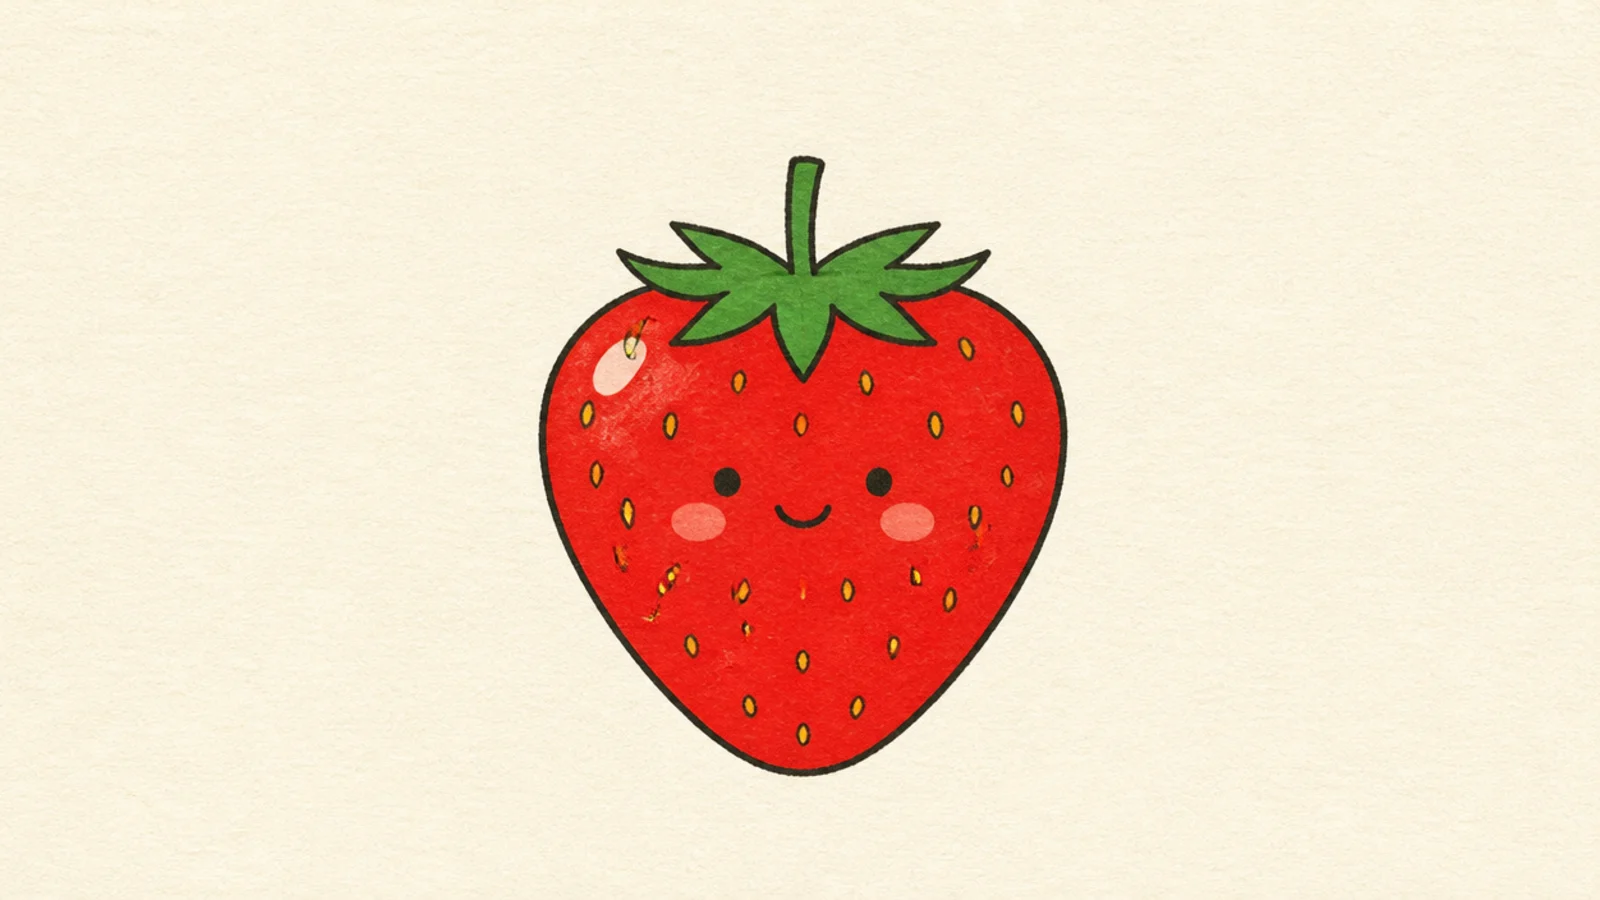
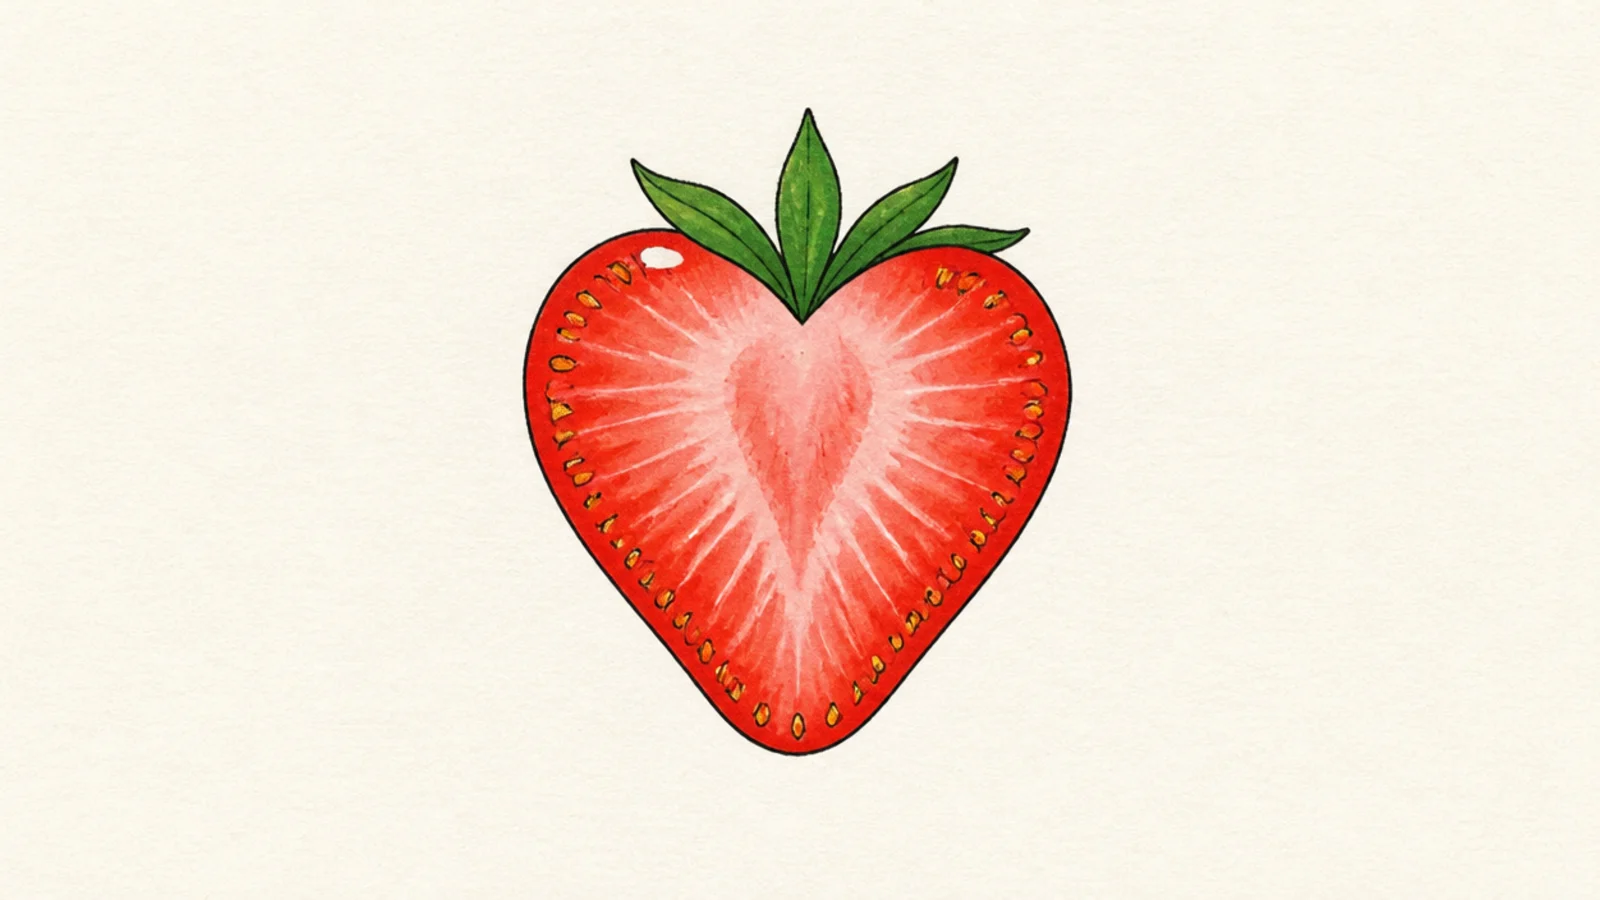
These five steps take you from a blank page to a finished berry, and the bonus variations after show how to adapt the same method for a cute face, a cut slice, and more. Keep your lines light at first so you can adjust, then commit once the shape looks right. The order is what makes it foolproof.
Step by step
Draw the body shape. Start with the whole berry body. Lightly draw a rounded heart or wide teardrop — full and round at the top, tapering to a soft point at the bottom. Keep the lines light so you can adjust the width and make both sides roughly even. This big shape is the foundation, so take a moment to get it plump and balanced before moving on; everything else sits on top of it.
Add the leaf cap. On top of the body, add the green leaf cap. Draw three to five pointed leaves fanning out from the center like a little star, tucking their bases right onto the top of the berry so they sit on it rather than float above. Add a short stem in the middle. Keep the cap small and centered — it should look like a neat green hat, not overwhelm the body.
Scatter the seeds. Now add the seeds across the body. Dot or draw tiny dashes spaced out over the surface, curving the rows to follow the round shape so they wrap around the form — a little closer together near the edges and more spread in the center. Keep them light and slightly uneven; a natural scatter reads far better than stiff, perfectly lined-up rows. You don’t need many to read as a strawberry.
Clean up the outline. Trace over your light pencil shape with a fine liner or pen in one confident pass, keeping an even line weight for a crisp result. Round off the body smoothly and keep the leaf points sharp. Once the ink is dry, erase all the pencil guides so only the clean outline remains. This tidy-up step is what turns a rough sketch into a finished-looking drawing.
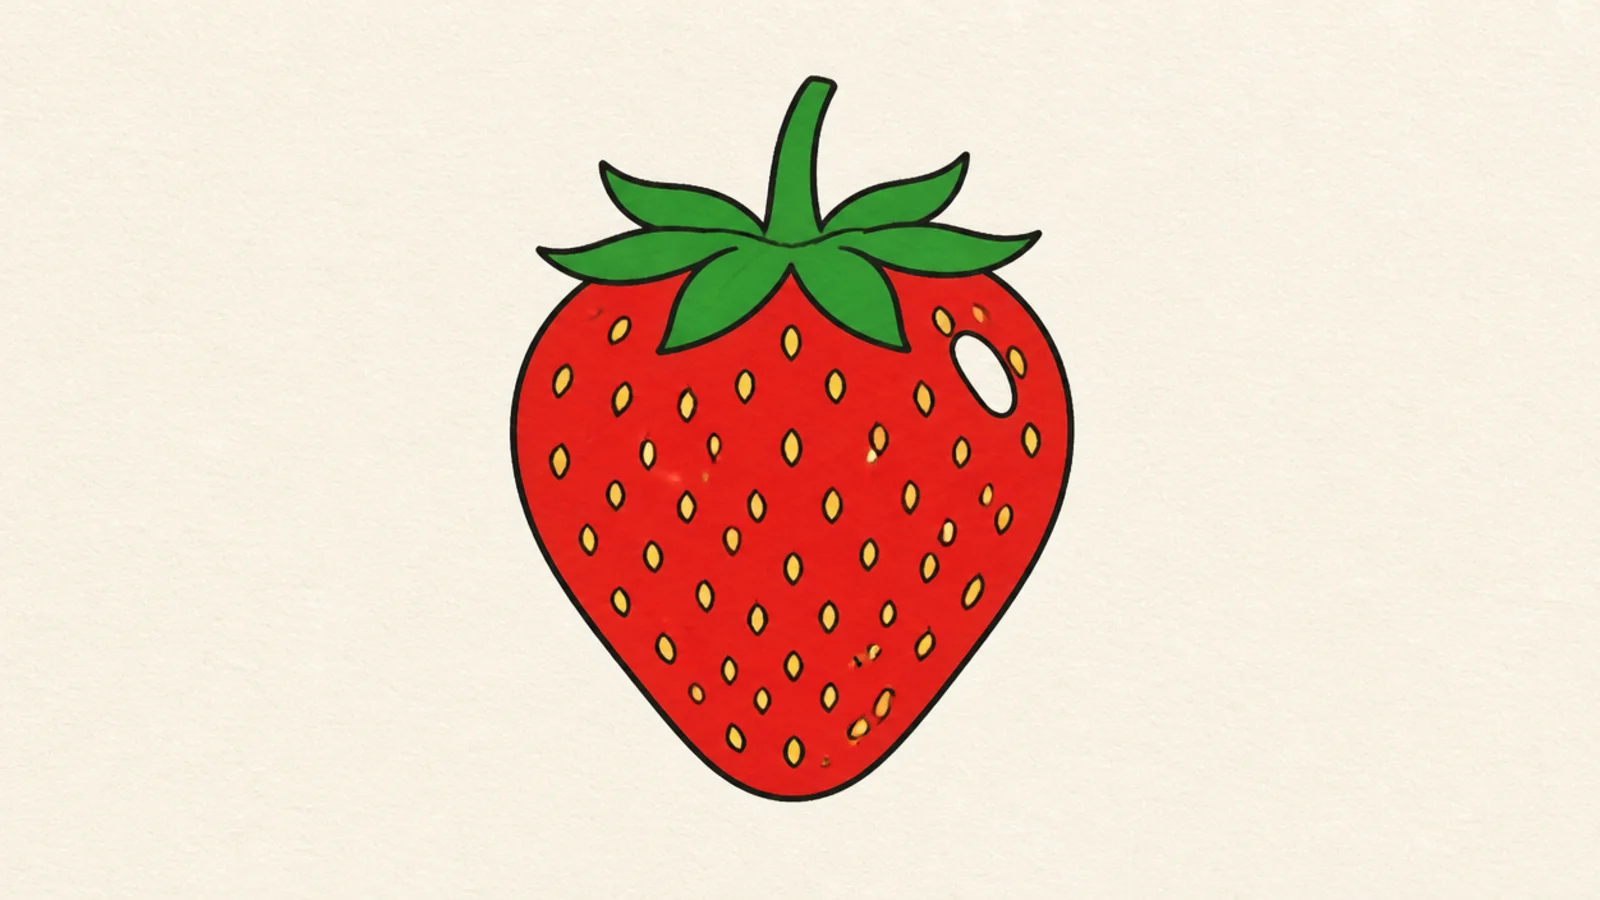
Add color and a shine. Finish with color. Fill the body a flat red and the leaf cap a flat green, leaving the seeds as small unfilled specks so they show as light dots. Leave one small oval near the top of the body uncolored for a highlight, which makes the berry look glossy and fresh. That single reserved shine is all it takes to lift the flat color, and your perfect strawberry is done.
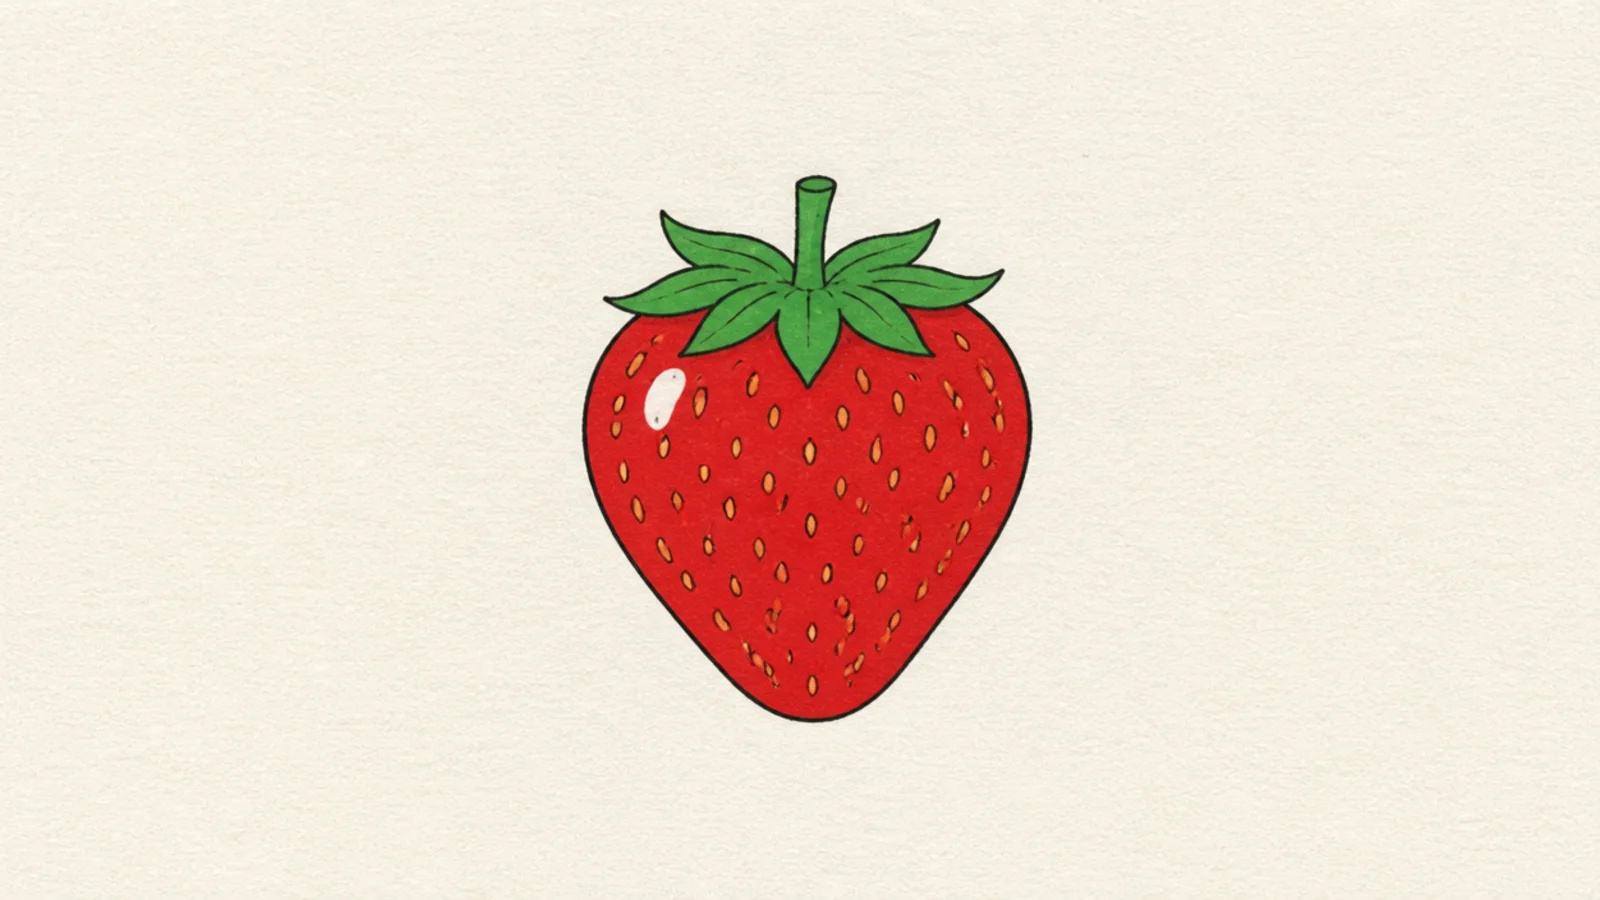
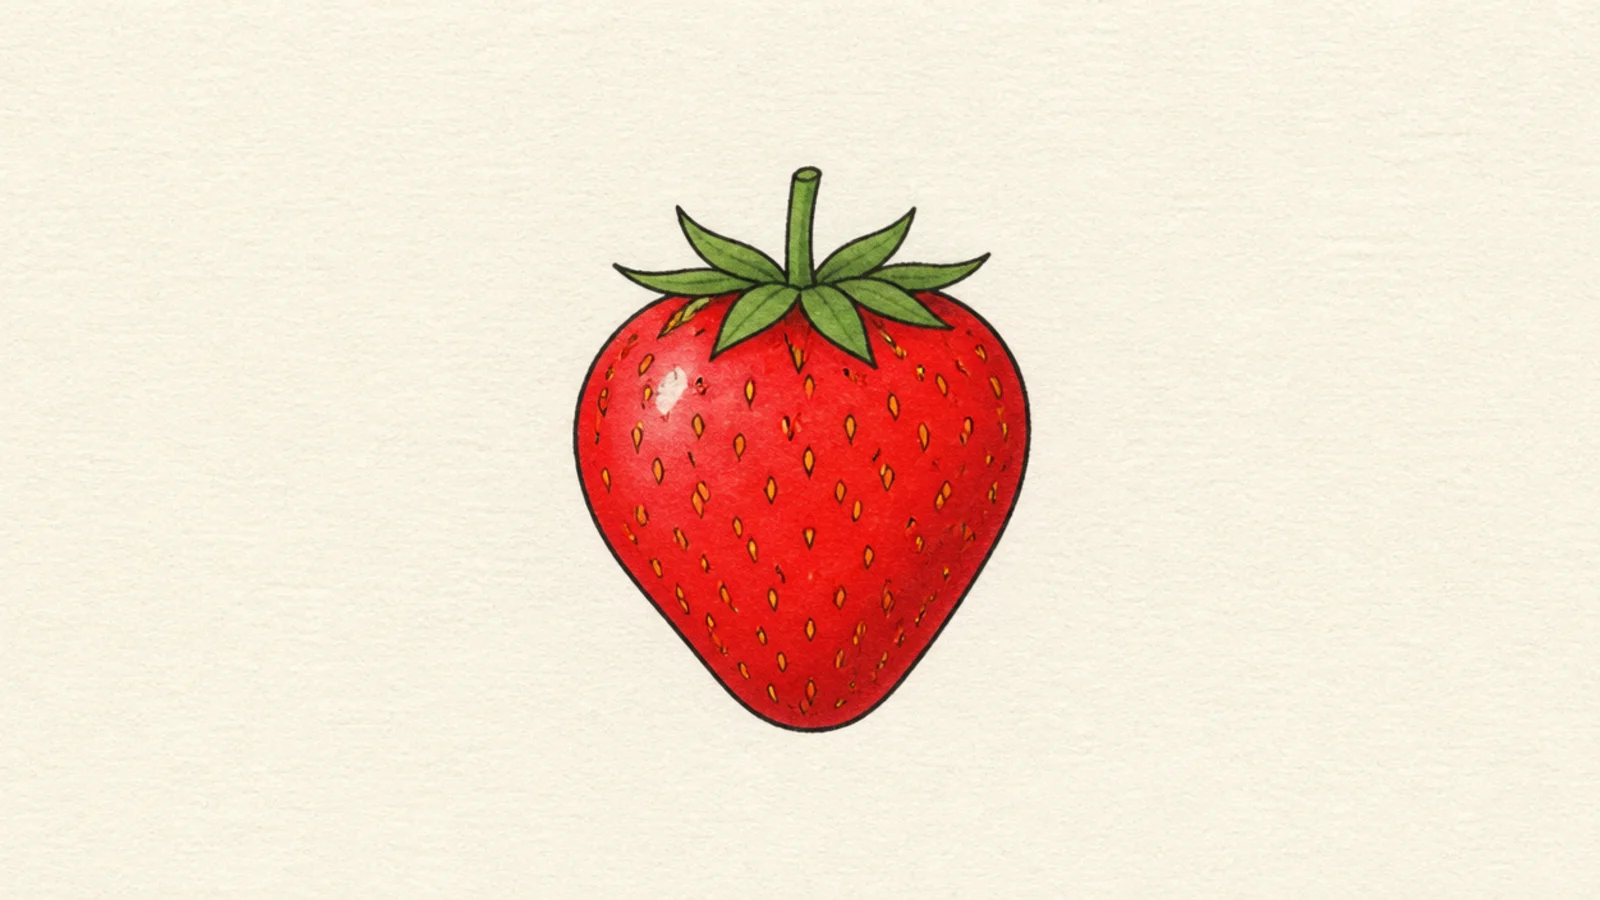
The tutorial berry with a touch of shading to add form. It is a gentle step toward realism. It looks a little more three-dimensional.
After coloring, add a soft darker red on the shadow side and along the bottom, keeping the highlight area light, for gentle form.
Pro tipPick one light direction and keep the shadow on the opposite side.
AvoidDon’t over-shade; a light touch keeps it simple and clean.
Quick answers
How do you draw a strawberry step by step for beginners?
Draw the rounded heart body first, add a small leaf cap on top, then scatter a light handful of seeds across the body, add a short stem, and finish with red and green color. Building from the big body shape down to the small details in that order gives a clean, balanced strawberry every time.
What order should I draw a strawberry in?
Work from big to small — body, then leaf cap, then seeds, then stem, then color. Starting with the whole body anchors the proportions, and adding the cap next gives you the full silhouette before any detail. Saving seeds and color for last means small mistakes never throw off the overall shape.
How do I keep my strawberry from looking lopsided?
Draw the body lightly first and check that both sides are roughly even before committing, then center the leaf cap on top. Placing the cap in the middle and keeping the bottom point centered keeps the berry balanced. Light guide lines you can adjust are the easiest way to avoid a lopsided shape.
What is the easiest way to color a strawberry?
Fill the body flat red and the leaf cap flat green, leaving the seeds as small unfilled specks and one little white spot near the top for a shine. You don’t need blending or shading — flat color with those two reserved lights looks clean, cheerful, and finished for a simple strawberry.