
1 Simple Line Study
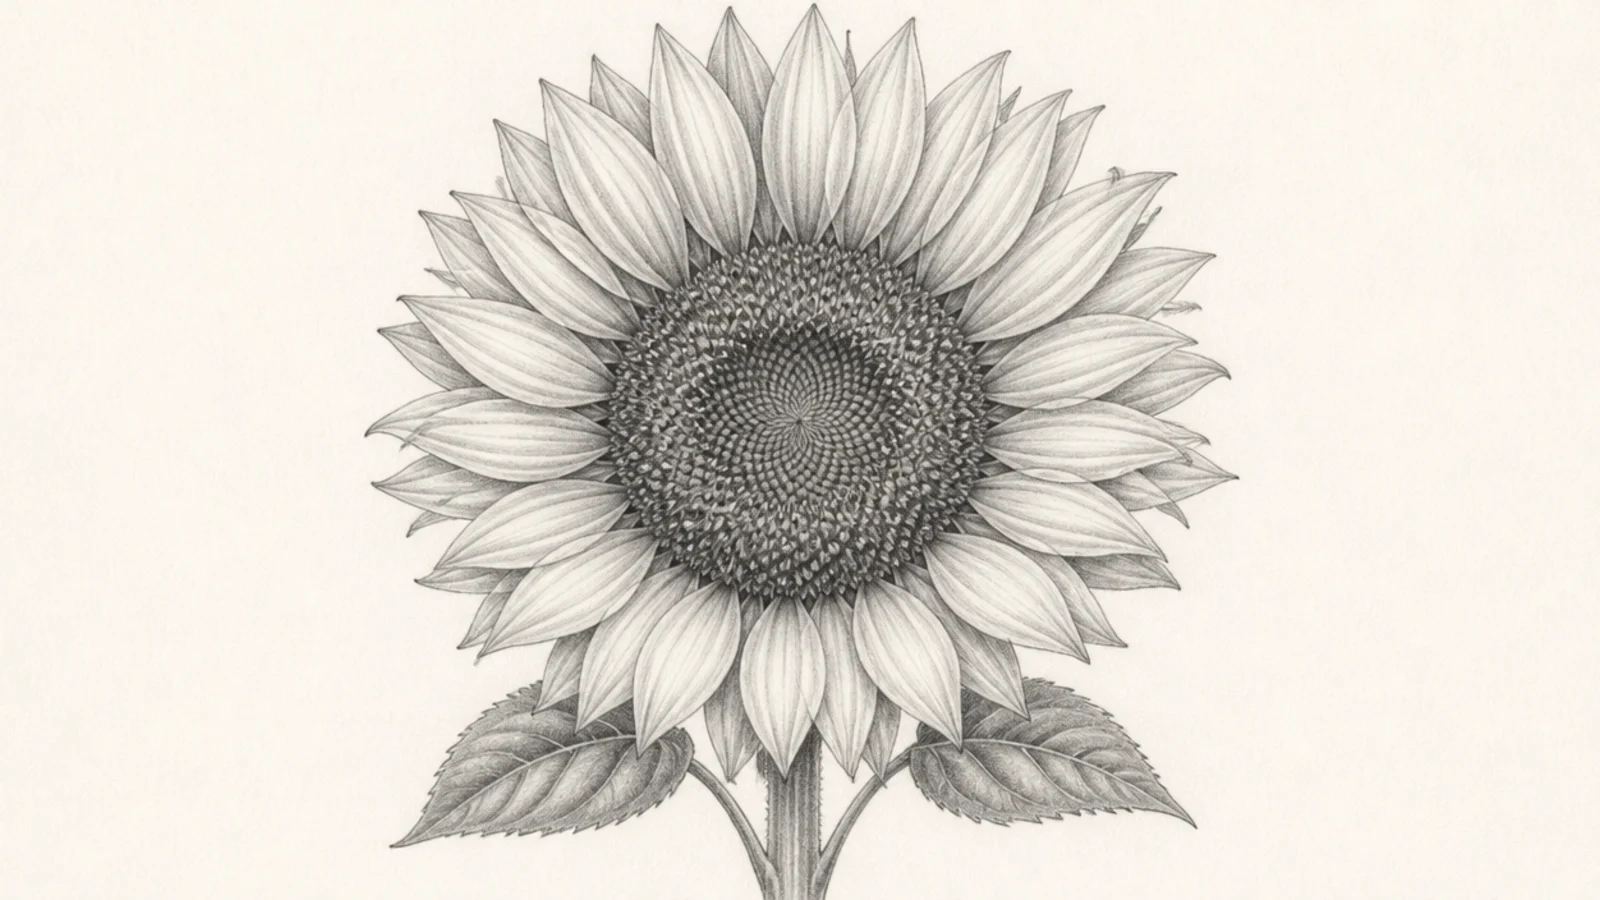
Pure outline, no shading — the warm-up that gets the proportions right before you commit to tone. Every good tonal drawing starts as a good line drawing.
Step 1 lightly sketch the center circle and petal ring guides. Step 2 draw clean petal outlines. Step 3 keep lines light and confident, no shading yet.
Keep guide lines faint so they vanish under later work.
Don’t press hard; a line study should stay light and correctable.
2 Single Petal Value Study
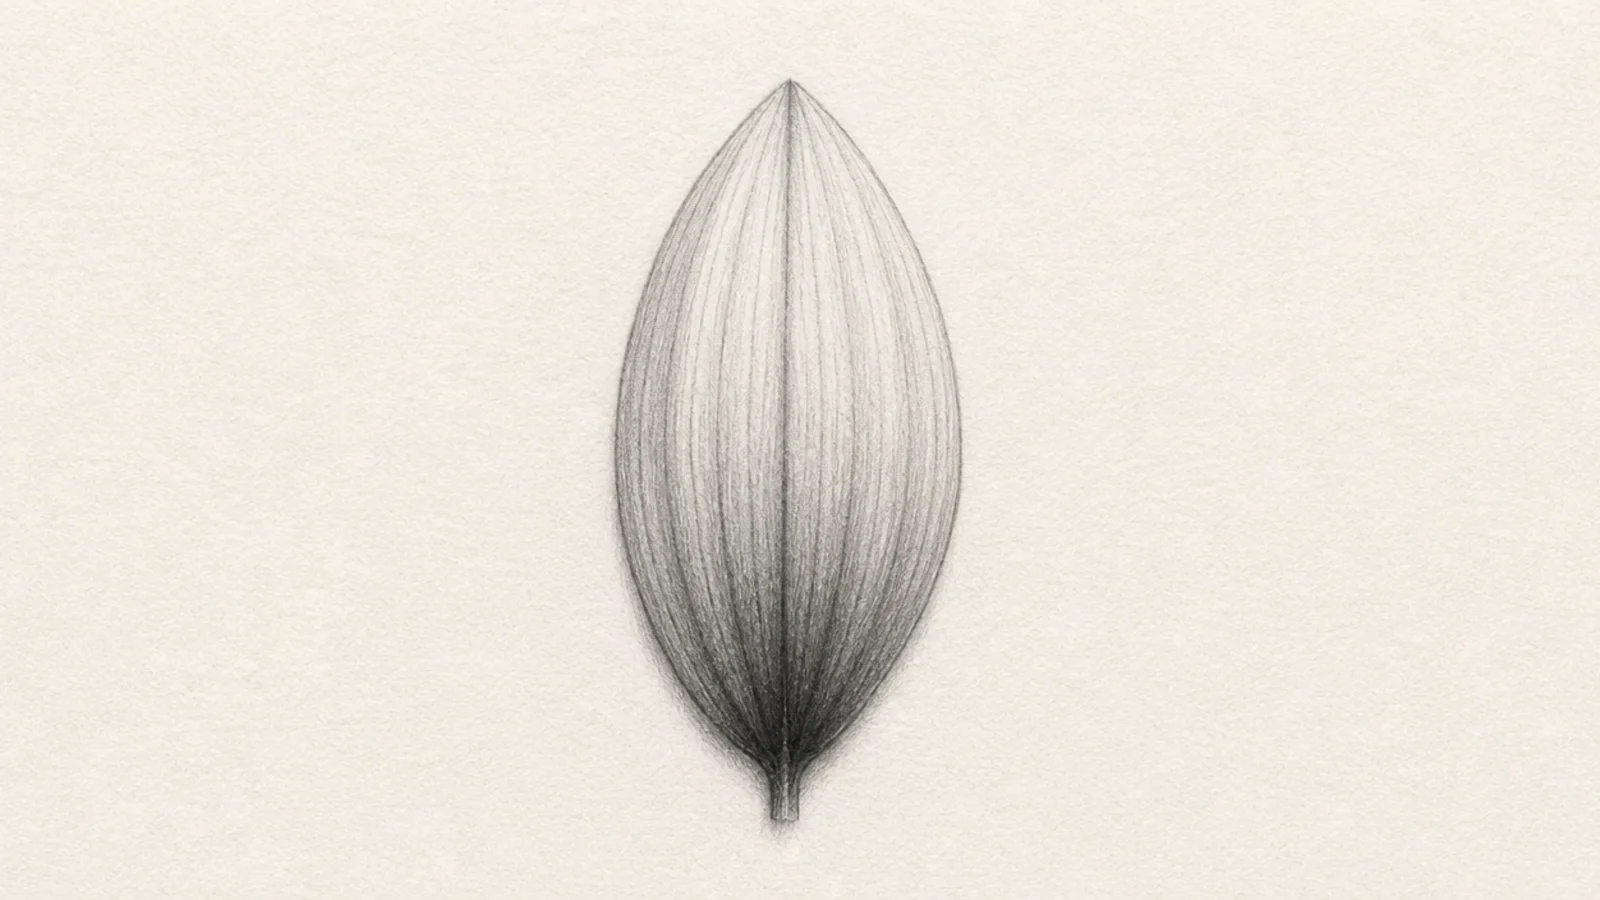
One petal shaded base-to-tip, isolated so you can focus purely on the gradient. This drill teaches the single most useful petal skill.
Step 1 draw one long petal. Step 2 shade darkest at the base, fading toward the tip. Step 3 add a subtle center crease line down the petal.
Fade the pressure smoothly so the gradient has no hard steps.
Don’t shade the petal flat; the base-to-tip fade is the lesson.
3 Seed Head Texture Study
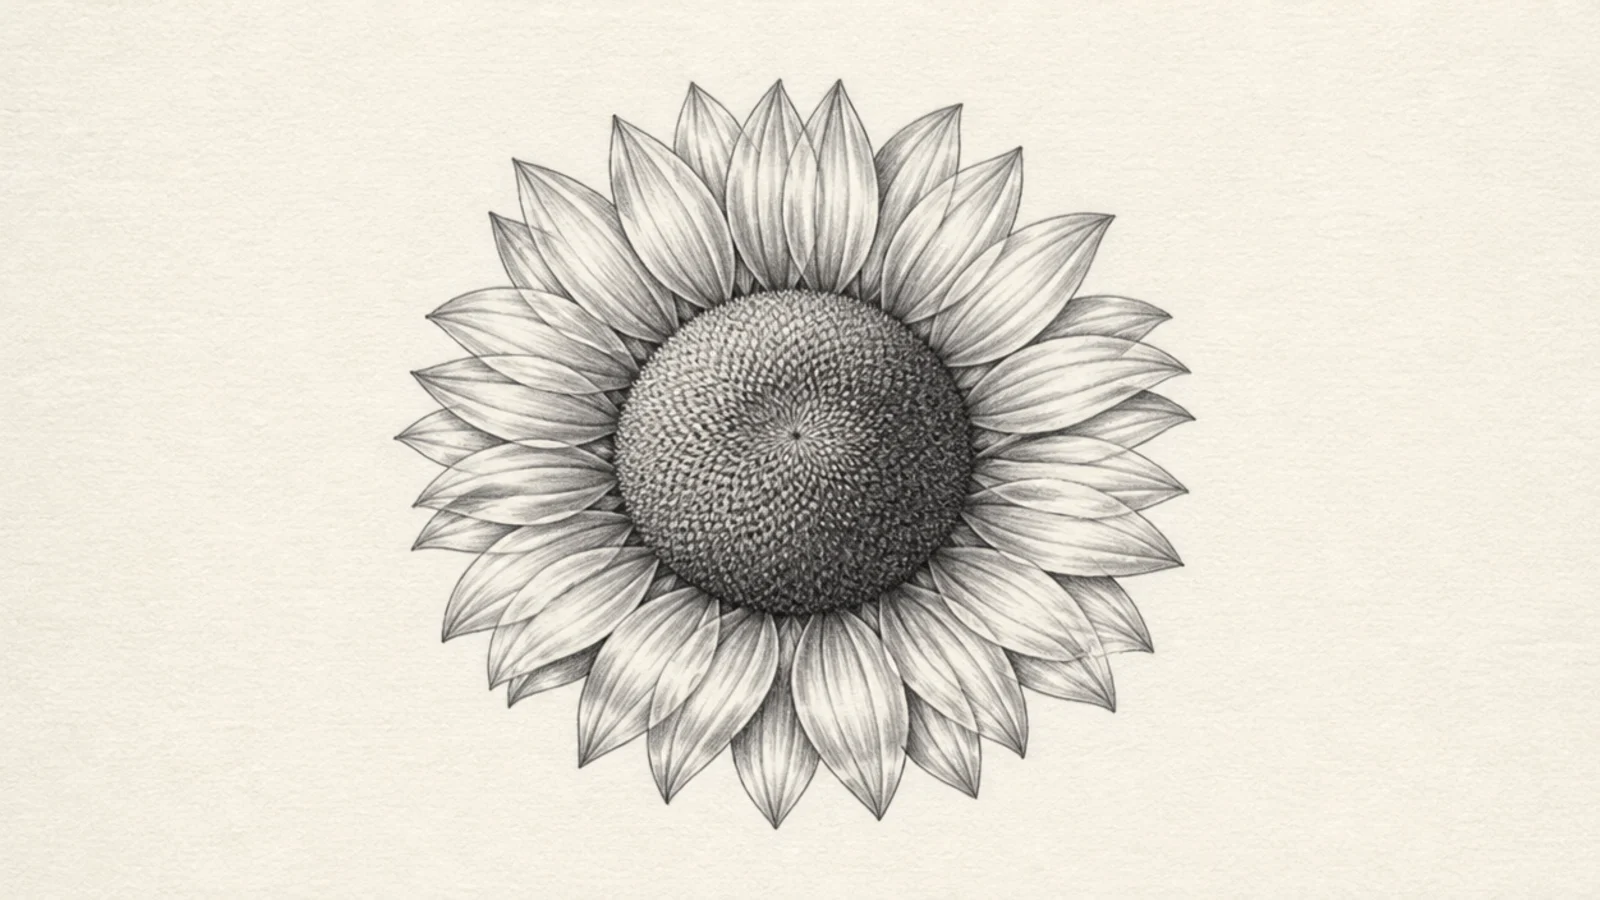
Just the center, built from tiny marks that tighten toward the middle. The seed head is what sells realism, so it deserves its own study.
Step 1 draw the center circle. Step 2 fill with tiny crosshatched marks, smaller toward the middle. Step 3 shade one side darker to dome it.
Tighten the marks toward the center to suggest the seed spiral.
Don’t fill it as a flat grey; texture and doming make it real.
4 Basic Shaded Bloom
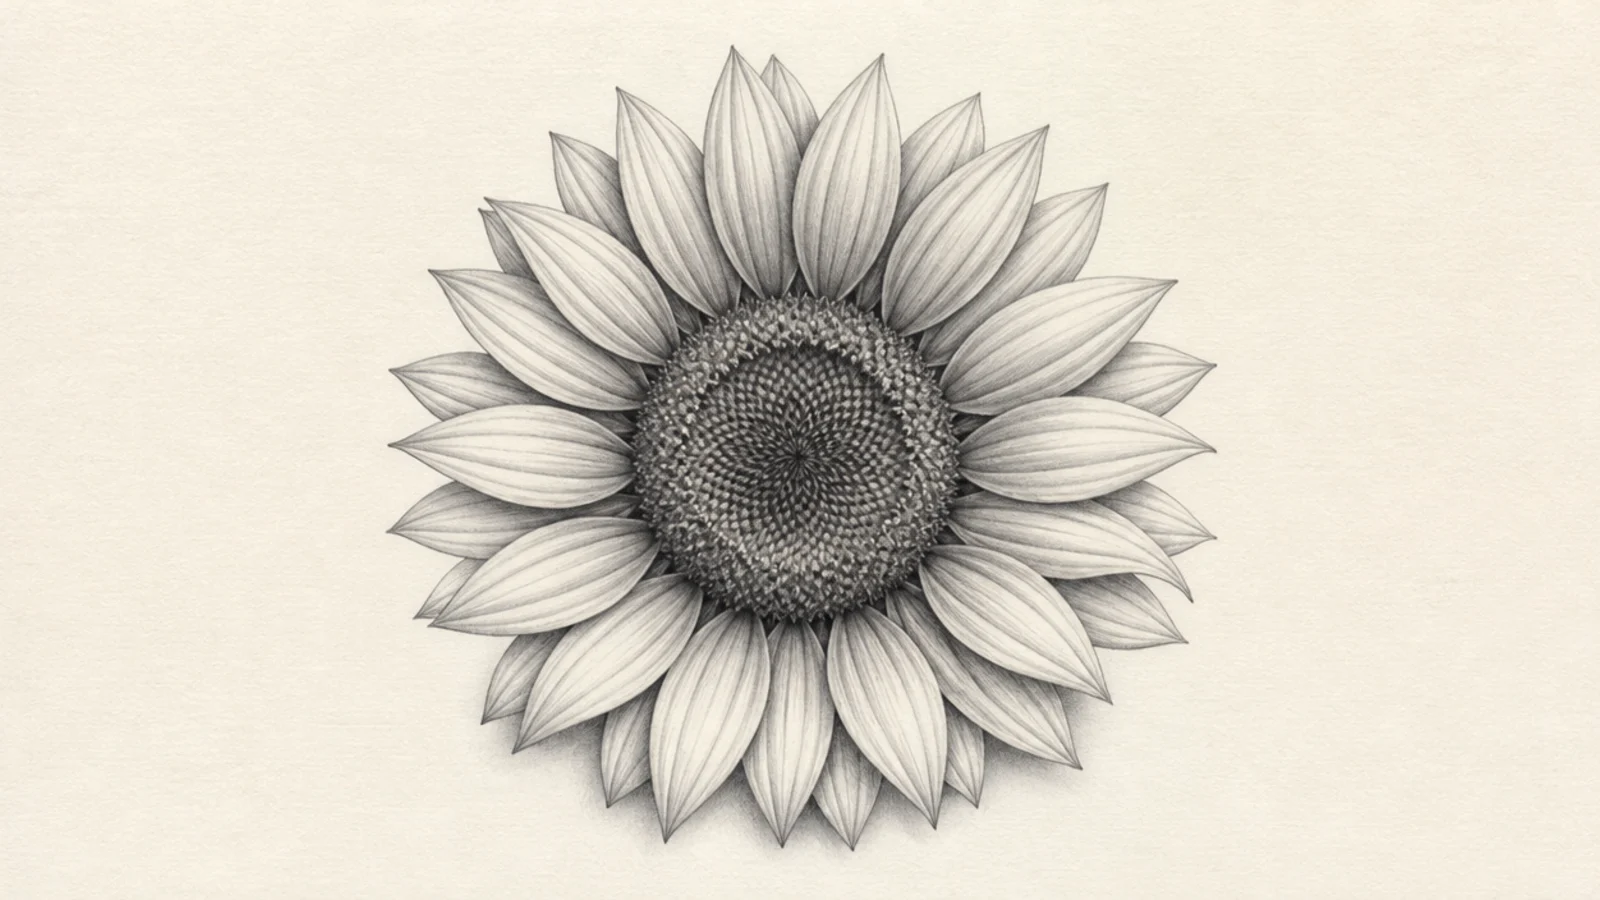
Your first full shaded flower, combining petal gradients and a textured center. The payoff of the earlier drills in one bloom.
Step 1 draw the full outline. Step 2 shade each petal base-to-tip. Step 3 texture the center and add a light shadow under the petals.
Pro tipKeep a consistent light direction across every petal.
AvoidDon’t shade petals randomly; commit to one light source.
5 Three-Quarter View Bloom
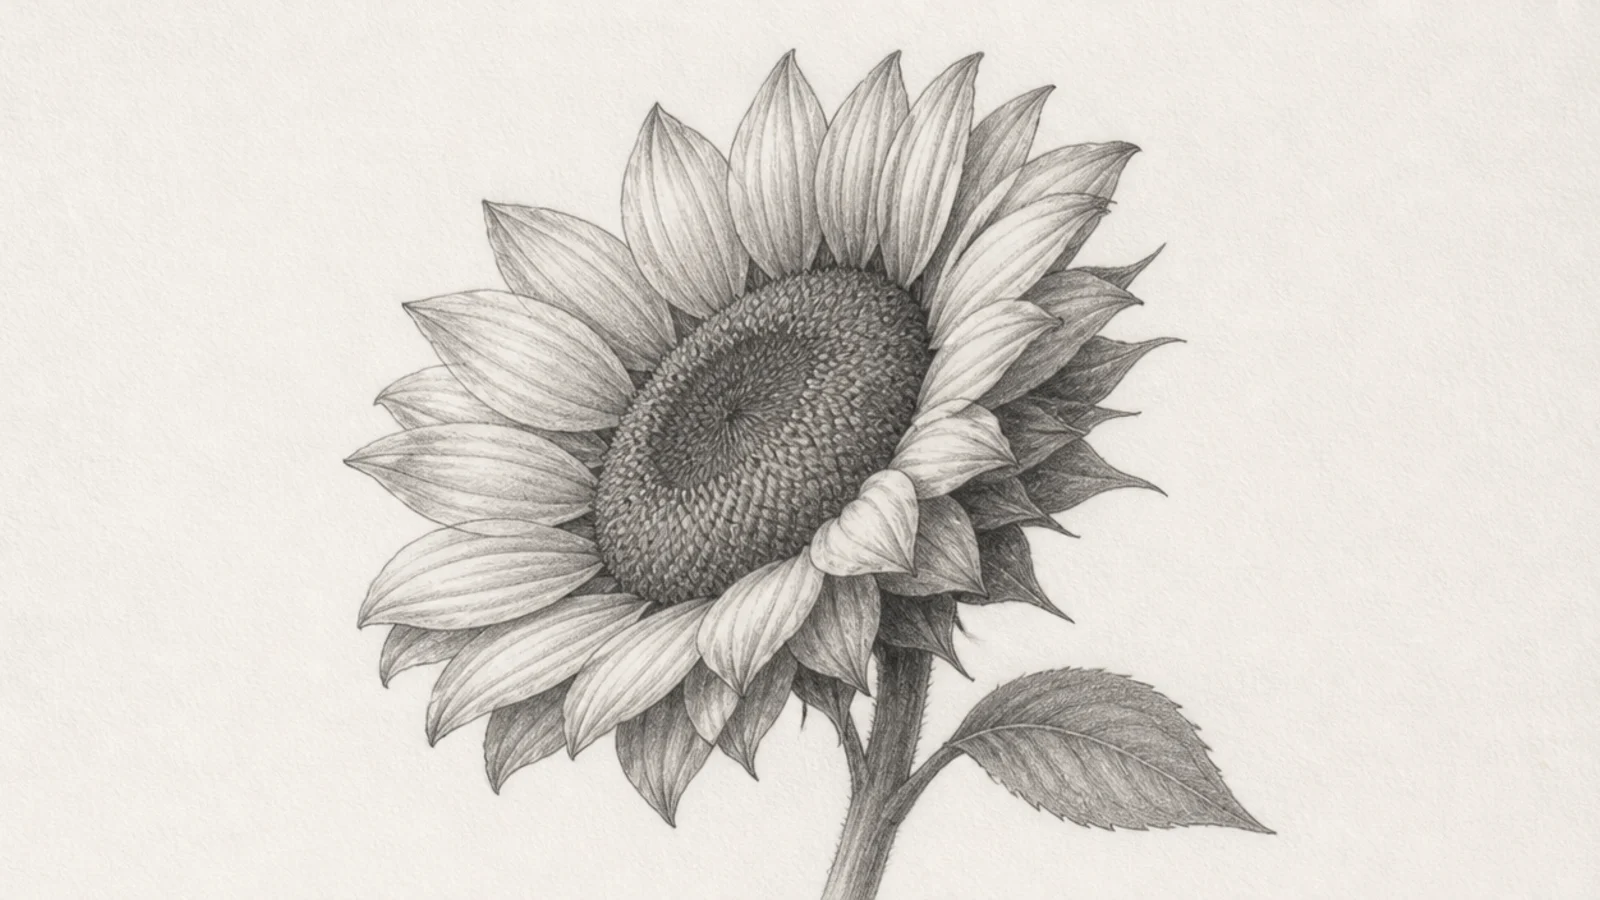
Tilting the flower turns the round center into an ellipse and foreshortens the far petals. This angle looks far more natural than flat-on.
Step 1 draw the center as an ellipse. Step 2 make near petals larger, far petals shorter. Step 3 shade with the far side in more shadow.
Squash the center into an ellipse to sell the tilt.
Don’t keep the center a full circle; a tilt makes it an ellipse.
6 Curling Petal Bloom
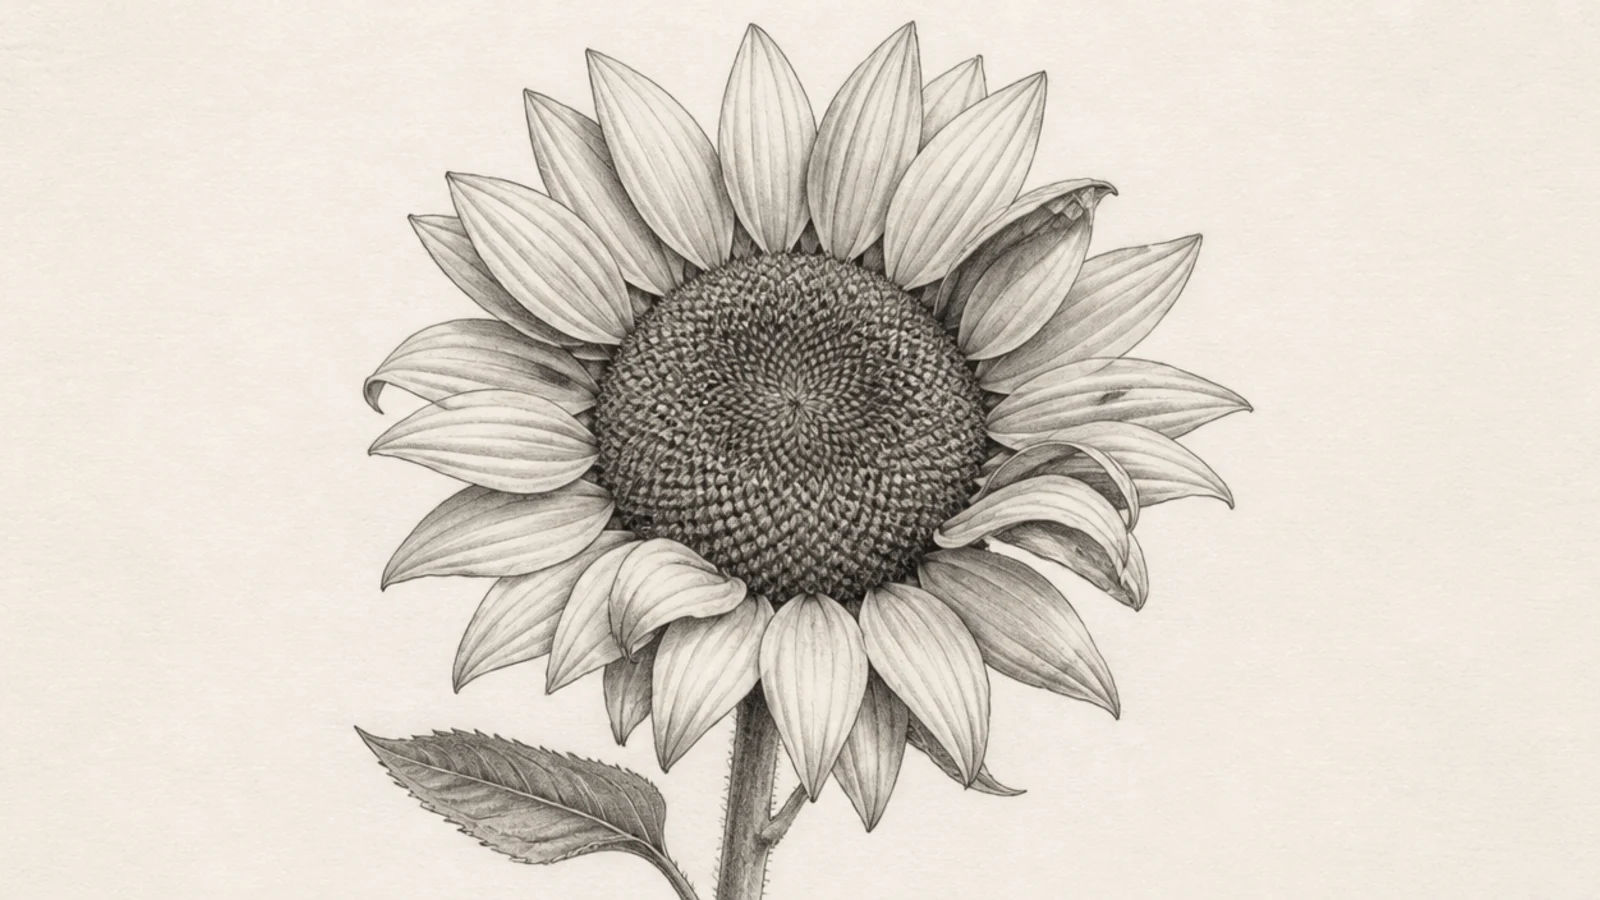
Some petals curl to show their back or fold over, adding realism and movement. Curls are where shading gets to show off.
Step 1 draw a few petals folding or curling at the tips. Step 2 shade the underside and inside of curls darker. Step 3 keep flat petals simpler by contrast.
Shade the hidden underside of each curl darkest for a real fold.
Don’t curl every petal; a few curls read best against flat ones.
7 High-Contrast Portrait
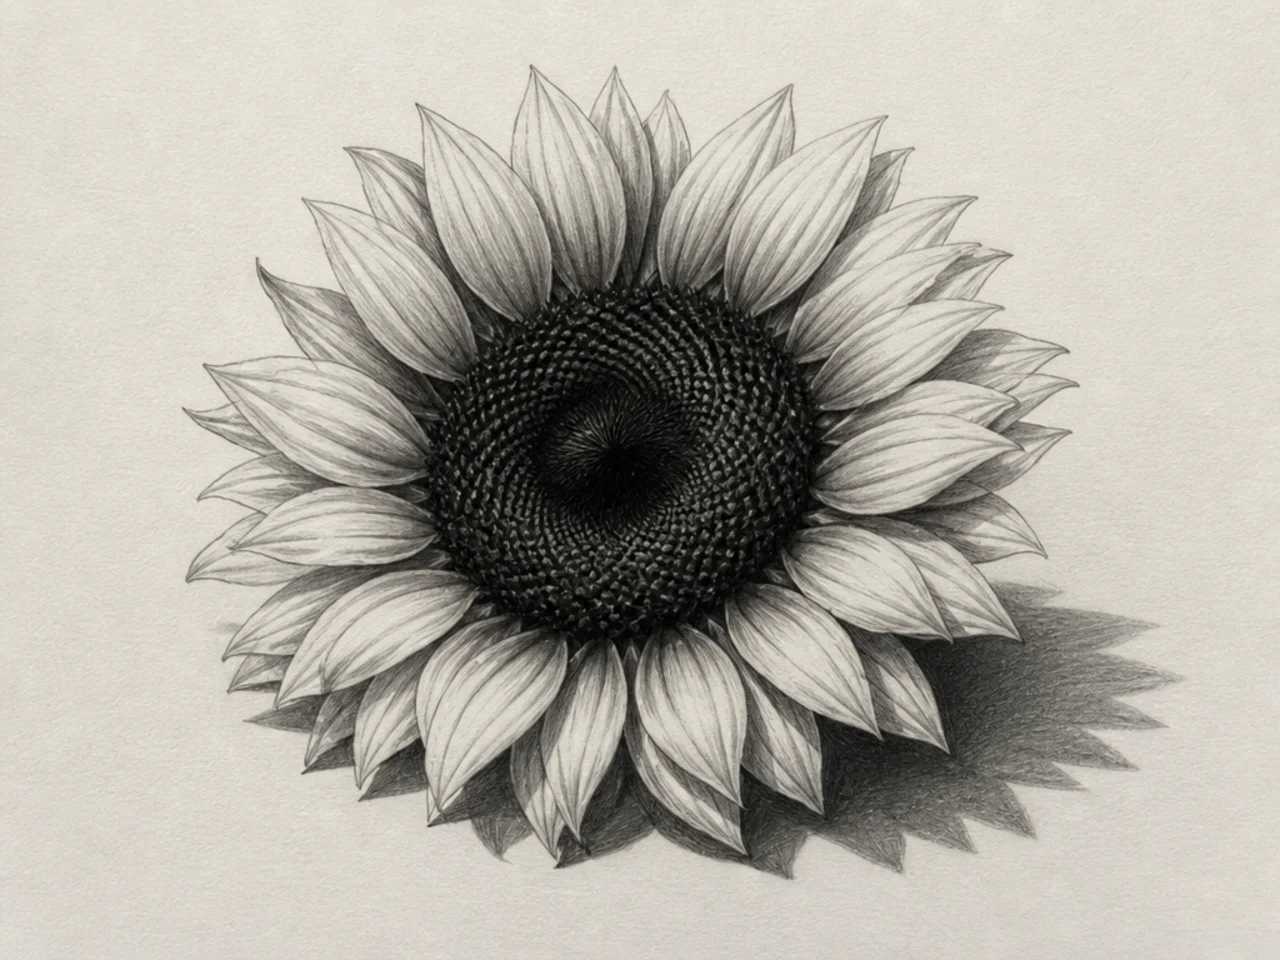
Pushing the darks very dark and leaving petals bright creates drama. Strong value contrast makes a bloom leap off the page.
Step 1 shade the center and overlaps very dark with a soft pencil. Step 2 leave petal tips near-white. Step 3 add a dark cast shadow for grounding.
Exaggerate the value range for maximum punch.
Don’t keep everything mid-grey; contrast is the whole effect.
8 Soft Graphite Portrait
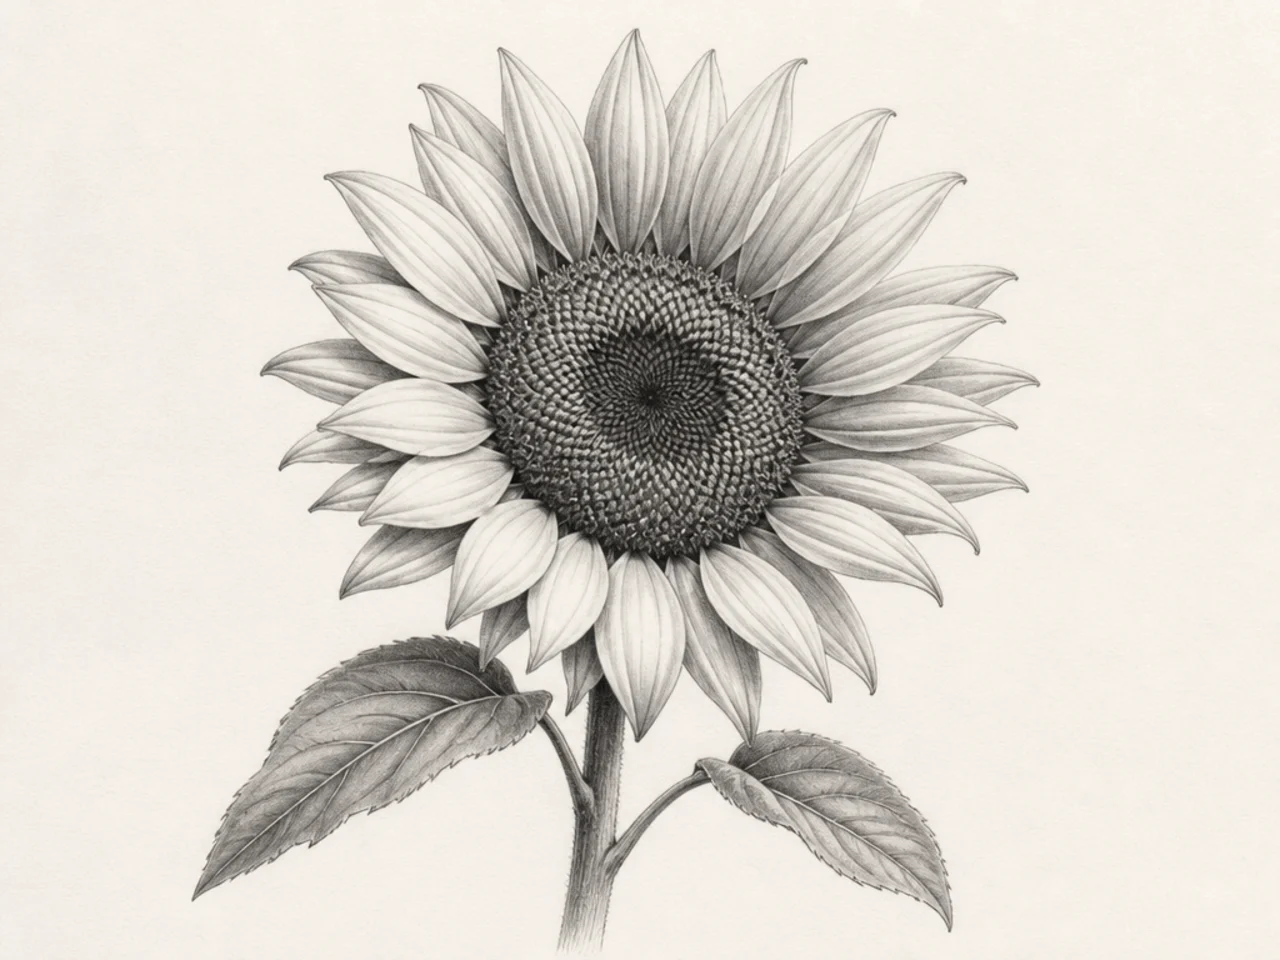
The opposite of high-contrast — gentle, blended tones for a delicate, photographic softness. Smooth blending is the skill on show.
Step 1 shade lightly in even layers. Step 2 blend with a stump or tissue for smooth gradients. Step 3 lift highlights with a kneaded eraser.
Pro tipBlend gently and lift highlights rather than leaving paper white.
AvoidDon’t over-blend into flat grey; keep some form and edges.
9 Back-View Sunflower
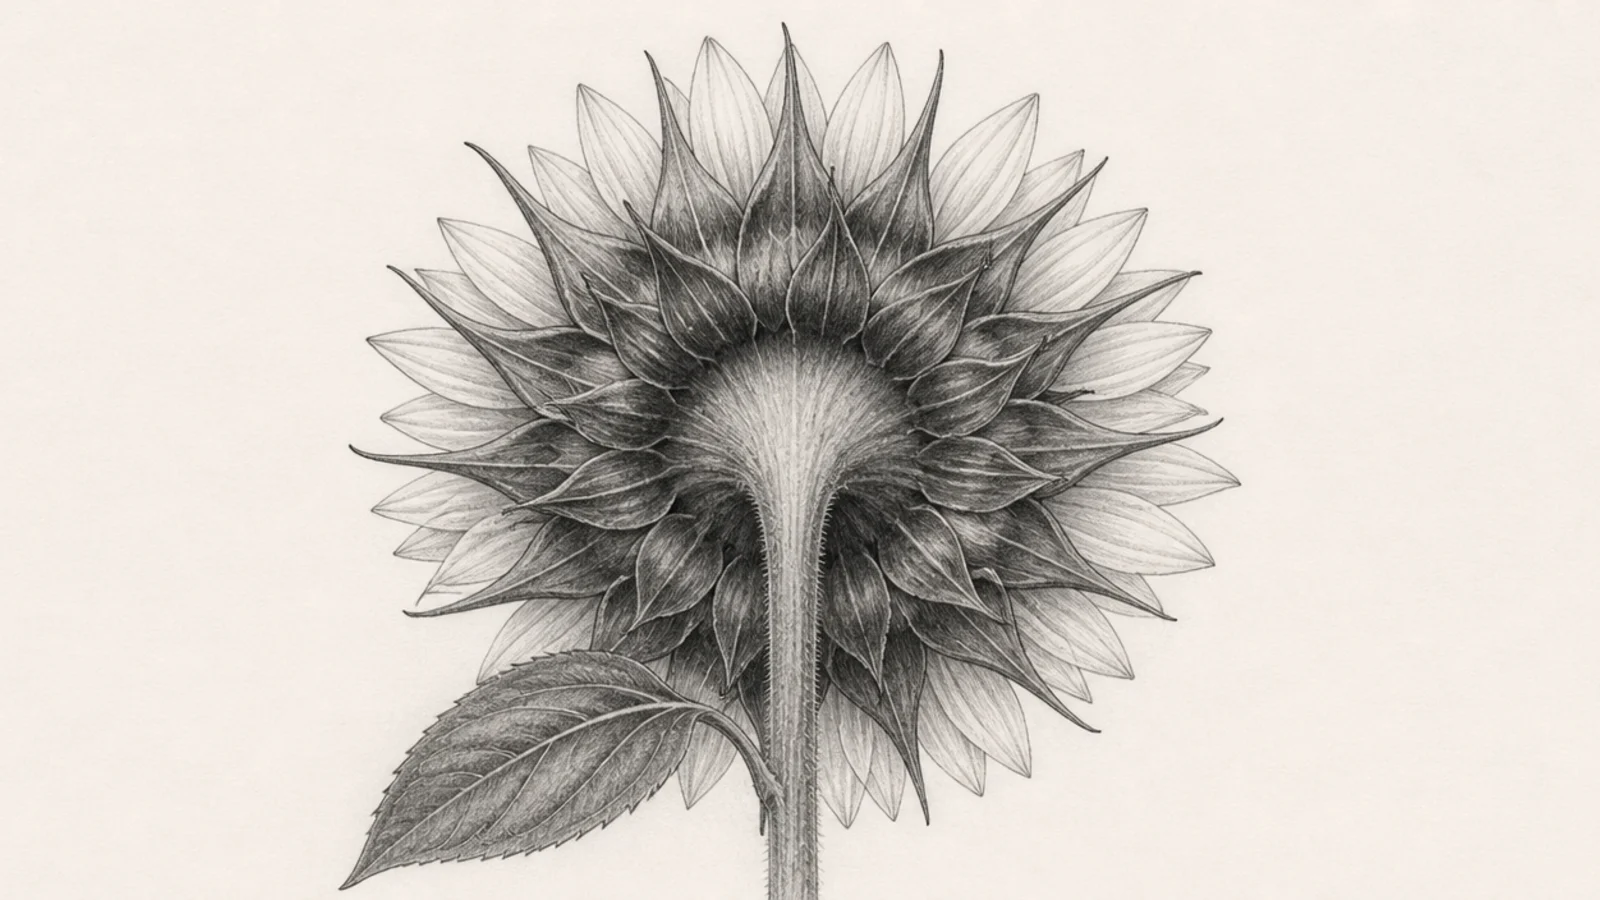
Drawn from behind, showing the green calyx and sepals instead of the face. An unusual, botanical angle that stands out.
Step 1 draw the round back and pointed sepals. Step 2 show petal tips peeking around the edge. Step 3 shade the sepals with vein lines.
Pro tipRadiate the sepal points evenly around the back disc.
AvoidDon’t show the seed center; from behind it’s hidden.
10 Wilting Sunflower Study
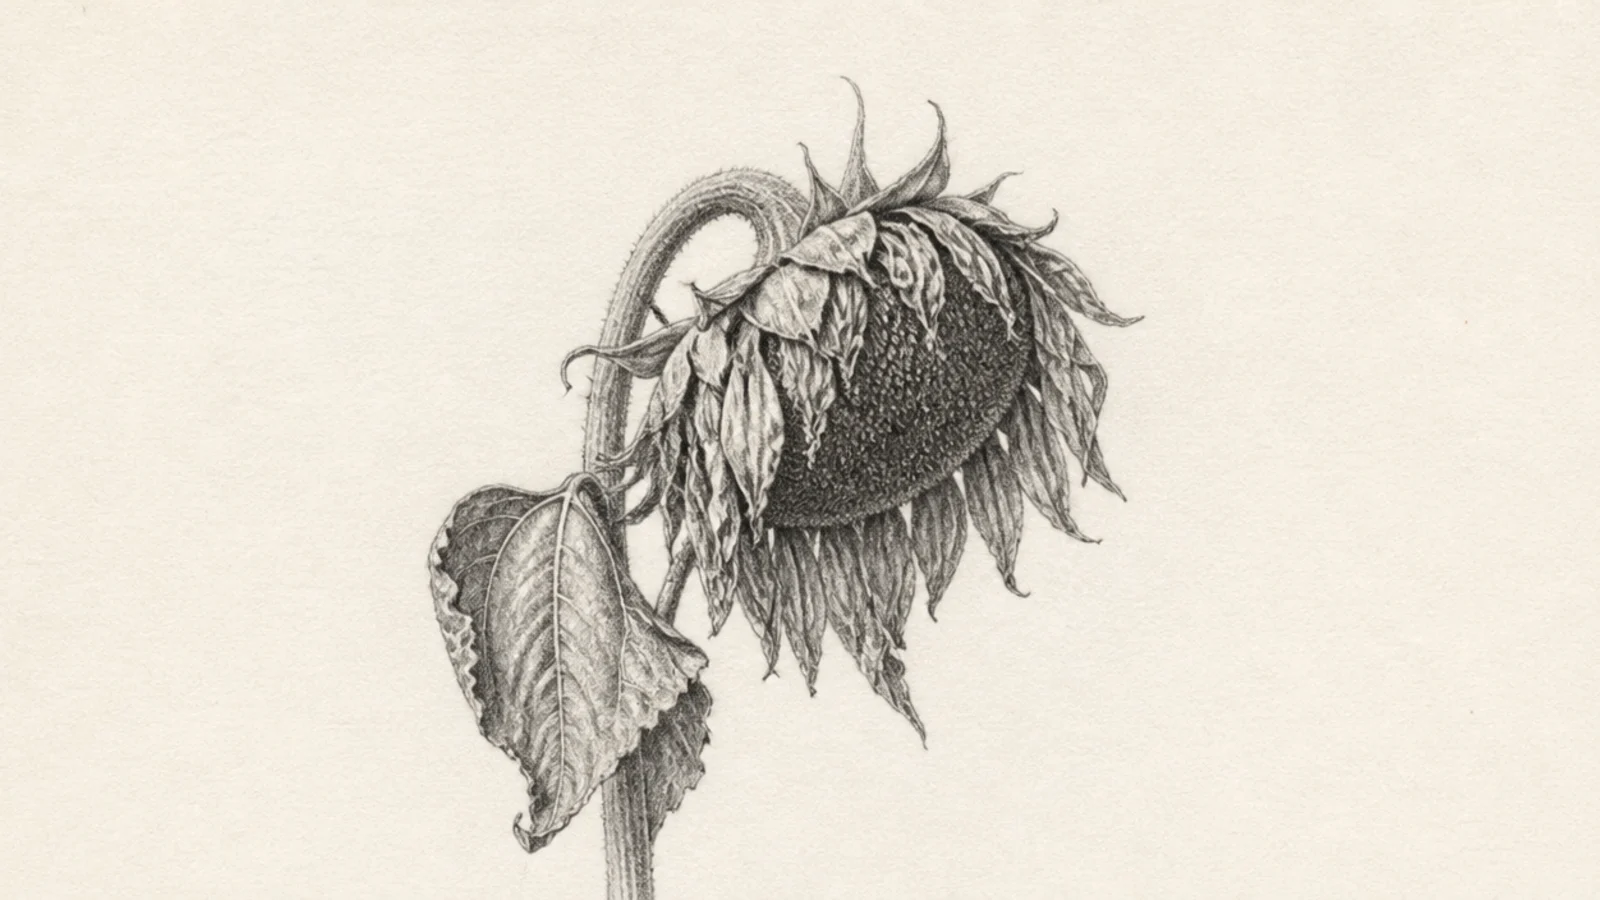
A past-its-prime bloom with drooping head and dry, curling petals. Wilting flowers are full of character and shading opportunity.
Step 1 draw the head tilted down on a bent stem. Step 2 curl and shrivel some petals. Step 3 shade with deeper, patchier values for a dry look.
Pro tipBend the stem and droop the head to show the wilt clearly.
AvoidDon’t keep petals crisp and even; dryness means irregular curls.
11 Bud and Bloom Pair
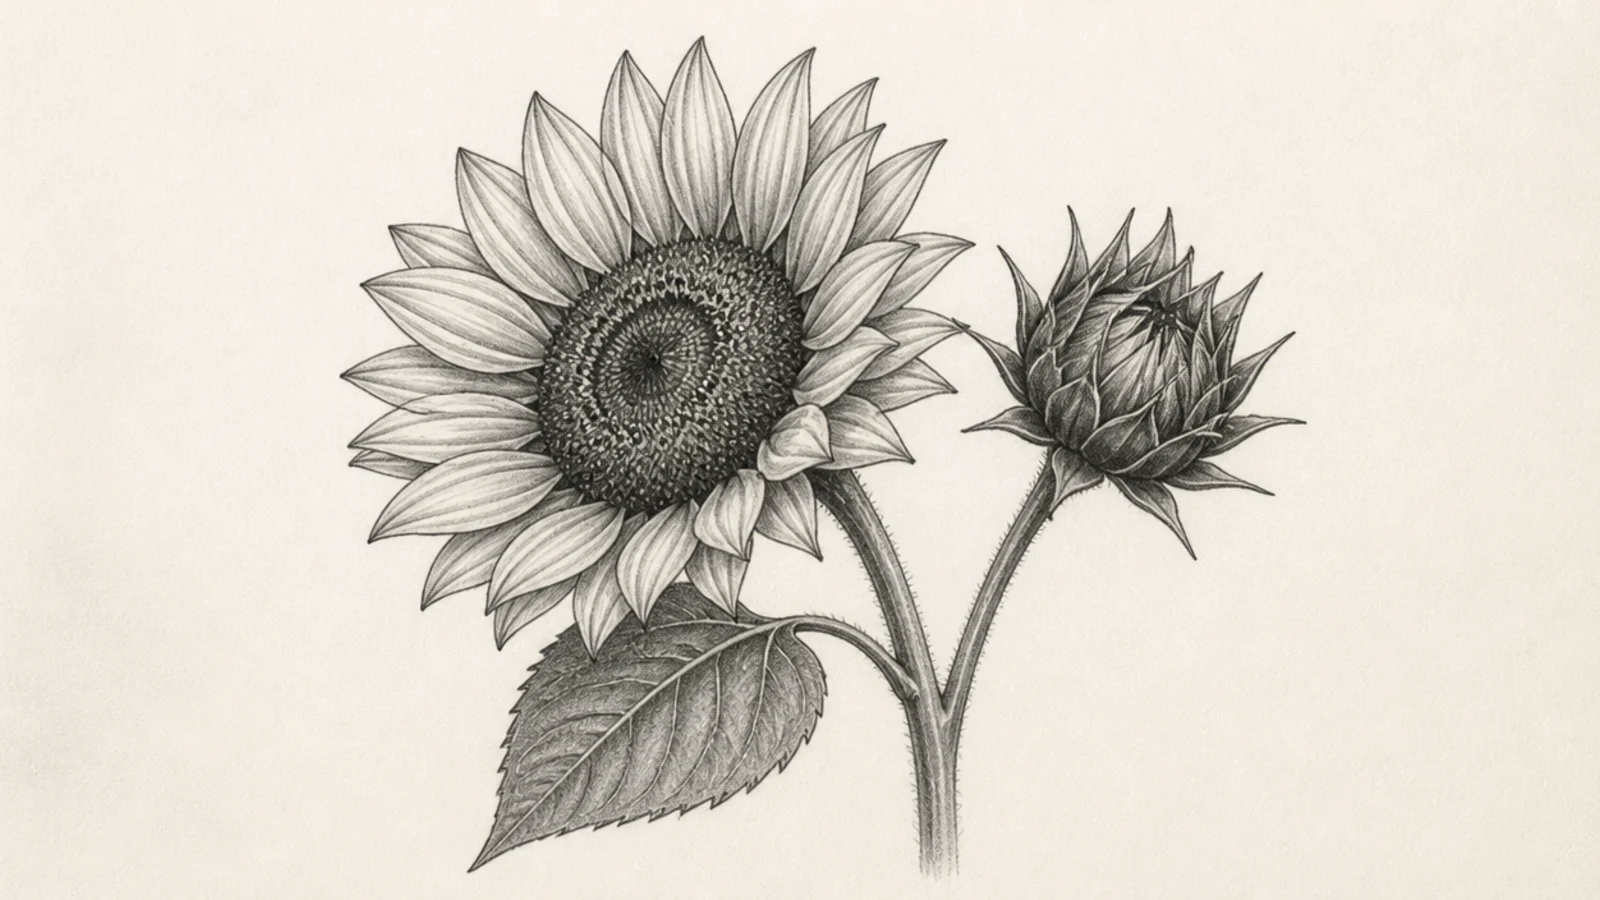
A closed bud beside an open flower tells a small growth story and contrasts two forms. Buds are quick and add composition interest.
Step 1 draw an open bloom and a closed pointed bud on the same stem. Step 2 shade the bud’s overlapping green sepals. Step 3 tie them with a shared stem and leaf.
Pro tipOverlap the bud’s sepals like scales and shade each edge.
AvoidDon’t make the bud a plain oval; show the layered sepals.
12 Leaf and Stem Detail
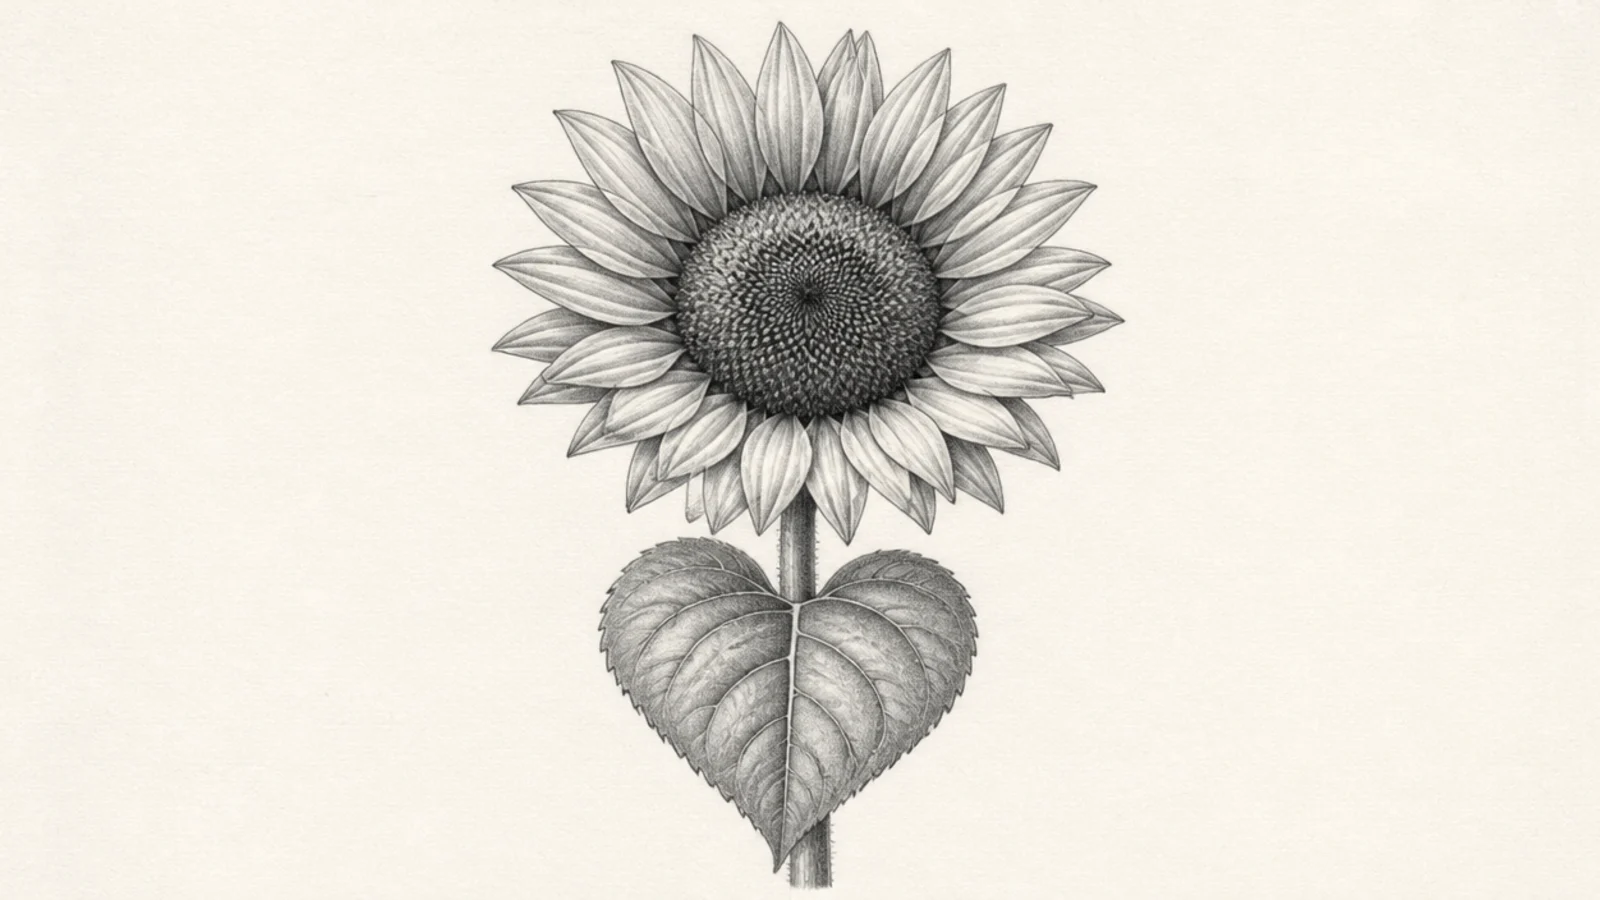
The often-ignored leaf and stem, shaded with veins and a rounded stalk. Good foliage makes the whole flower more convincing.
Step 1 draw a heart-shaped leaf with a central vein. Step 2 add branching side veins and shade between them. Step 3 shade the stem rounded with a highlight strip.
Pro tipLeave a light strip along the stem to make it look round.
AvoidDon’t flatten the leaf; vein shading gives it surface.
13 Two-Tone Value Block-In
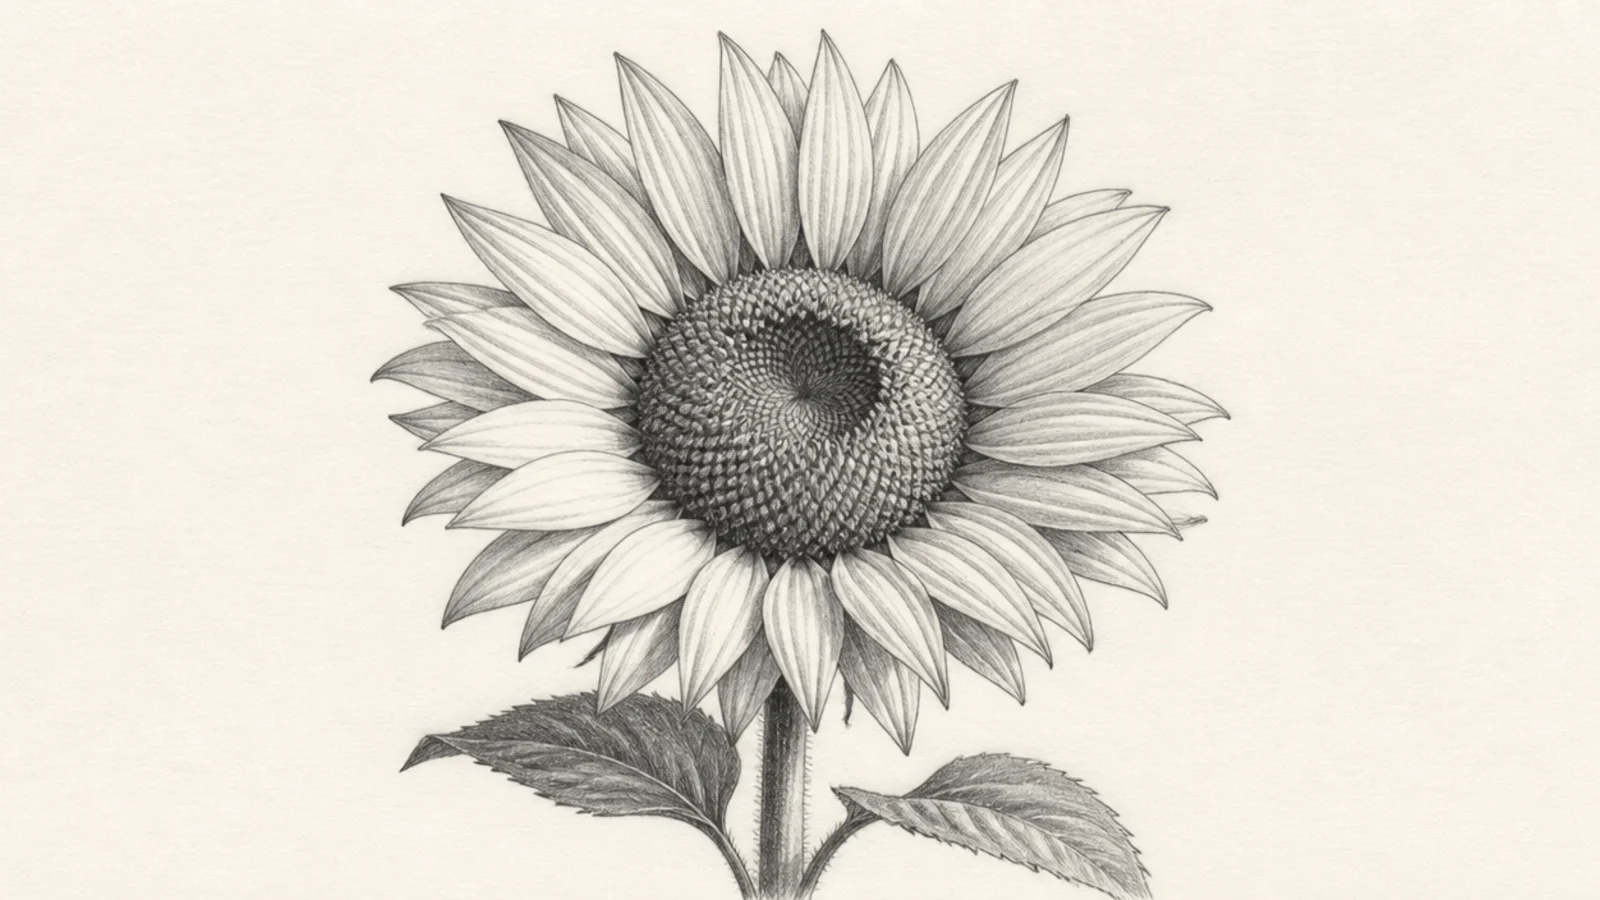
Simplifying the flower into just two values — light and dark — trains you to see big shapes before details. A powerful seeing exercise.
Step 1 squint at the flower to see light and dark masses. Step 2 fill each area as one flat light or dark tone. Step 3 stop before adding detail.
Pro tipSquint to merge subtle tones into just two clear masses.
AvoidDon’t add mid-tones; the two-value limit is the discipline.
14 Cross-Hatched Sunflower
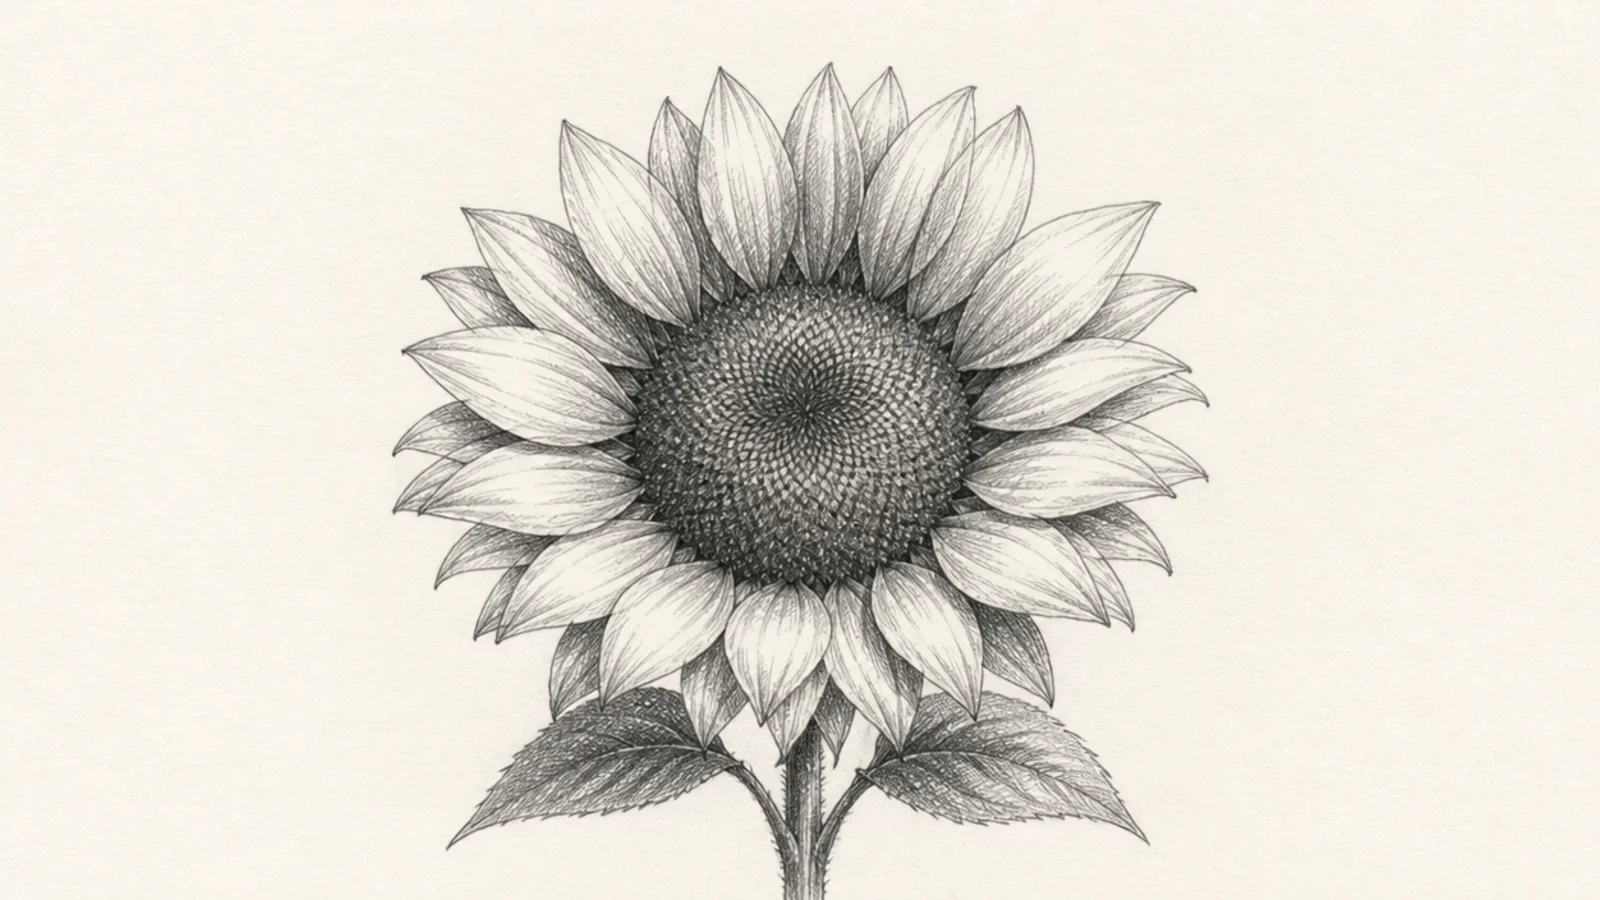
Shading built from visible crossing line sets rather than smooth blends. Hatching gives an illustrative, engraving-like texture.
Step 1 outline the flower. Step 2 build shadows with parallel line sets, crossing them for darker areas. Step 3 leave highlights unhatched.
Add more crossing layers where you want it darker.
Don’t blend the lines away; visible hatching is the style.
15 Dramatic Single Bloom
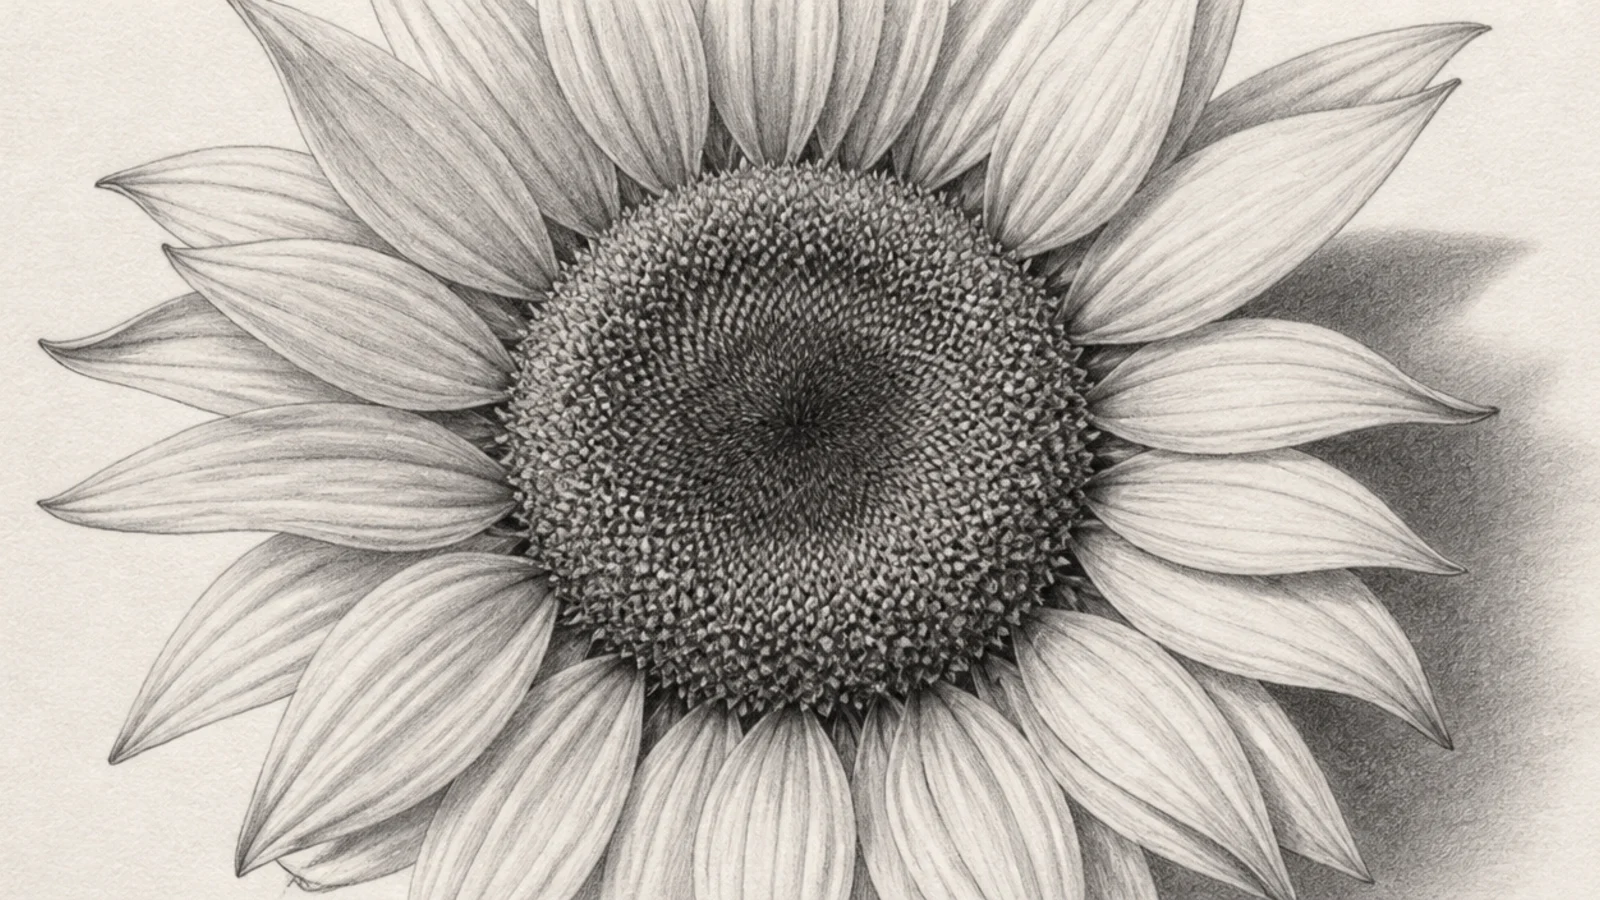
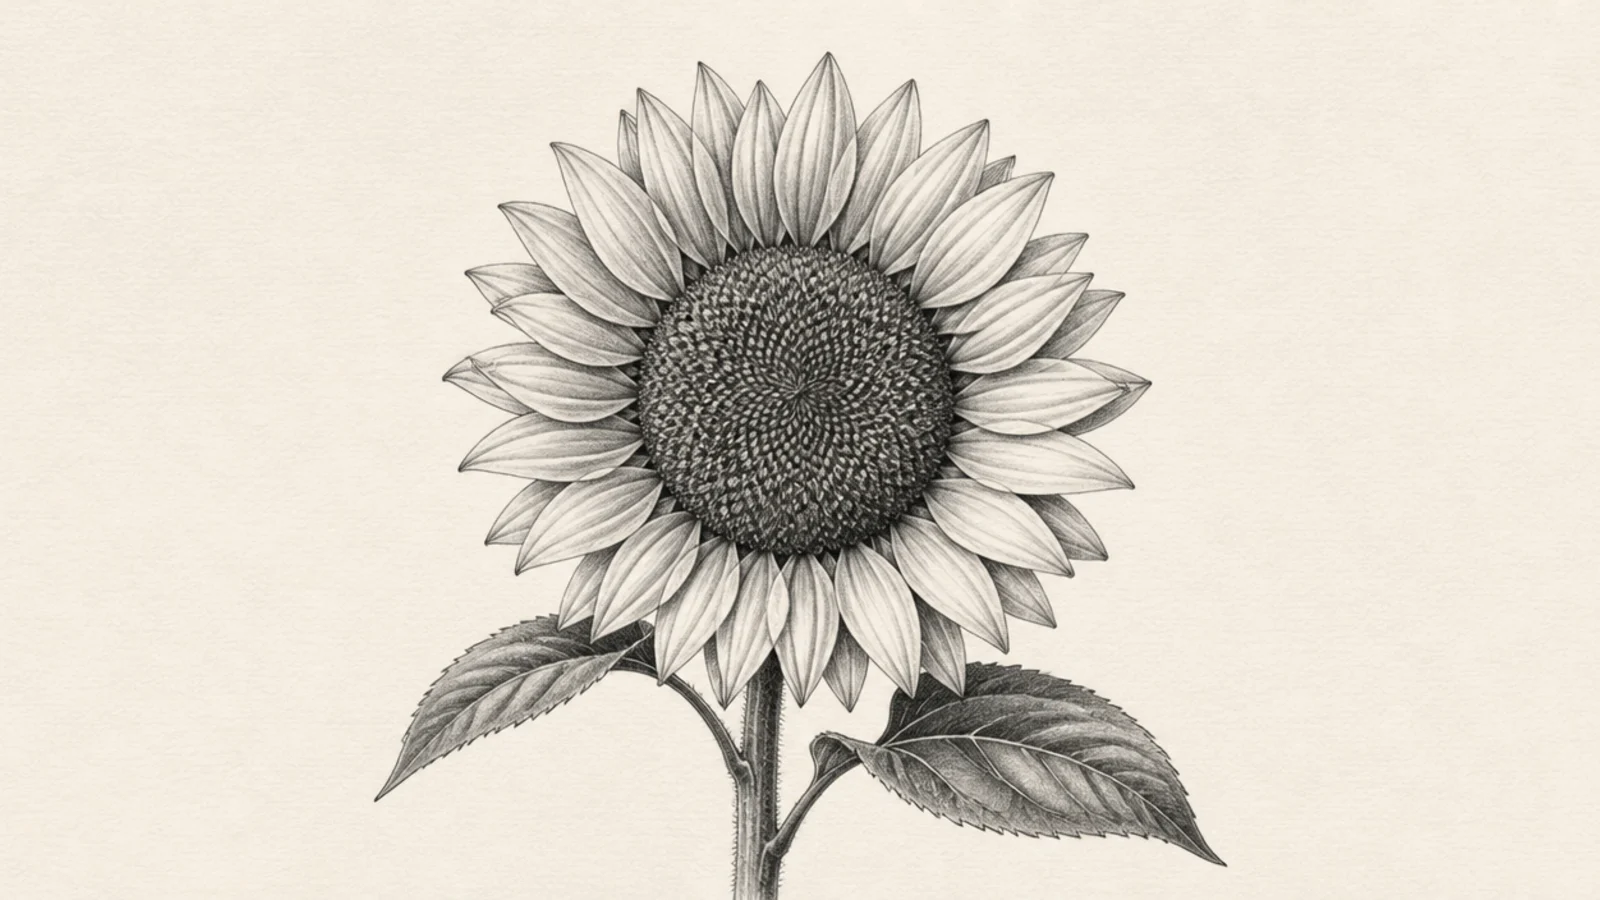
One big bloom filling the page, fully rendered — a portrait of a single flower. Scale plus full rendering makes a statement piece.
Step 1 draw one large bloom filling the frame. Step 2 render every petal base-to-tip. Step 3 build a rich dark center and a cast shadow.
Pro tipLet a couple of petals run off the page edge for impact.
AvoidDon’t shrink it; the drama comes from filling the frame.
16 Sunflower in a Vase Still Life
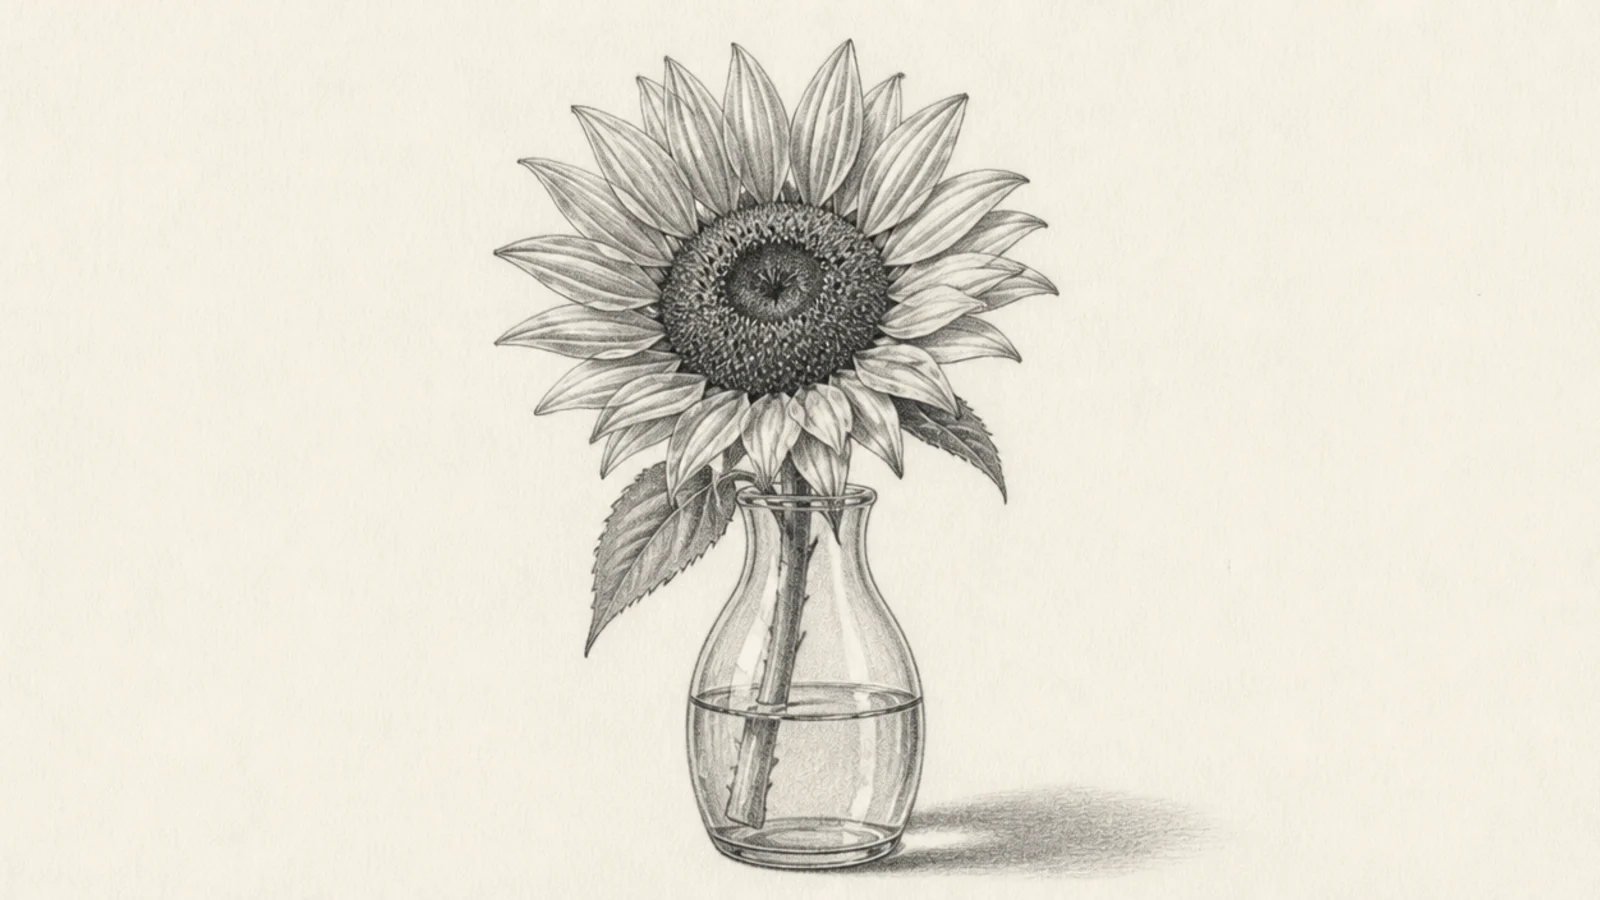
A single bloom in a vase becomes a classic still life with reflections and a table shadow. It adds objects and surfaces to shade.
Step 1 draw the bloom, stem, and a simple vase. Step 2 shade the glass with a highlight and the water line. Step 3 add a soft shadow on the table.
Pro tipLeave a bright highlight streak on the glass to make it read.
AvoidDon’t shade glass evenly; highlights and darks make it glassy.
17 Two-Flower Composition
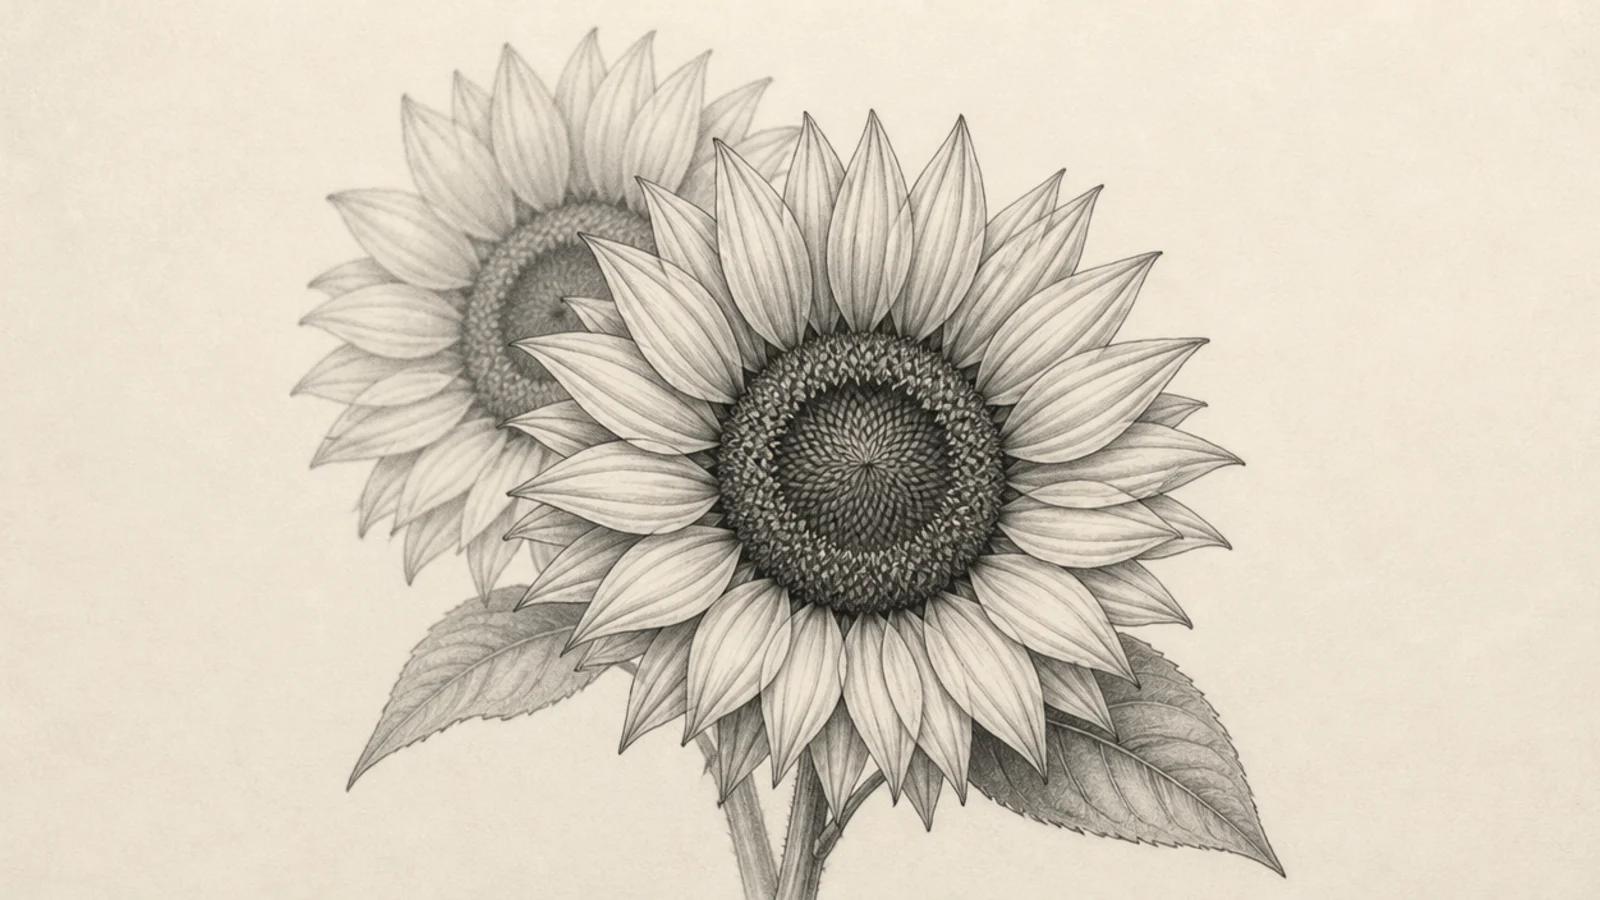
Two blooms overlapping, one in front of the other, teaching depth through overlap and value. The front flower is sharper and darker-edged.
Step 1 draw one bloom overlapping a second behind it. Step 2 render the front one crisply. Step 3 shade the back one slightly softer and lighter.
Pro tipKeep the back flower a touch lighter and softer for depth.
AvoidDon’t render both equally; the depth needs contrast.
18 Textured Center Macro
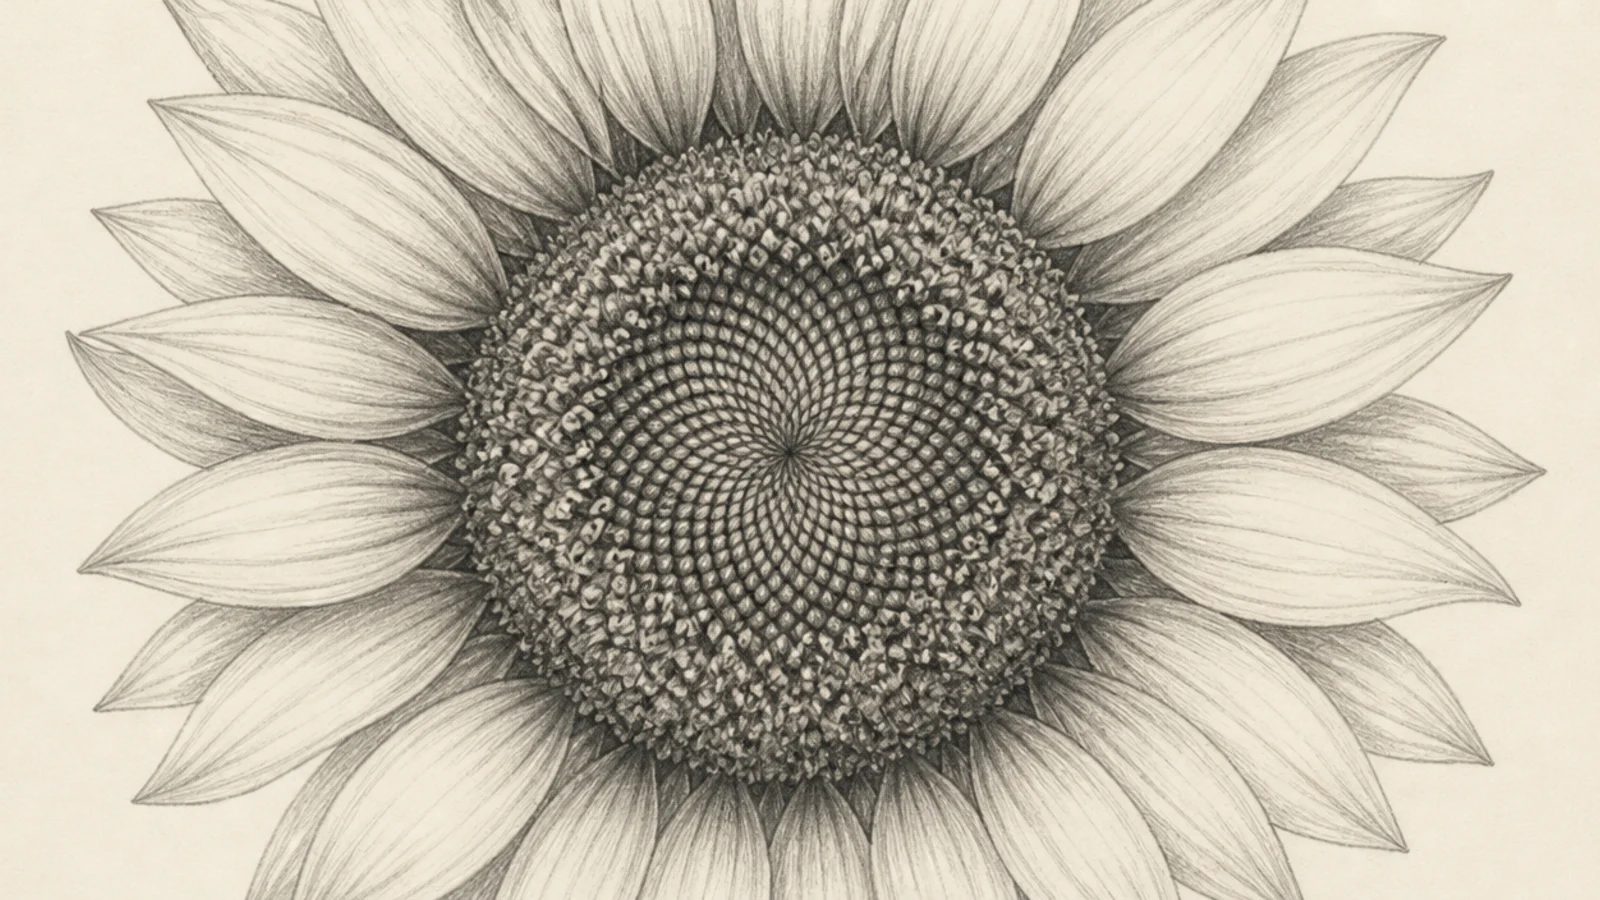
An extreme close-up of just the seed spiral, showing the mathematical packing pattern. Macro focus makes intricate texture the whole subject.
Step 1 fill the frame with the center disc. Step 2 draw the interlocking spiral seed rows. Step 3 shade to dome the disc and add tiny cast shadows.
Pro tipFollow the two interlocking spiral directions of real seeds.
AvoidDon’t dot randomly; the spiral pattern is the fascination.
19 Contour Line Sunflower
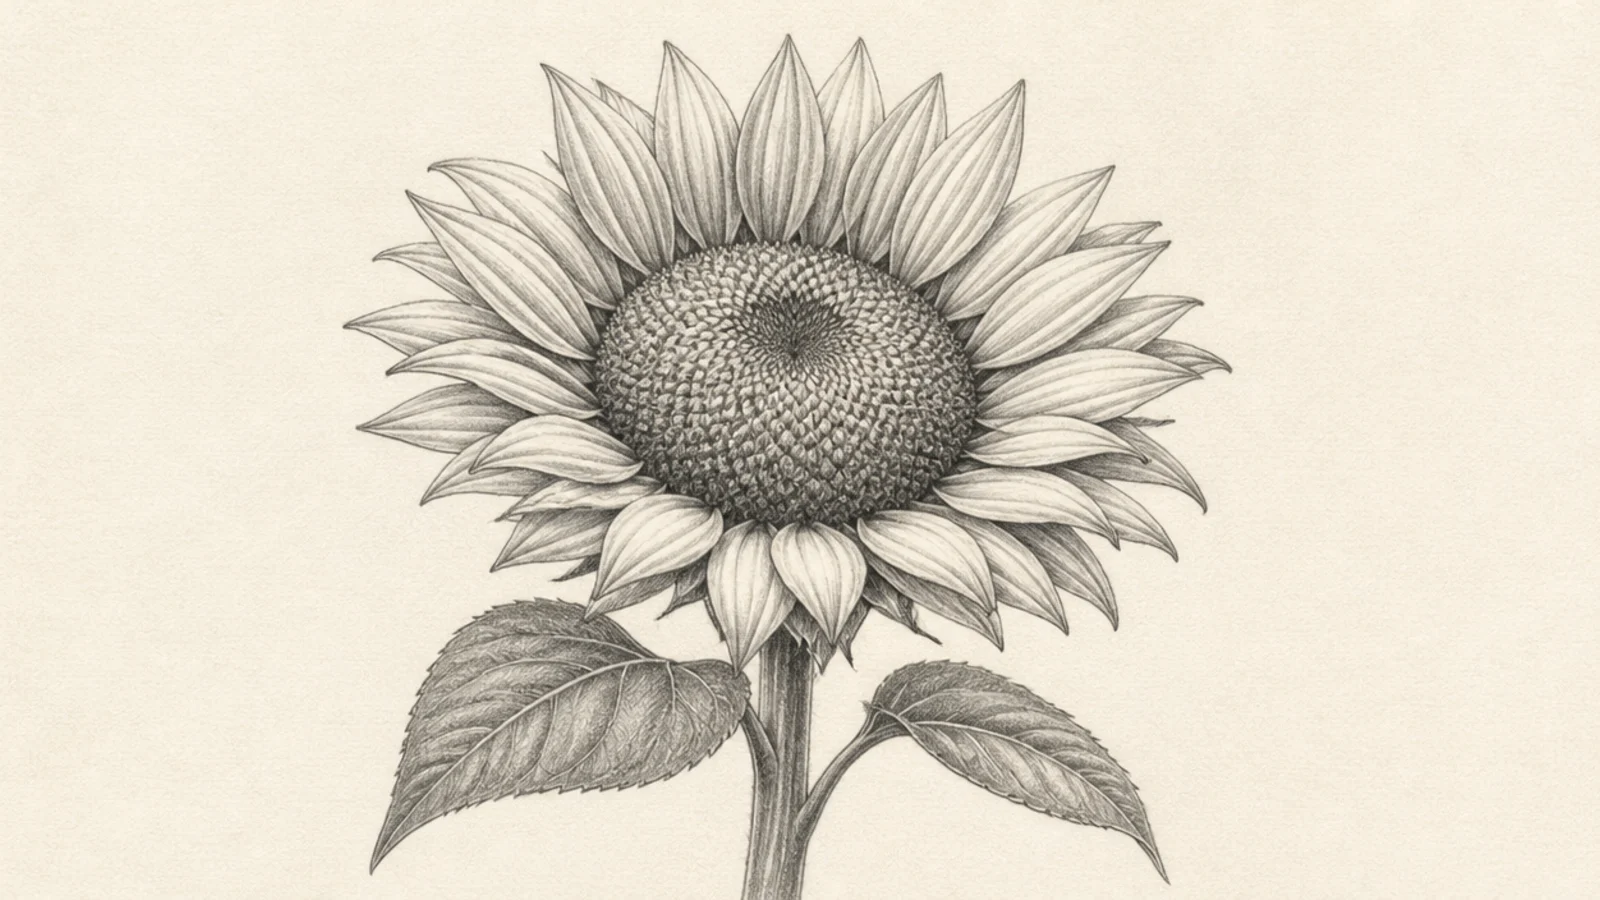
Lines that wrap over the surface, following the form like topographic contours. It shows volume with line alone, no shading.
Step 1 outline the flower. Step 2 draw curved lines across each petal following its curve. Step 3 wrap contour lines over the domed center.
Curve the lines with the surface so they describe the form.
Don’t draw straight lines; contours must follow the shape.
20 Negative-Shading Bloom
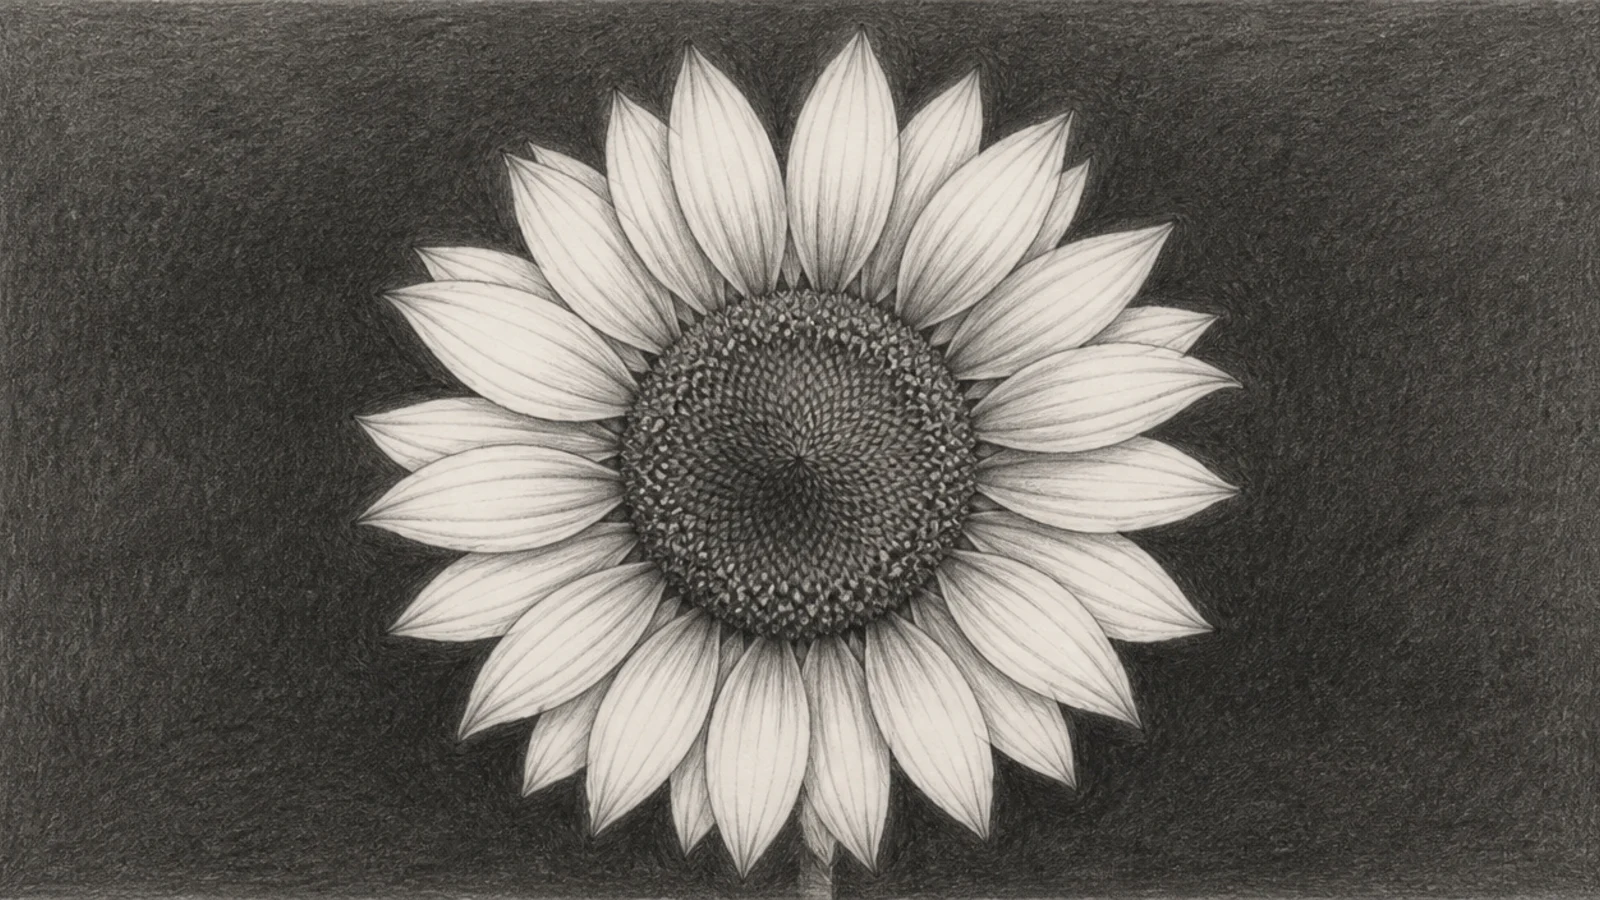
Instead of shading the flower, you shade the space around it, leaving the bloom as bright paper. This reverse method trains edge control.
Step 1 outline the flower lightly. Step 2 shade the background dark right up to the petal edges. Step 3 leave the flower mostly white with minimal inner detail.
Keep the background darkest right at the petal edges for pop.
Don’t shade into the flower; the paper white is the bloom.
21 Loose Gesture Sketch
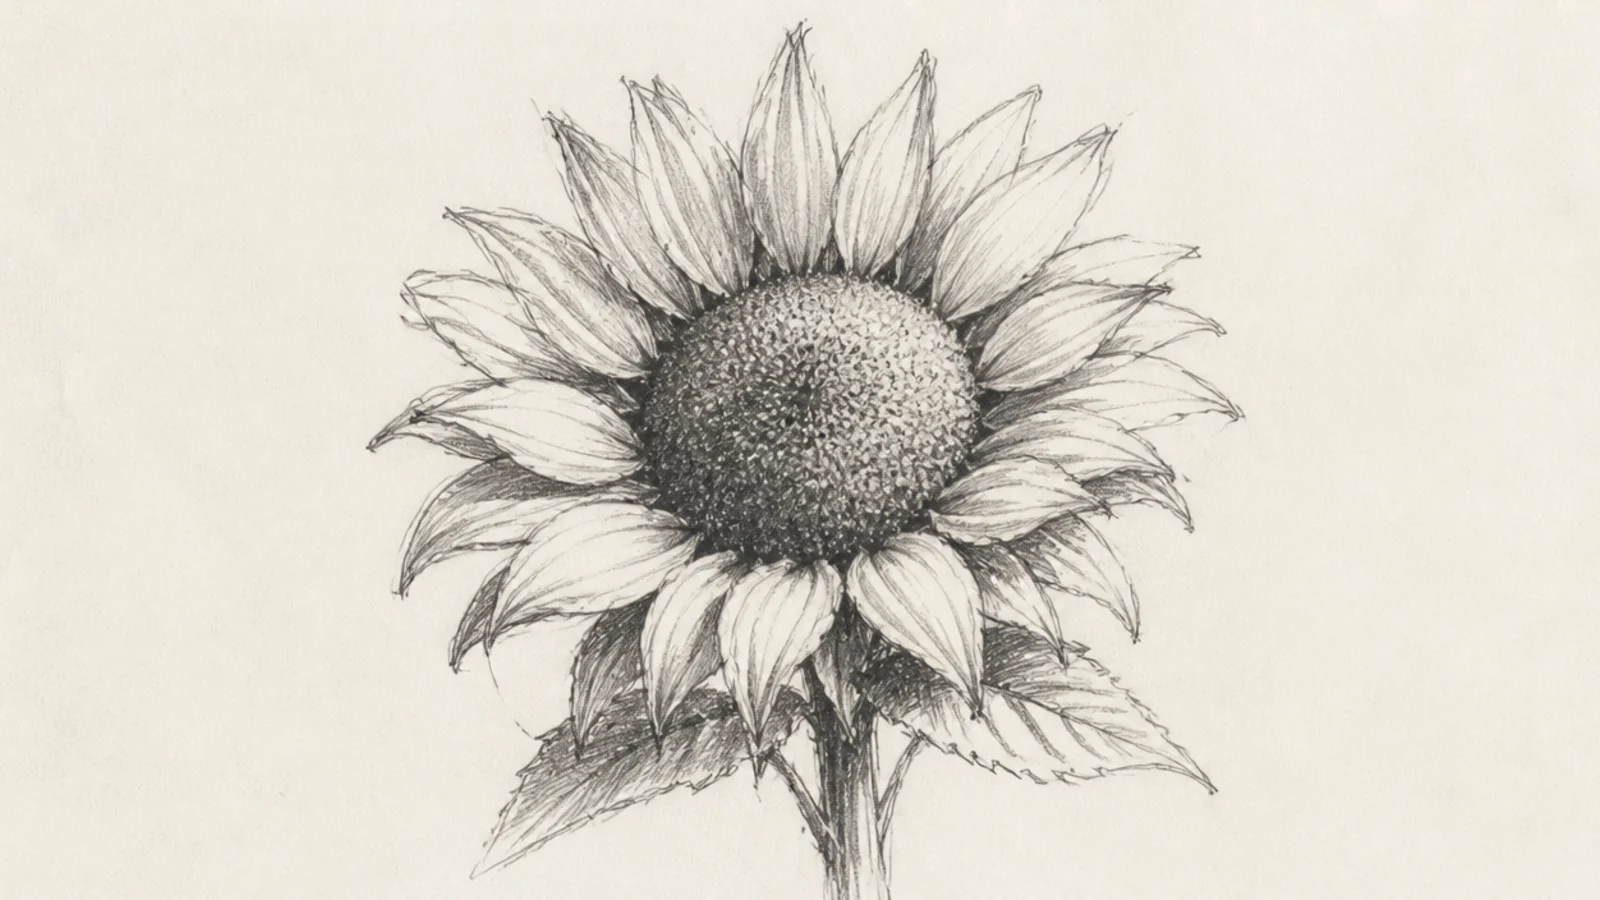
A fast, loose sketch capturing energy over accuracy. Gesture work loosens you up and often has more life than careful drawings.
Step 1 draw the whole flower in under a minute with quick strokes. Step 2 let lines be loose and searching. Step 3 add a few quick shadow scribbles.
Draw fast from the shoulder; don’t fuss over neatness.
Don’t erase and refine; the looseness is the point.
22 Botanical Labeled Study
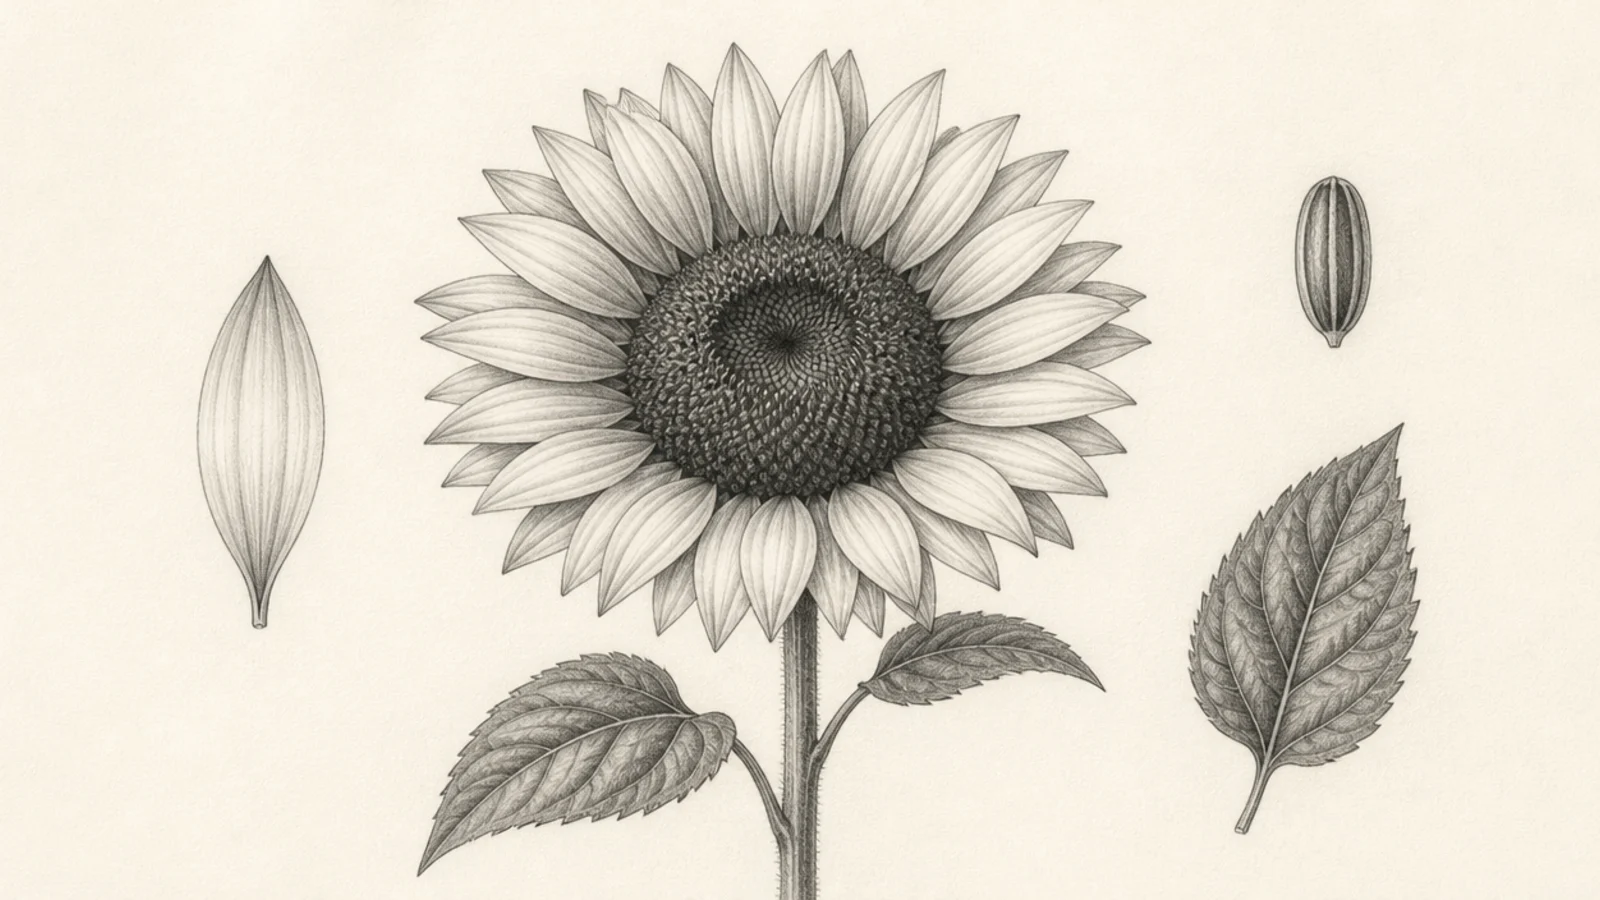
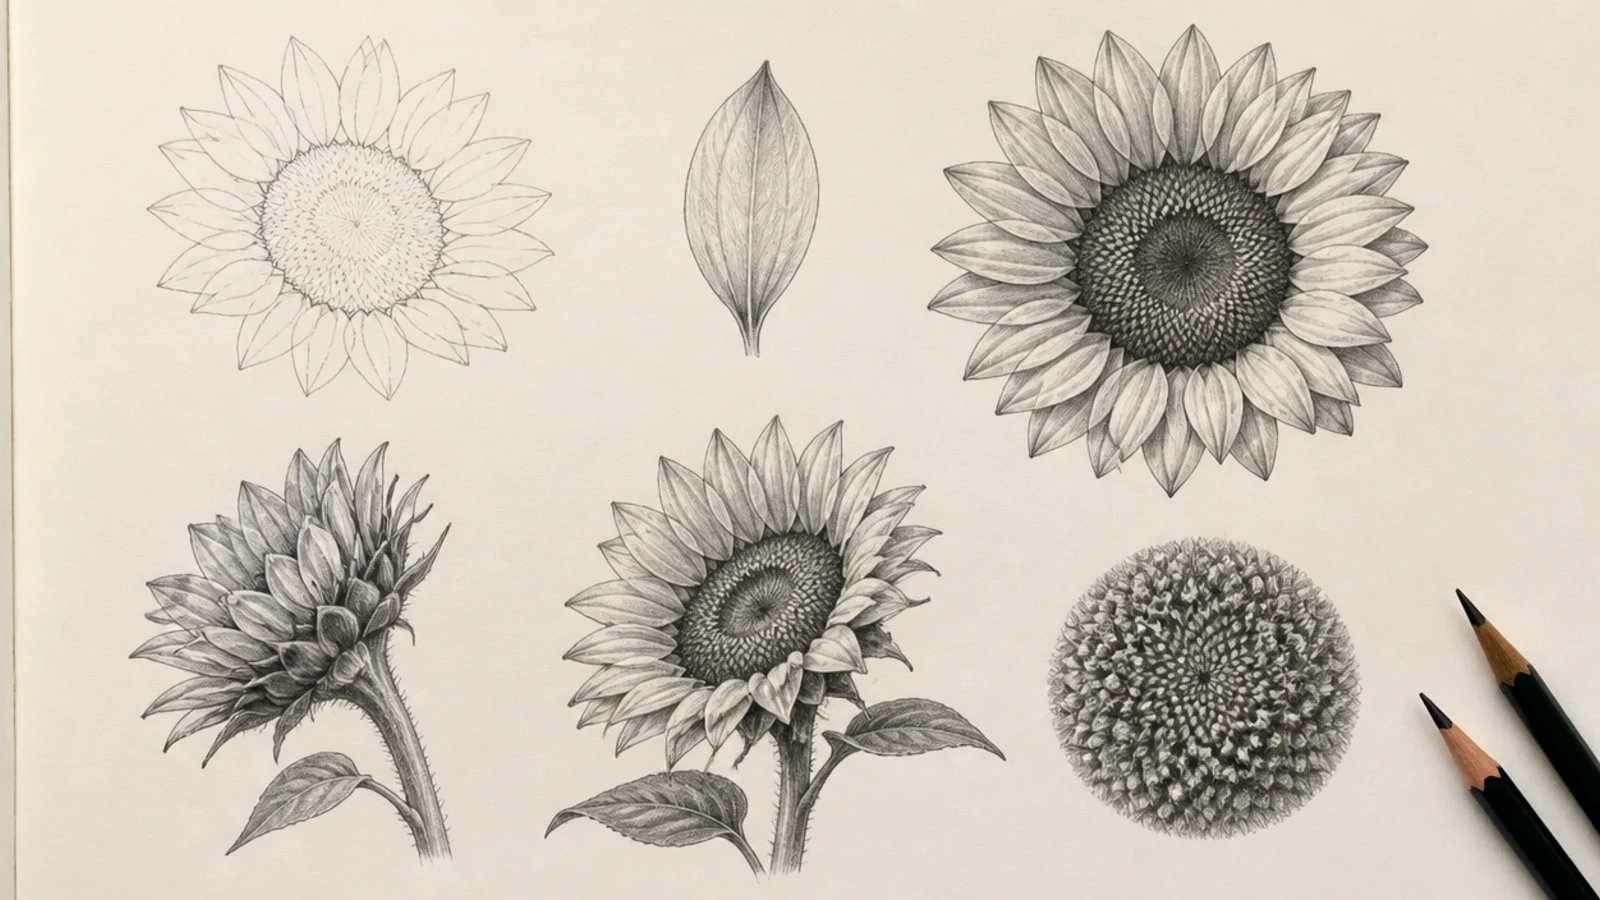
A scientific-style study with the bloom, a seed, a petal, and a leaf drawn separately like a field guide. Careful and educational.
Step 1 draw the full bloom as the main subject. Step 2 add small separate studies of a petal, seed, and leaf. Step 3 keep everything precise and cleanly rendered.
Pro tipArrange the small studies neatly around the main bloom.
AvoidDon’t crowd them; a botanical plate needs clean spacing.
23 Reflection in Water
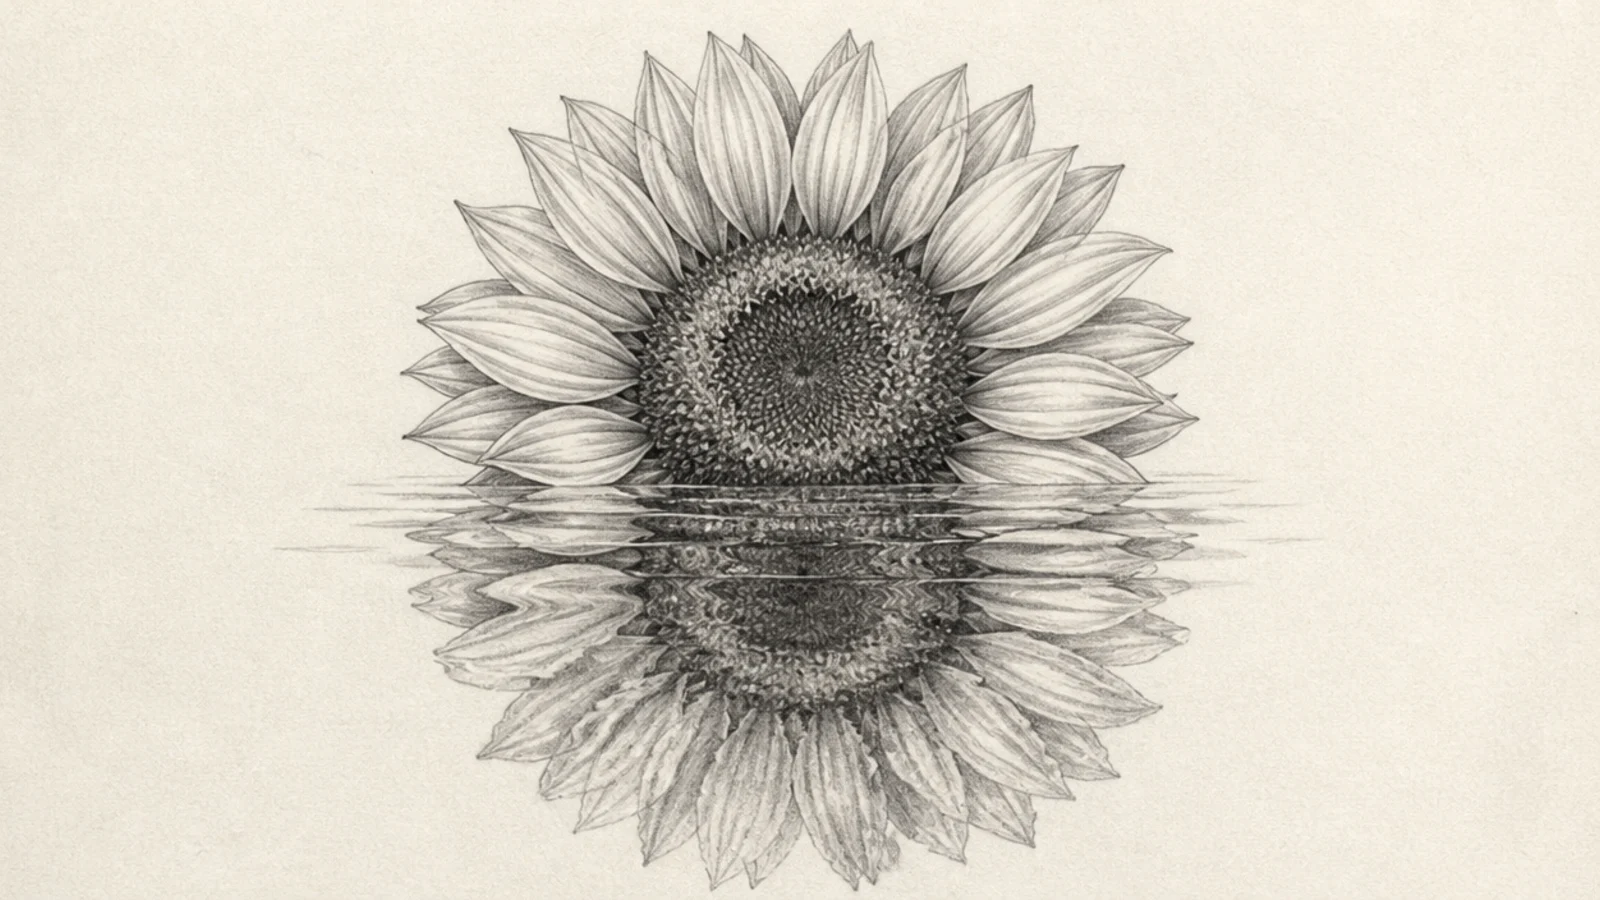
A bloom above its wavering water reflection, softened and broken by ripples. Reflections teach soft, distorted value handling.
Step 1 draw the flower in the top half. Step 2 mirror a softer version below. Step 3 break the reflection with horizontal ripple lines.
Pro tipMake the reflection softer and wavier than the real flower.
AvoidDon’t mirror it sharply; ripples must blur the reflection.
24 Sunflower With a Bee
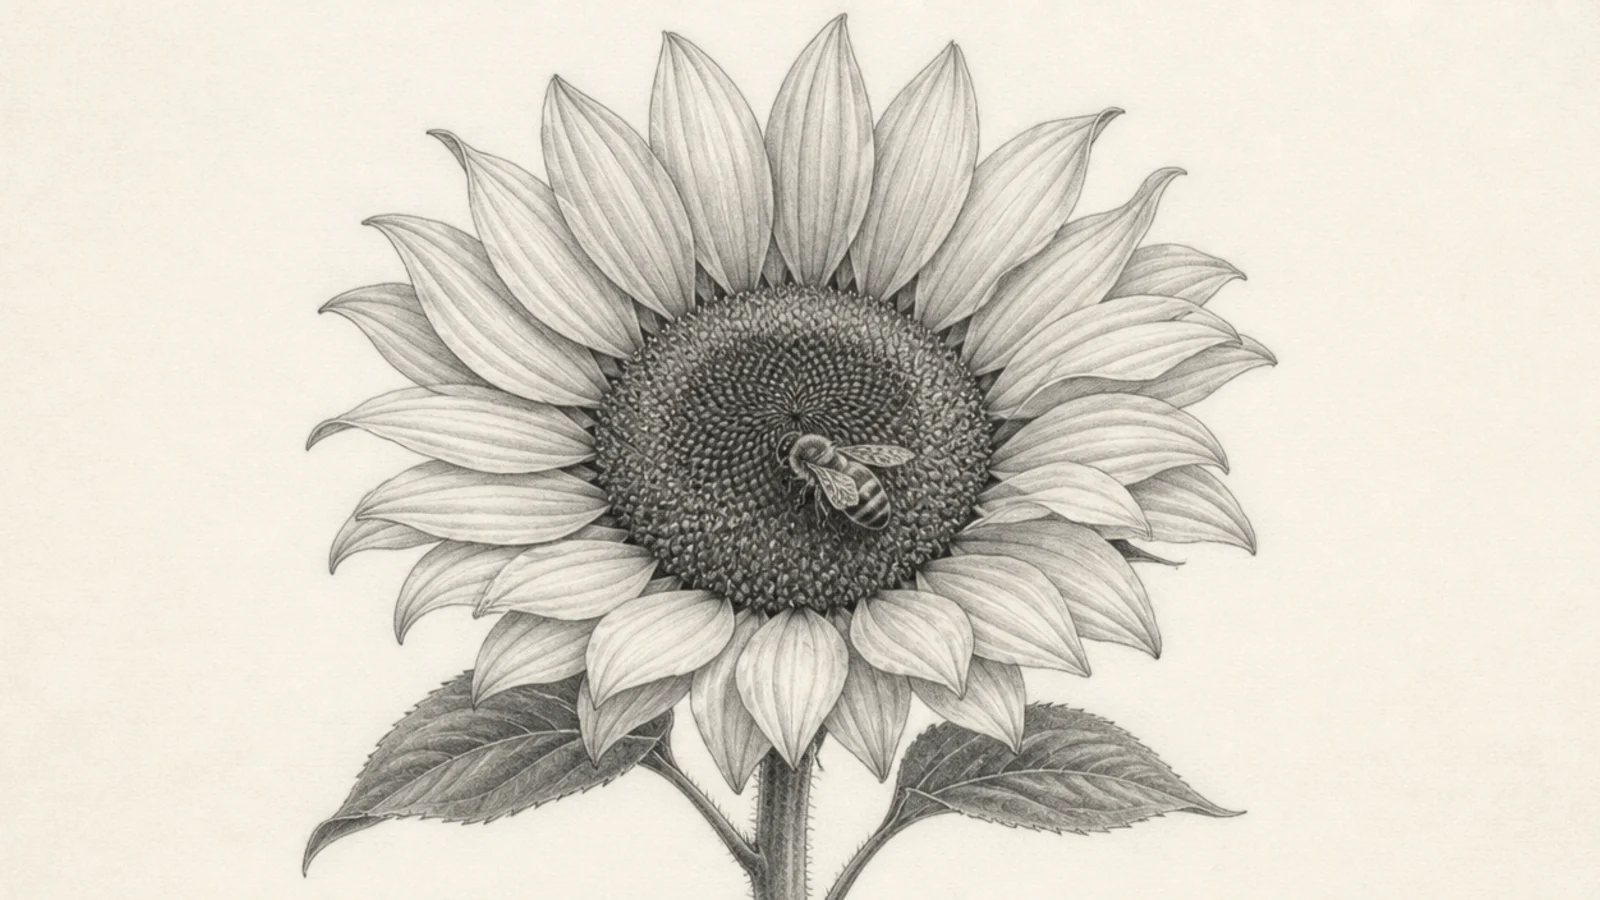
A bee resting on the seed head adds a focal detail and a story. The tiny insect contrasts nicely with the big bloom.
Step 1 render a full sunflower. Step 2 draw a small detailed bee on the center. Step 3 shade the bee’s stripes and translucent wings.
Keep the bee small and sharply detailed as a focal accent.
Don’t oversize the bee; it’s a detail, not the subject.
25 Full Tonal Masterpiece
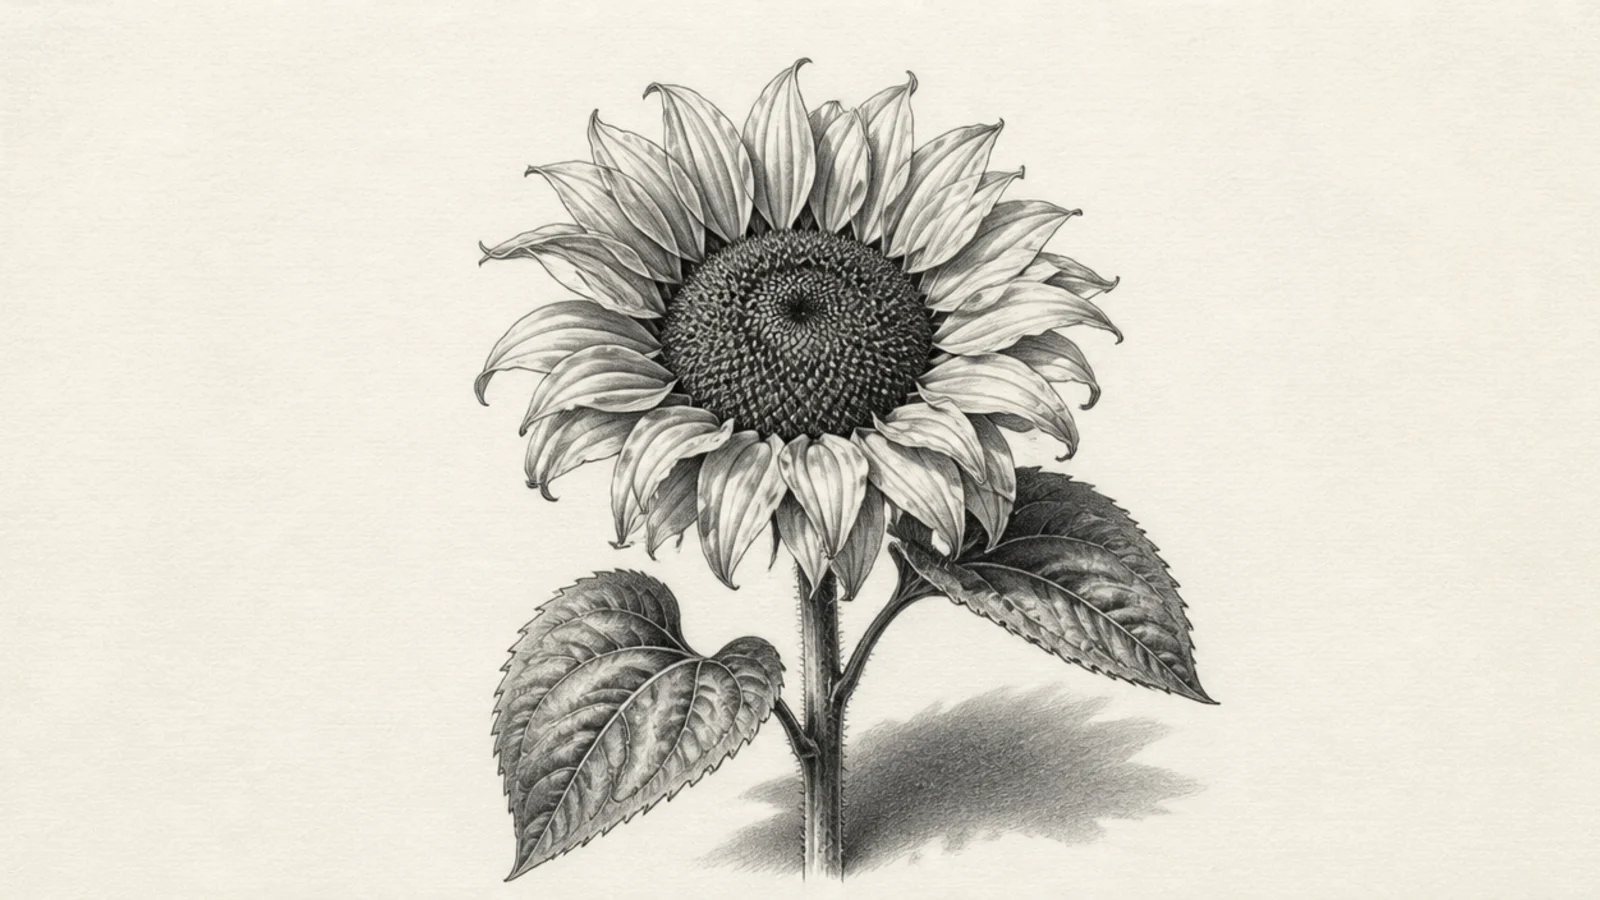
The capstone — one bloom rendered with the full value range, curling petals, rich center, leaves, and cast shadow. It uses every technique in the list.
Step 1 block in the whole flower and light direction. Step 2 render petals, center, and leaves fully. Step 3 push the darkest darks and lift the brightest highlights.
Pro tipSave the darkest darks and brightest lights for the very end.
AvoidDon’t rush the finish; the full value range is what makes it sing.



