
1. Receipt pocket page with coffee-stain header
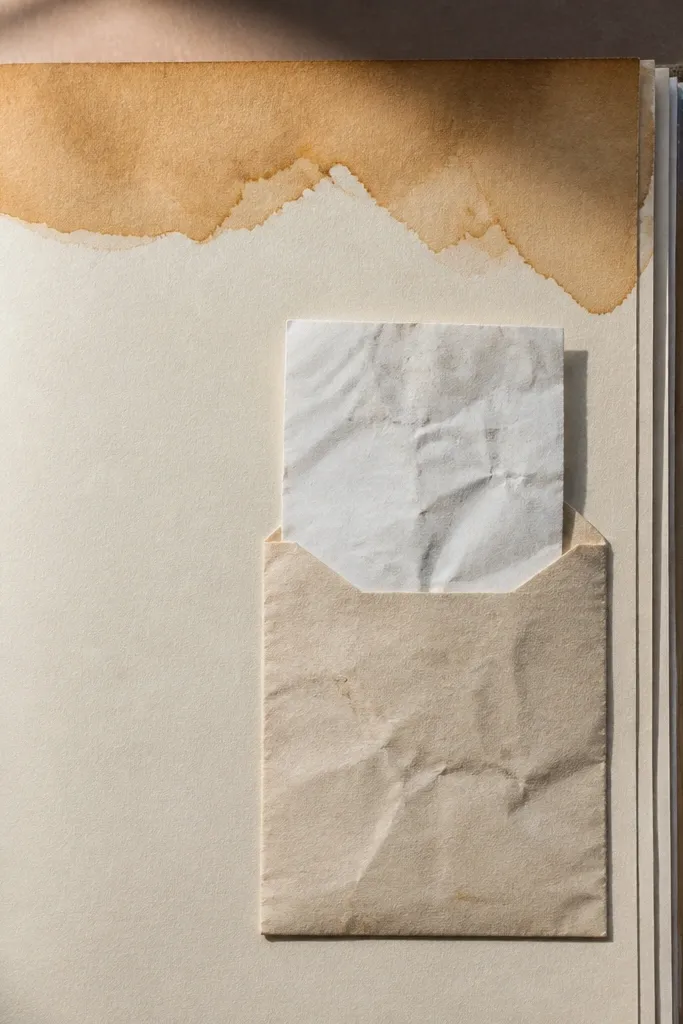
Cut your base to match your album size, then trim a 4x6 photo mat so it leaves about 1 inch margins. Fold a receipt into a pocket shape by cutting a piece of cardstock slightly taller than the receipt and gluing only the sides and bottom, leaving the top open. Stain a strip of scrap paper with black tea, let it dry flat, then ink over the edges with a black or dark brown pen. Glue the header strip at the top and mount the photo over or beside the pocket so the pocket looks like part of the design.
Start with a plain cardstock base and make the whole page feel like a tiny artifact. A receipt pocket is money-saving because receipts are already printed, already sized, and they add texture without you hunting for “ephemera.” The coffee-stain header gives contrast so the pocket doesn’t look like a glued-on chunk. This layout photographs well because the pocket creates a shadow line and the header strip frames the story. It’s beginner-friendly because you only need straight cuts, a pocket fold, and basic ink or tea staining.
AvoidDon’t soak the paper so much that it warps — dry it under a book.
Pro tipUse a tape runner on the pocket fold line, not liquid glue, so the pocket stays crisp.
2. Fabric scrap banner with stitched photo corners
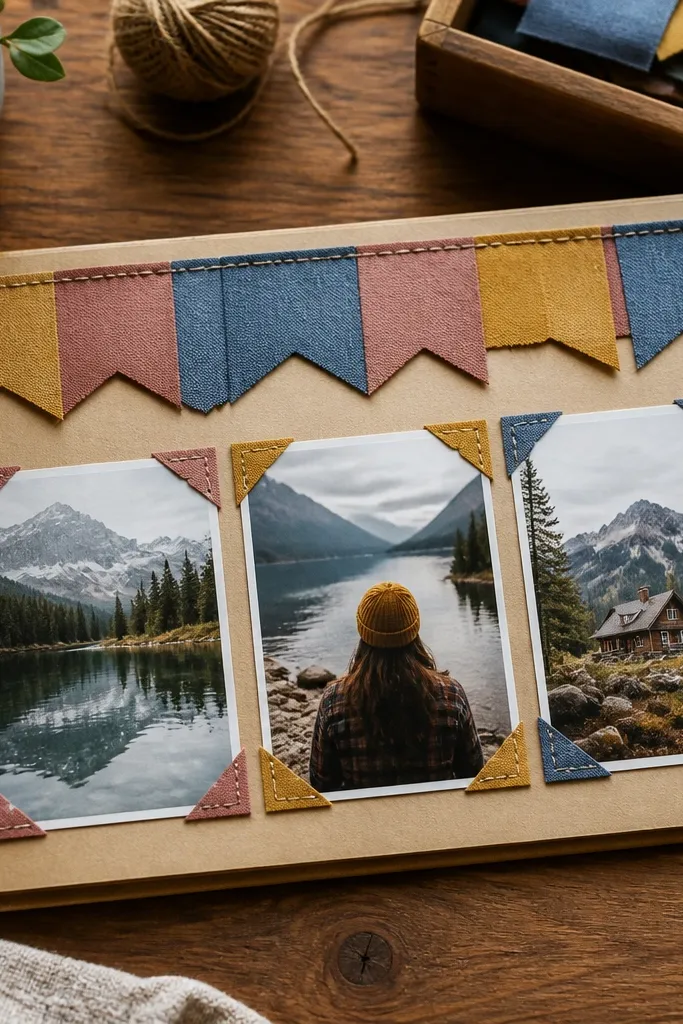
This is one of the easiest ways to make beginner-friendly diy scrapbook ideas look expensive. Fabric has natural texture that paper stickers can’t match, and a banner across the page instantly gives structure. Stitching the photo corners adds a handmade look without requiring full sewing across the page. The twine or thread creates a clean line that guides the eye, and it holds up well in photos because it casts a light shadow. Great for birthdays, travel, and everyday moments where you want the page to feel warm and tactile.
Cut two to three fabric scraps into triangles or rectangles and trim them so the banner spans the width of your page. Glue them down with a glue stick or fabric-safe adhesive, then add a thin line of double-sided tape behind the photo so it sits flat. Punch two holes at the photo corners using a small hole punch, then thread waxed twine through and tie tight knots on the back. Finish by tying a small bow or leaving the ends fringed for a softer look, then press everything flat under a book for 20 minutes.
Use a fabric scrap that’s already stable (not super stretchy) so it doesn’t sag over time.
Avoid hot glue on fabric — it can soak through and leave shiny spots.
3. Torn-paper window over a solid color mat

A torn-paper window makes your page look layered and intentional without buying layered die-cuts. You’re creating a frame from the torn edge itself, which gives a soft, handmade border that reads well in photos. The solid color mat underneath makes the photo pop because the eye has one clean backdrop. This layout is beginner-friendly because tearing is forgiving and you don’t need perfect symmetry. It also works with any photo size as long as the window opening is proportionate to the mat.
Choose a solid cardstock mat and cut it to fit your layout, leaving a consistent border around the edges. Tear a piece of patterned scrap paper into a rectangle or rounded window shape and glue it so it covers part of the mat, leaving the center area open. Place your photo underneath and align it so the photo shows through the window opening. Ink the torn edges with a dark ink pad or a black marker to sharpen the silhouette, then add a thin strip of washi tape along one side for a clean accent.
Ink the torn edges before gluing to avoid smearing your mat.
Don’t glue torn paper all the way to the photo edges — leave a small gap so it looks like a window.
4. Old book page fold-out with hidden journaling
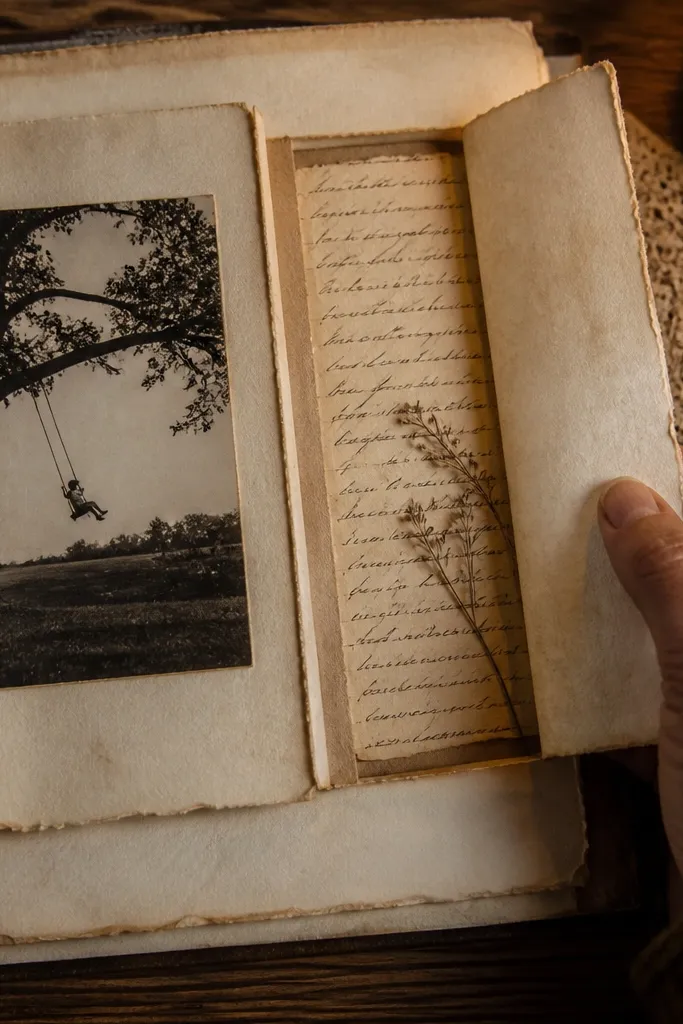
Cut a book-page rectangle sized to your journaling text, then score a fold line down the center so it opens cleanly. Create your base page and glue the fold-out hinge on one side, leaving the other side free to open. Write your journaling on the inside panel with a fine black pen, then glue a small photo or ticket strip on the outside flap. Seal the hinge with a strip of clear tape on the back so repeated opening doesn’t crease the paper into tears.
If you want beginner-friendly diy scrapbook ideas that feel like a treasure hunt, this is it. Old book pages give you instant vintage texture, and the fold-out creates a second “moment” on the same page. Hidden journaling makes the page more personal without adding bulky embellishments. Photographically, fold-outs look great because you get depth — the flap casts a shadow and the paper grain shows. It’s also a smart money saver because you can use damaged pages from a thrifted book.
AvoidDon’t use heavy gel pens on thin book paper; they bleed and ruin legibility.
Pro tipUse a ruler for the score line — a straight fold makes the flap look polished.
5. Polaroid-style corners using cardstock scraps
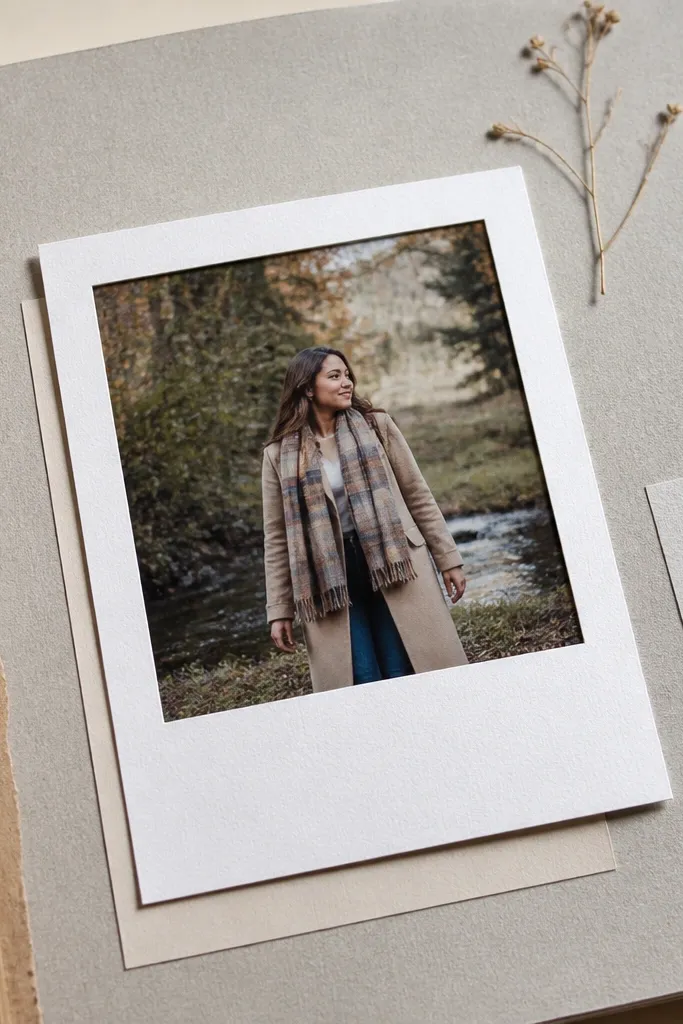
This is the simplest money-saving “wow” look: a faux Polaroid frame made from leftover cardstock. It makes any photo feel like a keepsake, and it’s instantly photogenic because of the clean white mat and the slight overhang. You don’t need specialized photo paper or printers — just cut shapes. The corners also help you hide messy trimming and uneven edges. It’s beginner-friendly because the math is easy and you only need a straight blade and a ruler.
Print or choose your photo at 3x4 or trim it to fit a 3x5 card space. Cut a cardstock frame that is about 1 inch wider on each side than the photo, then cut a smaller rectangle opening in the center. Layer the photo onto the opening and add a second thin strip behind it so it looks like a “photo card.” Finish by rounding the corners with a corner punch and writing a short caption strip at the bottom with a black pen.
Add a half-millimeter shadow under the photo by using foam tape just at the corners.
Avoid gluing the photo flat to the frame — it looks flat in photos.
6. Washi tape grid with stamped date block
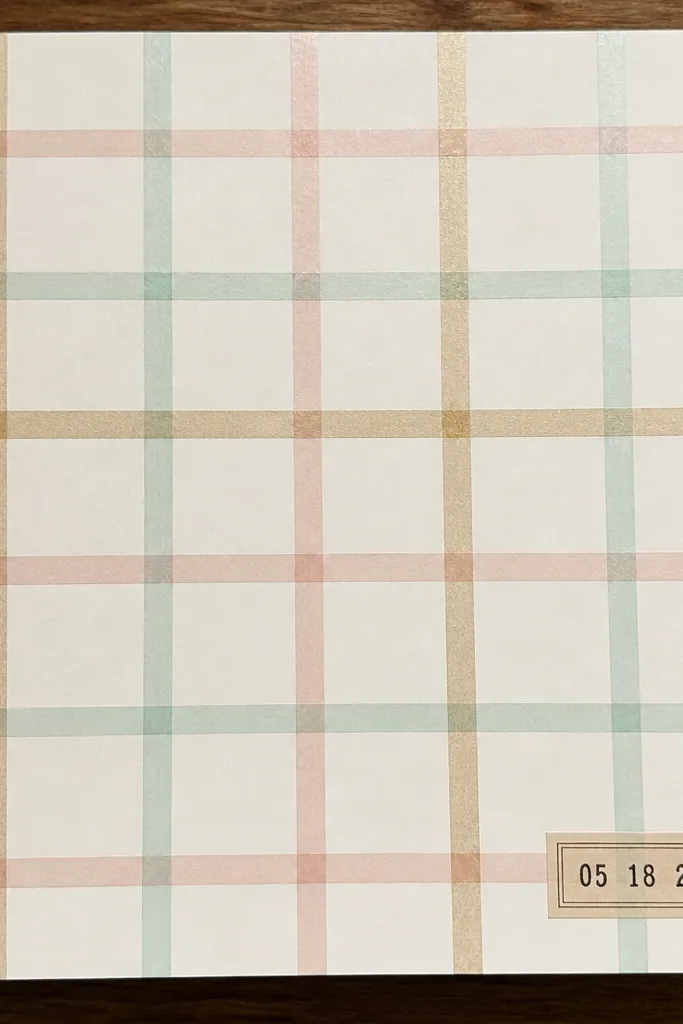
Choose one patterned washi tape and one solid or semi-solid tape for contrast. Tape vertical and horizontal strips across the page with even spacing, pressing down firmly at the edges. Cut a small rectangle of cardstock, ink it with a date stamp (or write it neatly by hand), and place it at the top or side. Add your photo under or beside the date block, then finish with two small journaling lines on a scrap strip aligned to the grid.
A washi tape grid is cheap, fast, and looks designed because the pattern is already consistent. You get a clean structure that makes your photos and journaling sit neatly. A stamped date block adds a graphic anchor and makes the page feel like a page from a pre-made kit. This works for beginners because tape aligns easily and you can cover small mistakes. If you have limited supplies, this layout makes your existing tape collection look intentional.
AvoidDon’t mix too many tape patterns; three patterns max so the page stays readable.
Pro tipUse a burnishing tool or the back of a spoon to press tape edges so they don’t lift.
7. Sticker label system with matching inked lines
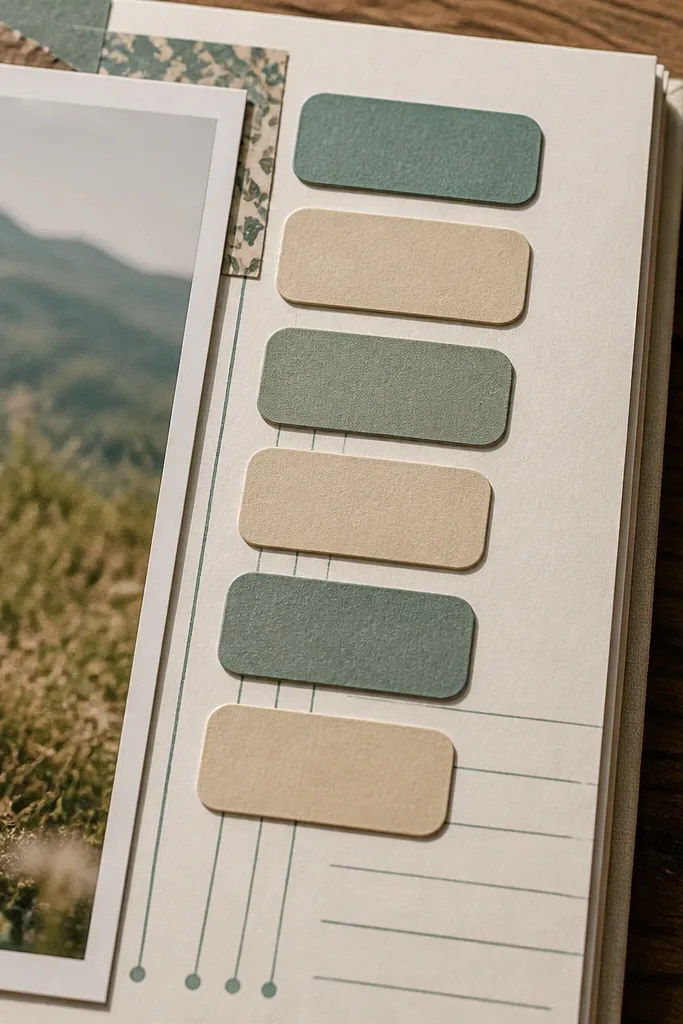
This layout turns random stickers into a coherent design. Instead of scattering them, you make a label system: each label has the same shape, and the journaling is placed under thin ink lines that match the label color. It’s beginner-friendly diy scrapbook ideas because you don’t need fancy tools — just a pen and a consistent label size. The page looks clean and aesthetic in photos because everything aligns to the same grid logic. It’s also a good money saver since you can use even cheap sticker sheets.
Pick one sticker sheet theme and limit yourself to 8-12 stickers total. Cut small rectangles of cardstock and use them as label backgrounds, matching the label width each time. Ink thin lines under each label with a fine-tip pen in two colors maximum. Place your photo in the center and arrange the label rectangles around it, then glue the stickers on top of the labels so the stickers look purposeful rather than pasted.
If your labels look uneven, trace the same rectangle template on scrap paper and cut quickly in batches.
Avoid covering your photo with too many labels; leave a clear photo area.
8. Tea-bag paper layering for a soft gradient background

Brew black tea, then soak small scrap pieces for different times: 30 seconds for light, 2 minutes for medium, and 5 minutes for dark. Lay them flat to dry, then tear edges for a softer look. Glue the lightest layer first behind your photo, then layer medium, then dark as an edge accent. Ink the final torn edge with a dark pen so it reads clearly in photos, then add a simple title strip at the top.
Tea-stained paper is a low-cost way to get a gradient background that looks intentional. You layer multiple scraps with slightly different staining strength, so the page has depth without expensive patterned paper. This is photogenic because the lighter and darker edges catch light differently. It also helps beginners because you don’t need to color-match perfectly — the tea already blends. Great for travel pages, slow mornings, and any theme that needs a warm background.
AvoidDon’t use glossy ink over tea stain; it smears. Let stain fully dry first.
Pro tipDry the paper under weights so it stays flat for gluing.
9. Bottle-cap charm page with a thread loop
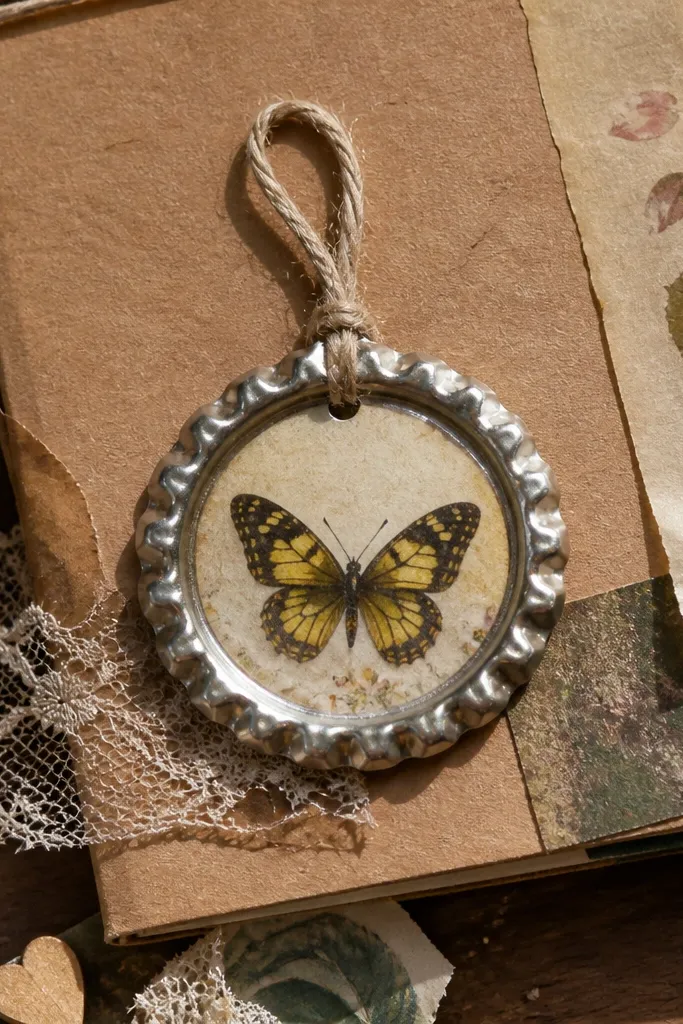
A bottle-cap charm looks fun and collectible, and it instantly makes a scrapbook page feel like a physical memory. The metal circle gives a bright focal point in photos, especially if the cap catches light. You can keep it beginner-friendly by using a simple thread loop and a flat backing. This idea is money-saving because bottle caps are free and you likely already have glue, thread, and scrap paper. It’s best for casual layouts where you want a playful, textured look.
Clean a bottle cap and remove any rough edges from the underside if needed. Punch two small holes near the rim and thread strong embroidery floss through, tying knots on the back side of the page base. Build a small photo mat and glue the bottle cap above it so the cap overlaps the mat edge slightly. Add a journaling strip below the cap and seal the thread ends with tape on the back so nothing pulls loose.
Use a small dot of clear-drying craft glue on the thread knots to stop fraying.
Don’t glue the cap flat directly over paper if the cap is uneven; it can warp the page.
10. Envelope pocket with mini photo stack
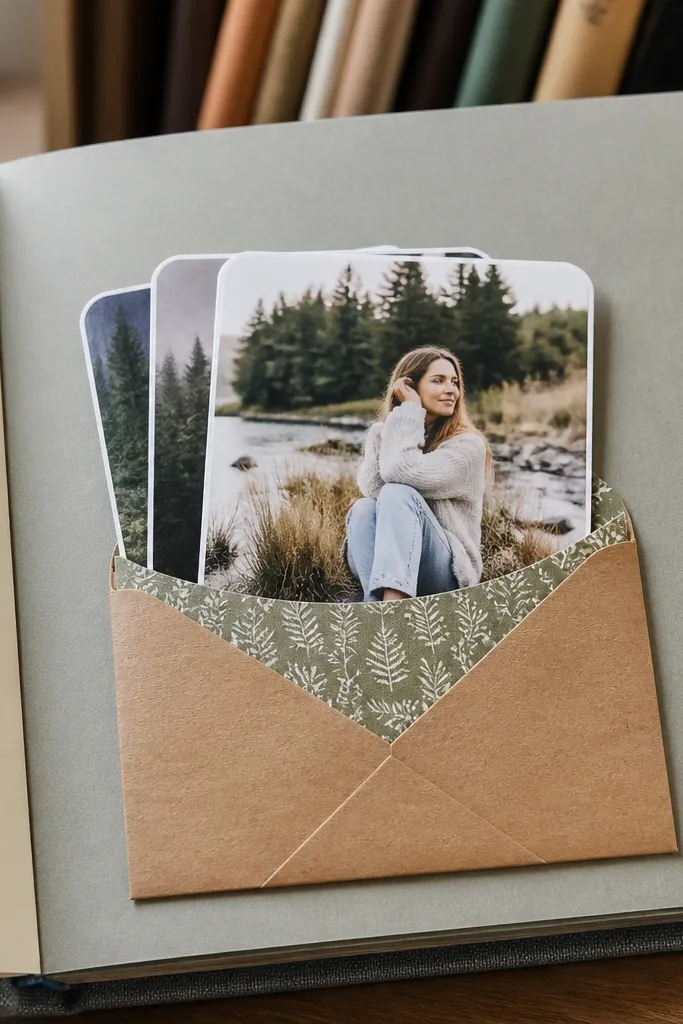
Cut an envelope from cardstock or use a thrifted mini envelope, then trim it so it fits your page with at least 1/2 inch clearance on the sides. Glue the envelope pocket to the page base only on the sides and bottom, leaving the flap area functional. Print or trim mini photos to a consistent size like 2x3, then stack them inside the pocket. Add a journaling label on the outside flap area so the pocket has a clear purpose in the layout.
Pocket pages are the fastest way to look “album-worthy” without buying page protectors for every photo. A small envelope pocket holds multiple mini photos, so you stretch your memories without crowding the layout. It’s beginner-friendly because envelopes are already the perfect size and shape, and you only add one hinge. The pocket also creates strong photo shadows, which makes the page look layered in pictures. This works for trips, family events, or any story with several quick moments.
AvoidDon’t overfill the pocket; leave room so the photos slide out cleanly.
Pro tipUse a scrap strip inside the envelope flap as a pull tab so opening doesn’t fight the paper.
11. Map scrap border with compass-style title

Map scraps give you an instant travel aesthetic and they look great even when they’re mismatched because the theme ties everything together. A border along the edges frames your photo and keeps the page from looking empty. The compass-style title is simple: you create a small circular label with arrows made from scrap triangles. This idea is beginner-friendly diy scrapbook ideas because it relies on cut shapes and basic glue, not specialized tools. It’s also a money saver because maps are easy to find in old books and junk mail.
Cut a map scrap into thin strips and glue them around the page edges as a border, leaving a clean inner margin. Create a circular title label by tracing a lid onto cardstock, then cut it out and add a short title. Make arrow shapes from map scrap triangles and place them around the circle like a compass. Finish by mounting your photo in the center and adding one journaling sentence on a narrow strip under the title.
Ink the map border edges with black so the border looks crisp against your base.
Avoid using busy map scraps inside the photo area; keep the center cleaner for readability.
12. Coffee sleeve mat with foil-stamped effect using marker
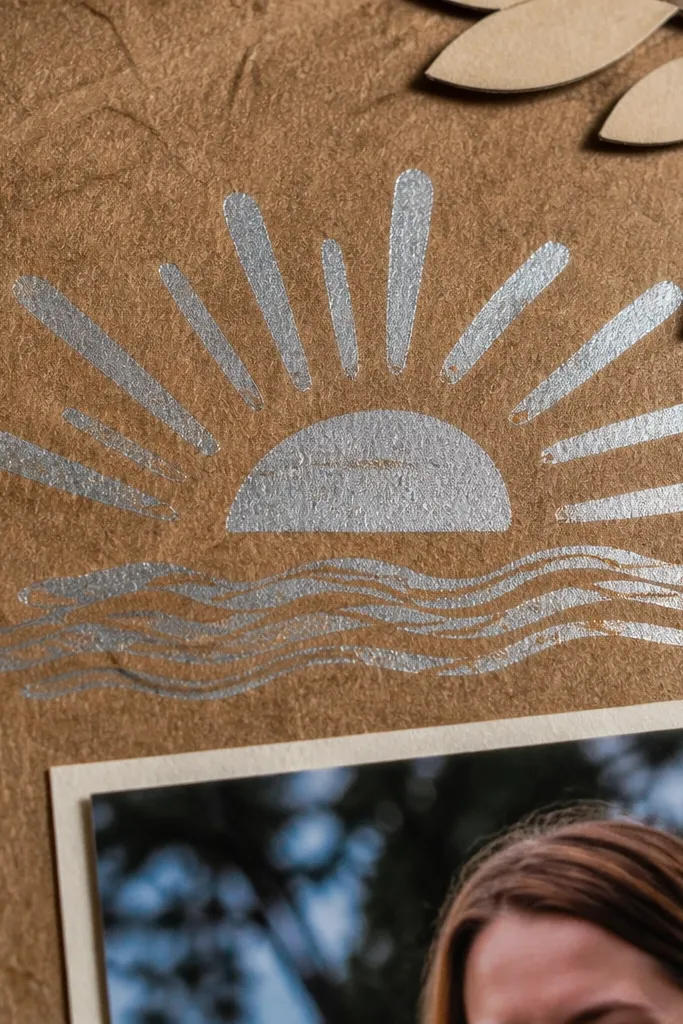
Trim a coffee sleeve so it fits as a photo mat behind a 4x6 or smaller photo, leaving a border for the page edges. Glue the sleeve onto cardstock to stabilize it, then let it dry flat under weight. Cut a simple title stencil from scrap cardstock, place it on top, and use a metallic marker to color over the openings. Add your photo and a short journaling strip beneath, then seal the edges with a thin layer of matte medium if your sleeve material is fragile.
Coffee sleeves bring an instant texture and printed branding vibe without paying for specialty paper. The sleeve material is slightly thicker than regular paper, so it holds up as a mat and looks tactile in photos. You can mimic a foil-stamped title by using a metallic marker on a cut-out cardstock stencil. This is beginner-friendly because the sleeve does the hard work of adding visual texture. It’s a great money saver for cafes, weekend routines, and anyone who wants pages that look “designed” from everyday items.
AvoidDon’t skip stabilizing the sleeve — thin sleeve paper can tear when you reposition.
Pro tipUse a craft knife and a metal ruler for clean stencil edges.
13. 3x5 photo strips with label tabs and eyelet accents
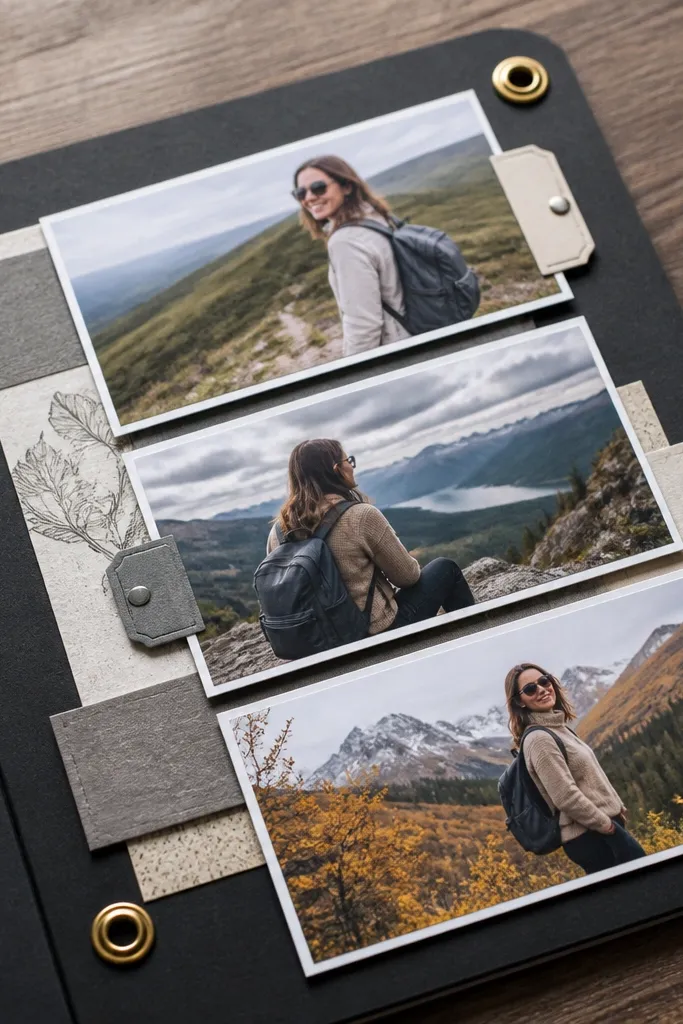
Stacked photo strips make pages look graphic and modern, and they save money because you can use multiple small prints instead of one big one. Label tabs add structure — each tab tells you what the strip is about. Eyelet accents make it photogenic because metal catches light, but you don’t need fancy tools beyond a hand eyelet setter or brad. This idea is beginner-friendly diy scrapbook ideas because cutting three strips is easy, and aligning tabs is just measuring. It’s ideal for timelines, trips, and “day by day” stories.
Cut three photo mats for 3x5 photos so each mat is the same width, leaving consistent spacing between strips. Glue the strips onto the page base in a vertical stack, then cut narrow cardstock tabs that align with the top edge of each strip. Punch a hole in each tab and insert a small eyelet or brad, then attach the tab to the page so it looks like a folder tab. Add journaling on each tab with a fine pen, and finish by outlining the photo mats with a black marker for contrast.
Outline mats with a ruler and a black marker for a clean, print-like edge.
Avoid uneven spacing — measure from one strip edge to the next.
14. Punch-out lace edge using doily scraps
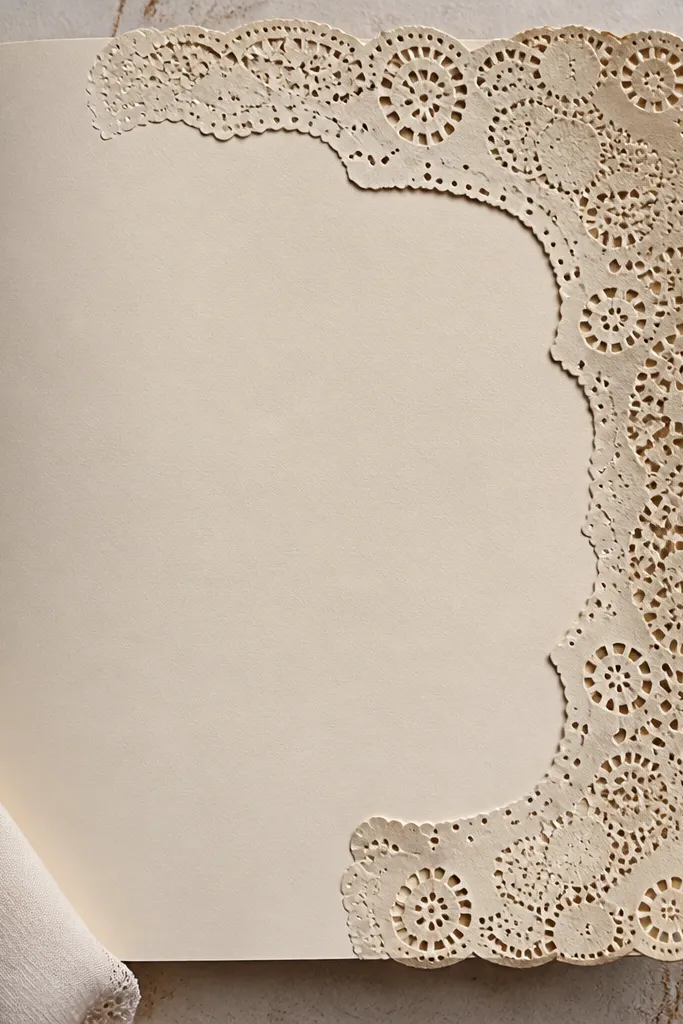
Flatten a doily scrap and cut a section that matches the width of one side of your page. Glue it along the edge of the base, then trim the overhang neatly with scissors. Place your photo slightly inset so the doily edge frames it. Ink the doily edge lightly with a dark marker so it shows up in photos, then add a small title strip in a contrasting color near the top.
Doily scraps create a lace edge that looks delicate and expensive. You get the aesthetic of lace without buying lace trim, and it photographs beautifully because the edge creates a soft silhouette. The key is to use doily as a border, not as a full background that can look busy. This is beginner-friendly diy scrapbook ideas because you just cut and glue, and you can hide glue lines under the doily texture. It’s great for anniversary pages, gifts, and soft-themed photos.
AvoidDon’t glue doily directly on top of thick textured paper; it can lift and curl.
Pro tipUse matte adhesive so the doily doesn’t look shiny under lights.
15. Magazine cutout collage with paint swipe background
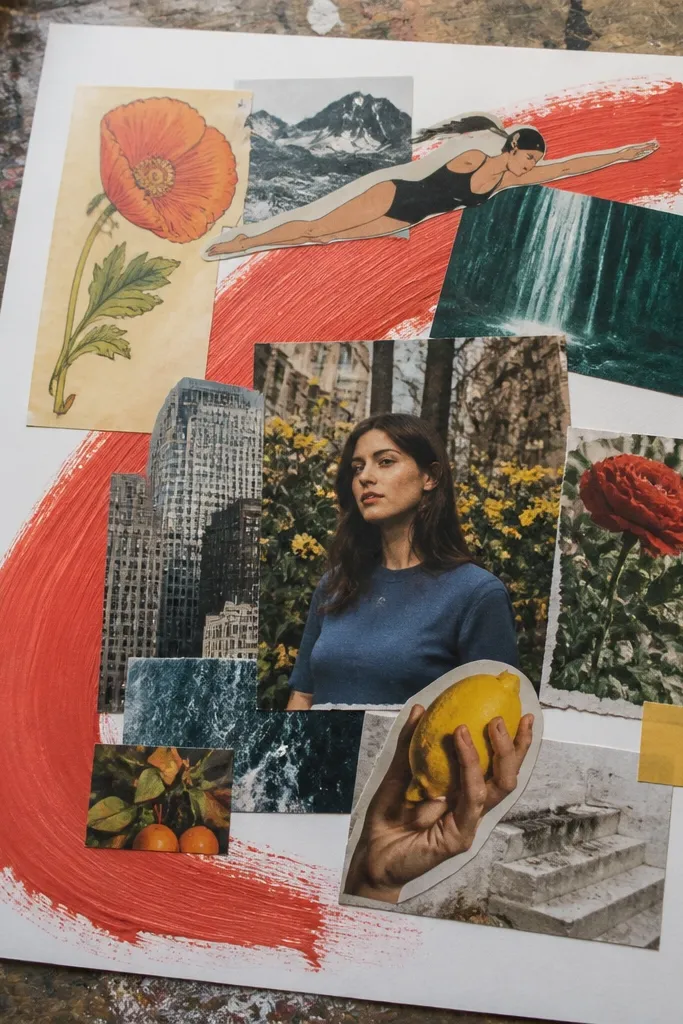
Pick one paint color and swipe it across the page base with a wide brush, then let it dry fully. Cut shapes from magazine pages — letters, icons, and small images — and arrange them into a cluster around your photo. Glue the cutouts down with a glue stick first, then reinforce the edges with a thin tape strip. Add a thin journaling line in black pen so the page has a readable anchor in the photo.
Magazine cutouts are free visual elements that add color and typography, which makes your scrapbook page feel styled. A paint swipe behind the collage is the secret: it creates a cohesive background so the cutouts don’t look like random clippings. This layout is beginner-friendly because you can control the look with one brush stroke and one color direction. It’s photogenic because the cutouts create crisp edges and the paint swipe adds a smooth texture. Great for teen photos, events, and anything that needs bold color.
AvoidAvoid using too many different paint colors; one swipe color is enough.
Pro tipStick to one magazine page style per layout so the typography doesn’t clash.
16. Dried flower press cardstock with stamped date
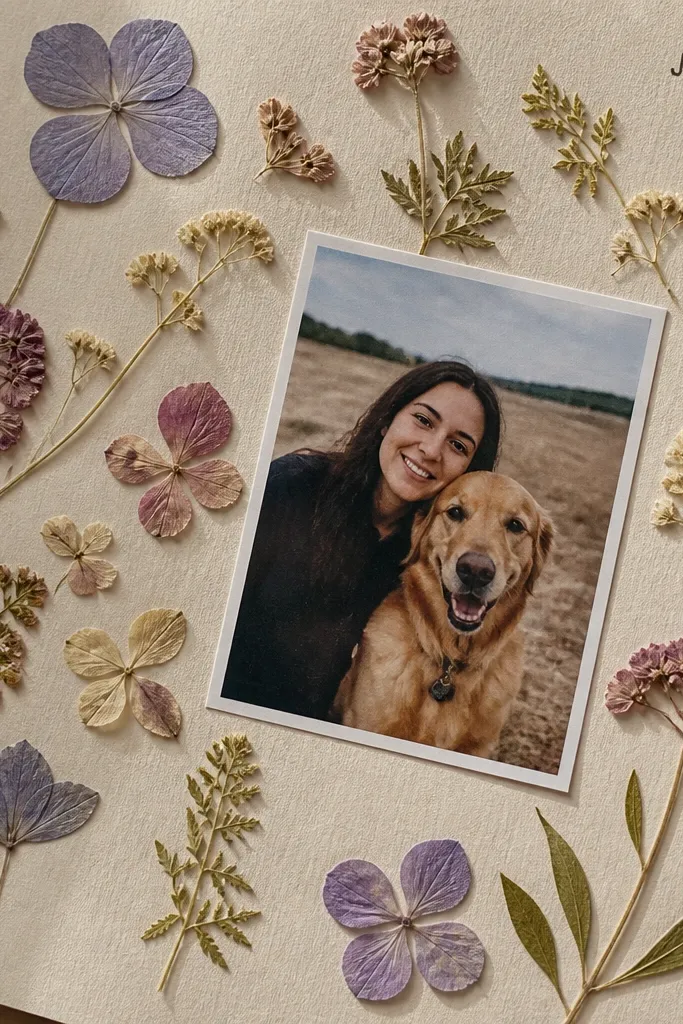
Press flowers between heavy books for 1-2 weeks so they are flat and dry. Cut a cardstock rectangle and arrange the flowers on top, then place a piece of clear tape or clear matte medium over them to hold them in place. Stamp the date on a small label and glue it near the flowers. Add your photo or a small journaling strip beside the pressed flowers, then frame everything with a thin border strip of colored cardstock.
Pressed flowers look gorgeous on scrapbook pages and they photograph like natural confetti. The money-saving part is that you can press flowers from walks or garden clippings, then use scrap cardstock as the base. Stamped dates make it feel organized, not random. This is beginner-friendly diy scrapbook ideas because the pressing method is simple and the placement is forgiving as long as you keep the composition clean. It’s best for soft, calm photos — weddings, memorials, spring moments, and gift pages.
AvoidDon’t skip sealing the flowers — loose petals fall off during handling.
Pro tipUse tiny flowers and thin petals so they don’t create bulky layers under tape.
17. Thread-wrapped cardstock frame around a photo
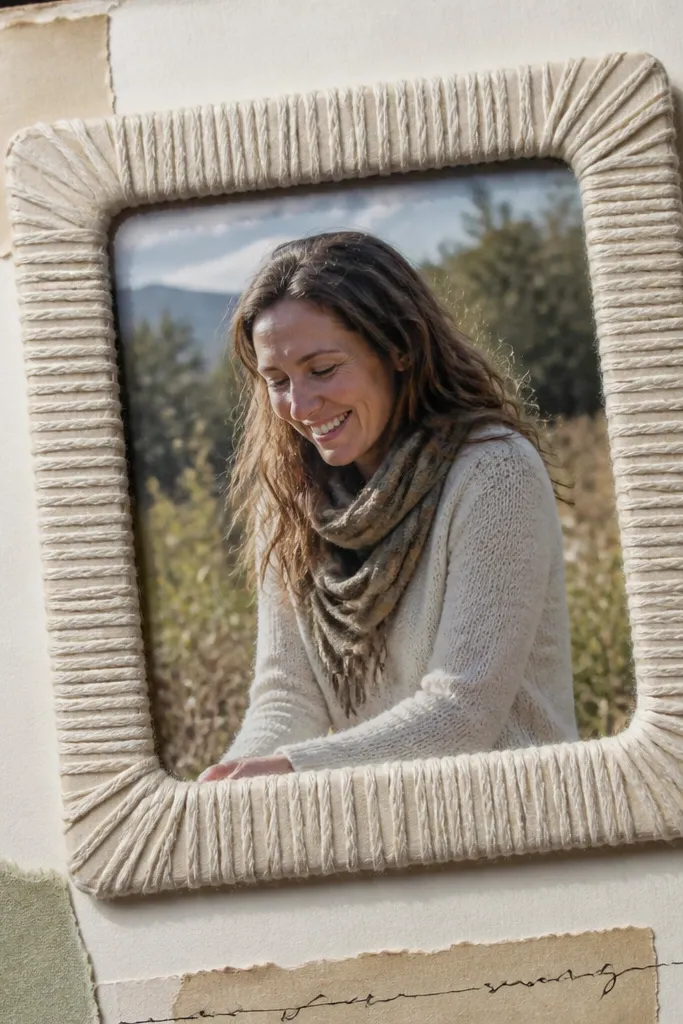
Thread-wrapped frames make a page look handcrafted and textured without adding heavy bulk. The frame acts like a picture mat, but with a tactile twist that makes it pop in photos. This is beginner-friendly diy scrapbook ideas because you can wrap thread slowly around a pre-cut frame and stop whenever the look feels full. It’s also a good money saver since thread is cheap and you can use leftover yarn or embroidery floss. It suits portraits and any photo where you want a cozy, artsy vibe.
Cut a cardstock frame with an inner window sized to your photo, then cut another thin strip of cardstock to create a shallow channel. Glue the thin strip behind the frame edge to make a ledge for thread to sit on. Wrap embroidery floss or twine around the frame edge, gluing at intervals so it stays tight. Mount your photo inside the window and add a short title strip at the bottom with black pen.
Use two colors of thread max so the frame stays readable in photos.
Avoid wrapping too loose; slack thread looks messy instead of handmade.
18. Gel pen doodle border with a clean photo center
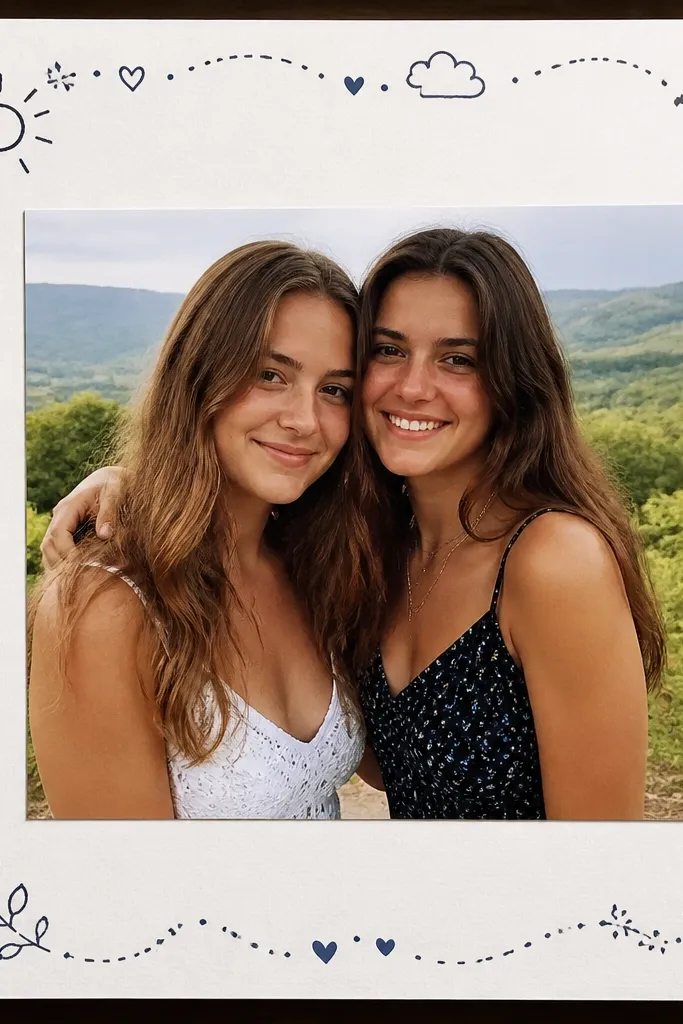
Doodle borders are the lowest-cost way to make a page look like it came from a themed scrapbook kit. Keep the center clean and let the border do the work: small icons, dots, and curved lines around the edges. This is beginner-friendly because you don’t need drawing skills — just repeat simple shapes. Photographically, a clean center makes the photo the star, while the doodles add personality without clutter. Great for kids' photos, friend trips, and casual documentation.
Choose a base cardstock and place your photo in the center with a mat if you want contrast. Draw a border around the photo using a gel pen in black or a color that matches your page theme. Add small repeated shapes — stars, hearts, or arrows — at equal intervals, then write a short caption on a strip at one corner. Seal the pen lines lightly with clear matte spray if you live in a humid area or if pages will be handled a lot.
Use a ruler for the outer border line, then doodle freehand inside it.
Don’t doodle over the photo — keep the border outside the mat area.
19. Layered paper rosette title using scrap strips
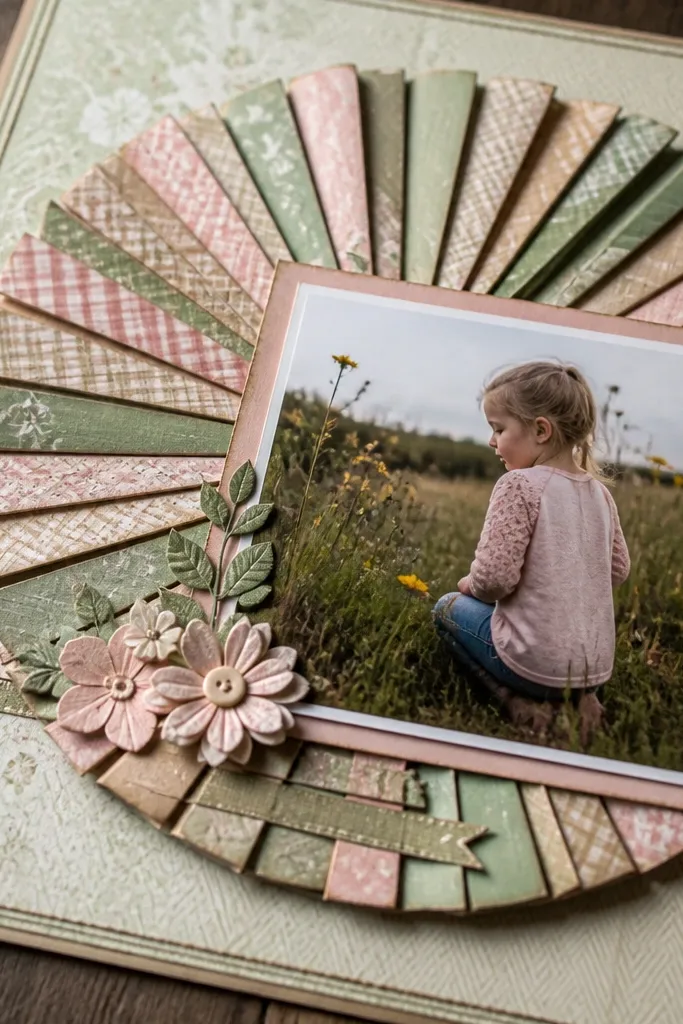
Paper rosettes look fancy but they’re made from scraps you already have. A rosette behind the title gives you a dramatic focal point and makes even a simple photo layout look styled. This is beginner-friendly diy scrapbook ideas because the construction is repetitive and forgiving: cut strips, fold, glue, repeat. It’s money-saving since you can use old wrapping paper, grocery bags, or magazine offcuts. Photographically, rosettes create a layered shape that catches light and adds depth.
Cut 10-14 paper strips about 1 inch wide and 4-6 inches long, mixing two colors for contrast. Fold each strip lengthwise, then glue the folded pieces around a small circle cut from cardstock. Build the rosette by layering the strips around the circle, then glue a small rosette center cap on top to hide seams. Attach the rosette behind a title strip and place your photo below, leaving space so the rosette stays the focus.
Use a glue stick for the strips — it sets faster and avoids warping thin paper.
Don’t use super thick cardstock for the strips; it makes the rosette bulky.
20. Photo corner pocket with acetate tag
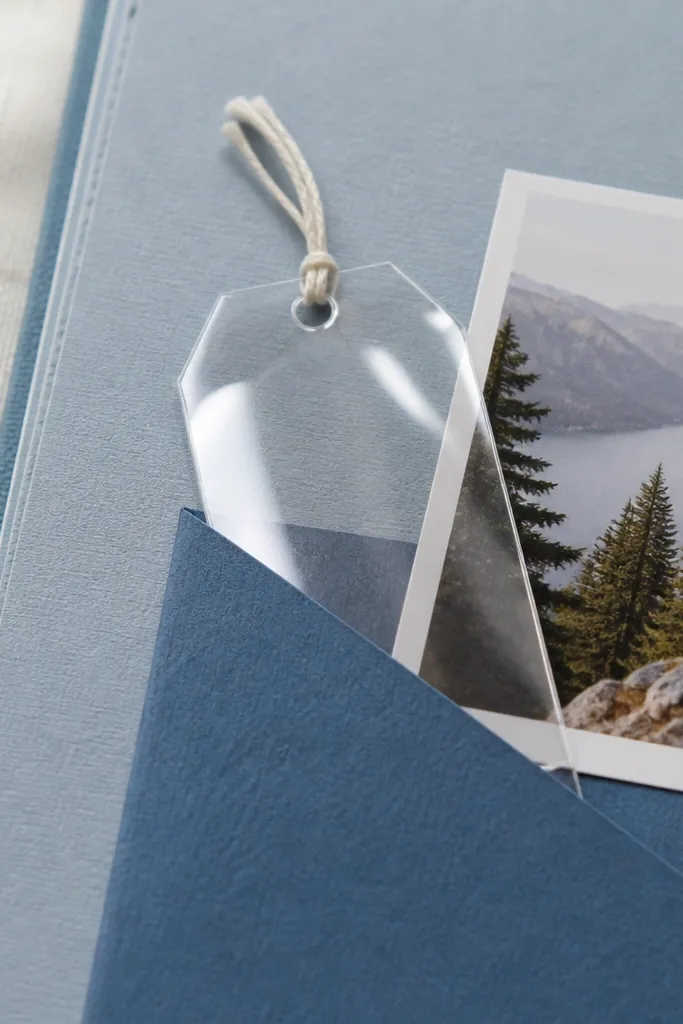
Cut a small square of cardstock for the pocket, then trim one side to create a flap-free pocket opening. Glue the pocket to the corner of your base, aligning it so the opening faces inward toward the photo. Cut a tag from clear packaging plastic and punch a small hole for a string loop, then write a short note on the back of the tag using a permanent marker. Add a small photo mat near the pocket so the pocket looks integrated rather than stuck on.
This layout is clean, modern, and interactive. A corner pocket uses scraps efficiently and keeps the page from looking crowded, while an acetate tag adds a glossy highlight that shows up in photos. It’s beginner-friendly diy scrapbook ideas because you can build the pocket with simple cardstock and cut a tag from packaging plastic. The result looks like a store-bought embellishment, but it costs almost nothing. It works well for recipe pages, travel notes, and any page where you want a “pull-out” detail.
AvoidAvoid using greasy plastic; wash and dry acetate packaging first so ink stays put.
Pro tipUse a hole punch for the tag hole so it stays round and neat in photos.
21. Punchy color block background with torn edge photo
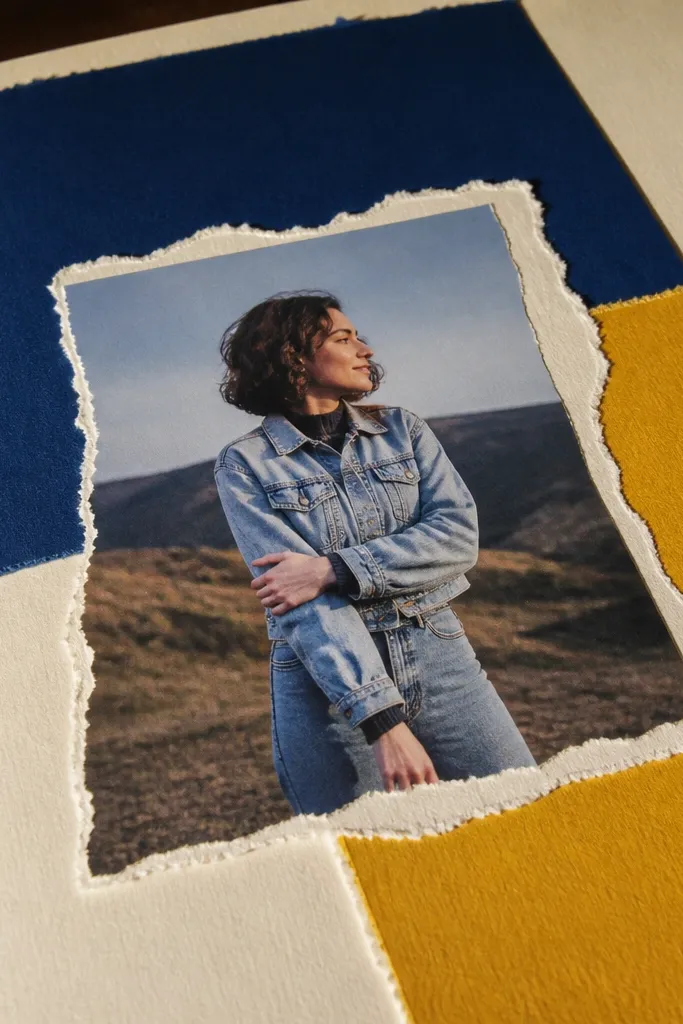
Choose two cardstock colors: one for the background block and one for the base. Cut a color block rectangle and glue it slightly offset, leaving an even border around the page. Tear the photo edges by tearing a paper copy of the photo mat first, then place the photo on top so the tear edge shows. Ink the torn edge with a dark marker, then add a title strip in the opposite color for strong contrast.
Color blocks make scrapbook pages look graphic and intentional, and they’re great for saving money because you can paint or use cardstock scraps. The torn edge photo keeps the layout from looking too stiff, and it softens the color block so it still feels handmade. This is beginner-friendly diy scrapbook ideas because you can keep the build simple: one block, one torn photo layer, one title strip. It photographs well because the contrast is high and the torn edge creates texture. Perfect for bold travel shots and modern family photos.
AvoidDon’t choose two colors that are too close in tone; you need contrast for the graphic look.
Pro tipUse matte cardstock for the color block so it doesn’t reflect harsh light in photos.
22. Black cardstock page with white gel pen journaling
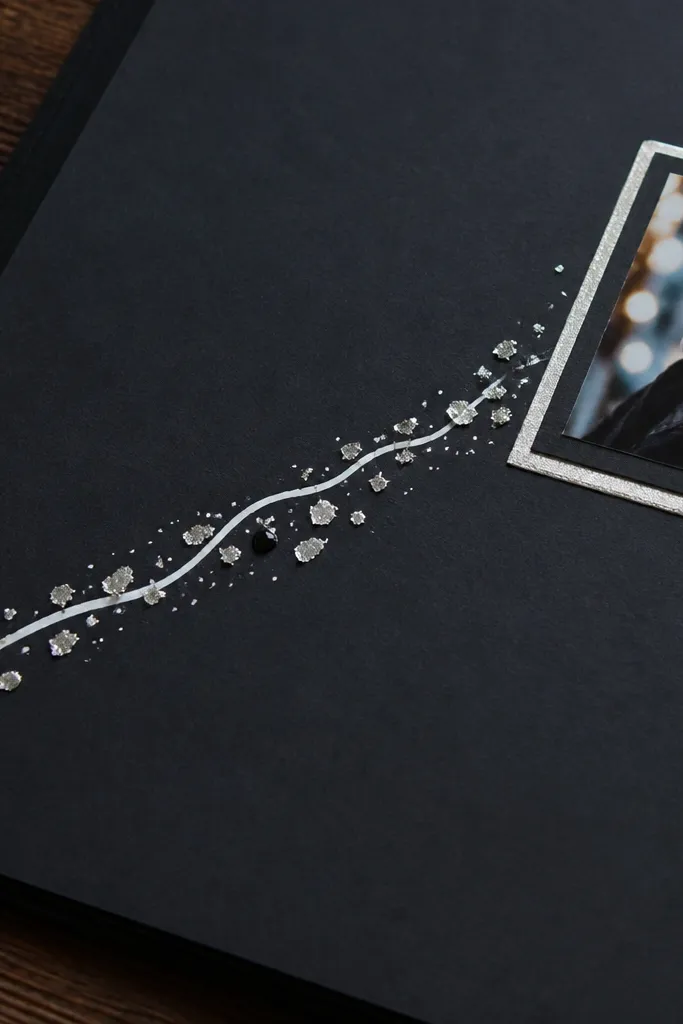
A black page turns cheap photos and basic supplies into a high-contrast, gallery-style layout. White gel pen journaling looks crisp and photogenic, and you can add small silver or white accents using scrap metallic paper. This is beginner-friendly diy scrapbook ideas because you don’t need fancy embellishments — the contrast does the work. It’s also a money saver since black cardstock can replace patterned paper. This layout suits night outings, concerts, and moody portraits.
Cut black cardstock to your album page size. Glue a photo mat in a lighter cardstock color and place the photo slightly off-center to keep it dynamic. Write your journaling directly on the black page using a thick white gel pen, then outline the photo mat edges with the same pen. Add a tiny accent shape from scrap metallic paper and glue it near the title area, then let the ink dry flat before closing the album.
Test white gel pen on a scrap first; some brands need a few passes to look solid.
Avoid thin, wobbly handwriting; keep letters bold so they read in photos.
23. Layered ticket stubs with angle-corner journaling
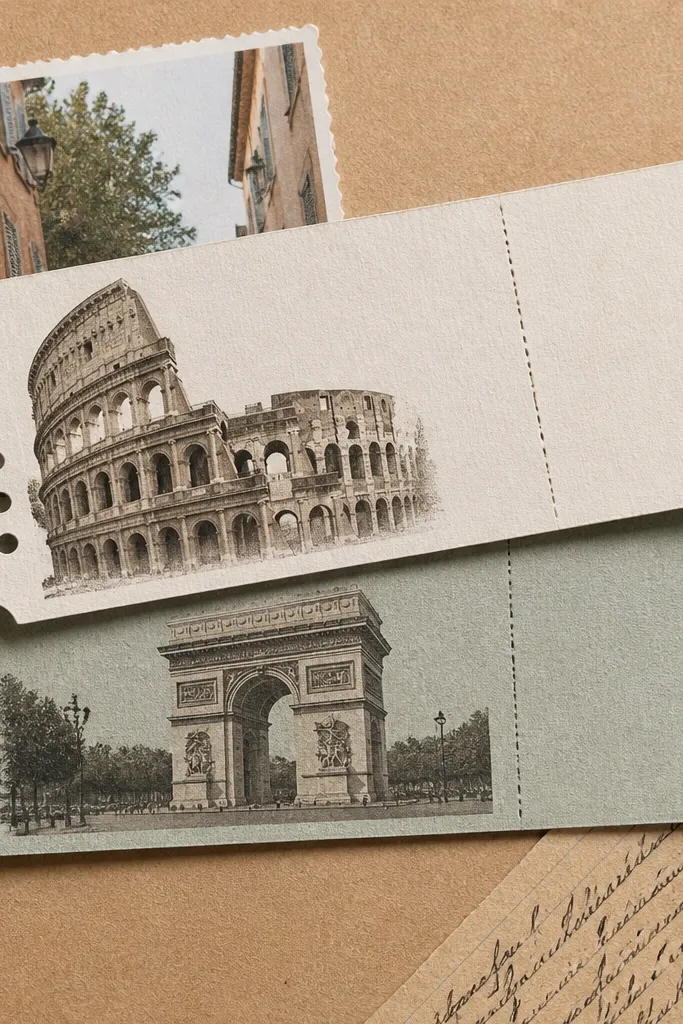
Gather ticket stubs or printed ticket-like scraps and trim them so they share a common width range. Glue one stub flat at the top, then layer a second stub slightly lower and at a small angle, and repeat once more for depth. Place your photo in the center and tuck the ticket layers behind or beside it so the ticket edges frame the photo. Cut a narrow journaling strip of cardstock, rotate it to match the angle of the ticket layers, and write 2-3 lines with a fine black pen.
Ticket stubs and similar paper bits are already formatted, which makes them perfect for a cost-smart scrapbook page. Layering them with slight angles gives you depth without buying die-cuts. Angle-corner journaling looks clean because the text sits on a diagonal strip, echoing the ticket tilt. This is beginner-friendly diy scrapbook ideas because it uses simple paper stacking and a single pen. Photographically, the diagonal layers create strong lines that guide the eye to your photo.
AvoidDon’t stack everything at the same angle; small angle changes make it look intentional.
Pro tipUse a thin foam strip under only one top layer so the page has a visible shadow line.
24. Magazine strip spine with vertical date lines
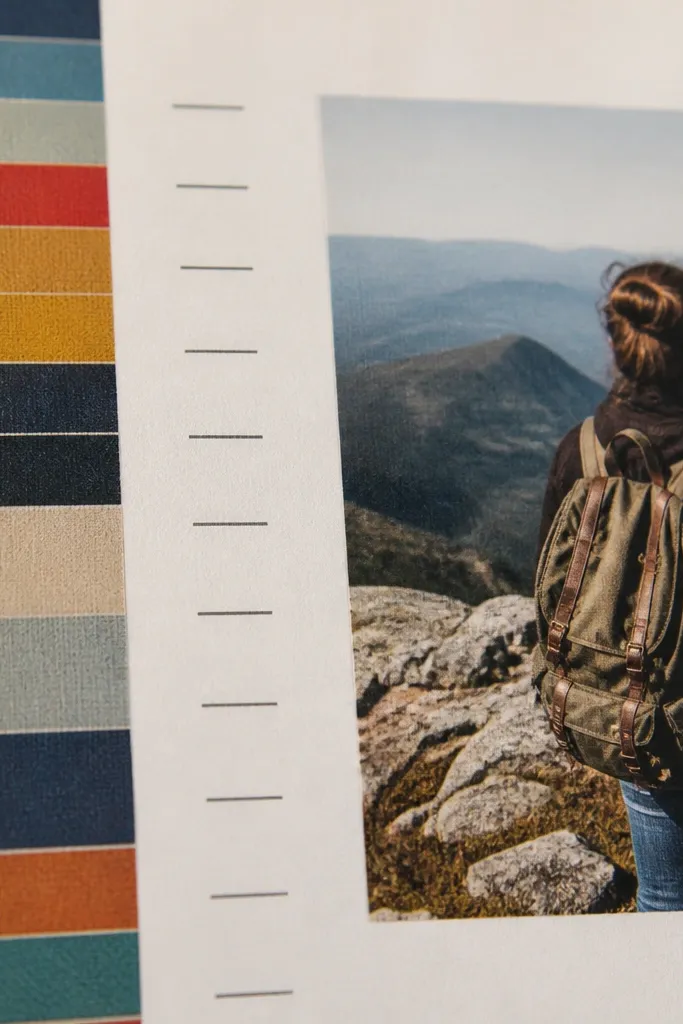
Cut several vertical strips from magazine pages, keeping each strip width within 1/2 inch. Glue the strips onto a page base so they create a spine area on one side (or centered), leaving a blank space for the photo. Add a vertical date line by cutting a narrow cardstock strip, writing the date in a straight column, and gluing it alongside the strips. Mount your photo into the blank space and add a short horizontal caption strip to balance the vertical design.
A magazine strip spine gives you instant texture and color organization, and it’s a smart way to use scraps from old issues. Vertical date lines make the page feel structured like a timeline, which is great for events with a sequence. This is beginner-friendly diy scrapbook ideas because you only need straight cuts and consistent spacing. It’s also money-saving since you’re using waste paper as the main design element. In photos, the vertical lines create a clean rhythm that looks designed even when the text snippets vary.
AvoidDon’t glue strips all the way to the edge; leave a border so the design looks framed.
Pro tipPick strips with one dominant color family so the spine looks cohesive.
25. Foam sticker label cluster with layered shadow effect
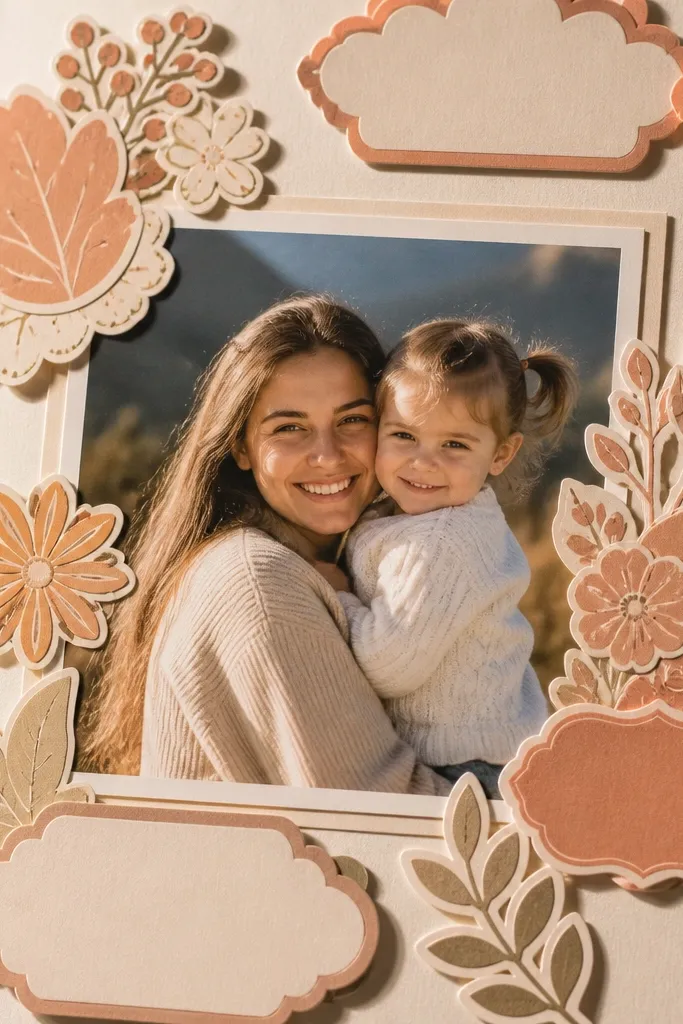
This look uses depth instead of expensive embellishments. You cluster a few label shapes around the photo and raise them with foam tape so they cast shadows. It’s beginner-friendly diy scrapbook ideas because it’s mostly cutting simple shapes and placing foam tape in the right places. The raised labels look crisp in photos, and the cluster gives you a focal point even with minimal journaling. It’s a good choice when you want a clean, modern aesthetic and you have a small sticker stash.
Cut 4-6 label shapes from cardstock in two sizes, and write short words on them with a black pen. Place the photo in the center, then arrange the labels around it into a tight cluster. Use foam tape under each label except one flat label so you get a layered shadow effect. Add a small strip of journaling underneath the cluster and press the page flat so foam tape bonds cleanly.
Use small foam tape squares to prevent labels from lifting at the edges.
Avoid raising everything; one flat element keeps the cluster from looking messy.



