1. Cereal-Box Grid Board With Washi Borders
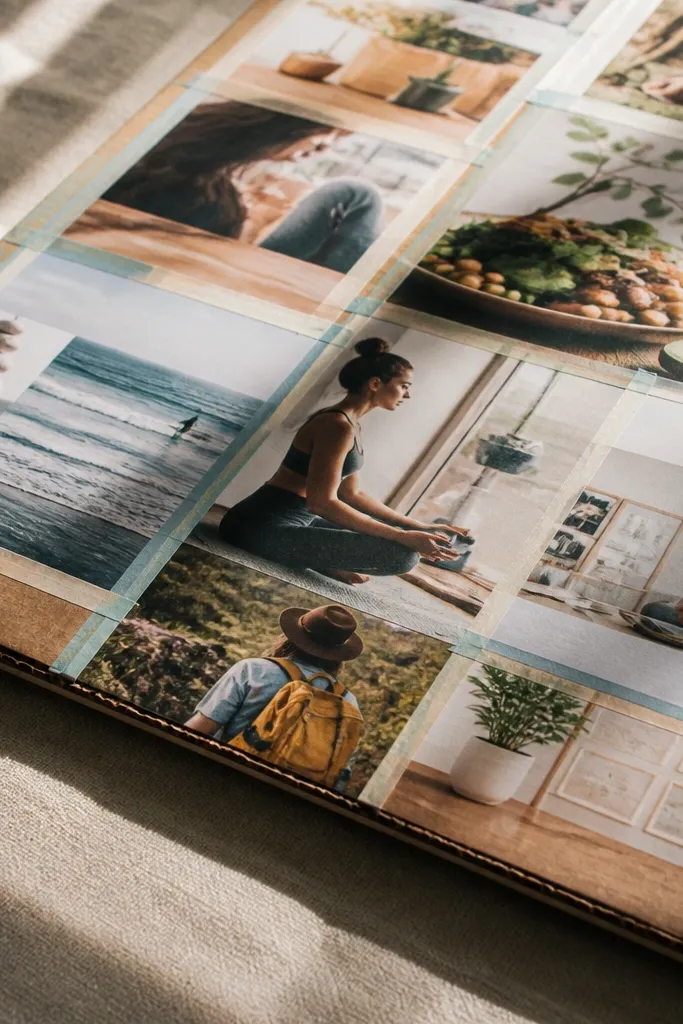
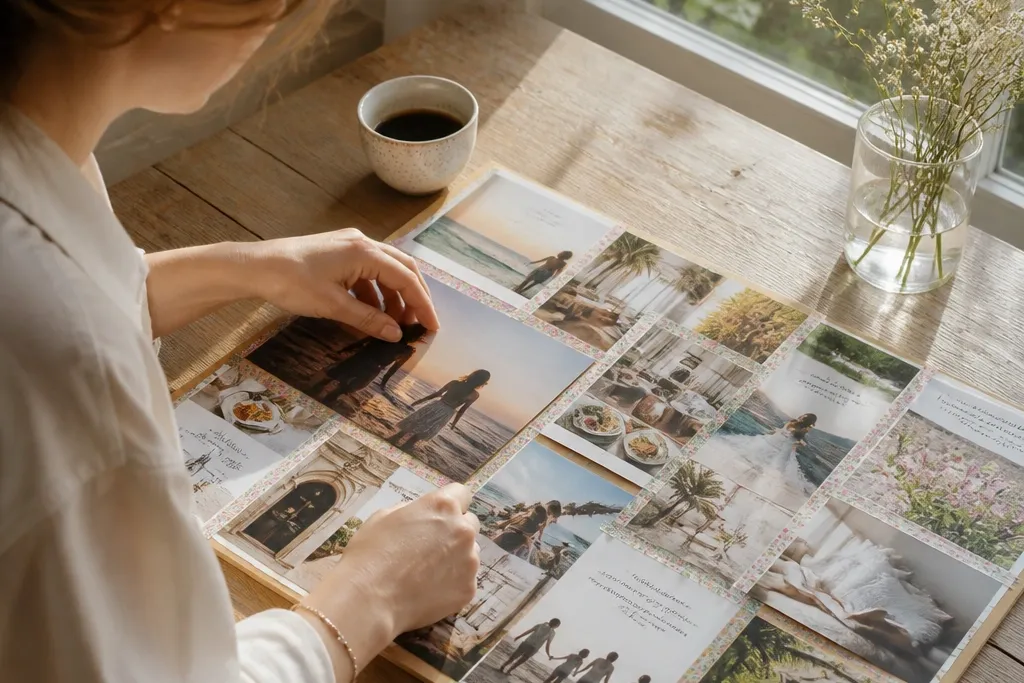
This is the easiest way to get a clean, Instagram-looking vision board without buying anything fancy. Cardboard gives you a sturdy backing, and a grid layout keeps the spacing under control while you’re still learning. Use magazine cutouts and printed photos in matte finishes so nothing glares under light. The thin washi tape borders make every square feel intentional, like a mini art print.
Cut a piece of cereal-box cardboard to your preferred size, then lightly sand the surface so it won’t snag paper edges. Mark a grid with a ruler using pencil, then add washi tape lines over the pencil to create crisp borders. Glue each image square with a glue stick for paper and trim the edges with a craft knife so they sit inside the tape lines. Finish by sealing the front with a light spray of matte acrylic (from 10-12 inches away) so the board looks uniform in photos.
Use a metal ruler and a sharp blade for straight cuts — it makes the grid look designed.
Don’t stack glossy printouts next to matte clippings; it makes the board look patchy.
2. Drawer Front Vision Board on Picture-Hook Rail
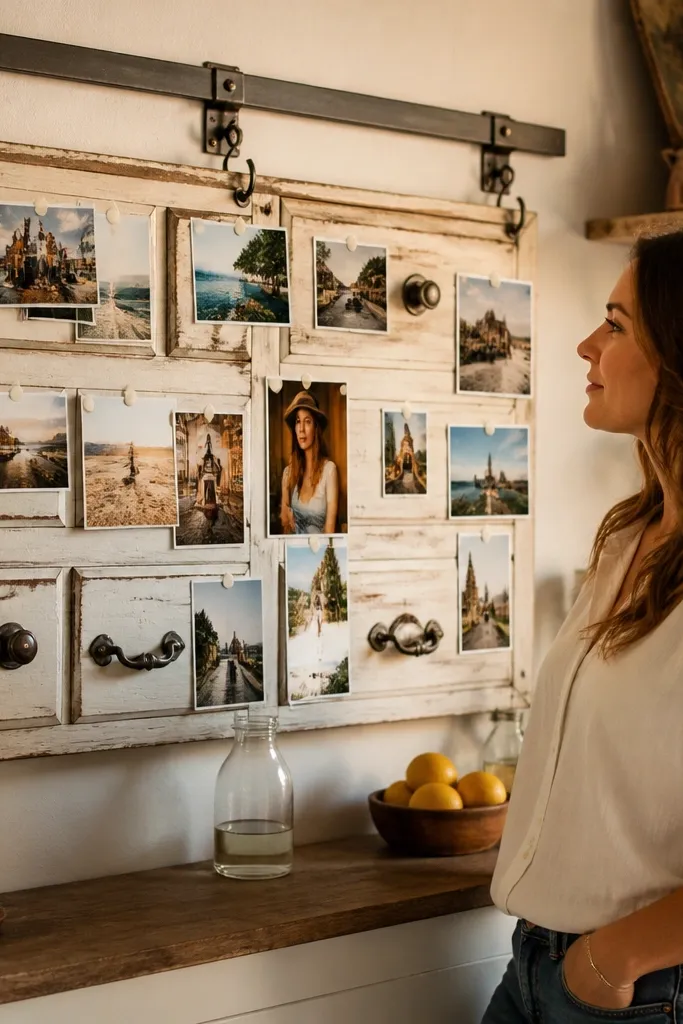
A drawer front already has a natural frame, so your vision board looks polished even when you keep the build simple. The hardware vibe is visually strong, and photos capture the depth because the images sit slightly off the surface. You can swap pieces later without peeling anything, which is handy when your goals change. It’s also a great option if you want something wall-ready and sturdy.
Sand the drawer front lightly, then wipe it clean and paint it in one flat color (chalk paint or flat wall paint). Screw a simple picture rail or two small hooks along the top edge, then stretch a short length of twine or thin wire horizontally. Cut images to match a vertical rhythm, punch a small hole near the top of each, and tie them to the twine with consistent knots. Add a border by placing one piece of patterned paper or fabric behind the images so the background stays cohesive.
Pro tipDrill pilot holes for the hooks so the wood doesn’t split.
AvoidSkip hot glue on the front — it can create shiny blobs that show in photos.
3. Old Frame Photo-Window Decoupage
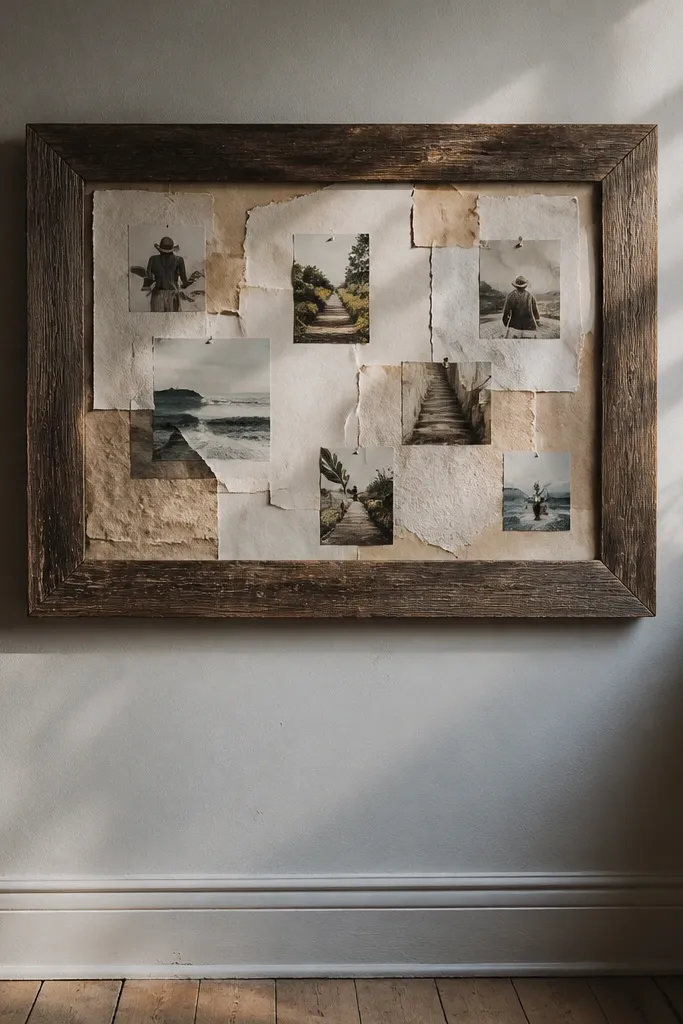
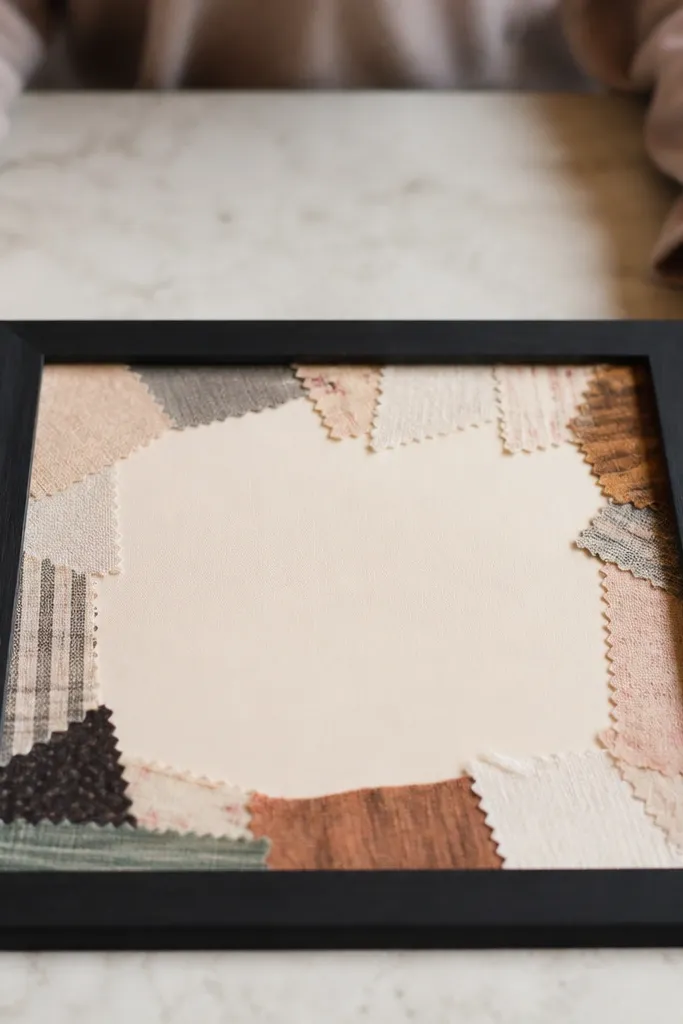
Frames make vision boards look like real wall art, not craft clutter. The window area gives you a defined “stage” for your images, and decoupage lets paper blend into the background instead of floating awkwardly. Torn edges add texture and make the board look richer under side lighting. This is a beginner-friendly project because the frame does the heavy lifting for shape and structure.
Remove any glass from the frame and clean the inside surface. Apply a thin coat of gel medium or decoupage glue to the frame backing, then place torn paper strips first as your background layer. Add your printed photos and magazine cutouts on top, smoothing each piece from center outward to avoid bubbles. Seal everything with another thin coat, then let it dry flat for at least 24 hours before rehanging.
Tear paper instead of cutting for the background — it hides small placement mistakes.
Don’t over-saturate with glue; it can warp the paper and create wrinkles.
4. Kraft Paper Poster With Masking-Tape Blocks
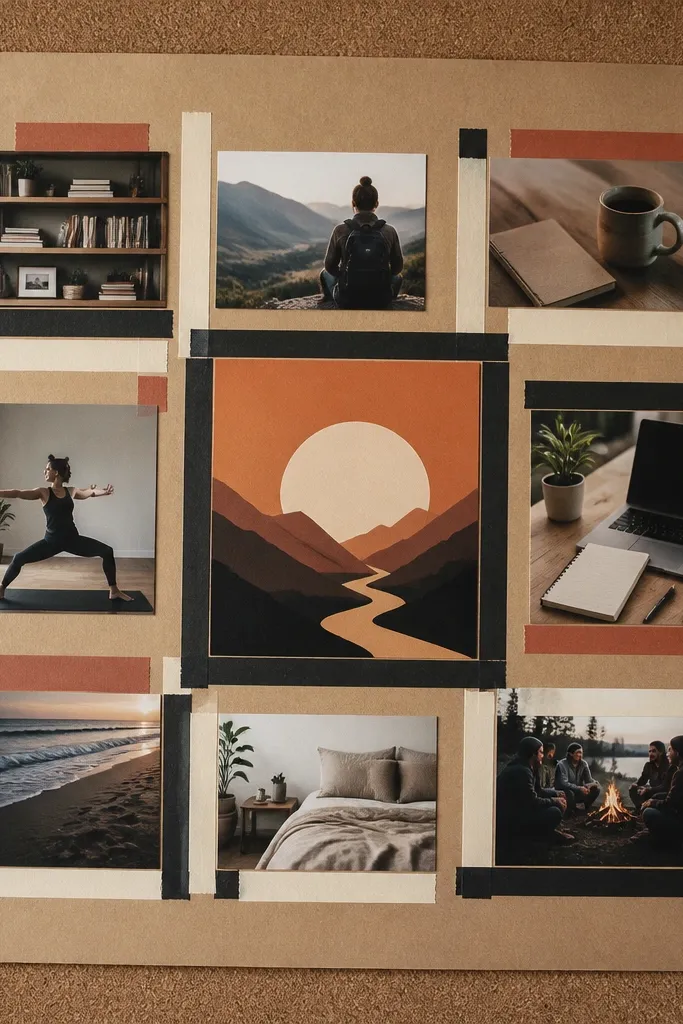
Kraft paper gives you instant warm color, and masking tape blocks make the design feel graphic. It’s a strong look for any theme because the tape becomes your layout grid without needing perfect measurements. Matte clippings keep it camera-friendly, and the tape edges make the board look crisp. If you want something you can update later, this works well because you can replace taped sections.
Tape kraft paper to a flat board so it stays smooth, then plan your blocks with pencil squares. Lay masking tape rectangles with consistent gaps, then glue images inside each block using a glue stick. When everything is placed, seal the paper lightly with matte acrylic spray to reduce shine. Add a simple title strip at the bottom with a different paper color (white or black) so the board looks finished.
Pro tipUse one tape width across the whole board for a cleaner graphic look.
AvoidDon’t use too many colors — kraft already brings warmth, so keep the accents tight.
5. Fabric Scraps Vision Board With Heat-Set Adhesive Backing
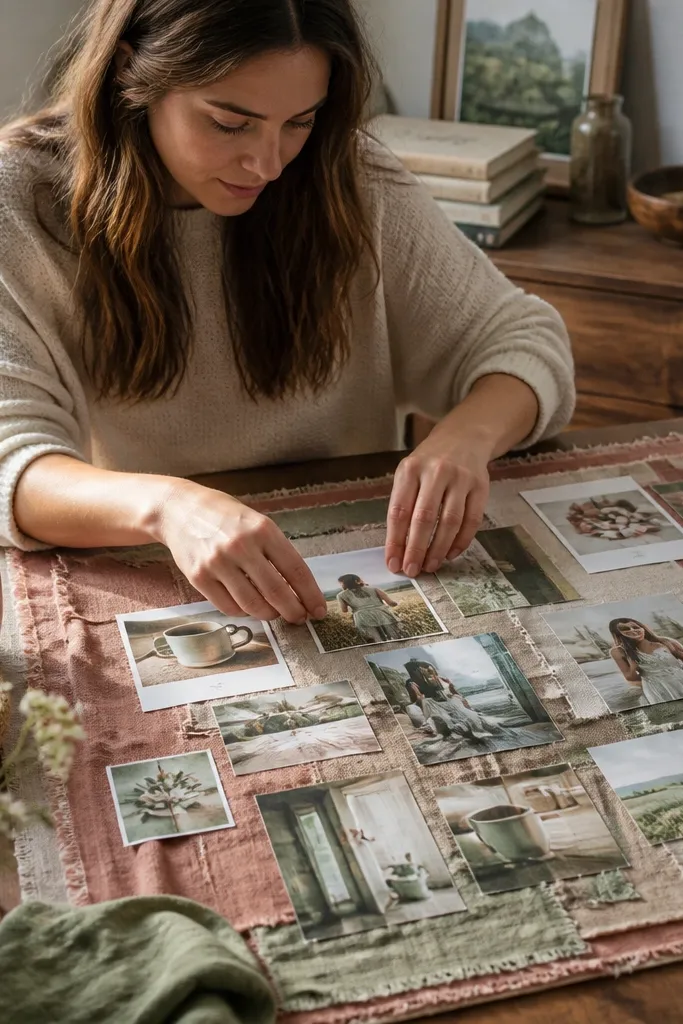
Fabric makes your vision board look tactile and premium in photos because you get visible texture. The patchwork background also hides minor placement issues and makes the whole board feel cohesive. For beginners, the easiest method is to create a fabric base and then glue or stitch images onto it. This is great for cozy themes like home, self-care, and style goals.
Cut a piece of sturdy backing board (foam board or thick cardboard) and cover it with fabric scraps using heat-set adhesive or fabric glue. Press each patch flat so seams don’t lift. Once dry, arrange your printed photos on top and either glue them with fabric-safe glue or stitch around the edges with a simple running stitch. Finish by adding a border strip of one solid fabric color to frame the board neatly.
Press with a dry iron over a thin cloth to flatten seams before placing images.
Skip slippery satin scraps — they fight glue and cause images to peel.
6. Magazine Cutout Typography Board on Black Poster Board
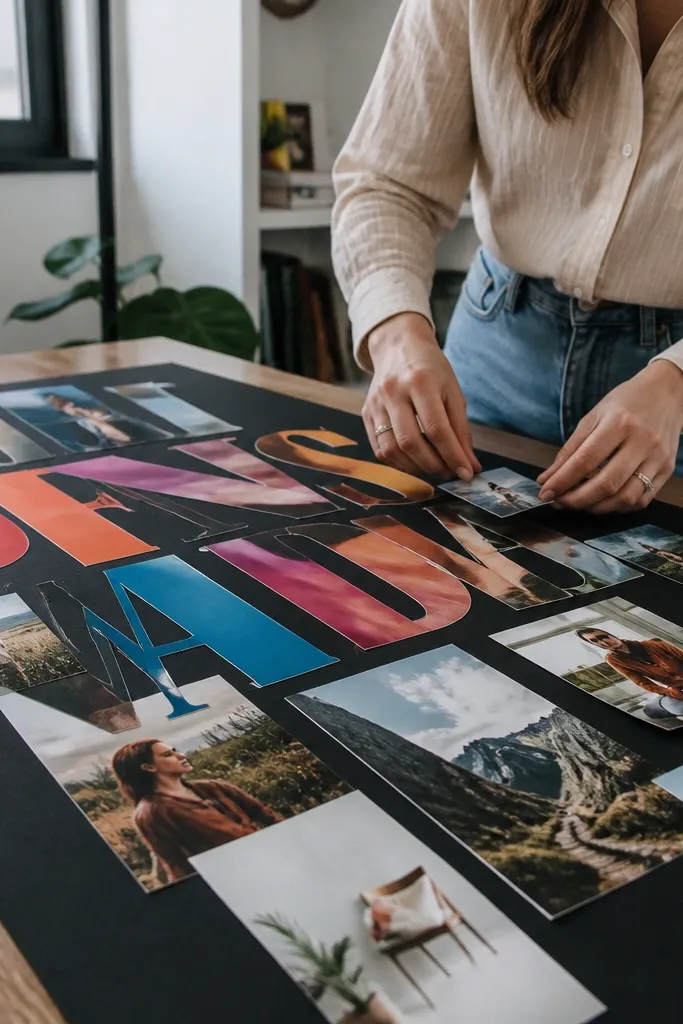
Black poster board makes colors pop and makes your vision board look bold even with simple materials. Typography is the secret weapon here: big magazine letters create a strong focal point and reduce clutter. Keep photos smaller and let the letters do the talking. The result looks like modern graphic design, not a scrapbook.
Cut black poster board to your size and plan two big text clusters plus smaller photo accents. Use magazine letters (cut cleanly with a craft knife) and arrange them first without gluing so you can move them until it feels right. Glue letters with a glue stick, then add small matte photos around them. Seal with matte acrylic spray to keep everything looking consistent and to reduce glare.
Pro tipPick one letter style direction: either one chunky font set or one thin font set, so it looks intentional.
AvoidDon’t scatter tiny images everywhere; it kills the graphic punch.
7. Painted Pegboard Vision Board With Clip Frames
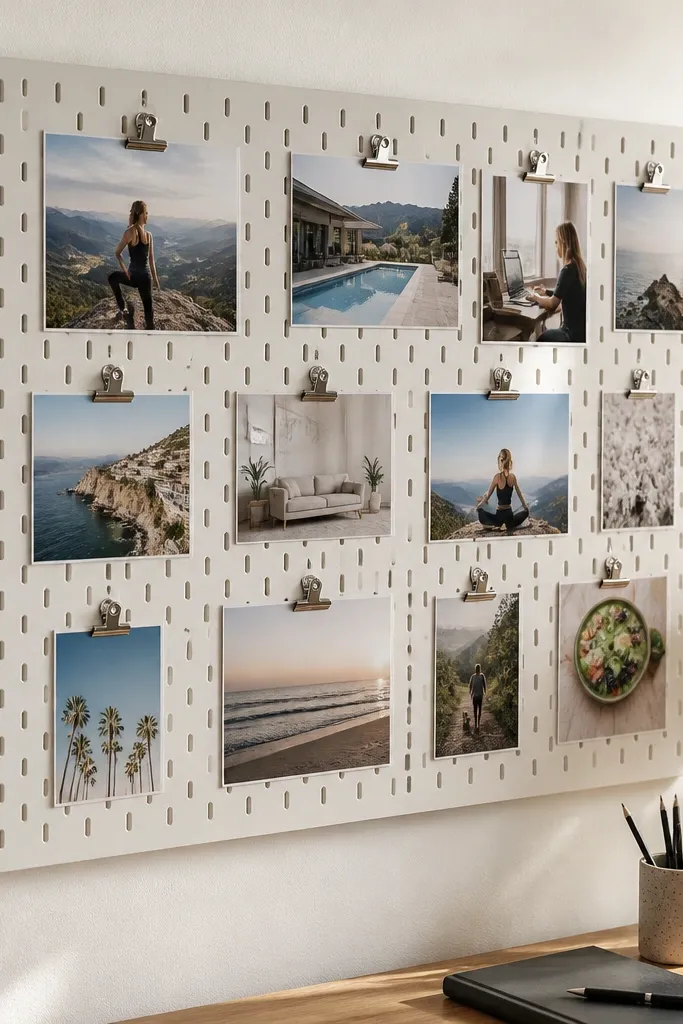
Pegboard is a beginner’s cheat code because it gives you built-in structure and photo-friendly texture. You can clip images in and out, which makes updating easy without damaging paper. The board looks clean and modern, especially when you paint it one flat color. It’s also ideal if you want your board to function like a mood wall for a room corner.
Cut pegboard to size and paint it with flat wall paint or chalk paint, then let it dry fully. Add small clip frames or binder-style clips to hold photo papers, or use mini clothespins with small hooks. Arrange your images by grouping them by color or theme, then clip them into place. Add one strip of fabric or paper along the bottom edge as a grounding band so the wall photo looks finished.
Pro tipPre-plan the hole spacing with a ruler so your clips line up in neat rows.
AvoidDon’t overcrowd the pegboard; leave empty space for a clean, designed look.
8. Watercolor Wash Background With Decoupage Photos
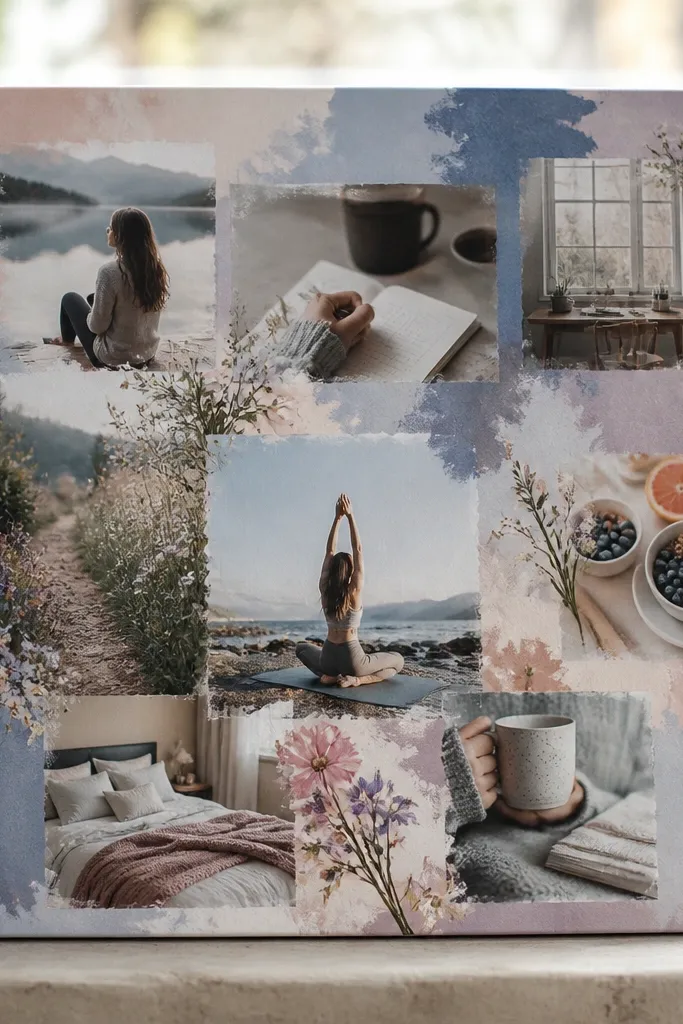
A watercolor wash gives you a dreamy, aesthetic background that still feels controlled when you keep the palette small. Decoupage photos sit flat and don’t curl, so the board stays camera-ready. This is a great option if you want your vision board to look artsy without complex drawing skills. The key is choosing one or two watercolor tones and letting the wash set the mood.
Stretch paper or use a smooth board, then paint a loose watercolor wash in 2-3 shades (think dusty rose, cream, and muted olive). Let it dry completely, then lightly sketch a simple layout with pencil. Apply gel medium to the back of each matte photo and press it into place, smoothing from center outward. Seal the whole board with one thin topcoat so the finish matches across the page.
Pro tipUse matte photos or print settings set to matte paper for less glare.
AvoidSkip glossy photo paper — it makes watercolor washes look dull and uneven.
9. Map Scrap Board With Compass-Rose Corner Motifs
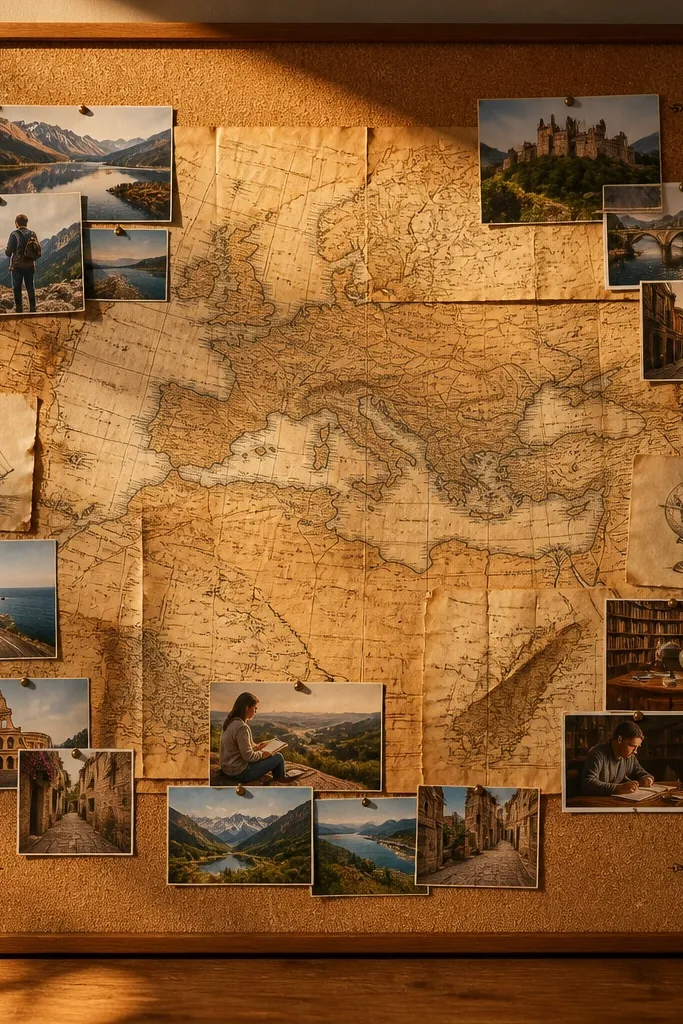
Old maps bring immediate visual interest and a clean, vintage aesthetic without needing fancy artwork. Compass-rose corner motifs make the board feel intentional and help photography because corners become anchors. This is strong for travel goals, learning goals, and any “direction” theme. Keep photos small and let the map textures do the heavy lifting.
Cover a board with map scraps using a glue stick for paper or a thin decoupage layer for sturdier adhesion. Tear map pieces to create a patchwork background with visible edges. Add compass rose prints or cutout compass shapes in two opposite corners, then place small photos near those corners to connect the theme. Seal with matte medium so the paper doesn’t look glossy.
Pro tipUse one edge treatment: either all torn or all cut — mixing edge styles can look messy.
AvoidDon’t cover every inch; leave some map texture visible so it looks curated.
10. Notebook Cover Vision Board With Clear Tape Hinges
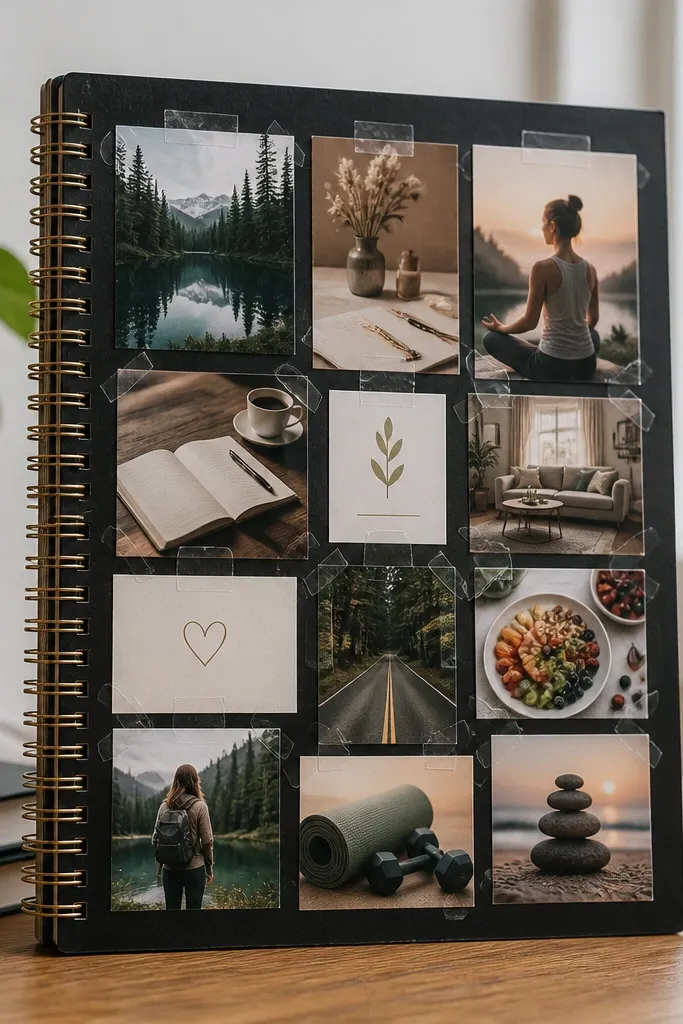
If you like the idea of a vision board but hate committing to one fixed layout, this is your move. The clear tape hinges let you swap images without peeling off the whole board. A notebook cover also photographs well because it’s flat and has a built-in shape. It’s perfect for goals you want to revisit weekly.
Find a sturdy notebook cover (or cover a binder with kraft paper) and add a simple border strip with patterned paper. Cut photo and magazine pieces to fit in sections, then place them where you want. Use clear tape as a hinge along one edge for each piece, so you can lift and replace it later. Finish by sealing the border edges with double-sided tape so they stay flat.
Pro tipKeep one consistent tape width so the hinge lines look like design elements.
AvoidDon’t use thick tape on textured fabric; it lifts and casts shadows.
11. Wall Calendar Page Vision Board With Date-Strip Layout
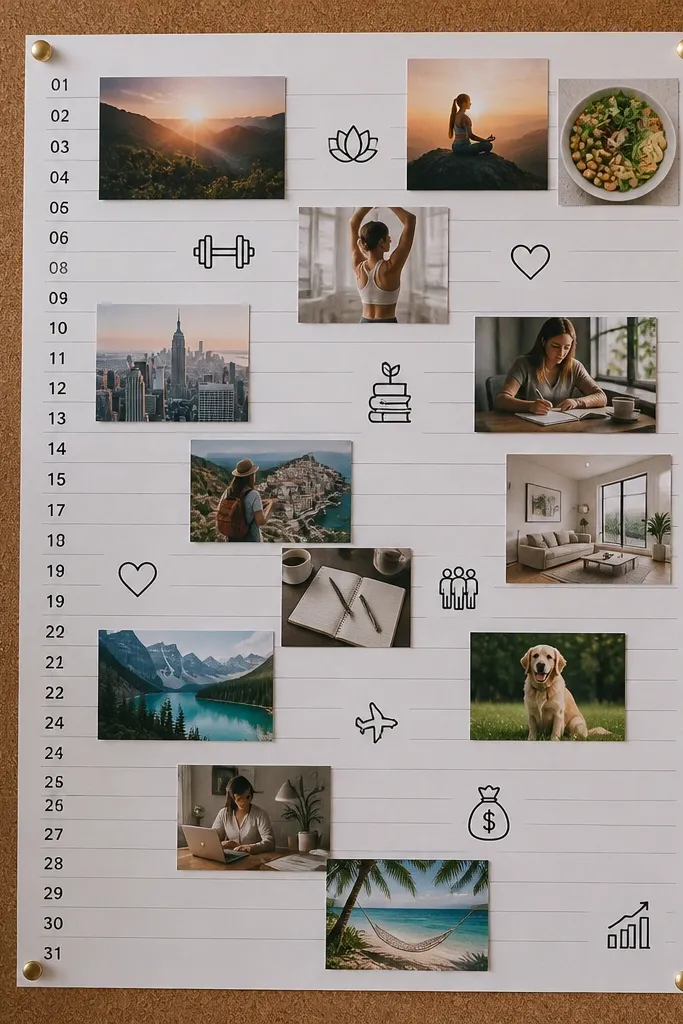
Calendar pages already have a built-in rhythm, and that makes your vision board look structured fast. The date-strip layout creates a timeline feel without needing journaling. This board is great for habits, routines, and “what I’m working on next” goals. It also looks crisp in photos because the printed lines act like design guides.
Grab an old wall calendar page or tear out a monthly page. Cut a clean rectangle and lay it flat on a backing board. Choose 4-6 photo cutouts and place them along the printed date rows, then glue them with a glue stick. Add one bold title strip near the top using a contrasting paper color, then seal with matte spray.
Use only one month’s page so the typography style stays consistent.
Don’t cover the whole calendar grid; leave the date lines visible for structure.
12. Polaroid-Style Board Using Brown Paper Photo Mats
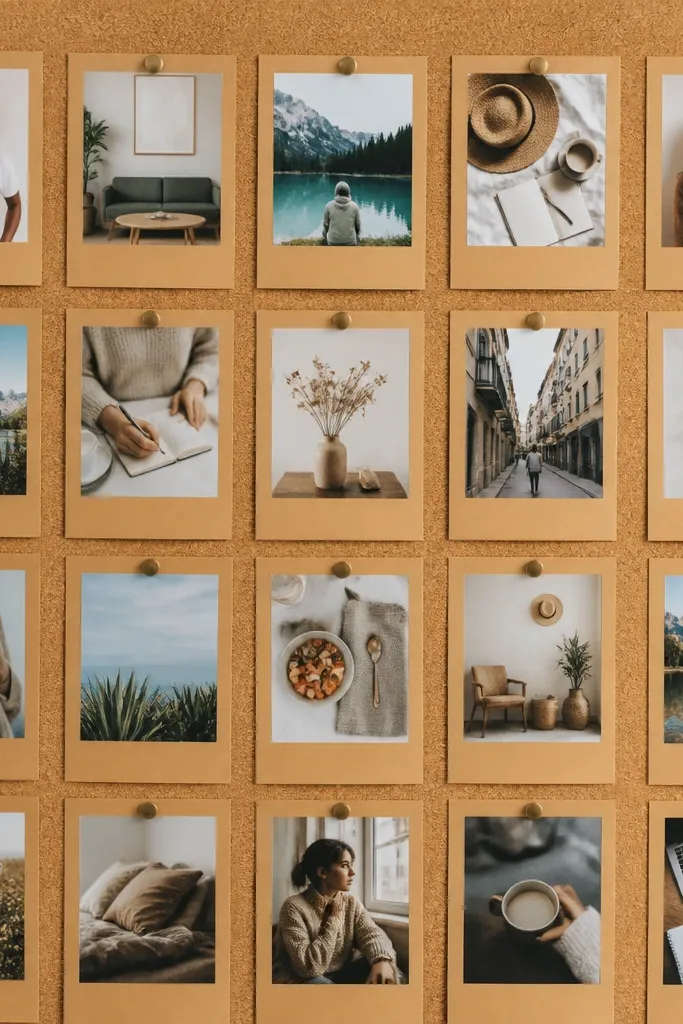
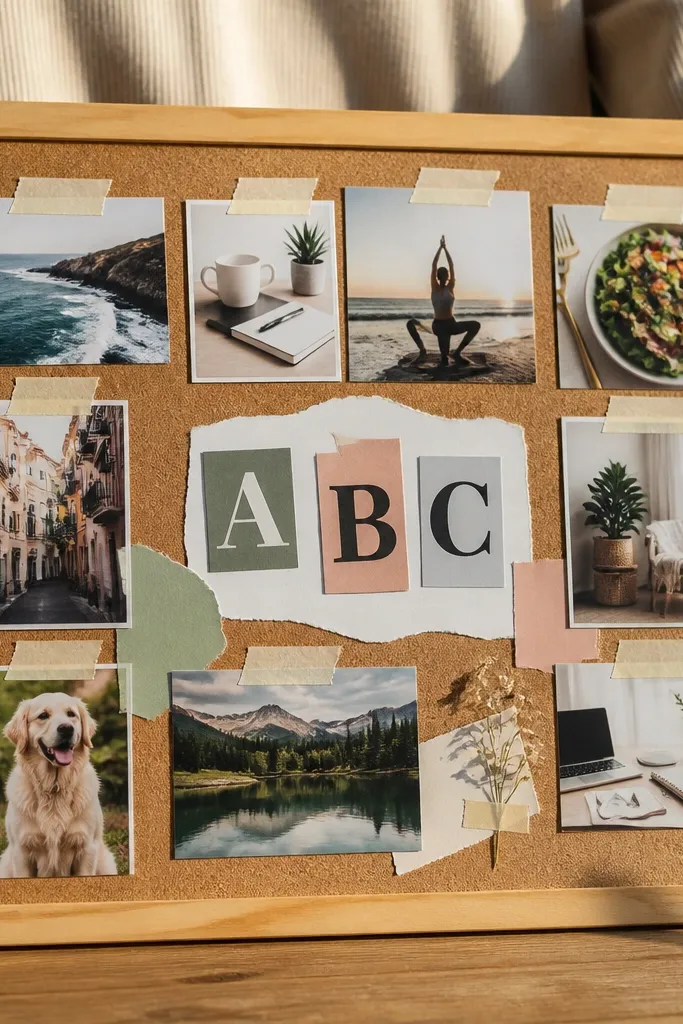
Polaroid-style layouts look good because they repeat the same proportions, which makes the whole board feel cohesive. Brown paper mats add warmth and hide uneven photo sizes. Cork board gives you a soft texture and makes pinning easy, so you can replace images later. This is an excellent beginner project because you’re repeating a template, not inventing a layout from scratch.
Cut or buy a cork board and lightly wipe it clean. Make brown paper photo mats by cutting rectangles with a consistent border, then glue or tack photos inside each mat. Pin the finished photo mats to the cork board using small push pins, keeping spacing equal. Add a single color accent strip at the bottom using fabric or paper so the board looks finished.
Pro tipChoose one border width (like 1.5 inches) and stick to it for every photo mat.
AvoidDon’t use different border sizes; it breaks the polaroid rhythm.
13. Fabric Bulletin Board With Ribbon Pin Lines
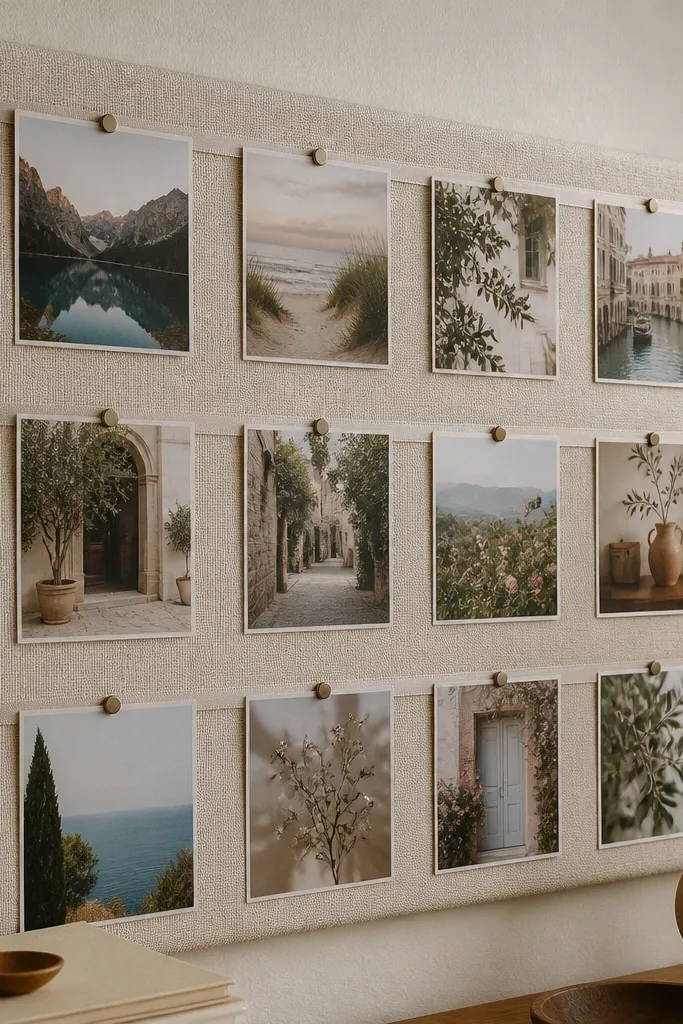
A fabric bulletin board is cozy and visually soft, and it photographs nicely because the background has movement in the weave. Ribbon pin lines create neat spacing and make the board look like a designed wall panel. This setup is great if you want your vision board to include quotes, mini checklists, and small fabric swatches. Beginners will like it because the ribbon lines tell you where to place things.
Cover a foam board with fabric using fabric glue or spray adhesive, then smooth it tight so it doesn’t wrinkle. Add ribbon strips horizontally with hot glue or strong craft adhesive, leaving small gaps between ribbons. Pin photos and small paper cards onto the fabric using straight pins or push pins. Seal the pin points with a tiny dab of glue if you want extra durability.
Pro tipUse cotton fabric for the cleanest texture and easiest pinning.
AvoidAvoid thick fleece; pins don’t go in cleanly and pictures sag.
14. Book Page Board With Gold Paint Edge Accents
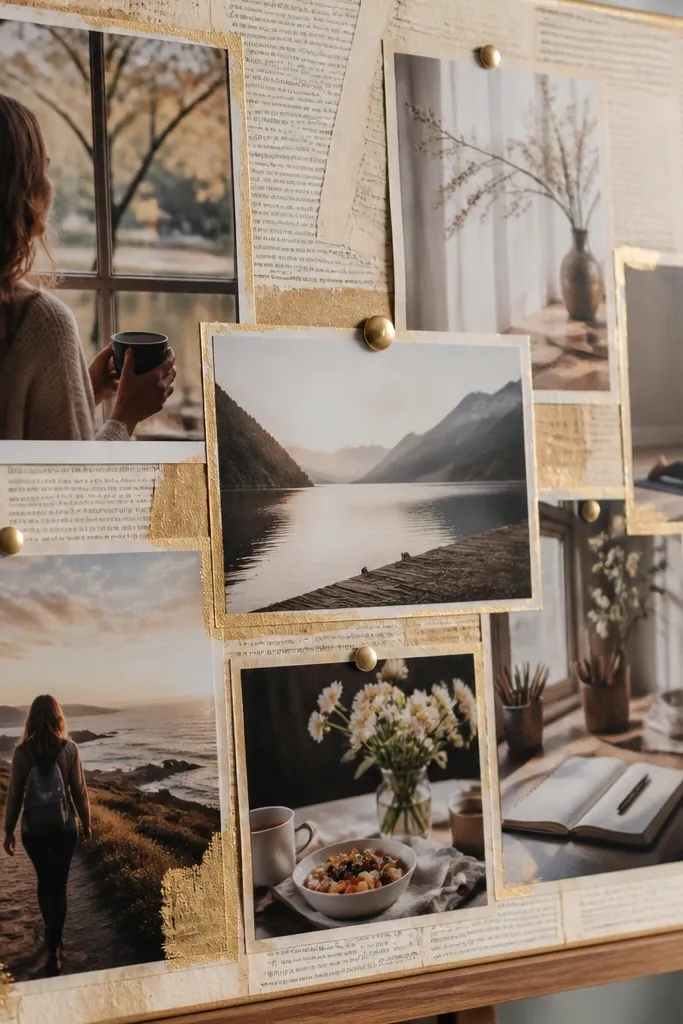
This one looks expensive because book pages have fine text texture, and gold edge accents add that “gallery” feeling. The trick is restraint: keep gold to thin lines or small corner touches so it doesn’t look like a craft kit. You get a vintage academic vibe while still feeling modern because the photos sit on top cleanly. It’s perfect for learning goals, career growth, and personal projects.
Cover a board with book pages using a glue stick or decoupage medium. Let it dry, then use a small foam brush to paint thin gold lines along the edges and two corner accents. Place photos and magazine clippings on top, then trace around them with pencil so your edges stay straight. Seal with matte medium so the gold looks like paint, not glare.
Pro tipUse a light hand with gold paint; two thin coats look cleaner than one thick coat.
AvoidDon’t add metallic glitter all over; it creates messy reflections.
15. Contact Paper Marble Look Board With Layered Shapes
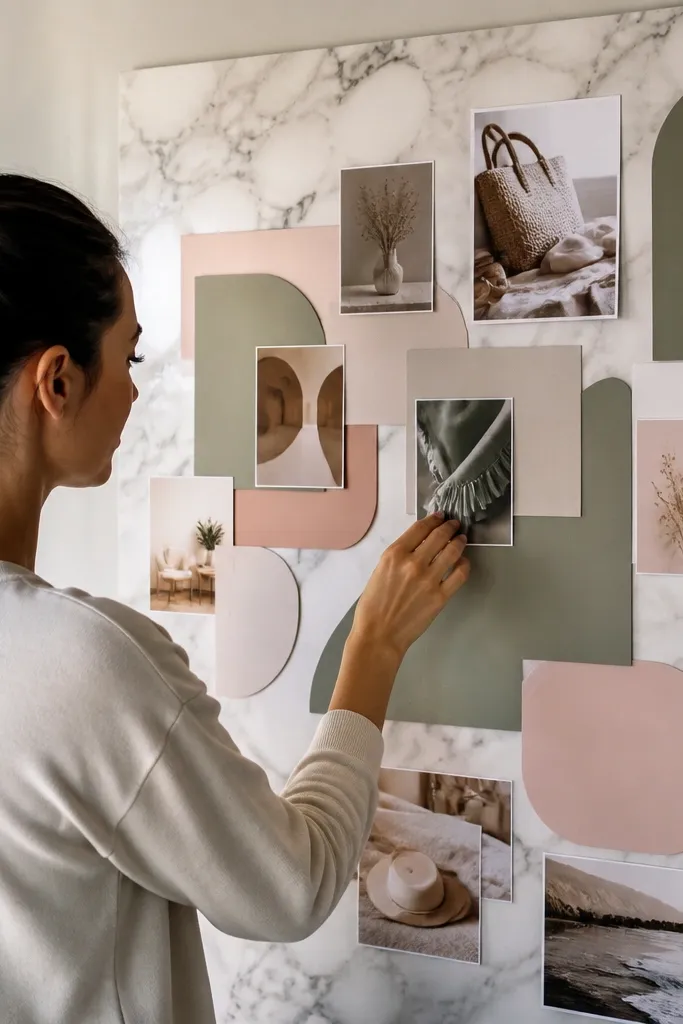
Contact paper gives you a glossy marble look fast, and that makes your vision board feel styled even with minimal effort. Rounded shapes photograph well because they soften the composition. You can build this with layered paper cutouts and photos that match the marble palette. It’s a great choice if you want something sleek for a desk wall.
Cover a board with marble-pattern contact paper, smoothing out bubbles with a plastic card. Cut photo cutouts and matte paper shapes into rounded rectangles or circles using a template. Arrange pieces on top first, then secure with double-sided tape for a clean edge. Finish by adding a thin border strip of solid paper that matches one marble color.
Use double-sided tape, not glue, so edges stay crisp and don’t wrinkle.
Skip textured fabric behind contact paper; it can show through and look uneven.
16. Linen-Themed Mood Board on Scrap Canvas Stretcher
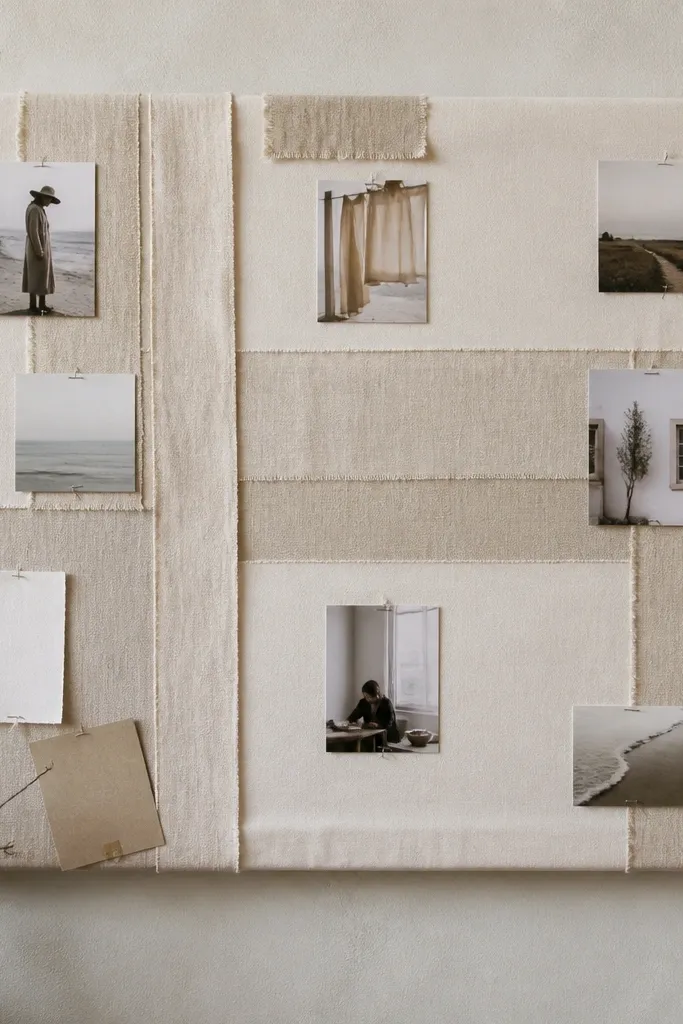
Canvas stretchers make your vision board look like wall decor, not paper art. Linen fabric strips add a calm neutral texture that keeps the board photogenic without being busy. You can pin or staple small items, so updates are easy. This is ideal if you want a neutral aesthetic with clear areas for photos and quotes.
Use a small scrap canvas stretcher or stretch fabric over a board, then staple or glue it tight. Add linen strips in a grid or diagonal pattern, spacing them evenly. Place matte photos and text cards on top, then secure with small pins or fabric-safe glue dots. Add a border using a single solid fabric strip so the edges look finished.
Pro tipUse a ruler to keep fabric strip spacing consistent; it’s the difference between cute and polished.
AvoidDon’t use glossy photo prints; linen texture already softens the look and gloss fights it.
17. Tin Can Photo Holders on a Painted Board
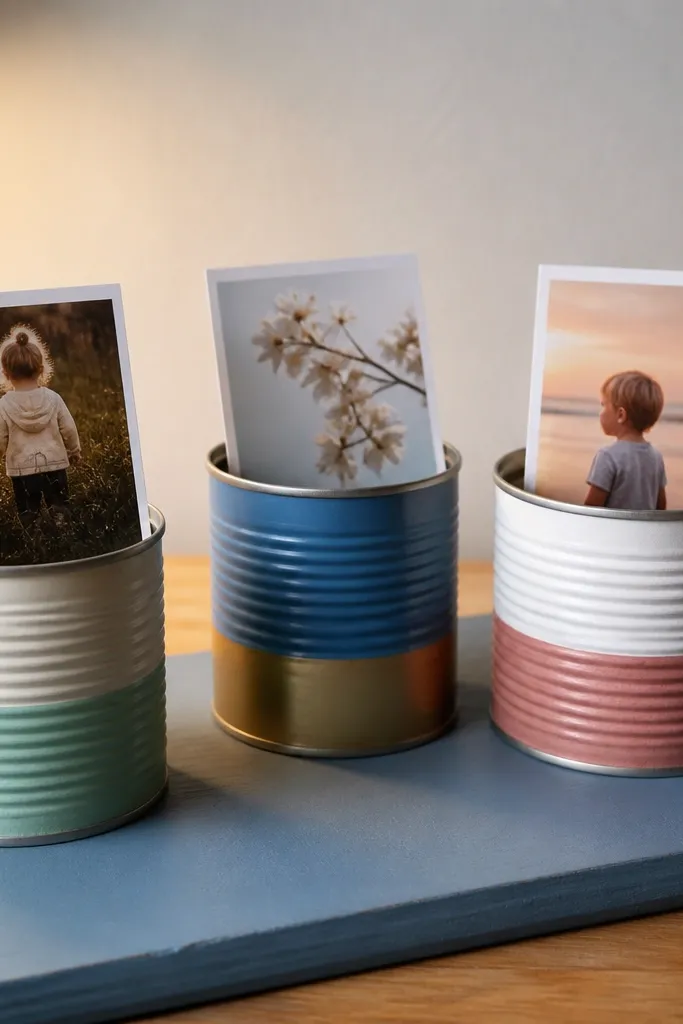
This gives your vision board a 3D look without complicated tools. Mini tin can holders create visible depth, and the photos feel like they’re displayed like products. It’s great for style, desk goals, and “things I want to try” lists. The board reads well in photos because each can becomes a clear focal point.
Paint a piece of wood or thick cardboard in a flat color and let it dry. Hot glue or screw small mini tin cans onto the board, spacing them evenly in a row or two rows. Print photos on cardstock and trim to fit inside the cans, then slide them in. Add one larger cutout above the cans as a headline so the layout has a top anchor.
Use cardstock, not thin paper, so photos don’t sag inside the cans.
Don’t glue cans at random heights; uneven levels look accidental in photos.
18. Tea Bag Folded-Note Vision Board With String Clips
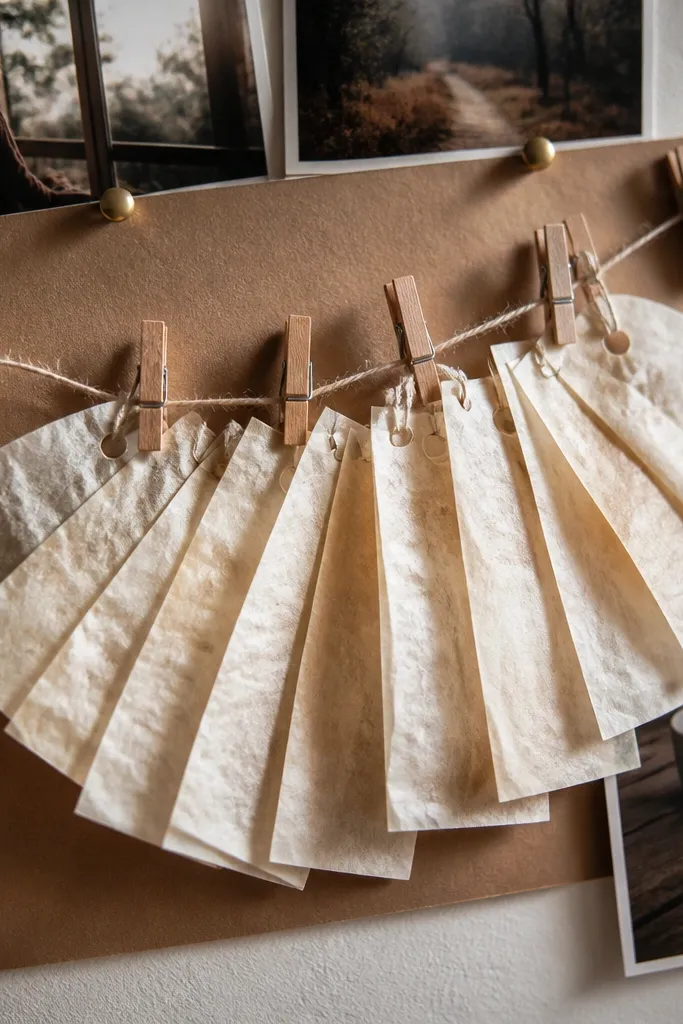
This is a clever way to add texture without buying specialty paper. Folded notes create a tactile look, and string clips make the board dynamic and easy to update. The tea-bag paper vibe brings a subtle vintage tone that pairs well with warm photo palettes. It’s a strong choice if you want your vision board to include mini goals you can swap regularly.
Flatten tea bags carefully and use the paper from the bag as your note material, then cut it into small rectangles. Fold each note once and glue it closed with a tiny dot so it holds its shape. Tie a thin string horizontally across a cork or fabric board, then use small clips to attach notes and small photos. Add a border strip so the board looks intentional rather than random.
Pro tipMake notes in only two sizes so the board looks organized in photos.
AvoidDon’t overstuff the string line; leave empty space for readability.
19. Spray-Painted Stencil Words With Photo Anchors
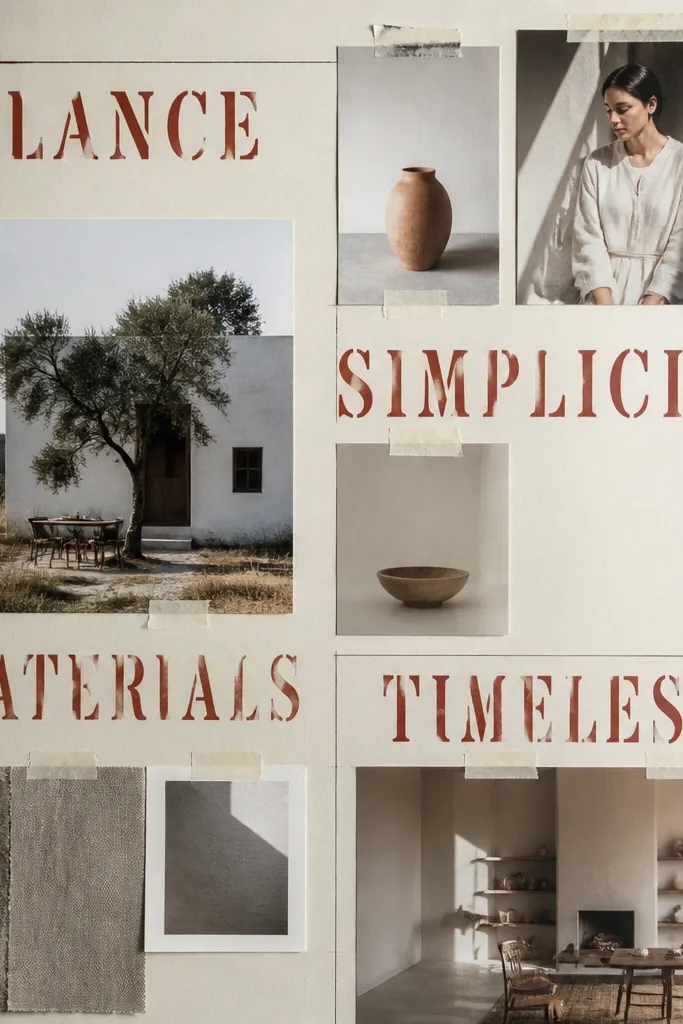
Stencils turn your vision board into graphic design fast. The photos act like anchors while the words create a clear theme. This looks especially good when you keep the background neutral and let one color (like muted terracotta or deep navy) carry the typography. Beginners can do this cleanly with masking tape stencils and a light hand.
Tape stencil letters onto a smooth board and secure the edges with low-tack masking tape. Spray paint lightly from a distance, then remove the stencil after a minute so the edges don’t smear. Add a few matte photo cutouts in the corners using glue stick, keeping them smaller than the text. Seal the board with matte acrylic spray to lock the paint and reduce glare.
Pro tipDo two light passes instead of one heavy pass to prevent paint bleed.
AvoidSkip cheap stencils that lift — they smear and ruin the crisp look.
20. Receipt-Strip Collage With One Big Photo Center
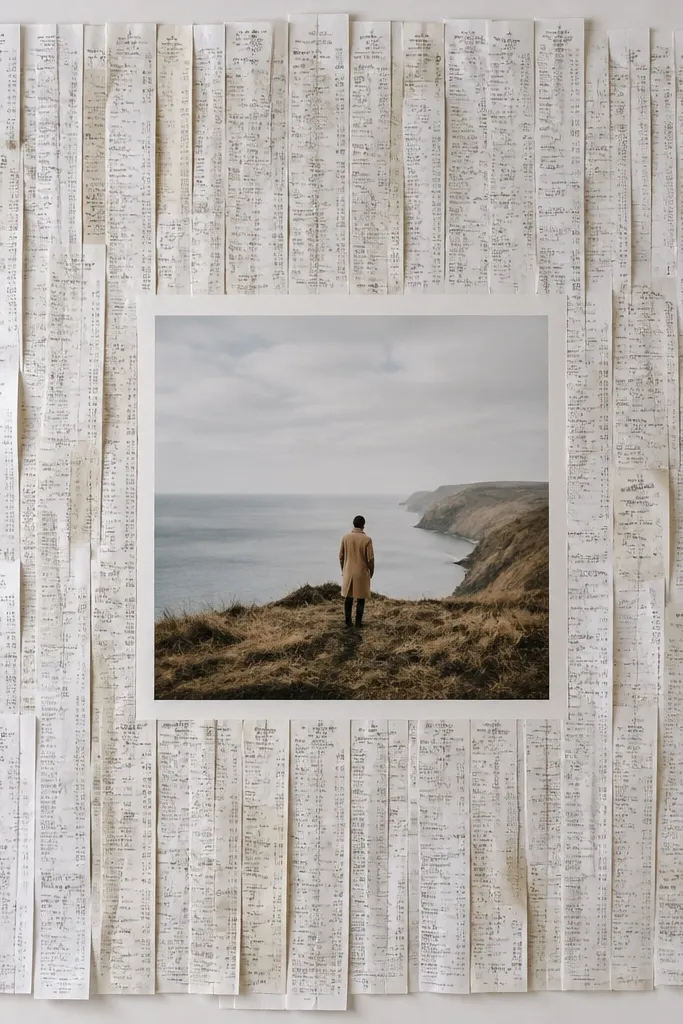
This is visually striking because receipts create a fine, repetitive texture, and a single big photo gives the eye a clear focal point. It also keeps the board from feeling chaotic, which is the common beginner problem. The neutral paper tones look modern when you frame the center photo with clean margins. It’s a great choice for budgeting goals, career focus, and “small steps” themes.
Trim receipts into thin strips and sort by color tone (light, medium, dark). Cover the outer area of a board with receipt strips laid in a loose radial pattern, then glue down with a glue stick. Place one large matte photo in the center and glue it flat. Add a border using plain paper strips so the board looks finished and the edges don’t look messy in photos.
Pro tipKeep the center photo matte and slightly larger than you think — it anchors the whole piece.
AvoidDon’t cover the center with strips; the contrast is what makes it look designed.
21. Terracotta Paint Board With Dried-Leaf Corner Frames
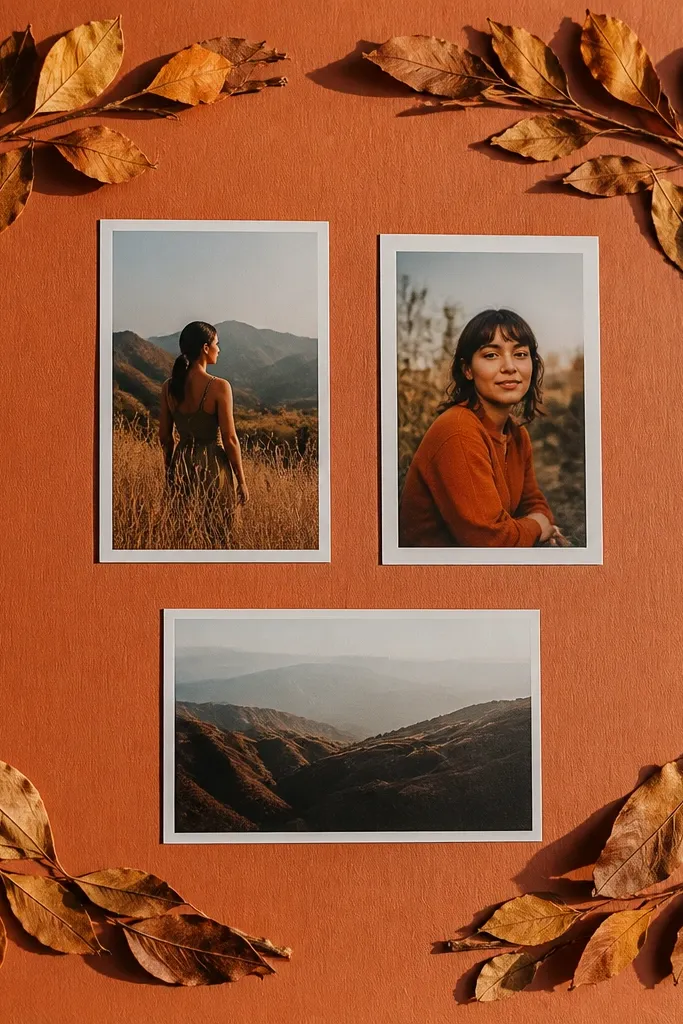
Dried leaves add natural detail that reads beautifully under warm lighting, and terracotta paint gives a consistent base color that makes everything look cohesive. Corner frames create a structured design without requiring a full border. This board feels earthy and intentional, especially for home, gardening, and slow-living goals. Beginners can pull this off because leaf placement is forgiving — corners hide small overlaps.
Paint a board terracotta and let it dry fully. Arrange dried leaves in two corners like picture frames, then glue them down with decoupage medium so they bond flat. Add photo cutouts in the center and along the inner edges of the leaf frames. Seal everything with one matte topcoat, then press the board under a book for a few hours if you want flatter leaves.
Pro tipDry leaves fully before gluing; damp leaves curl as they dry.
AvoidDon’t use glossy leaf glue; it can shine and reflect in photos.
22. Upcycled Calendar Tab Timeline Board
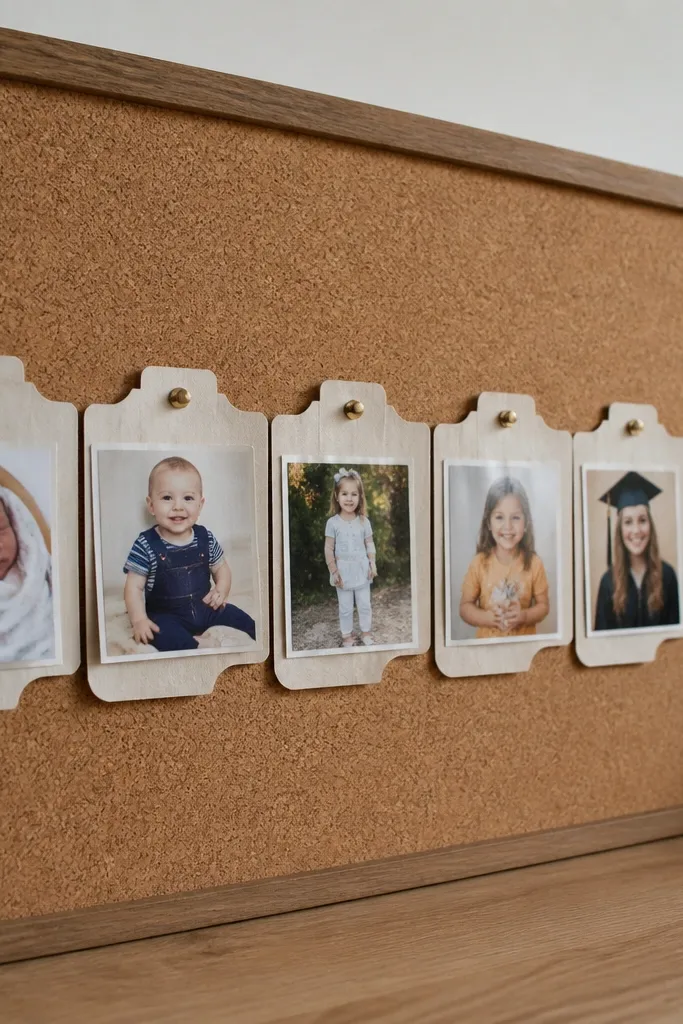
Timeline boards look good because they guide the viewer’s eye in a clear path. Calendar tabs are already shaped, so you get built-in labels and a tidy rhythm. Attach photos to each tab for milestones, and your board stays readable even when you add more goals later. This is a beginner-friendly way to make a vision board that feels organized, not cluttered.
Cut out a row of calendar pages and tear out the tabs or date blocks. Attach tabs to a backing board in a straight line with consistent spacing, using double-sided tape for flat edges. Glue or tape a matte photo onto each tab, keeping each tab’s photo size the same. Add a simple header strip at the top and seal the whole board lightly with matte spray.
Use one color pen for headings so the tabs look like one system.
Avoid mixing tab sizes; uniform tabs keep the timeline clean.
23. Cork Board With Fabric Binding and Push-Pin Photos
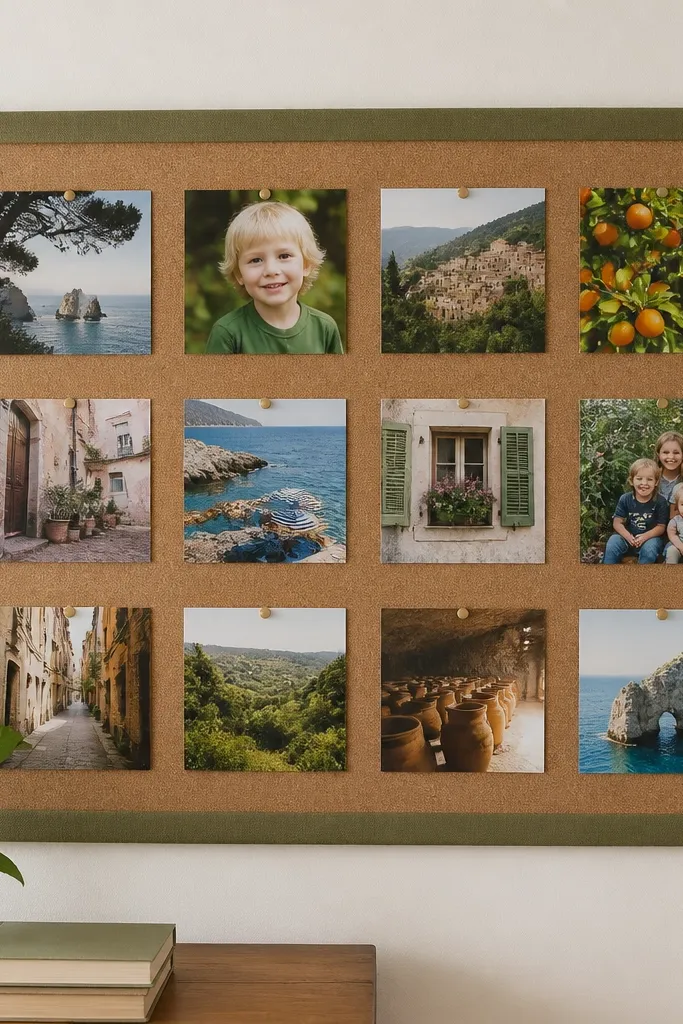
Cork boards are the most forgiving surface for beginners because pins hold everything while you adjust. Fabric binding makes the edges look finished, which is where many cheap-looking boards fail. A neat grid keeps your photos aligned and camera-ready. This is great for goals that need frequent updates, like study plans, workout routines, or monthly themes.
Wrap the edges of a cork board with fabric using fabric glue so the sides look clean. Arrange photos in a grid pattern and pin them with small push pins, keeping equal gaps between items. Add a fabric ribbon strip along the top for a title area, then pin small text cards under it. If you want extra polish, use a thin strip of paper as a background layer behind the photos to unify colors.
Pro tipPin through photo corners only so the center stays flat in photos.
AvoidDon’t use oversized push pins — they distract from the images.
24. Oversized Washi Tape Frame Board With Photo-Tag Corners
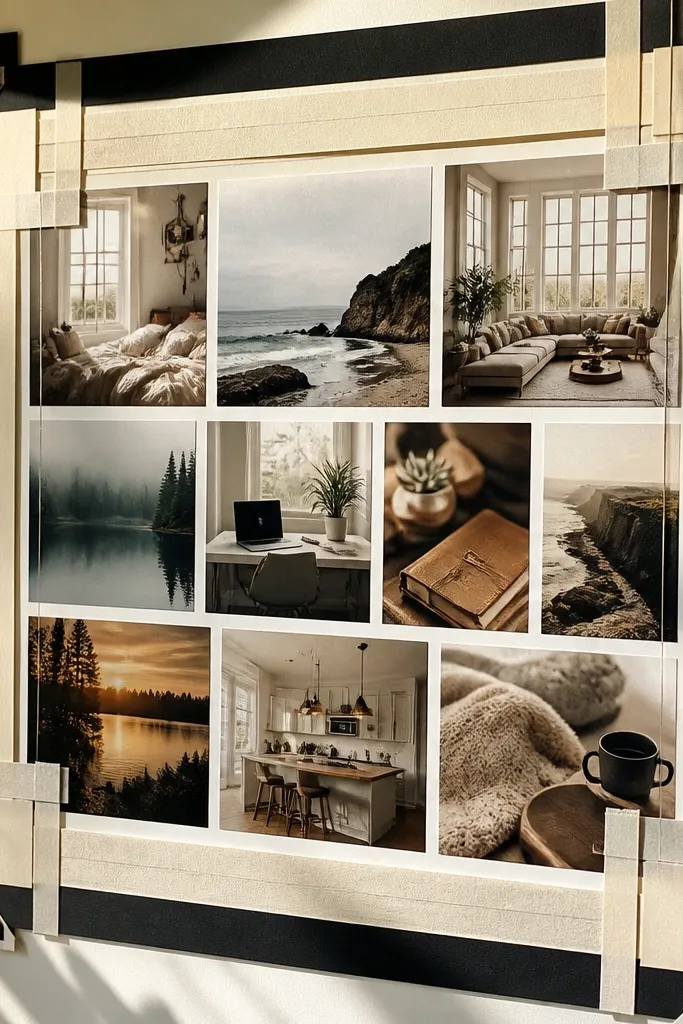
This one looks styled even when it’s simple. The thick, overlapping washi tape makes a bold frame, and the little photo tags at the corners add the “designed” feeling without any cutting precision. It fixes the usual vision board problem where everything looks flat — the tape edges create raised, photogenic lines. You get a crisp grid that’s beginner-friendly, fast, and easy to swap photos later. It fits desks, dorm rooms, entryway walls, and anywhere you want calm structure with color you can change seasonally.
Cut a board base from foam board or a thin plywood panel to 16 x 20 inches (or match your wall space). Lay out a 3 x 2 photo grid in pencil, leaving a 1 inch gap between cells; keep the grid centered. Tear strips of washi tape about 1.5 inches wide and build an oversized frame around the grid by overlapping tape edges so you get a solid border with visible texture. Add corner tags by cutting 1.5 x 3 inch rectangles from cardstock, folding them in half, and taping them to the board so they “grip” each photo corner. Finish by pressing the tape down firmly with a plastic ruler, then seal only the tape edges with a light matte Mod Podge layer so the tape doesn’t curl.
Pro tipUse a plastic ruler to burnish tape edges — it makes the border look crisp in photos and keeps it from lifting over time.
AvoidDon’t glue photos directly under heavy tape — tape needs a little surface grip, not a slippery layer.
25. Scrapbook Paper Accordion Strip Board With Hanging Polaroid Pockets
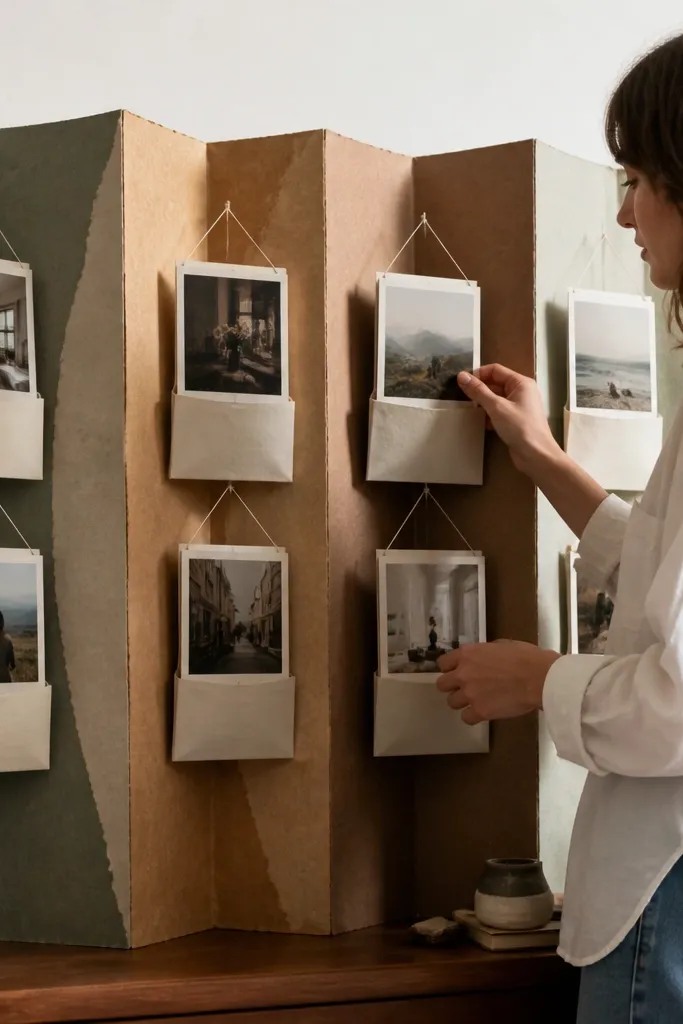
This vision board idea has motion even when it’s still. An accordion strip gives you depth, and the hanging photo pockets look like mini exhibits instead of a flat collage. It solves the “my board looks messy” issue because every photo has a pocket and a place to sit. The look is clean and collectible — you can mix patterned papers and keep the photos consistent in size. It’s beginner-friendly, takes about an hour, and works great for a gallery wall, a reading nook, or a small apartment where you want vertical interest without covering the whole wall.
Choose scrapbook paper in 3 coordinating patterns and cut strips to 4 x 18 inches each; stack them to make one long accordion strip (you’ll use one strip at a time). Fold the strip into an accordion with 1 inch pleats, then glue the ends to form a stable “fan” line; keep it flat while it dries. Attach a 2 x 18 inch backing strip of cardstock to the back of the accordion so it stiffens the folds (this prevents sagging). Make Polaroid-style pockets from clear adhesive vinyl or laminating pouches cut to 4 x 6 inches, then add a 1 inch top flap that you can tape or staple to the accordion at staggered heights. Hang the board by tying two thin cotton cords to the top ends of the backing strip, then press all tape seams with a bone folder.
Pro tipCut pockets slightly taller than your photos by 1/4 inch so the top flap covers the photo edge and doesn’t snag when you swap pictures.
AvoidDon’t use heavy cardstock pockets — they make the accordion sag and the photos droop at the bottom.