
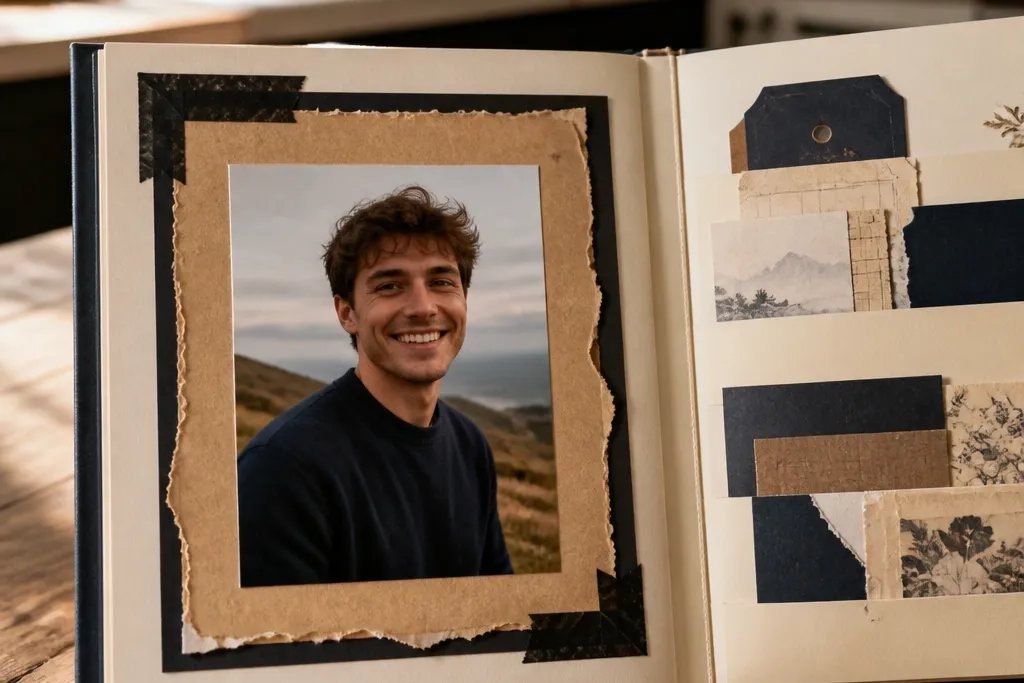
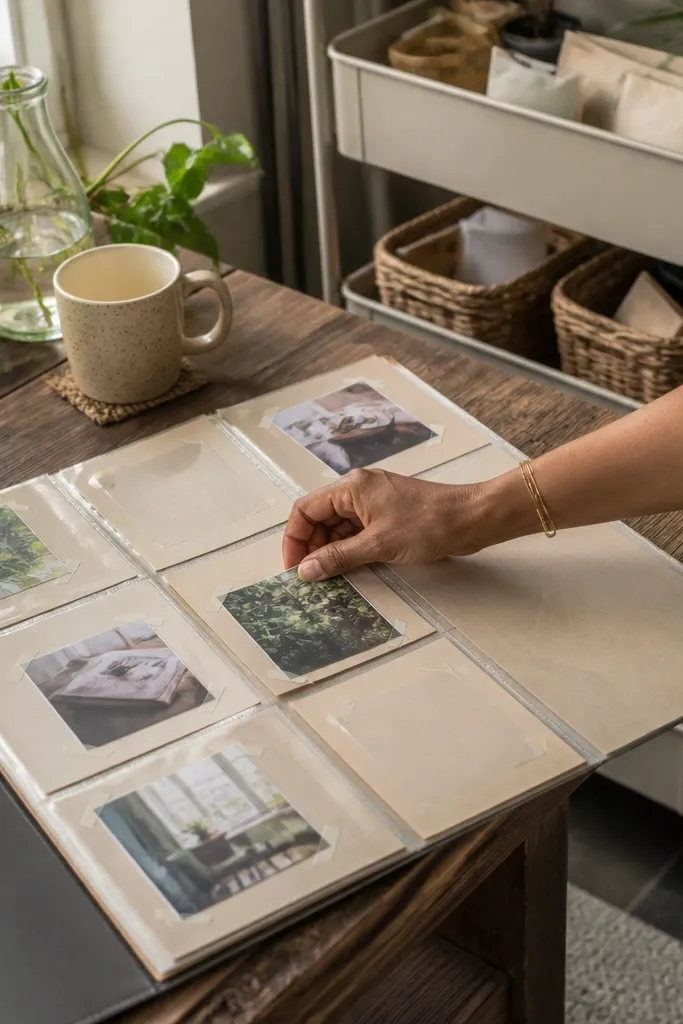
1. Denim Pocket Photo Frame Page
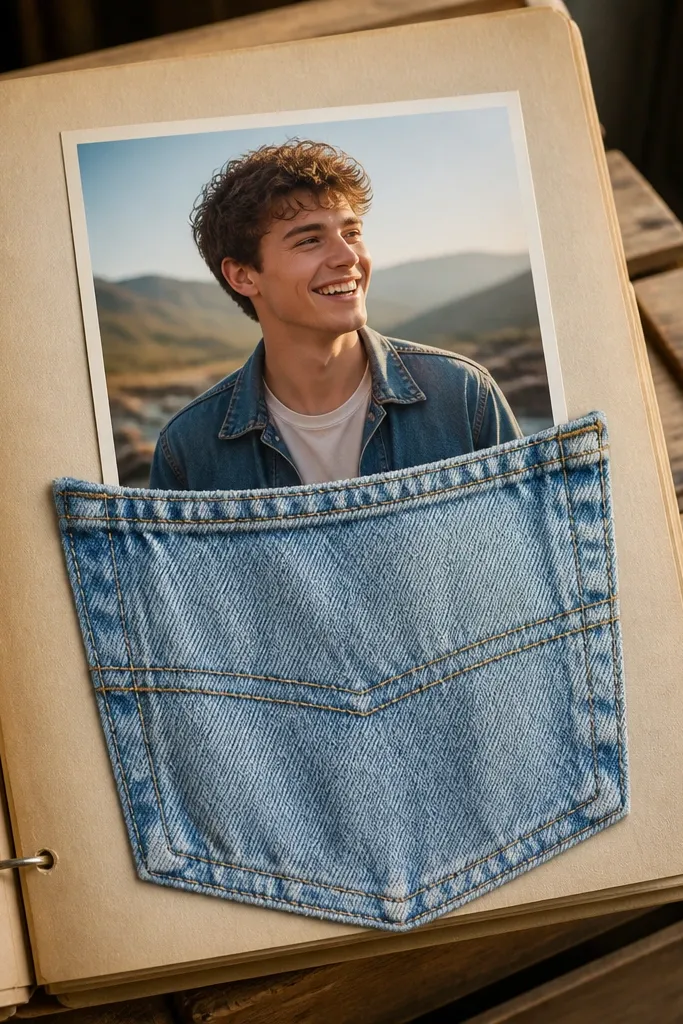
This page looks sharp because denim already has a built-in texture and structure. A pocket shape gives you a natural frame that makes a boyfriend photo feel like a “found artifact,” not a random snapshot. Use a light wash denim patch so the photo stays bright and skin tones don’t go dull. The page reads clean in photos because the pocket edges create a defined border, and you only need one photo plus a short journaling label.
Cut a denim rectangle about 5x7 inches and trim the top to form a pocket opening. Sew or glue (fabric glue works) a pocket flap at the top, then stitch or tape the sides so it holds its shape. Place the photo centered under the pocket opening and tape it to the page using removable photo corners at the corners only. Finish by adding a 1-inch strip of cream cardstock along the left edge as a border, then write a date line on a small journaling card.
Use fabric glue and let it cure overnight so the denim doesn’t lift at the corners under page protectors.
Don’t glue the photo directly to the denim; corners lift and the photo warps in protectors.
2. Kraft Ticket Strip Timeline
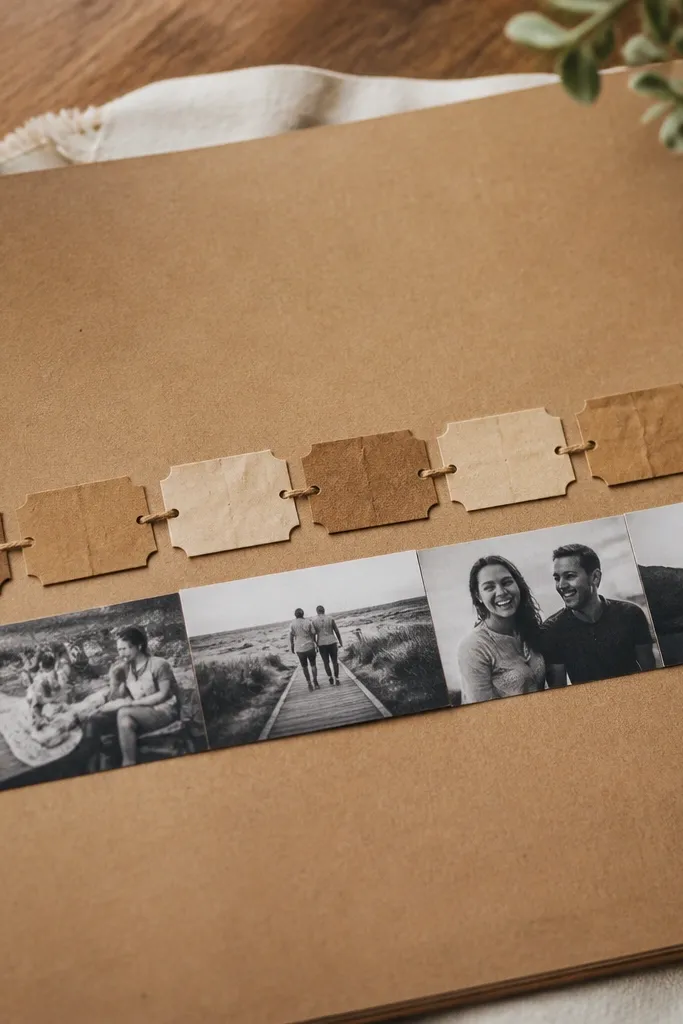
This is the fastest way to make a boyfriend scrapbook page feel “designed.” Kraft paper has that warm, matte look that photographs well, and ticket strips make time feel intentional. You’re not trying to recreate a ticket collection perfectly; you’re using the ticket shape to organize a mini timeline. Add a thin photo strip under the strips so it looks like a travel board, even if your memories are just local hangouts.
Cut three kraft paper rectangles, each about 2x6 inches, and round the corners with scissors. Add faux “perforations” by lightly scoring with a butter knife or using a craft punch along one long edge. Write one date per strip, then glue the strips across the page with a 1/4-inch gap between them. Tape a 1-inch-tall photo strip below the timeline using removable tape corners, then add a small journaling card at the bottom.
Print your dates in a simple font and use a ruler; straight text makes the whole page look more expensive.
Don’t overload with stickers — three strips plus one photo strip is the sweet spot.
3. Map Coordinates + Red Thread Map Line
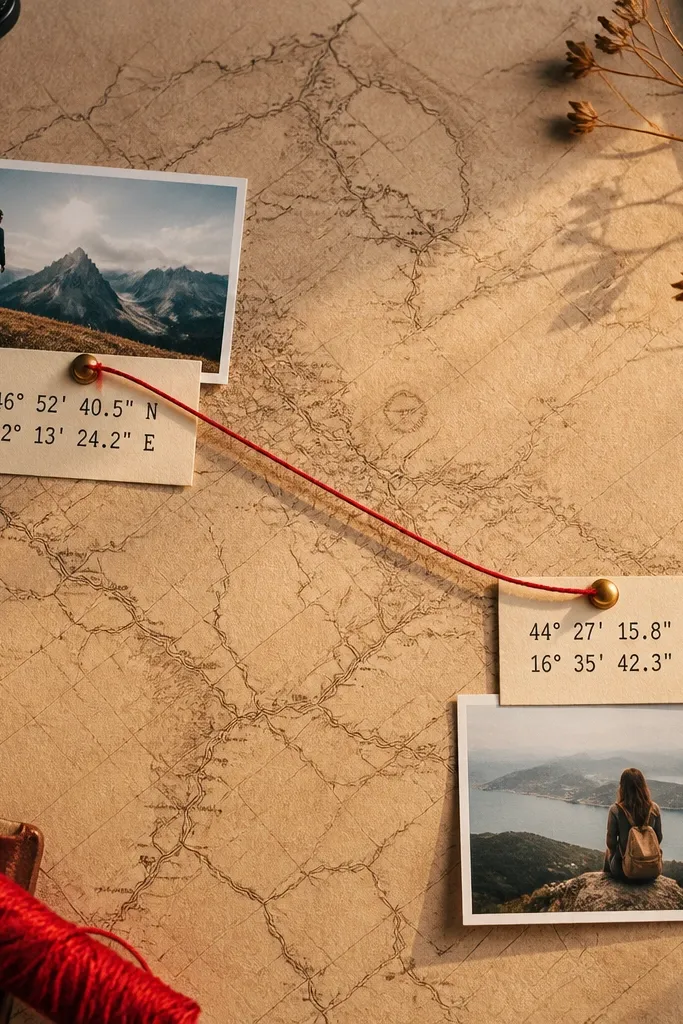
If your boyfriend likes places, this page looks instantly meaningful without needing fancy supplies. Coordinates give you a clean, graphic anchor, and red thread adds movement and texture that camera flashes love. The layout reads like a plan or a travel sketch, which is why it photographs so well. Use two points and a single thread line — it looks intentional, not messy craft-store string art.
Print the coordinates you want in small text on cream cardstock, then cut a 6x8 page base from cardstock. Mark two points lightly with a pencil, then poke tiny holes at each point using an awl or thick needle. Run red embroidery thread between the holes in a single line, tighten gently, and tape the thread ends on the back or with small corner tape patches. Add a small photo (about 2x3 inches) near one point and finish with a journaling label on kraft paper.
Pro tipUse embroidery thread, not yarn — it stays smooth and doesn’t fray as fast on scrapbook pages.
AvoidDon’t knot on the front; knots bulk up and show through page protectors.
4. Monochrome Film Strip With Faux Captions
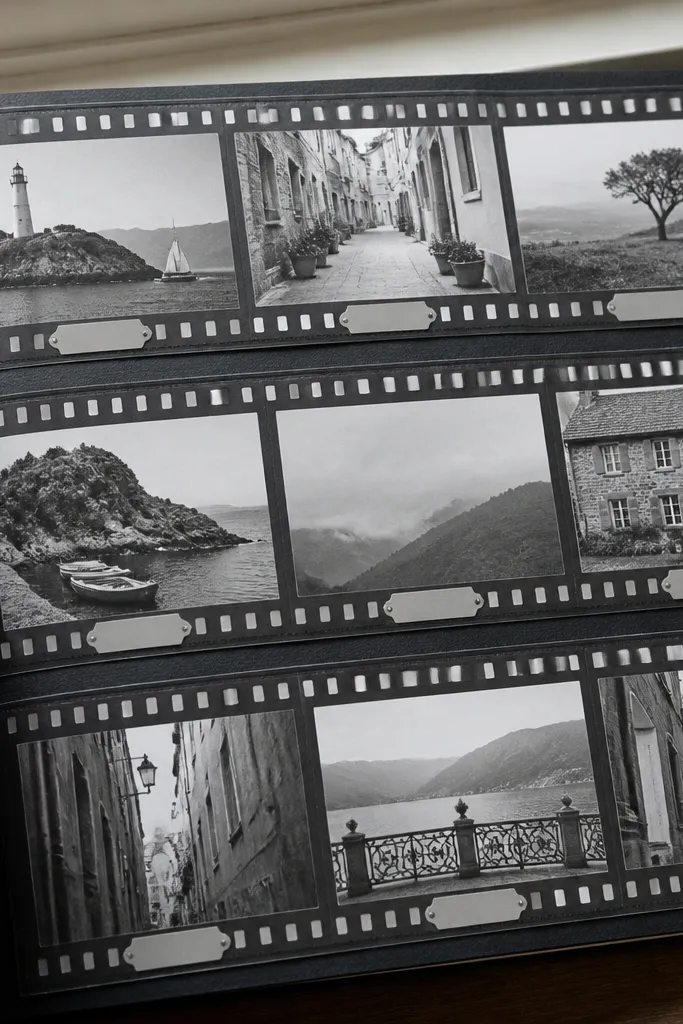
This one makes a scrapbook page look like a photography spread. Monochrome keeps everything cohesive, and film-strip layout gives you built-in rhythm. You’ll get a clean, gallery-style vibe even if your photos are from different days. Faux captions make it feel like a real archive, and the page looks great under overhead light because the black frames are bold.
Print or select 3-4 black-and-white photos and crop them to a consistent size like 1x2 inches. Cut thin black cardstock strips to frame each photo, leaving a 1/8-inch border. Arrange them in a horizontal film-strip row on a white or cream background and tape with removable corners. Add tiny caption labels under each photo using a fine-tip marker, then finish with two small date lines on the far right.
If you don’t want to print photos, use printed thumbnails and place them behind a clear sticker label so they look uniform.
Don’t mix color and black-and-white on the same page — it breaks the film-strip look.
5. Upcycled Magazine Poster Collage Page
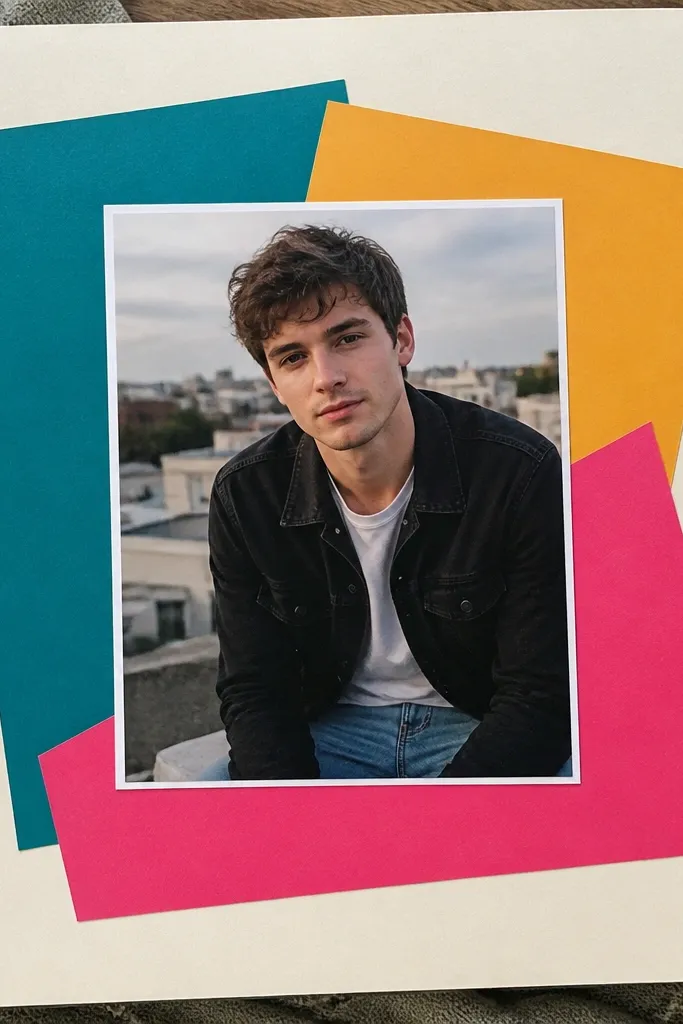
This is your “instant art” option when you want something photogenic without expensive embellishments. Magazine cutouts bring bold color blocks and graphic typography, which makes pages feel like a real poster layout. The trick is to keep the collage controlled: one photo center, two or three magazine shapes around it, and a title block. It looks modern and clean when photographed because the shapes act like a designed frame.
Choose magazine pages with one dominant color family, then cut 3-5 shapes (circles, rectangles, and one headline strip). Back each cutout with clear tape on the reverse side to prevent curling. Place your boyfriend photo centered, then arrange the cutouts around it with a 1/2-inch margin. Add a title block using kraft cardstock strips, then write a short line like “Our Weeknight Crew” using a black marker. Tape everything down with removable tape only at the edges.
Use a craft knife for straight cuts; jagged edges make the collage look sloppy in close-up photos.
Don’t cover the photo with cutouts; keep the photo readable and dominant.
6. Concert Ticket + Wristband Sleeve Page
This page looks like memorabilia, not craft paper, because you’re preserving actual ticket-like materials. A clear sleeve keeps the items flat and readable for photos, even if your scrapbook sits in a bag. The wristband strip adds a real color band that photographs well. This is perfect for boyfriends who have one big event memory you want to anchor the book around.
Cut a clear plastic pocket from a page protector sheet or buy a pack of small clear photo sleeves. Trim it to about 4x6 inches so it fits neatly on a 6x8 page base with a 1-inch border. Insert a ticket stub or printed ticket design, then add a wristband strip folded once behind it. Attach the sleeve to the scrapbook page using removable tape along the top and sides only. Place a small photo below the sleeve and add a date journaling card in the open space.
Press the sleeve flat under a book for 30 minutes before attaching so it doesn’t ripple in photos.
Don’t use glue on clear plastic; it fogs and looks messy under light.
7. Paint Chip Color Story Page
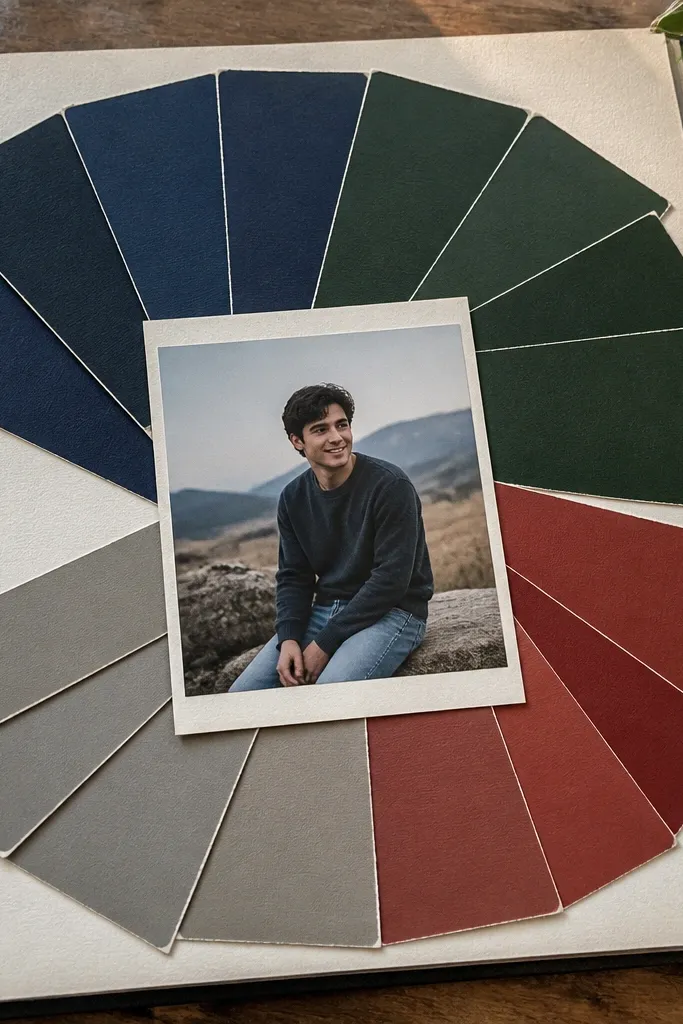
Paint chips are cheap, sturdy, and they photograph like designer paper. This page works when you want a color story for your relationship: choose shades you associate with him (navy, forest green, warm gray, brick red). The fan layout looks intentional, and the chips act like a background texture that doesn’t fight your photo. It’s also renter-friendly because you can build it with flat paper layers that don’t warp.
Pick 6 paint chips from the hardware store and cut them into matching widths, about 1 inch each. Fan them on a 6x8 page so the widest end sits on the left and the narrow end points right. Tape the chips down with a removable tape runner along the center only. Add two photos (2x3 inches each) stacked on the right side and write a short caption under the top photo about why those colors fit. Seal the edges with a thin strip of clear tape so chips don’t peel.
Use chips with matte finishes; glossy chips reflect light and look washed out in photos.
Don’t pick random colors that clash; keep it to one cool palette or one warm palette.
8. Faux Leather Label + Polaroid Frame
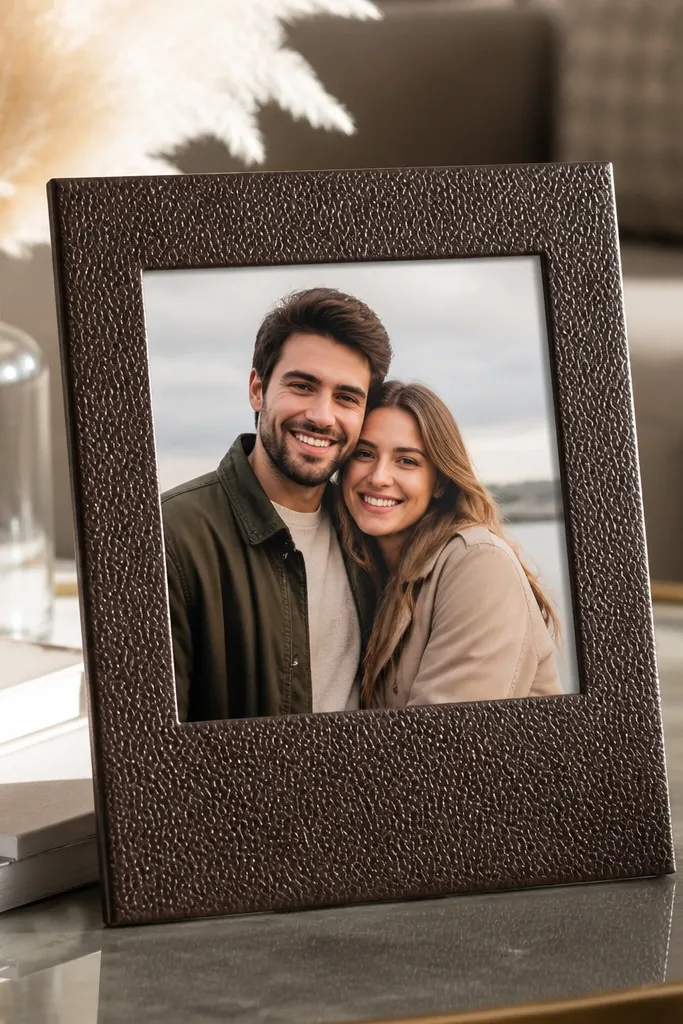
This page gives that “smart gift” look without needing real leather. Faux leather labels add depth and a slightly raised texture that reads well in close-ups. A polaroid-style frame keeps the photo centered and makes the layout feel like a set of prints. For boyfriend scrapbooks, the brown-on-cream combo is hard to mess up and looks clean with almost any photo.
Cut a faux leather rectangle about 3x1 inches for a label and punch a small hole near one end for a faux stitch look. Trace a polaroid frame template on white cardstock, then cut the photo window. Tape the polaroid frame to the page, leaving space for the label at the top. Insert your photo behind the window and attach it using removable photo corners. Add a short handwritten line on the leather label and tape it down with edge-only tape.
Use a fine black gel pen on the label so it doesn’t smear on textured surfaces.
Don’t use thick glue blobs under the polaroid frame; they show through page protectors.
9. Sticker-Only Border With Handwritten Date Tags
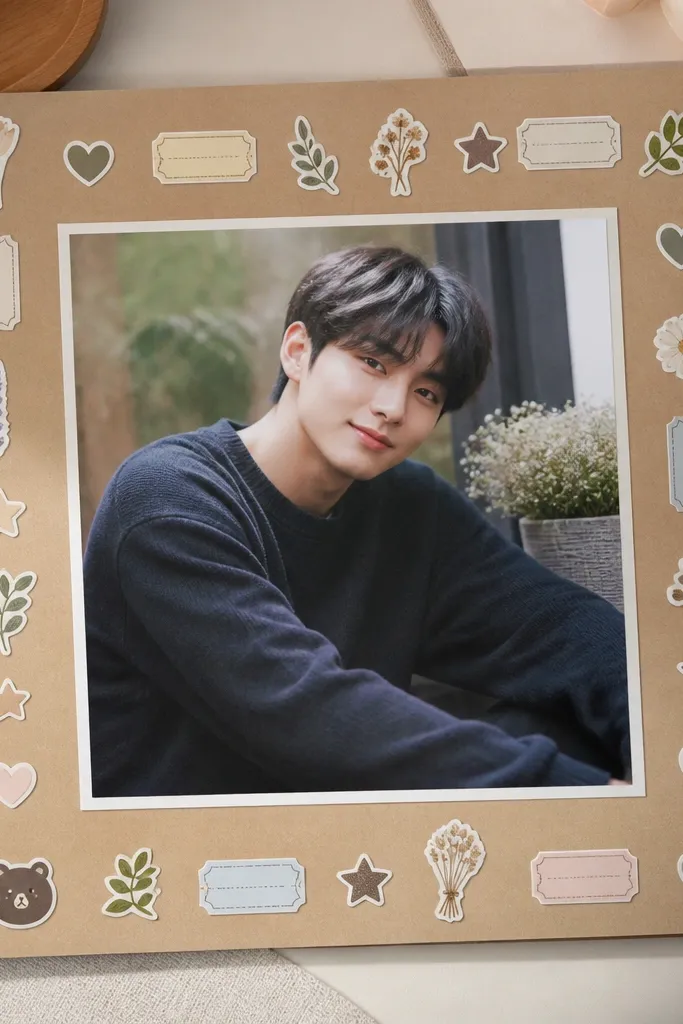
This is the cleanest way to use stickers without turning the page into a mess. A thin border keeps the stickers contained, and handwritten date tags add personality without clutter. The photo stays the hero, and the border gives you a finished look even if you only have a few sticker sheets. It’s also renter-friendly because everything stays flat and removal is simple.
Pick one sticker theme that matches his vibe, like sports icons, tools, or city doodles. Arrange stickers along the perimeter of a 6x8 page, leaving a 1-inch margin around where the photo will go. Place your photo in the center and tape it with removable corners. Add two small date tags at the top and bottom using scrap cardstock cut to 1x3 inches, then write the date in black marker. Seal the border edges with a thin strip of clear tape to keep stickers from lifting.
Stick to one sticker size for the border; mixed sizes look chaotic in photos.
Don’t put stickers over the photo — it kills the contrast.
10. Shadowbox-Style Layered Frame Using Paper Strips
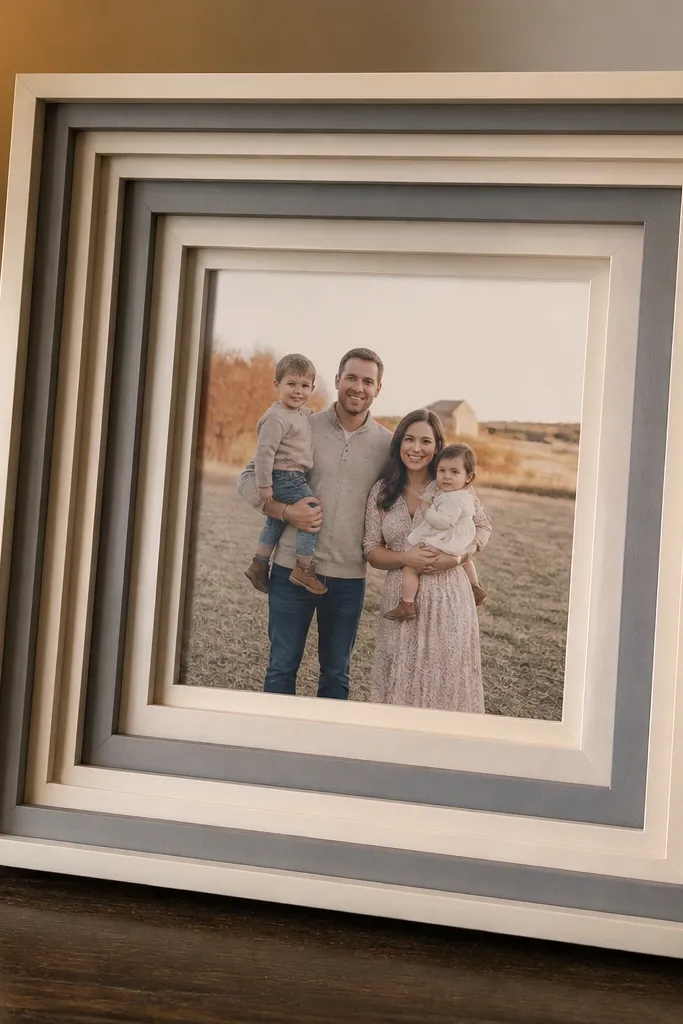
You get a shadowbox look without a real shadowbox. Layered paper strips create depth, so the page has dimension that catches light and makes photos feel more cinematic. This works especially well for portrait shots because the frame guides the eye straight to his face. The build is also beginner-friendly: you’re cutting straight strips and stacking, not doing complex crafts.
Cut 4-6 strips of cardstock, each about 1/2 inch wide, in two shades that match your page palette. Arrange them in a square or rectangle frame around where the photo will sit, leaving a 1/4-inch gap between layers. Tape the first layer down, then stack the next layers slightly offset to create a stepped depth. Place the photo in the center and secure it with removable corners. Add a small journaling card at the bottom edge and keep it flat for page protectors.
Pro tipUse a scoring tool to fold the paper strips so edges look crisp instead of fuzzy.
AvoidDon’t stack too many layers — more than 6 makes the page bulky for protectors.
11. Map Coordinates + Film Frame Combo Page
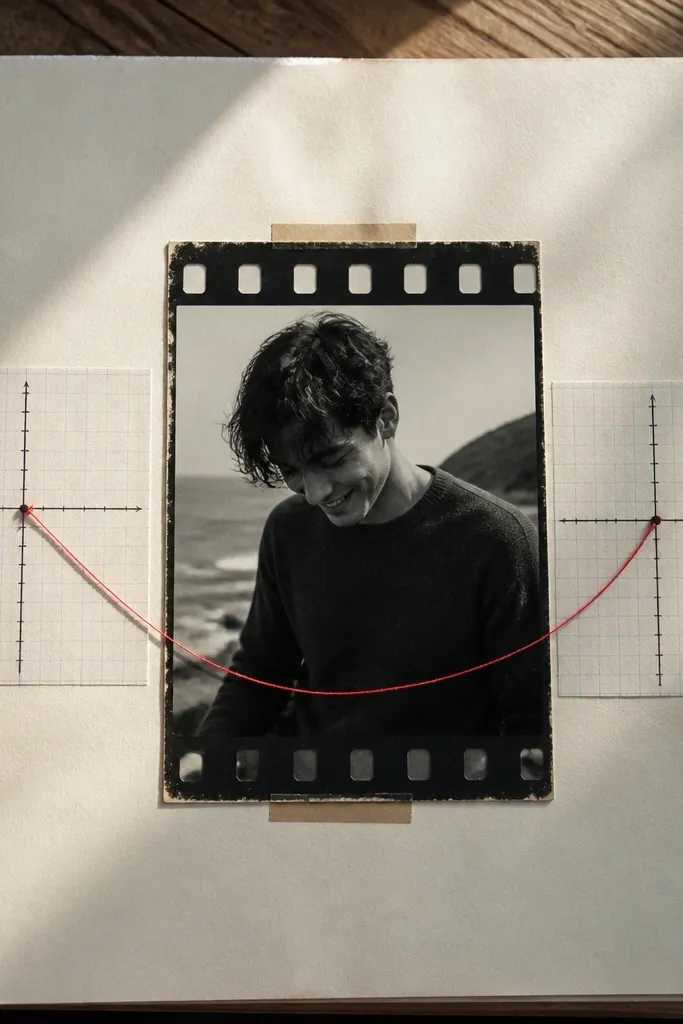
This page mixes two strong aesthetics: location graphics and film-style photo framing. The coordinate line gives you a clean, graphic anchor, and the film frame makes the photo look archived. It’s a great choice for a boyfriend scrapbook because it turns ordinary “we went somewhere” moments into a readable story. The layout stays photogenic because it has clear geometry — a line, a frame, and a label.
Print a thin coordinate line and a short text label on cream cardstock using a small font. Cut a film-style frame using black cardstock — a rectangle with rounded corners and tiny “perforation” dots along the sides. Place the film frame centered, then tape the photo behind it using removable corners. Add the coordinate line above the frame and a short journaling sentence on a 1x4 inch kraft strip below. Seal the journaling strip edges with clear tape so ink doesn’t smear.
Pro tipKeep the coordinate text one size smaller than the label; it reads cleaner in photos.
AvoidDon’t use neon colors for coordinates; black or dark gray keeps it classy.
12. Folded Note Letters With Secret Photo Reveal
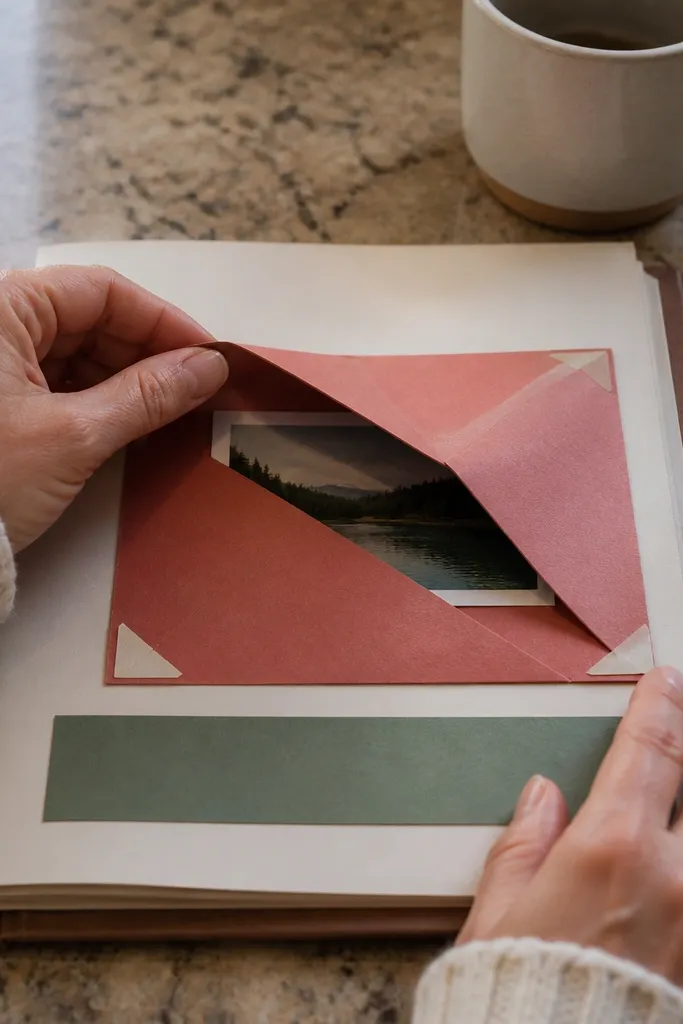
This is a boyfriend scrapbook page that adds a little suspense without turning into a complicated mechanism. A folded note pocket looks cute and graphic, and the hidden photo makes the page feel interactive. It’s also very renter-friendly because the pocket is flat and held in place with removable tape. The page photographs well because the pocket opening gives a clear shape and the secret photo adds a second focal point.
Cut a pocket piece from cardstock, about 3x6 inches, and fold it in half to create a pocket that sits on the right side of your 6x8 page. Tape only the bottom and left edges using removable tape so the top stays open. Write a short note on the front flap and add a small photo inside the pocket behind the note. Place your main photo on the left side of the page and secure it with photo corners. Finish by adding a tiny label tab at the top of the pocket with a date.
Use a thicker cardstock for the pocket so it doesn’t sag under protectors.
Don’t make the pocket too deep; a shallow pocket keeps the page flat.
13. Sports Schedule Weekly Grid Page
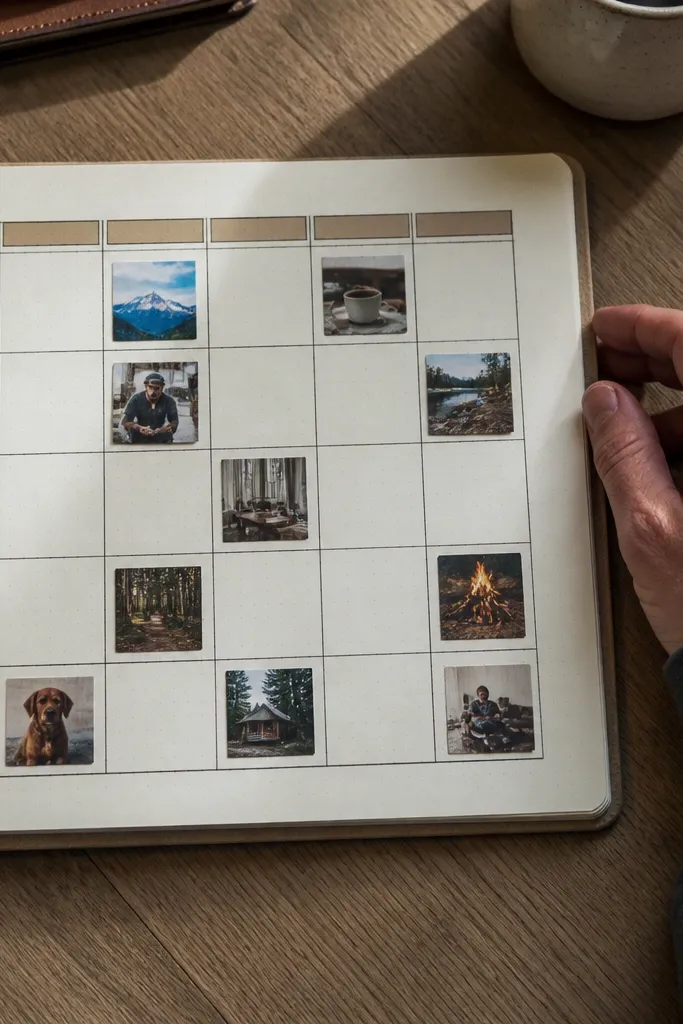
If your boyfriend likes sports, this page looks like a mini game plan. A weekly grid gives structure, and small photo squares make the layout feel organized instead of random. You can use it for any theme — gym dates, game nights, or “our week” moments. The grid is photogenic because the lines are crisp and the photos are evenly spaced, so everything reads clearly in one glance.
Draw or print a 3x3 grid on a 6x8 page base, with each cell about 2 inches square. Add a bold header strip at the top using colored cardstock, like navy or red, and write the week label. Place a small photo in 6 of the 9 cells and leave 3 cells for journaling tags. Cut journaling tags to 1x2 inches and slide them into the empty grid spaces. Seal the paper lines with a thin clear tape strip along the grid edges to reduce smudging.
Pro tipUse a ruler and light pencil first, then go over with a fine black marker so the grid stays straight.
AvoidDon’t overcrowd the grid with too many long captions; keep text short.
14. Toolbox Hardware Label Page
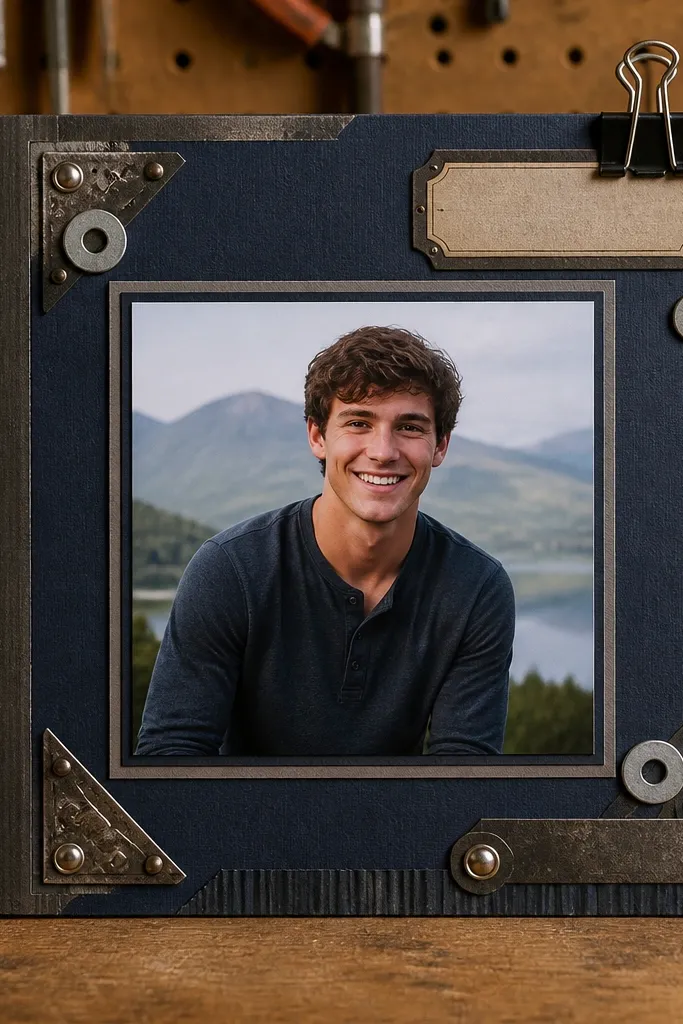
This one gives a masculine, graphic feel without needing bulky 3D parts. Use small metal-look brads, washers, or binder clips (decorative ones) as accents, then keep the rest flat so it still fits page protectors. A stamped or typed label adds that toolbox vibe. The page looks good because the hardware details catch highlights, and the photo stays centered with a simple, clean layout.
Pick a 6x8 page base and add a stamped label block at the top using craft ink or a simple printed label on kraft paper. Punch two holes near the label corners and attach small metal brads or faux washers so they sit flat. Place your photo centered and secure with removable corners. Add two tiny journaling lines below the photo on a strip of cardstock, then finish with one more hardware accent on the bottom right like a small brad. Keep all metal pieces away from the page edges so they don’t snag in protectors.
Pro tipUse a single accent color for hardware — silver brads read cleaner than mixed metals.
AvoidDon’t add multiple bulky 3D accents; too much height makes pages awkward to store.
15. Bus-Card Ticket Stubs Pocket Page With Faux Metal Edge
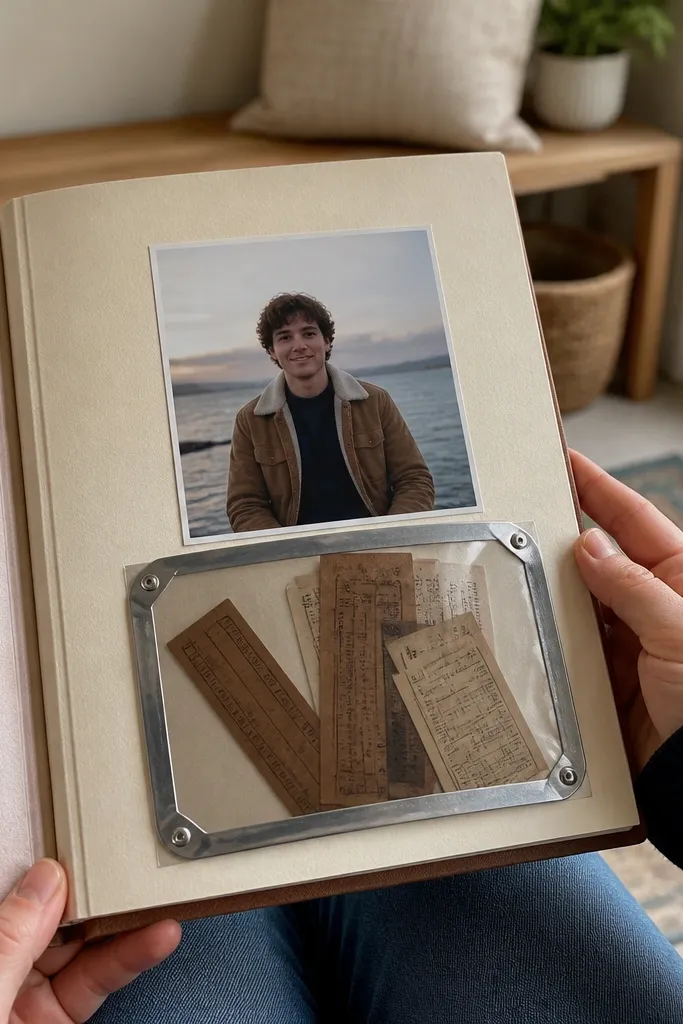
This page turns small boyfriend keepsakes into something that looks intentional, not stuffed. It works because ticket stubs, bus cards, and receipt strips have built-in shapes and text — you just need pockets that hold them flat and angled. The faux metal edge gives it that “real display” look even if you only use scrap paper and cheap supplies. It’s renter-friendly because you don’t need power tools, and the whole thing dries flat with glue and tape. Plan about 60-90 minutes for one page if you’re neat, and it fits best for a travel month, weekend errands, or any relationship timeline that lives in small moments.
Cut a 12 x 12 inch page from sturdy cardstock or a cereal-box substitute covered with matte paper. Create a faux metal border by brushing a thin coat of metallic acrylic paint along a 3/4 inch strip around the edges, then press on a strip of clear packing tape over it once tacky so it looks smooth and reflective. Build the pockets: cut three rectangles of 6 x 4 inches from scrap cardstock, fold the top edge down 1/2 inch for a pocket opening, and glue only the sides and bottom. Layer the pockets diagonally so one ticket stub sits slightly higher than the next, then add a 1/4 inch-wide paper tab at the top of each pocket for easy pull-out. Finish by trimming any overlap with a ruler and craft knife, then seal the surface with a thin layer of matte Mod Podge to protect ink from smudging.
Pro tipUse a bone folder on the pocket folds — sharp creases keep stubs from bulging and make the page photograph cleanly. If your metallic paint looks streaky, add a second light coat instead of going thicker.
AvoidDon’t glue the pocket openings down — you want stubs to slide in and out without tearing the paper.



