
1. One-Photo Mat with Taped Frame
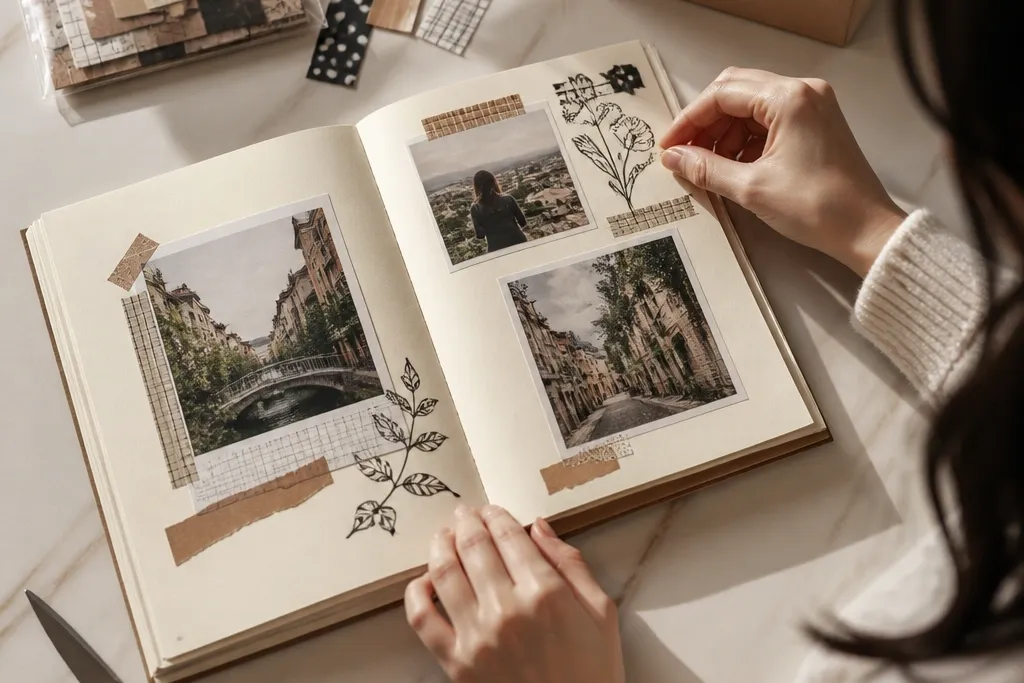
This is the fastest way to make budget simple scrapbook ideas look intentional. You’re giving your photo a clear stage: a mat that creates breathing room, then a thin frame of washi tape that adds color without covering the image. Use a mat color that matches your scraps, like cream with warm brown tape or light gray with cool blue tape. It photographs well because the edges stay crisp and the tape creates a soft, layered look rather than a cluttered collage. Beginners can finish this in under an hour for one page, even if you’re cutting by hand.
Pro tipUse painter’s tape to hold your mat in place while you position the tape frame, then swap to glue once it’s centered.
Start with a page base of cardstock (8.5x11 or 6x8). Cut a photo mat that is 1/4 inch larger than your photo on both sides, then glue the mat to the page. Place washi tape strips around the mat edges — one strip per side — and press the tape onto the mat, not onto the photo itself. Finally, add a small journaling strip under the photo using a contrasting paper or cardstock (about 1 inch tall).
AvoidDon’t let tape cross onto the photo — it makes glare and looks messy in photos.
2. Torn-Edge Accent Strip
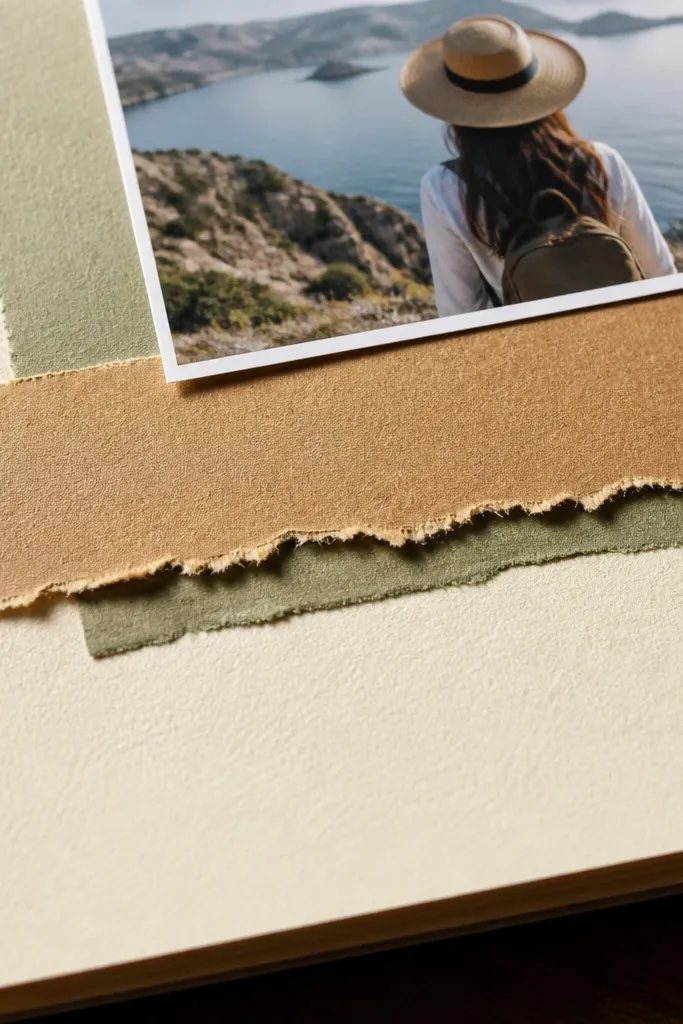
A torn-edge strip is one of the most photogenic budget simple scrapbook ideas because it adds texture without requiring fancy tools. The irregular edge catches light and makes the page feel layered and handmade. Keep the strip narrow — around 1 to 1.5 inches wide — so it reads clearly rather than dominating the page. Pair it with a clean photo placement and a short caption so the page doesn’t look like scrap overflow. This works best for travel, events, and any page where you want the photo to stay the star.
Pro tipTear on a scrap mat first so the fibers don’t shred the table surface.
Choose one scrap sheet with a pattern you like, and pull a strip from it by hand about 1.25 inches wide. Tear it so the edge looks uneven but not jagged — you want controlled randomness. Glue the strip across the page slightly behind where your photo will sit, leaving the top area clean. Put your photo on top or just above the strip, then add a caption in 2-3 lines using a pen or fine marker.
AvoidDon’t use multiple torn strips — one is enough for a strong look.
3. Receipt-to-Journaling Card
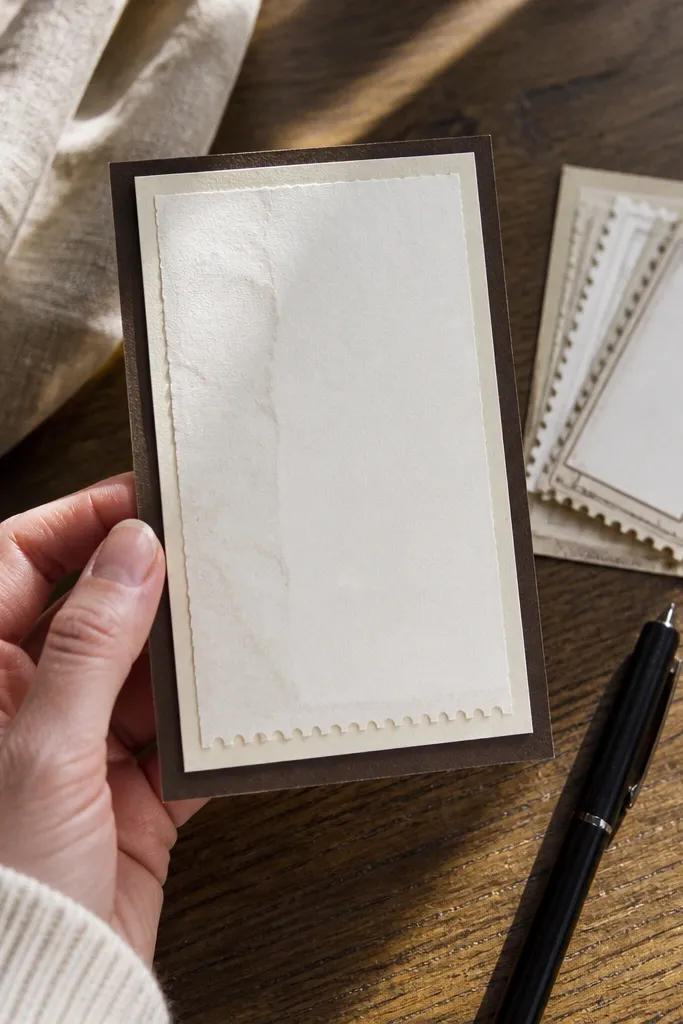
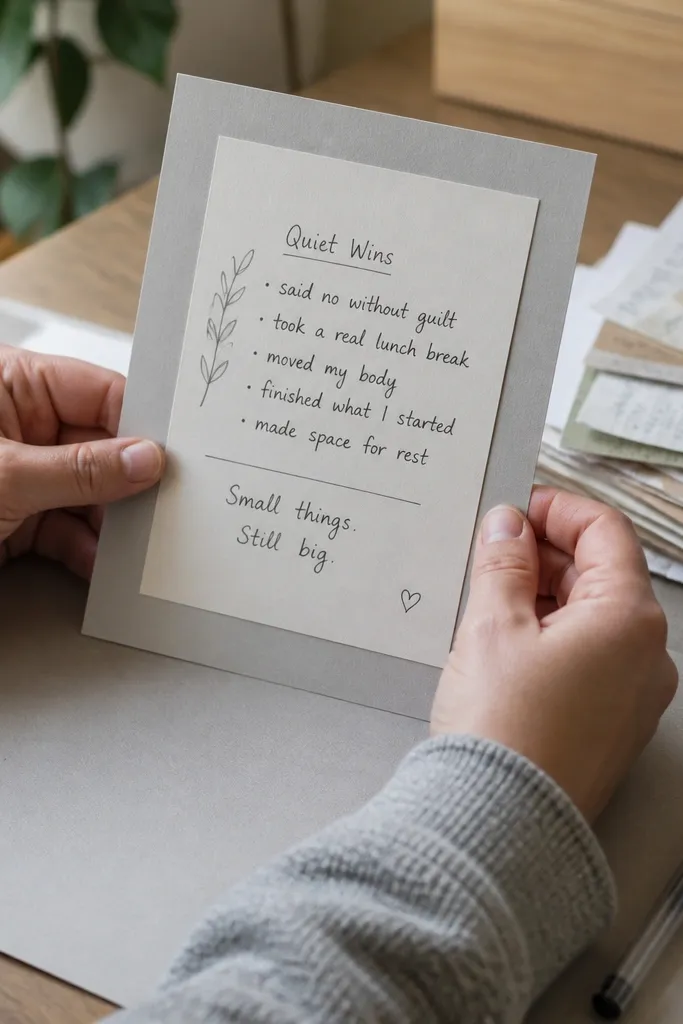
If you have receipts, movie stubs, or random paper scraps, turn them into a journaling card. This gives you instant content and a believable “real-life” texture that looks good on camera. The key is to treat the receipt like a designed element: straighten one edge, layer it on a mat, and write legible notes on a clean spot. It’s beginner-friendly because you’re not aligning tiny pieces — one card is the whole project. Place it near your photo so the viewer reads the story flow: photo first, receipt next.
Pro tipUse a black gel pen for journaling — it stays readable even on patterned receipts.
Flatten the receipt under a heavy book for 10 minutes, then trim it to a rectangle about 3.5x2 inches. Cut a backing mat from solid cardstock about 1/8 inch larger on all sides. Glue the receipt onto the mat, then handwrite a short journaling block on the blank or lighter area (about 2-4 sentences). Add the card to your page with two small glue dots at the corners so it lies flat.
AvoidSkip glue across the whole receipt — it warps thin paper and shows ripples.
4. Color-Block Grid Page
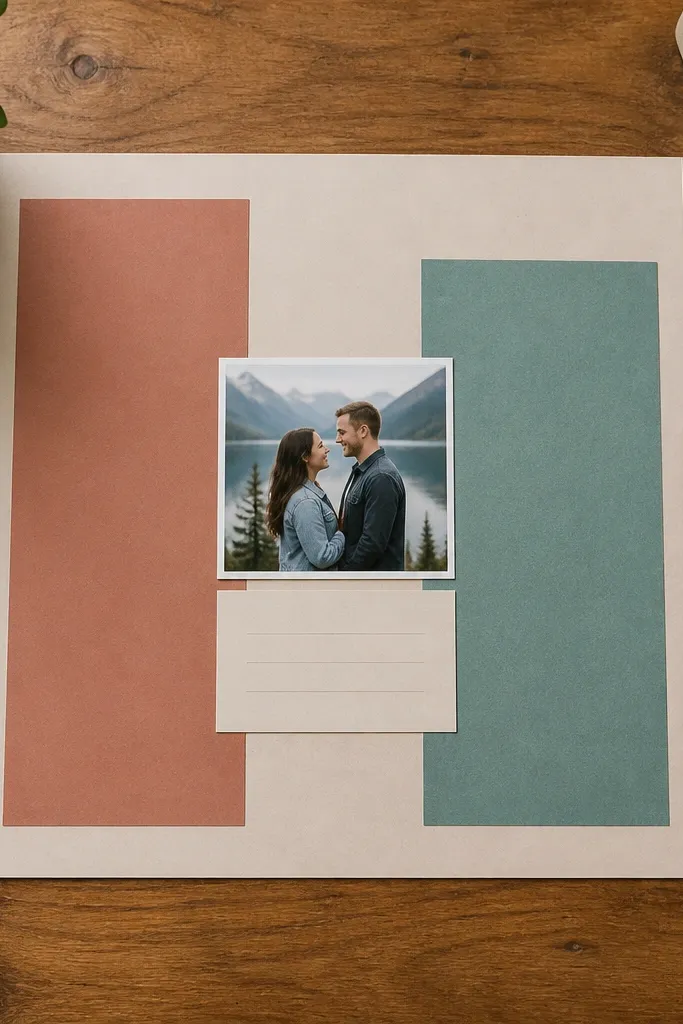
A color-block grid makes budget simple scrapbook ideas look like a layout, not a pile. You’re using structure to control chaos: three rectangles, one photo, and one caption. This style is perfect when you have small scraps that don’t feel cohesive. Choose two complementary colors plus one neutral, then keep the grid measurements consistent. The page looks clean in photos because edges are straight and spacing is predictable.
Pick a page base and draw light guide marks with a pencil at 1/2 inch margins. Cut three rectangles from cardstock or patterned paper: two wide blocks (about 4 inches wide) and one narrow block (about 2 inches wide), all with the same height. Glue the blocks first, then place your photo centered over or between two blocks. Finish by adding a caption strip under the photo, trimmed to match the width of one block.
Cut your rectangles with a paper trimmer for straight edges — photos punish wonky lines.
Don’t mix too many patterns in the grid — two patterns max looks intentional.
5. Washi Tape Corner Details
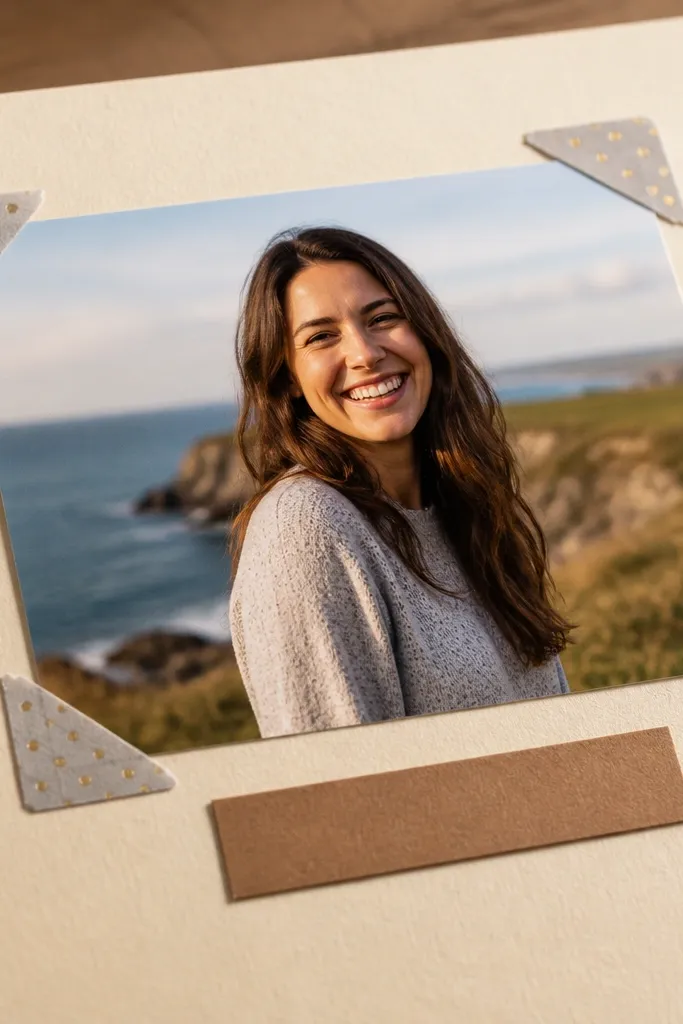
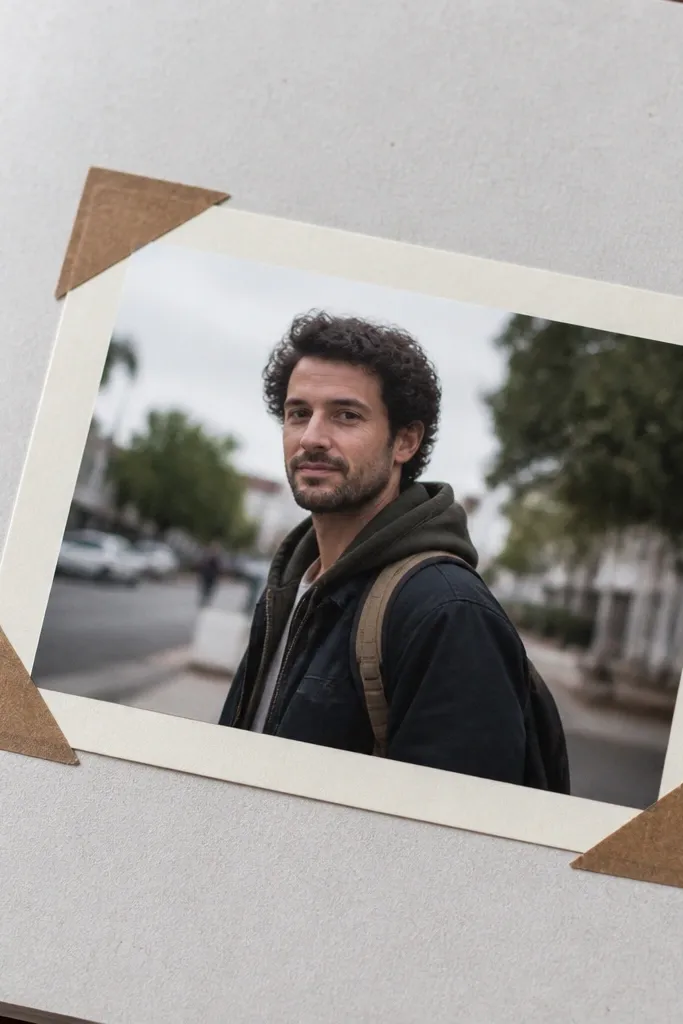
Corner tape details are a small move that changes the whole page. Instead of framing the entire photo, you place tape only in the corners, which keeps the image crisp and reduces visual clutter. It’s budget-friendly because you use short tape pieces, not full strips. This works especially well for beginners who struggle with straight borders. The page still looks styled because the corners create a designed frame effect that reads instantly in photos.
Pro tipUse tape that has a flat finish, not thick glitter tape, so it doesn’t cast heavy shadows.
Glue your photo to a mat or directly to the page with a small margin (about 1/8 inch). Cut four small tape squares or short strips and place them only at each photo corner. Press the tape edges firmly so they don’t lift later. Add a single journaling line next to the photo — keep it short, like a date plus one sentence.
AvoidAvoid tape that overlaps the photo edges too much — it blocks the image and looks crowded.
6. Stamped Circle Theme with Plain Paper
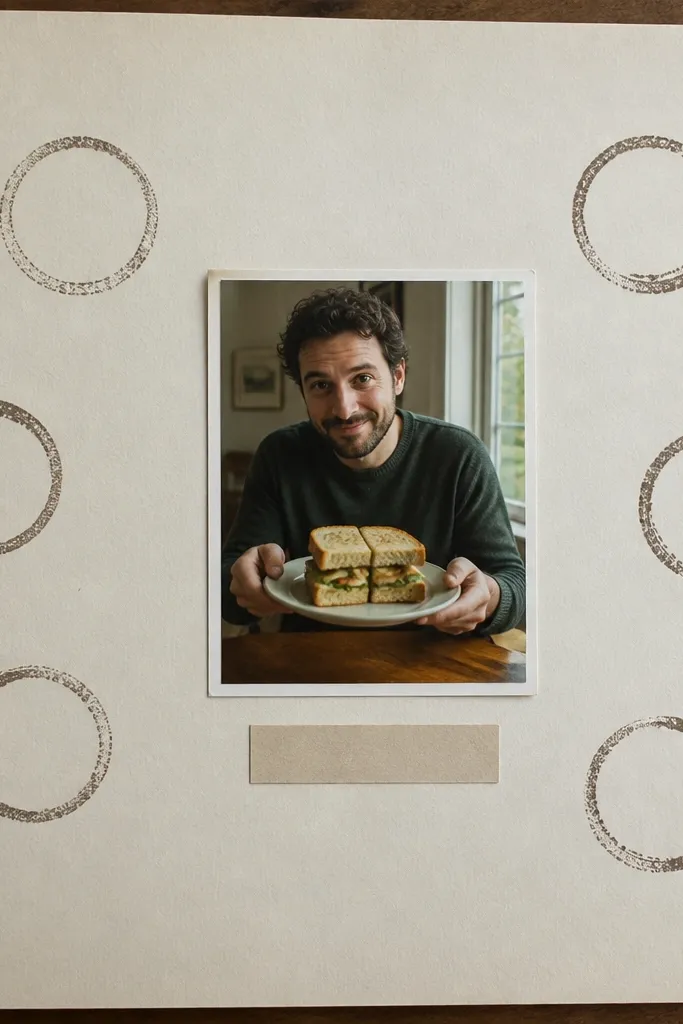
Stamping is one of the best ways to add visual interest without printing costs. A simple circle theme gives you rhythm, and it makes plain paper look like it belongs in a scrapbook. Keep it minimal: 5-7 circles max, placed around the photo and caption. Choose one ink color that matches your paper — black, espresso brown, or muted navy. This looks great in close-up photos because the ink edges show texture.
Pro tipIf your stamp ink smears, dust the page lightly with baby powder before stamping, then shake it off.
Use a scrap of practice paper to test ink density first, then stamp 5-7 circles on your page base lightly around where the photo will sit. Glue your photo in the center area, leaving stamped circles visible. Add a caption block in a solid paper rectangle so the stamped pattern doesn’t compete. Let ink dry fully before touching the page with glue-heavy elements.
AvoidDon’t stamp the whole page — scattered circles look intentional, full coverage looks messy.
7. Book Page Background with Photo Overlap
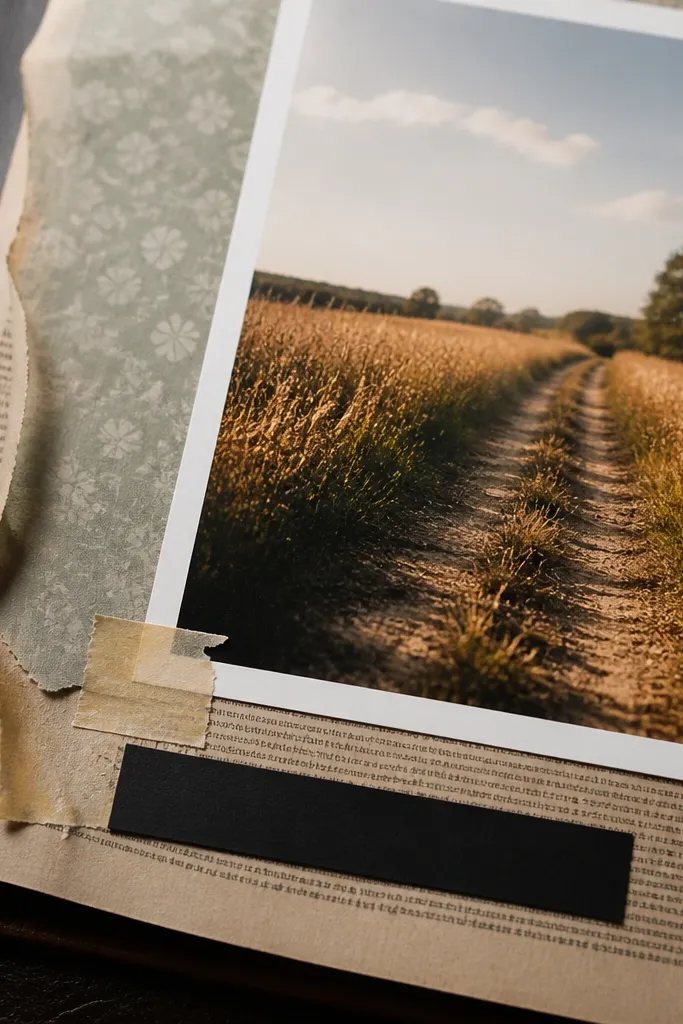
A book page background adds instant character for almost no money. It’s photogenic because the text creates fine texture, and the photo overlap makes the page look layered and curated. Use book pages sparingly: cover the lower half or a side panel, not the entire sheet. Pair with a single modern photo and a clean caption so the background doesn’t steal attention. This style is strong for memoir pages, family history, and any theme that benefits from “story texture.”
Pro tipSeal the glued book paper with a thin layer of matte medium if it’s very thin — it reduces wrinkling.
Cut a book page panel to about 4x8 inches (half page on an 8.5x11 base). Glue it to the page base, then trim any edges that overhang. Place your photo on top with an overlap — about 1 inch of photo covering the book page panel. Add a small date strip in a solid color paper under the photo and glue it down.
AvoidDon’t use glossy book pages — glare makes photos look washed out.
8. Fabric Swatch Strip and Hand Stitch Look
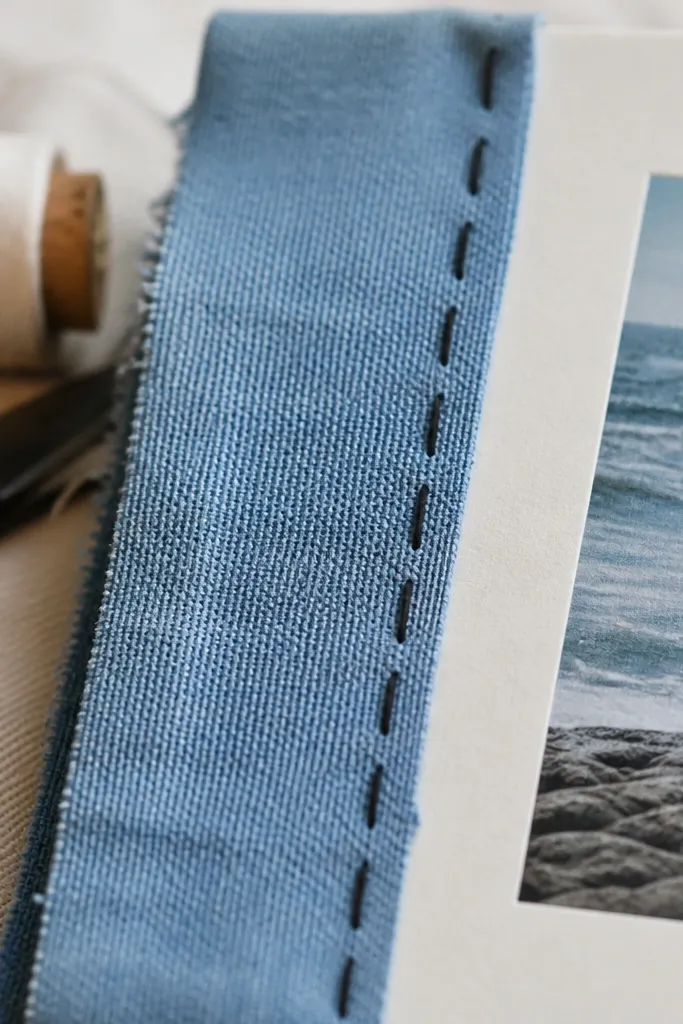
Fabric swatches make scrapbook pages look tactile, not flat. A narrow fabric strip (like denim, canvas, or cotton) adds depth that’s obvious in photos taken at an angle. You can fake the “stitched” look with a simple running-line pen or marker, even if you don’t sew. This is a great budget simple scrapbook ideas option because you can use old clothing scraps. Keep the rest of the page clean: one photo, one caption, one texture strip.
Cut a fabric strip about 1 inch wide and 6 inches long, trimming frayed edges if needed. Glue the strip to the page with fabric glue or a thin layer of matte medium, then press with a flat weight for 5 minutes. Draw or stitch-look lines along the fabric edge using a fine black marker. Place your photo above the fabric strip and add a short caption that matches the fabric color tone.
Use a foam brush to apply glue — it spreads thin and prevents soak-through.
Don’t soak the fabric with glue — it stiffens and puckers.
9. Photocopy Silhouette for No-Photo Pages
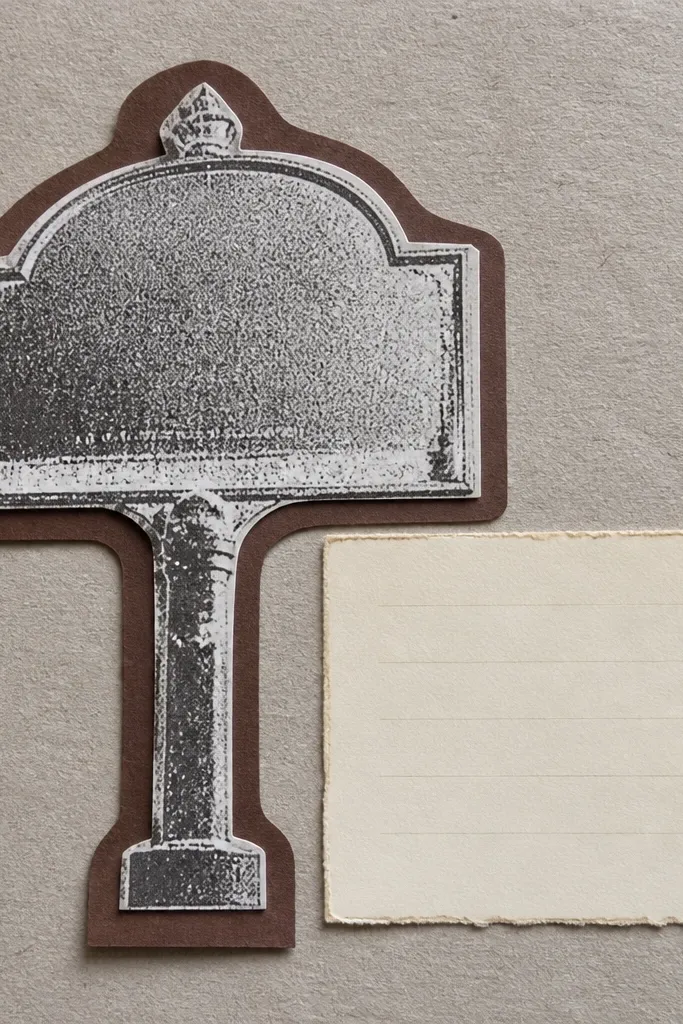
When you don’t have photos, you still need a visual anchor. A photocopy silhouette (from a printer or a printed outline) gives you a strong shape that reads well in scrapbooks. You can use a silhouette of a place sign, a landmark outline, or a person’s profile cut from a magazine. This keeps budget simple scrapbook ideas from turning into text-only pages. The silhouette plus a journaling card looks complete and photo-friendly.
Print or photocopy a simple outline shape, then cut it out cleanly with scissors. Glue the silhouette onto a solid cardstock panel (about 4x5 inches) so it pops. Add a journaling card near it with the date and 2-4 sentences. Finally, mount the panel onto your scrapbook page with consistent margins for a neat finish.
Choose silhouettes with thick outlines — thin lines get lost in photos.
Don’t place the silhouette on a busy background — it disappears.
10. Two-Photo Cluster with One Shared Caption
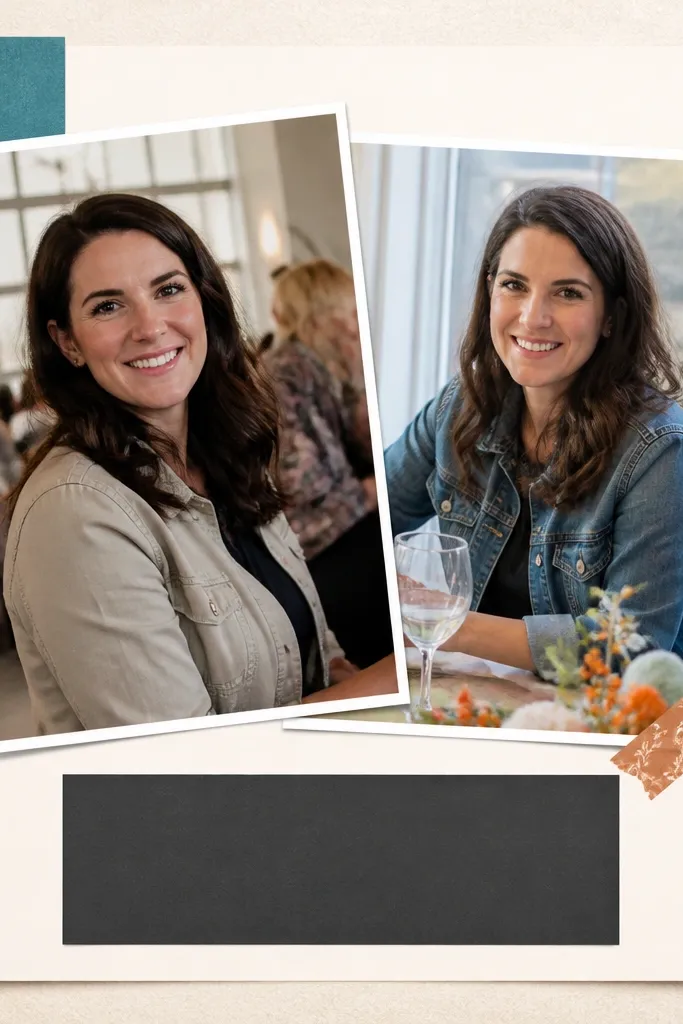
Two-photo clusters look more “story” than single photos, but they stay simple if you share one caption. This style is great when your photos are similar lighting or the same event. The page is photogenic because the cluster creates a clear focal point, and one caption block keeps the text tidy. Use one mat color for both photos so they look like a set. Beginners like this because it’s straightforward: two images, one story line.
Pick two photos and resize them so they match height (about 3.5 inches tall on an 8.5x11 page). Cut one shared mat or two matching mats, leaving the same margin around each photo. Glue the photos side by side with a small gap (about 1/4 inch). Add a single caption strip under both photos, trimmed to the combined width, then glue it down.
Use the same photo border style (white or none) across the two photos for a cleaner look.
Avoid mismatched photo sizes — the cluster looks uneven in photos.
11. Staggered Layers with One Pattern Paper
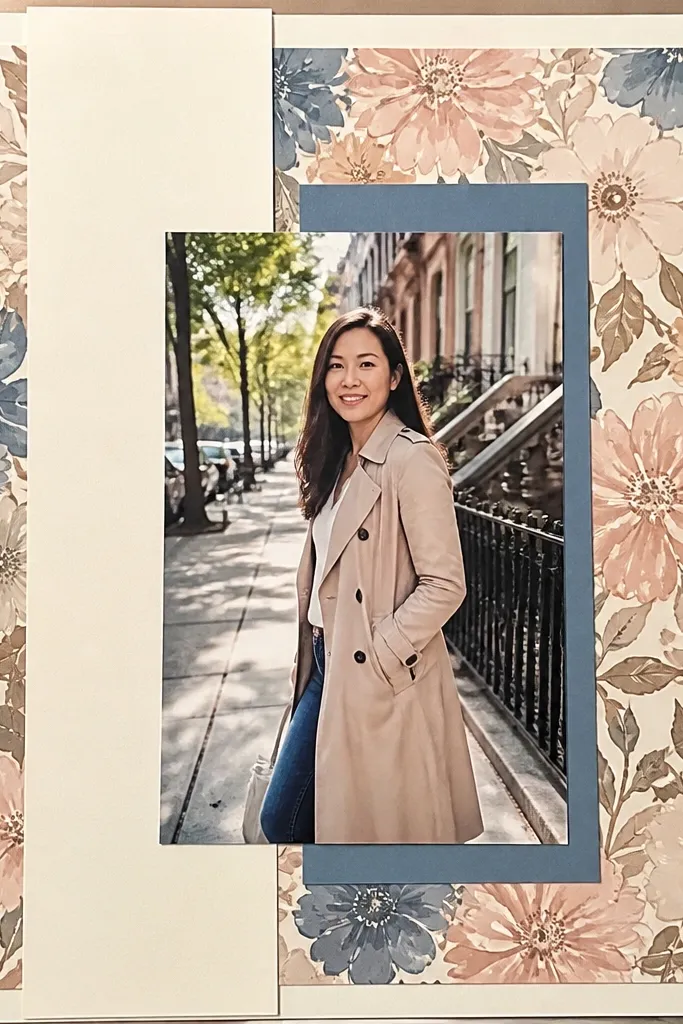
Staggered layers make your page look richer without buying a ton of supplies. The trick is to use one pattern paper sheet as the star and keep everything else solid. Layer the pattern under the photo and under a smaller strip of cardstock to create depth. This is photogenic because the pattern peeks from behind and the edges create a clean stacked look. It works well for birthdays, holidays, and any page where you want the photo to feel “framed.”
Pro tipUse an offset of 1/8 to 1/4 inch — too much offset looks accidental.
Select one patterned paper and cut a rectangle about 4.5x3.5 inches. Cut a solid cardstock rectangle slightly larger (about 1/8 inch wider) for the second layer. Glue the solid rectangle first, then glue the patterned paper on top, offset to show the solid border. Place the photo on the top layer and add a small journaling line at the bottom edge.
AvoidDon’t add three different patterns — one pattern with solids looks deliberate.
12. Shaker Window with Confetti Paper Scraps
A shaker window is the easiest way to make a beginner page feel special while staying budget-friendly. You’re using paper scraps as confetti, which keeps costs low and looks colorful in motion. The page photographs well because the window creates a bright focal point. Keep the shaker small — around 2x2 inches — so it doesn’t take over the layout. This works best on event pages where you want a fun pop without clutter.
Pro tipPunch confetti from two colors only — it looks cleaner through the window.
Cut a window shape (square or circle) from a scrap panel and back it with a clear plastic sheet like an old report cover. Create the “box” using double-sided foam tape around the window edges, then drop in punched confetti (from scrap paper). Close the top with another piece of clear plastic or the scrapbook base layer and press firmly. Glue or tape the shaker panel onto your page, then place your photo beside it.
AvoidSkip thick glitter confetti — it sticks and looks uneven in the shaker.
13. Photo Booth Border from a Printer

A printed border is a beginner cheat code for making pages look designed. You can create a photo-booth strip effect with a simple template in any document app, then print it on cardstock. The border gives you consistent spacing and makes journaling look intentional. This is ideal for budget simple scrapbook ideas because it uses your home printer and scrap paper, not specialty design supplies. Your page will look cohesive because every photo shares the same frame style.
Pro tipUse a matte cardstock setting if your printer has it — glossy prints glare in photos.
Set up a document at 8.5x11 and design a border around your photo area with a blank date label space. Print on cardstock, then trim the border to fit your scrapbook page. Glue the photo into the printed frame opening or glue the entire framed strip onto the page. Add a handwritten caption under the strip to finish the story.
AvoidDon’t use tiny fonts for journaling — they blur when the page is photographed.
14. Corner Pocket for a Mini Photo Strip
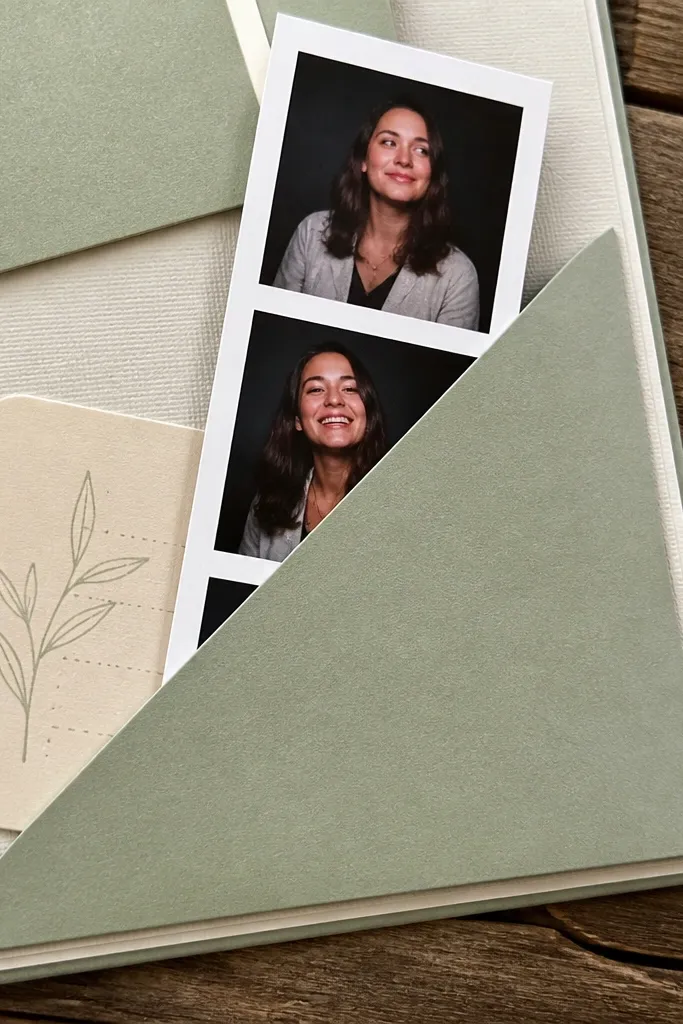
Pockets are a practical and photogenic upgrade because they add dimension and let you store extra photos. A corner pocket keeps the layout clean, and the mini strip peeking out looks cute in close-ups. This is a great option when you have extra photos that don’t fit the main layout. Use pocket pages made from cardstock or a folded strip — no sewing needed. It’s also useful for beginners because the pocket hides imperfect trimming.
Cut a cardstock rectangle about 3.5x4 inches and fold it to create a pocket back with an open top. Glue the pocket to the page in the corner, leaving the top edge free. Slide a mini photo strip inside — 3 small photos printed or trimmed to match height. Add a small label on the pocket edge (date or event name) using a pen so you can find it later.
Reinforce the pocket fold with a bone folder for a sharper crease.
Don’t make the pocket too shallow — the photos slip out when you handle the page.
15. Sticker-Lettering Title with Underline Strip
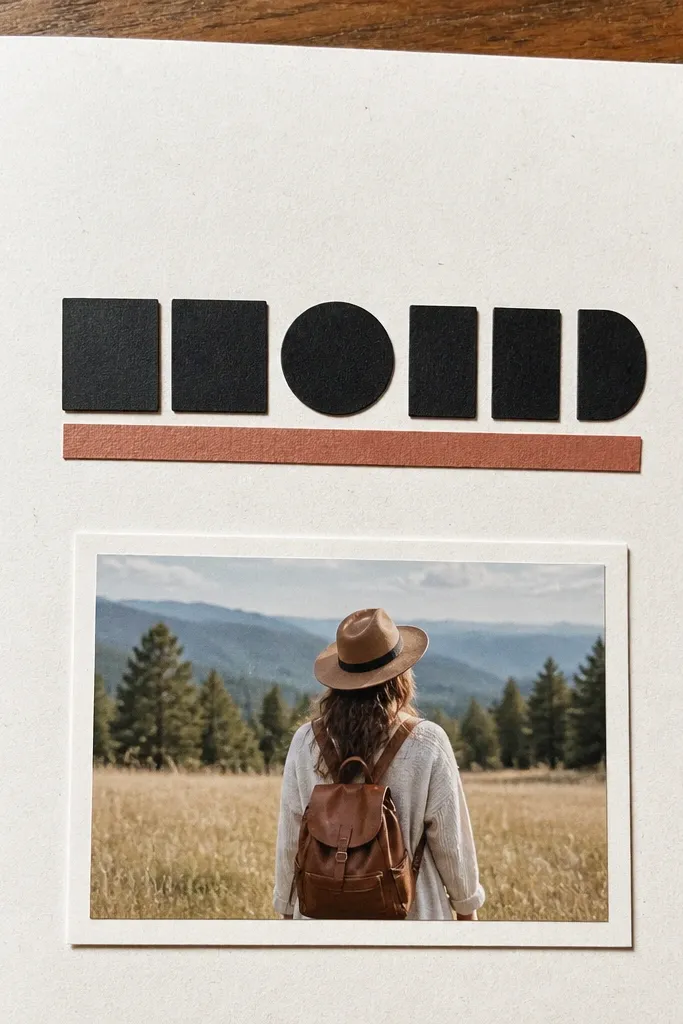
A strong title makes scrapbook pages read fast, and it looks good in photos. Use sticker letters or cut-out letters from cardstock, then underline the title with a solid strip for contrast. This style is budget-friendly because you can use old sticker packs or letter cutouts from scrap paper. Keep the title short — one phrase — and let the photo carry the rest. Underline strips create a clean visual anchor that makes the page feel finished.
Pro tipUse one letter size across the title so the word looks uniform in photos.
Pick a title phrase and arrange sticker letters in a line where you want the focus. Cut an underline strip from solid cardstock, about 1 inch tall and the same width as the title. Glue the underline strip first, then place the letters on top or slightly above it. Add your photo below and finish with a short date or journaling line.
AvoidAvoid long titles — they make beginner pages look cramped.
16. Handmade Photo Corners with Scrap Paper

Photo corner tabs are a clean, low-cost way to make photos look mounted like they belong in a gallery. Instead of gluing the whole photo, you attach it with small paper corners, which makes the page look lighter and more airy. It’s photogenic because the photo edges stay crisp and the background pattern can show through. This works well for patterned papers and for pages where you want the photo to pop without heavy borders. Beginners can do it fast with cardstock corner templates or careful cutting.
Pro tipTest the tab placement on scrap paper first so the photo sits without skewing.
Cut four tiny corner tabs from cardstock, each about 1x1 inch, and make a small angled cut so they wrap the photo corner. Glue each tab to the page near where the photo will sit, then slide the photo into place so the tabs hold it. Press gently so the tabs grip the photo edges. Add a caption strip nearby, keeping it aligned to one side of the photo for a tidy look.
AvoidDon’t use flimsy paper for tabs — it tears and photos won’t stay flat.
17. Grid of Mini Polaroid-Style Prints
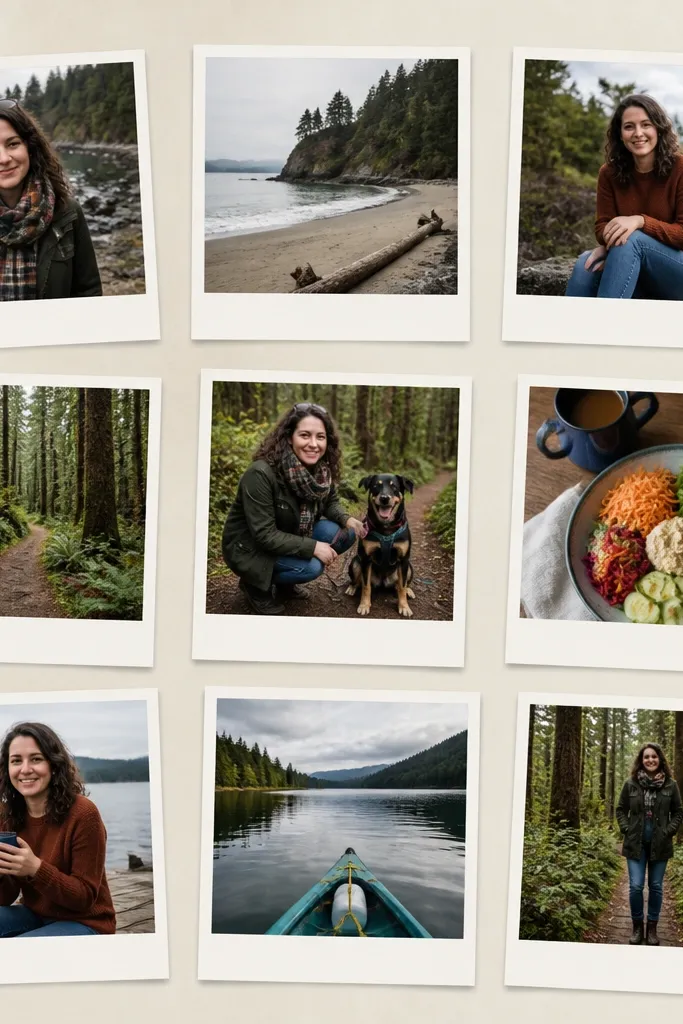
Mini polaroid grids turn a bunch of photos into a single, satisfying visual block. You get instant variety while keeping the layout simple because every mini print shares the same border size. This is one of the best budget simple scrapbook ideas for beginners who feel overwhelmed by too many photos. The page looks great in photos because the repeated white frames create rhythm. It also hides uneven cropping since the border covers minor differences.
Pro tipUse a ruler for spacing — the grid looks “designed” when gaps match.
Trim your photos to a consistent size, like 2x2.5 inches each. Cut white cardstock mats for each mini print, about 1/4 inch larger on all sides, and glue photos into the mats. Arrange them in a 2x3 or 3x2 grid on your page base, keeping the gaps consistent (about 1/4 inch). Add a date or short theme caption in a strip at the top.
AvoidSkip mixed border sizes — the grid stops looking intentional.
18. Matte Spray Seal for Glossy Thrift Prints
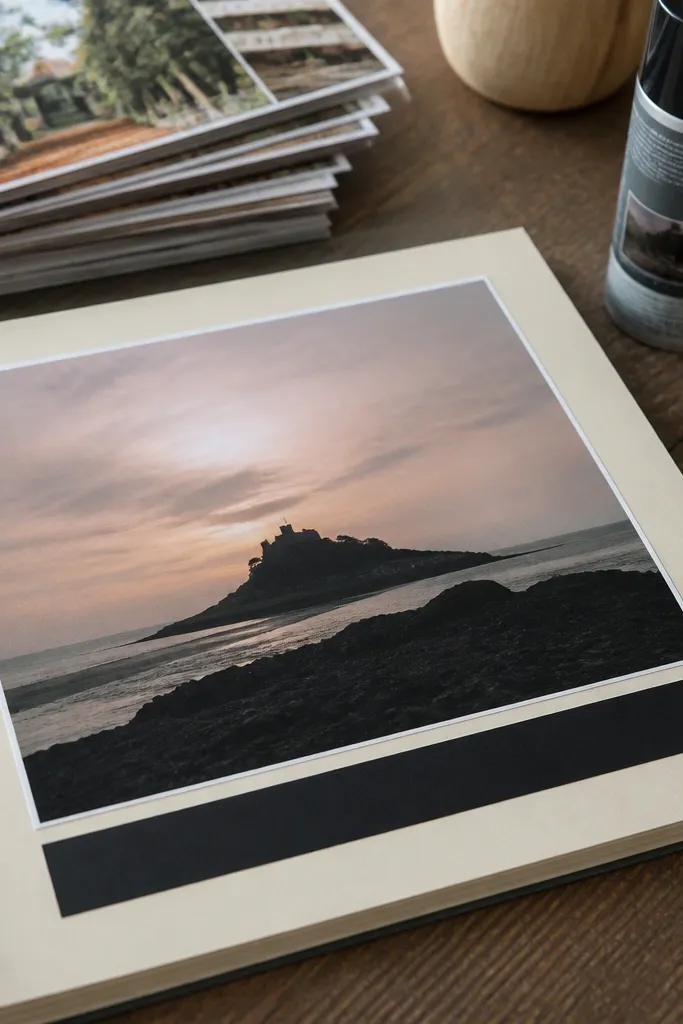
If you’re repurposing glossy prints from thrift stores or old packaging, the shine is what ruins photos. A matte seal evens out the surface so your page looks soft and readable instead of reflective. This is a behind-the-scenes step that makes all your other budget simple scrapbook ideas look better because the camera stops catching glare. You’ll also reduce smudging when you add journaling on top. This is especially helpful for pages with printed ephemera like maps, postcards, or magazine clippings.
Pro tipDo a test spray on a scrap piece first to avoid over-spraying and dulling the colors too much.
Clean the surface gently with a dry cloth so dust doesn’t trap under the spray. In a ventilated area, apply a light coat of matte spray from 10-12 inches away, using short passes. Let it dry completely, usually about 30-60 minutes depending on humidity. Then you can trim and glue the sealed ephemera onto your page without fingerprints showing as easily.
AvoidDon’t spray heavy coats — it can warp paper and create cloudy patches.
19. Labeled Timeline Strip Across the Page
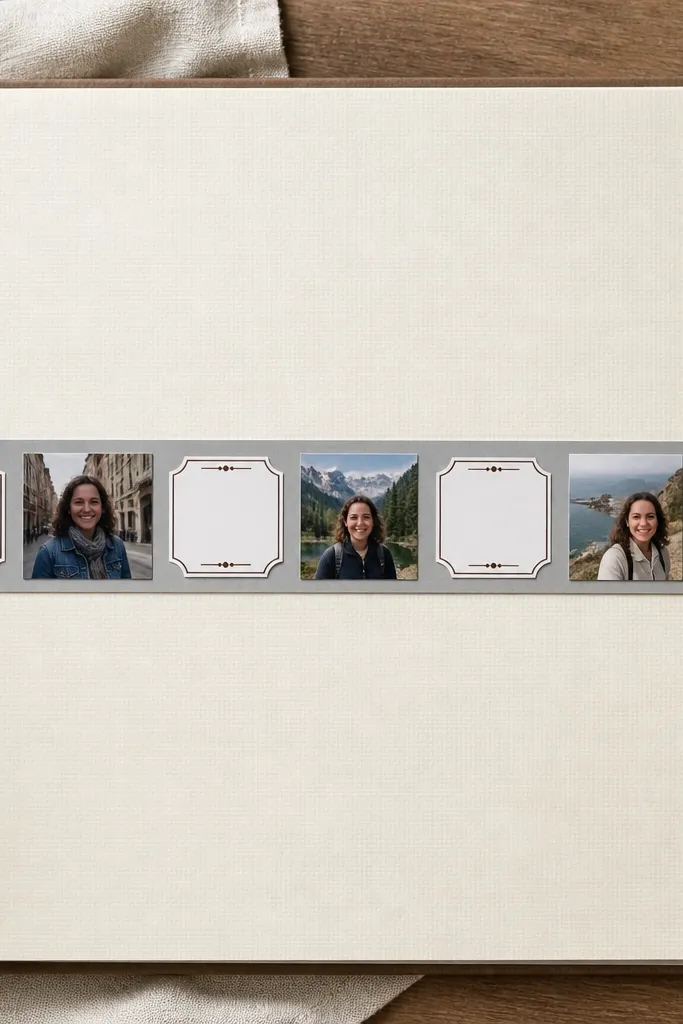
A timeline strip turns event photos into a story without complex scrapbooking skills. It’s photogenic because the labels create a clear reading path from left to right. Use it when you have 3-5 moments from one day or trip. Keep the strip simple: one horizontal band, small labels, and minimal decorative pieces. This style also helps beginners because it organizes photos you might otherwise scatter.
Pro tipUse the same handwriting style and spacing for every label so the strip looks tidy.
Cut a long strip of cardstock about 1.5-2 inches tall that spans most of the page width. Divide it visually into sections with pencil marks for 3-5 labels. Write dates or short time phrases like “Morning,” “Lunch,” “Evening,” using a fine pen. Glue small photos under each label, aligned to the label sections, then add a short closing sentence at the bottom.
AvoidDon’t cram long phrases into the strip — keep labels under 2-3 words.
20. Matte Black + Cream Minimalist Page
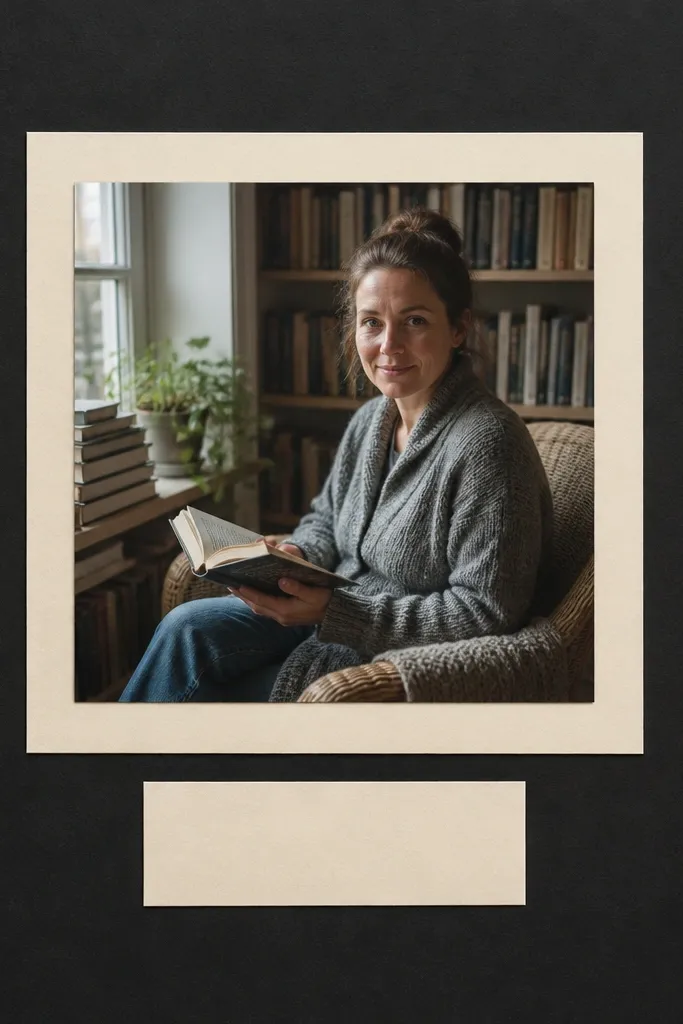
Minimalist pages photograph like design magazines, even with cheap materials. The combination of matte black and cream makes everything readable and keeps your scraps from looking chaotic. You’re using contrast as the aesthetic — the photo pops, the caption stays sharp, and the page doesn’t need multiple textures. This is a strong choice when your scraps are too colorful or mismatched. It’s also great for beginners because there are fewer cuts and fewer pieces to align.
Pro tipKeep black paper matte — glossy black creates harsh glare in overhead photos.
Choose a cream page base and cut a black mat for your photo, about 1/8-1/4 inch larger on each side. Glue the black mat to the page, then glue the photo inside with even margins. Add a caption block at the bottom using cream cardstock or a thin strip of off-white paper. Finish by adding one tiny decorative element like a single circle stamp or one washi tape dot.
AvoidDon’t add more than one accent color — two colors besides black and cream already feels busy.



