
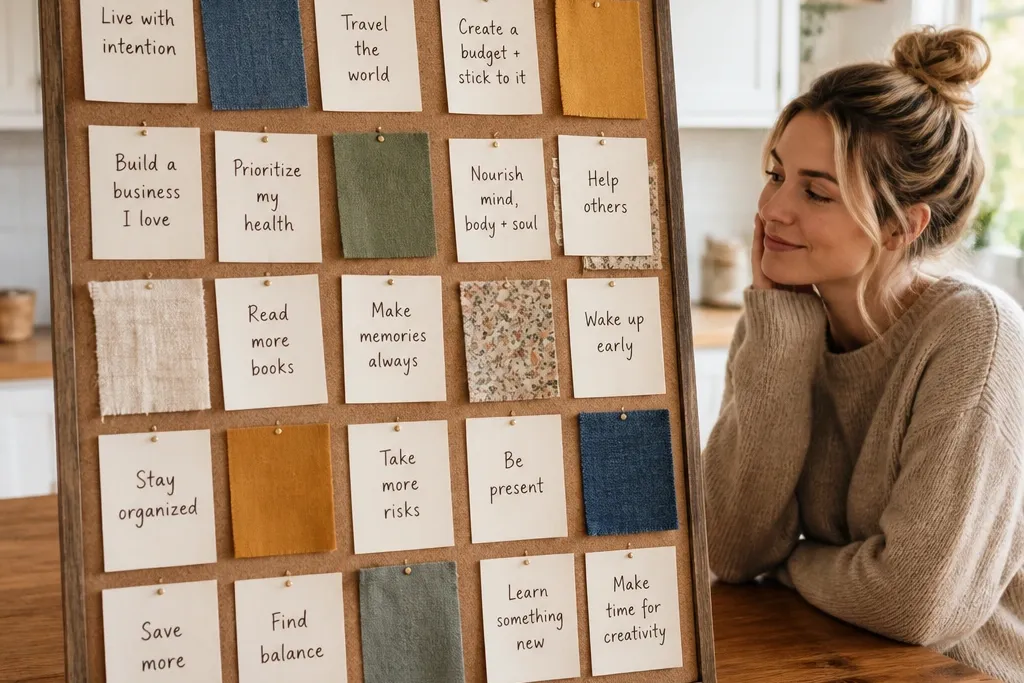

1. Fabric-Scrap Color Palette Calendar
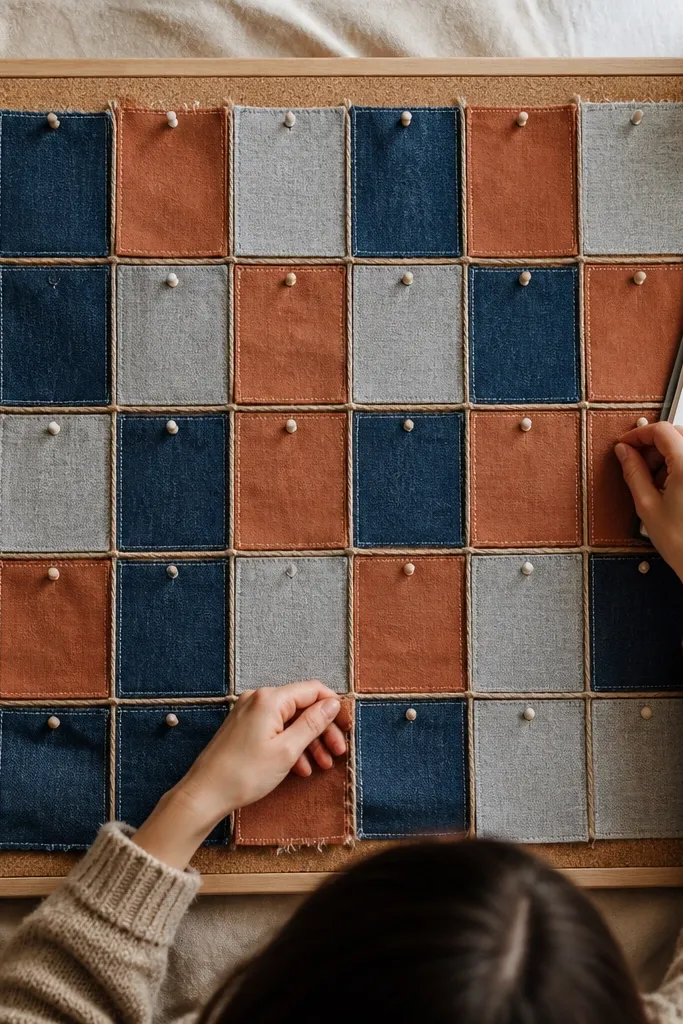
Turn “I want more color in my life” into an actual plan by building a monthly color palette grid out of fabric scraps. This goal looks great because fabric has depth — denim, cotton, and jersey each catch light differently, so your board stays visually rich even with simple layouts. Use it for doable goals like “try one new outfit color combo” or “decorate one corner with a new hue.” Skill level is beginner-friendly: you’re just cutting and mounting, not sewing. Time is about 1-2 hours for a board panel, and it works best on cork, foam board, or a repurposed picture frame backing.
Cut 24-36 fabric squares, about 2x2 inches each, from scraps you already have. Arrange them in a grid and trace the layout onto your backing so the spacing stays even. Glue squares down with a thin layer of fabric glue or hot glue, then add a strip of masking tape at the top with month names written in black marker. Finally, tack on three “action tags” like “wear one color combo this week” using small paper clips so you can swap them later.
Press each fabric square under a heavy book for 10 minutes before glue sets so edges don’t lift.
Skip stretchy fabrics like loose knit for the first board — they warp when glued.
2. Thrift Frame Goal Tiles Wall
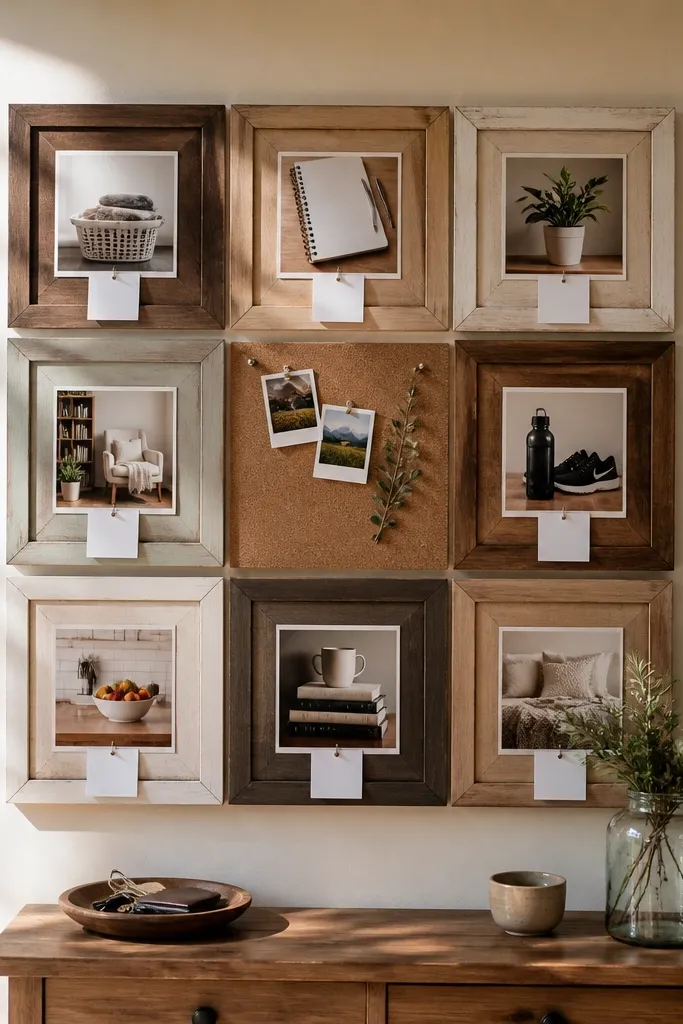
If your vision board always looks messy, this frame-tile approach fixes it. You’re using the frame as a boundary, so every goal has a defined square, and the whole board looks styled in photos. It’s ideal for goals like “get organized,” “learn a skill,” or “start a routine,” because each tile can hold one photo plus one tiny instruction. This is a low-effort upcycling win since you can buy frames at thrift stores for cheap and keep the rest DIY. Expect 2-3 hours for two frames, and it looks best as a pair on a wall or door.
Remove the glass and backing from a thrift frame and clean it with warm soapy water. Cut a piece of cardboard or thin foam board to fit inside, then measure a grid using a ruler — aim for 9 tiles at 3x3 inch each. Glue the tiles down and add your visuals: printed photos, fabric scraps, or magazine cutouts. Finish by attaching small paper clips or mini binder clips to the backing so you can slide in action cards.
Pro tipSpray-paint frames matte black or warm white before you mount anything. It makes cheap materials look intentional.
AvoidDon’t use the glass for mounting — glare in photos makes the board look dull.
3. Book Page Dream Map With Tape Borders
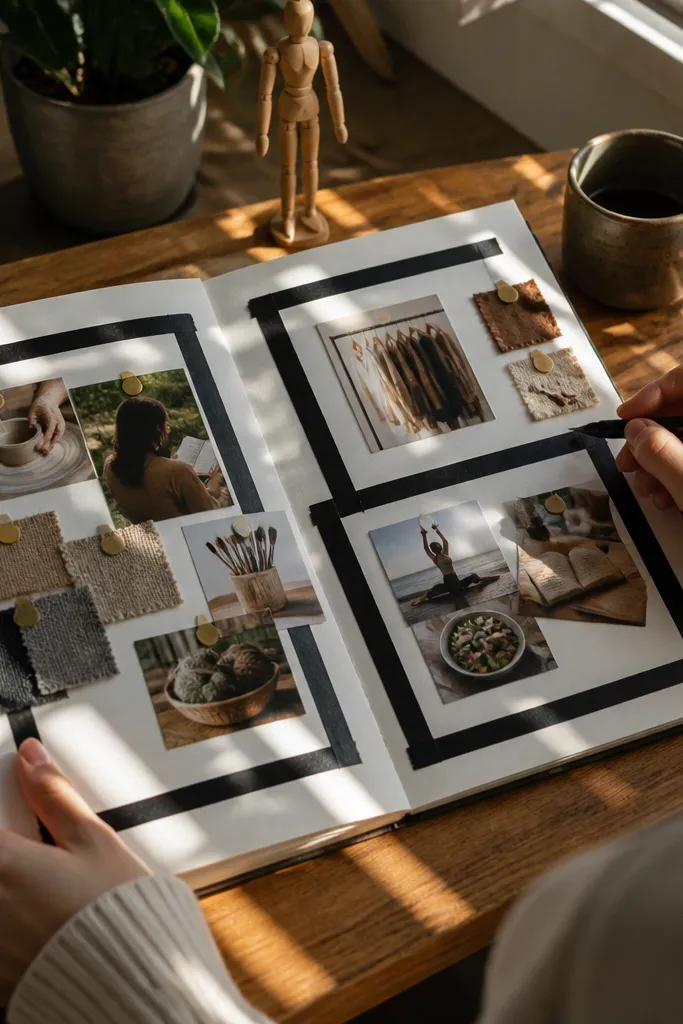
This is for goals that feel “too big” because it breaks them into zones. Book pages give you instant texture, and tape borders create a clean, graphic look that photographs well. Use it for goals like “start a hobby,” “build a capsule wardrobe,” or “create a weekly routine” where you can group actions by theme. The look is airy but not empty — the text background makes the board feel layered without adding clutter. Budget-friendly is real here: old books, leftover tape, and printed visuals.
Cover your backing (cork board or cardboard) with torn book pages, overlapping edges slightly for texture. Smooth it down with glue stick or a thin layer of Mod Podge, then let dry completely. Add colored tape borders around each goal area using strips about 1/4 inch wide. Inside each rectangle, mount one photo or cutout and a handwritten action card on small paper.
Pro tipUse two tape colors max so the board looks designed, not chaotic.
AvoidDon’t seal the whole board with heavy Mod Podge on day one — it can wrinkle paper.
4. Button and Ribbon Motivation Board
Buttons and ribbon add a handmade, tactile vibe that makes your goals feel real. This board works especially well for “body and style” goals because fabric textures visually signal comfort, outfits, and personal care. Each goal can have a mini cluster: one ribbon swatch for a clothing goal, a button color for a palette goal, and a small card for the next step. It’s also great for upcycling — you’re using what you already have instead of buying decor. Build time is 1-2 hours, and it looks best with a cork base or an old pegboard.
If you have cork, pin a simple layout first — leave at least 1 inch between goal clusters. Tie or glue ribbon strips in short lengths, about 6-8 inches long, and pin them with small thumbtacks. Scatter buttons in small groups of 3-6 around each card so they frame the goal instead of covering it. Finish by writing action cards on cardstock and pinning them under the ribbon ends.
Pro tipSort buttons by color first, then build clusters with one dominant color so it reads clean.
AvoidSkip tiny loose buttons with no backing — they fall off and ruin the look.
5. Receipt and Label Budget Board
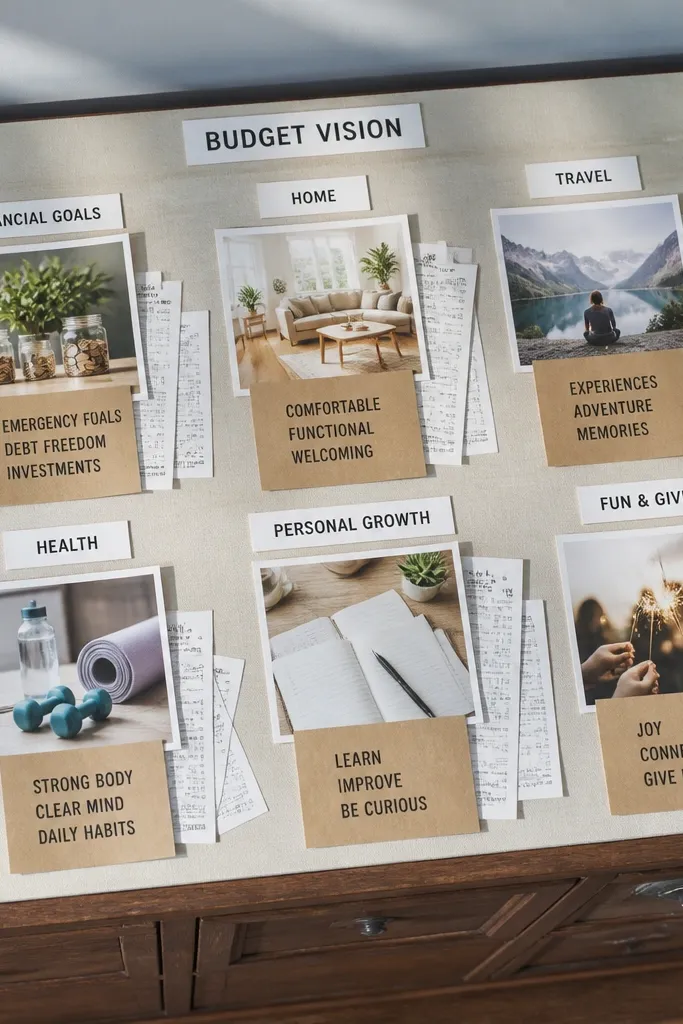
This is the vision board for people who want money goals but hate spreadsheets. The aesthetic is crisp because labels create structure, and the receipts add authentic texture without looking messy. Use it for goals like “save $100,” “cut takeout,” or “build a no-spend weekend,” and tie each goal to a visible category. It’s doable because you’re not tracking everything — you’re tracking one small habit at a time. It looks sharp in photos because labels are graphic and receipts are paper-textured.
Cut a sheet of cardstock into a grid or use a cork board and draw category lines with a black marker. Use label stickers or painter’s tape to create category headers like “Food,” “Home,” and “Fun.” Trim receipts into small rectangles and glue one to two receipts per category as visual proof. Add a weekly action card under each category — write it large enough to read from a distance, then pin with binder clips.
Pro tipUse black-and-white labels and one accent color like terracotta to keep it stylish.
AvoidDon’t tape full receipts — long receipts make the board look cluttered.
6. Paint-Chip Habit Tracker Strip
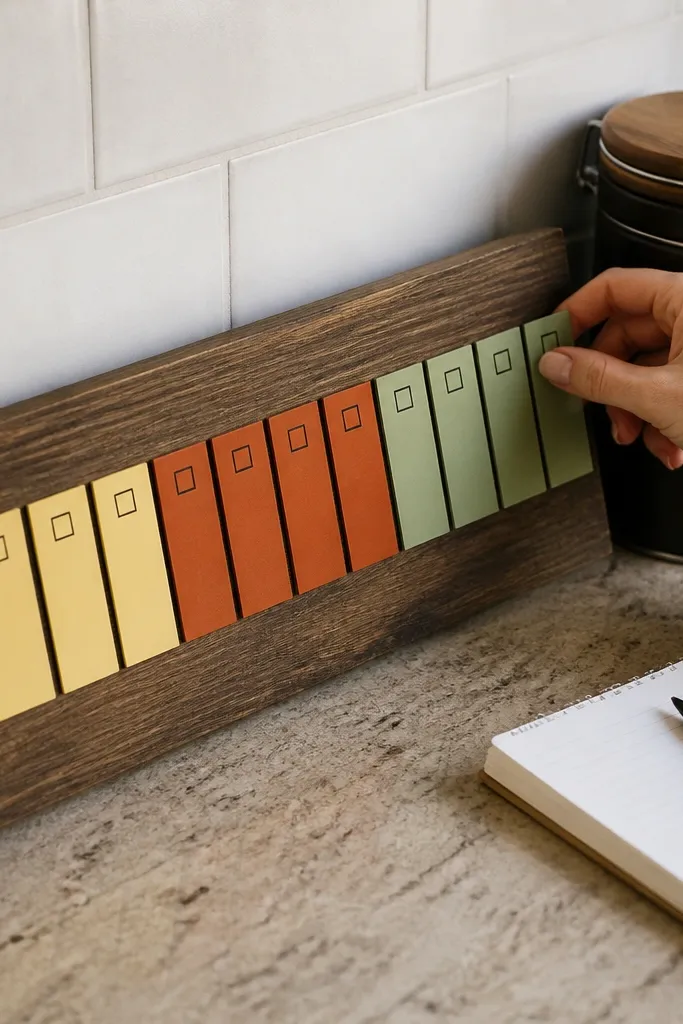
Paint chips look clean and expensive even when they’re free. This board idea is perfect for “habit goals” because you can turn each chip into a visual checkpoint — one chip per habit, one tiny checkbox per day. It’s aesthetic because the colors are coordinated and the paper is uniform. It’s also doable because you’re not committing to a huge tracker system; you’re committing to a simple daily check. This takes about 45-60 minutes and works best on a pegboard, cork, or foam board.
Pick 6-10 paint chips from leftover samples or thrifted sample books. Arrange them vertically and tape them down with painter’s tape so the edges stay crisp. For each chip, add a strip of small paper squares or cardstock checkboxes, about 1 inch tall each. Write one habit per line and attach a date header at the top using tape so you can reuse it next month.
Pro tipMark checkboxes with a thick black marker so they read clearly in photos.
AvoidSkip glossy chips — they reflect light and make the board look washed out.
7. Scrap Leather Keychain Goal Prompts
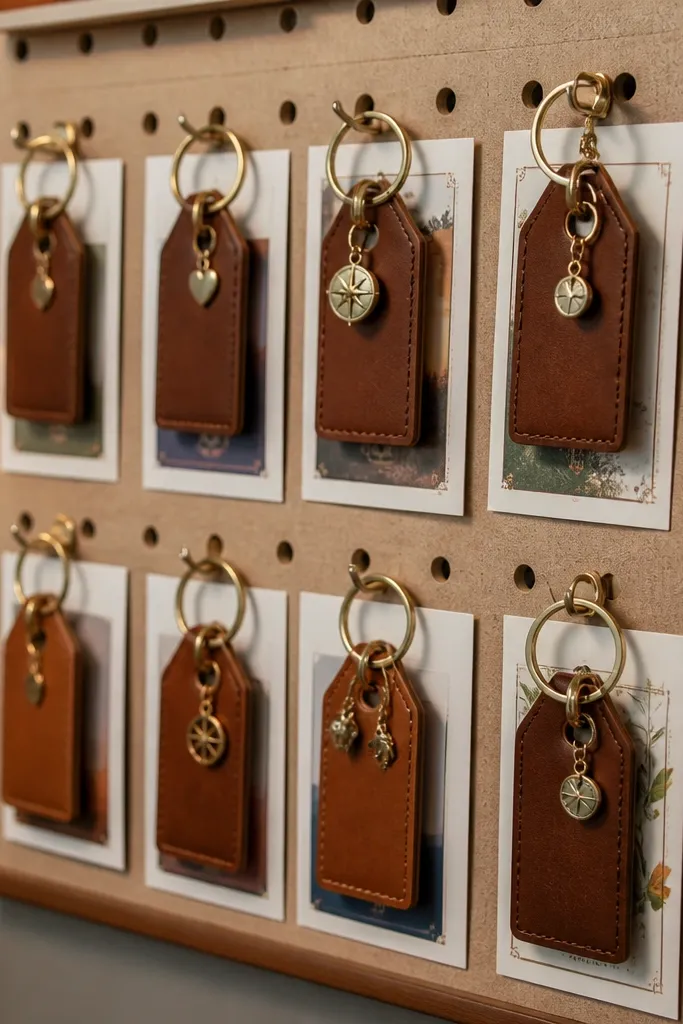
This is a goal board you can touch. Small scrap leather or faux leather tags look premium, and they add movement when you walk past your board. Use this for goals like “morning routine,” “gym days,” or “keep promises to yourself,” because each tag can include a short prompt you’ll actually read. It’s doable because you’re making lightweight reminders, not building a complex system. The look is minimal and high-contrast, especially if you use black, tan, and one accent color.
Cut leather scraps into tags, about 1.5x3 inches, and punch a small hole at the top. Write one goal prompt on each tag with a paint marker or permanent marker, keeping it to 3-5 words. Attach tags to your board using jump rings or binder clip hooks. Mount one photo per goal next to the tag so the prompt and visual match.
Condition real leather scraps with a tiny wipe of saddle soap or neutral leather conditioner so marker ink doesn’t smear.
Don’t use fabric scraps for marker-written prompts — they feather and look messy.
8. Magnetic Fridge Mini Board From a Tin
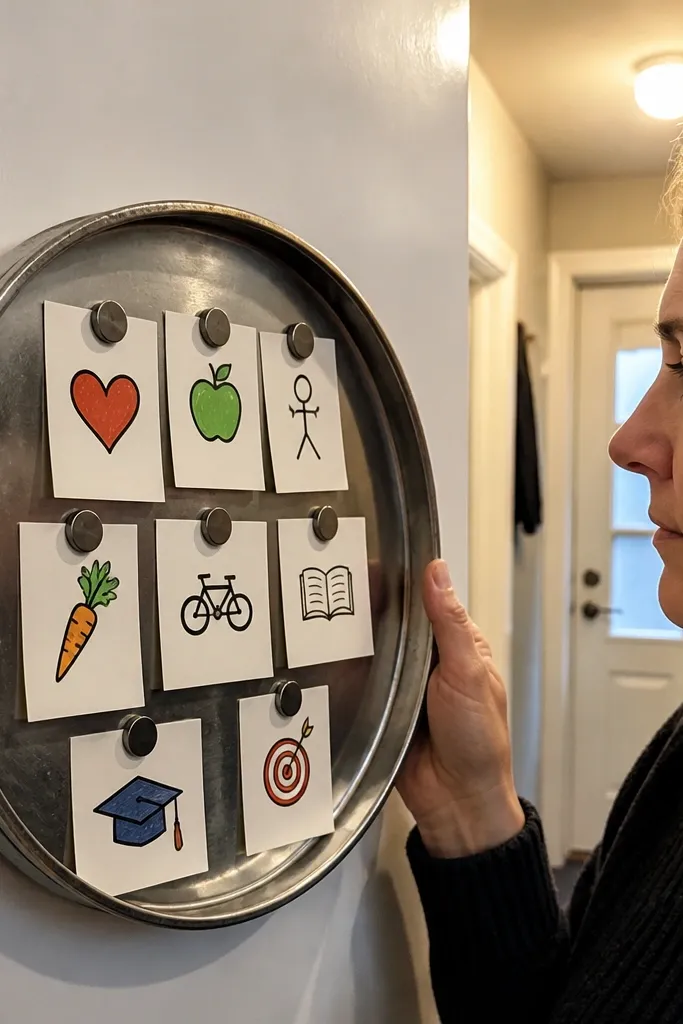
If you want your goals to show up daily, put them somewhere you already look — your fridge. This mini vision board uses a repurposed metal tin (like a shallow cookie tin) so magnets hold everything. It’s photogenic because it’s compact and graphic, with clean magnet edges and high-contrast text. Use it for goals like “pack lunch,” “drink water,” or “read 10 pages,” where daily visibility matters. Build time is 30-60 minutes and it works best for small, concrete goals.
Clean a shallow metal tin and dry it fully. Cut or print your visuals and mount them on cardstock rectangles sized to fit the tin. Attach magnets to the back of each card using strong craft magnets and hot glue. Add one handwritten weekly plan card in the center, then arrange smaller goal cards around it.
Use thin magnets so they don’t warp the tin and keep the layout flat.
Skip paper-only cards directly on tin — they slide unless you use magnets.
9. Upcycled Jeans Pocket Planner Board
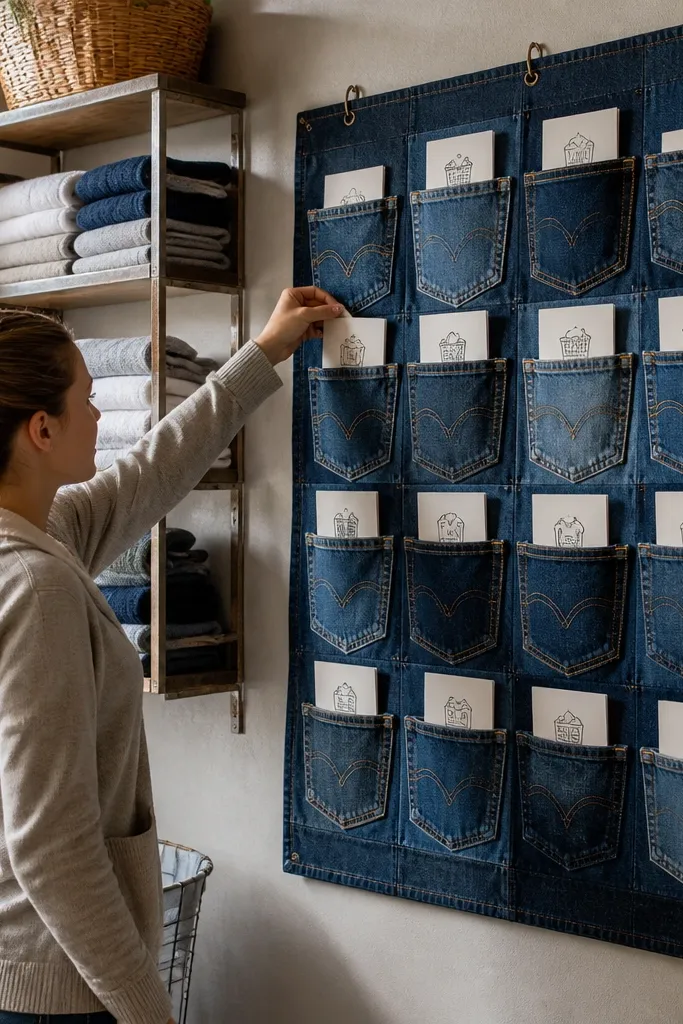
Denim pockets make the board feel like a personal uniform. Mounting an upcycled jeans pocket gives you built-in storage for action cards, so your “doable” goals stay organized instead of falling off. This works great for goals like “weekly resets,” “laundry routine,” or “work tasks,” where you want a place for small notes. It’s also very photogenic because denim has strong texture and visible seams. Plan for about 2 hours if you’re attaching pockets and 30 minutes if you find one already in usable condition.
Cut a jeans pocket panel from a pair of old jeans, keeping at least 1 inch of seam allowance. Clean and iron it so it lays flat, then mount it to your board using hot glue along edges or sewing if you can. Fold action cards and slide them into the pocket. Add a header strip above the pocket with a date range using fabric tape.
Stitch the pocket edges with a straight stitch for a cleaner look than glue alone.
Don’t mount the pocket over wrinkled backing — the denim will show every wave.
10. Old Map City Goals With Thread Lines
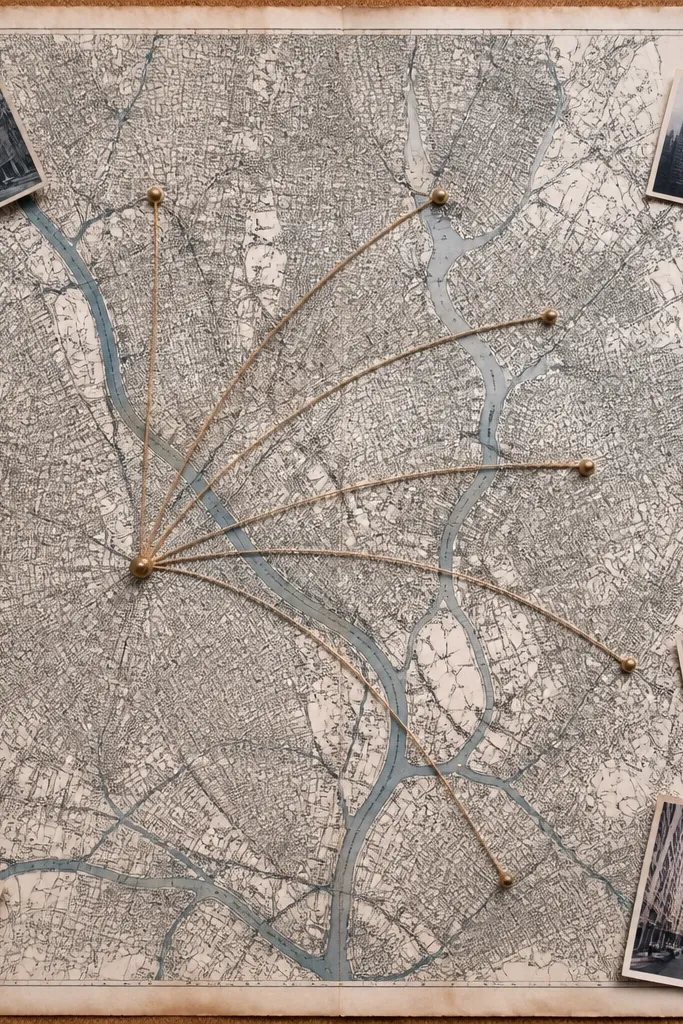
This is for “life experiences” goals that you want to make concrete. Old maps give you a travel-and-direction aesthetic, and thread lines add a graphic, hand-done look. Use it for goals like “book a weekend trip,” “visit one new neighborhood,” or “plan a day walk route.” It’s doable because thread lines can connect a plan to real actions — like booking dates, saving addresses, and packing a checklist. Build time is about 1-1.5 hours and it looks best on cork or covered cardboard.
Cover your board with a layer of old map paper, then mark 3-5 spots with small pins. Place photo cutouts or printed address cards near each pin. Thread a needle with colored embroidery floss and run lines between pins, pulling tight so lines look crisp. Add a tiny action card next to each spot like “save one route screenshot” or “check train times.”
Pick one thread color and reuse it for all connections so the board reads cohesive.
Skip loose thread — saggy lines make the whole board look unfinished.
11. Cereal Box Collage Style Goals
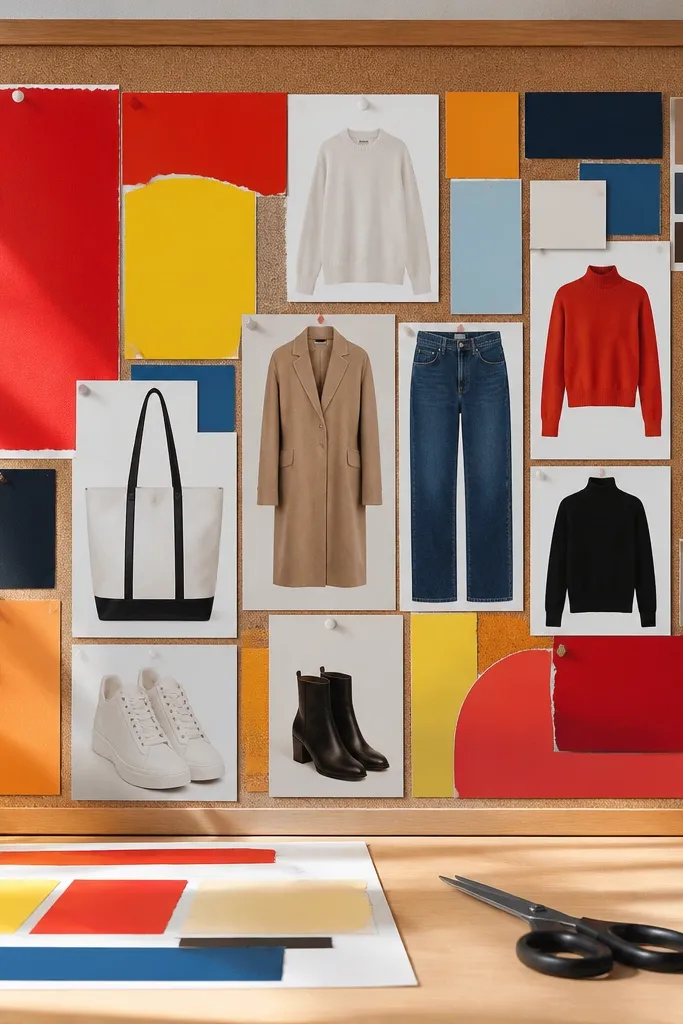
Cereal boxes and snack packaging have bold colors and clean typography, which makes collage boards look striking fast. This is a great budget option for style goals because packaging graphics give you instant “fashion energy” without printing expensive photos. Use it for goals like “build a capsule wardrobe,” “wear more neutrals,” or “try one new accessory.” It’s doable because each collage block can hold a single outfit formula and a mini shopping rule. Time is 1-2 hours and it looks best in bright daylight photos.
Flatten cereal box panels, then cut out brand-style graphics and color blocks. Glue them onto your backing in 6-10 sections, leaving white space between blocks for breathing room. Add fabric swatches from old shirts or scarves under each section. Write one outfit formula per section on small cardstock and pin it with a mini binder clip.
Pro tipUse a ruler to cut straight edges so the collage looks intentional, not torn.
AvoidDon’t cover the whole board edge-to-edge — packed collage looks busy and hard to read.
12. Thrifted Wallpaper Stripe Statement Board
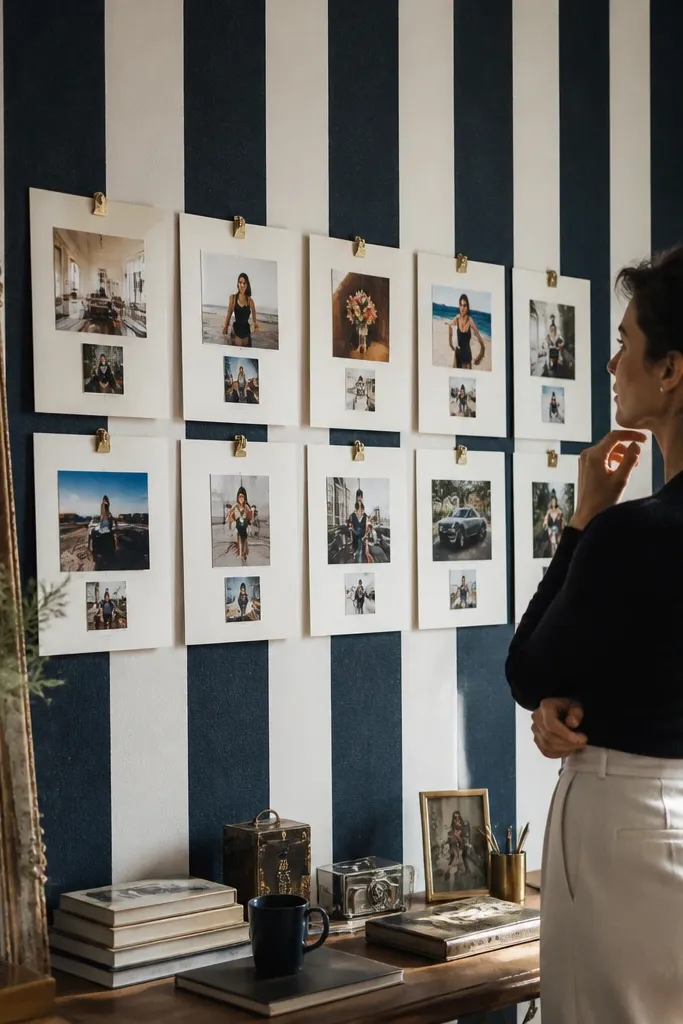
Wallpaper stripes make your board look designed with almost no effort. Pick a roll or scrap with bold vertical lines and use it as your background — it instantly frames your goals and makes colors pop. This works for any “room upgrade” goal: “make a reading corner,” “organize entryway,” or “refresh bedroom walls.” It’s doable because you can attach goal cards and checklists right onto the stripe background instead of rebuilding everything each month. Build time is about 60-90 minutes.
Cut wallpaper scraps to cover your board, smoothing them down with wallpaper paste or Mod Podge on the backing side. Let it dry flat, then trim edges with a craft knife. Add three to five goal cards in a vertical column, keeping the same width for each. Pin fabric swatches or printed photos onto each card so the board looks textured and photo-ready.
Choose wallpaper with a repeat pattern you can align — straight lines look better in photos.
Skip tiny busy patterns if you want goals to read clearly from a distance.
13. Reused Window Frame Goal Gallery
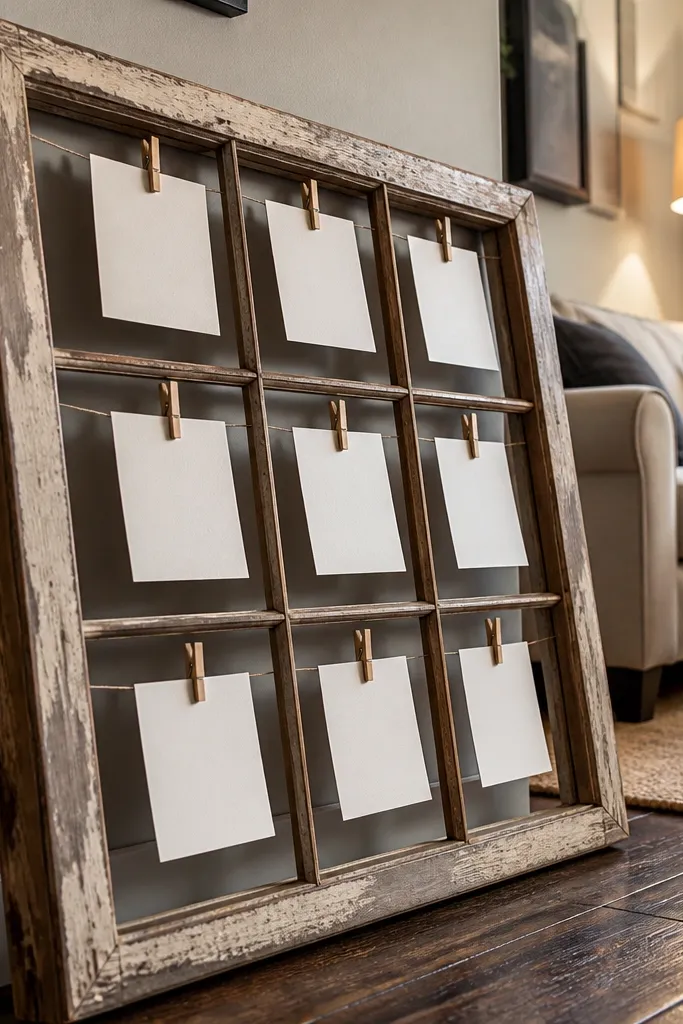
A window frame turns your vision board into a mini gallery, and clothespins make it interactive. This is perfect for “monthly resets” because you can swap cards without removing anything from the frame. The look is photogenic because you get natural depth from the frame and the cards hang slightly off the backing. It’s budget-friendly if you find a salvaged frame at a thrift store or habitat resale shop. Plan 2-3 hours to clean, mount, and hang cards.
Clean the window frame and remove loose hardware. Stretch string or add mesh across the frame openings so cards have something to clip to. Attach clothespins and clip your photo cutouts and action cards in a grid-like arrangement. Add one larger central card and surround it with smaller cards so the layout has a clear focal point.
Pro tipPaint the frame matte white or leave it distressed for a consistent vintage look.
AvoidDon’t overload the frame — leave at least 1 inch between cards so it stays readable.
14. Sew-On Patches Skill Goal Board
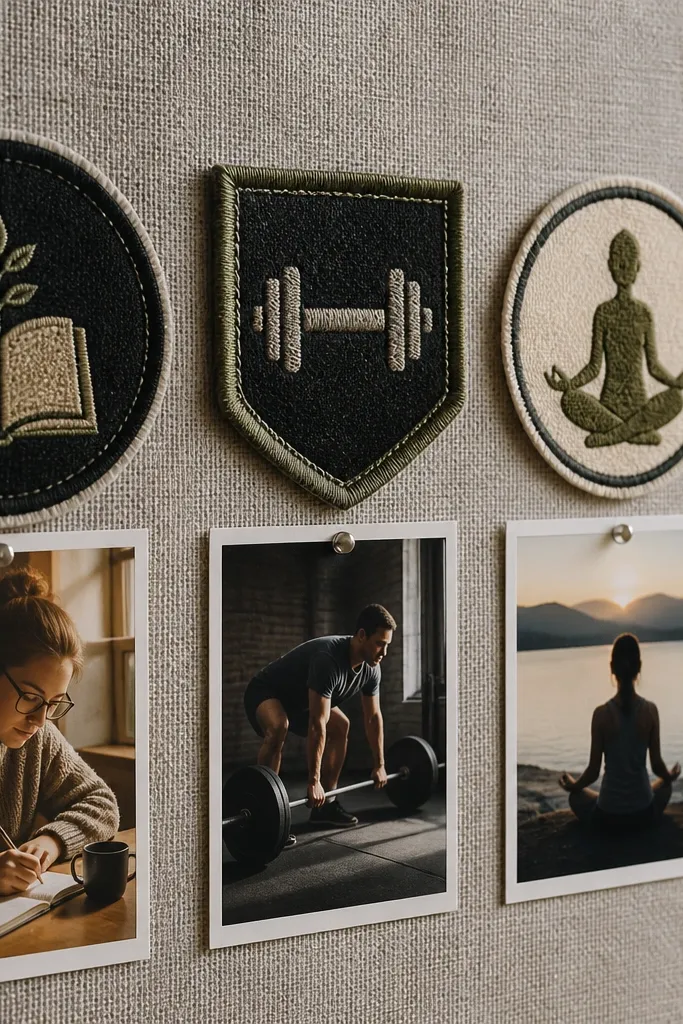
This idea makes skill goals feel like wearable progress. Sew-on patches (or iron-on patches you can stitch later) look bold and graphic, and they photograph well because they’re raised and textured. Use it for goals like “learn a craft,” “practice a language,” or “build a home skill,” and assign each patch to a monthly mini target. Doable is built in — each patch can represent “one session worth” of practice. Time is 1-2 hours depending on how many patches you have.
Lay out your patch positions on a cork board or thick fabric stretched over cardboard. Place a printed photo of the skill next to each patch spot. Attach patches with a few stitches or strong fabric glue if you don’t sew. Add action cards like “practice 15 minutes” under each patch using binder clips.
Pro tipUse patches with a limited color palette so the board doesn’t look like a random collection.
AvoidSkip low-quality patches that shed — they peel off and ruin the tidy look.
15. Jar Label Routine Tracker
Routine goals look more serious when they’re tied to a container. A jar label tracker is visually clean and feels practical, so your board doesn’t become decorative-only. Use it for goals like “prep morning,” “organize toiletries,” or “set out gym items,” where a physical step helps. It’s doable because each jar can hold a single checklist card, a small tool, or a weekly reminder. Build time is 30-75 minutes, and it works best as a tabletop display or on a shelf.
Grab 3-5 small jars or repurposed spice containers and clean them thoroughly. Make labels using painter’s tape or label stickers, then write the routine name in black marker. Place one jar per goal and slip a checklist card inside the jar lid or under the label. Mount the jars onto a board or arrange them on a backing sheet with glue dots so they sit evenly.
Pro tipUse white or clear jars for a clean look; dark jars hide label text in photos.
AvoidDon’t use labels smaller than 1.5 inches wide — they become unreadable in quick snaps.
16. Vintage Postcard Action Steps
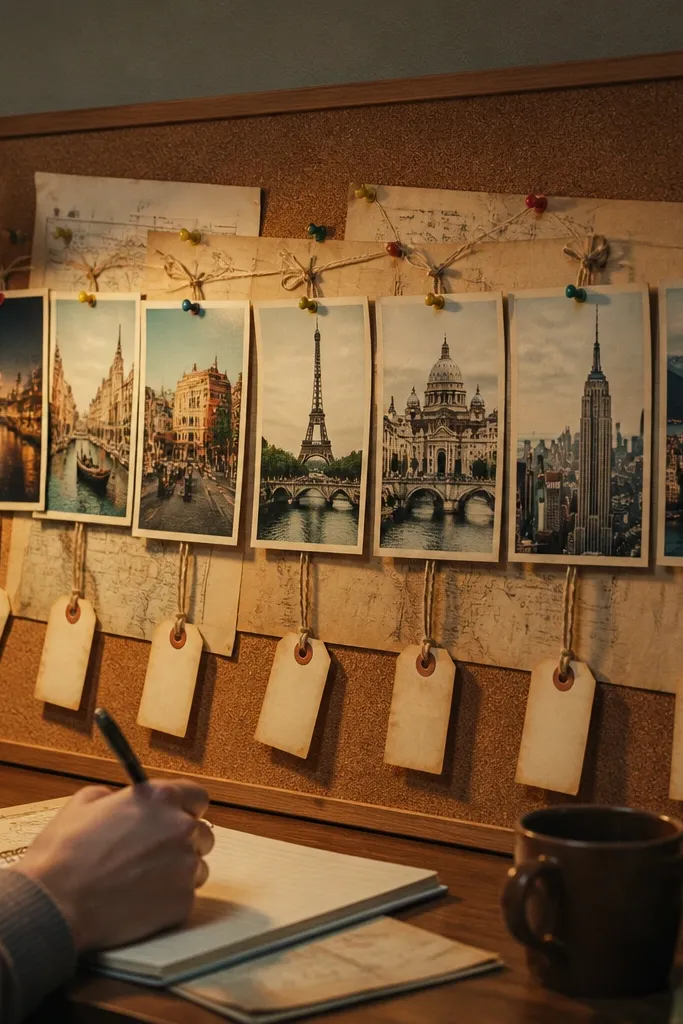
Postcards are made for goals. They have built-in “destination” energy, and when you pair them with action steps, they stop being fantasy and become a plan. This works for goals like “plan a trip,” “visit a museum,” or “take a weekend walk,” where you can attach addresses and dates. The look is photogenic because postcards have color and texture, and string lines add a casual, curated vibe. Time is about 1-1.5 hours to print, cut, and clip.
Print or thrift vintage-style postcards and trim them to a consistent size, like 4x6 inches. Add a string line across your board and clip postcards using mini clothespins. Write one action step on a small strip of cardstock and clip it under each postcard. Keep the text short — 3-6 words — so the visual stays the focus.
Pro tipUse one string color like natural twine so it matches the paper texture.
AvoidSkip long paragraphs on cards — they turn into clutter fast.
17. Kitchen Tile Mood Board With Grout Lines
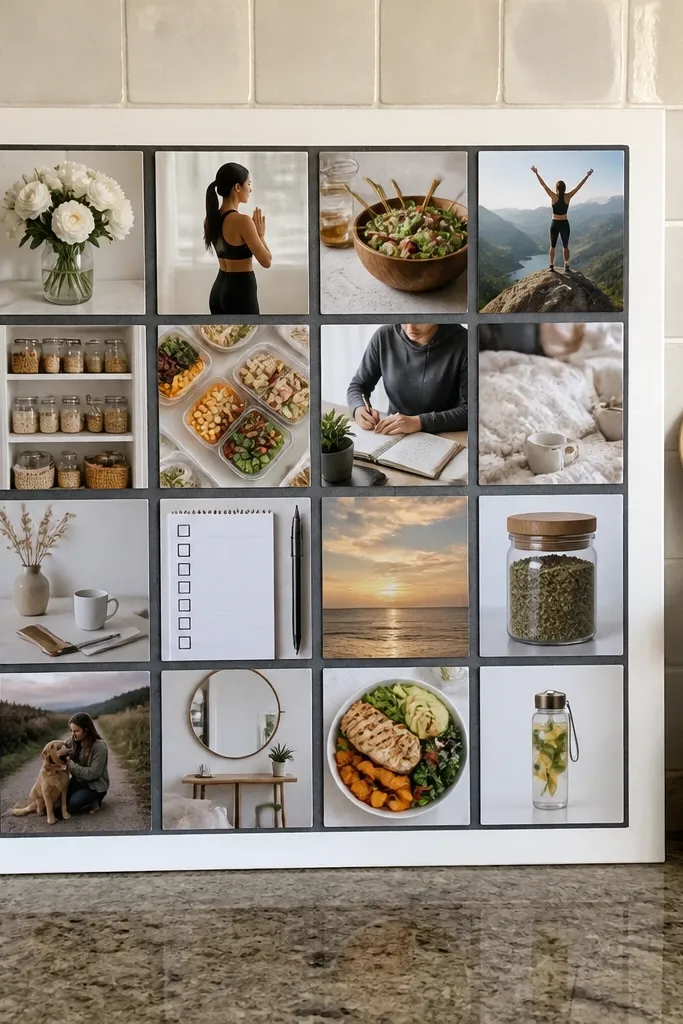
If you want a board that looks like a designer kitchen backsplash, fake tile is the move. The grout lines create instant structure, so every goal sits in its own neat square. This works for home goals like “refresh kitchen,” “organize pantry,” or “cook one new meal a week.” It’s doable because you can assign one tile per week or per category and swap as you go. Build time is about 90 minutes and it looks best against a white wall.
Cut foam board or cardboard into a rectangle and draw a grid with a ruler, using pencil lightly. Paint grout lines with a gray craft paint, then let dry before adding images. Glue printed photos, cutouts, or fabric swatches into each tile square. Finish by adding tiny action labels under each photo using tape strips, keeping the same font size across tiles.
Use a thin craft brush for grout lines so they look like real spacing, not marker scribbles.
Don’t rush the paint drying — smudged lines make the whole tile look cheap.
18. Old Sunglasses Frame Goal Cards
This is a quirky-but-clean aesthetic goal board idea that still reads organized. You’re using an upcycled frame as a photo holder, so the visuals stay aligned and the board feels personal. It’s best for “one focus at a time” goals like “learn one recipe,” “practice one skill,” or “finish one project.” The look is photogenic because the frame adds a bold shape and the cards look like mini posters. Time is 45-75 minutes if you already have a frame.
Find an old sunglasses frame and clean it with rubbing alcohol. Attach it to a cork board or foam backing using strong glue or screws if the frame is sturdy. Cut goal cards to match the opening size and slip them behind the frame’s arms or attach with tiny binder clips. Add a small action prompt at the bottom of each card with a black marker.
Pro tipUse matte paper for cards so the frame doesn’t reflect glare in photos.
AvoidSkip frames with bent arms — they won’t hold cards flat.
19. Receipt-Backed Photo Strips
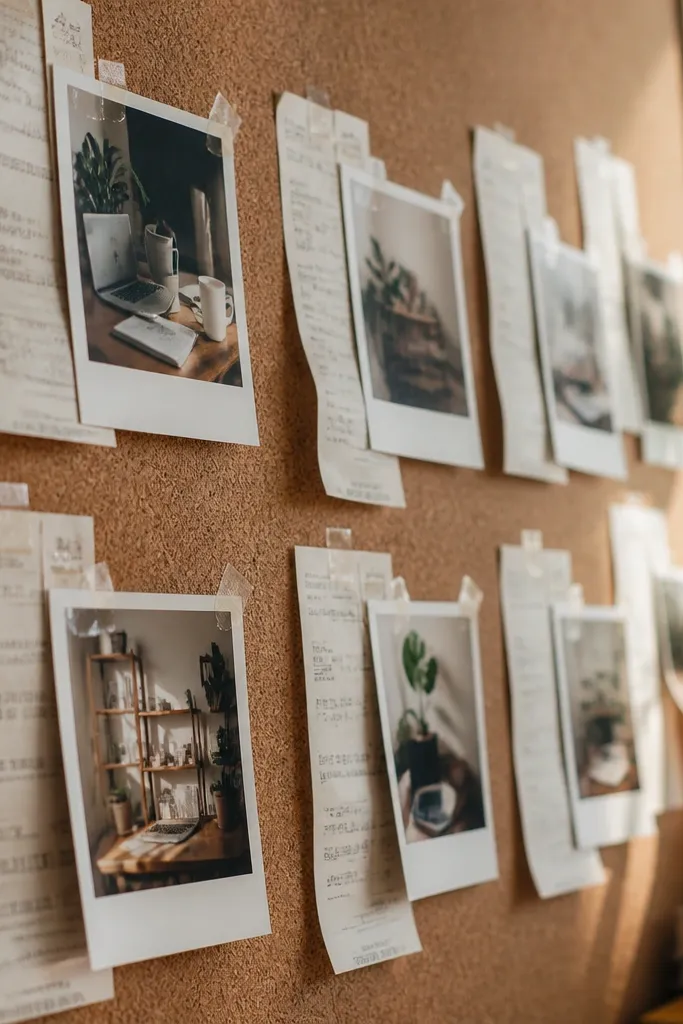
This is a budget aesthetic trick: receipts create texture behind photos, and tape corners keep it clean. The look is layered and slightly vintage, without turning into a collage mess. Use it for goals like “document progress,” “track projects,” or “save for something,” where you can pair proof items with visuals. It’s doable because you’re making repeatable strips — one per goal. Build time is around 60 minutes for a small section.
Trim receipts into rectangles about the same size as your printed photo strips. Glue or tape receipts onto your backing first, then mount photos on top using tape corners instead of full glue. Add a tiny caption label on the photo strip with a thick marker, like “Week 1 prep.” Finish by aligning all strips to one baseline so the section looks designed.
Pro tipUse double-sided tape for photos so edges don’t curl after drying.
AvoidDon’t glue receipts directly under glossy photos — the shine makes the texture disappear.
20. Necklace Chain Progress Line
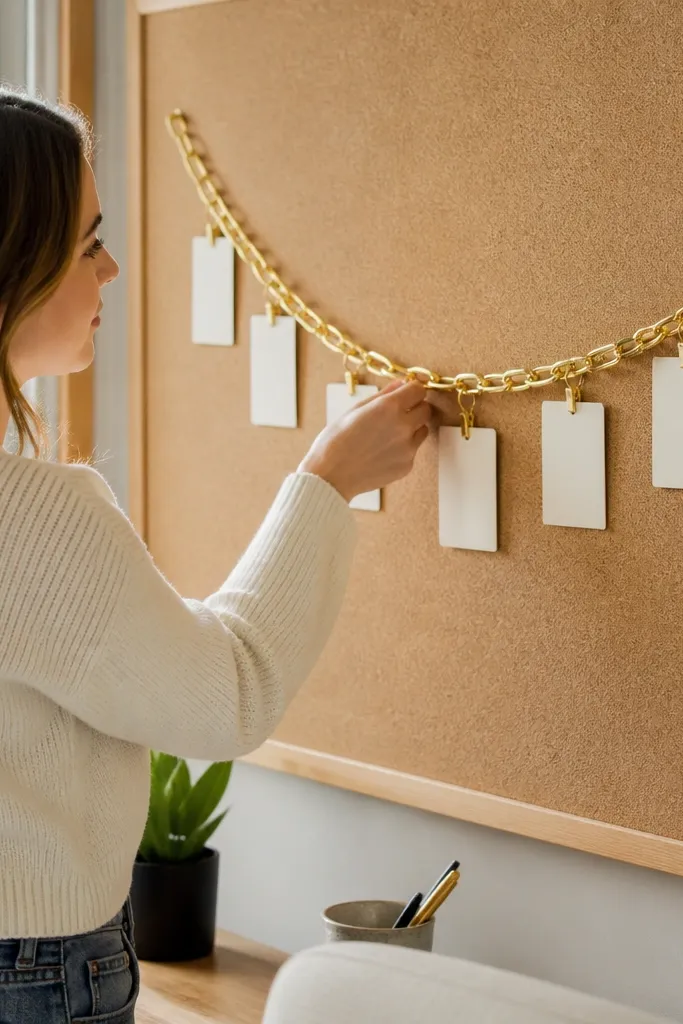
A chain progress line turns “I’ll do it someday” into a visual path. It looks sleek and intentional because metal links create a clean diagonal or horizontal line across the board. This works for goals like “finish a project,” “work through a course,” or “complete weekly workouts,” where progress happens in steps. It’s doable because each card on the chain can represent one milestone you can hit in a week. Time is 1-2 hours and it looks amazing in side lighting.
Choose a thin chain from thrifted jewelry or an old necklace and clean it. Mount two small hooks or adhesive picture hangers on your board at the start and end points. Drape the chain taut between points so it forms a straight line. Attach small cards to links using mini rings or binder clips and label each card with one step milestone.
Pick a chain color like silver or gold and stick to it across the whole board for cohesion.
Don’t use a chain that’s too heavy — it sags and makes the layout look sloppy.
21. Shoe Box Drawer Goal System
Some goals need storage, not pinning. A shoe box drawer system looks tidy, and it’s a strong visual for “organization” or “project progress” goals. Each drawer becomes a category — weekly tasks, supplies, or reminders — and the front labels make the board readable in photos. This is very doable because you’re building a small storage unit, not a complex organizer. Time is 2 hours, and it works best on a shelf or desk where you’ll actually open it.
Cut a shoe box into sections by adding cardboard dividers, leaving 3-4 drawers. Label each drawer front with tape and a thick marker so it’s legible. Print or write one goal card per drawer and slide it inside with a small tab sticking out. Cover the exterior with wrapping paper or leftover wallpaper for a clean finish.
Pro tipMake drawer dividers 1/2 inch shorter than the box width so they slide in smoothly.
AvoidSkip labels that are too small — the whole point is fast readability.
22. Lemon-Glass Jar Vision Board Icons
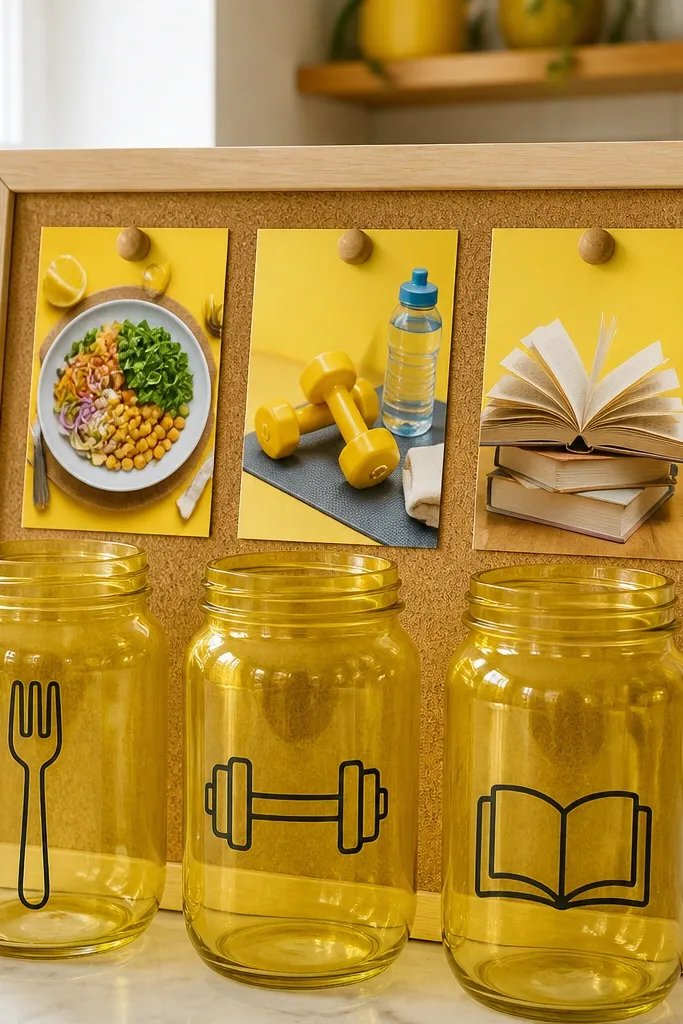
Glass jars add shine and make a budget board look more premium. Use small jars painted with simple icons to represent routines, meals, or habits, then pin the matching goal card behind each jar. This looks good because glass catches light and icons are bold, graphic shapes. It’s doable because you can refill jars weekly with checklist cards or small notes. Build time is about 60 minutes and it suits kitchens, desks, and entryways.
Clean and dry 3-5 small glass jars. Paint icons on jar fronts using acrylic paint and a thin brush — simple shapes only like a fork, sun, or dumbbell. Place jars on a backing sheet and pin goal cards behind them so the jars act like your “icons.” Add one weekly action line on each card, written in black marker, then secure cards with binder clips.
Use matte paint on the icons so glare doesn’t erase them in photos.
Don’t use tiny handwriting on jar fronts — icons should be the readable part.
23. Yarn Swatch Motivation Ladder
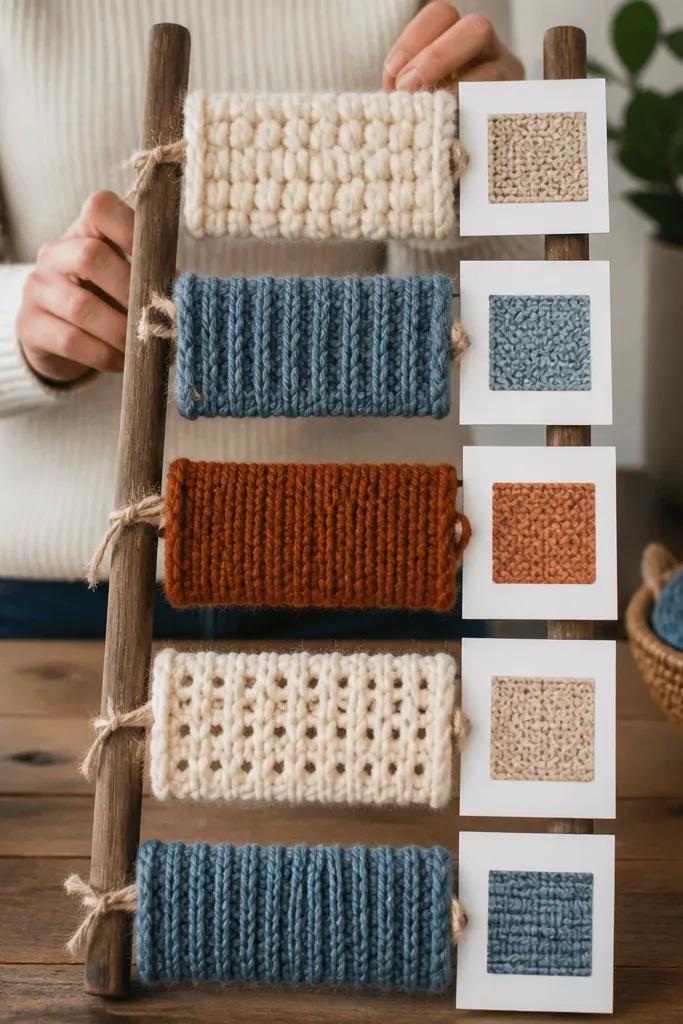
Yarn swatches make skill goals look like progress you can touch. A ladder layout is visually satisfying: each rung holds one swatch and one next step, so your board reads like a path. Use this for goals like “learn crochet,” “practice knitting,” or “start a sewing habit,” but it also works for non-craft goals if you assign each rung to a weekly step. It’s doable because you’re building a small structure once and then swapping cards as you move. Time is about 1-2 hours, and it looks best on cork with a clean grid.
Cut yarn lengths about 8-10 inches each and tape the ends temporarily to keep them from fraying. Arrange swatches vertically like rungs on your board, leaving equal spacing between them. Pin each swatch with small thumbtacks and place a small card beside each rung with a weekly step, like “practice one stitch pattern.” Finish by adding a top card that states the overall goal in one short line.
Pro tipMatch yarn colors to your board background so the ladder looks cohesive, not random.
AvoidSkip messy frays — trim yarn ends so the swatches look neat.
24. Tea Bag Envelope Micro-Goals
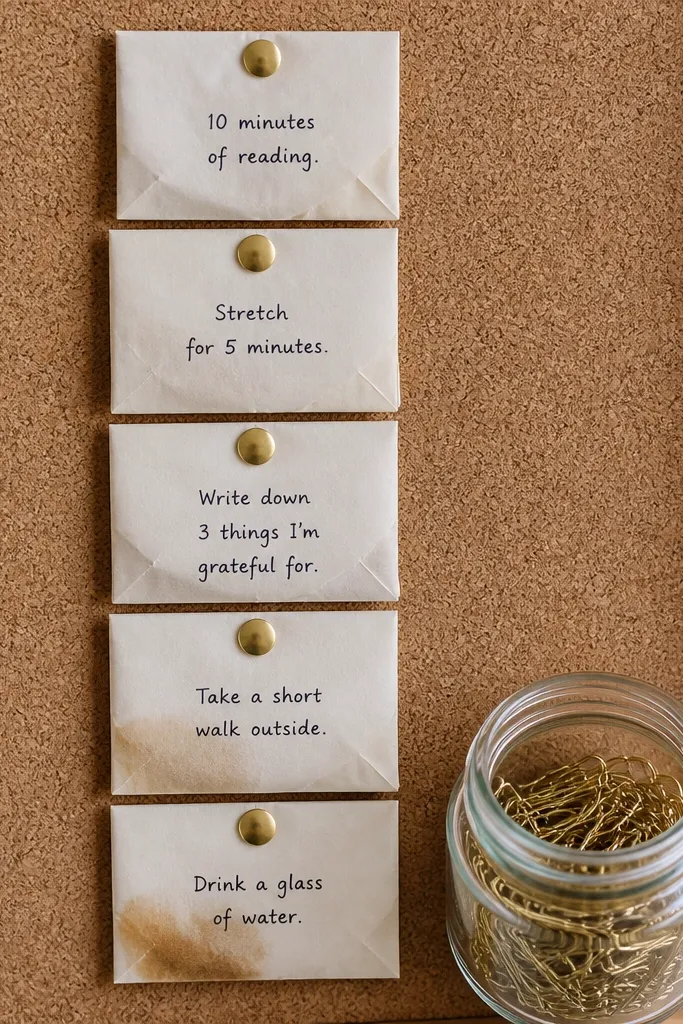
Micro-goals are the fastest way to make a board feel doable, and tea bag envelopes make them look adorable. You get a repeatable size for each goal, which keeps the board from turning into a messy collage. This is perfect for goals like “10 minutes of reading,” “stretch after work,” or “write one paragraph,” because each envelope can hold a single checklist. The look is charming and photogenic because the envelopes create a pattern. Build time is 60-90 minutes depending on how many envelopes you make.
Save empty tea bag wrappers or cut small envelope shapes from packaging. Fold and glue edges so they stand up flat, then write one micro-goal on the front with a thick marker. Pin envelopes in a grid or a subtle curve on a cork or fabric board. Add a larger photo or cutout behind the envelopes so the micro-goals have a visual theme.
Use one marker color for all micro-goals so the board stays clean.
Don’t write long goals — keep them short enough to read in one glance.
25. Cardboard Tape Loom for Outcome Photos
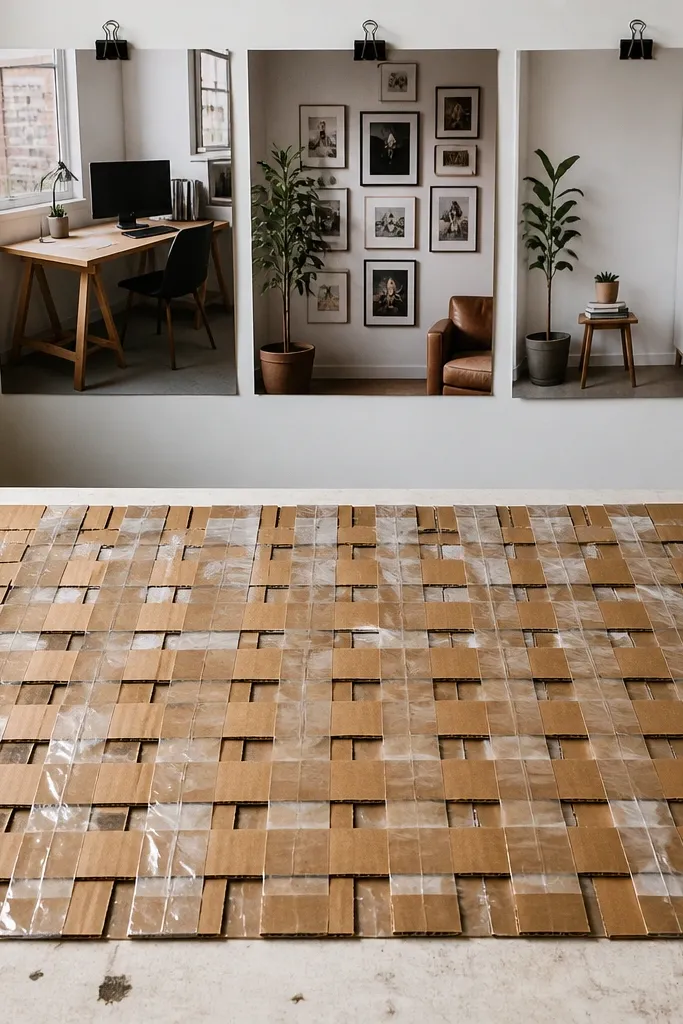
A tape loom pattern gives you a graphic, woven look without buying fabric. It’s a great background for “outcome photos” because the texture makes images pop and the whole section looks intentional. Use it for goals like “new desk setup,” “gallery wall,” or “clean room corner,” where you want a strong before-and-after visual. It’s doable because you’re building one small decorative patch that supports multiple goals. Time is about 45-75 minutes.
Cut a cardboard rectangle, then mark a grid with pencil lines spaced 1 inch apart. Tape thin strips across the grid like a loom, alternating directions and keeping tension even. Glue or tape a photo or printed goal image in the center where the pattern feels calm. Add a small action card underneath the photo using tape so it’s easy to swap.
Pro tipUse painter’s tape for crisp edges and peel it carefully so the pattern stays sharp.
AvoidSkip uneven tape tension — it warps the woven look.



