
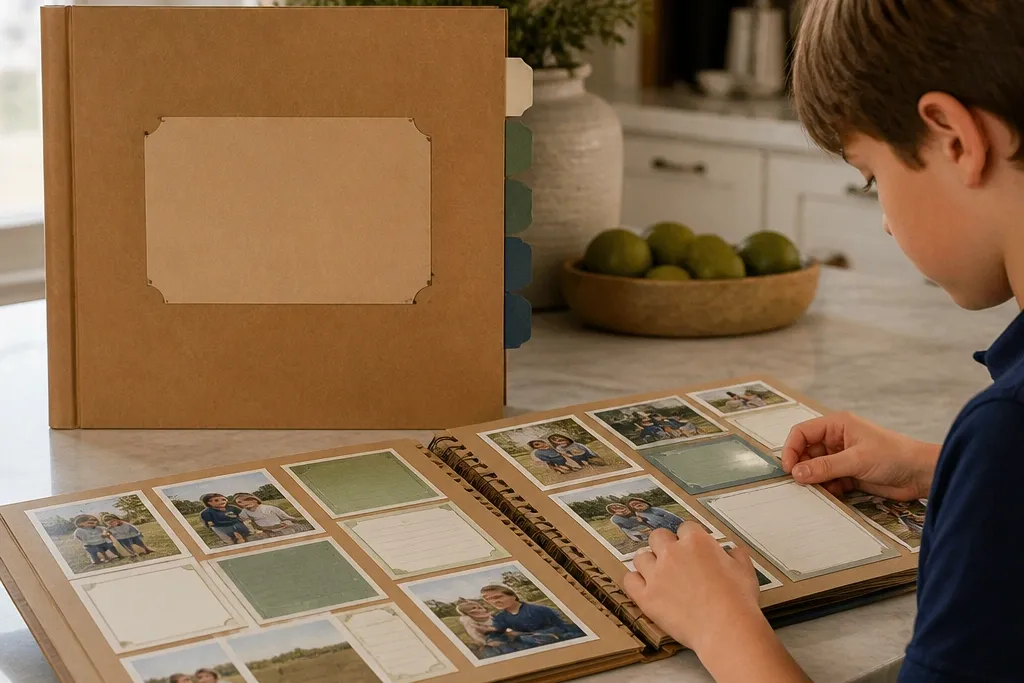
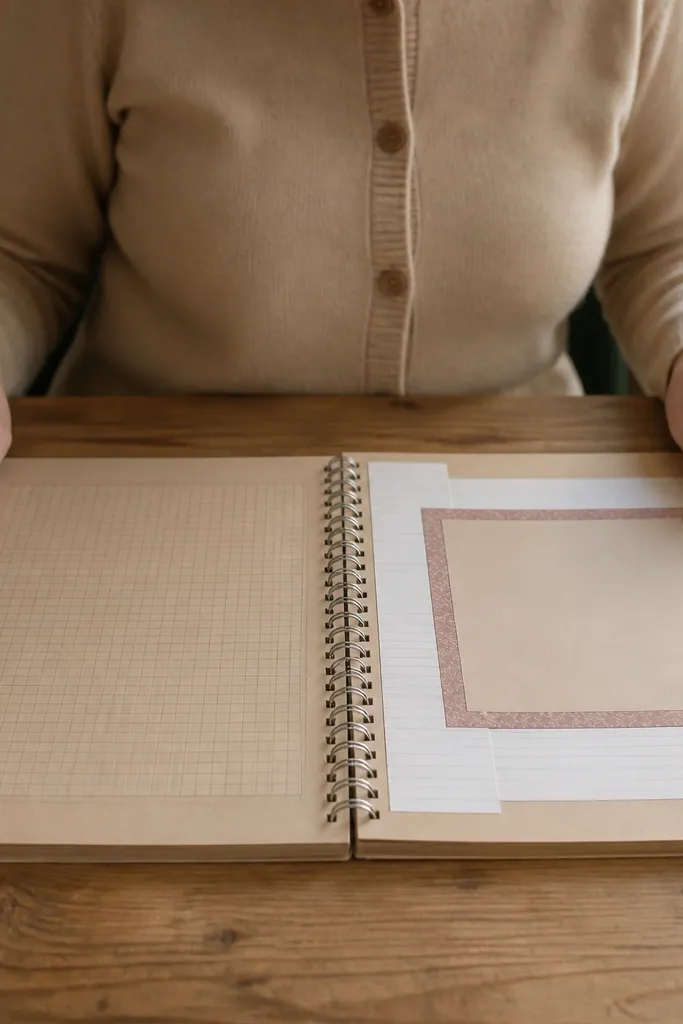
1. Kraft Title Strip with Printed Project Name

This step makes your scrapbook look finished immediately, even before you add photos. A kraft title strip gives warm color without needing fancy materials, and it frames the page like a mini cover. Use a clean, bold heading label so the page is readable at a glance in photos. Print the project name at the same width every time so your pages match. It’s also a good way to hide messy edges from cut paper or leftover scraps.
Cut a 1.25-inch-tall strip from kraft paper for an 8.5 x 11 page. Center it horizontally and glue it with a thin line of glue stick along the back edge. Print your project title on cream cardstock and trim it to about 0.9 inches tall, then glue it centered on the strip. Add a small date label beneath the title using a simple sans-serif font, then press for 30 seconds so it bonds cleanly.
Pro tipUse a paper trimmer for the strip — crooked edges make the whole page look less “cozy.”
AvoidDon’t use glossy ink for the title; it catches light and makes photos look washed out.
2. Photo Mat Frame in Oatmeal Paper
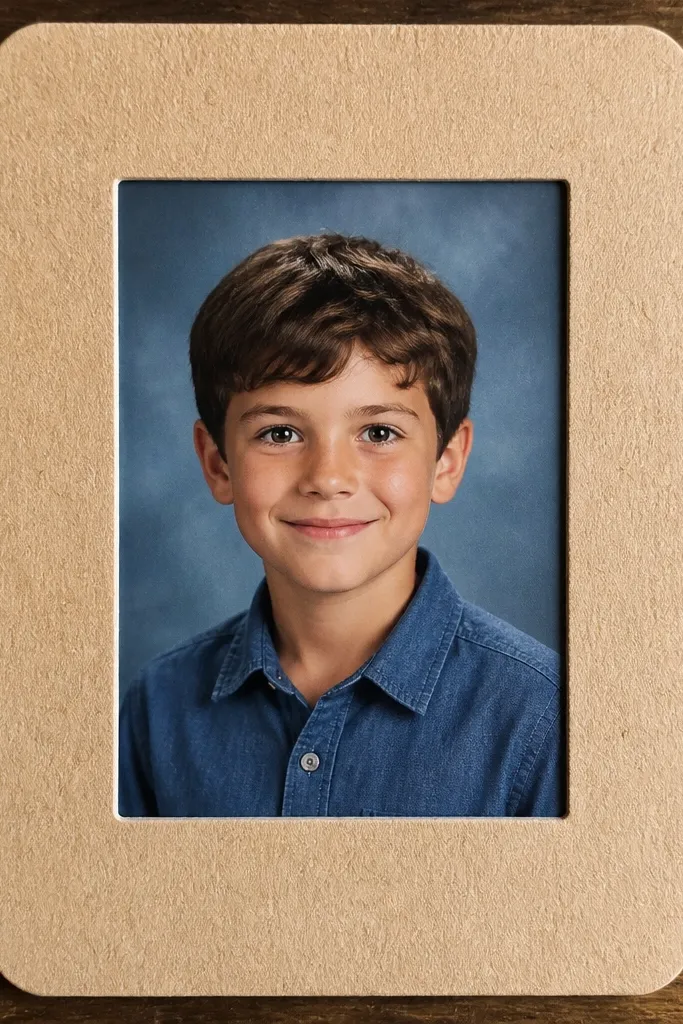
A photo mat is the easiest way to make your scrapbook look designed, not thrown together. Oatmeal paper looks warm and forgiving, and it hides minor photo imperfections. The frame also keeps glue from touching the photo edges, which prevents curling. Choose a mat size that leaves a consistent border on all sides so your scrapbook photographs evenly. This step is perfect for science experiments, presentation days, or any project with a clear “main image.”
Pick one photo size and stick to it, like a 4 x 6 inch photo. Cut an oatmeal paper mat so the opening is about 4 x 6 inches and the outer size is about 5 x 7 inches when placed on the page. Glue the mat to the page first, then add double-sided photo tape to the back of the photo corners only. Center the photo inside the opening and press with a flat tool to avoid bubbles.
Pro tipRound the mat corners with a 1/4-inch corner punch for a softer, cozy look.
AvoidSkip full-surface glue on photos; it can warp glossy or semi-gloss prints.
3. Textured Fabric Scrap Corner Accents
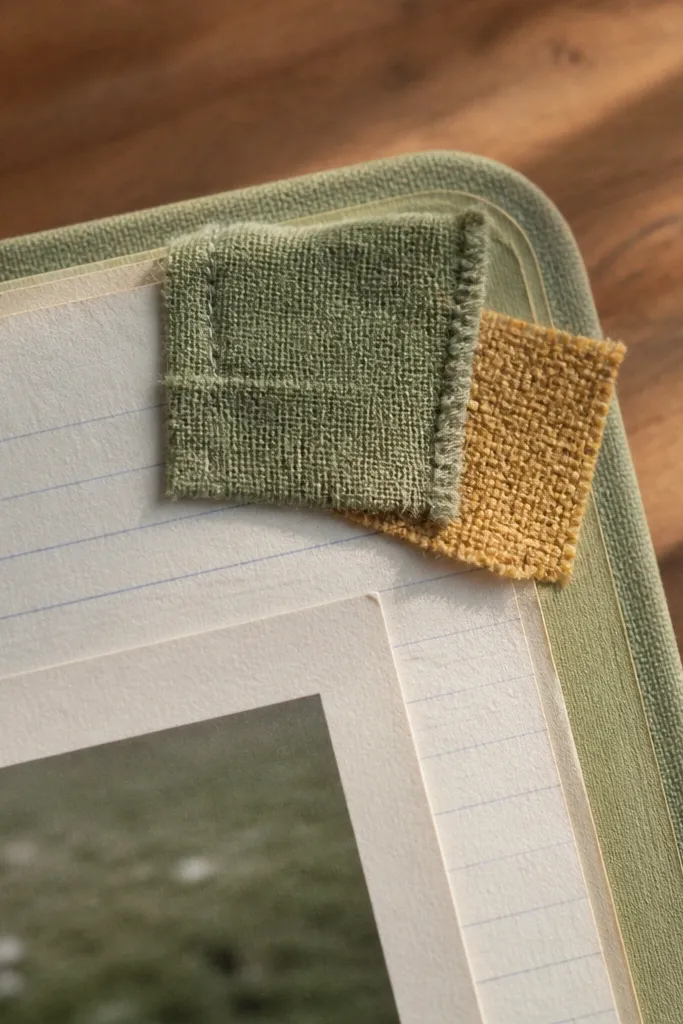
Fabric scraps add cozy texture without taking over the page. Use them as corner accents so they look intentional and don’t fight your photos. This works especially well for reading projects, art assignments, and anything with a theme. The texture catches light softly, making the page look handmade in close-up shots. Keep the fabric pieces small and flat so they don’t create thick lumps that snag when you flip pages.
Cut fabric scraps into two rectangles about 1.5 x 2 inches each. Lightly trim frayed edges so the corners look clean. Dab a thin layer of matte gel medium or fabric glue on the back of the fabric, then place one piece in the top-left corner and one in the bottom-right corner. Let it dry flat under a book for 1-2 hours before adding any paper layers on top.
Pro tipIf your fabric is stretchy, iron it on low with a scrap of paper between iron and fabric to reduce puckering.
AvoidDon’t glue thick fabric over photo corners; the page will bulge and the photo will lift.
4. Tuck-In Pocket for Printed Handouts
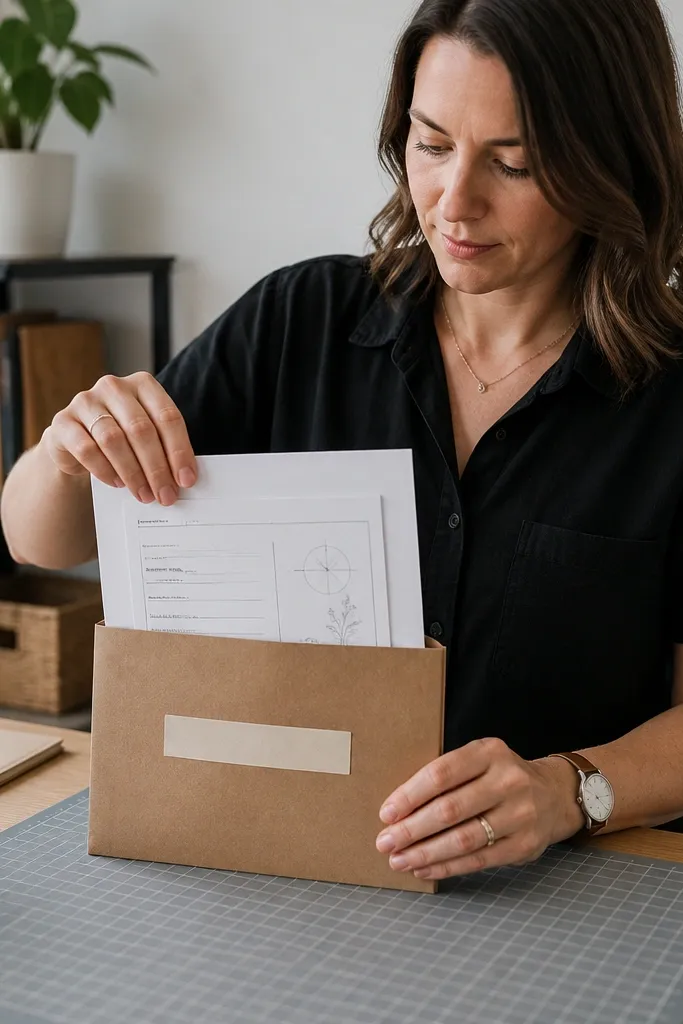
Pockets solve the “where do I put the paper?” problem and keep your scrapbook looking neat. Instead of cramming loose sheets between pages, you tuck them into a pocket that still photographs cleanly. Use this for worksheets, project rubrics, and printed instructions. A pocket also makes your scrapbook feel practical, not just decorative. It’s one of the most satisfying cozy school scrapbook projects steps because it keeps everything protected.
Cut a pocket base from cardstock, about 3.5 inches wide and 5.5 inches tall for an 8.5 x 11 page. Fold the top edge down by 0.5 inches to make a pocket opening, then glue the sides and bottom with glue stick or double-sided tape. Add a small label tab on the pocket front using a 1 x 2 inch strip. Slide the folded handout in from the top and trim any overhang so it sits flat.
Pro tipUse thicker cardstock for the pocket — thin paper collapses and looks wrinkled by week two.
AvoidDon’t glue the top edge of the pocket fully down; you need an opening to slide papers in and out.
5. Notebook-Page Strip Timeline
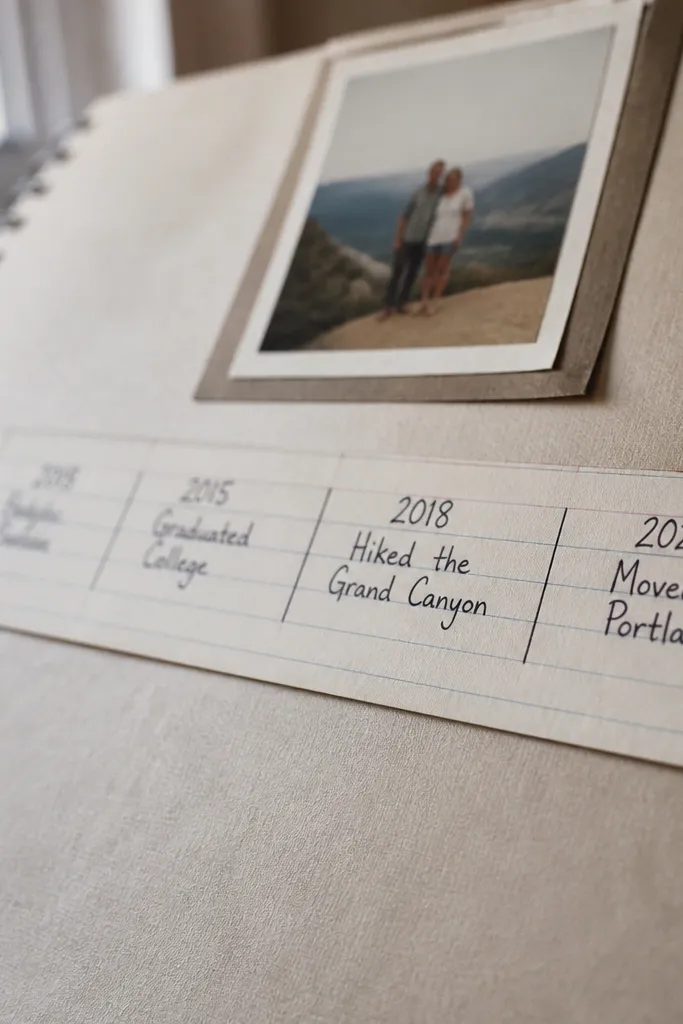
A timeline strip makes your project feel like a story and gives your page a cozy, lived-in look. Lined notebook paper is easy to match with almost any school theme, and handwriting makes it feel personal without needing elaborate art. This works great for group projects, step-by-step experiments, and long assignments that took multiple days. Keep the strip narrow so it doesn’t crowd your main photo or centerpiece.
Cut a strip of lined notebook paper about 1.5 inches tall and the full width of your page minus margins (for example, 7.5 inches wide). Write three short milestones on it, like Day 1 — materials, Day 3 — results, Day 5 — reflection. Glue the strip under your photo mat, centered. Add two small circle stickers or punched dots next to each milestone to anchor the reading order.
Write with a fine gel pen so the ink stays crisp when photographed.
Don’t use dark patterned paper for the strip; it makes the handwriting harder to read.
6. School-Color Washi Tape Border
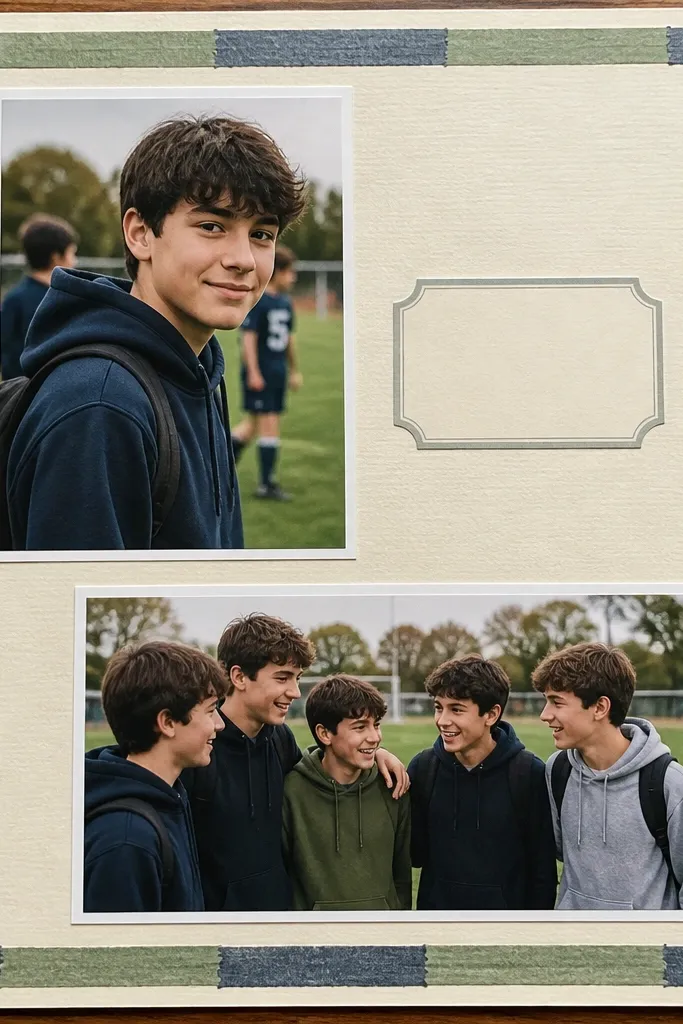
Washi tape borders are the quickest way to make a page look coordinated. Choose one muted school color tape and keep it to borders, not random decoration. The border creates a frame effect that makes photos and labels pop without extra clutter. This step is a lifesaver when you have a “busy” assignment page with lots of materials. It also hides small alignment mistakes from cutting and gluing.
Measure a border area by leaving a 0.75-inch margin all around the page. Cut four tape pieces: two long pieces for the sides and two short pieces for top and bottom. Overlap the tape slightly at the corners so the border looks continuous. Press it down firmly, then glue your photo mat or title strip on top, letting the border show as a clean frame.
Use a ruler and craft knife to trim tape edges so the border stays straight.
Avoid stacking multiple tape colors on one page; it turns cozy into chaotic.
7. Cereal-Box Cardboard 3D Label Blocks
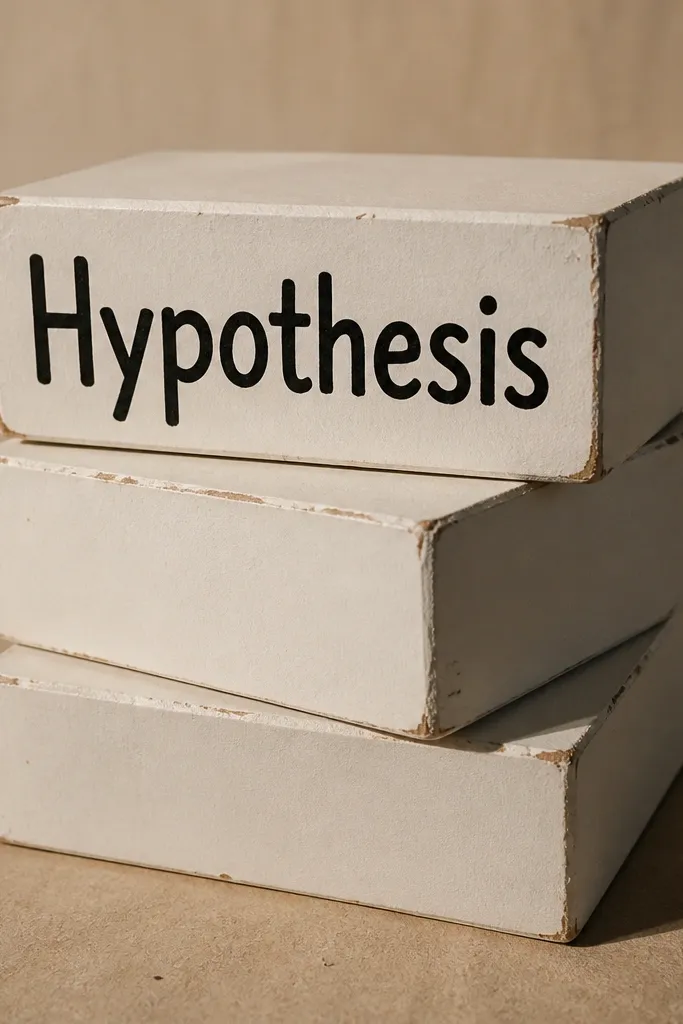
Raised label blocks add depth without needing foam stickers. Cardboard from cereal boxes is sturdy, takes paint well, and looks great when sanded at the edges. Use these blocks for headings like “Hypothesis,” “Materials,” “Vocabulary,” or “Reflection.” The 3D effect looks great in side-angle photos, which makes your scrapbook feel more “real.” It also helps your text stand out from busy photos.
Cut label blocks from cardboard about 2.5 inches wide and 0.75 inches tall. Sand the edges lightly with fine sandpaper so they look smooth. Paint the blocks with acrylic paint in cream or muted navy, then let them dry 20-30 minutes. Glue the blocks slightly offset on the page and write the heading with a black fineliner after the paint dries.
Pro tipSeal painted cardboard with a thin matte medium coat so it doesn’t scuff when handled.
AvoidDon’t use wet glue directly on cardboard; it warps the block and makes it look messy.
8. Scrapbook Sticker Sheet from Old Maps
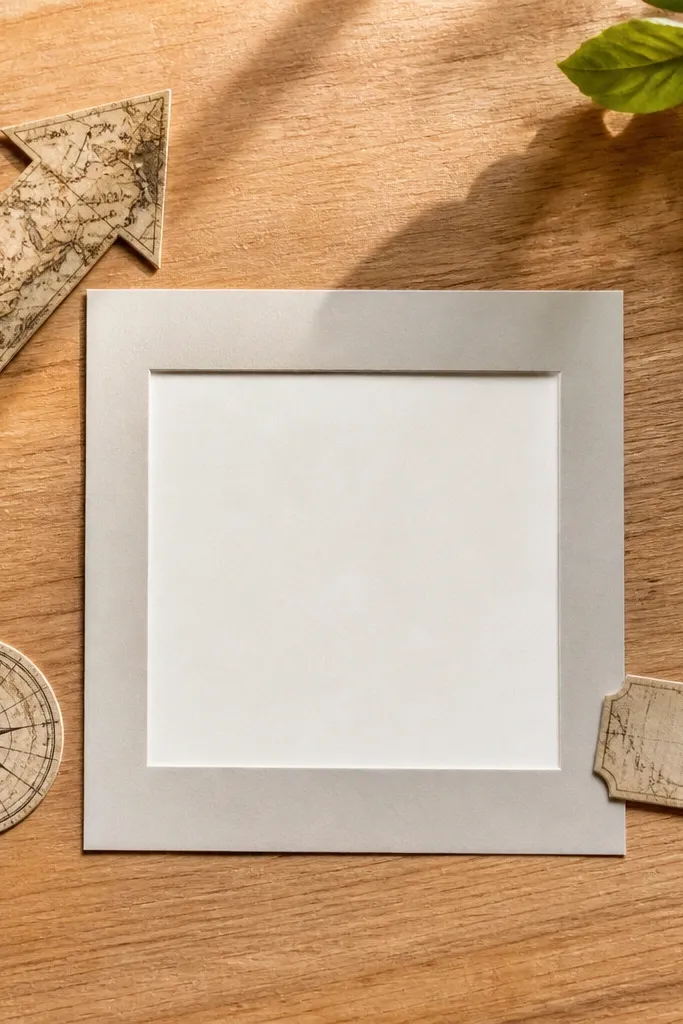
Map scraps are a clean way to add theme without buying new stickers. If your school project is about geography, history, or even “where things come from,” map pieces make the page instantly more cohesive. Cut them into simple shapes like arrows, compass circles, and small labels. Then use them like stickers around your main photo and timeline strip. The look stays cozy because the paper has a warm, lived-in tone.
Find an old atlas page or printed map and flatten it under a heavy book for a few hours. Cut small shapes with scissors, like a 1-inch arrow and a 1.5-inch circle. Seal the back of each cutout with a thin matte medium to stop fraying. Glue them with glue stick in two spots on the page, then add a handwritten note next to one shape using a fine pen.
Pro tipUse a paper punch on circles — it gives crisp edges that look intentional.
AvoidSkip glossy maps; they smear when you add matte glue and can look streaky.
9. Lamination-Style Clear Tape Overlays
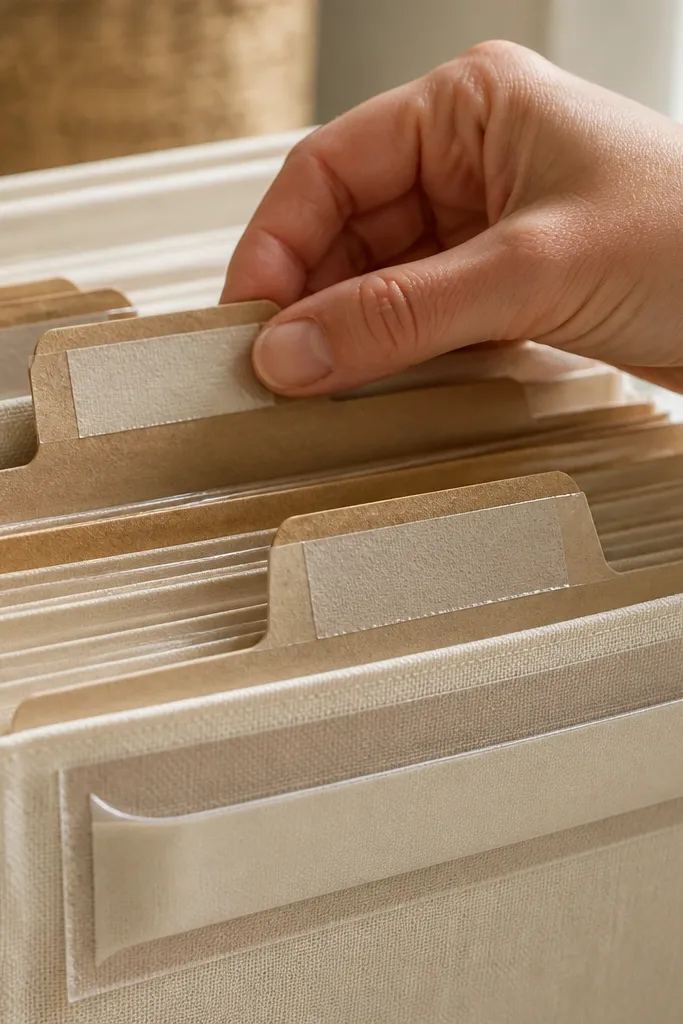
Clear tape overlays protect handwriting and help the page survive daily handling. Instead of laminating everything, you cover only the areas that get touched — label fronts and pocket titles. This keeps ink from smudging and makes the paper look cleaner in photos. Use it on pages with lots of writing, like vocabulary pages or reflection pages. The result feels tidy and cozy, not fragile.
Cut clear packing tape or clear craft tape into strips about 0.5-1 inch wide. Place strips over label text while keeping edges aligned with the label block edges. Press the tape down with a bone folder or the back of a spoon to avoid bubbles. Trim excess with a craft knife and straightedge for a crisp finish.
Pro tipWipe the label surface with a dry microfiber cloth first — tape sticks better to clean paper.
AvoidDon’t cover textured fabric with tape; it can create a shiny patch that looks out of place.
10. Die-Cut Look Labels with Hole-Punch Centers
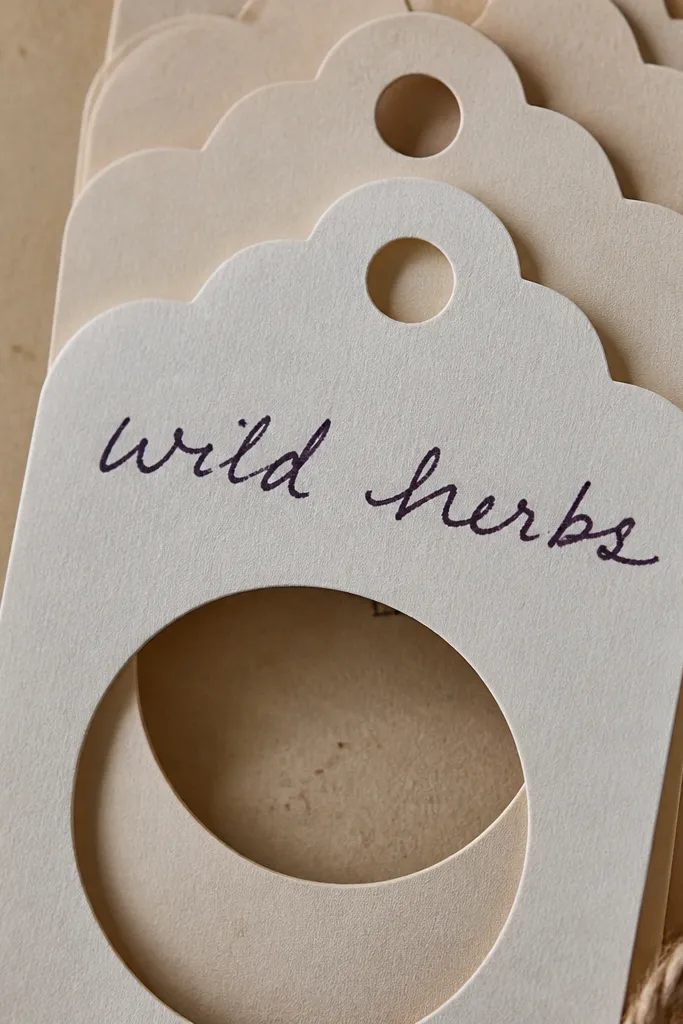
You can get a die-cut label look without buying a machine. A hole punch creates consistent “cutouts” that look graphic and cute, especially when you stack them slightly. This step is great for vocabulary lists, science terms, or any short phrases you want to read fast. It also adds rhythm — the repeated shapes make the page feel designed. Keep the shapes small so they don’t clutter your photo area.
Use a 1/2-inch or 3/4-inch circle punch on colored cardstock scraps. Punch 6-10 circles for one page and write one short word or number on each circle. Arrange them in a line or a loose cluster around your main photo. Glue the circles with a glue stick in the center, and add one larger circle behind the cluster using kraft paper for contrast.
Pro tipPunch circles from the same cardstock sheet each time to keep color consistent across pages.
AvoidAvoid writing tiny text; small circles make handwriting look cramped in photos.
11. Upcycled Notebook Spine Binding Insert
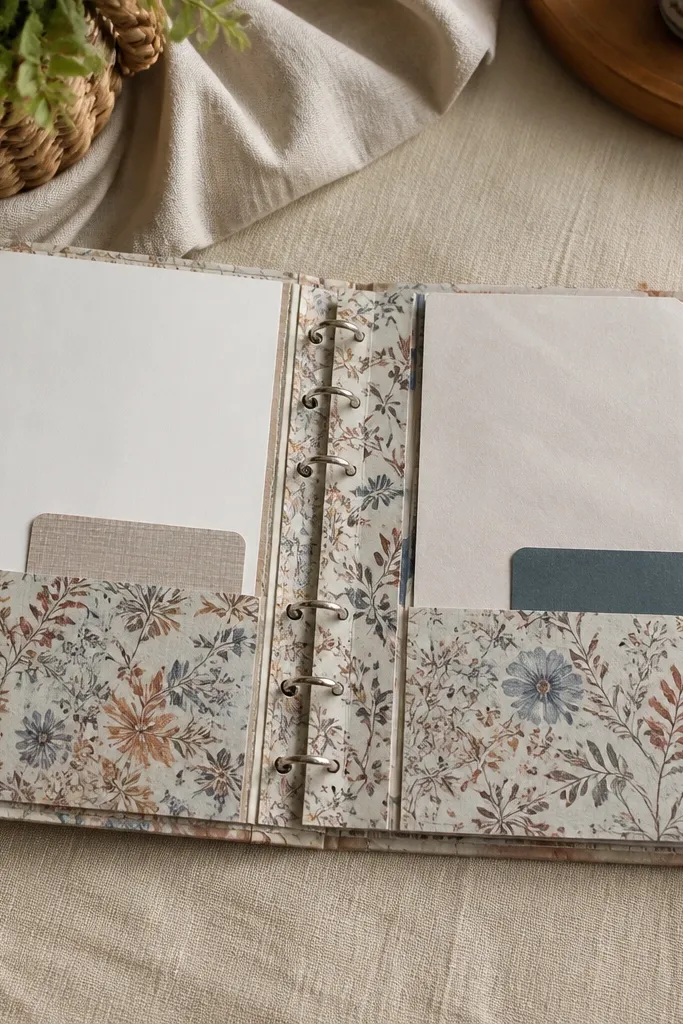
Your scrapbook needs a binding that lays flat for pictures and doesn’t tear when you flip pages. An upcycled notebook spine or binder rings approach keeps pages sturdy while still looking homemade. This is the step that fixes the “pages won’t stay open” problem. Choose a binding that matches your page size so the scrapbook stays even. It also makes adding pockets and extra layers easier, since you can swap inserts.
Choose your page size and cut pages to match, then punch holes along the left margin. Use binder rings or a spiral binding with an upcycled cover you can decorate. Cover the spine area with a strip of patterned paper or kraft and glue it down flat. Test opening angle before you glue anything permanent, so you don’t end up with tight pages that won’t lie flat.
Pro tipPunch holes with a template so every page lines up — misaligned holes show up in photos.
AvoidDon’t glue pages into a permanent binding if you expect to add more school artifacts later.
12. Thread-and-Button Page Flag
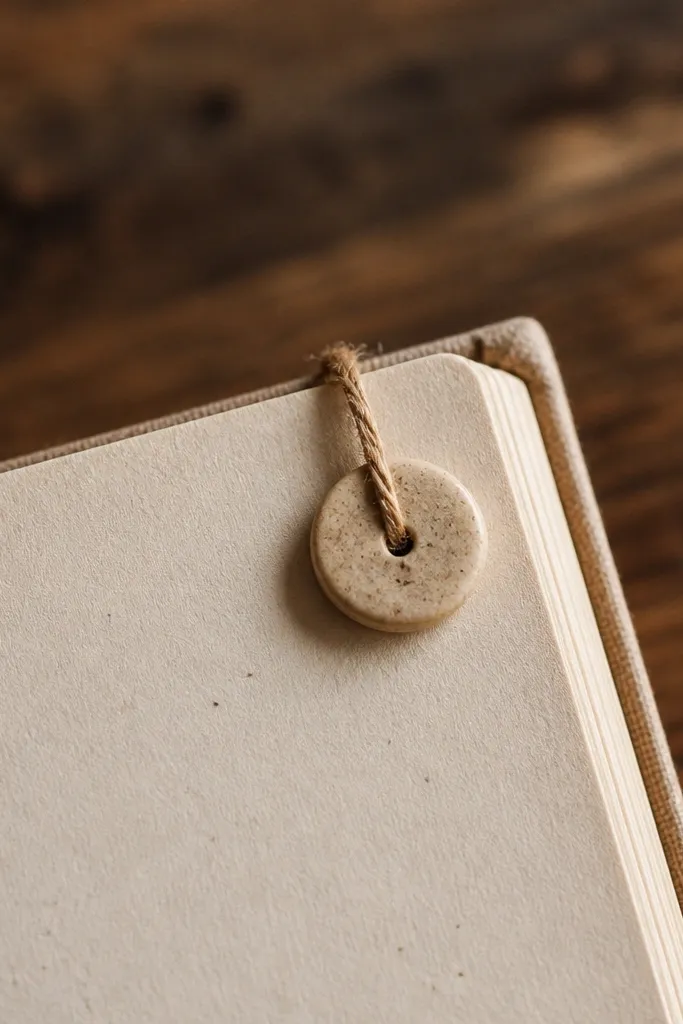
A page flag makes your scrapbook feel interactive and cozy. Buttons and thread add a handmade touch that reads well in close-up photos. Use this for “important moments” like project presentations, science fair results, or a final reflection page. Keep it small and placed near the corner so it doesn’t interfere with writing or photos. This step also helps you quickly locate key pages in a thick scrapbook.
Cut a tiny fabric triangle or strip about 1.5 inches long. Sew or glue a small button to one end, then attach the other end to the page corner with a few stitches or a strong fabric glue dot. Tie a short thread loop through the button so it looks like a mini flag. Let it dry fully, then add a short label next to it using a neat handwriting style.
If you glue instead of sew, use a thicker fabric glue and press under a weight for 30 minutes.
Don’t place the flag where it will get caught by the binding rings.
13. Glossy Photo Glare Fix with Matte Overcoat
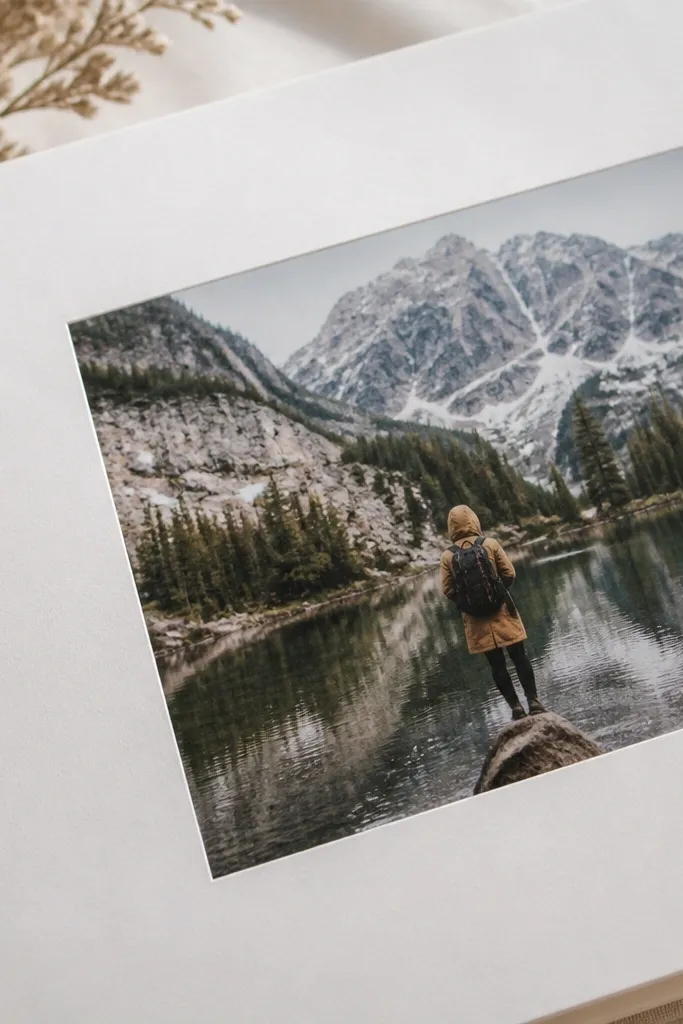
If your photos look shiny, they glare in indoor light and make the whole page look less cozy. A matte overcoat reduces glare and keeps the page looking soft instead of plastic. This step is especially useful for printed photos that come out glossy from a home printer setting. It also makes your photo edges blend into the warm paper background. Your scrapbook will photograph better without changing the photo content.
Wait until the photo is fully attached and flat, then apply a thin, even layer of matte medium over the photo surface using a foam brush. Work in one direction and keep the layer light so you don’t create streaks. Let it dry completely before touching the photo again. After drying, check under a lamp at an angle — you want reduced shine, not a cloudy look.
Test the matte medium on a scrap print first so you know how it changes your specific photo paper.
Don’t flood the photo; thick coats dry uneven and leave white patches.
14. Pocket Page for Small Samples with Washi Spine Label
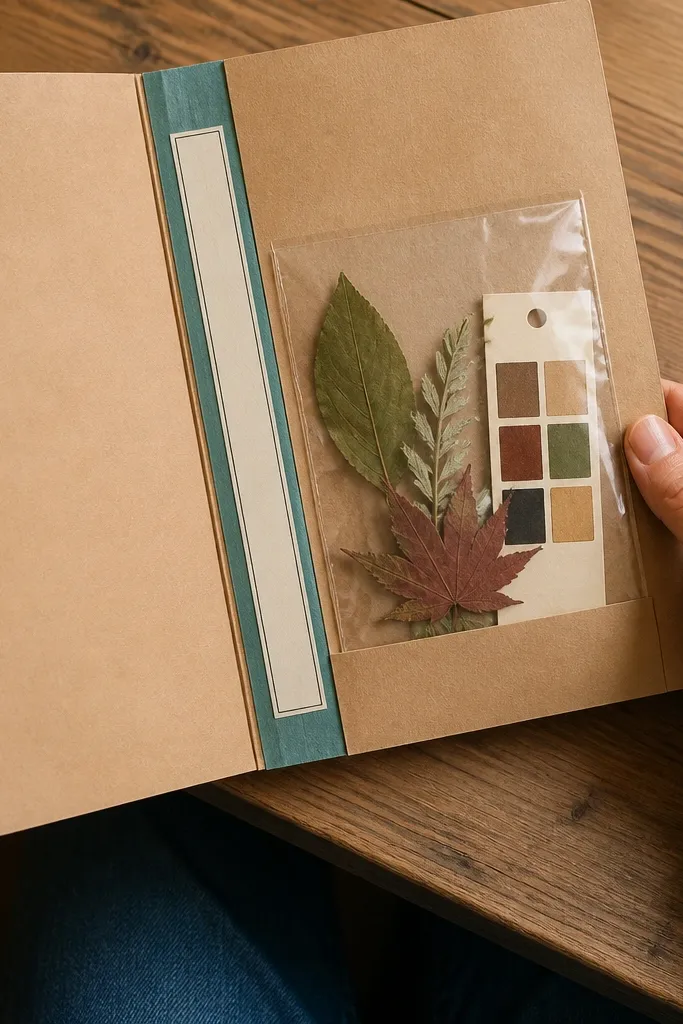
This is the step for science experiments, craft projects, and any assignment with tiny samples you want to keep. A pocket protects items like leaves, swatches, or printed cutouts without turning the page into a glued mess. Use a wash tape label on the pocket so the page is easy to read even when the sample is visually busy. It’s also a great way to keep your scrapbook from smelling like old glue and paper — sealed pockets reduce mess. The result looks clean and cozy, not cluttered.
Use a clear plastic pocket sleeve or make a DIY pocket from clear report covers cut to size. Cut the pocket to about 4 inches tall and glue or tape it to the page bottom area, leaving space above for your title. Add a washi tape label strip to the pocket top edge with a short handwritten name. Slide the sample in and trim any sharp edges of the pocket so it doesn’t catch.
Choose a pocket size that leaves at least 1/4 inch of clearance around the sample so it doesn’t press into the plastic.
Avoid using loose tape directly on sample edges; it can snag and lift the sample later.
15. Reflection Box with Handwritten Bullet Prompts
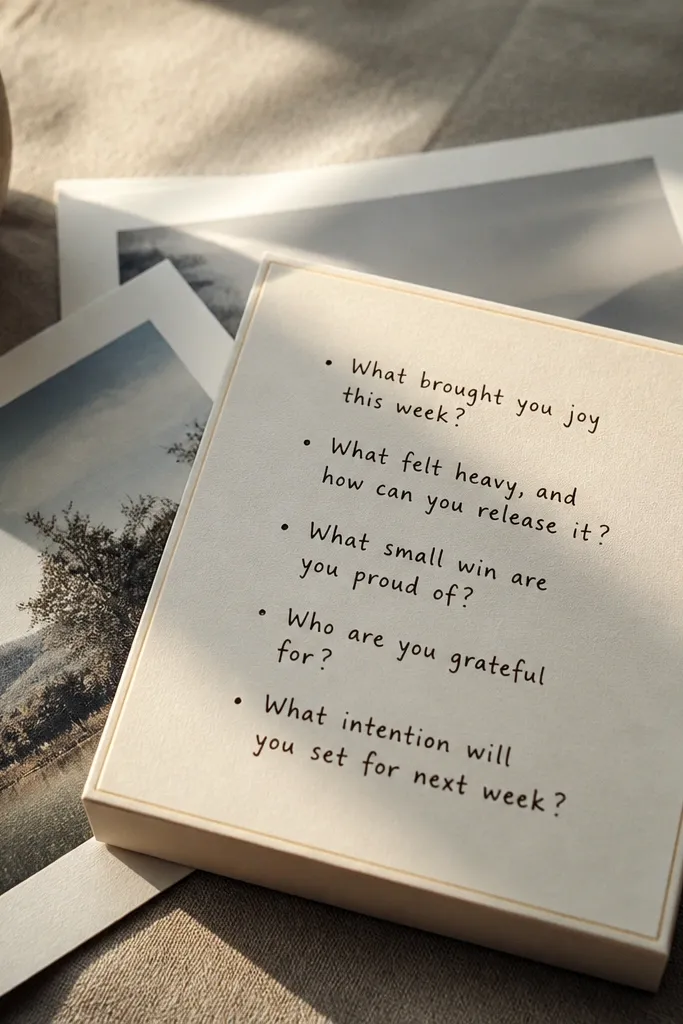
Reflection boxes make the scrapbook feel intentional because they show thinking, not just images. A cream box with handwritten bullets stays cozy and readable, and it gives your page a clear “finish.” Keep prompts short so the page doesn’t get wordy. This step fits almost every school project — reading, math, science, art, and group work. It also gives you a consistent place to write dates and outcomes, so your scrapbook reads like a timeline.
Draw a rectangle on cream cardstock about 6.5 inches wide and 2 inches tall, then cut it out. Glue it under your photo or timeline strip. Add 3 bullet prompts in neat handwriting, like What I learned, What I’d do differently, and One detail I want to remember. Use a fine pen and leave a blank line after each bullet so handwriting stays airy instead of cramped.
Pro tipUse a ruler for the box edges; straight lines make the handwriting look cleaner in photos.
AvoidDon’t cram long paragraphs into the box; stick to three short prompts.



