
1. Kraft Bag Pocket Pages with Hand-Torn Edges
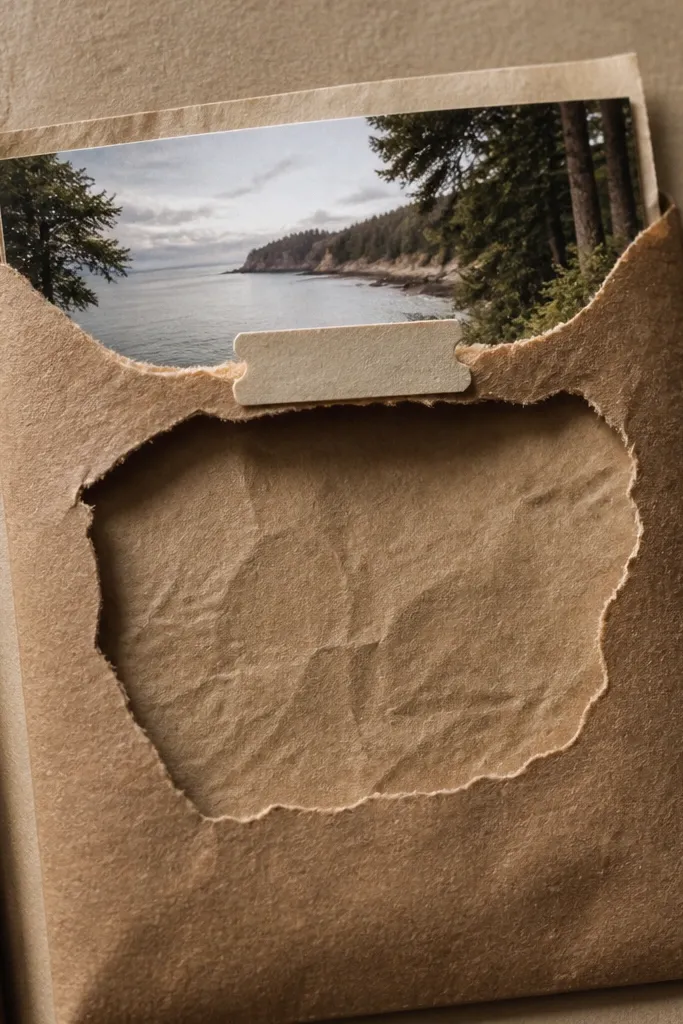
This is the cozy scrapbook book idea that makes your pages feel lived-in without looking sloppy. Kraft paper pockets add warmth, and the hand-torn edges catch light in a way clean-cut paper never does. Put photos behind the pocket so the top edge frames them like a little window. Add a tiny label strip at the pocket opening using brown ink so the page stays readable even when you add multiple items. It’s great for travel receipts, event tickets, and small photo sets because the pocket keeps everything contained and photogenic.
Cut kraft paper into rectangles sized to your page. For an 8x10 page, make pockets about 7.5 inches wide and 7 inches tall, leaving a 0.5 inch margin for glue. Score a 0.5-inch fold on the back edge, then glue that fold to the page, keeping the pocket opening clean. Add a second layer pocket if you want a tighter frame, then round the pocket corners with scissors for softness. Finish by stamping or handwriting a short label on a narrow strip of cardstock and gluing it right above the opening.
Pro tipUse a glue stick for the main pocket fold, then add one line of matte medium along the torn edge so it holds without warping.
AvoidDon’t overfill pockets — thick stacks make the page bulge and ruin the clean look.
2. Fabric-Covered Spine with Bookcloth and Visible Stitch Lines
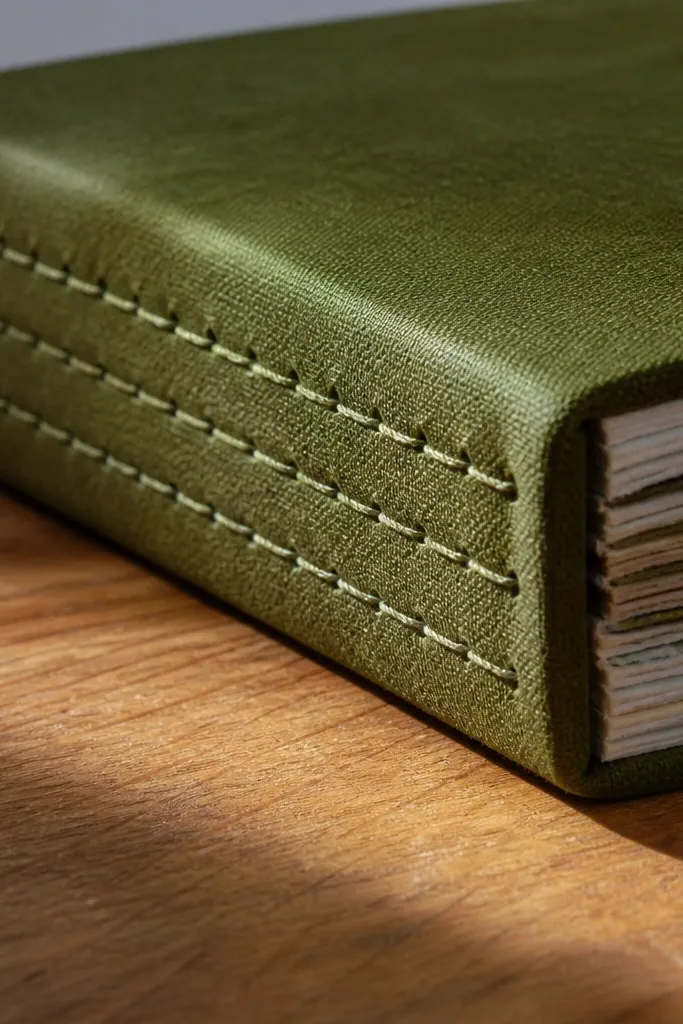
If your scrapbook looks “crafty” instead of beautiful, it’s usually the binding. A fabric-covered spine instantly makes the whole book feel finished. Bookcloth or sturdy cotton won’t snag like thin fabric, and it photographs with a soft, matte texture that reads cozy. You also get a built-in place for small details like a stitched seam or a simple button closure. This idea is best when you’re making a scrapbook you’ll keep out on a shelf, because the spine is what people notice first.
Start with your scrapbook base using thick cardstock covers or a pre-made binder cover. Measure the spine width and height, then cut fabric with at least a 1-inch extra on each side for wrapping. Apply matte gel medium or craft glue to the spine area, wrap the fabric tightly, and smooth out bubbles with a brayer or a clean scrap card. Create visible stitch lines by marking two or three parallel guide lines and stitching with embroidery thread through the fabric and cover edge. Finish by trimming fabric on the inside edges and reinforcing the corners with a thin strip of cardstock.
Before gluing, press the fabric with a warm iron using a cloth barrier so wrinkles don’t show through.
Don’t use slippery satin — it wrinkles under glue and looks shiny in photos.
3. Tea-Dyed Paper Layers with Photo Corners and Twine Bow
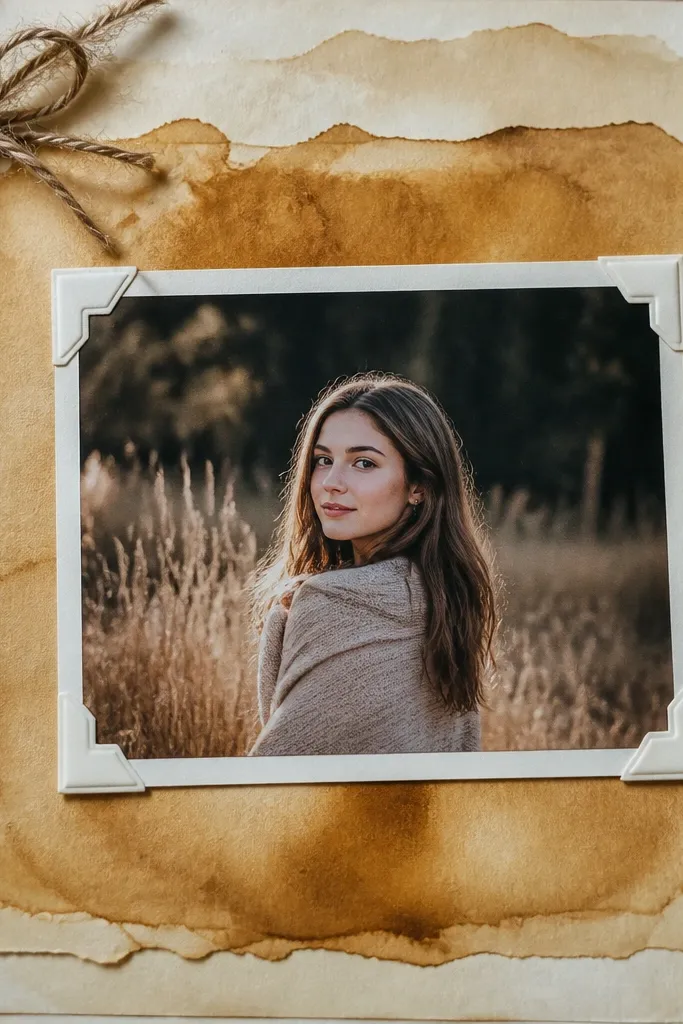
Tea-dyed paper gives you that warm, cozy color without buying new supplies. The uneven stain looks natural, and it makes printed photos look softer and older in a good way. Layering matters: a tea-stained mat behind a photo gives depth even if your photos are simple. Use small photo corner tabs so the image stays flat and you get a neat frame. Add twine in a tiny bow only where it won’t block writing, and the page looks delicate instead of crowded.
Brew strong black tea and let it cool until it’s warm, not hot. Brush or sponge the tea onto thick paper (140-200 gsm works well) and let it dry flat. Cut two layers: one slightly larger backing mat and one photo frame mat with a clean window. Attach photos with corner tabs made from thin cardstock so you can lift and swap later. Tie a short piece of cotton twine into a small bow and glue the ends to the corner of the mat, keeping the bow centered above a blank journaling strip.
Pro tipSeal tea-dyed paper with a light spray of matte fixative so ink from pens doesn’t bleed.
AvoidDon’t soak paper thin — it warps and your layers won’t sit flat.
4. Old Map Background Pages with Coffee-Brown Edge Ink
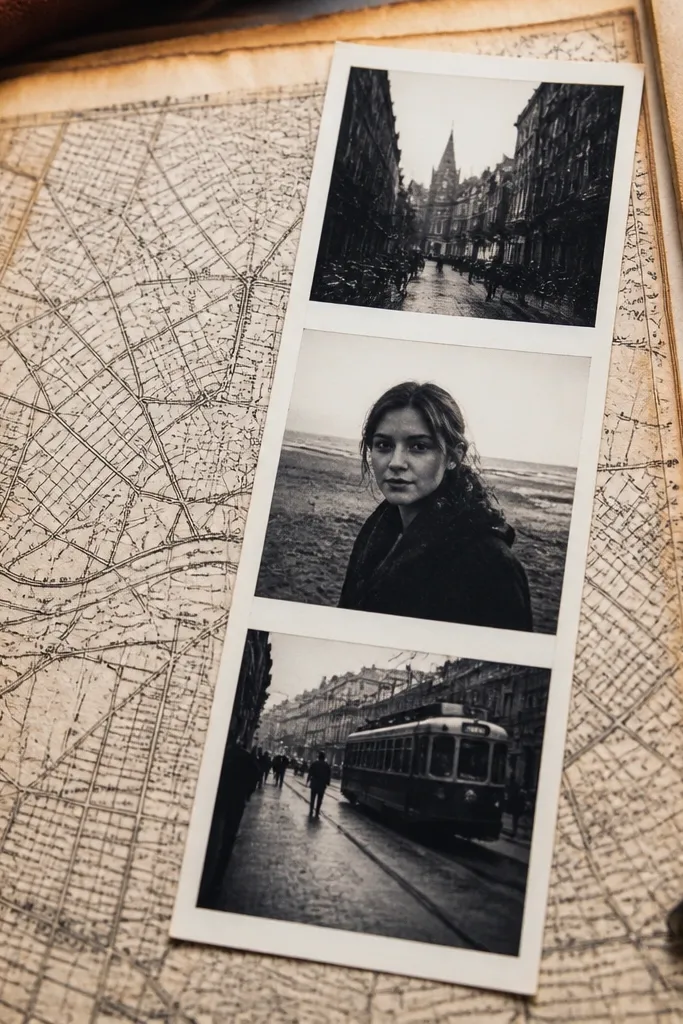
Map paper has a built-in story look, and the texture reads great in close-up photos. Use old maps or printouts on thicker paper so the lines don’t smear. The key to making it cozy instead of cold is edge ink: coffee-brown ink around the edges makes the map feel framed and warm. Pair the map with a simple photo strip and one journaling block so it doesn’t turn into a cluttered atlas. This works really well for hometown memories, road trips, and anything with a location you want to highlight.
Cut map pieces to cover the page background, leaving a 0.25-0.5 inch border of cardstock. Ink the edges of the map with a sponge dauber using brown ink, then let it dry. Add a photo strip across the page at a slight angle, using photo corners or thin tape. Layer a small journaling card on top of the map with a matte adhesive so the text stands out. Finish by stamping a tiny icon near the journaling block, like a compass or star, in the same brown ink.
Pro tipIf the map is too busy, blur the visual by adding a semi-opaque layer of gesso on part of it before you ink the edges.
AvoidDon’t glue map directly to glossy paper — ink can transfer and smear.
5. Stickerless Photo Collage Grid with Micro Labels
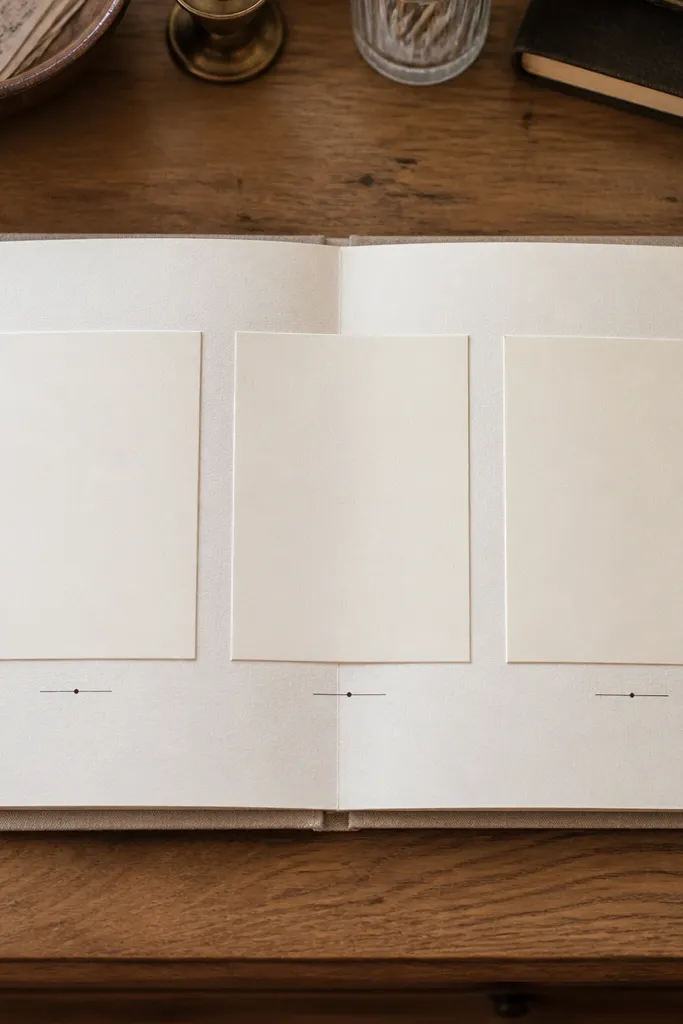
This is for when you want the page to look clean and expensive, not like a sticker explosion. A stickerless grid makes photos the main event, and micro labels keep the story clear. Use a repeating layout like 3 photos across, each in the same size mat, with tiny captions under each one. Add one small decorative element — like a single circle stamp or a thin washi line — so the page stays balanced. It’s perfect for family albums, monthly check-ins, and anything where you have a lot of photos but limited time.
Pick one grid plan and repeat it across multiple pages. For an 8x10 page, try three 3x4 photo mats with 0.5 inch spacing and a 1-inch bottom journaling strip. Cut cardstock mats first so everything lines up. Place photos, then add micro labels using a label maker or handwriting on narrow strips (about 0.5 inch wide). Glue photos to mats using photo corners, then glue mats to the page in the same order every time.
Pro tipUse a ruler and a light pencil guide for the grid, then erase before gluing so your lines never show through.
AvoidDon’t use different font sizes on the same page — labels look messy when they don’t match.
6. Window Envelope Tuck Spots for Receipt-Size Keepsakes
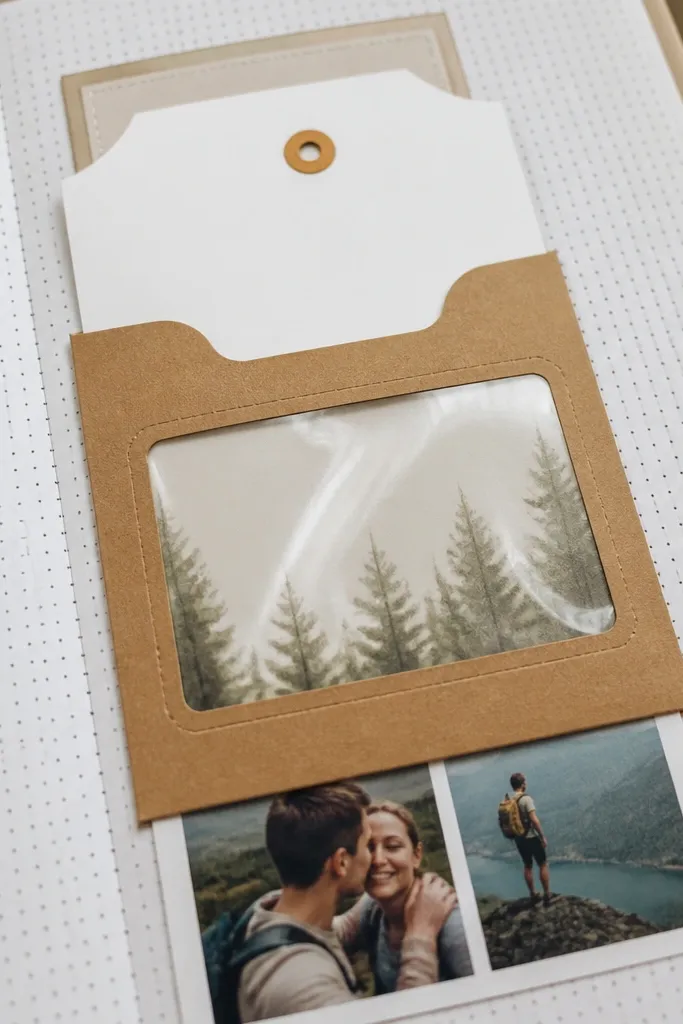
Window envelopes look cozy because they’re already designed to hold and display. You get a built-in frame for small keepsakes like receipts, tiny photos, or folded notes. The trick is to use them as tuck spots, not loose inserts, so the page stays tidy and photogenic. Add a label card behind the envelope so the visible window shows just enough detail. This idea is great for everyday memory scrapbooks where you collect small paper items constantly.
Choose envelopes that fit your page without bulging, usually around 4x6 folded size. Cut two small tabs from cardstock and glue them to the page edges so the envelope can slide in. Glue a thin strip of patterned paper behind the envelope opening to create a warm background color. Write a short title on a label card (for example, “Lunch receipts” or “Museum day”) and place it inside the envelope behind the window. Finally, reinforce the envelope tuck area with a small strip of tape on the inside so it doesn’t loosen over time.
Pro tipUse archival tape for tabs and avoid thick hot glue that can crack with page movement.
AvoidDon’t use flimsy envelopes — they collapse and make the page look uneven.
7. Turn-Through Fabric Hinges for Interactive Pages
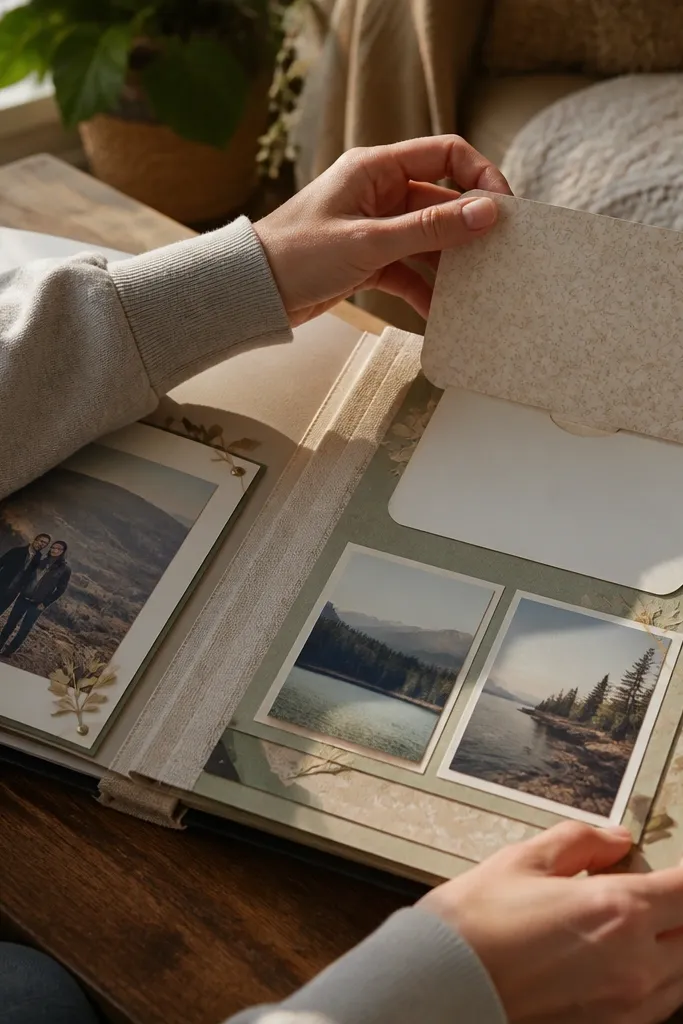
Interactive pages look beautiful because they add movement, and movement reads as “intentional” in photos. Fabric hinges are the secret — they lay flat and look soft, which keeps the cozy vibe. You can create a turn-through panel that reveals a second photo set or a journaling card. The fabric edge also hides the construction lines, so the page looks clean even up close. This is perfect for a scrapbook that needs a wow moment without using bulky chipboard.
Cut your main page panel and a second panel that will flip under it, both sized to your 8x10 page inner area. Cut a strip of cotton fabric for the hinge, about 0.75-1 inch wide. Glue the fabric strip to the back of the top panel, then attach the other side of the fabric to the back of the second panel, keeping the hinge centered. Test the flip before final glue so the panels don’t bind. Add photos to each panel with matte adhesive and finish with one small title tag on the front edge.
Pro tipUse a bone folder to press the hinge crease so it opens smoothly every time.
AvoidDon’t glue photos directly over the hinge — thickness makes the page snag.
8. Book Page Cut-Outs with Clear Gel Medium Frames
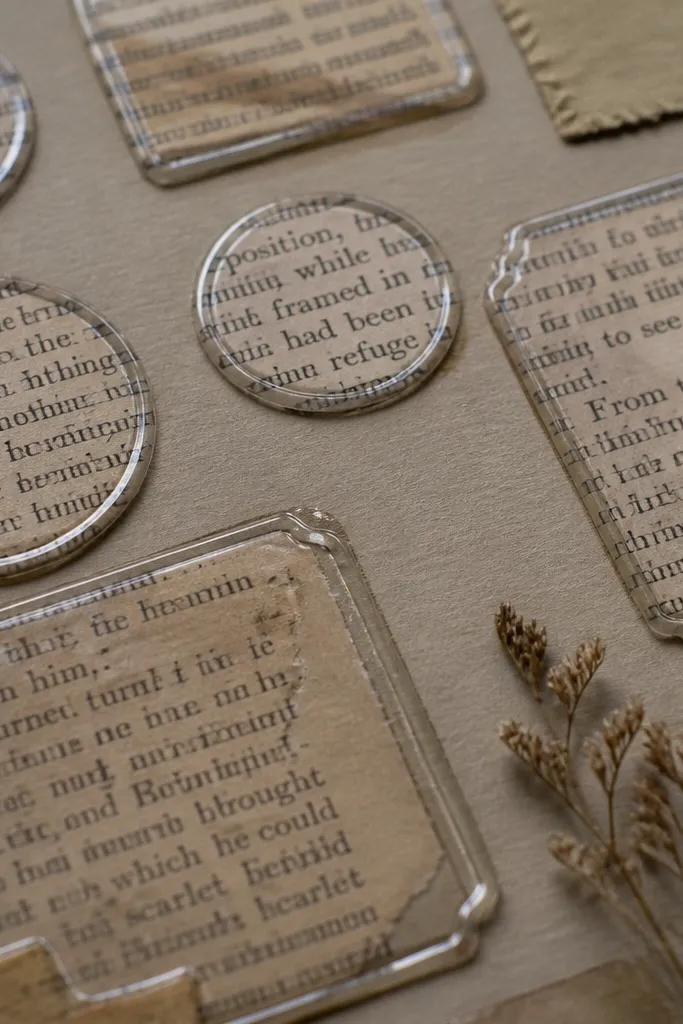
Old book pages look cozy because the typography texture reads like memory. Cut out shapes like circles, tickets, or little silhouettes, then frame them using clear gel medium so the edges look crisp and slightly glossy. That contrast — matte base plus clear frame — makes the page pop in photos. You can layer these cut-outs behind a photo or around a journaling card for an artful collage without clutter. This idea works especially well for winter memories, reading challenges, and anything with a “slow days” theme.
Choose a background cardstock and glue a thin layer of old book page text paper across part of the page. Cut your shapes from book page using craft scissors or a small die-cut if you have one. Place the cut-out on top and trace lightly where you want the clear frame. Brush clear gel medium around the shape edge in a thin border, then smooth any bubbles with a foam brush. Let it dry flat, then add a photo mat beneath or behind the cut-out so the texture shows through.
Use a foam brush and thin coats — thick gel medium can dry cloudy.
Don’t soak book paper with glue — it tears and warps the page.
9. Washed Denim Pocket with Faux Stitch Border
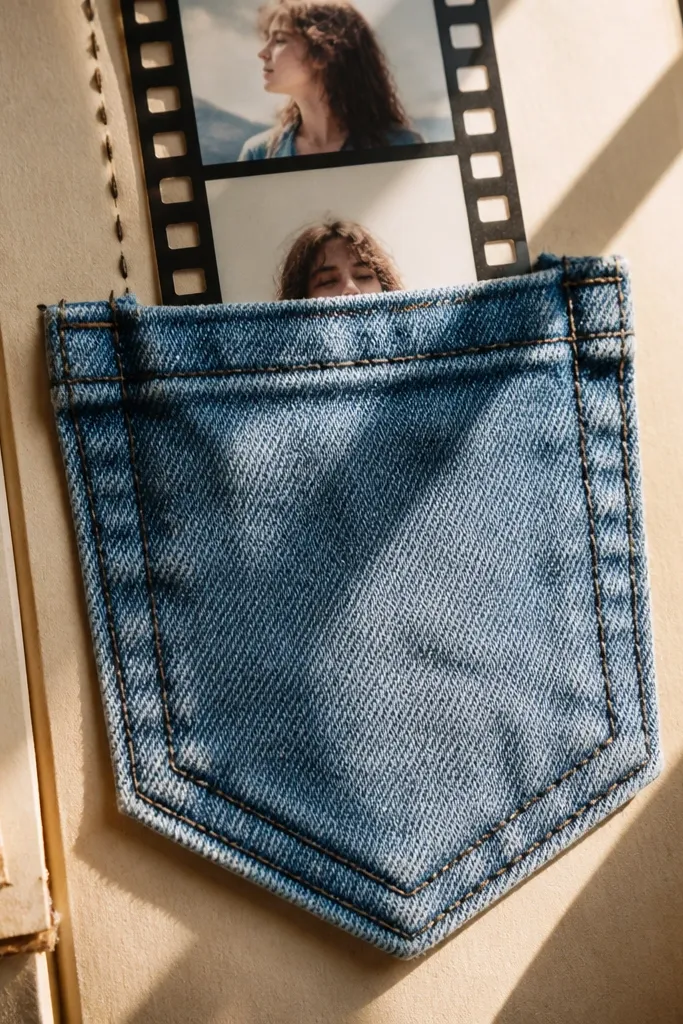
Denim feels instantly cozy and looks great in photos because it has visible grain. Turn a scrap of washed denim into a small pocket for a photo strip or a folded letter. The key aesthetic move is a faux stitch border drawn around the pocket with a fabric marker or black-brown pen. That gives you the “sewn” look without needing a sewing machine. This is a strong choice for graduation, fall events, or any memory that needs a rugged-soft vibe.
Cut denim into a rectangle pocket about 6 inches wide and 3.5 inches tall, rounding corners with scissors. Create a top fold by ironing a 0.5-inch hem if you can, then glue the hem with fabric glue. Cut a piece of cardstock slightly smaller and glue it behind the pocket opening to reinforce it. Draw a faux stitch border around the pocket edges with a fabric marker, using short repeated dashes. Attach the finished pocket to your scrapbook page with strong craft adhesive, then slide in a photo strip and add one small journaling tag nearby.
Test your marker on a denim scrap first — some bleed into lighter threads.
Don’t use stiff cardboard backing inside the pocket — it makes the denim pull away from the page.
10. Layered Tag System with Twine Loops and Numbered Captions
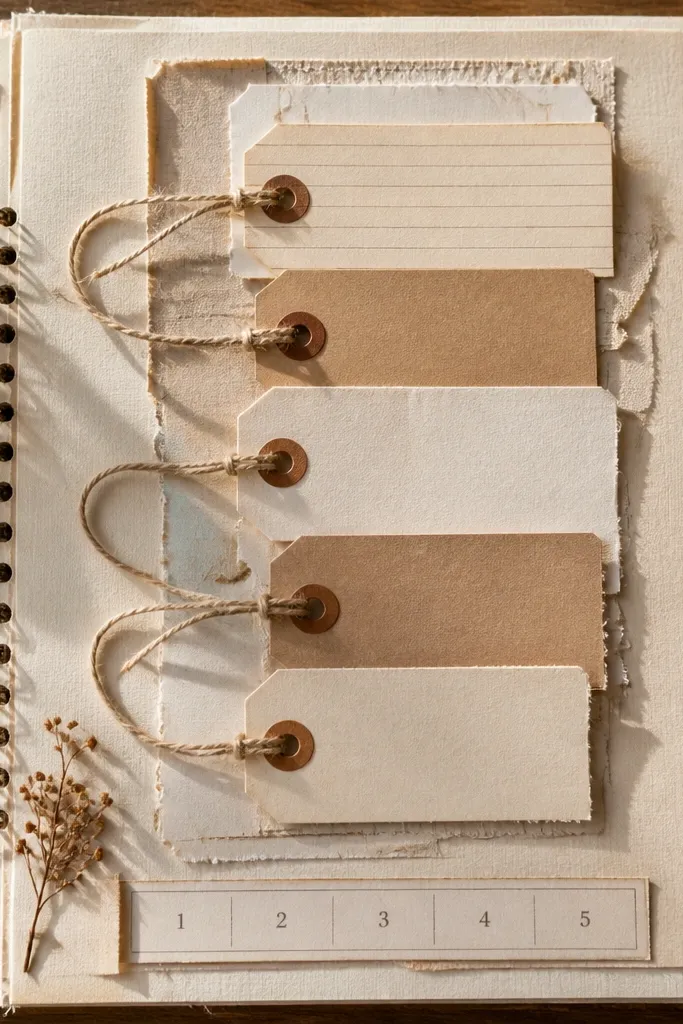
A tag system makes your scrapbook look organized, even when the memories are chaotic. Tags are photogenic because they create vertical lines and clear focal points. Twine loops add texture and soften the look, especially against kraft, cream, or textured cardstock. Numbered captions keep the story easy to follow and make the page feel like a mini exhibit. This idea works well for “day by day” entries, where you want a consistent structure across multiple pages.
Cut 3-6 tags from sturdy cardstock, each about 2.5-3 inches wide and 4-5 inches tall. Punch holes near the top corners of each tag. On your scrapbook page, glue a strip of patterned paper as a backing panel, then place the tags so they overlap slightly. Thread cotton twine through each tag hole, loop it, and glue the twine ends to the back of the page or the backing panel. Finally, add numbered captions on small strips and glue them near each tag so the page reads even in quick photos.
Use the same twine thickness across the whole book so the texture looks consistent.
Don’t tie twine too tight — it warps the tag edges and makes the page look crooked.
11. Foil-Stamped Title Card on Handmade Paper Background

Handmade paper has a speckled, cozy texture, and pairing it with a foil-stamped title card makes the page feel special. This is a great anchor page for a section divider or a “chapter” moment. Keep the design simple: one title card, one photo, and one journaling line. The foil catches warm light and looks intentional instead of random decoration. If you want your scrapbook to read as “beautiful” from a distance, title cards are the best move.
Cut handmade paper to fit your page background with a small border. Place the title card on top and lightly trace its outline so you can align the stamp. For stamping, use a foil transfer kit and a stamp die or a simple alphabet stamp set, pressing firmly on a cardstock title card. Add a photo mat beneath the title card using matte adhesive so the photo doesn’t compete with the foil. Finish with a journaling line directly under the photo, written in brown ink for warmth.
Pro tipIf your foil looks patchy, press longer with a firm flat surface and avoid moving the stamp during transfer.
AvoidDon’t use bright neon ink on handmade paper — it fights the texture and looks harsh.
12. Glassine Belly Band with Mini Photo Strip
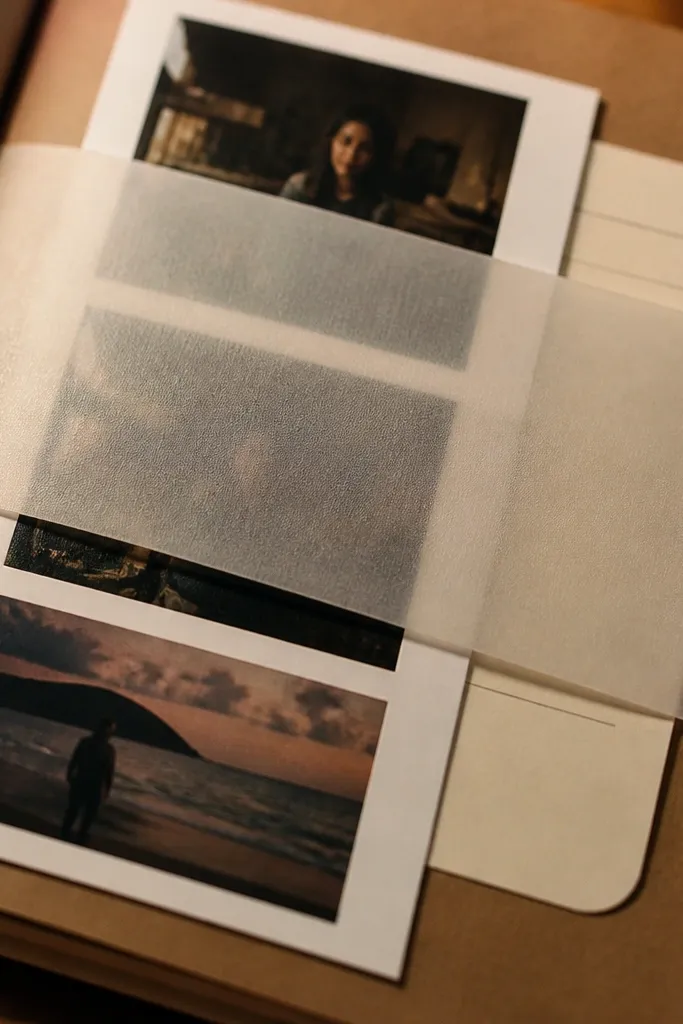
Glassine is a translucent paper that photographs beautifully because it creates a soft glow over photos. A belly band keeps the page tidy while still letting you see what’s inside. Put a mini photo strip under the band, then add one small journaling card tucked under the edge so it’s easy to pull out. This idea makes pages look curated even when you’re using small scraps. It’s a strong pick for gifts, anniversaries, and any scrapbook where you want a “wrapped present” feel.
Cut glassine paper into a band sized to wrap around your page width, usually 1.25-1.5 inches tall. Make a cardstock backing for the band area so it stays stiff and doesn’t crease weirdly. Glue the band backing to the page, then attach the glassine band on top with a thin line of adhesive at the ends only. Slide a mini photo strip (about 1x4 inches or a few 1x2 strips) under the glassine band. Add a small journaling card under the band edge with a single fold so it peeks out.
Use matte photo tape on the photo strip — it grips glassine without fogging.
Don’t fold glassine sharply; it shows creases and looks messy in photos.
13. Quilt-Style Patchwork Page with Fabric Squares and Photo Centers
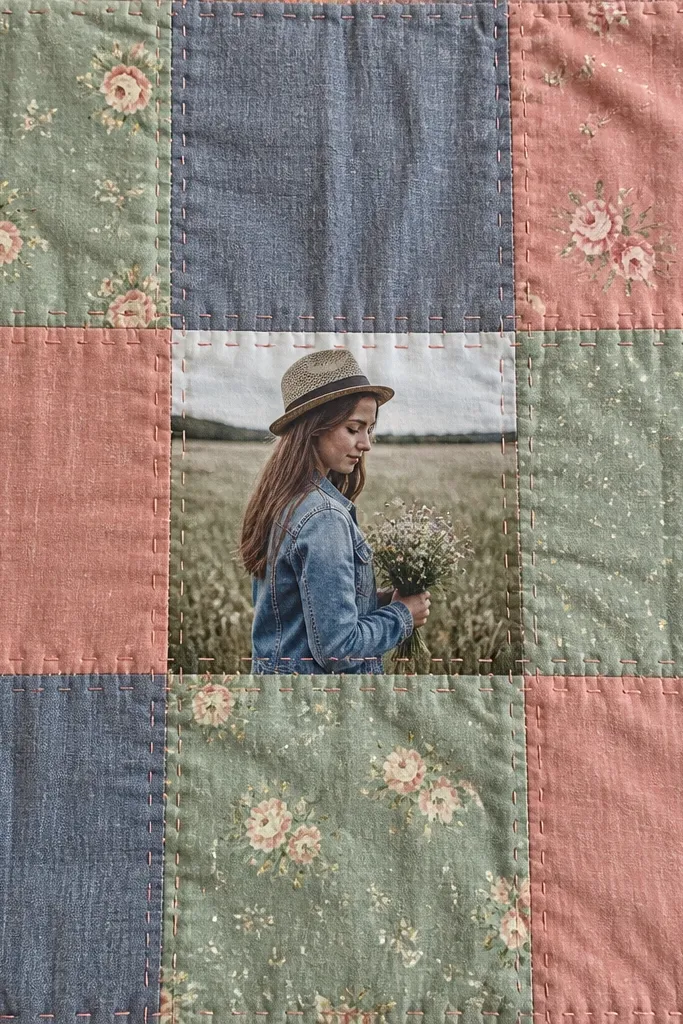
A quilt-style patchwork page is cozy by design because it mimics soft home textiles. Fabric squares add dimension, but you can keep it flat by using thin cotton scraps and only adding a few layers. Put one photo in the center square so the page has a clear focal point, then stitch or faux-stitch lines between squares for structure. This looks amazing for holiday memories, family gatherings, and winter nights. It also hides small imperfections in scraps because the patchwork pattern makes them feel intentional.
Cut 6-9 fabric squares, each about 3 inches for an 8x10 page inner layout, and choose a consistent thickness. Back each square with thin iron-on interfacing so it stays flat. Arrange the squares on a cardstock base and mark where they meet. Glue the squares down with fabric glue or matte medium, then draw faux stitching lines with a fabric marker or use a sewing machine for a straight seam look. Add a photo center square by cutting a window mat and layering the photo behind it, then finish with a small stitched-style label near the border.
Use a 0.5-inch border of cardstock around the patchwork so the page looks framed, not messy.
Don’t stack too many layers under the photo center — the page gets thick at the hinge.
14. Candle Wax Seal Look with Faux Wax Stickers and Twine Tag
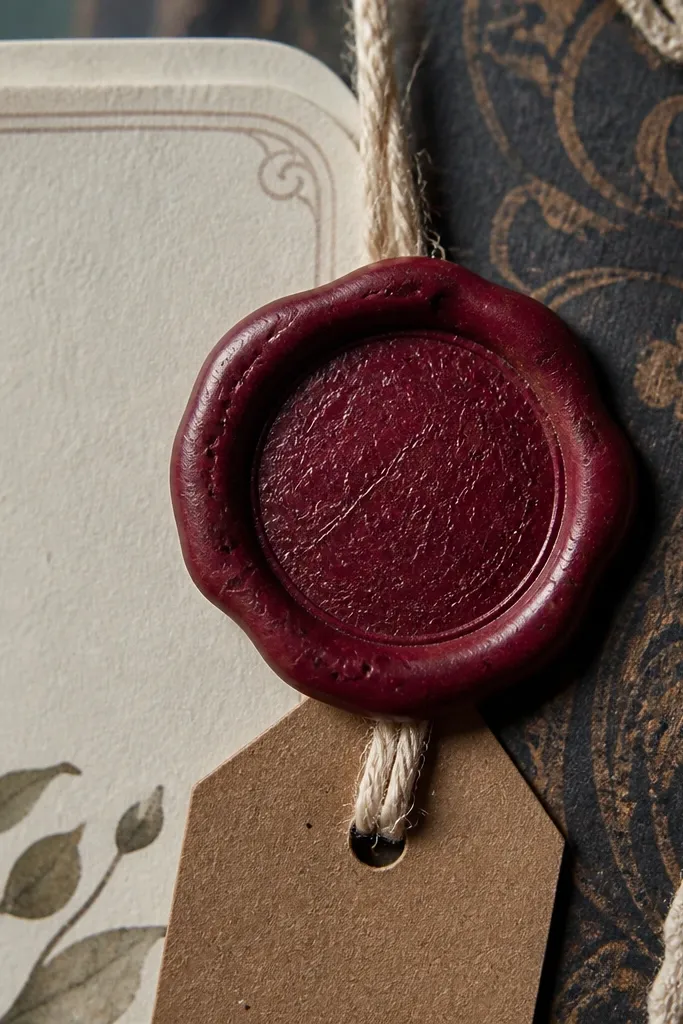
Wax seal details make scrapbooks feel like letters from a cozy world. You don’t need real sealing — a faux wax seal sticker or wax-look stamp gives the same visual weight, especially paired with twine. Put the seal near a journaling card edge and attach a small tag that hangs slightly. The layout looks beautiful because it creates a strong circular focal point against matte paper. This is best for birthdays, love notes, and any page where you want a “handwritten” vibe without adding tons of text.
Choose a matte cardstock base and add a simple photo or a small journaling block as the background. Place the wax-look seal on the page where you want the focal point, then glue it down lightly so it stays flat. Punch a hole in a small tag card and thread cotton twine through, then glue the twine end behind the seal or directly to the page. Write a short date or title on the tag with brown ink. Finish by adding one tiny accent stamp or icon near the seal so it doesn’t float alone.
Pro tipIf your seal sticker curls, warm it briefly under a book page for flatness before sticking.
AvoidDon’t place the seal over thick photo edges — it will lift and catch glare.
15. Receipt and Ticket Timeline Strip with Corner-Clip Edges
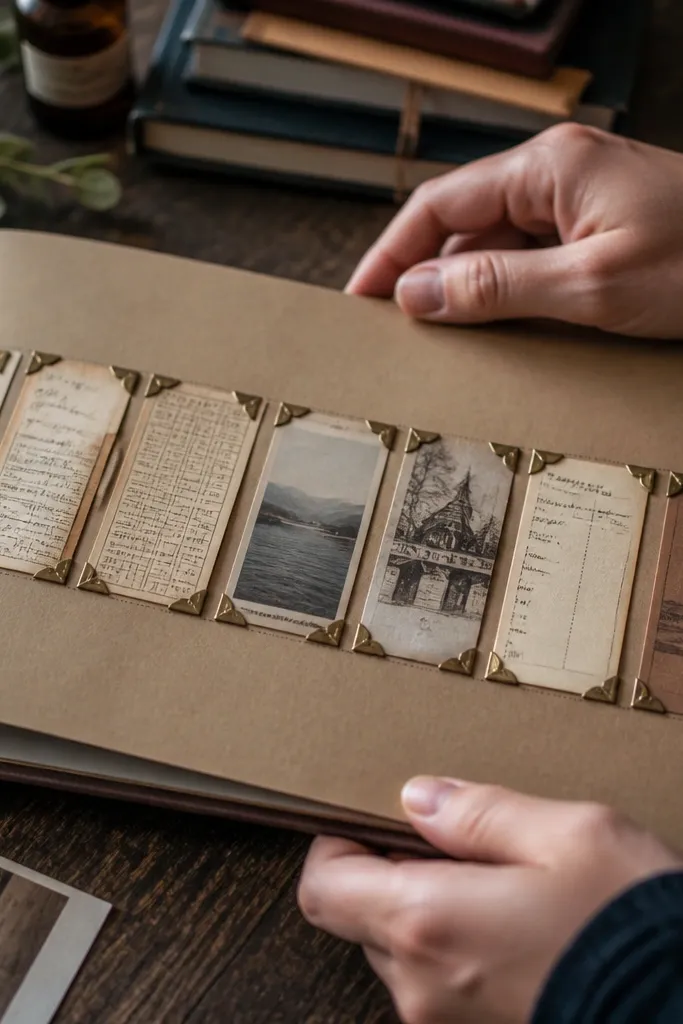
A timeline strip looks beautiful because it creates rhythm. Receipts and tickets already have shapes and typography, so they bring texture and story without you needing lots of decoration. Corner clips or paper brads make the elements look like they’re pinned in a mini display. Keep the strip narrow and aligned so the page stays clean. Add a handwritten date line above the strip and a short journaling sentence under it. This works well for events, concerts, and any memory where you have a sequence, not just one moment.
Cut a long timeline strip from kraft or cream cardstock, about 3.5-4 inches wide across the page. Choose 6-10 receipts or ticket pieces and trim them so they align at the bottom edge. Attach each piece to the strip using corner clips or brads, placing them at consistent heights. Glue the strip onto the scrapbook page, leaving a border of cardstock around it. Add a date line at the top with brown ink and a small journaling block below the strip for context.
Pro tipIf the receipts are too glossy, wipe them with a dry microfiber cloth — glare drops a lot in photos.
AvoidDon’t mix random paper sizes without trimming — it makes the strip look chaotic.



