
1. Cream Paper 'Warm-Up Ladder' Grid
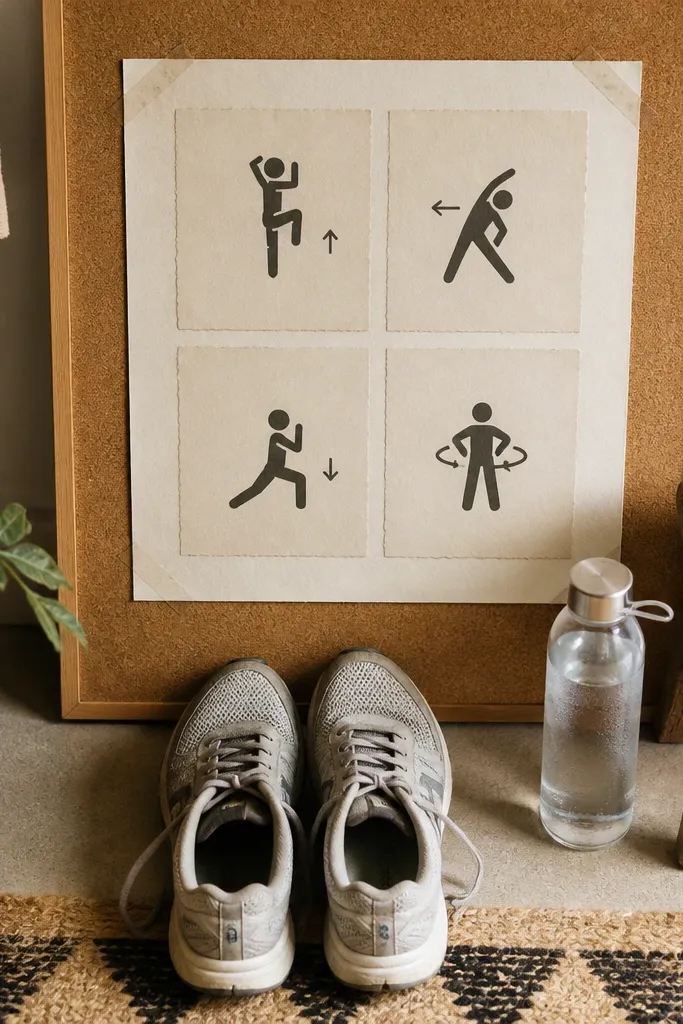
Start with a sheet of thick cream paper or a cork board covered in cream cardstock. Draw a 2x2 grid or a vertical four-step ladder with a ruler, leaving at least 1 inch margins for a clean edge. Write one action per box in black pen, then add small icon stickers (shoe, bottle, timer, dumbbell) in matching warm colors. Finish by sealing the surface with a light layer of spray matte fixative or by covering with clear contact paper if you’re using a cork board.
This look turns motivation into a routine you can see at a glance. Use a cream base so the whole board reads cozy, then build a ladder with four boxes for steps like shoes on, water sip, 2-minute walk, and first set. The ladder format makes your brain stop negotiating — you already know the order. Add tiny icons in the corners and keep the font consistent so it photographs cleanly in your room lighting.
AvoidDon’t cram long sentences into the boxes; one action per box is the whole point.
Pro tipUse a gel pen for the action labels — it stays readable and dries quickly without smearing.
2. Rust Velvet Ribbon 'Commitment Frame'
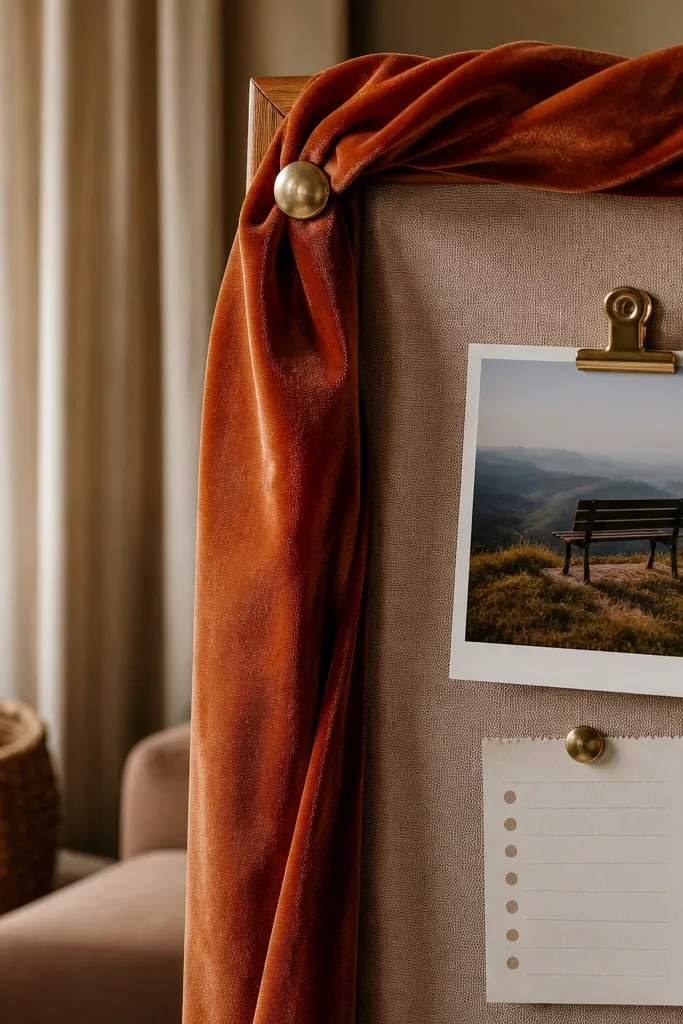
Cut four lengths of rust velvet ribbon and lay them so they form a rectangle around your center photo. Attach with fabric glue or double-sided tape meant for paper and fabric, pressing for 30 seconds each spot. Add a small strip of oatmeal cardstock under the photo for your handwritten “today” line. If you’re mounting on cardboard, cover the cardboard first with kraft paper so the edges look finished.
A ribbon frame makes your board feel like a cozy corner, not a wall of tasks. Rust velvet ribbon catches light softly, which looks great in photos and feels warmer than shiny satin. Put one small photo in the center — a pair of shoes, a water bottle, or a bench view — then write a short “today” plan beneath it. This format is great when you keep forgetting to start because it gives you a single focal point to return to.
AvoidAvoid thick knots in the ribbon corners; flat folds look cleaner and more intentional.
Pro tipTest glue on a scrap first; some fabric glues leave glossy spots that show up on camera.
3. Olive 'Hydration Habit' Tape Bar
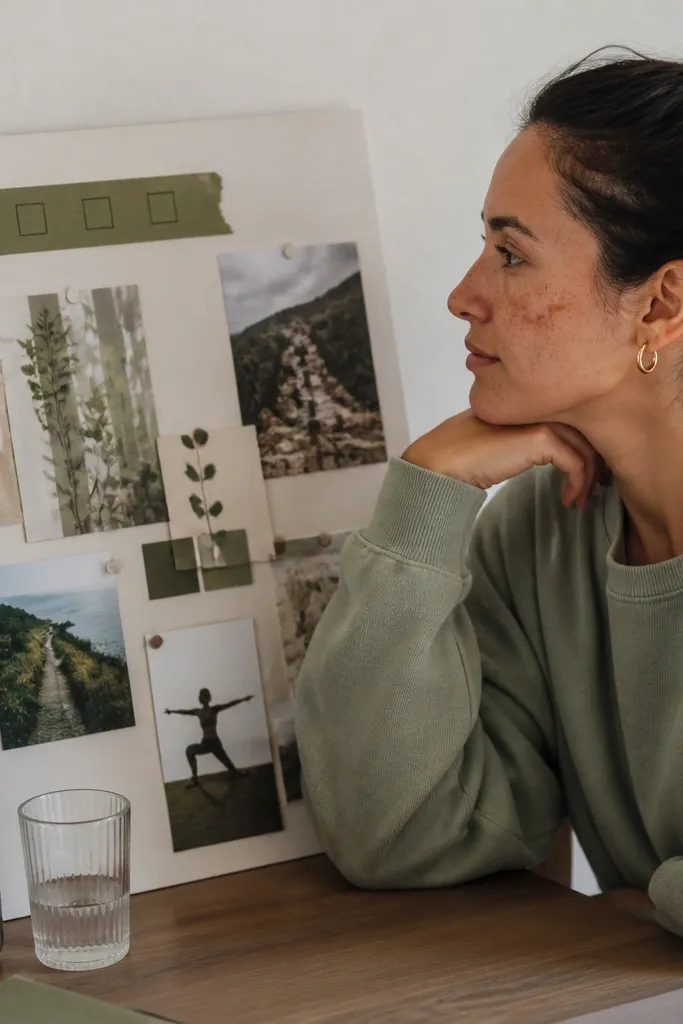
Hydration is the easiest habit to anchor your gym motivation, and this layout makes it visible without feeling like a chore. Olive tape gives a grounded, cozy tone, while a slim checklist bar keeps things tidy. Put it near the top of your board where your eyes land first, then include 3-5 checkboxes for the day. It’s photogenic because the tape line is crisp and the checklist stays readable from a distance.
Cut a strip of matte kraft paper or cardstock and glue it down horizontally. Add three to five small squares made from white paper or label tape, spaced evenly. Write “water” and times like “AM,” “Lunch,” “PM” in tiny handwriting, then place a small icon of a bottle at one end. Finish by layering a thin clear tape strip over the checklist if you plan to reuse it with erasable pen.
Use label tape for the squares; it peels cleanly and gives you sharp edges.
Skip glitter tape; it looks messy and can reflect too much light in photos.
4. Book-Page 'Progress Margin' Side Strip
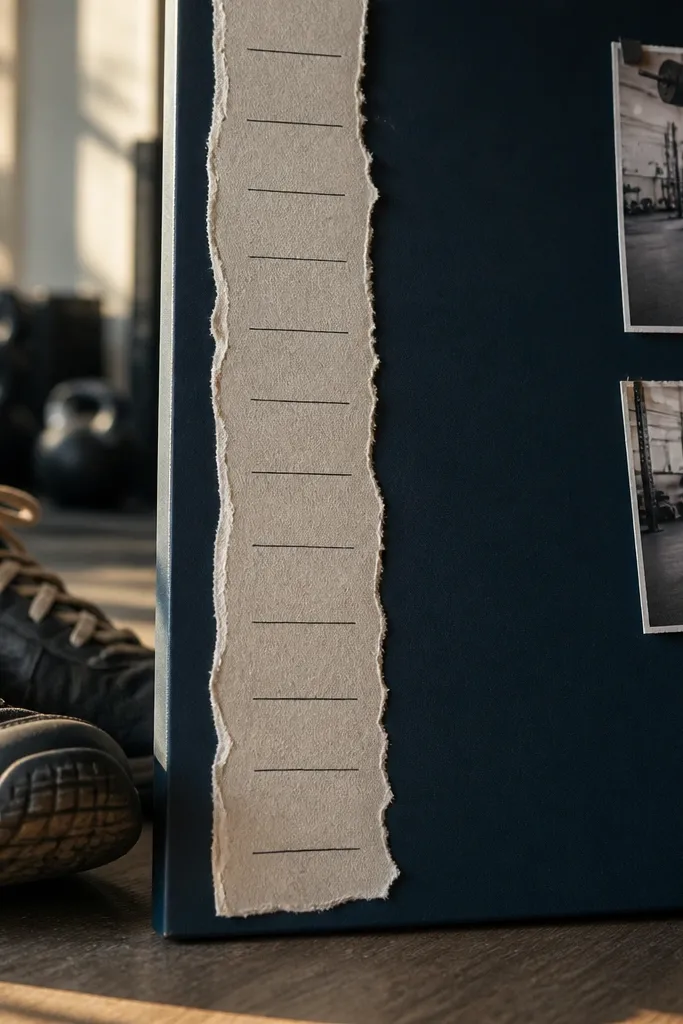
Book pages add instant warmth and texture, and the side strip layout keeps your board from feeling crowded. Instead of covering the whole board, use a narrow margin strip for progress notes — it looks like a design detail. Write short wins like “hit 3 sets” or “walked after dinner” and keep the lines short. This works when motivation drops because you’re tracking proof, not just goals.
Tear a book page into a thin vertical strip, aiming for about 2-3 inches wide. Glue it to the left or right edge of your board, then lightly shade the torn edges with a warm brown pencil. Add a few ruled lines on top with a fine liner so your handwriting stays neat. Seal the page with matte Mod Podge or a thin contact paper layer to prevent smudging.
Use a black pencil for the lines and a darker pen for the actual notes to create contrast.
Don’t use glossy glue on the paper; it makes highlights that wash out on camera.
5. Candle-Box 'Goal Drawer' Mini Pockets
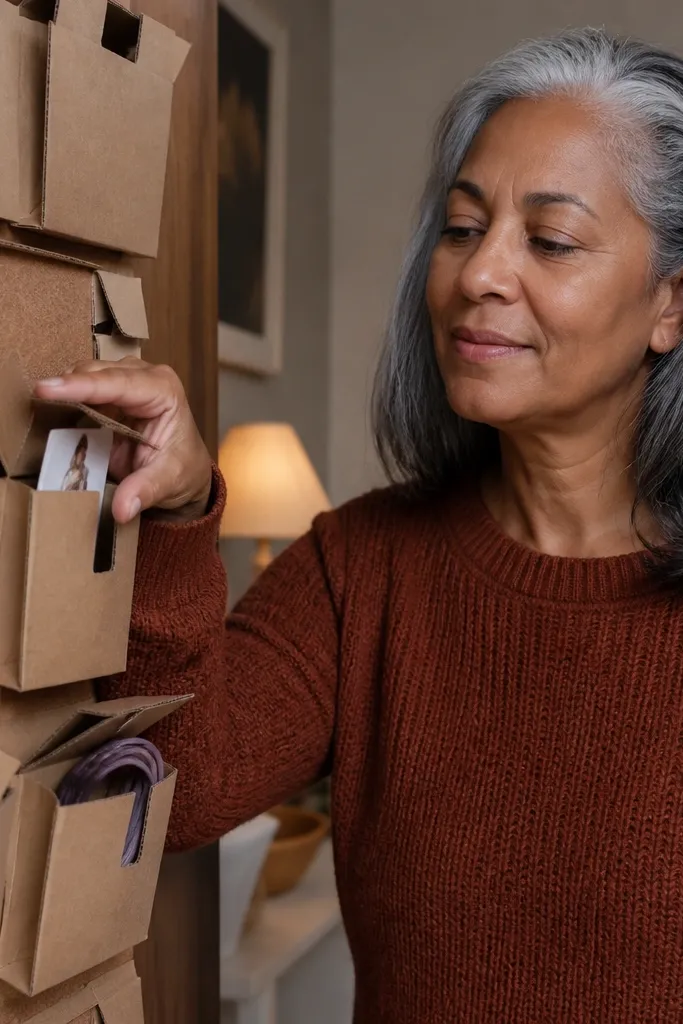
Cut pocket rectangles from sturdy cardboard, about 3.5 x 5 inches, leaving a 0.5-inch flap on top. Cover each pocket with kraft paper and glue the edges down so raw cardboard doesn’t show. Attach the pockets to your board in a vertical column using hot glue or strong craft adhesive. Add 4-6 folded cards with one action per card, like “10-minute walk + stretch” or “set out gym bag.”
Mini pockets make your vision board feel like a cozy drawer you open, not a wall you stare at. Fold small workout cards and slide them into pockets made from recycled cardboard (like candle boxes). This is perfect for staying motivated because the board hands you the next step physically. The look is clean and satisfying, and it photographs well because pockets create depth.
AvoidDon’t make pockets too shallow; cards should slide in and out without bending.
Pro tipLabel the pocket tops with tiny tabs so you can flip cards fast when you’re tired.
6. Deep Navy 'Photo Mat' with Oat Border
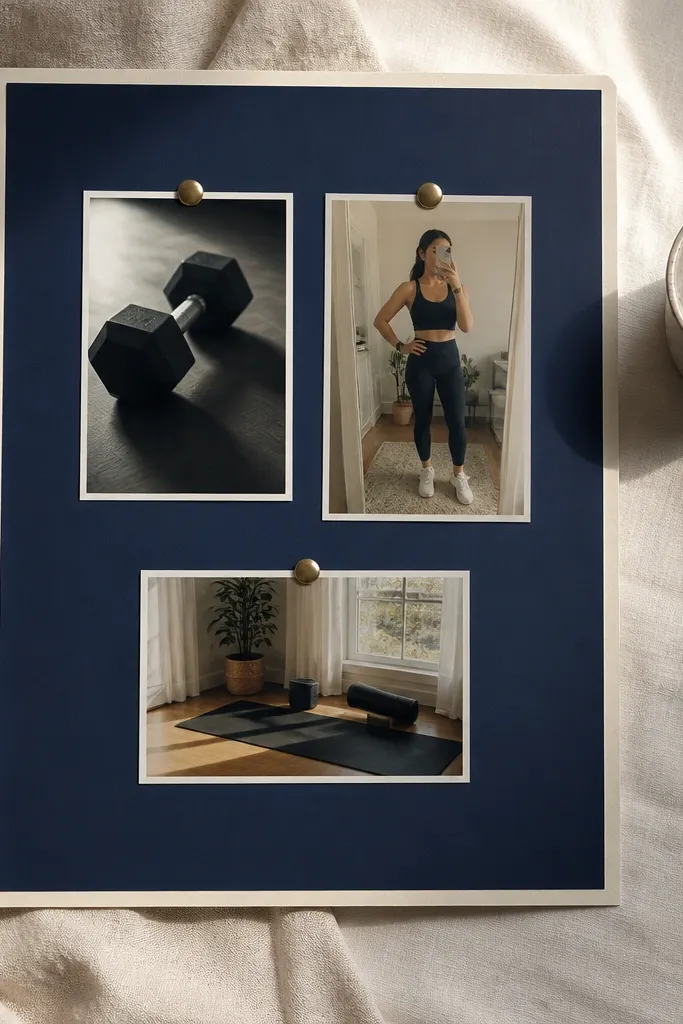
This is the easiest way to make gym photos look expensive and cozy. Deep navy matting grounds the whole page, and an oat border gives that warm contrast your eyes like. Use it for 2-3 favorite images: shoes, a dumbbell angle, a mirror shot of your workout outfit, or a calm home stretching spot. The mat frames keep everything tidy and make the board look like a designed gallery instead of a collage.
Cut navy cardstock mats, each about 1 inch larger than your photo. Layer an oat border paper strip around the inner edge by gluing a thin strip first. Mount photos with photo corners or double-sided tape so the corners stay sharp. Repeat the same border thickness across the board for consistency.
Use a paper trimmer instead of scissors for the mats; straight edges photograph way cleaner.
Don’t mix border widths; that’s what makes boards look handmade in a messy way.
7. Oatmeal 'Stretch Zone' Fabric Patchwork Square
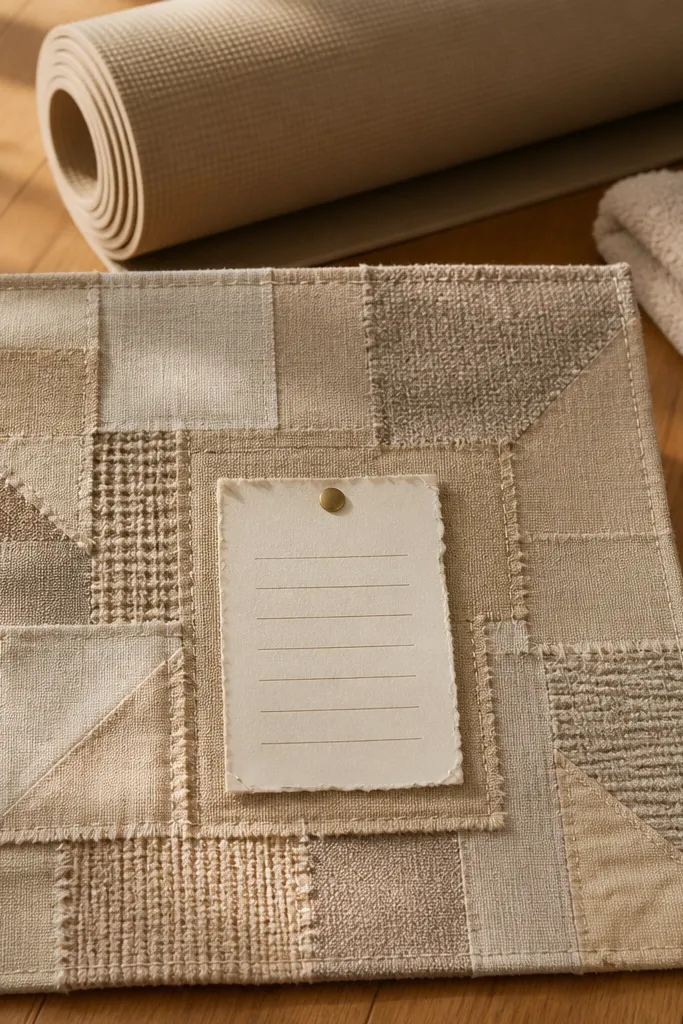
Fabric patchwork turns your board into something you want to touch. A stretch zone is a cozy motivator because it’s low-pressure: it helps you show up even when strength training feels heavy. Use soft oatmeal or beige fabric scraps and sew or glue them into a square, then place a short stretching routine list in the center. The texture makes the board look warm in any lighting, and the routine list gives you an immediate next step.
Cut a base square from thick cardboard, then cover it with a single piece of oatmeal fabric. Add 2-3 smaller fabric scraps on top using fabric glue, keeping them aligned like patchwork blocks. Write a 5-move stretching routine on a small white label and glue it in the center. Seal lightly with matte Mod Podge around the edges only so you don’t stiffen the whole fabric.
Choose fabrics with a tight weave (cotton or canvas) so the glue holds without fraying.
Avoid slippery satin scraps; they won’t bond well and look wrinkled.
8. Terracotta 'Gym Bag Outfit' Flat-Lay Card
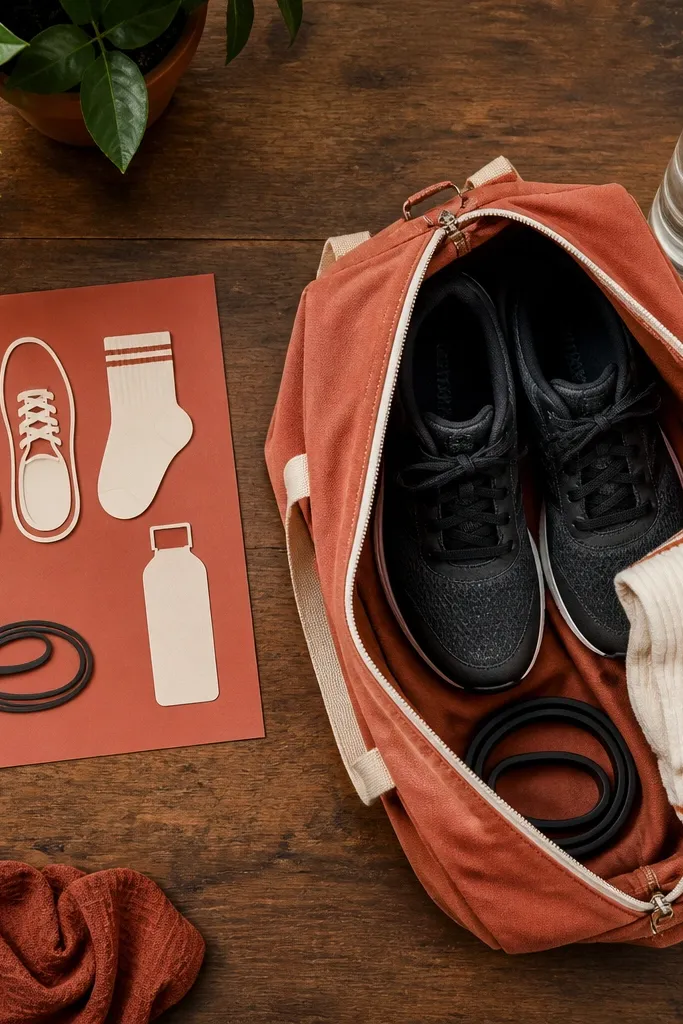
A flat-lay card makes “getting started” feel simple and doable. Terracotta paper is warm and looks great with black and cream photos, so your essentials read clearly. Include a small image or drawn layout of your gym bag contents: shoes, socks, water bottle, and a resistance band. Add a one-line reminder like “pack the night before” so motivation doesn’t rely on willpower.
Cut a terracotta cardstock card, about 8 x 10 inches, and cover it with matte adhesive film if you want to reposition images. Add a printed mini photo strip of your essentials or glue on real items in tiny form (band, socks folded). Write packing instructions on a small cream label and place it at the bottom. Mount the card to your board with two corners so it stays flat and doesn’t warp.
Use matte double-sided tape for the small pieces; glue can seep and create shiny spots.
Don’t use glossy photo paper; it reflects and makes the card look less cozy.
9. Warm Gray 'Weekly Check-in' Sticky Note Ladder
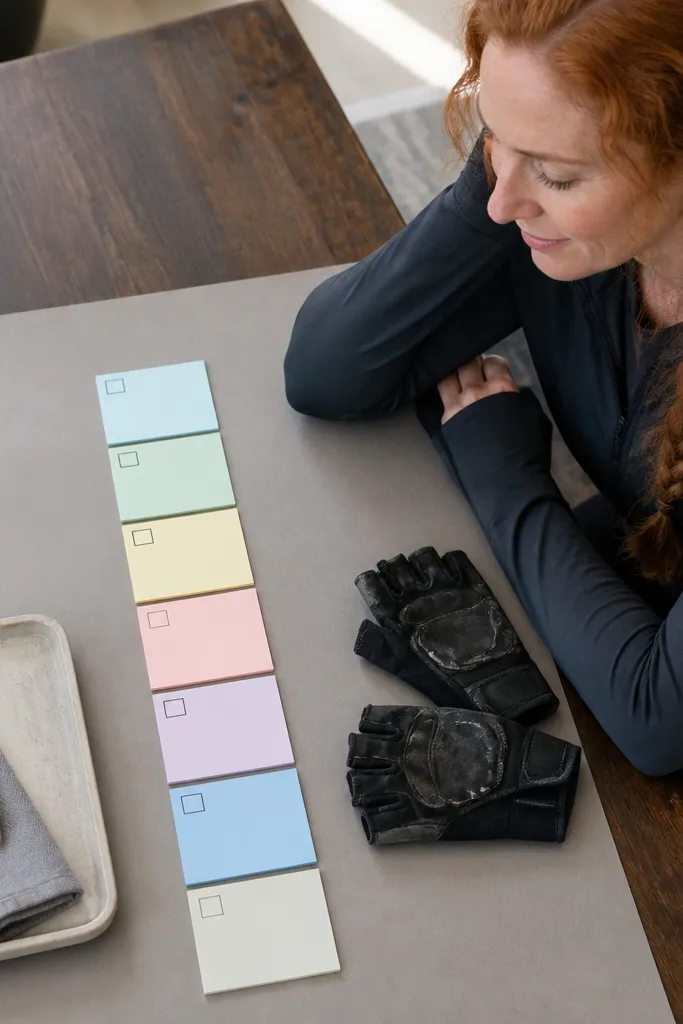
Cover a section of your board in warm gray cardstock or paint it with matte craft paint. Draw a vertical line and attach seven small rectangles of paper in a ladder shape, each about 1 inch wide. Write day labels in pencil, then cover the labels with clear tape so your sticky notes adhere cleanly. Use a color system: one color for workouts, one for movement, one for rest.
This design keeps your board honest. A weekly check-in ladder uses warm gray paper as the base, with sticky notes stacked like steps — it’s visual progress without needing fancy art. Put seven notes labeled Mon-Sun, and write one tiny win you can complete each day. It works for motivation because you’re training consistency, not perfection, and the ladder format makes you keep moving downward.
AvoidSkip handwriting that’s too small; check-ins should be readable from across the room.
Pro tipIf you use sticky notes, pick one brand and thickness; different brands curl and look messy.
10. Brown Kraft 'Habit Loop' Circle Map
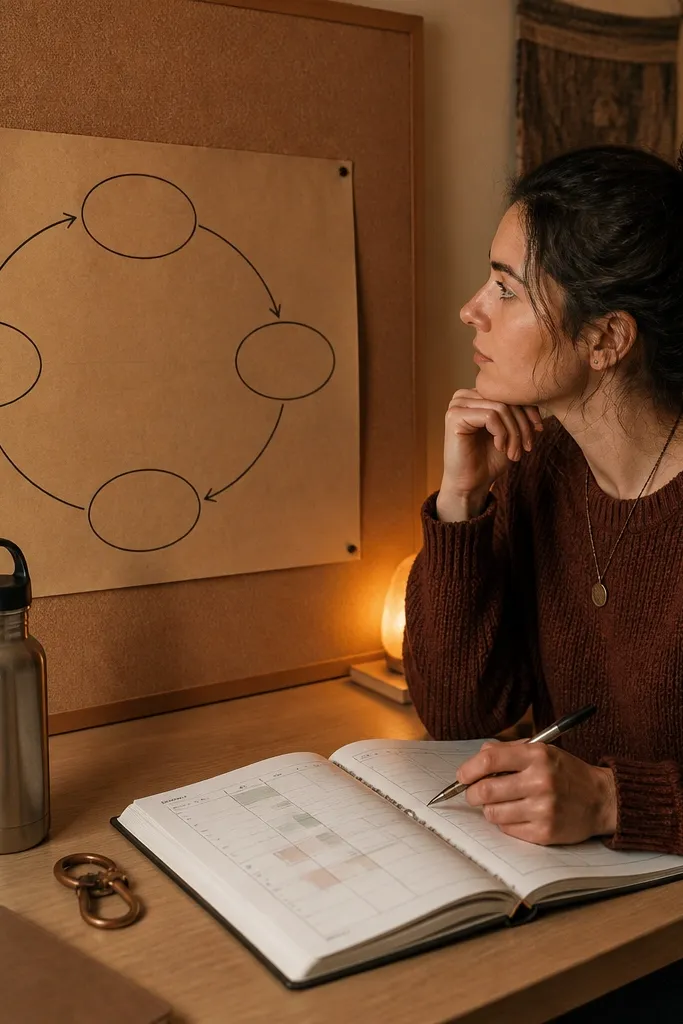
Draw a circle on kraft paper using a bowl or compass, then divide it into four sections with pencil. Write one step per section in a bold black pen, leaving space between words and arrows. Add a small printed icon in each section (bag, shoe, timer, checklist). Glue the kraft circle onto a neutral background and cover with a thin clear matte laminate if you want it to last.
A circle map is cozy because it feels like an ongoing loop instead of a deadline. Build a habit loop around the action that keeps your gym motivation alive: “pack bag,” “show up,” “start warm-up,” “log it.” Brown kraft paper makes the whole thing look grounded, and arrows help your brain follow the sequence fast. It’s especially good if you keep restarting from scratch every week.
AvoidDon’t add more than four steps; the circle should be readable in one glance.
Pro tipUse pencil for layout first; eraser marks on kraft are easy to see if you skip the sketch.
11. Beige Grid 'Set-Out-Now' Equipment Layout
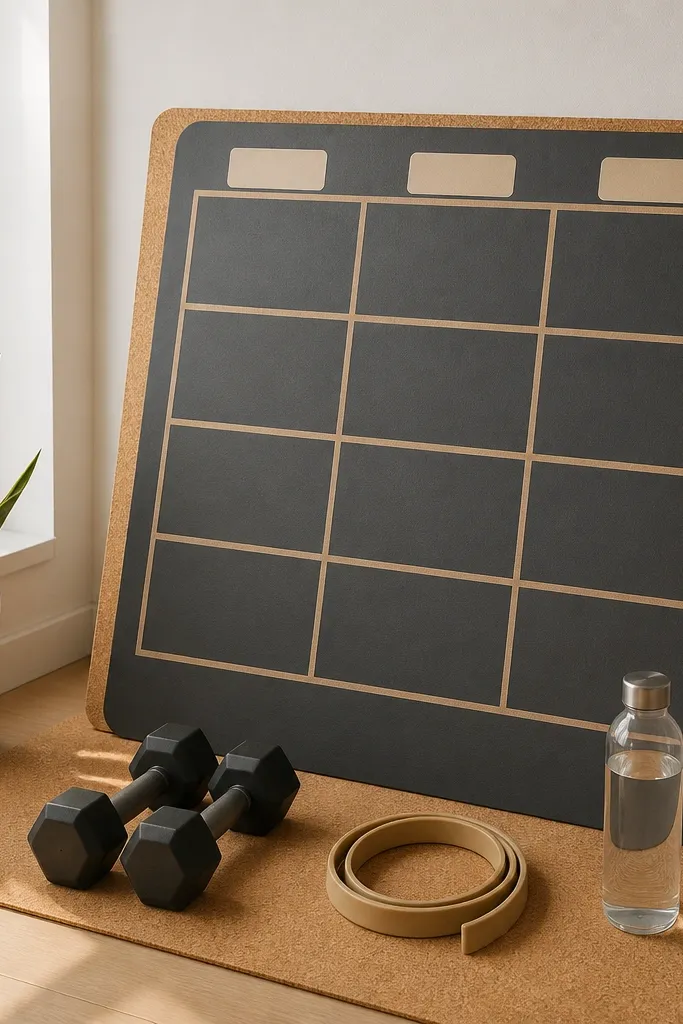
Draw a simple 3x2 grid on beige cardstock and mark six squares. Write one equipment label per square in black pen, and add a tiny icon next to each label. Glue your printed photo of the equipment arrangement or use small cutouts from old catalogs. Mount the cardstock on your board and keep it near the place you store your gym bag.
This layout reduces friction. If your motivation dies because you can’t find your gear fast, show the gear on your board in the exact places you want it. Beige grid paper makes the labels crisp and cozy, and the grid structure photographs neatly. Place labels like “dumbbells here,” “band here,” and “water here” so your morning routine becomes automatic. It’s a practical aesthetic that supports motivation on low-energy days.
AvoidDon’t leave empty squares — every square should tell you what to set out.
Pro tipUse a ruler and keep label text aligned; small alignment details make the whole board look intentional.
12. Soft Green 'Rest Day Ritual' Aroma Card
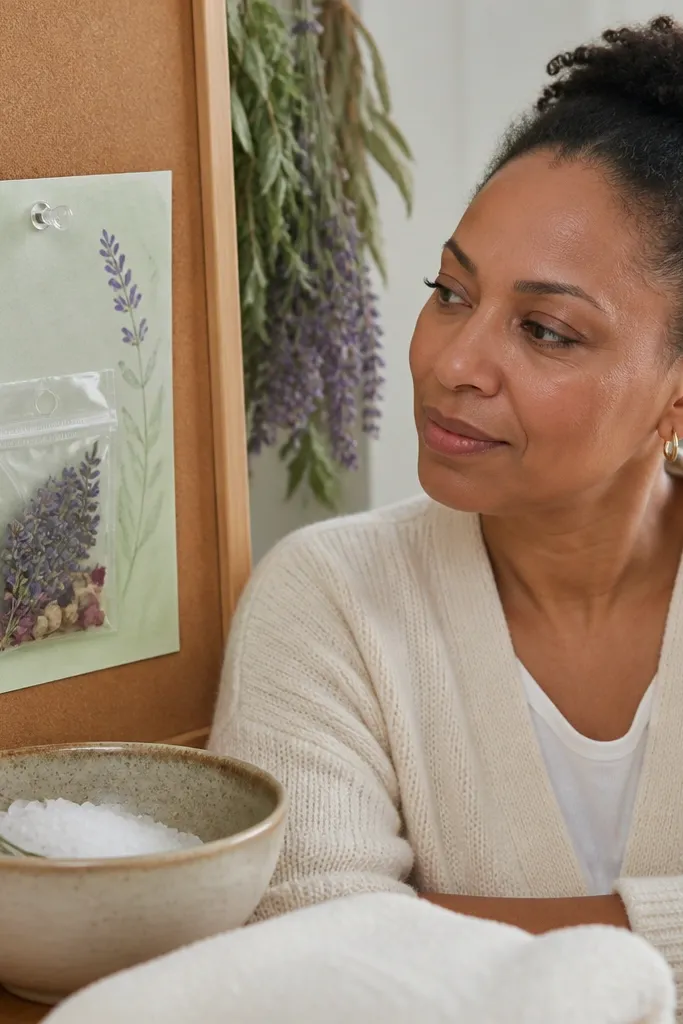
Rest days need a visual too, or your board becomes a guilt machine. Soft green paper feels calm, and an aroma ritual card adds a sensory cue that makes the board feel cozy. Put a small dried-herb sachet or a pinch of dried lavender inside a clear pocket attached to the card. Write a simple rest plan: stretch, shower, meal prep, and early bedtime. This keeps motivation steady because rest becomes part of the routine, not a break from it.
Cut a soft green card, about 7 x 9 inches, and glue it onto your board. Create a clear pocket from a plastic sheet protector or clear craft vinyl and attach it to the top corner. Add dried lavender or chamomile (small amounts only) in a tiny paper sachet inside the pocket. Write four rest actions on a cream label and glue it across the center.
Keep scent materials in a pocket so they don’t leak onto paper or fabric over time.
Don’t overfill the sachet; bulky pockets look messy and can detach.
13. Cream and Black 'Quote Replacement Checklist'
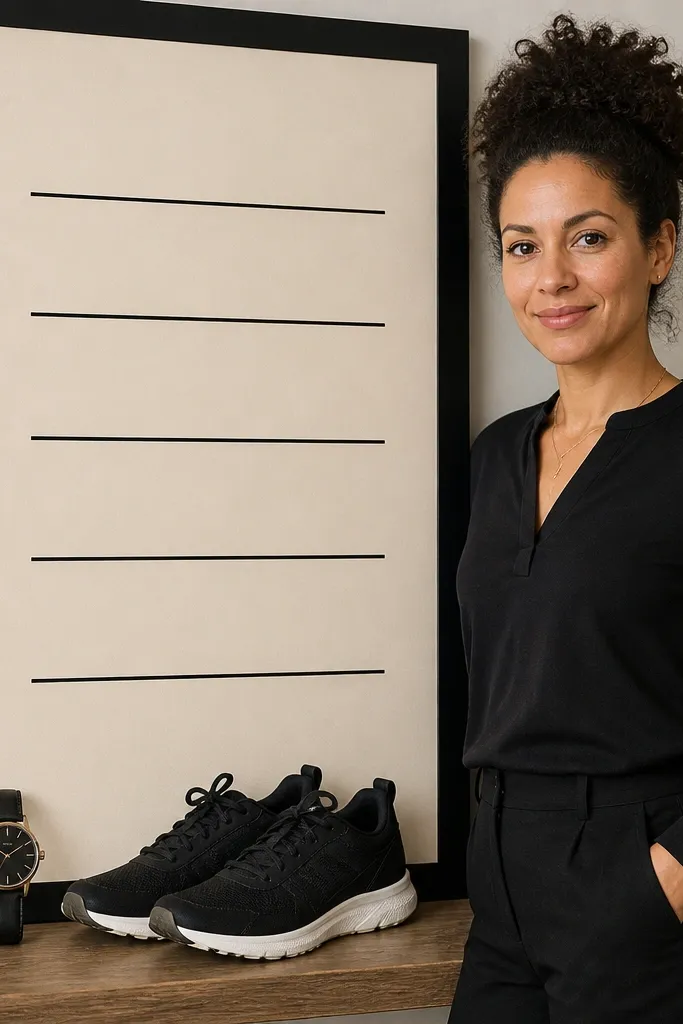
If your board is full of quotes, it’s time to replace the words with instructions your body can follow. This design keeps the look clean and cozy: cream background, black text, and checkboxes. Instead of “no excuses,” write “shoes on,” “start 10-minute warm-up,” “log the first set,” and “drink water.” The aesthetic is minimal, but it’s motivational because it turns your next move into a checkbox. It also photos well because the layout is uncluttered.
Cover a section of your board with cream cardstock. Draw a checklist with 5-7 lines using a fine black marker, leaving half an inch margins. Add one small icon at the top like a stopwatch or water droplet. If you want reusability, place a sheet protector over the checklist and use dry-erase markers.
Use checkbox squares that are consistent size; it makes the whole thing look designed.
Don’t mix fonts or add decorative swirls; minimal text reads best on camera.
14. Honey Cardboard 'Goal Tiles' with Tactile Corners
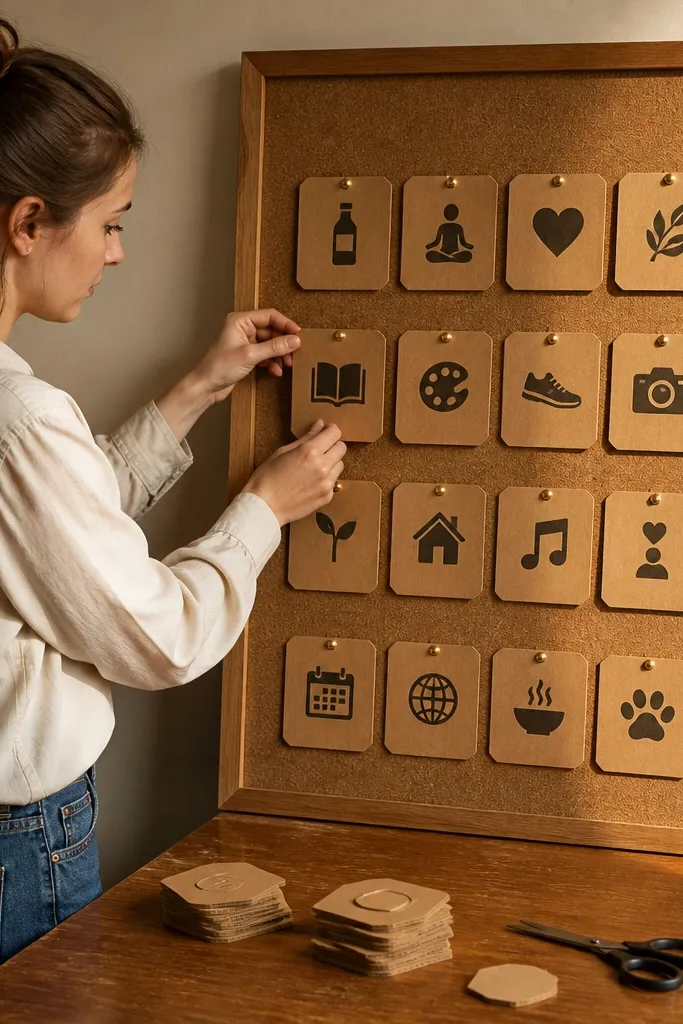
Cut honey cardboard tiles about 3.5 x 3.5 inches and round corners with scissors. Cover each tile with kraft paper or keep the cardboard visible if it’s clean, then write one goal on top and one action cue at the bottom. Arrange tiles in a neat grid on your board, leaving 0.5 inch between tiles. Glue tiles down firmly and seal with matte Mod Podge on the surface if the cardboard sheds.
Goal tiles look cozy because they have weight and texture — honey cardboard feels warm and handmade. Each tile has a single gym goal paired with a small cue, like “3 workouts” plus “put shoes by the door.” The tactile corners make the board feel softer than sharp rectangles, and the tile grid creates a cohesive aesthetic. This is a strong choice if you need structure but hate clutter.
AvoidAvoid uneven spacing; it makes the grid look sloppy even if the ideas are good.
Pro tipPick one pen thickness for all tile text so the set looks uniform.
15. Oat Border 'Before/After Outfit Swap' Photo Duo
This duo layout keeps motivation visual without turning it into a fitness comparison thing. Use two outfit photos: your “before” gym look and your “after” upgraded go-to outfit. Add an oat border to both sides so they match, then label each with a single reason you love the outfit: comfort, pockets, fit, or confidence. It’s cozy because clothes feel like self-care, and it’s effective because you’re choosing what makes you want to show up.
Print two small outfit photos and trim them to identical sizes. Cut oat border frames and glue them around each photo, keeping the border width the same. Add a short label under each photo on a cream label strip. Mount the pair on your board as a matched set, using two pieces of tape per side so the photos don’t lift.
Choose outfits with one shared color element; matching tones make the duo look intentional.
Don’t use photos with busy backgrounds; the board should read the outfit, not the room.



