
1. Ticket Stub Frame Page with Glossy Overlay
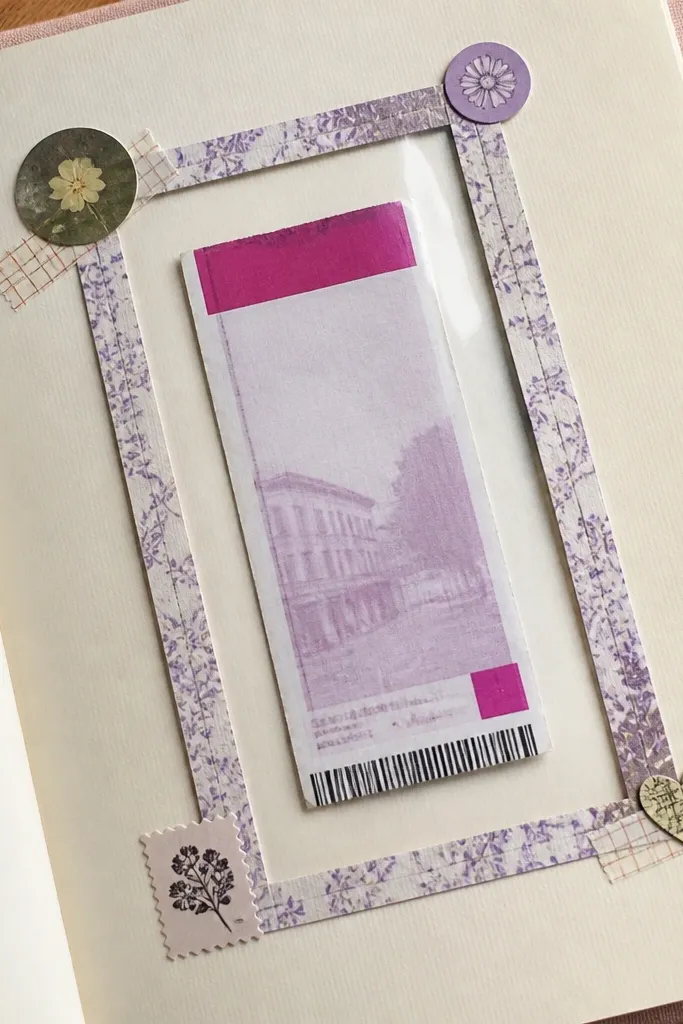
This page looks like a real keepsake because it centers on one obvious collectible shape — ticket stubs — and then frames it like a mini poster. The glossy overlay makes the whole page catch light in photos, so it doesn’t read flat or “paper-only.” You can use actual tickets, event printouts, or even printed ticket-style strips from scrap paper. It’s low-maintenance because the layout is basically cut, layer, and seal, with no complicated folds.
Cut a rectangle mat from 200 gsm cardstock, sized to fit your scrapbook page with a 1/2 inch border. Arrange ticket stubs (or ticket-shaped paper strips) in the center, layering them slightly so edges peek out. Cover the whole collage with a thin sheet of clear contact paper or self-adhesive clear plastic, then trim the edges flush with the mat. Mount the finished framed mat onto the page with double-sided tape.
Pro tipUse a craft knife and metal ruler for clean ticket-edge lines so the frame looks sharp in photos.
AvoidDon’t use thick glue — it ripples under clear plastic and shows up in pictures.
2. Scrapbook Polaroid Strip with Washi Tape Spines
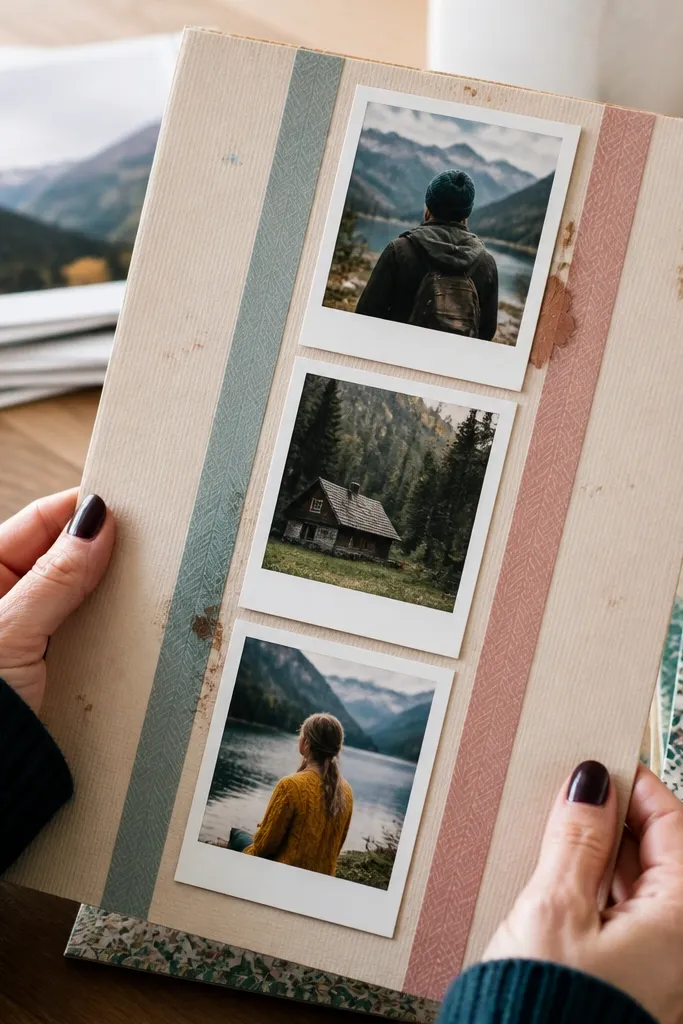
A polaroid strip always reads cute on camera because it has built-in spacing and a familiar photo shape. Washi tape spines add color without bulk and let you hide small misalignments. This is perfect for low-maintenance bestie scrapbook ideas when you have a few photos but not enough for a full page. The look stays cohesive because every polaroid uses the same width and spacing.
Print or crop three photos into a polaroid layout, then mat each one with white cardstock leaving a 1/4 inch border. Cut a long strip of washi tape into three equal pieces, each about 2 inches long, and place one behind the top edge of each polaroid. Tape the polaroids onto a background page of kraft or cream cardstock, leaving slight gaps between them. Finish by adding a tiny journaling label strip under the center photo.
Pro tipChoose one washi tape color family (like sage + cream) so the page looks intentional, not random.
AvoidDon’t stack washi tape too thick — it lifts the photos and makes edges curl.
3. Fabric Bookmark Pocket Page
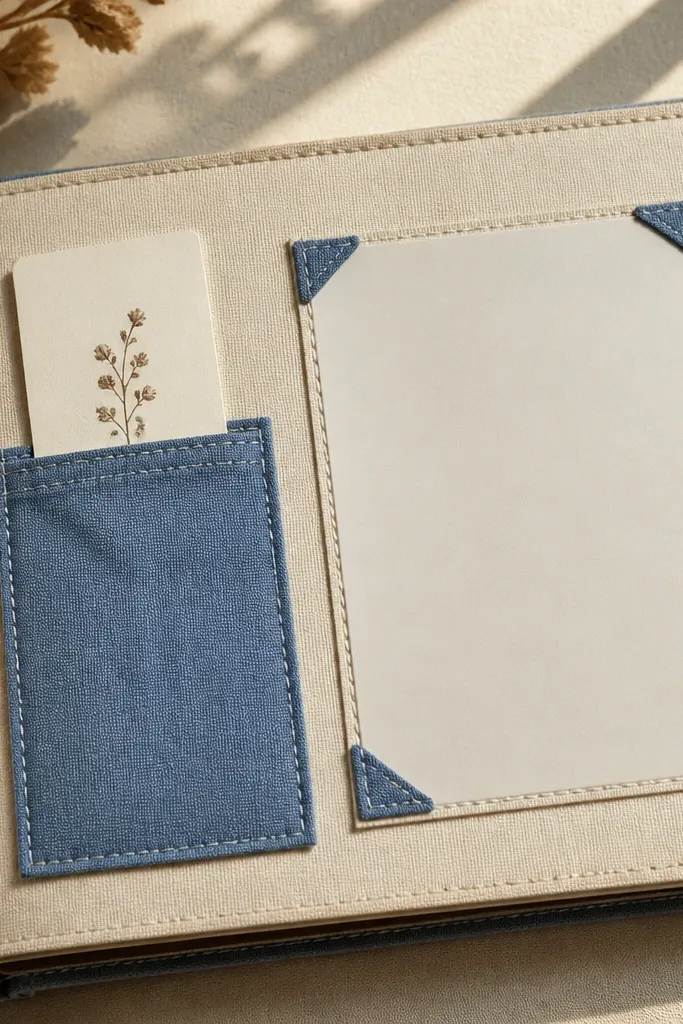
This page looks handmade in a good way because fabric adds texture that paper alone can’t match. The pocket holds a bookmark card your bestie can use, and it also hides a small note without making the page bulky. It stays low-maintenance because you’re not doing complex binding — you’re attaching a simple fabric pocket and a single card. In photos, the fabric edge frames the pocket like a mini fashion detail.
Cut a pocket piece from thin felt or cotton fabric, about 5 inches tall and 6 inches wide, then fold the top edge down 1/2 inch. Stitch or glue the sides and bottom, leaving the top as the opening. Add a backing card behind the pocket opening so it doesn’t collapse. Mount the pocket onto a page of cardstock using fabric-safe glue or a strong tape runner, then slide in a bookmark-shaped journaling card.
Pro tipUse fray-check on cut fabric edges if you want clean lines instead of intentional fraying.
AvoidSkip bulky ribbon — it makes the pocket too thick to lay flat in a scrapbook.
4. Vellum Envelope for Notes and Micro-Photos
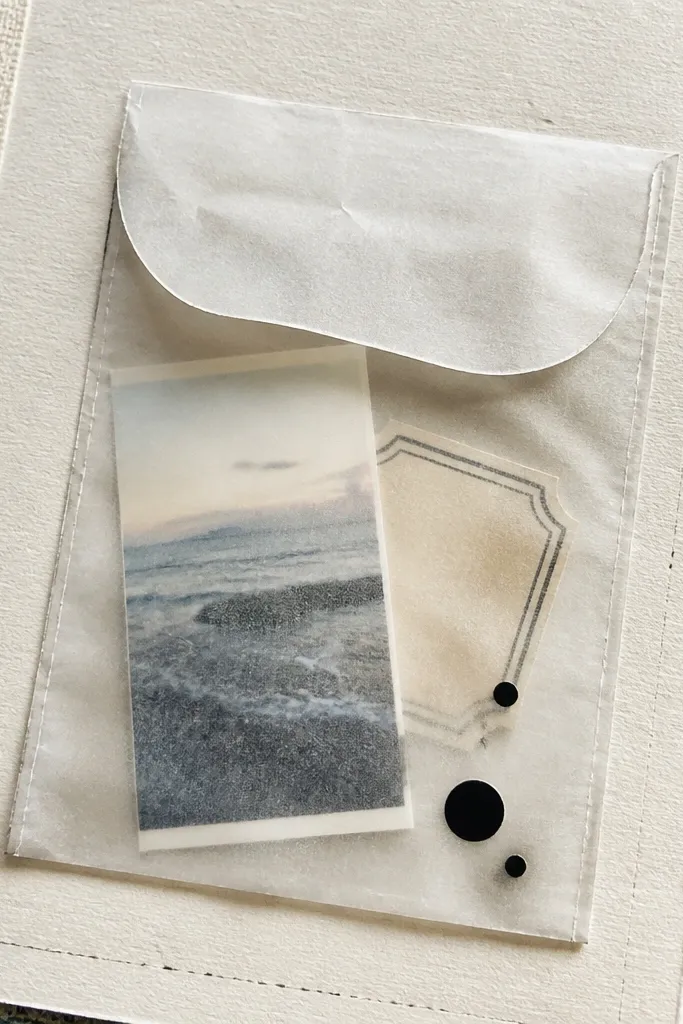
Vellum turns any scrapbook page into something that looks layered and expensive without extra effort. An envelope pocket is also practical: it stores notes, micro-photos, and small ticket-style inserts. Vellum is low-maintenance because you can print labels on it or decorate with simple stickers, then it still looks airy on camera. The page reads elegant while staying easy to assemble.
Make or buy a simple vellum envelope template, then cut it from vellum paper so it matches your page width. Glue the bottom and sides with a thin line of adhesive, leaving the flap functional. Add two micro-photo prints (2x3 or 1.5x2) and one journaling note card inside. Attach the envelope to the scrapbook page with double-sided tape along the sides and bottom, then press flat under a book for 10 minutes.
Print the journaling label on sticker paper first, then apply to vellum for crisp text that doesn’t smear.
Don’t soak vellum with glue — it puckers and shows streaks through the translucent sheet.
5. Gridded Scrap Map Page with Coordinates Labels
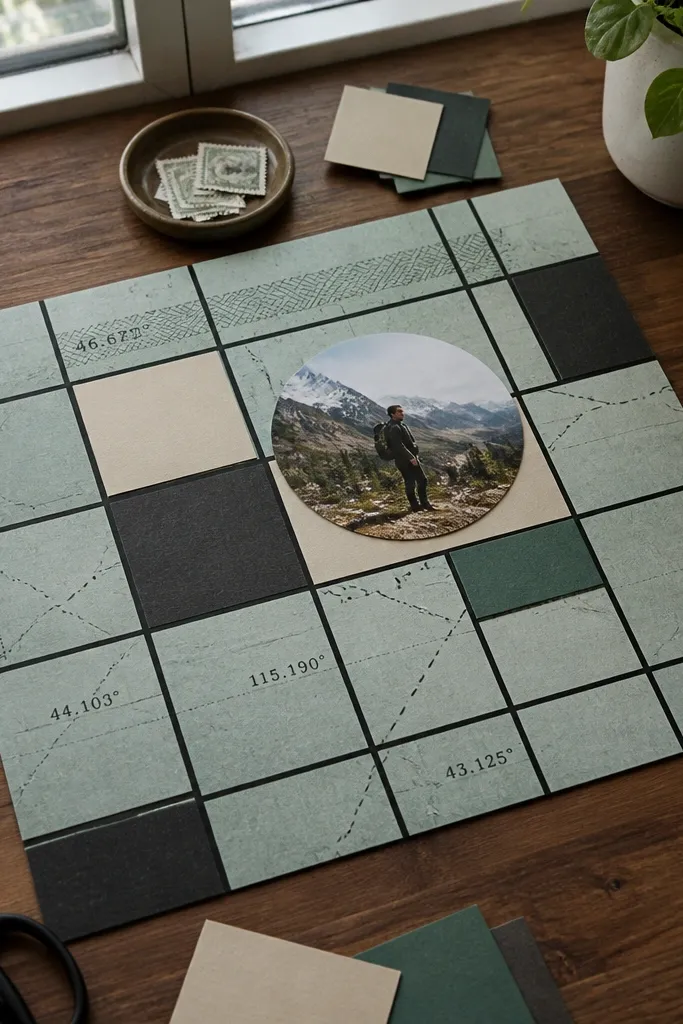
This is a “looks designed” layout that’s still fast. The grid gives you structure, so you don’t have to reinvent page design each time. Using map-style labels or coordinate numbers makes it feel personal and photogenic, especially if you use a limited color palette like black, cream, and muted teal. It’s low-maintenance because you’re repeating the same action — place a small label over a square — across the page.
Create a 1-inch grid on a background cardstock using a light pencil, then cut scrap squares (about 1x1 inch) in matching colors. Place squares onto the page following the grid lines, leaving consistent gaps. Add coordinate labels using a small font printout or die-cut numbers, then glue them over the gaps or square corners. Finish with one larger photo mat in the center using the same color family for the mat.
Use a ruler and cut squares with a paper trimmer for consistent edges that photograph cleanly.
Don’t mix too many paper textures; the grid looks messy when every square fights for attention.
6. Sticker-Only Starburst Layout with One Real Photo
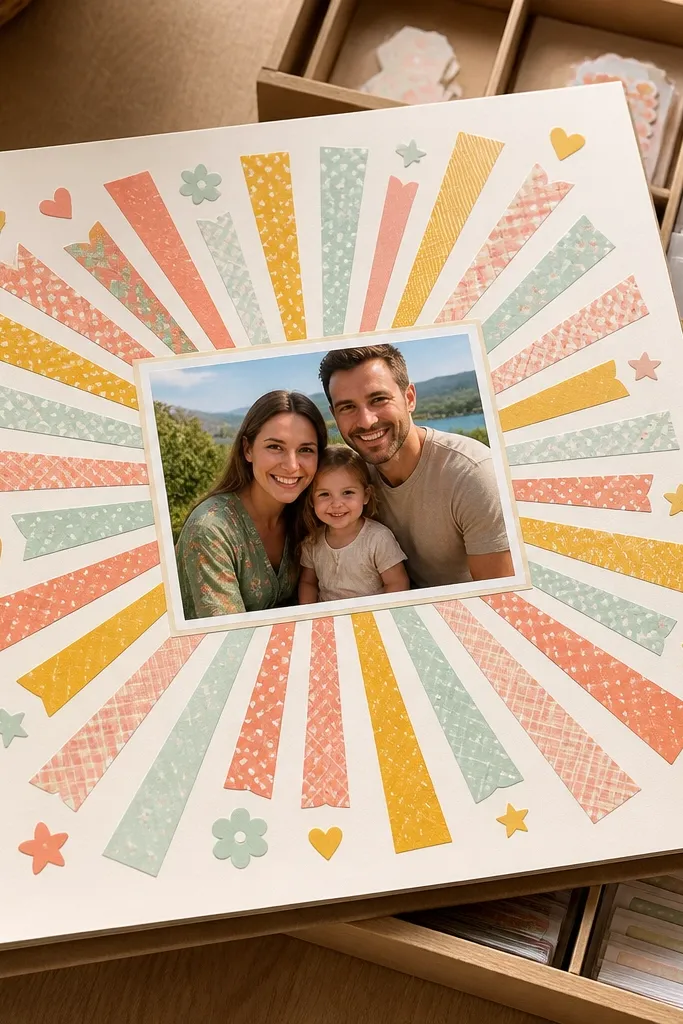
If you want low-maintenance bestie scrapbook ideas that still look bold, use a starburst layout. Stickers create instant pattern and color, and the single real photo keeps the page from looking like random decoration. This layout is especially photogenic because the starburst pulls the eye toward the center. It also works when you only have one photo that you want to feature properly.
Pick one photo and mat it with cardstock, keeping the mat width around 1/2 inch. Cut a starburst shape from a scrap sheet — or use pre-made die-cut starbursts — and layer it behind the photo. Place stickers around the starburst edges, filling gaps without covering the photo mat. Add a short journaling strip under the photo using a label maker or handwritten text on a narrow card.
Pro tipChoose one sticker finish family, like matte or holographic, so the page doesn’t look cluttered in photos.
AvoidDon’t cover more than 60% of the page with stickers; leave breathing space for the photo.
7. Shadow Box Corner with Faux Polaroid and Mini Charm
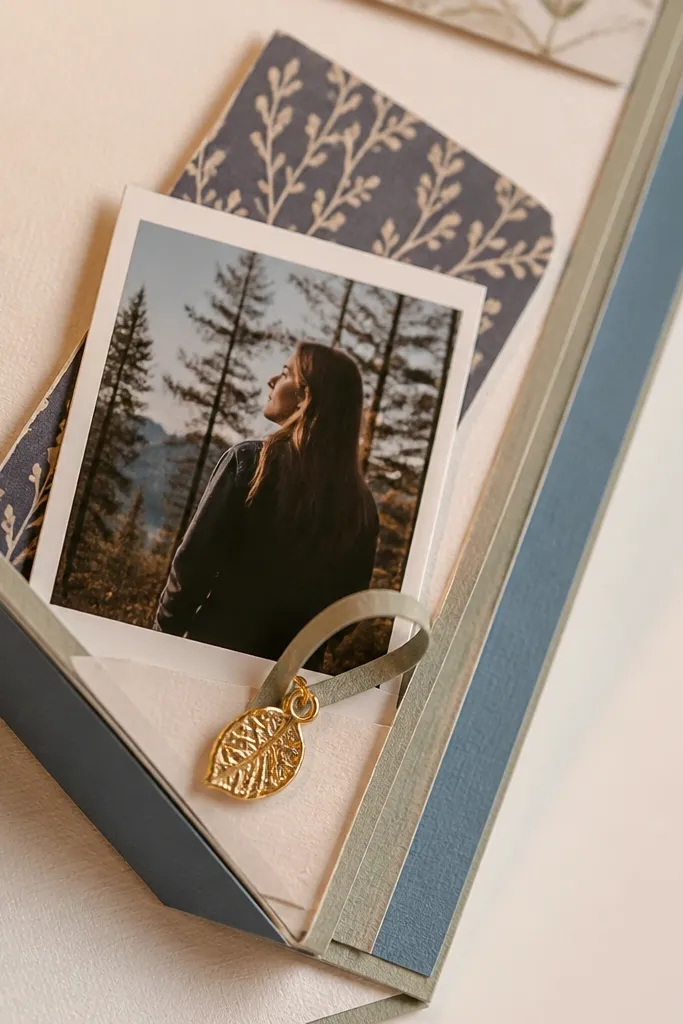
Shadow box corners give you real depth without building a full 3D box. You only need a small raised area, and that alone makes photos look dimensional. This is a great option when you have a tiny keepsake like a charm, a keychain tag, or a flat pendant and you want it to look intentional. The raised corner also helps hide uneven cuts and keeps the page visually tidy.
Cut a small rectangle from thin craft foam, about 2.5x3 inches, and glue it to the page corner. Cover the foam area with patterned paper so the foam edges don’t show. Place a small faux polaroid (printed photo on a polaroid mat) on top, then attach a flat charm using a glue dot or a tiny brad through a hole in the mat. Seal the top with a clear acetate square to protect the charm and keep it clean.
Pro tipUse craft foam with a smooth face so the top layer looks crisp and doesn’t warp under glue.
AvoidSkip bulky charms — thick metal creates shadows and can snag pages when closed.
8. Dried Flower Pressed Layout on White Mat
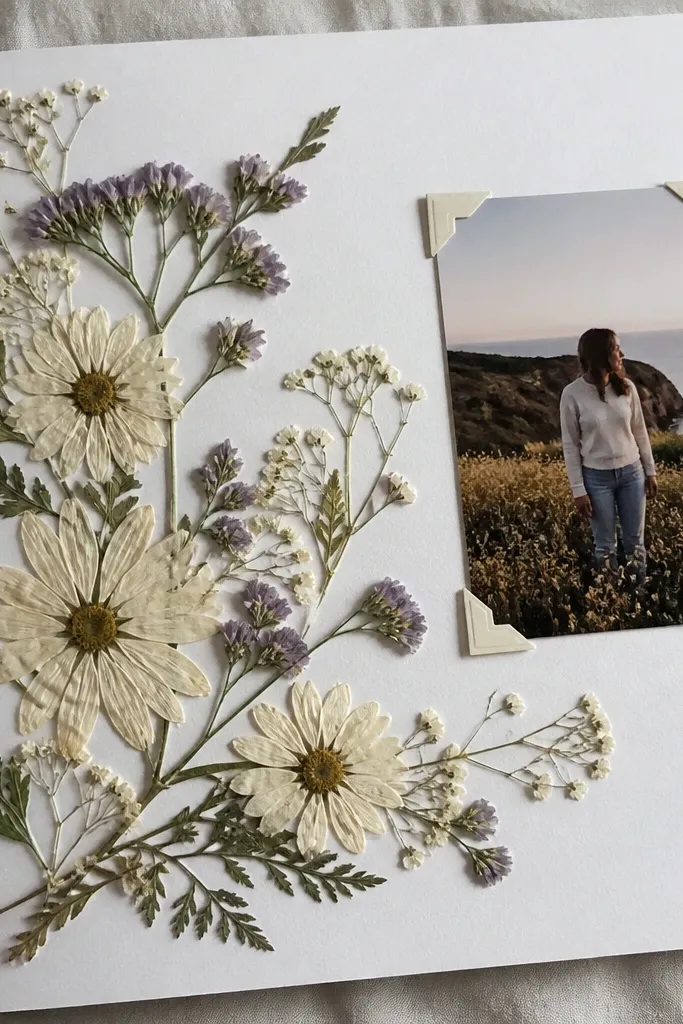
Pressed flowers look stunning when you keep the layout minimal. White mats make the petals pop, and the natural shapes read “bestie keepsake” instead of “random craft.” This is low-maintenance if you already have pressed flowers, because the build is just placement and sealing. The page stays photogenic because pressed textures show detail under side lighting.
Use a white cardstock mat sized to your page, leaving a 3/4 inch border. Arrange pressed flowers in a loose cluster, then add a single journaling card strip near the bottom. Seal everything with matte clear gel medium applied lightly over the flowers, working from the center outward. Let it dry flat under a weight for at least 2 hours before you mount it to the scrapbook page.
Press flowers between plain paper and swap the sheets every 2-3 days for flatter petals.
Don’t use glossy Mod Podge — it creates shine patches that look uneven in photos.
9. Coffee Stain Gradient Page with Clean Type Labels
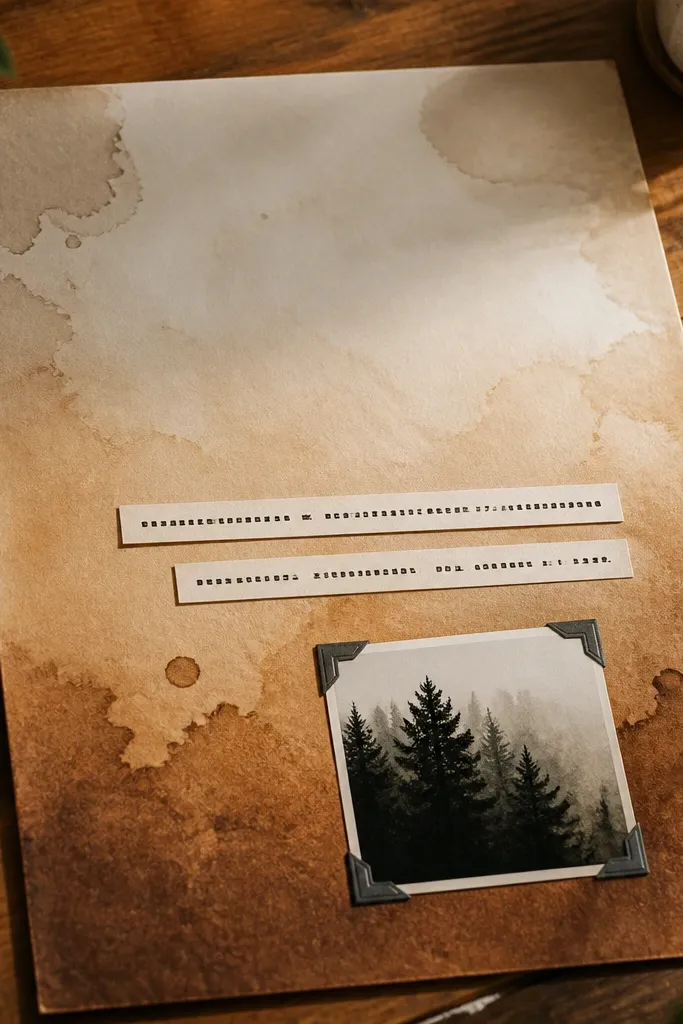
Coffee stain backgrounds look artsy and warm, but they can turn messy fast. The trick is a gradient — lighter at the top, stronger at the bottom — so it looks intentional. Then you add clean type labels for readability. This page is low-maintenance because the background is one simple stain, and the rest is just label placement and one photo strip.
Dilute instant coffee with water (start at 1 tablespoon per 8 ounces) and test on scrap paper. Brush or dab lightly from the bottom upward to create a gradient, then let it dry completely. Cut a photo strip and place it near the top, then add two or three label cards with printed text. Seal the stained background with a thin layer of matte spray or acrylic sealer so it doesn’t smear.
Pro tipUse a foam brush for even texture instead of a wet paintbrush that leaves streaks.
AvoidDon’t over-darken — heavy stain makes the labels harder to read and looks dirty.
10. Scrapbook Envelope Spine with Photo Tabs
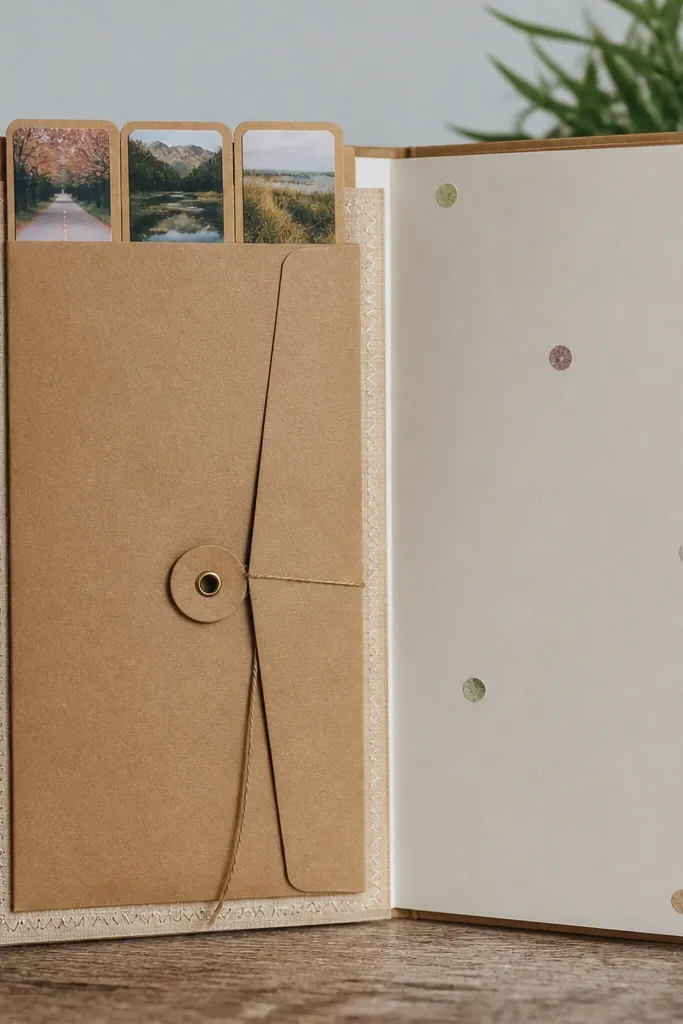
This idea looks like a mini file system, and that structure makes it photogenic. An envelope spine holds photo tabs your bestie can pull and look at, and the tabs add visual rhythm. It’s low-maintenance because you’re building one repeated shape — tabs — and stacking them. Plus, it keeps your journaling organized without loose papers floating around.
Cut a long spine piece from cardstock, about 1.5 inches wide and as tall as your page minus border. Fold an envelope-style flap or glue two side panels to make a pocket. Create 3-5 photo tabs by trimming photos to 2x3 and adding a 1/4 inch cardstock backing. Slide the tabs into the envelope pocket, then add a label title card across the top.
Pro tipPunch a small half-moon notch in each tab so pulling feels easy and doesn’t tear the paper.
AvoidSkip super-thick cardstock for the spine — it won’t fold cleanly and won’t lie flat.
11. Monogram Cutout with Layered Paper Confetti
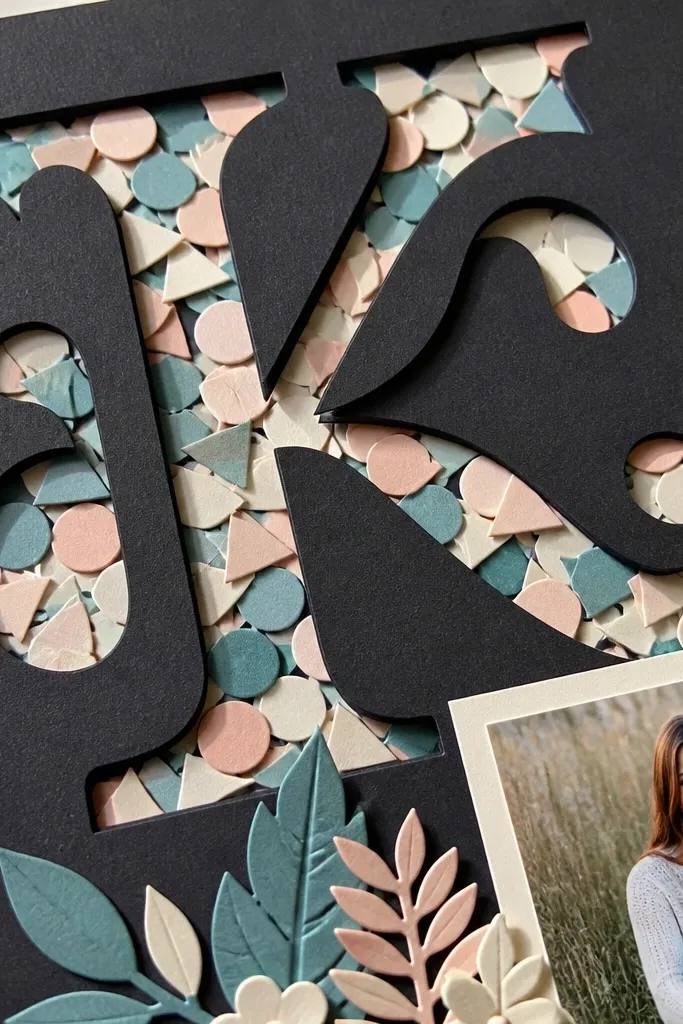
A big monogram instantly personalizes a page, and the confetti behind it makes it feel alive. This works for low-maintenance bestie scrapbook ideas because once you pick the letter, everything else is repeatable: cut small shapes, layer, and glue. The page looks designed even if you’re using scrap paper because the monogram keeps the composition tight. It’s also great for photos because the letter creates a clear place for journaling.
Choose a monogram letter size around 3-4 inches tall and cut it from thick cardstock (200-250 gsm). Cut small confetti pieces from matching scrap paper — circles or triangles work well — and arrange them behind the monogram on the background page. Glue confetti in place, then mount the monogram on top with foam tape for a slight lift. Add one journaling line under the letter on a narrow strip.
Pro tipUse two paper tones only (for example, warm cream and dusty rose) so the confetti looks cohesive.
AvoidDon’t use busy patterned scrapbook paper behind the monogram — it competes with the letter shape.
12. Seam Binding Bow Tie Page with Ribbon Tabs
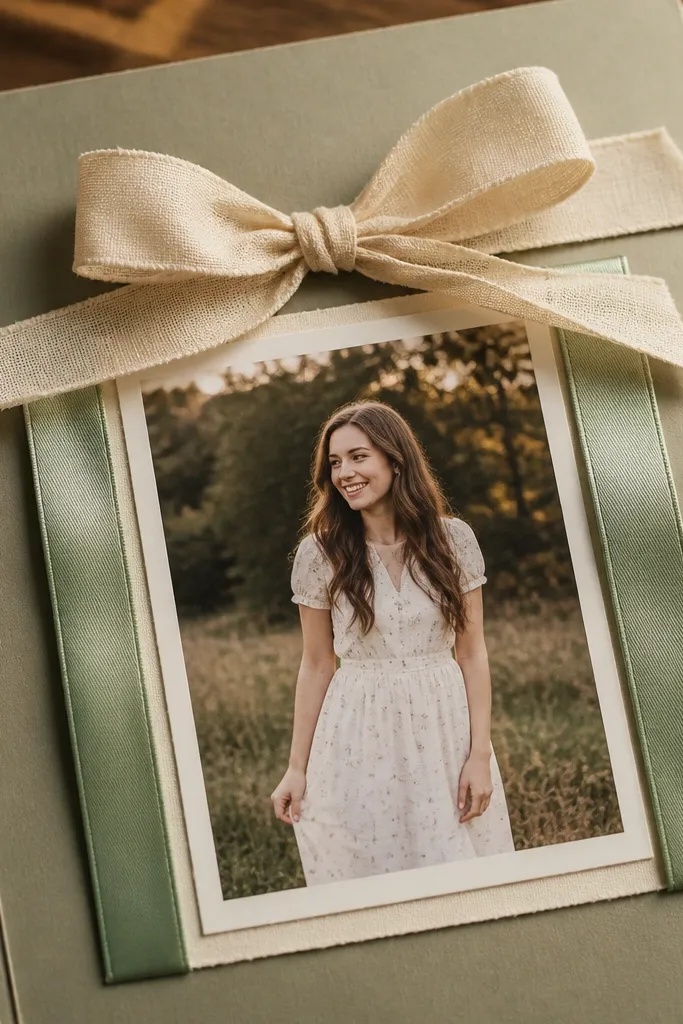
Ribbon makes everything look gift-like, and seam binding has a softer drape than most craft ribbons. This page uses a bow tied from seam binding plus two ribbon tabs that frame the photo mat. The look is photogenic because ribbon catches light and adds gentle movement even when the page is closed. It’s low-maintenance because the bow is the only “hard” part, and once it’s tied, you glue down the rest quickly.
Tie a seam binding bow using two loops and one pinch in the center, then trim tails to about 2 inches. Mount a photo mat on the page, leaving a 1/2 inch border. Glue the bow at the top center of the mat and attach two ribbon tabs on the sides, each about 3 inches long, to create a frame. Finish with a small label tag under the mat.
Pro tipHeat-seal synthetic ribbon ends with a lighter carefully, or use fabric fray-safe on natural fibers.
AvoidDon’t use stiff satin — it looks flat in photos compared to seam binding’s softer fold.
13. Clear Acetate Window with Layered Sentiment Card
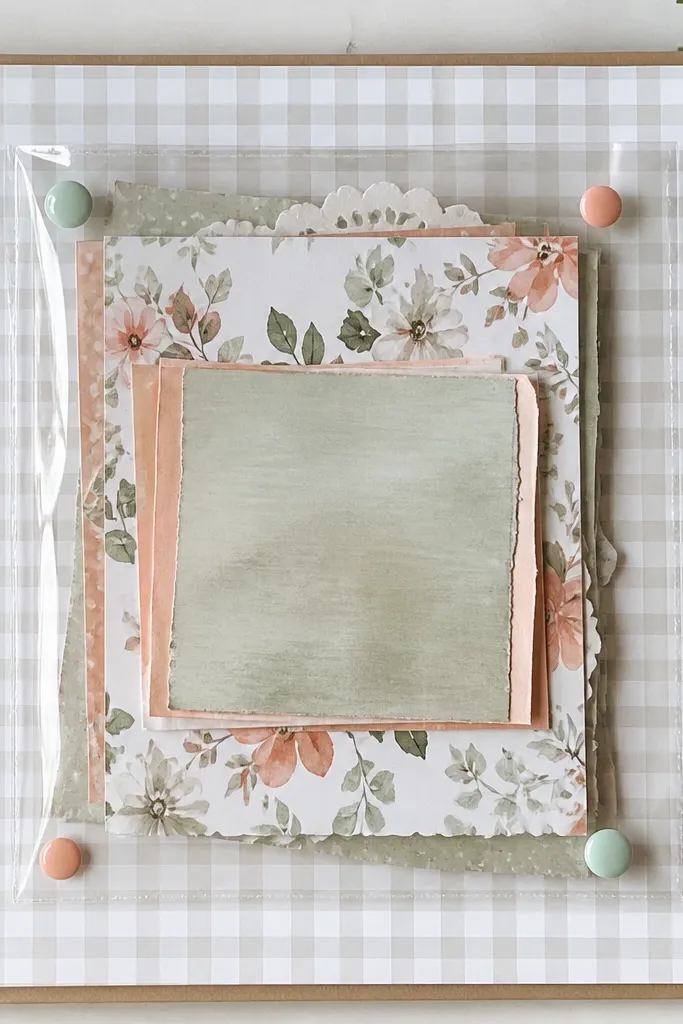
A clear window page looks modern and clean, and it’s also practical for keeping things tidy. The acetate protects the sentiment and any small paper pieces from smudging. Photographically, the window creates a crisp border and lets your background pattern show through. This is low-maintenance because you’re working with flat layers that don’t need complicated folding.
Cut a rectangular acetate window panel slightly smaller than your page’s inner border. Create a background layer from patterned paper, then glue it to the page. Make a sentiment card by layering two cardstock strips with a word cutout or printed phrase, then attach it behind the acetate window. Tape the acetate window down along the edges with clear double-sided tape so it stays flat.
Pro tipUse a bone folder to press the acetate edges flat so it doesn’t lift and catch dust.
AvoidSkip thick foam under the acetate window — it makes the window bow and looks sloppy.
14. Washable Marker Hand-Lettered Caption Strip
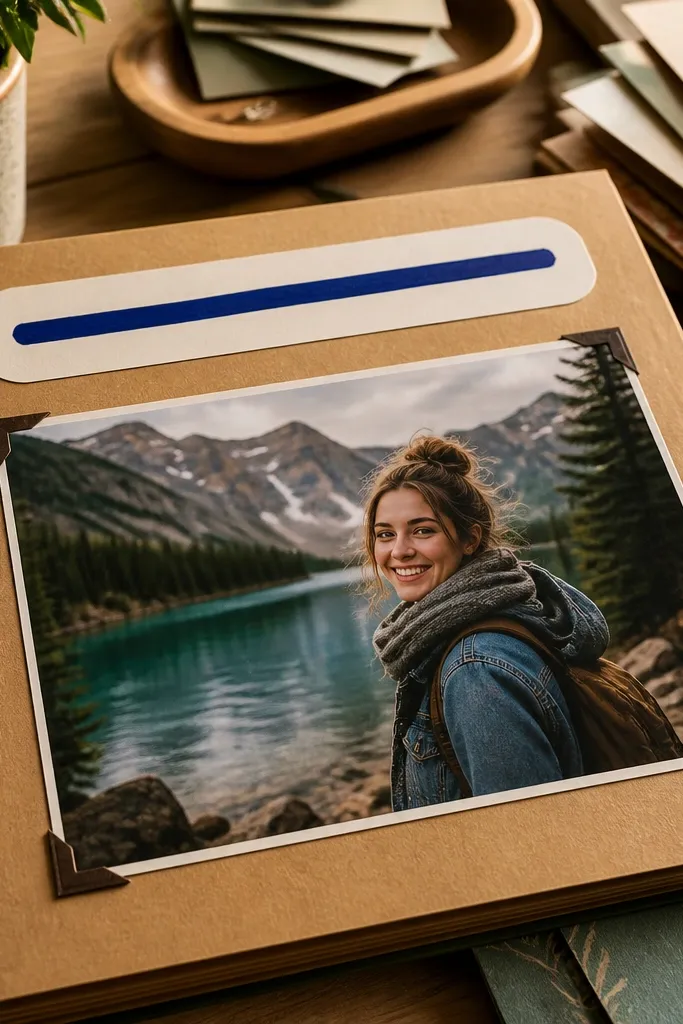
Most scrapbook pages look “homemade” because the journaling is too small, too centered, or too messy. A caption strip solves that. Hand-lettering with thick marker on a narrow strip creates a bold, readable focal line that photographs well. This is low-maintenance because you only need one strip of text and one photo. You can repeat the style across pages so the scrapbook looks consistent.
Cut a narrow strip of cardstock about 1 inch tall and as wide as the photo mat. Use a pencil to lightly mark the baseline, then write your caption with a thick tip marker. Add the strip over the photo mat, aligning it with the bottom edge for a clean look. Seal with a light matte spray so marker ink stays put.
Practice on scrap first and keep your letters 1/4 inch tall — that size reads in photos.
Don’t write directly on glossy photo paper — marker smears.
15. Thrift-Map Paper Layer with Round Photo Medallion
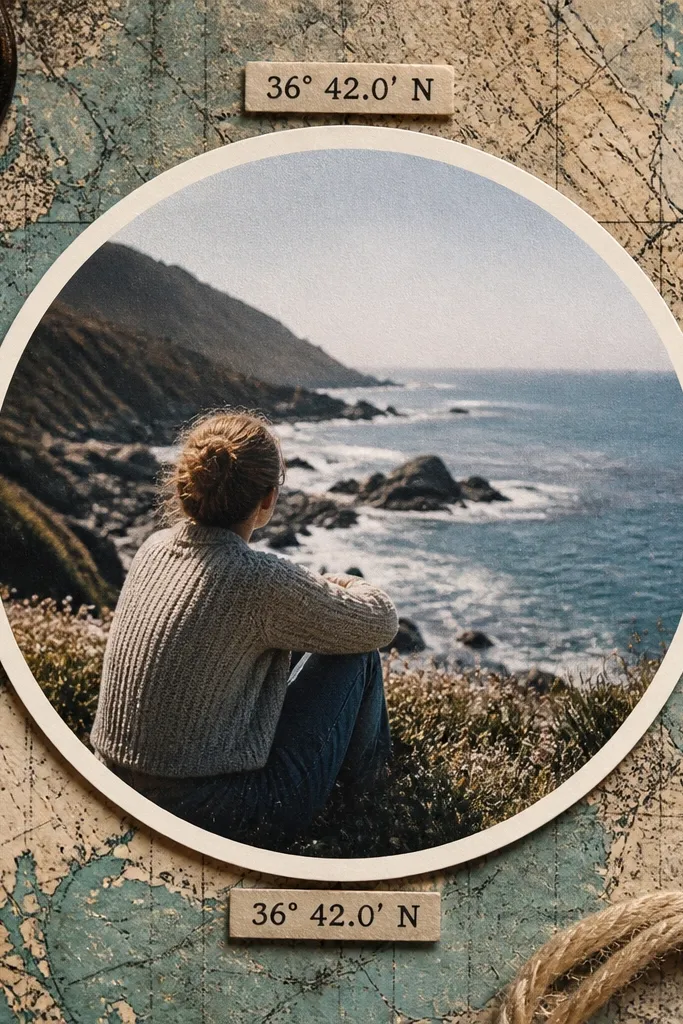
Map paper adds instant story and texture, and a round photo medallion makes the page feel like a badge. This combo looks great in close-up photos because edges are curved and layered. It’s low-maintenance bestie scrapbook ideas because you just need one background layer and one medallion — the rest is small labels. The map also hides minor scuffs from thrift paper handling.
Tear or cut a map-paper layer to fit your page background, leaving uneven edges for character. Punch a circle for the photo medallion — around 3 inches diameter — and mat it with colored cardstock. Glue the medallion centered, then add two tiny label cards with printed text near the top and bottom. Seal the map layer with a matte clear spray to prevent color bleed.
Pro tipUse a paper punch for the circle so the edge stays perfectly round on camera.
AvoidDon’t use glossy map scans — they reflect light and wash out the medallion.
16. Glossy Letter Cutouts on Matte Background

High contrast is what makes this page pop. A matte background keeps everything grounded, and glossy letter cutouts add shine that shows up in photos. You get a strong title without needing heavy design skills. This is low-maintenance because you can use letter stickers, foam letters, or die-cut vinyl-style letters — then place them above a small photo cluster.
Cut a matte cardstock background and add a small photo cluster in the center (two photos stacked or side-by-side). Create a title using glossy letters — either sticker letters or die-cut letters from glossy paper. Place the title across the top third, then add a journaling sentence on a small strip under the photos. Press the page under a book for 10 minutes so sticker edges adhere flat.
Choose one title word only, like a nickname, so the glossy letters don’t overcrowd the page.
Skip glitter letters — they shed and create sparkle noise that looks messy.
17. Scrap Fabric Washi Border Around Photo Grid
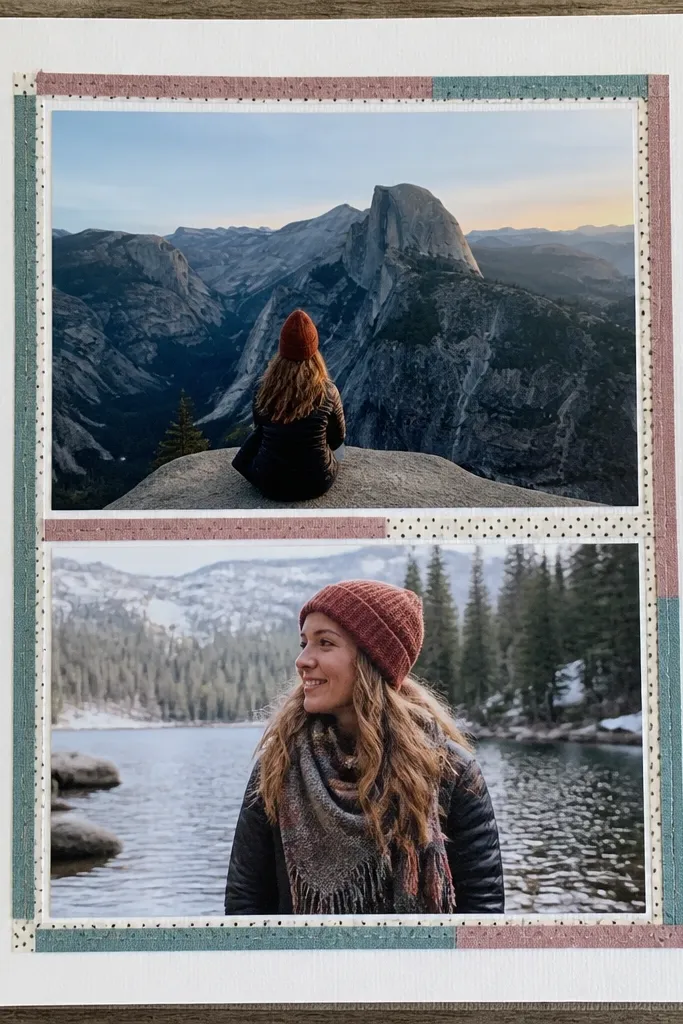
Borders make scrapbook pages feel finished, and a fabric-washi combo looks handmade without being complicated. This page uses a simple photo grid (2 or 3 photos) framed by a thin border of scrap fabric strips and coordinating washi tape. It’s photogenic because the border creates a clean frame and the fabric adds texture. Low-maintenance because the grid is repeatable and the border is just strips.
Pick two or three photos and mat them into a small grid, leaving 1/4 inch gaps. Cut fabric strips about 1/2 inch wide, then glue them along the edges of the page border. Add washi tape over the fabric strip seams so everything looks tidy and aligned. Place the photo grid in the center and add a small label caption beneath.
Pro tipUse fabric scraps that are already smooth; avoid stretchy knits that curl under glue.
AvoidDon’t make the border too thick — it causes page bulk and won’t lie flat.
18. Receipt-Style Journaling Cards with Corner Rounding
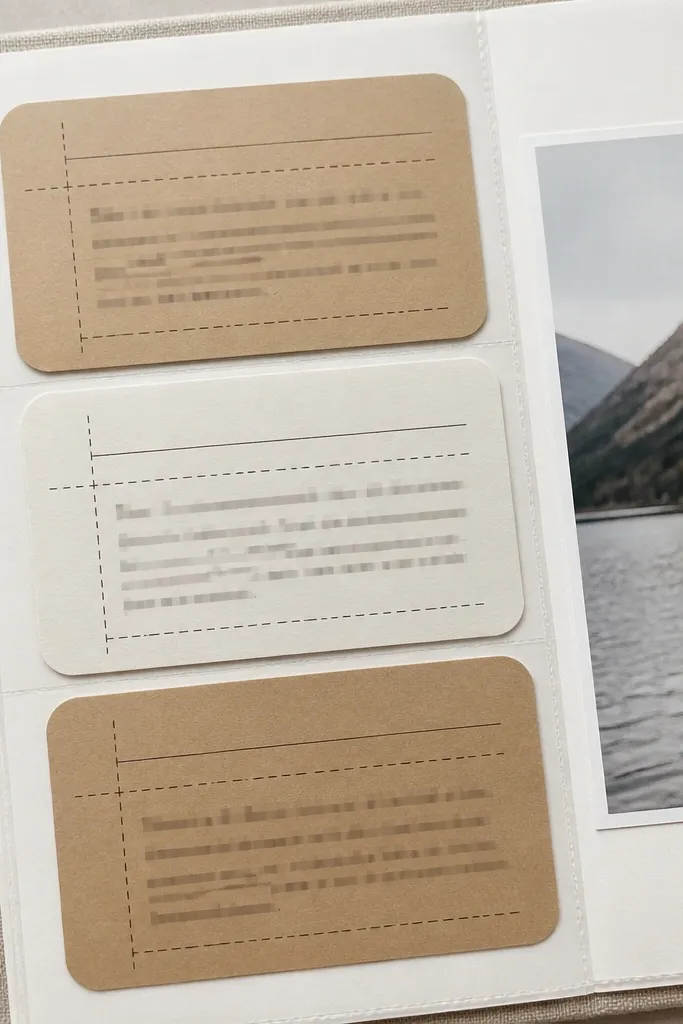
Receipt-style cards look fun and specific, like you’re saving proof of a moment. The rounded corners make them feel polished, and the “receipt” format keeps journaling short and readable. This is low-maintenance because you’re creating repeatable cards: same width, same corner rounding, different text lines. It’s also a great way to include small details that your bestie will actually remember.
Cut 3-5 journaling cards from cardstock, each about 2.5x4 inches, and round two corners with a corner punch. Add receipt-style lines by drawing a few horizontal guides with a pencil, then write short lines like date, place, and one feeling. Layer the cards under a main photo mat using tape runner for clean adhesion. Finish by adding a tiny sticker icon near each card corner, like a heart or star.
Use a gel pen for journaling so it stays crisp on camera without fading.
Don’t write paragraphs — receipts look best with short lines.
19. 3-Photo Accordion Foldout with One Pull Tab
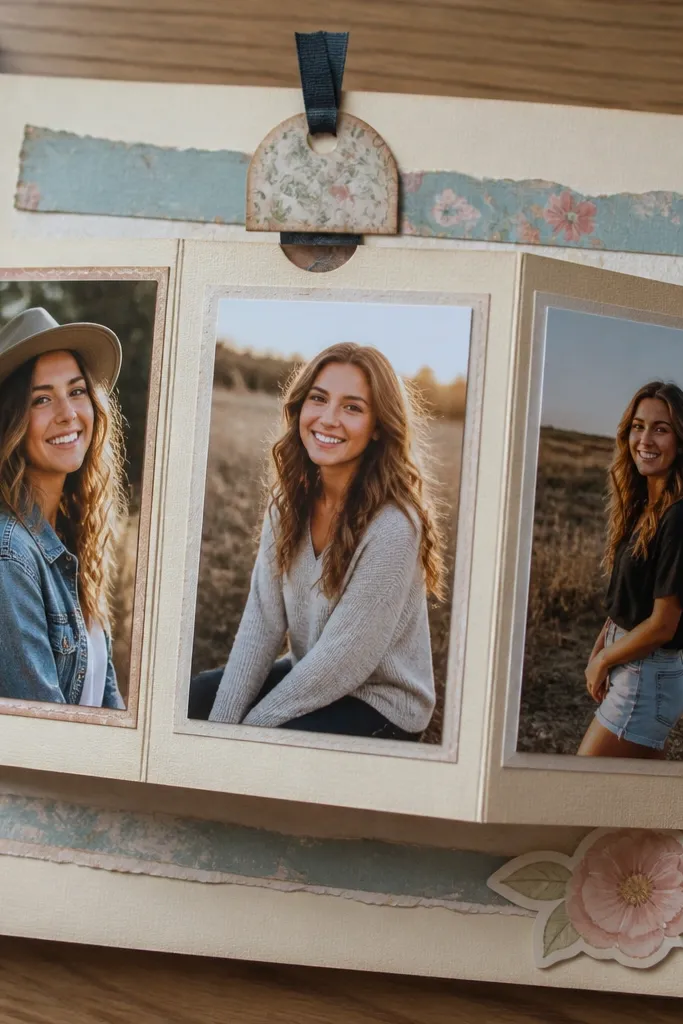
Accordion foldouts look impressive because they open like a mini story, but they can still be low-maintenance if you keep the fold size consistent. This version holds three photos with a single pull tab so your bestie doesn’t struggle. In photos, the folded state looks clean — the pull tab adds charm and the pages stay organized. It’s a good choice when you want one “wow” page without complicated binding.
Cut three photo panels to the same height, about 3.5x4 inches each, and mat them on thin cardstock. Score and fold a strip of cardstock into an accordion with 1/2 inch folds between panels. Attach the accordion to the scrapbook page with tape only along the outer edges so it opens smoothly. Add a pull tab on the top panel by gluing a narrow cardstock strip and rounding its corner.
Test the fold with dry assembly before gluing so the accordion opens flat without buckling.
Don’t glue the entire accordion — you’ll lock it shut.
20. Thick Paper Frame with Photo Corners (No Overlap)
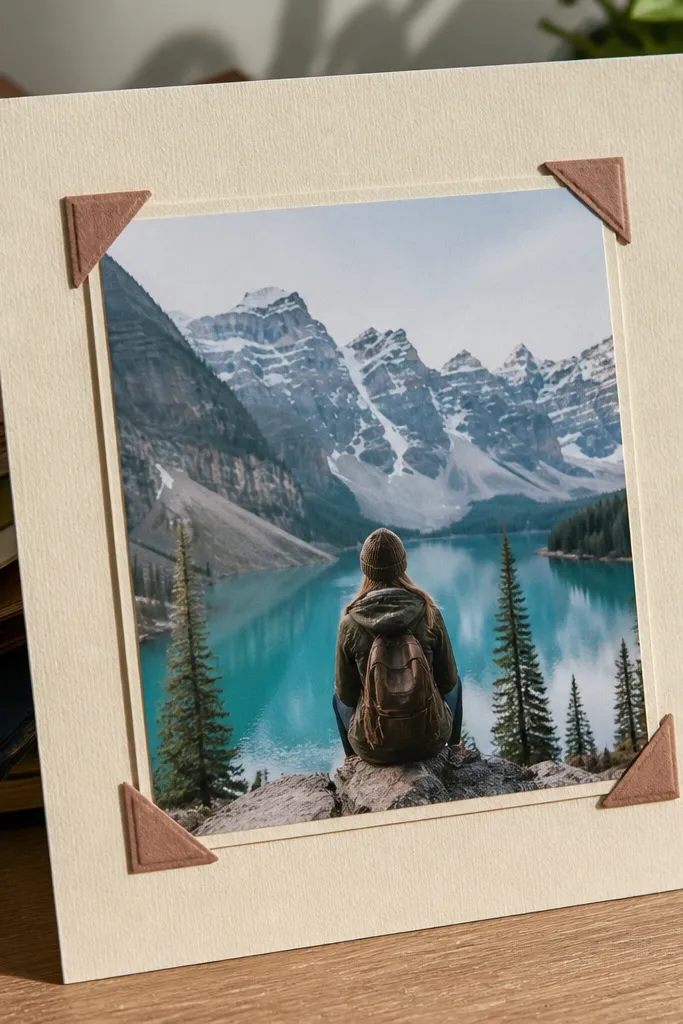
A thick frame makes pages look crisp and intentional, and the photo-corner style prevents messy alignment. You mount the photo into corner pockets made from scrap cardstock, so you don’t need to glue the photo flat. That means fewer bubbles, fewer wrinkles, and easier changes if you swap photos later. This idea is low-maintenance because the frame does the design work.
Cut a thick frame border from cardstock, leaving a central opening sized to your photo. Cut four corner pieces from another cardstock sheet, each about 1 inch by 1 inch with an inward notch so the photo fits snugly. Glue corner pieces to the frame edges and slide the photo into place. Add a small label at the bottom and mount the finished frame onto the scrapbook page.
Use a single photo size across all these frames so your scrapbook looks like a coordinated set.
Skip thin paper corners — they bend and won’t hold the photo cleanly.
21. Scrapbook Postcard Swap Page with Mini Pocket
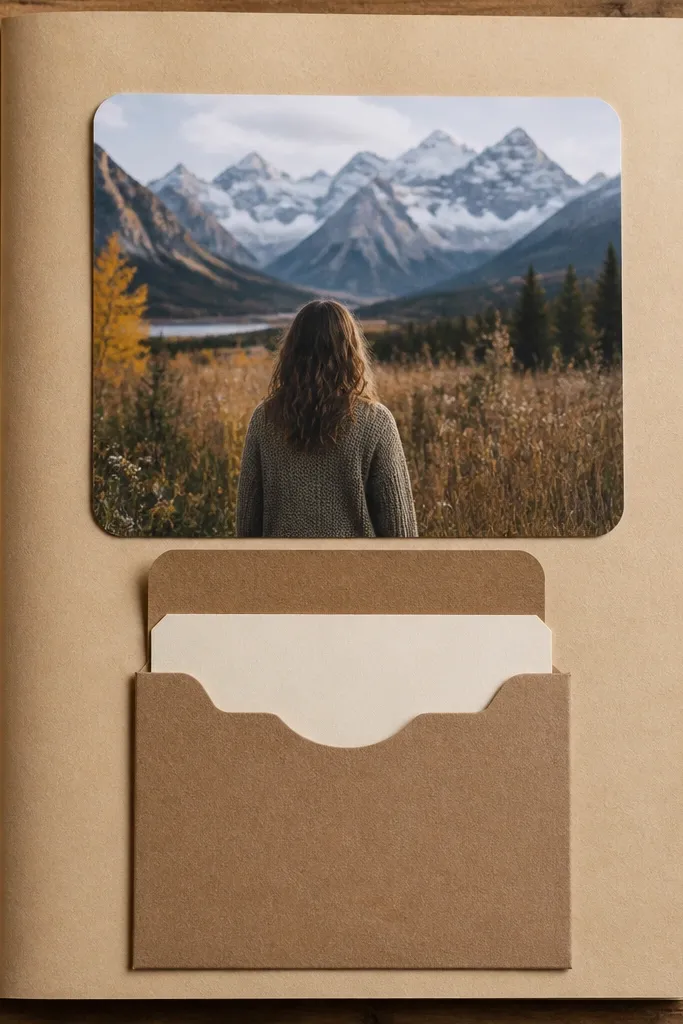
Postcard pages look instantly giftable because they feel like something you’d actually send. A mini pocket adds function: your bestie can pull a note or small photo slip. This is low-maintenance because postcards are easy to print or cut, and the layout stays consistent across multiple pages. The photo area reads clearly, and the pocket keeps the page from looking cluttered.
Cut a postcard base from cardstock, about 4x6 inches, and decorate it with a photo plus a simple stamp-style sticker. Add a mini pocket to the bottom right by gluing two side edges and the bottom, leaving the top open. Create a small note card about 2x3 inches and slide it into the pocket. Mount the whole postcard base onto your scrapbook page with tape runner along the back.
Pro tipUse a stamp-shaped label for the “to” and “from” area so the page looks authentic in photos.
AvoidDon’t overdecorate the postcard — keep it to one photo and one label block.
22. Origami Heart Corner with Hidden Message Strip
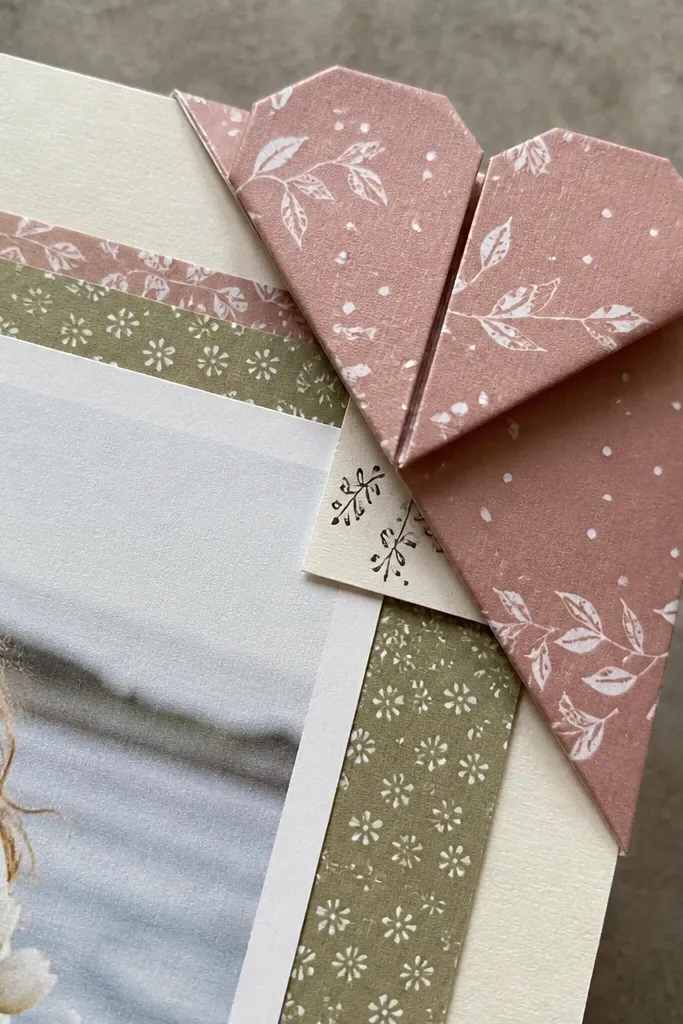
An origami heart corner is the kind of detail that looks sweet without needing a full page overhaul. The corner fold creates a raised shape that photographs well, and the hidden message strip makes it feel like a secret. This is still low-maintenance because you’re making one fold and one insert, not a whole paper sculpture. It’s perfect when you want a romantic, cute page that doesn’t require many materials.
Fold an origami heart corner from a small square of patterned paper sized to about 3 inches wide. Attach only the base edges of the heart to the scrapbook page corner using a tiny strip of tape so it lifts slightly. Slide a thin message strip (about 1/2 inch tall) under the heart edge before sealing the last fold point. Add a tiny journaling label near the opposite corner for balance.
Use a patterned paper with a clear front/back so the heart looks crisp from both sides.
Skip bulky stickers on the heart — they make the fold too thick and it won’t sit flat.
23. Layered Leaf Cutouts with Gold Accent Lines
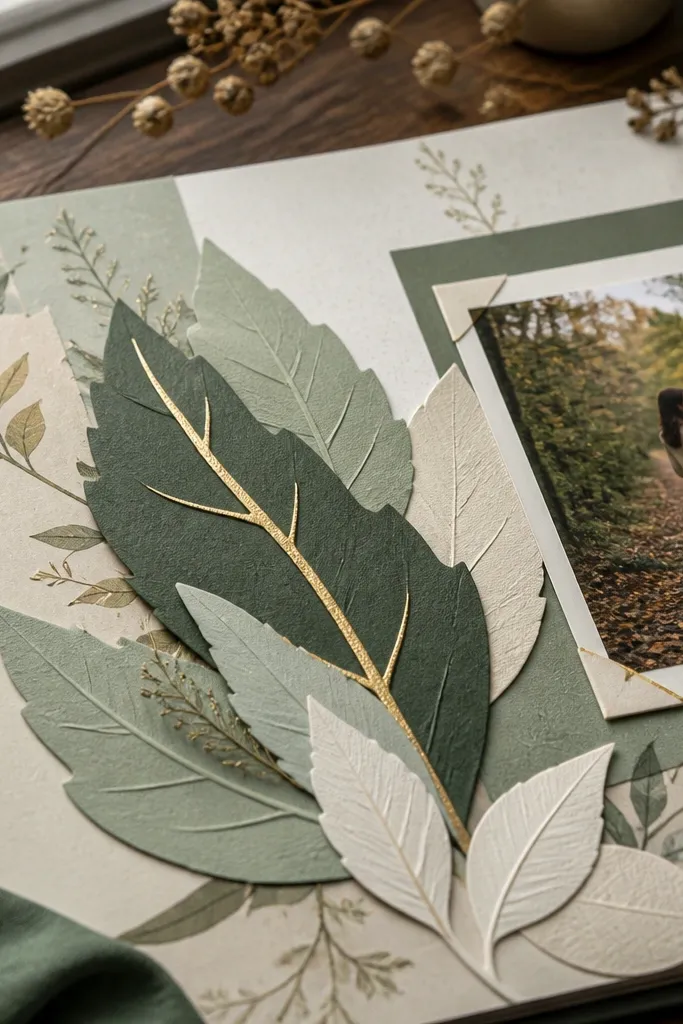
Leaf cutouts look clean and aesthetic when you keep the palette tight and add one gold accent line. The layered leaves create texture without messy glue, and the gold line adds a “designed” finish that pops on camera. This page is low-maintenance because you can cut leaves from scrap paper and repeat shapes quickly. Put one small photo or one journaling word in the center and the whole page reads cohesive.
Cut 5-7 leaf shapes from scrap cardstock in two shades, one lighter and one darker. Arrange them in a fan pattern around a center photo mat or a single word label. Add thin gold accent lines by drawing with a metallic gel pen or paint pen along leaf veins. Glue leaves down one by one, then mount the final composition to the scrapbook page.
Pro tipUse the same leaf outline size for all leaves so the layering looks intentional, not random.
AvoidDon’t use too many different leaf patterns — it makes the page feel busy.
24. Black Card Mat with White Gel Pen Doodles
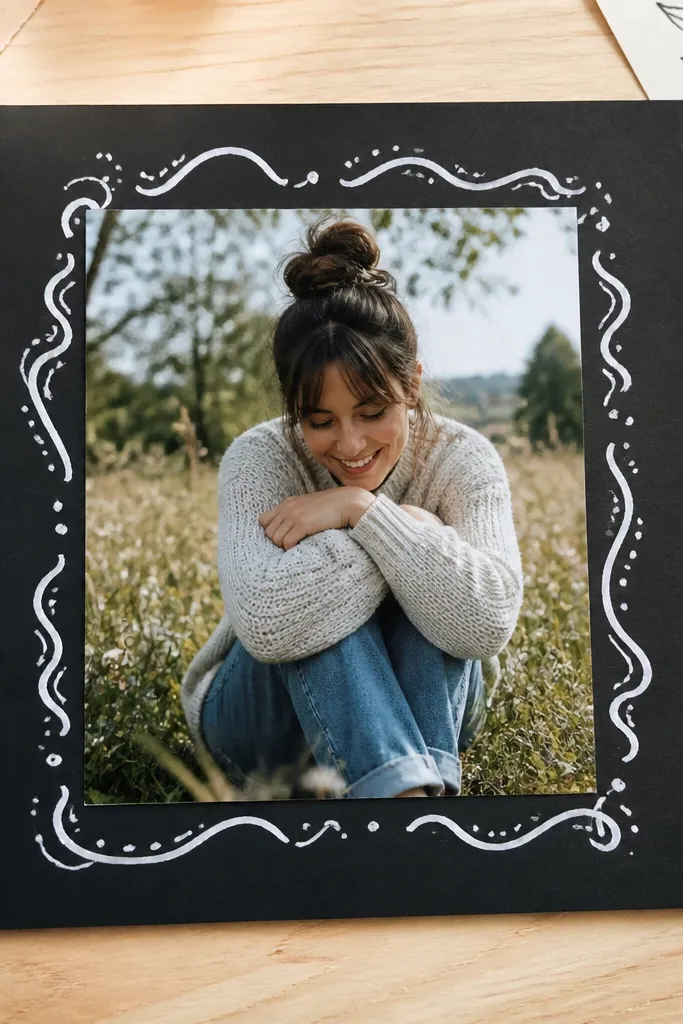
A black mat makes your photo and your doodles look high-contrast and bold in photos. White gel pen doodles are quick, and they hide small imperfections in alignment. This is low-maintenance bestie scrapbook ideas because it’s mainly color blocking: black background, photo center, doodle edges, done. It also works well when your photos are colorful because the black calms everything down.
Cut a black cardstock mat to fit your page, leaving a 1/2 inch border. Place a photo in the center and tape it down. Use a white gel pen to doodle simple shapes around the photo — stars, swirls, short lines — keeping them near the edges for a clean frame. Add one short journaling sentence on a small white strip under the photo.
Test gel pen opacity on a scrap first; some pens skip on cardstock and look patchy.
Skip cheap pens — they can scratch off or leave uneven lines.
25. Scrapbook "Polaroid" Nameplate with Photo Backing
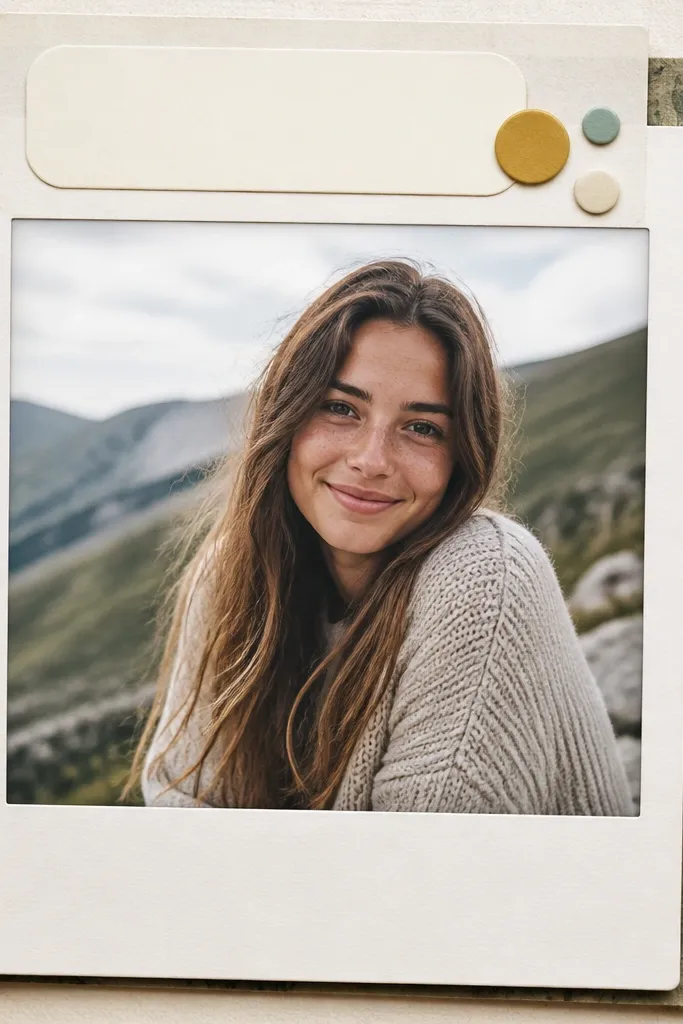
Nameplates make pages feel personal fast, and the polaroid styling keeps it from looking like a generic label. This idea uses a photo backing piece behind the nameplate so the page has depth even when you only use one photo. It’s low-maintenance because you create one repeatable card shape and use it across multiple pages. In photos, it reads clearly and looks like a designed keepsake.
Cut a polaroid-style nameplate card from cardstock, about 3.5x5 inches, with a 1/4 inch photo border. Print or crop a small photo to fit behind the nameplate and tape it in place. Write your bestie’s name or nickname in big letters on the bottom caption area. Layer a second thin cardstock frame behind the nameplate for a crisp edge.
Pro tipUse one font style across all nameplates so the scrapbook looks consistent, not random.
AvoidDon’t use tiny text — the nameplate needs to be readable in a thumbnail photo.



