
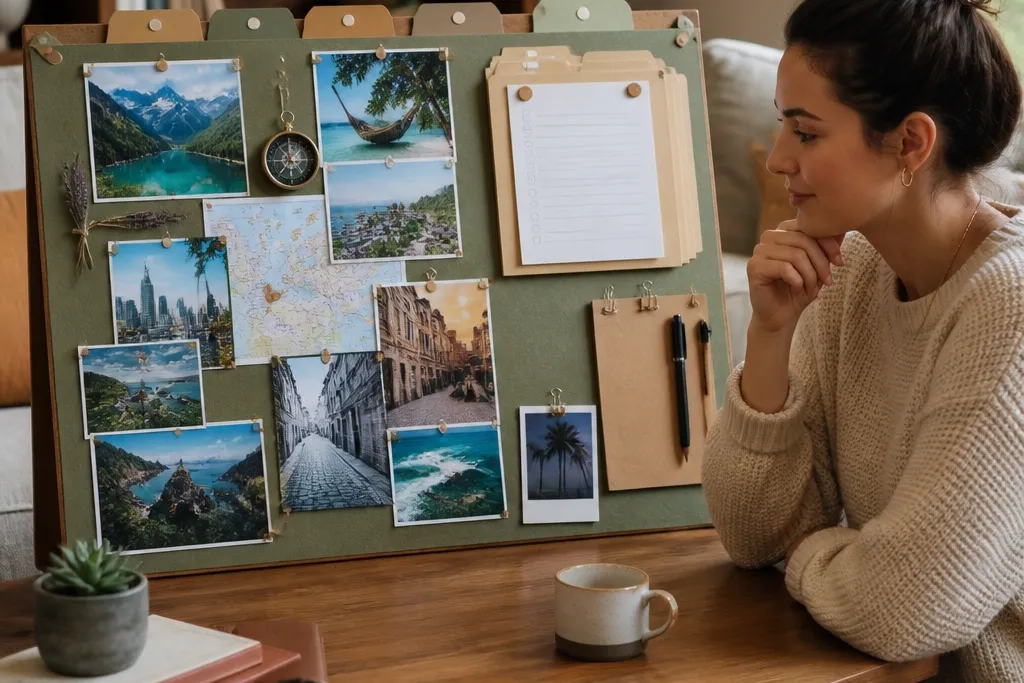
1. Acrylic Photo Strip Board for One-Theme Trips
Start by printing three to five photos at the same width (for example, 4x6 crops trimmed to a consistent 3.5-inch width). Cut a piece of cardstock to match the acrylic strip’s backing area and add a simple border in a single color (cream or sand looks best). Slide the photos under the acrylic edge or into the acrylic’s clamping channel if your strip has one. Finish by mounting the acrylic strip to a wall with two screws or a command-style hook rated for the weight.
This is the cleanest way to make your travel vision look intentional without constant tinkering. A clear acrylic strip keeps photos flat, and the spacing between images makes the whole thing look like a mini travel magazine. Use one theme per strip — think “morning markets,” “coastal walks,” or “city nights” — so the board stays cohesive even when you update later. It’s low-maintenance because you’re not fighting curling paper or lifting corners; the acrylic holds everything in place.
AvoidDon’t use glossy photo paper — glare makes the board look messy instead of dreamy.
Pro tipPrint on heavier paper (at least 100 lb cover) so edges don’t soften after a few weeks.
2. Magnetic Map Corner Board with Travel Notes
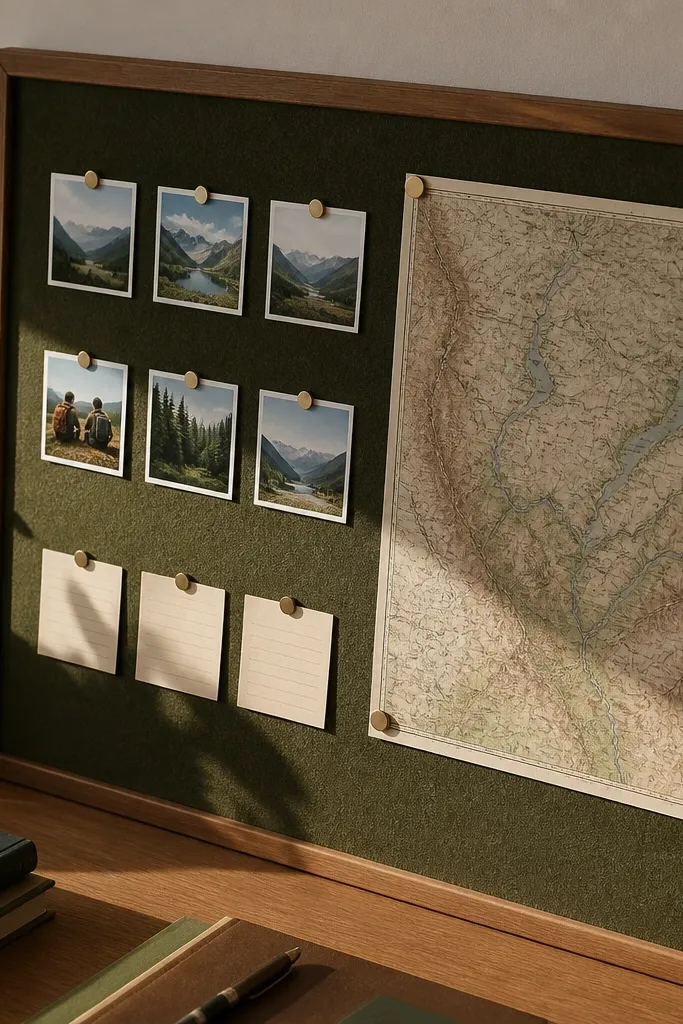
If you like planning but hate messy paper piles, this setup makes your trip look organized and photo-ready. A cork or felt base gives you texture in the background while magnets keep your images swap-friendly. The map print anchors the theme visually, and you can tuck in small photo magnets for each stop. It stays low-maintenance because you’re not re-gluing — you’re just moving magnets.
Cover a small board (about 12x16 inches) with cork or adhesive felt. Add a map print centered at the top, then place small photo magnets underneath — keep each photo the same size (like 2.5x3.5 inches). If you want handwritten notes, use tiny label stickers on cardstock and magnet them too. Finish by sealing the board edges with a thin strip of matching fabric tape so it looks finished and doesn’t shed.
Use two magnet sizes only — one for photos and one for labels — for a calmer look.
Skip random photo sizes; uneven magnets make the board look like leftovers.
3. Fabric-Backed Ribbon Hanger for Dreamy Photo Clips
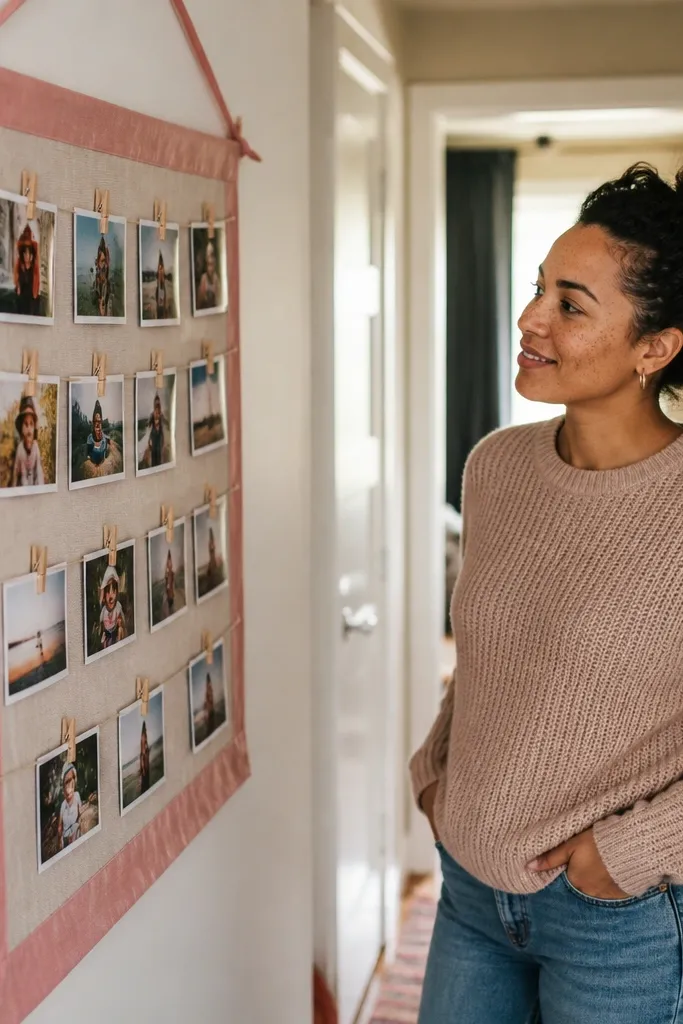
Cut a rectangle of sturdy fabric (cotton drill or linen blend) slightly larger than your frame, then stretch it over a foam board or a lightweight wood backing. Hot glue or staple the edges on the back. Attach two parallel ribbon strips across the front and clip your photos using mini clothespins, keeping the grid consistent. Add a thin neutral border strip (like beige bias tape) along the bottom to make it look intentionally styled.
This one looks soft and romantic, and it’s easy to update without damaging prints. Fabric backing hides ugly tape lines and gives your board warmth even if you use simple thrifted photos. Clothespins let you swap pictures in seconds, so it works great when your plans are still moving. It’s low-maintenance because the only moving parts are clips, and fabric hides minor fraying better than paper backgrounds.
AvoidDon’t use thin, stretchy fabric — it sags and makes the photos look crooked.
Pro tipUse matte photo paper and clip with spring tension; glossy prints reflect pin shine and look uneven.
4. Laminated Travel Ticket Collage Wallet Board
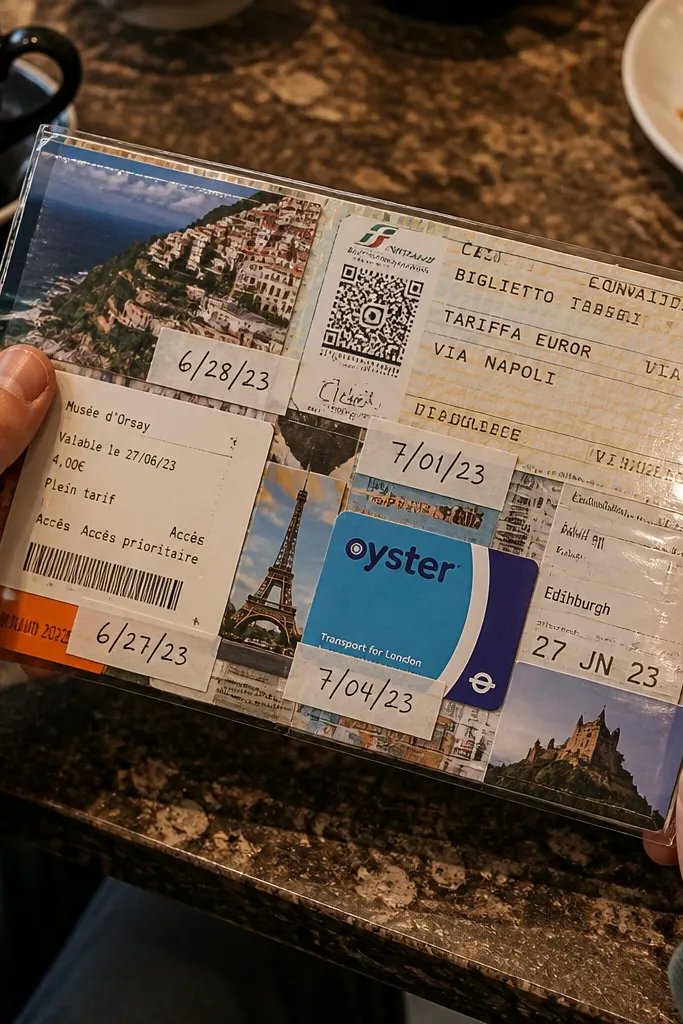
This is for people who love travel ephemera and want a board that stays clean. Lamination seals everything — tickets, tiny photos, even handwritten dates — so it survives spills, dust, and the occasional coffee table bump. The look is photogenic because laminated pieces have a consistent sheen and crisp edges. You can keep updating by sliding new items into clear pockets instead of peeling tape.
Print 4-6 small photos and cut them to uniform sizes (like 2x3 inches). Arrange them on a sheet of cardstock and add your ticket stubs or faux tickets (printed on paper) in matching layers. Laminate the entire sheet in one pass, then trim edges with a ruler and craft knife. If you want easy swaps, add a stitched or glued clear pocket sleeve at the side and tuck new inserts in.
Use a cutting mat and a sharp craft knife for clean laminate edges.
Don’t laminate over wrinkled paper; wrinkles become permanent and ruin the look.
5. Shadowbox with Layered Fabric and One Big Photo
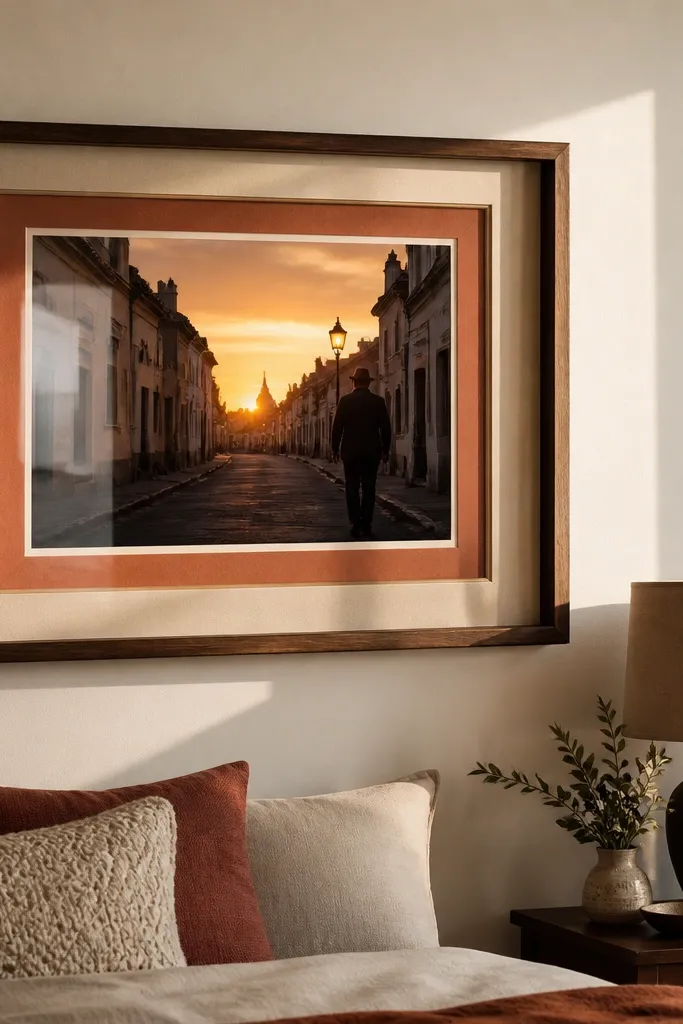
Shadowboxes make your vision board feel finished, not temporary. The depth turns one strong photo into a focal point, and layered fabric gives you that “boutique display” look. It’s low-maintenance because nothing flaps around, and the sealed glass keeps dust off. This is ideal if you already know one dreamy trip and want it to look like a collectible.
Buy a small shadowbox frame with glass (around 8x10 or 9x12). Cut fabric to fit the back and layer it with one accent color — keep it simple, like cream base with a thin sage strip. Mount your large photo centered using double-sided photo tape. Add one small element like a dried herb bundle or a tiny map strip under the glass, then close the frame and secure the back.
Choose one accent fabric color pulled from the photo — it looks styled without extra effort.
Don’t cram five different textures; too many layers read chaotic behind glass.
6. Repurposed Cabinet Door Vision Panel
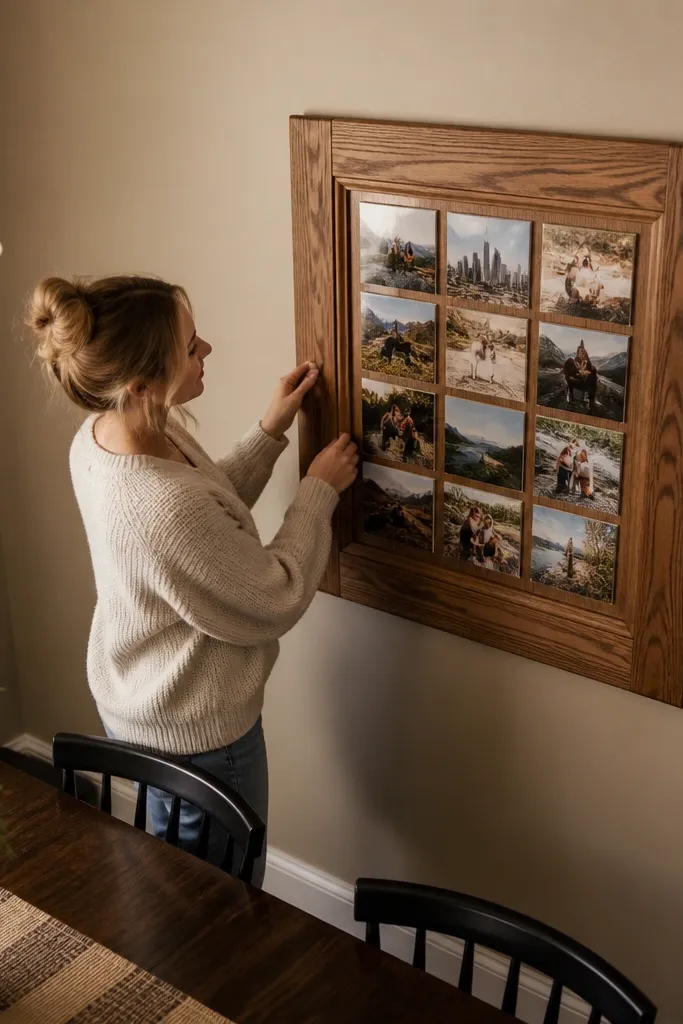
A thrifted cabinet door turns your vision board into decor. The raised frame and wood grain make it look expensive even when it’s not, and the flat panel is perfect for a photo grid. You can use clear adhesive photo pockets or small frame clips to keep images swap-friendly. This stays low-maintenance because wood doesn’t warp like paper, and once it’s painted and sealed, it’s basically set-and-forget.
Sand the cabinet door lightly, then paint with a matte finish (chalk paint or matte acrylic) and seal it with a clear topcoat. Create a photo grid with masking tape guides, then attach either small frame clips or clear pocket squares. Print photos in matching sizes (about 4x4 or 4x6 crops) so the grid looks orderly. Seal edges with a thin brush of topcoat to lock in the paint and prevent scuffs.
Use matte photo paper so the cabinet door’s texture stays the star.
Skip high-gloss paint; it reflects light and makes photos look washed out.
7. Corner Cork Board with Washi Frame and Big Headlines
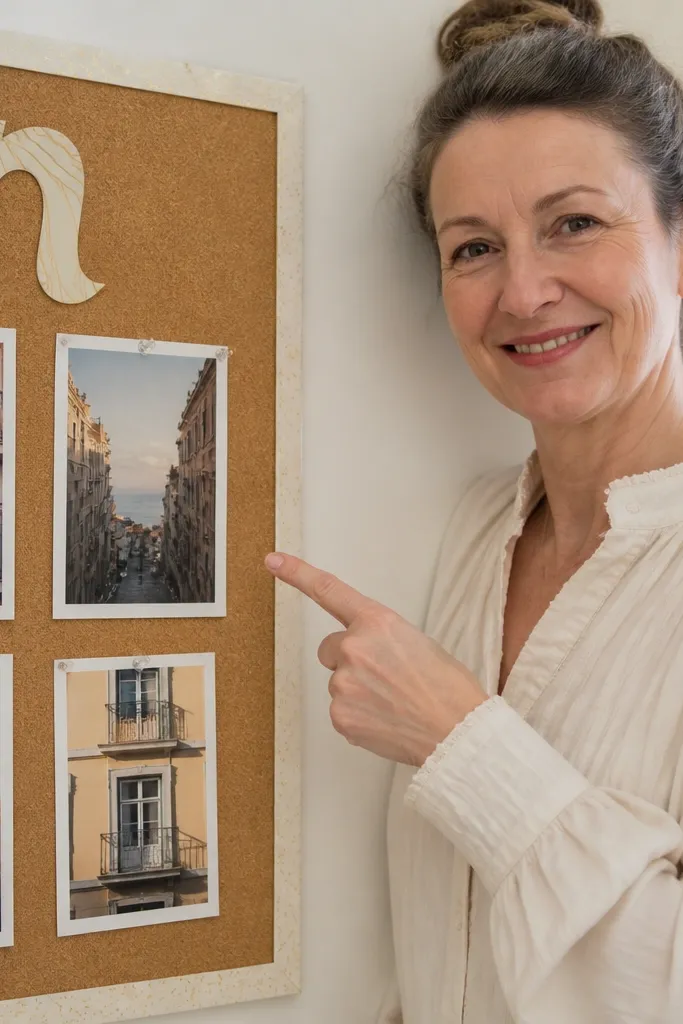
This is a cute, airy travel board that still counts as low-maintenance. Cork holds pins and keeps everything stable, while a washi tape frame gives you a clean boundary so it looks designed instead of random. Big headline cutouts (like “Lisbon mornings” or “Kyoto lanterns”) make it photogenic, and you can swap photos without damaging the background. It’s also easy to keep tidy because the cork naturally “contains” items.
Cut a cork panel to fit your wall corner (like 12x12 for a tight spot). Apply a washi tape border around the edges in one width and color — keep it consistent. Pin two to four large photos in a tight cluster, then add one headline card centered. If you want extra swapability, use small photo mats (thin cardstock frames) so you can replace images without repinning everything.
Use picture corners or tiny binder clips for photos; pins dent prints over time.
Don’t use ten small photos; cork boards look messy when you overcrowd them.
8. Clear Clipboard Board with Magnetic Photo Layer
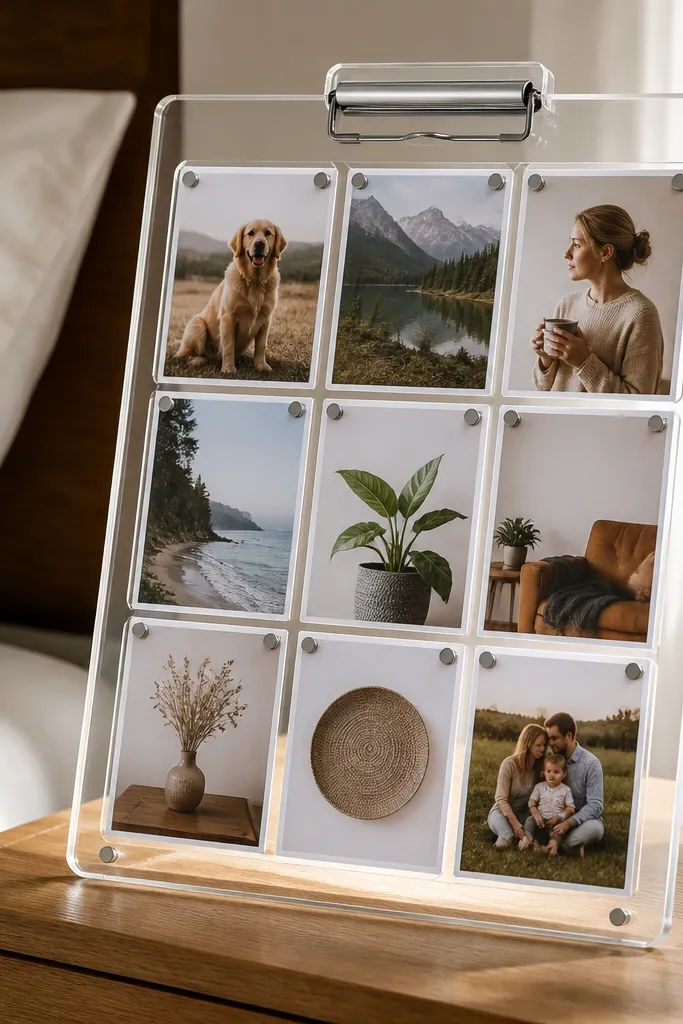
This one looks modern and clean, like a creative studio wall. A clear clipboard holds laminated cards flat, and magnets let you swap photo cards without peeling. The transparent front makes your layout look airy while still structured. It’s low-maintenance because laminated cards wipe clean, and the clip system keeps everything aligned.
Get a clear acrylic clipboard or a clear document clip with a backing board. Print travel photos on cardstock, then laminate each card for durability. Add a thin magnetic strip to the clipboard backing so the cards stick neatly. Arrange your cards in a simple row or two-column layout and clip the top edge or close the clipboard cover.
Keep your card sizes identical so the magnets create a straight visual line.
Don’t laminate with thick borders that create uneven shadows across the board.
9. Upcycled Picture Frame with Removable Photo Tabs
This gives you a polished board look without the commitment of permanent glue. A thrifted frame adds instant style, and a mat keeps photos crisp and spaced. The removable photo tabs let you swap images while keeping the same layout every time. It’s low-maintenance because the mat catches small dust and the frame protects everything behind glass.
Find a frame that has a mat or can accept one (8x10 works well). Place a sheet of cardstock inside as the background. Cut small tabs from cardstock and attach them to the background with double-sided tape, then slide photo prints onto the tabs like cards. Close under glass if possible, or seal the back with paper strips if you’re skipping glass.
Use color-matched matboard so the photos look like they belong, not taped on.
Don’t skip spacing — photos jammed too close to the mat edge look sloppy.
10. Wood Slat Board with String Clips for Coastal Vibes
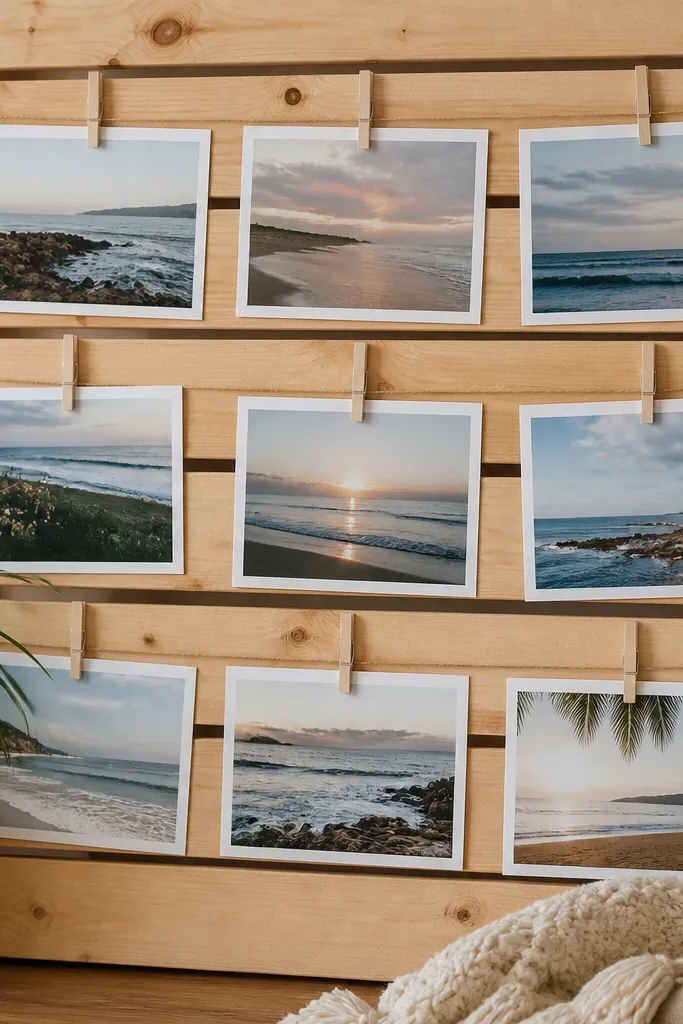
Mount two to three horizontal wood slats to a backing board, spaced about 2 inches apart. Tie twine across each slat and secure it with small nails or heavy-duty staples. Clip photos with mini wooden or metal clothespins, keeping each row the same length. Add a simple backing fabric strip behind the string to hide the wall and make the colors pop.
Wood slats plus string clips look like a beach rental photo wall. The slats create natural horizontal lines, and clips make swapping fast without residue. This style is photogenic because the photos hang with consistent tension, so there’s no saggy paper. It’s low-maintenance because the structure stays solid and clips hold prints securely.
AvoidDon’t use stretchy twine; it loosens and photos drift down.
Pro tipUse a spray adhesive on the photo corners before clipping to prevent edge curl.
11. Desk-to-Wall Vision Tray with Clear Top
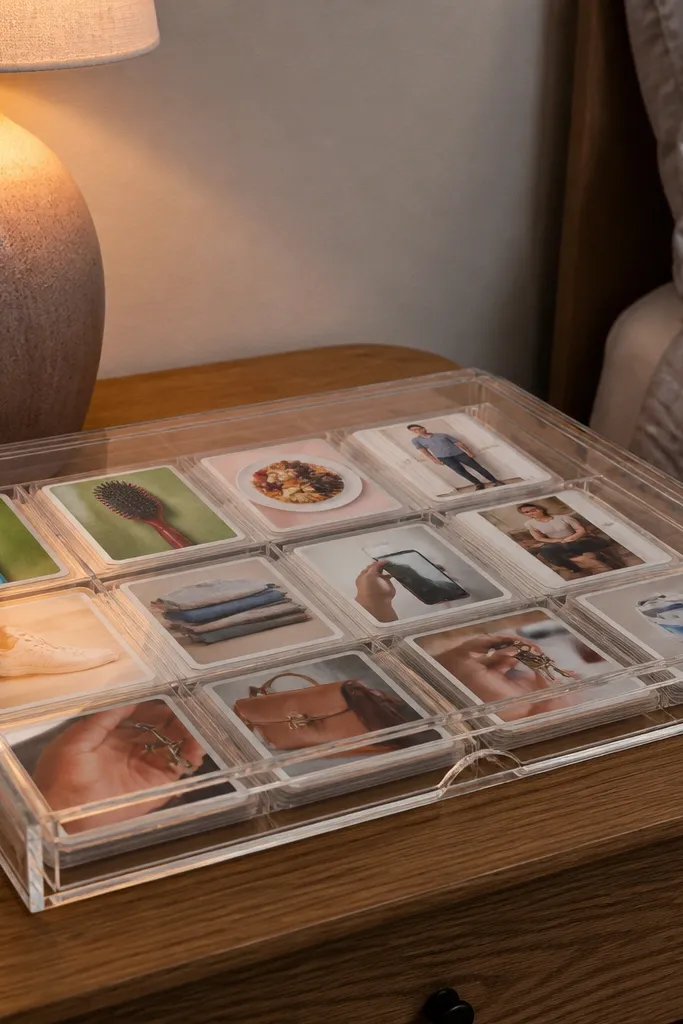
Find a shallow tray with a removable clear cover or add a clear acrylic sheet cut to size. Put a background sheet inside the tray — textured paper or a fabric scrap works well. Print your photos as small cards and add two or three ephemera pieces like postcards or ticket stubs in the same orientation. Keep the layout minimal: one hero photo centered, smaller cards around it.
If you want your travel vision board to feel practical, this is it. A shallow tray with a clear top keeps everything neat, and it’s easy to update because cards slide in and out. The look is clean and modern, and the clear cover makes it feel intentional on a desk, shelf, or nightstand. It’s low-maintenance because you aren’t taping photos to anything permanent.
AvoidDon’t overcrowd; trays look best with one hero and a few supporting cards.
Pro tipRound the corners of the background paper so it doesn’t catch dust and fold.
12. Vinyl Record Sleeve Board for City Night Trips
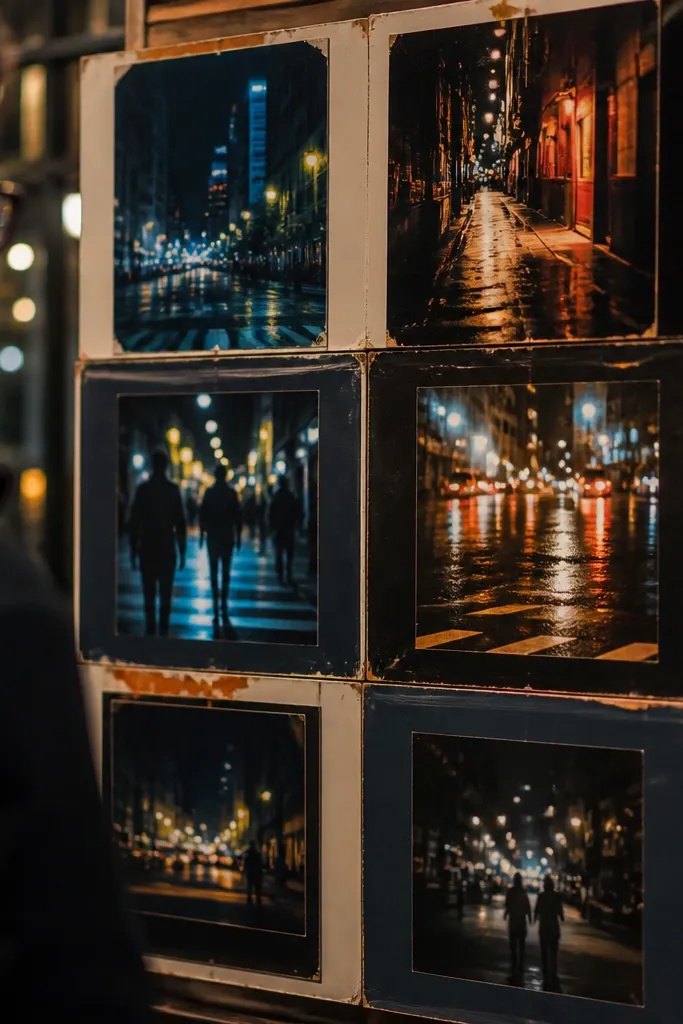
Collect several record sleeves in a matching color family (black, cream, or deep brown work best). Cut them down to a consistent size and glue them onto a backing board in a grid. Insert photo prints into sleeve pockets so they’re removable. Finish by adding a thin black border strip around the edges to make it look like a designed panel.
This looks artsy and high-contrast, which is perfect for city-night travel vibes. Repurposed record sleeves have sturdy paper and a built-in graphic style, so you don’t need fancy backgrounds. You get built-in “frames” for photos, and the thick paper stands up without curling. Maintenance is easy because sleeve pockets protect prints and keep edges clean.
AvoidDon’t mix wildly different sleeve styles; the collage becomes visually noisy.
Pro tipUse matte photos with a warm tone so they don’t fight the sleeve graphics.
13. Thrifted Window Frame with Hanging Photo Strips
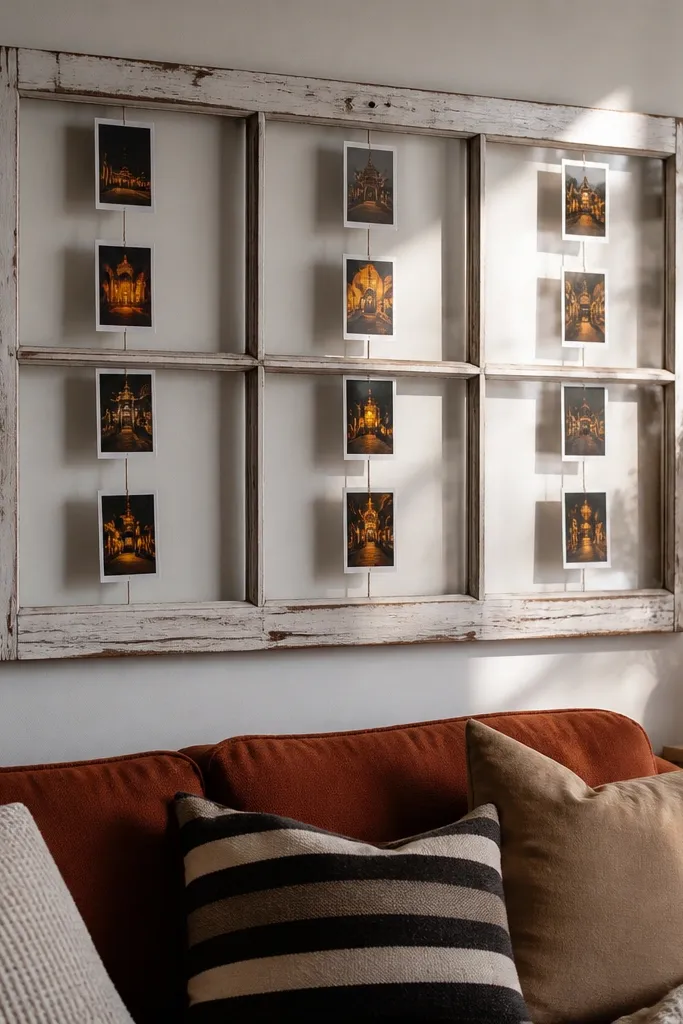
Clean the window frame and sand any rough spots. Attach thin ribbon or clear fishing line across the frame in two or three rows. Print photo strips (like 2x6 inches) and punch two holes at the top for ribbon threading. Tie the strips evenly so the rows look balanced, then secure the ribbon ends on the frame’s sides.
A window frame makes your vision board feel like a real “view,” which is why it photographs so well. Hanging photo strips create movement and depth, and the frame gives you built-in structure. This is low-maintenance because swapping strips is quick and you’re not dealing with tape residue on prints. It also hides small wall imperfections behind the frame.
AvoidDon’t use heavy cardstock strips; they sag and look uneven.
Pro tipKeep strip lengths identical and align hole spacing; it looks intentional in photos.
14. Magnetic Tin Can Photo Holders on a Sheet
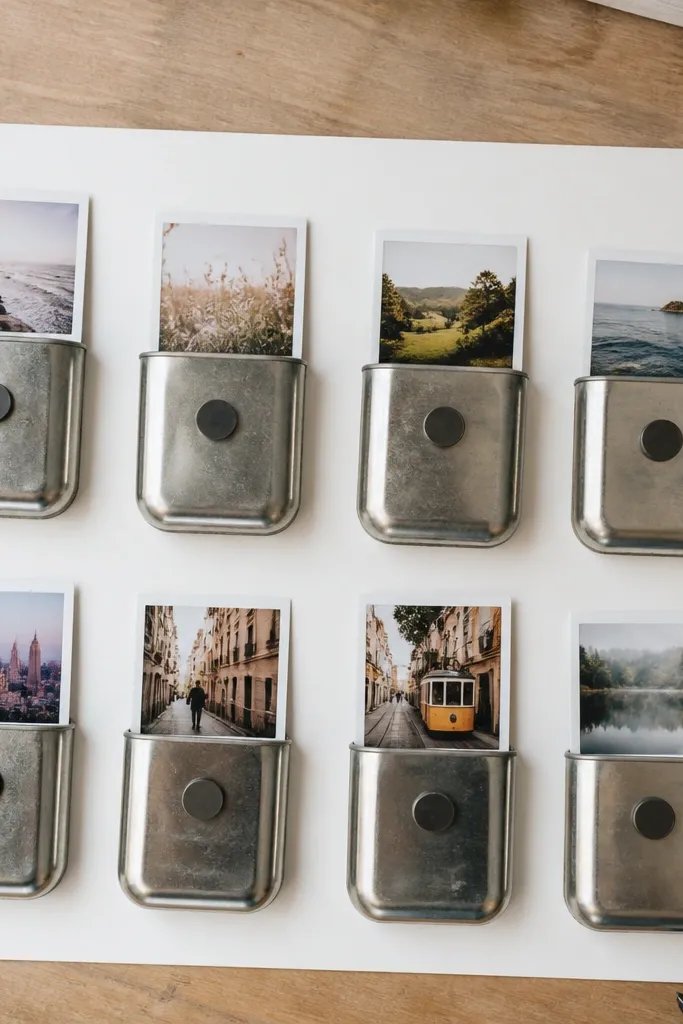
Get a small sheet of metal (like a magnetic board) and clean it. Use small tin containers or repurposed spice tins, then attach a magnet to the bottom of each tin with a strong adhesive. Add printed mini photos inside each tin, keeping orientation consistent. Arrange tins in a grid pattern and label the top with tiny cardstock tags if you want destination names.
This one gives you a playful, stacked look that still stays tidy. Small tin holders protect photos from smudges, and magnets make swaps easy without tape. It’s photogenic because the tins create a rhythm — little “buildings” of color and image. Low-maintenance comes from the fact that you’re handling protected prints, not exposed paper.
AvoidDon’t mix photo orientations; rotated images make the composition feel chaotic.
Pro tipChoose tin colors from one palette so the board looks styled, not random.
15. Paper-Resistant Laminate Sheet with Photo Overlays
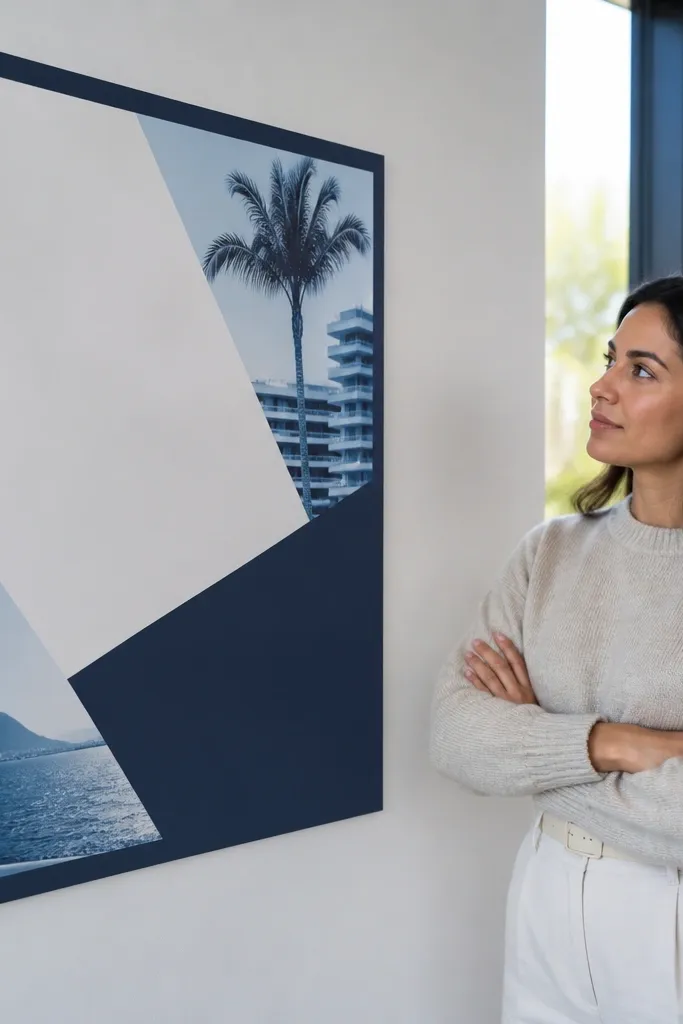
Laminate a piece of cardstock first, then cut the laminated base to your preferred size (like 11x14). Print photos as overlay cards sized to fit within a simple grid — for example 3.5x5 inches each. Use removable adhesive corners or double-sided photo tape on the backs of the overlay cards. Add a border strip around the base using matte cardstock so the whole thing reads like a finished panel.
This is the practical choice when you want your vision board to survive real handling. A large laminated sheet makes it wipeable, and photo overlays stay flat because the laminate locks them down. It looks modern when you use a single border color and keep the layout geometric. Updating is easy: you can replace overlay cards without tearing the base.
AvoidDon’t overlap photos randomly; layered edges make it look messy fast.
Pro tipUse matte overlays so light reflections don’t wash out the images.
16. Repurposed Cutting Board with Stain-Resistant Photo Corners
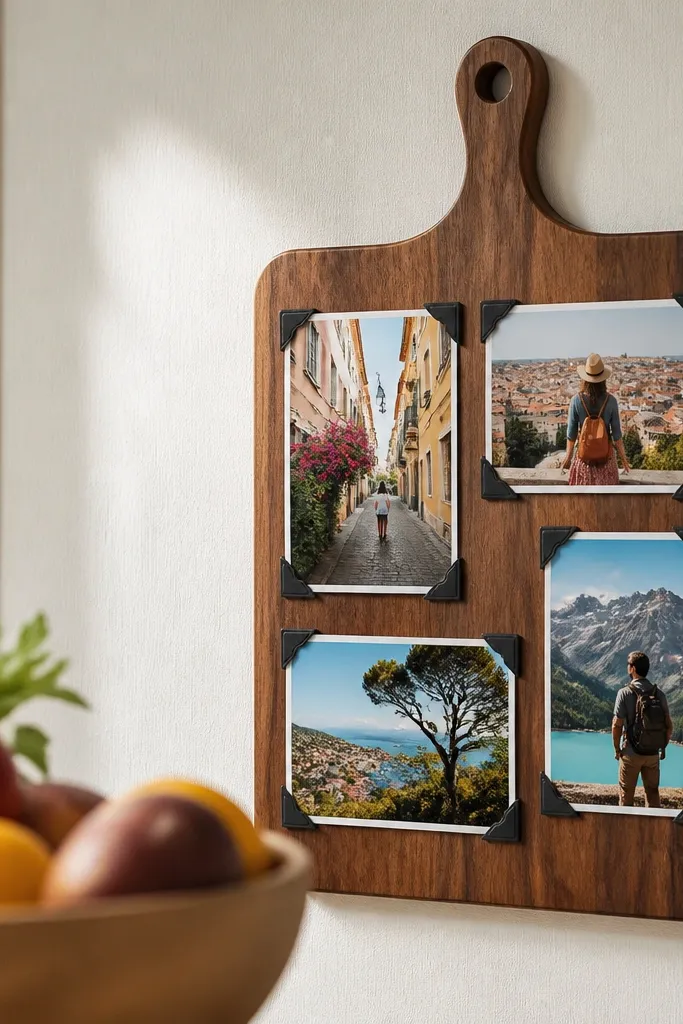
Sand a thrifted cutting board and wipe it clean. Apply a thin stain or clear wood finish if needed, then let it cure fully. Print photos and cut them to uniform sizes, then mount them using photo corners or clear adhesive corner tabs. Seal the area around the corners with a tiny dot of clear matte medium so the edges stay protected.
A cutting board looks warm and homey, and it makes travel feel cozy instead of clinical. The wood grain adds texture, and you can mount photos with protective corners so the prints don’t curl or peel. It’s low-maintenance because wood is tough, and the photo corners keep edges sealed. This board also photographs well because the background texture makes colors pop.
AvoidSkip glossy varnish; it reflects light and kills the cozy look.
Pro tipUse a clear matte topcoat on the photo corners, not on the photos themselves.
17. Notebook Cover Vision Board with Interchangeable Inserts
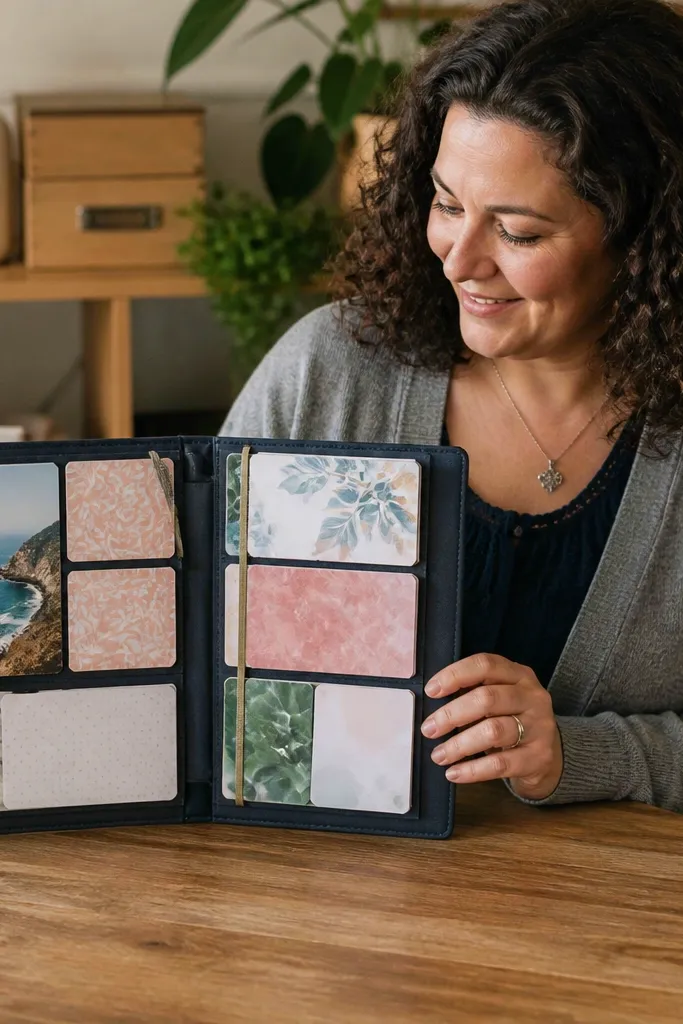
This is a travel vision board you can carry without it getting ruined. The notebook cover gives you a sturdy frame, and elastic bands hold inserts so you can update destinations quickly. It looks good because it’s structured — consistent insert sizes, consistent spacing, and a clean cover. Low-maintenance comes from the fact that inserts are replaceable and the cover protects everything.
Pick a large notebook cover with a rigid front or add a file folder front to a notebook. Print photo inserts on cardstock and punch holes to match binder rings or slot inserts. Arrange inserts in two columns inside the elastic band area. Add one cover label card at the center, then keep a small set of extra inserts in a matching pocket for quick swaps.
Use a single background color for all inserts so the cover looks cohesive.
Don’t let inserts vary in thickness; thick inserts bow the cover.
18. Upcycled Frame Mosaic with One Color Border Repeat
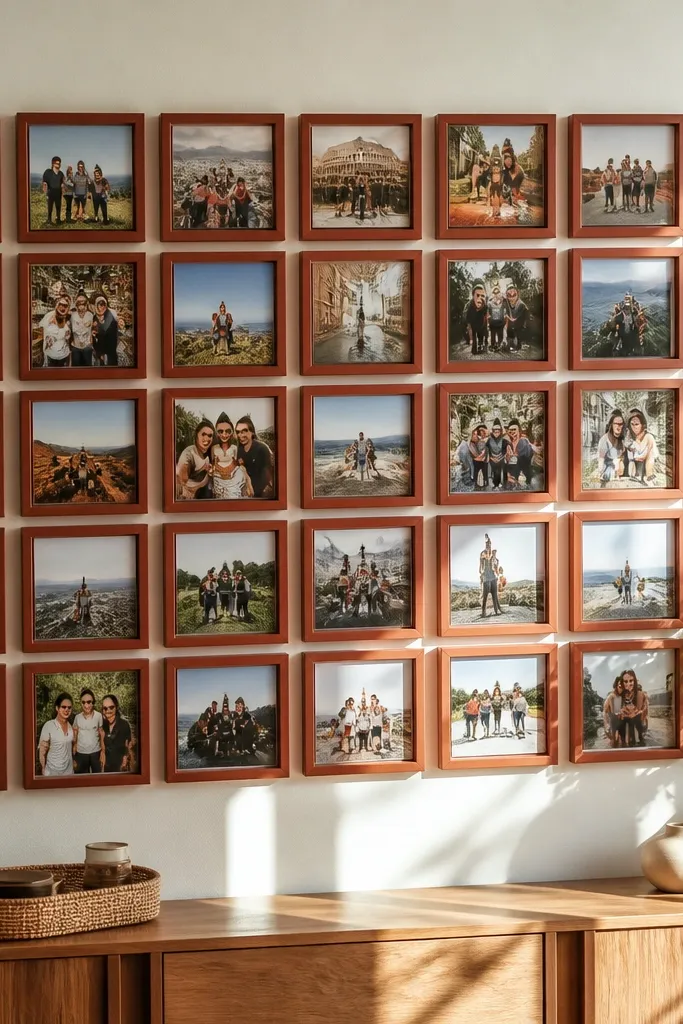
Collect small frames (thrifted or from a craft store) and choose one border color to paint or line them with — like muted sage or warm gray. Arrange frames into a grid on a backing board, then screw or glue them in place. Print photos to fit each frame and mount with photo tape or corner mounts. Add a final backing sheet so gaps look intentional, then hang using two secure points.
A mosaic of small frames gives you that gallery-wall feel without complicated craft. The trick for low maintenance is repeating one border color so everything looks coordinated even when photos change. Each tiny frame protects a print, so you don’t get curled edges or peeling tape. It’s also easy to maintain because you can swap one frame at a time without redoing the whole layout.
AvoidDon’t mix gold and black frames; it creates a busy, cluttered look.
Pro tipKeep the frame depths similar so the mosaic looks level in photos.
19. Clear Acrylic Desk Stand with Destination Tabs
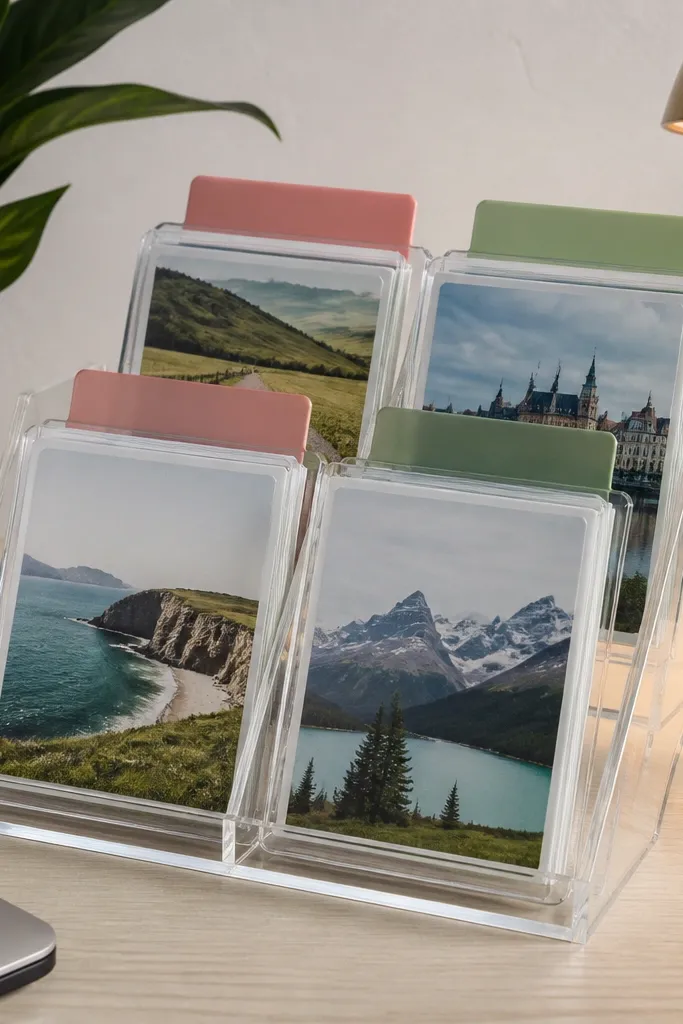
This makes your travel vision board functional, not just decorative. A clear acrylic stand keeps cards visible and easy to swap, and the tabs make it quick to find your “next stop.” It looks modern and clean, and it’s great for people who want their planning on their desk. Low-maintenance comes from the protected cards and simple swap system — no glue, no peeling.
Buy or build a clear acrylic card stand sized for 4x6 cards. Print your photos as destination cards with one consistent layout — photo on top, destination name on bottom. Add small cardstock tabs at the top edge of each card for quick scanning. Arrange cards in the stand in a travel order you like, then swap by sliding cards out and back in.
Laminate only the cards' top photo area if you want less glare and easier printing changes.
Don’t choose a stand that blocks the bottom of the cards; cropped text looks sloppy.
20. Cork Roll-Up Travel Planner Board
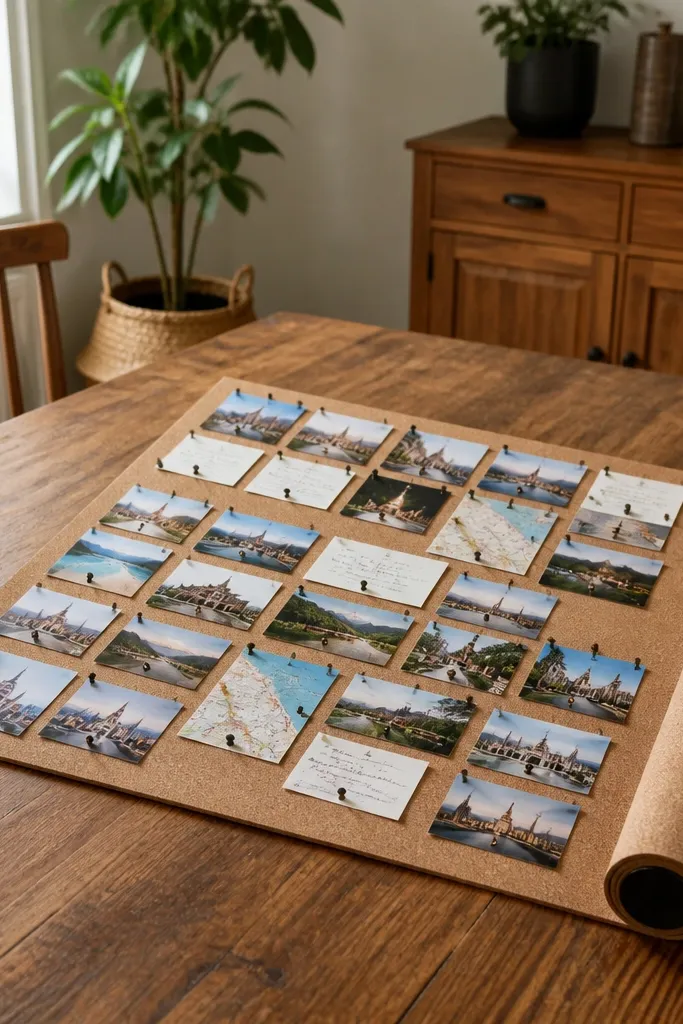
A roll-up cork board is the most low-maintenance option when you want to store your vision board without it getting bent. Cork grips pins, so your photos and notes stay put even when you roll it up. The roll design also looks great — it’s like a travel planner scroll, and it photographs cleanly when unrolled on a table. It’s easy to update since you can add or remove pinned cards anytime.
Buy cork roll sheet and cut it to a rectangle size (like 18x24 inches). Add a fabric backing or bind the edges with ribbon so the cork doesn’t shed. Unroll it on a desk and pin photos using map pins or cork-headed pushpins. Roll it up and tie with a ribbon or elastic band for storage.
Use a grid approach: pin one destination per quadrant so it always looks orderly.
Don’t pin directly to thin paper; mount photos on cardstock first so they stay flat.



