
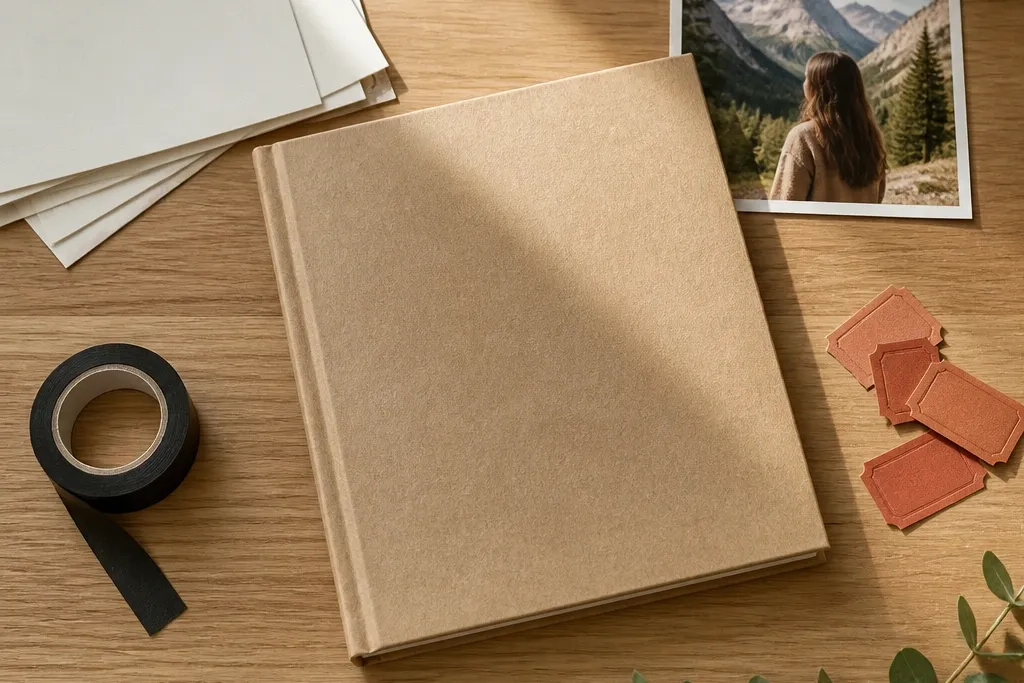

1. Terracotta Ticket Strip on Off-White Grid
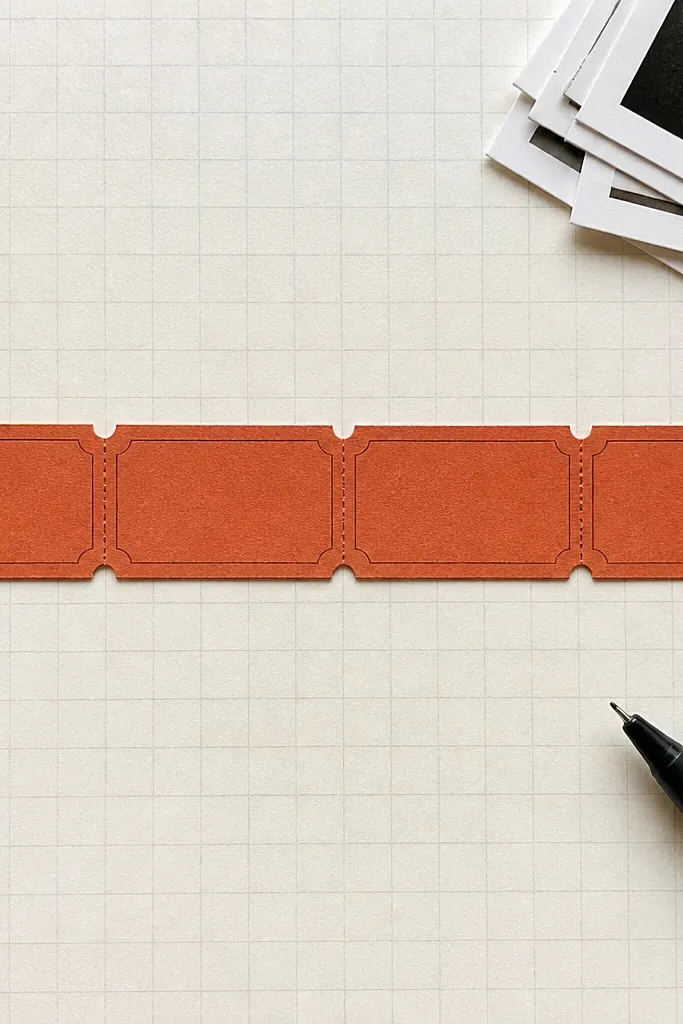
This layout turns messy ticket stubs into a clean, readable feature. The look comes from one long horizontal strip in a warm color, with each stub tucked in so the edges line up. You get that minimalist feel because the rest of the page stays mostly blank — off-white cardstock with one accent zone. It’s perfect for travel days, movie nights, or any “we went somewhere” stack of receipts. Build it with dry adhesive pockets so the stubs stay flat and don’t buckle the page.
Start with an off-white page base at least 12x12 inches, then mark a simple grid: a 1-inch top margin, a 2.5-inch strip area in the middle, and a 1-inch bottom margin. Cut a terracotta cardstock strip to fit the strip area and glue it down only along the top and bottom edges so the center stays clean. Create a line of small pockets by trimming clear tape sleeves or using pre-made photo sleeves cut to stub size, then slide stubs into each pocket with the top edges aligned. Finish by adding a short date line on the blank area with a black fine-tip pen.
Use a bone folder to press each stub flat before you slide it into a pocket sleeve.
Don’t mix three accent colors on the strip — pick terracotta and keep everything else neutral.
2. One Photo, One Word, Black Border Frame
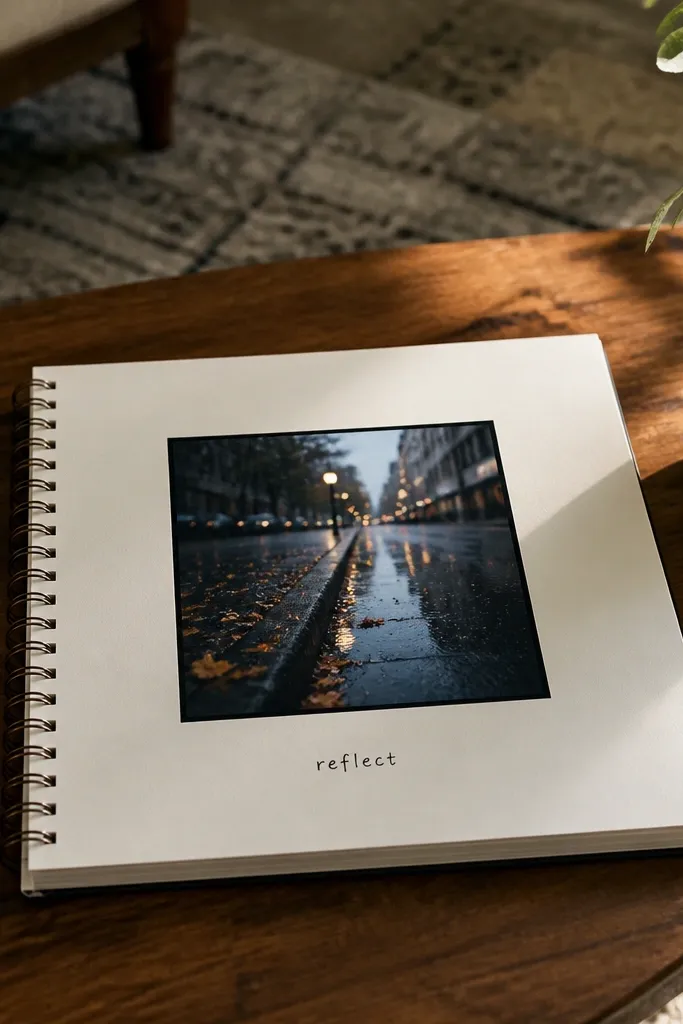
This is the cleanest modern minimalist scrapbook idea because it refuses to over-design. You place one photo inside a thin black border, then add a single word caption that matches the vibe — like “quiet,” “rain,” or “first.” The black frame gives structure, while the one-word caption keeps the page from turning into a diary wall. It looks sharp in photos because the edges are crisp and the background stays calm. This works best for portraits, street scenes, or anything with strong contrast.
Cut a black cardstock mat with a 1/4-inch border around your photo. Center the photo on the mat, then glue it with photo corners or a thin double-sided tape to avoid glue lumps. Add a caption strip beneath the photo using a small rectangle of off-white paper and stamp or hand-write one word in all lowercase with a fine pen. Finally, add a thin ruled line under the word if you want extra structure — keep it short and straight.
Pro tipIf the photo is busy, choose a slightly thicker black border (about 3/8-inch) to calm the visual noise.
AvoidDon’t add multiple sentences — one word looks intentional; long captions make the page feel cramped.
3. Book-Page Corner Collage with White Space
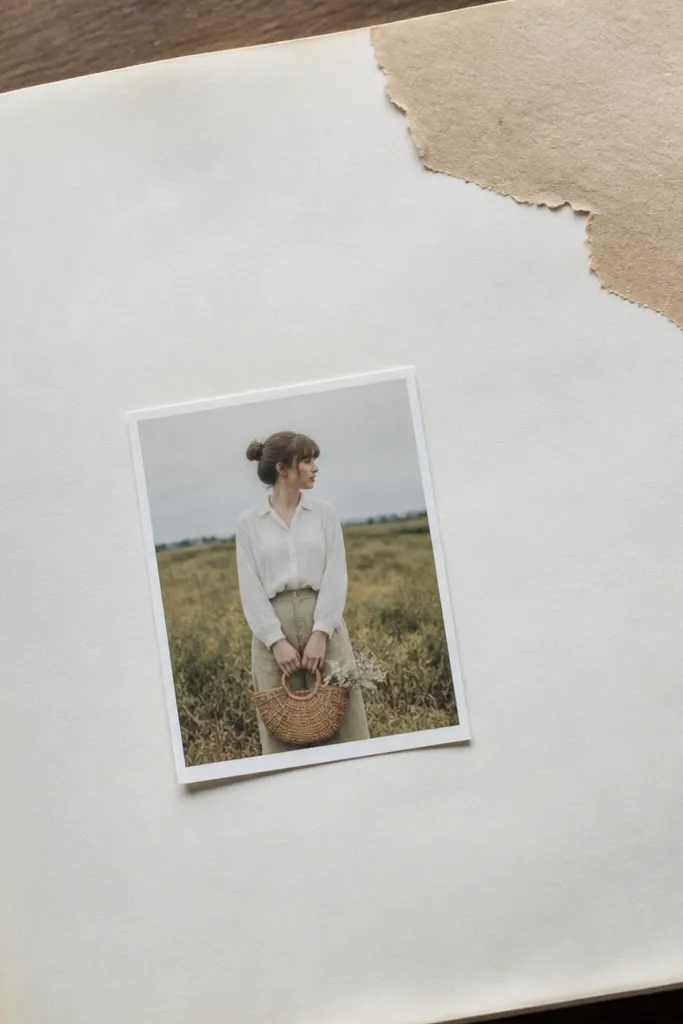
Corner collages look modern because they keep the main surface open. Tear a small cluster from a book page or old dictionary page, then place it in the top-right or bottom-left corner. The torn edges add texture, while the rest of the page stays blank enough for a single photo or date stamp to breathe. This idea is great when you want to use up printed scraps without turning the entire page into a collage. Keep it tight — small pieces look curated; big pieces look cluttered.
Start with a light cardstock base and pick one corner for the collage. Tear book pages into 2-3 shapes — a long strip, a small chunk, and a thin edge — then layer them with a matte finish glue or glue stick. Place the collage so it sits about 1 inch from the side edges, leaving a clear margin around it. Add a small photo or a date label on the opposite side using a rectangle mat, then outline the label with a black pen for crispness.
Tear, don’t cut. Straight edges on printed scraps can look harsh and less “designed.”
Avoid covering the whole page with text — keep the collage to one corner only.
4. Receipt Envelope Pocket for Small Notes
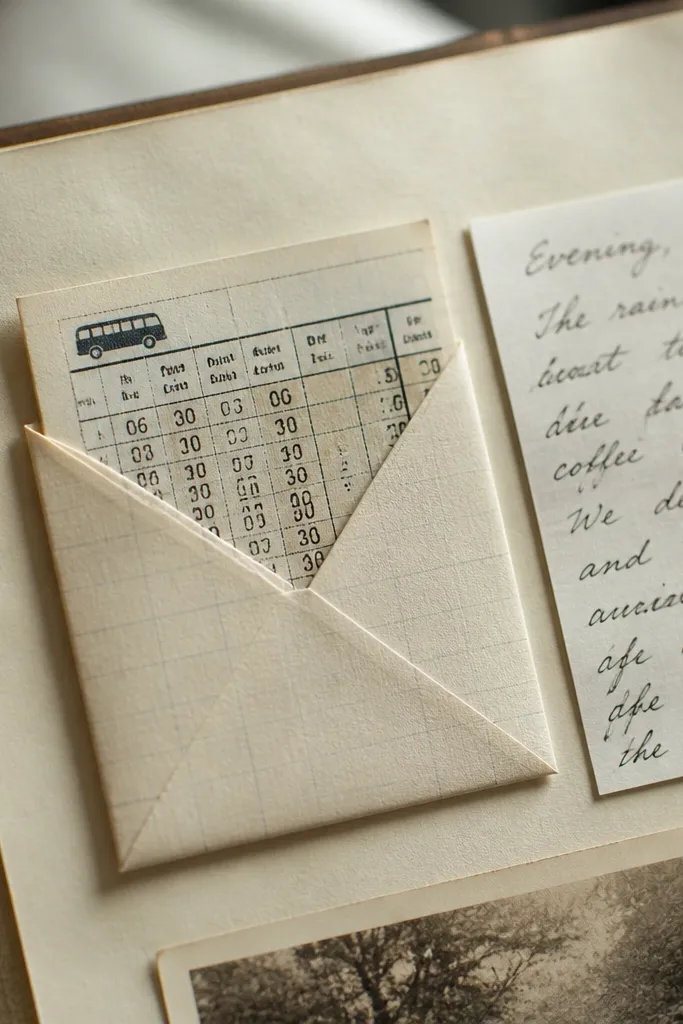
This is a minimalist way to store extras without making the page look like a junk drawer. You fold a receipt or cut a piece of cardstock into a small envelope pocket, then tuck in tiny notes, a bus timetable, or a handwritten thought. The pocket gives you a clear shape, and the envelope flap creates a clean line that reads well in photos. It’s especially good for birthdays, daily routines, or any theme where the details are small but meaningful. Keep the pocket color muted so it doesn’t fight your photo.
Cut a rectangle of receipt paper or printed cardstock about 6x4 inches. Fold it into an envelope: fold in the long sides first, then bring the bottom up to form the pocket base, and glue only the bottom and one side. Attach the envelope to your page with two small strips of double-sided tape along the back so the front flap stays free. Add a single photo above the pocket or a date stamp next to it, then slide in a folded note.
Pro tipSeal the receipt paper with a light matte medium or clear tape on the back so it doesn’t curl from handling.
AvoidDon’t use a bulky pocket — if it sticks out too far, the page won’t lie flat.
5. Washed Fabric Strip with Stitched-Look Thread
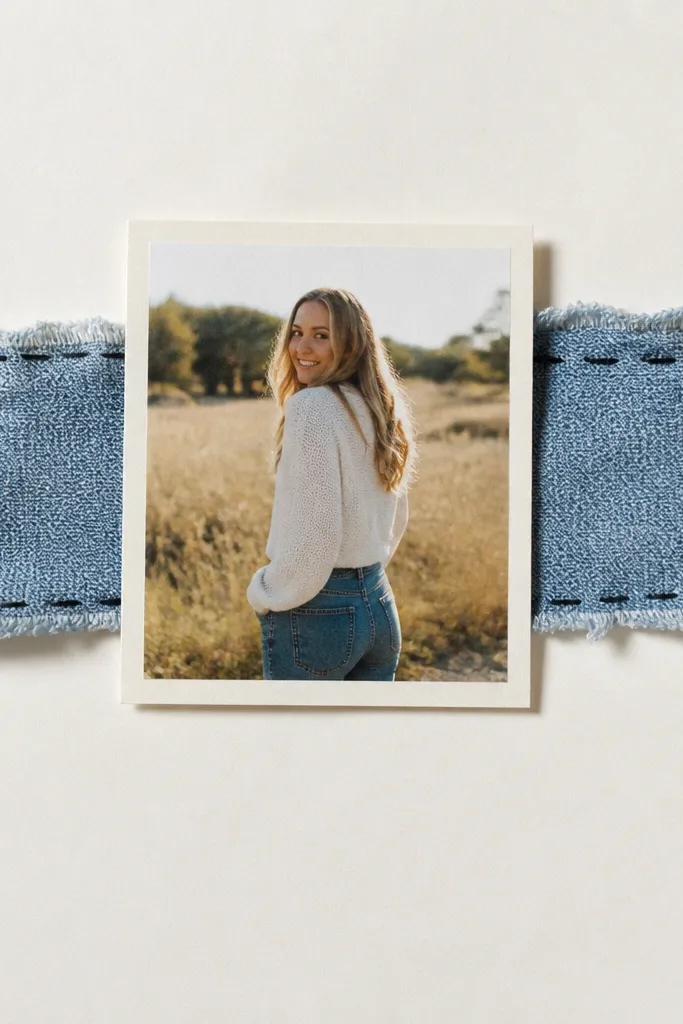
Fabric adds softness to minimalist pages without adding clutter. Use a narrow strip of washed fabric — denim, linen, or cotton — and place it horizontally behind a photo or above a caption. Then fake the stitch look with a black gel pen or thin paint pen, drawing small dashed lines along the fabric edge. The result is tactile and clean, with a modern, calm texture that reads well even from a distance. This works best for pages tied to home, weekends, or cozy themes.
Cut a fabric strip about 1 inch wide and trim it so the ends are straight. Glue it down with a thin layer of fabric-safe glue or a glue stick on the paper backing side, then press under a book for 10 minutes. Draw a dashed stitch line along one edge using a fine black pen, keeping the dashes consistent in size. Place a photo matte above or below the strip and add a short date line with the same pen color.
Choose fabric with visible weave — it looks sharper than smooth polyester on scrapbook pages.
Don’t use thick fabric strips wider than 1.5 inches; they start to look heavy and less minimalist.
6. Monochrome Washi Tape Timeline
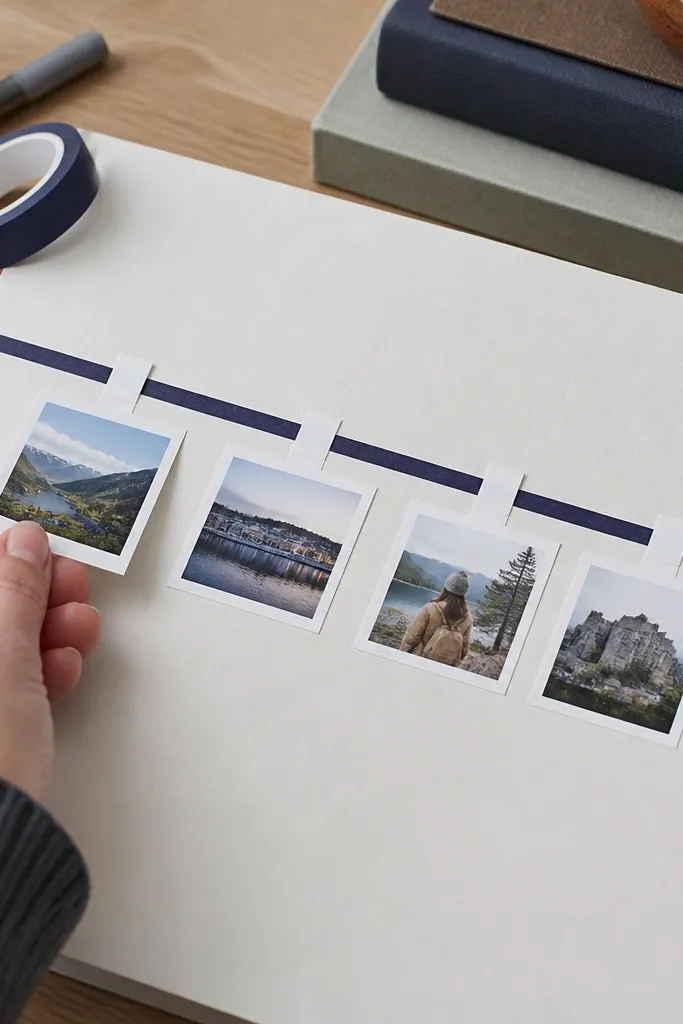
A timeline strip turns a sequence of moments into a clean, graphic page. Use one monochrome washi tape color — black, gray, or a muted navy — and lay it in a straight line across the page like a guide. Then add small date tags cut from plain cardstock, each with a tiny photo thumbnail or one word. The minimalist look comes from repeating the same tag shape and keeping the tape color consistent. This is great for “week in review” pages and for documenting steps, not just outcomes.
Pick a page base and draw a light pencil line across the middle at a consistent height. Cut washi tape into 2-3 segments and lay them along the pencil line, smoothing each segment flat. Cut date tags from plain cardstock — about 1.5x2 inches each — and punch a small notch at the top for a uniform look. Glue tags onto the tape line with spacing equal to each other, then add a tiny photo or one word under each tag.
Pro tipUse a ruler for the tape line. Even a slight curve makes minimalist pages look sloppy.
AvoidDon’t add colored accent tapes — stick to one tape color for the modern feel.
7. Matte Black Tape Hinges for Photo Series
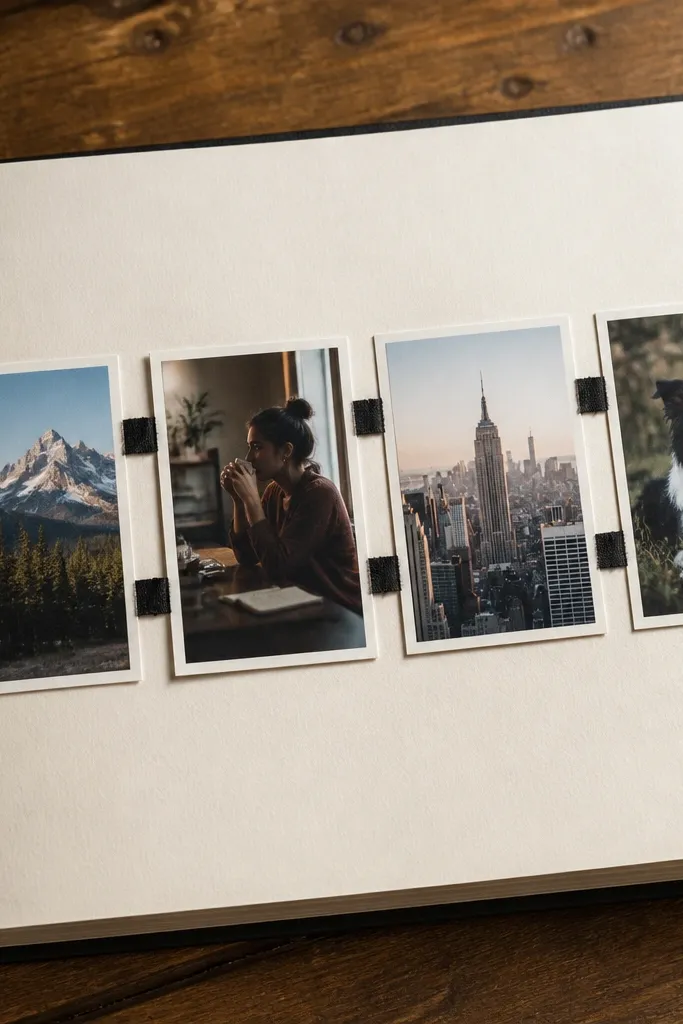
This idea makes multiple photos feel organized without turning into a collage mess. You create photo “panels” that hinge slightly using matte black tape, then stack them in a neat row. The tape becomes a graphic element, so even when the photos vary, the layout stays cohesive. It’s a strong option when you have 3-5 related shots from one event. The black tape adds contrast and helps the page read clean in overhead photos.
Cut three photo mats from off-white cardstock, each sized so the photos sit with a 1/4-inch border. Attach each photo to its mat, then arrange mats in a row with equal spacing. Use matte black tape strips as hinges: place tape on the back of the mat and hinge it down onto the page so each photo panel has a small lift. Glue only the hinge areas to the page base, leaving the rest free so the panels look dimensional.
Pro tipPress tape hinges under a heavy book so the paper fibers flatten before you glue the panels down.
AvoidAvoid glossy tape — shiny tape reflects light and makes the page look cheap on camera.
8. Spray Ink Stencil Dots with Clear Label Block
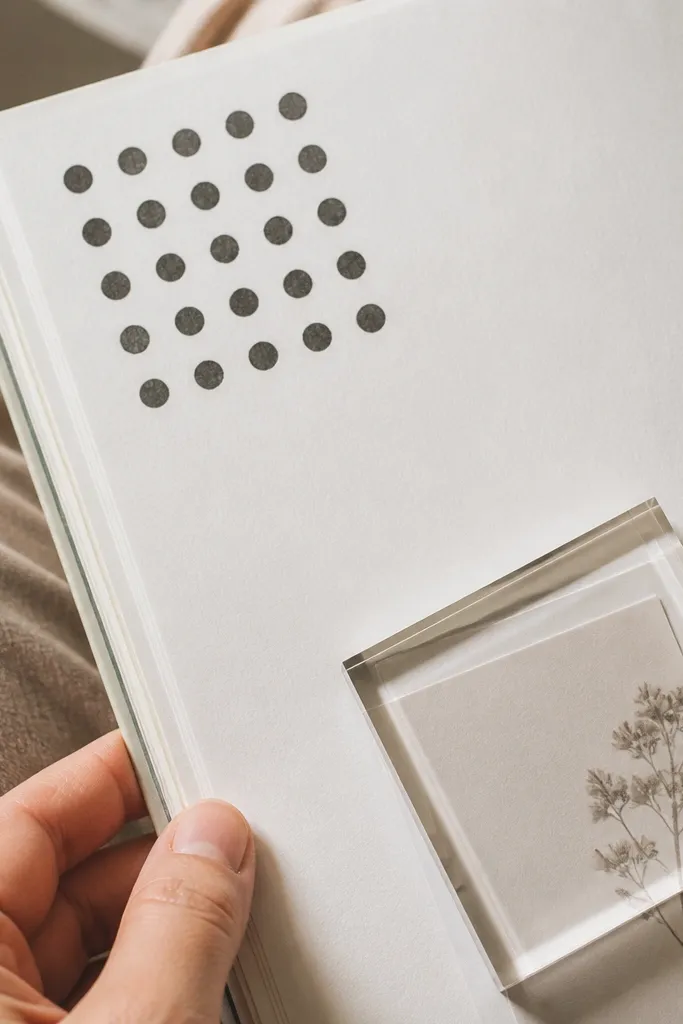
Stenciled dots give you a modern, airy texture without filling the whole page. You keep the page minimalist by limiting the dots to a corner area, then adding a single clear label block for the date or title. The texture looks intentional because it’s controlled by a stencil or a punch pattern, not random splatter. This is a great option when you want to use very few scraps and still get that “designed” look. Pair it with one photo or a single line of journaling.
Tape a stencil or a small punched paper template to the page corner. Lightly spray or dab ink through the stencil using a stiff brush and matte ink or diluted acrylic — keep the dots small and spaced. Let it dry fully, then cut a label block from black or charcoal cardstock sized about 3x1.25 inches. Glue the label block down and write the date in white gel pen or paint pen.
Pro tipDo two light passes instead of one heavy one — heavy spray bleeds and ruins minimalist edges.
AvoidDon’t place dots behind a busy photo — keep the dot area empty enough to read.
9. Cereal Box Cardstock Frame with Photo Center
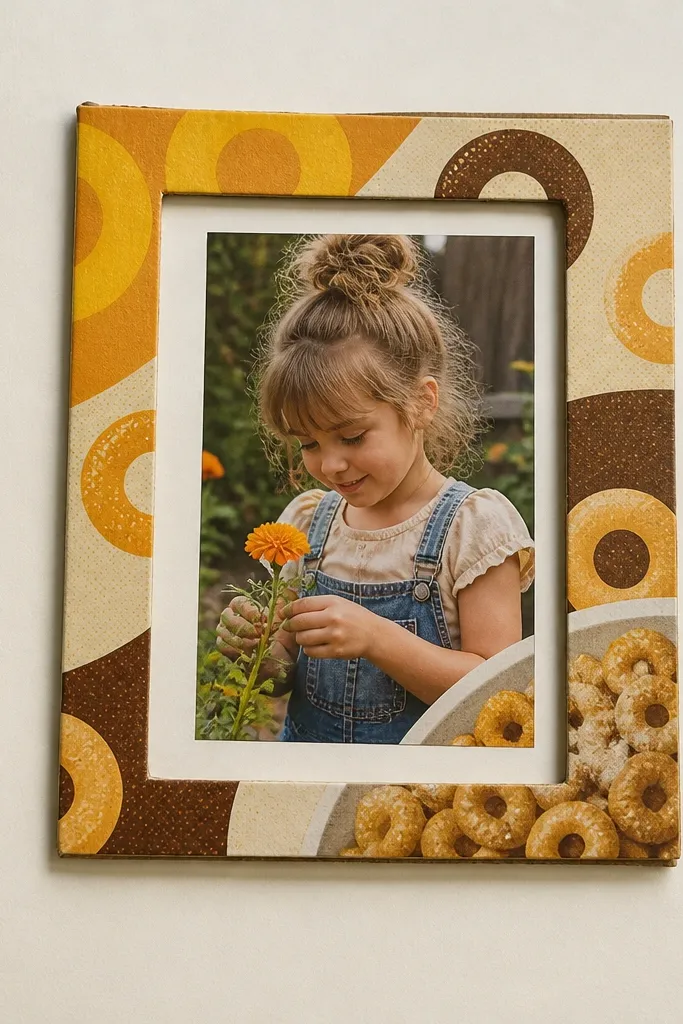
This uses repurposed packaging to create a frame that looks graphic, not trashy. Cut a frame from a cereal box panel, then glue it onto a plain cardstock page so the printed side acts like a border. You’ll get a modern look because the frame is a single shape, and the photo stays the focus. It’s ideal for quick pages where you have one photo and want a bold border without buying new cardstock. Choose a cereal box with a clean color field, not tiny busy patterns.
Flatten the cereal box panel under a book for a few hours. Cut a frame window using a craft knife: leave about a 3/4-inch border around the photo area. Glue the frame to a light cardstock base, then attach the photo inside the window using thin double-sided tape. Add a small caption strip below the photo using plain cardstock so the printed frame doesn’t compete with text.
Seal the cereal box edges with a thin layer of matte medium so they don’t fray or lift over time.
Avoid frames cut too close to the photo edges; thin frames warp and look uneven.
10. Folded Map Strip with Compass-Style Date Stamp
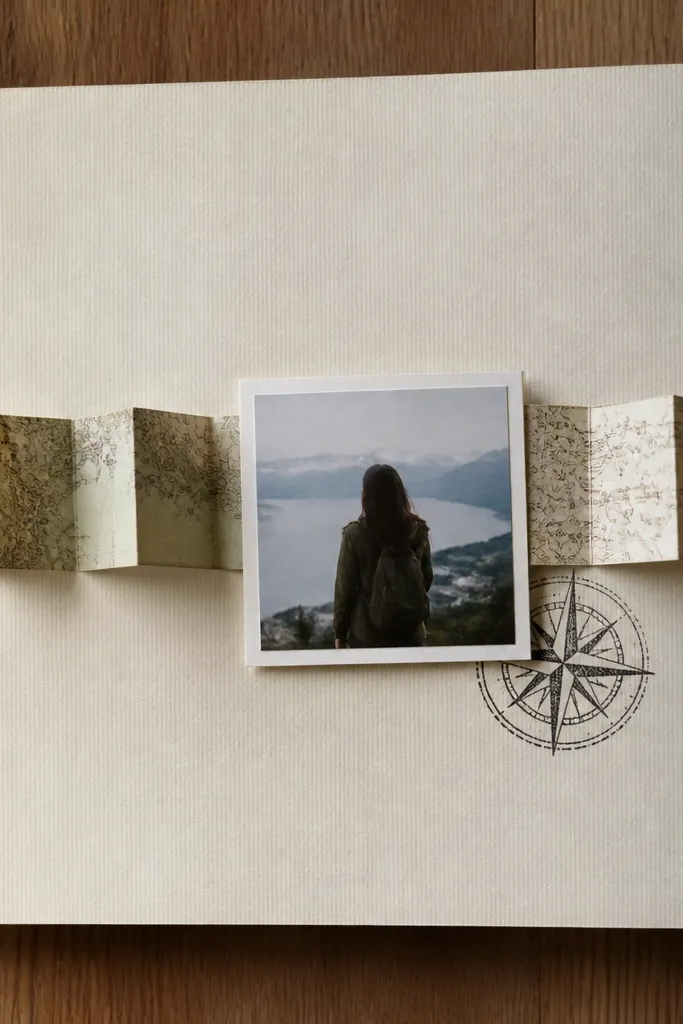
Map strips bring movement to minimalist pages while still looking clean. Fold a map strip accordion-style, then place it as a narrow band behind a photo or along the side. Add a compass-style date stamp or a small circular label so the theme feels intentional. The minimalist win is that the map is controlled — it stays in one strip, not splattered everywhere. This works especially well for trips, new neighborhoods, or “we found this place” moments.
Cut a map strip about 10 inches long and 1.25 inches wide. Accordion-fold it every 1/2 inch and place it on the page so it runs horizontally or vertically with a margin of 1 inch. Glue only the folded strip ends and a few points in the middle to keep it dimensional without warping. Finish by stamping a small circular date label near the strip end and pairing it with one photo mat.
Use matte glue and press with wax paper so the map doesn’t stick to your surface.
Don’t use a full map page as the background; it turns into wallpaper and kills the minimalist look.
11. Linen Tape Corner Labels for Clean Journaling
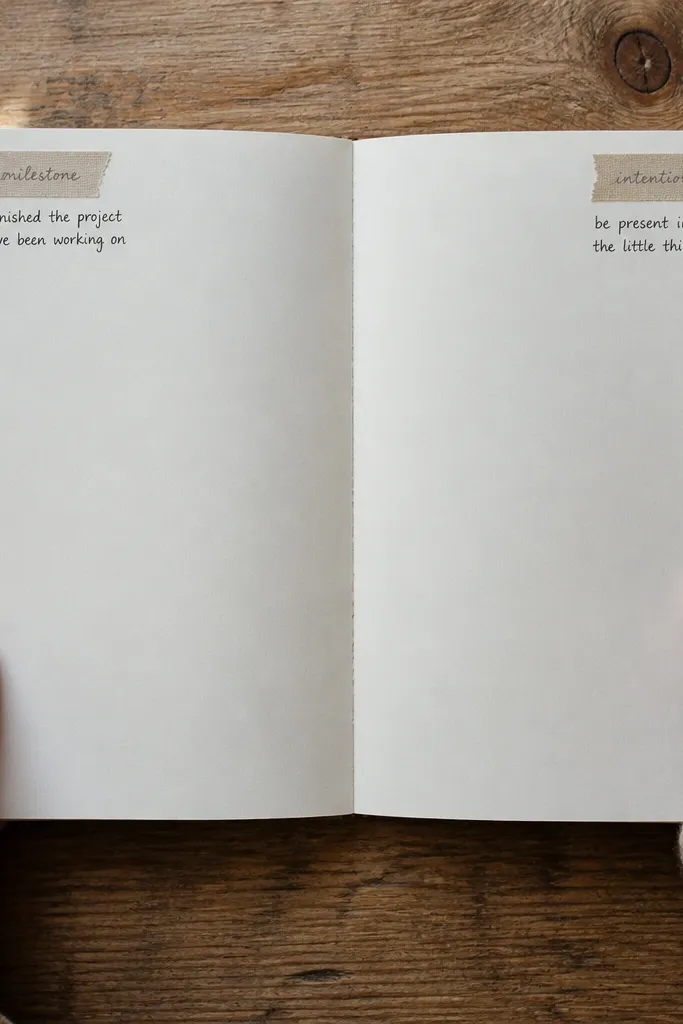
This is minimalist journaling that still looks styled. You put small linen-texture tape labels in the top-left or top-right corner of each page, each label holding a tiny header like “Sunday” or “Lesson.” Then you write one or two short lines in a neat block. The tape corner acts like a consistent brand mark across the scrapbook, so the book feels cohesive even when the content changes. It’s great for memory capture without turning pages into dense text walls.
Choose linen-texture tape or fabric-like washi in a muted neutral. Cut small label rectangles about 1.25x2 inches, then place one in the corner of the page and press it flat. Write your header in black fine-tip pen, then add your journaling as 2 short lines on blank space beneath the label. If you want structure, draw a faint baseline with pencil so your handwriting sits straight.
Pro tipWrite the journaling with a pen that doesn’t bleed through — gel pens work better than watery felt tips on thin paper.
AvoidAvoid long paragraphs. Two lines looks intentional; ten lines looks like you ran out of space.
12. Clear Pocket Sleeve for Overlays and Notes
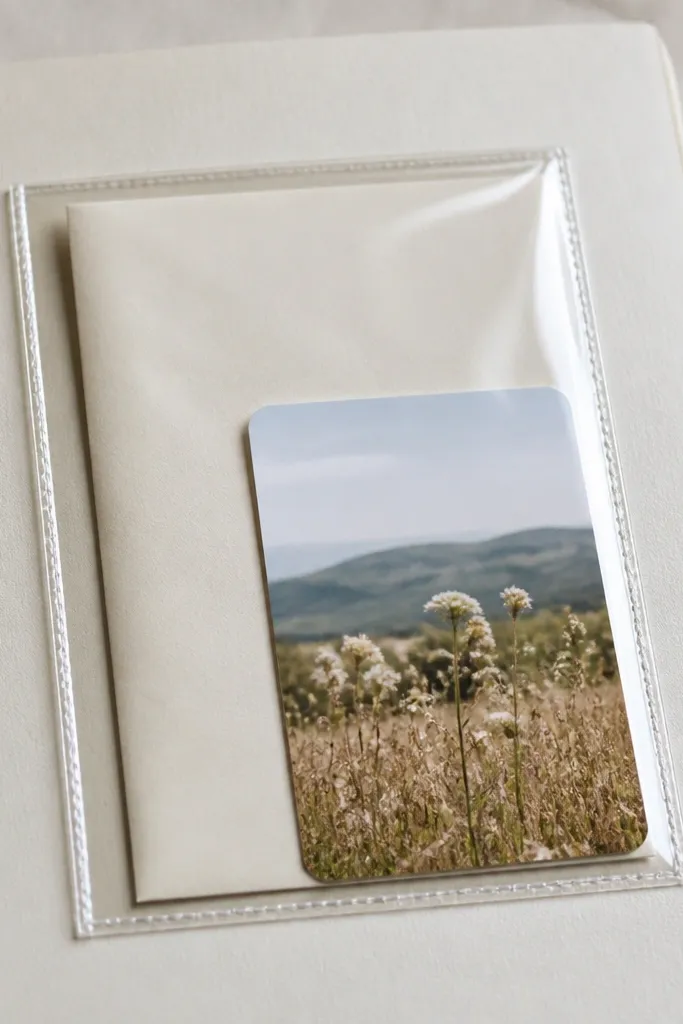
Clear pockets are one of the best minimalist tools because they keep loose items from cluttering the page while preserving a clean layout. You can add a photo overlay card, a folded note, or a small printed strip inside the pocket. The page stays visually calm because the pocket has a defined rectangle and you can keep the visible content limited. It’s also practical — you can swap inserts later without damaging the page. This idea is perfect for “current season” scrapbooks where you keep adding items.
Cut a clear pocket sleeve from archival transparency sheets or use a pre-made photo sleeve trimmed to size. Glue or tape the pocket to the page base along the sides and bottom, leaving the top opening. Create one insert card that fits the pocket — about 4x6 inches — and add either a photo or a short typed date line. Add a single small label on the page outside the pocket so the pocket doesn’t become the whole page.
Pro tipUse archival tape on the pocket edges so the sleeve stays flat and doesn’t lift at the corners.
AvoidDon’t overfill the pocket. If it bulges, the page stops looking crisp.
13. Matte Washi Corner Frame + Micro Photo Strip
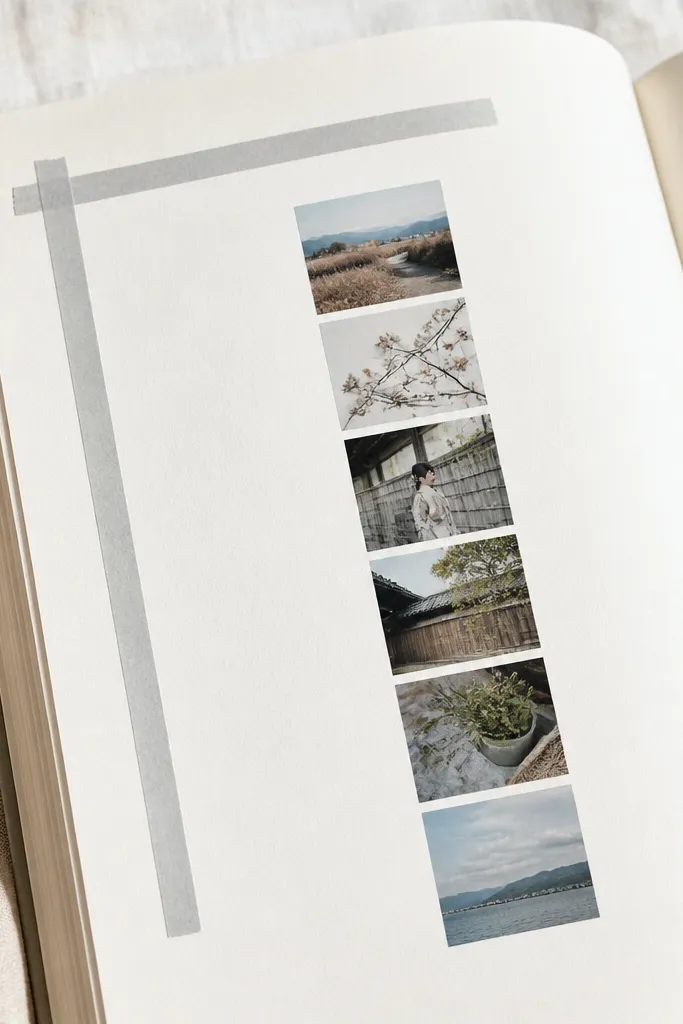
This layout is minimal but still playful. You make a simple corner frame with matte washi tape, then place a vertical strip of micro photos (tiny prints or cut-down images) in the open area. The corner frame gives structure, and the micro photos add rhythm without crowding the page. It photographs well because the eye stays on one framed zone. This works best for small moments like coffee runs, book pages, or quick portraits.
Cut your photos down into micro panels about 1.5x2 inches each, and arrange 3-4 panels in a vertical strip. Place matte washi tape to form an L-shaped corner frame in the top-left or bottom-right, leaving a clear opening for the photo strip. Mount the micro photo strip on a plain cardstock backing so edges look uniform, then glue it into the framed opening. Add a small caption under the strip, keeping the text to a single line.
Use a paper trimmer for micro photos so the edges stay clean and aligned.
Avoid glossy tape — it reflects and makes the corner frame look messy in overhead shots.
14. Adhesive Vinyl Quote Cutout on Plain Card
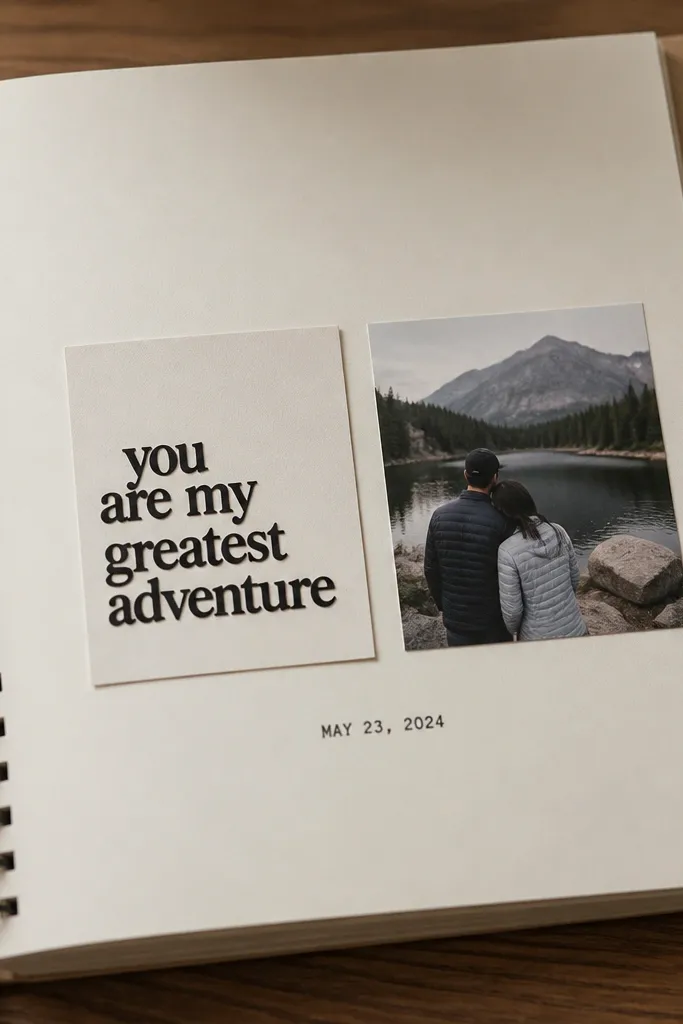
Vinyl quote cutouts look modern because the lettering is crisp and consistent. You put the quote on a plain card — white, cream, or charcoal — then attach it to the page with a photo beside it or a small date line beneath. The minimalist look comes from clean typography and lots of blank space around it. This is ideal when you want the page to feel designed even if your photos are simple. Keep the quote short, because long text becomes visually heavy.
Choose a plain card base about 5x7 inches and pick one short quote phrase. Cut adhesive vinyl letters and press them onto the card, then rub firmly with a scraper or credit card edge. Mount the card to a larger page base with even margins, then add one small photo mat or a date stamp near the card corner. Finish by outlining the photo mat with a thin black pen so everything matches the vinyl lettering style.
Pro tipBurnish vinyl with firm pressure so it doesn’t lift at the edges later.
AvoidDon’t pick a quote longer than one sentence. Minimalism needs short text blocks.
15. Painted Edge Borders with One Accent Color
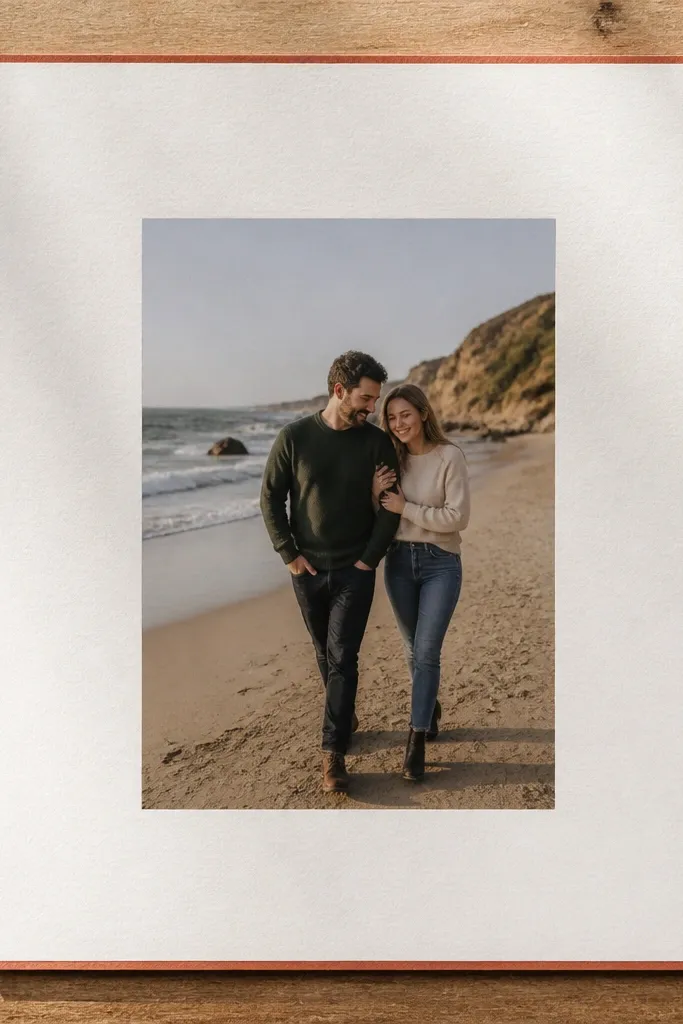
Painted edges create a modern frame without adding extra paper layers. You paint a thin border along the outer edge of the page base in one accent color, then center a photo with lots of breathing room. The rest stays plain, so the accent border becomes the only visual signature. This is a strong choice when you want your scrapbook to look cohesive across months of entries. It also hides minor paper imperfections because the border is intentional.
Start with a sturdy page base and tape off a border area about 1/4 inch from the edges. Mix or choose an acrylic paint in one accent color like sage, muted blue, or terracotta, then apply with a foam brush for a smooth, even coat. Let it dry fully, remove tape, and check for any rough spots — touch up with a tiny brush. Glue your photo in the center with a thin mat and add a date line in black below the photo.
Pro tipUse painter’s tape and remove it while the paint is still slightly tacky so edges stay sharp.
AvoidDon’t paint thick borders. Thick paint looks decorative, not minimalist.



