
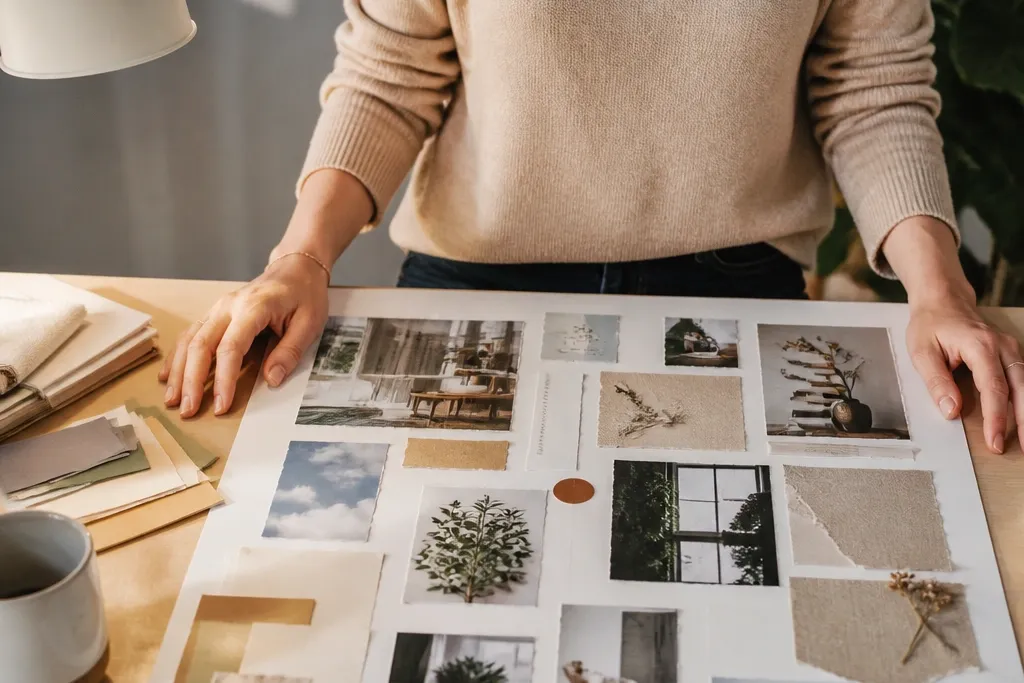

1. Cereal-Box Grid Vision Board (Black, Cream, One Copper Dot)
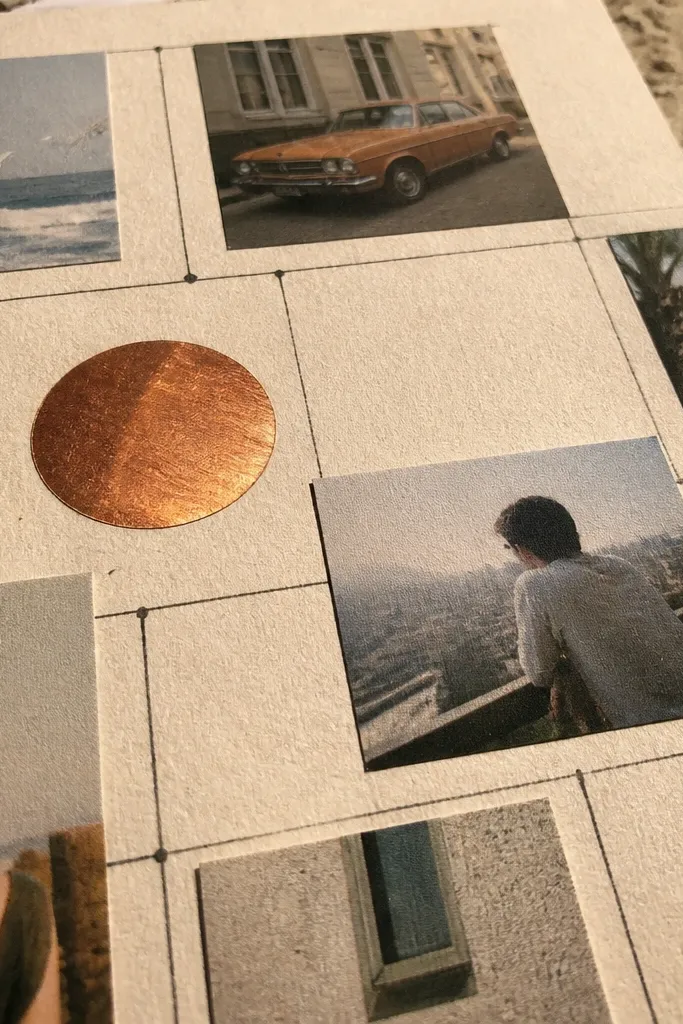
This is the cleanest way to make goals look intentional. The board uses the cereal-box texture as your base, so it has real grain instead of flimsy printer paper. A simple grid keeps everything aligned, which makes the finished board look “designed” even when the images are handmade. Add one copper accent (foil sticker dots or copper tape) so your eye has one warm anchor. It works in small spaces like a dorm wall, a renter-friendly door, or a desk backdrop.
Cut a piece of cereal-box cardboard to 18x24 inches. Use a ruler to draw a grid with a black fine-tip marker (about 2-inch squares) so you have clear placement areas. Print or cut 8-12 goal images, then glue them into the grid with matte glue stick. Finish by adding copper dot stickers at the top-right corner of each goal section, and write a single behavior caption under each image using black ink.
Pro tipSpray adhesive on the back of cut images helps them stay flat and reduces bubbling.
AvoidAvoid mixing glossy magazine cutouts with matte paper — the glare makes the whole board look uneven.
2. Fabric-Scrap Patchwork Board with One Theme Color
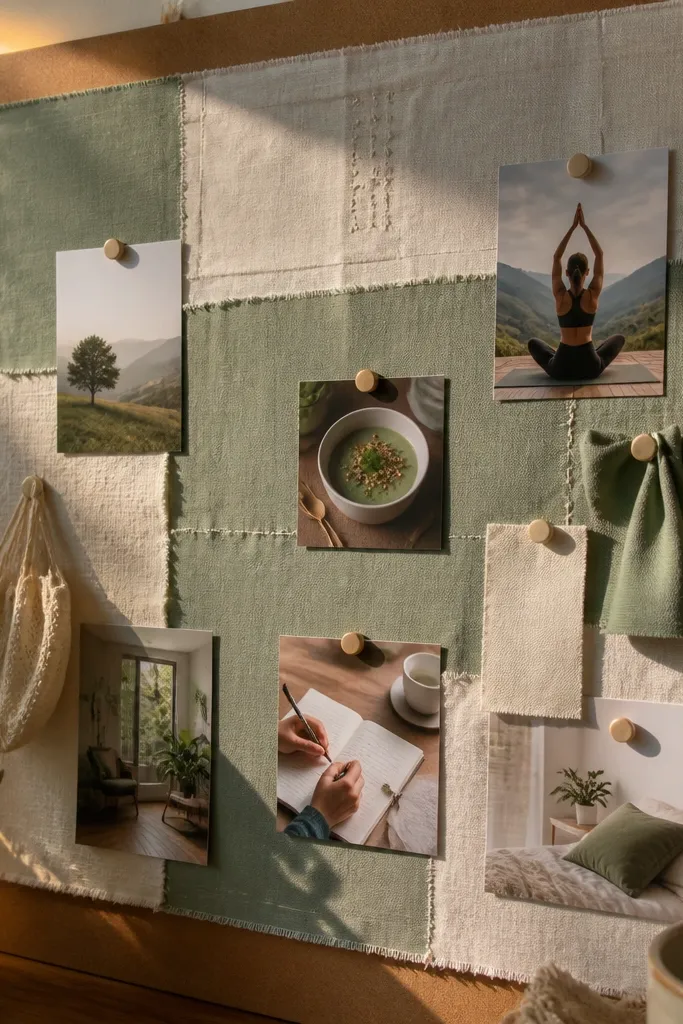
Fabric scraps make vision boards feel real because they add weight and texture. Pick one theme color family (like sage + cream + off-white) so the patchwork reads cohesive instead of random. This format is great for goals tied to comfort and home routines: study habits, wellness, or building a calm workspace. Your board looks good because the edges create a pattern, and the labels make it readable. It’s ideal for a bedroom wall or inside a binder cover where you want it to look soft and intentional.
Cut a backing from sturdy cardstock or thin plywood panel to 12x18 inches. Cut fabric scraps into squares (about 2.5x2.5 inches) and arrange them in a pleasing grid with small gaps. Glue the squares down with fabric glue or matte gel medium, pressing each piece flat. Label each goal with a strip of white paper (1 inch wide), then write one next action in black marker and glue it over the seam between two squares.
Trim fabric edges with pinking shears for a cleaner look without extra sewing.
Don’t use more than two fabric textures per section — too many patterns kills the calm look.
3. Map-Route Dream Board (Folded Layers + Compass Sticker)
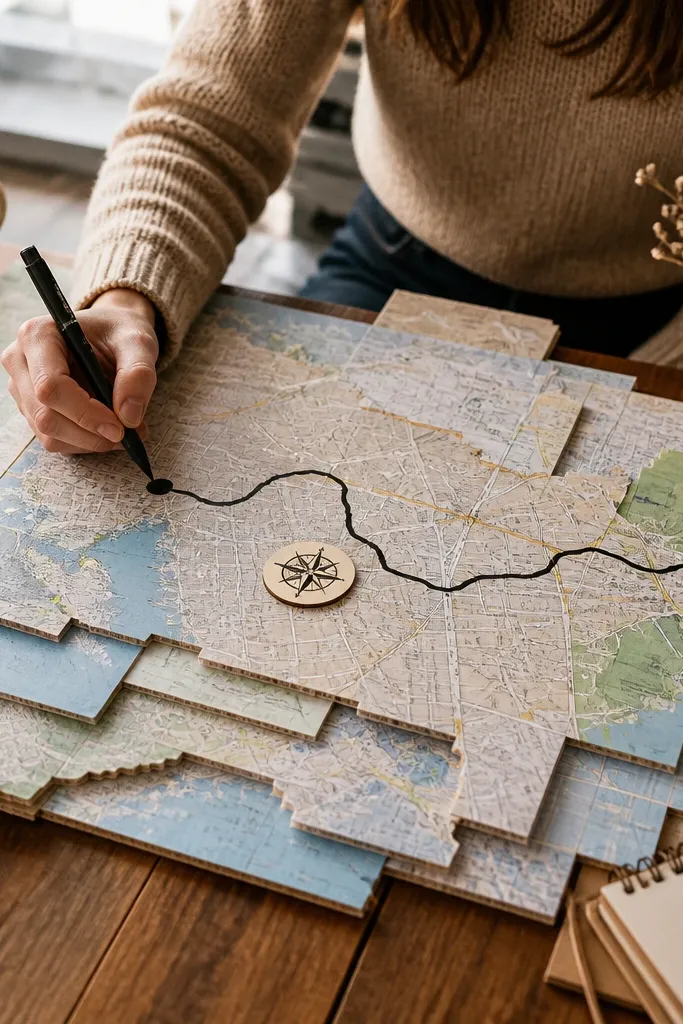
If your goals include travel, moving, or “learning a new direction,” maps make the board instantly specific. Folded layers add depth so it photographs with dimension instead of looking like a flat collage. Draw a route line with ink to connect your “now” to your “next,” which turns the board into a visual plan. Keep it modern by using only one map color (black-and-white or muted) and one accent line color like teal. This works beautifully for an office wall, a hallway board, or a travel planning folder.
Use a sheet of matte poster board as your base and cut a window area where you’ll place the map layers. Choose one map print and cut three sections (front, middle, end) around 4x6 inches each. Fold each section slightly, then glue them on top of each other so they look like a layered route. Draw a route line across all layers with a fine-tip pen, add a small compass sticker near the top, and write one behavior caption under the route.
Pro tipSeal the map with a thin matte mod podge coat so ink doesn’t smear when you handle it.
AvoidSkip bright, multicolor maps — they overpower modern typography and make the board look busy.
4. Book-Page Typography Board with Photo Corners
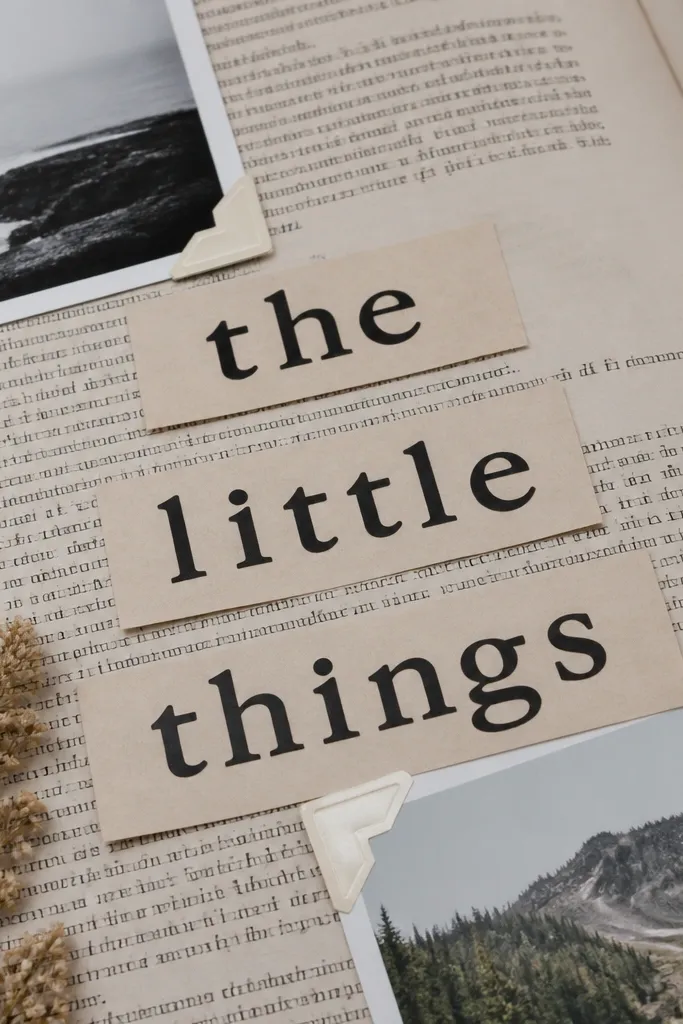
This one looks like a minimalist magazine spread, and it’s surprisingly easy. Book pages give you instant typography texture, so you don’t need fancy design software. The secret is to keep your captions bold and simple, then anchor photos with corner tabs rather than full-bleed glue. That creates clean edges and keeps everything airy. It’s perfect for goals that need clarity: career direction, learning milestones, or a routine you want to stick to.
Cut a base from thick paper or a thin panel to 11x17 inches. Tear book pages into uneven strips, then glue them as a background using matte glue stick. Print 6-10 short captions (max 6 words each), and use a black marker to thicken key words. Attach photos with small paper photo corners (or cut corner tabs from cardstock) so each image sits slightly lifted. Finish with a tiny index-style number next to each caption and a matching number on the proof item area.
Pro tipUse one font style only. Even if you hand-letter, keep it consistent across the board.
AvoidDon’t glue every photo flat — full-bleed collage makes it harder to read and harder to photograph cleanly.
5. Old Frame + Mat Board Manifestation Board
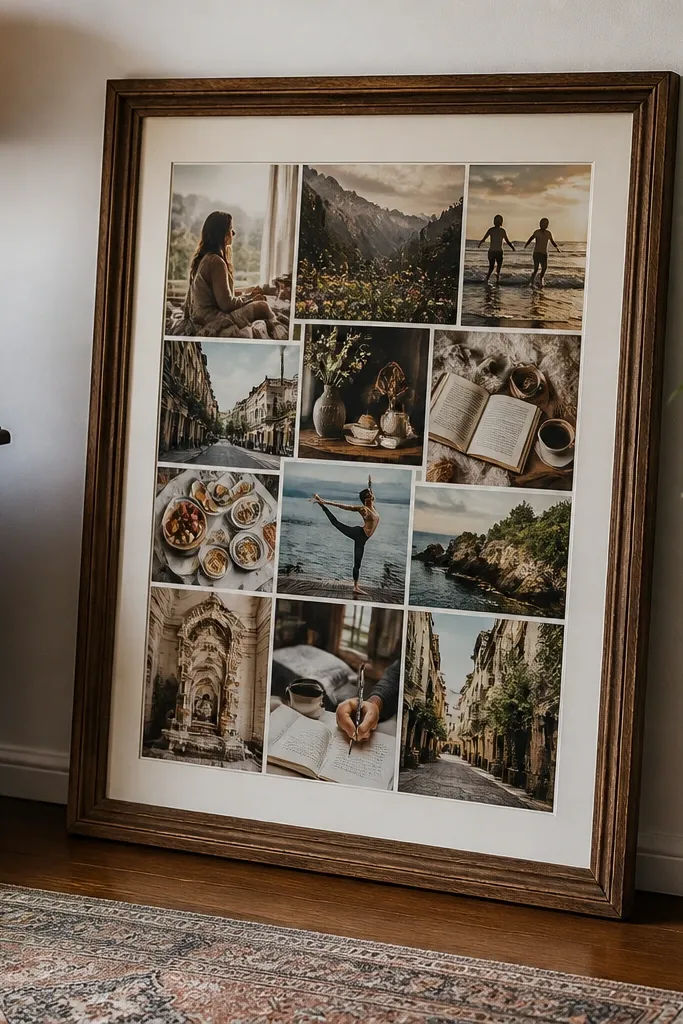
A frame turns a vision board into decor. The mat board gives you a clean border, which makes your collage look intentional instead of temporary. This format is great if your goals are visual and you want them to feel “installed,” not taped to a wall. It also prevents edge damage from repeated handling because the frame protects everything. Use it for a bedroom corner, a reading nook, or a small entryway where you’ll see it daily.
Find a frame with a removable backing and a mat or create one from cardstock. Cut your mat opening to 8x10 inches or 9x12 inches for a modern, not-too-crowded layout. Layer your cutouts on the mat using foam tape for only two focal elements; everything else should be flat. Add labels with a label maker or neat handwriting, and keep captions to one line. Close it with the backing and use a couple small brads or tape tabs at the back corners if needed for stability.
Choose a white or cream mat. It reduces glare and makes photos look brighter under daylight.
Don’t use a plastic cover with glossy reflections — matte backing or no cover looks cleaner on camera.
6. Paint-Chip Goal Board with Tiny "Before/Next" Labels
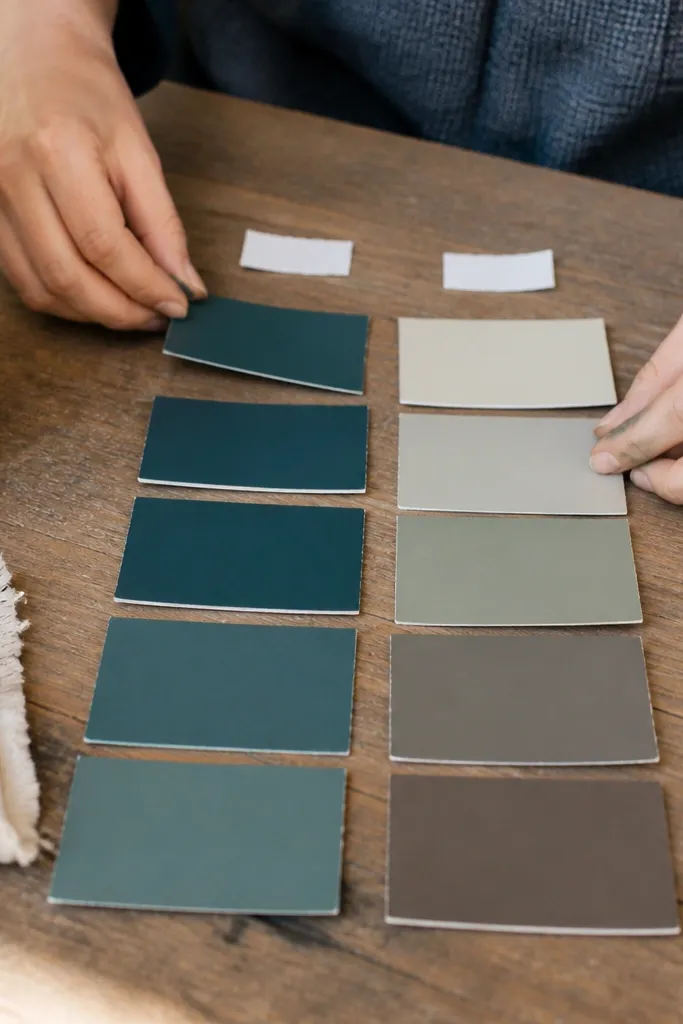
Paint chips are already organized, so your board gets structure without effort. Use them like a color timeline: “before” on the left, “next” on the right. This is perfect for habit goals because it turns motivation into a visual sequence. The look is modern because paint chips are uniform in shape and color — they read crisp even with minimal photos. Place it near where you start your day, like the fridge, a desk wall, or a planner station.
Collect paint chips (or buy a small sample book) in one family of colors. Arrange 10-14 chips from light to darker on a 9x12 inch base. Glue chips down in a grid or a gentle gradient line. Add two small label boxes that say “Before” and “Next,” and place one goal image and one proof item next to each label. Finish with a single action caption under the “Next” section.
Use a fine black pen to write captions directly on the base so the handwriting matches the modern vibe.
Avoid random chip sizes. Trim every chip to the same width so the board looks designed.
7. Receipt-Strip Timeline Board (Stapled and Flip-Readable)
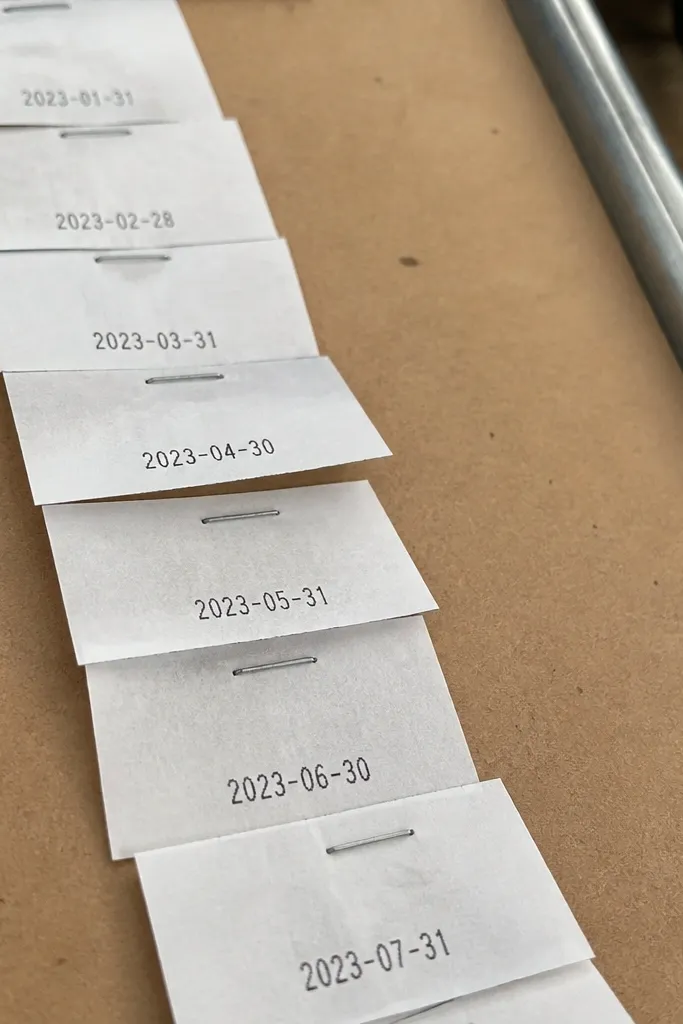
This board makes goals feel real because it ties them to dates and tiny receipts of progress. Receipt paper has a built-in print aesthetic, and stapling gives you a crisp, industrial look. The flip-readable layout is great for people who get overwhelmed by big boards. You can swap new strips in without rebuilding the whole thing. It’s best for tracking goals like studying, budgeting, fitness check-ins, or creative practice.
Cut a sturdy backing to 8.5x11 inches. Create 6-10 receipt strips (about 1 inch tall each) and write a date and one action on each strip with a black gel pen. Use two staples at the left side to attach strips like a vertical flip timeline, leaving the right side free to read. Add a small proof item photo strip near the top and a single “main goal” title centered above. Seal the top edges with clear tape so paper doesn’t fray.
Write actions in present tense. Keep them to 3-5 words so the timeline stays tidy.
Don’t cram too much text per strip — it turns into noise fast.
8. Gallery-Tape Micro Board on a Cork Tile
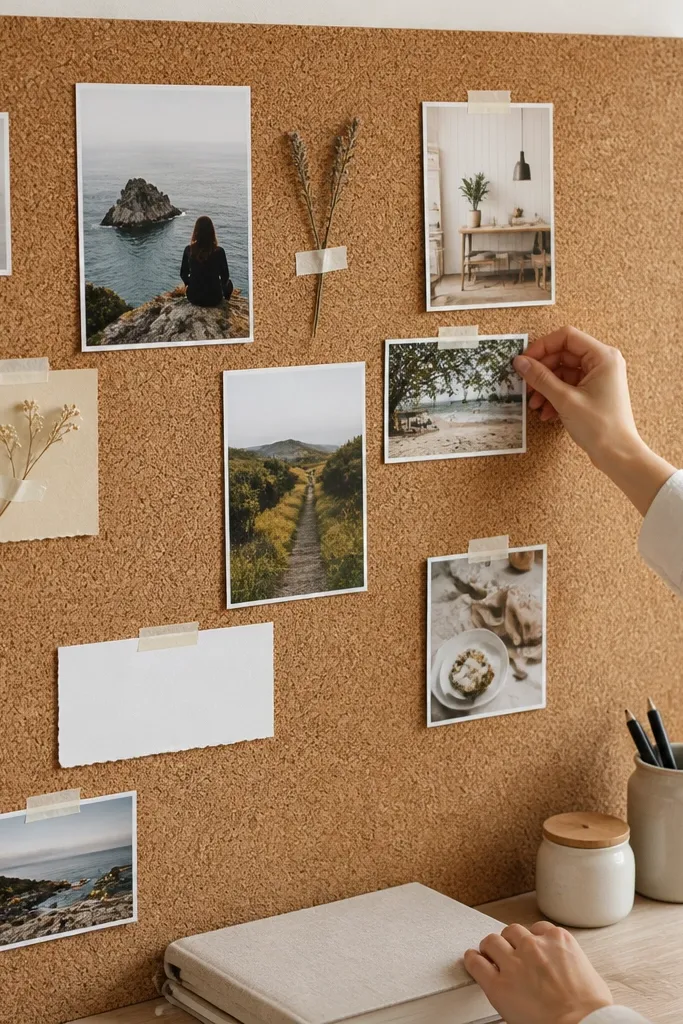
Cork tiles are perfect if you want your vision board to evolve without ruining paper. Gallery tape and masking tape keep edges clean and let you move pieces around as you learn what works. This is a modern, airy style because cork shows through and creates breathing room. It’s ideal for desk boards, rental-friendly spaces, and anyone who hates permanent glue. Keep the board small and focused so it feels like a daily tool, not an arts project.
Buy or cut a cork tile to 10x10 inches. Gather 6-8 small photos and 2-3 proof items (printed receipts, class card scans, or tiny checklists). Pin photos using short masking tape strips or pushpins behind the paper corners. Add labels with small cardstock tags (about 1.5x3 inches), and align all labels at the bottom edge of each photo. Step back and keep the spacing even — tape lines should look straight and deliberate.
Use black or cream tape only. Colorful tape makes it look like a craft board, not a modern vision board.
Skip full-board coverage. Leaving cork visible makes it look intentional.
9. Shadowbox Goal Board with One Real Object
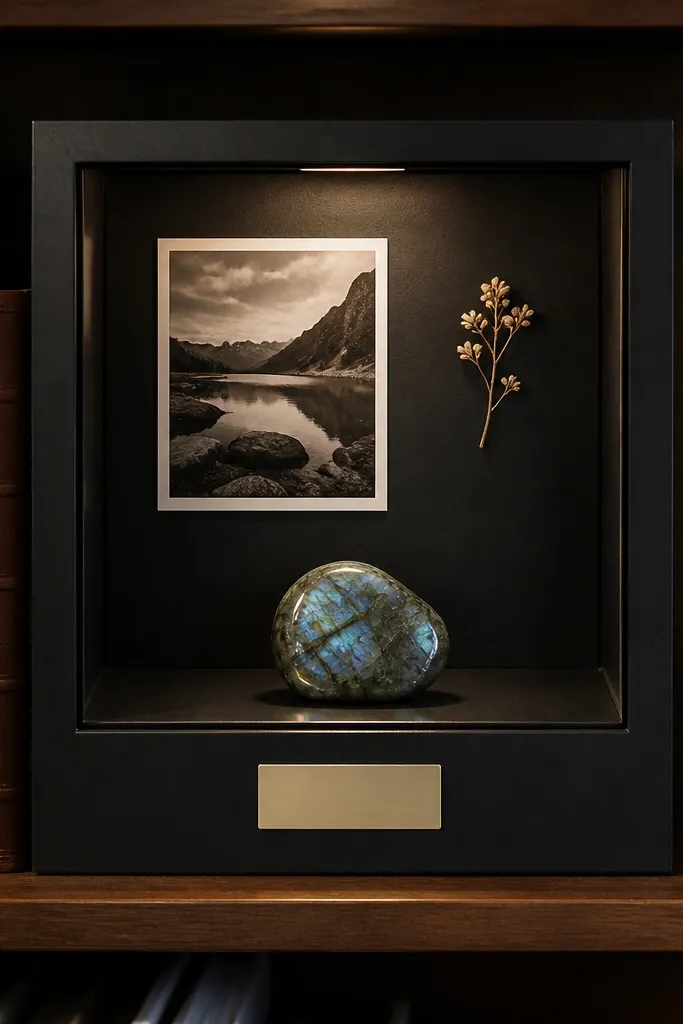
A shadowbox makes your vision board feel physical because you add one real object that represents the goal. The look is sleek: matte backing, clean label placement, and one focal object that catches light. This is the easiest way to avoid “wish-only” boards. It works for goals tied to identity and routines: language learning, cooking, fitness, art practice, or career skills. Put it on a shelf where it’s visible from standing height.
Choose a small shadowbox (around 8x10 inches). Use matte paper or fabric for the back so glare stays low. Pick one object that signals the goal (a small set of paintbrushes, a keychain for your new habit, a fabric swatch, or a notebook cover) and place it centered with a little breathing room. Add one photo cutout behind or beside the object and label it with a single sentence caption. Secure everything with glue dots or museum putty so you can remove items later.
Use museum putty for the object. It holds without damaging and keeps the layout stable.
Don’t add three objects. One object reads clean; three turns into clutter.
10. Magazine Cutout Board with One-Line "Next Action" Captions
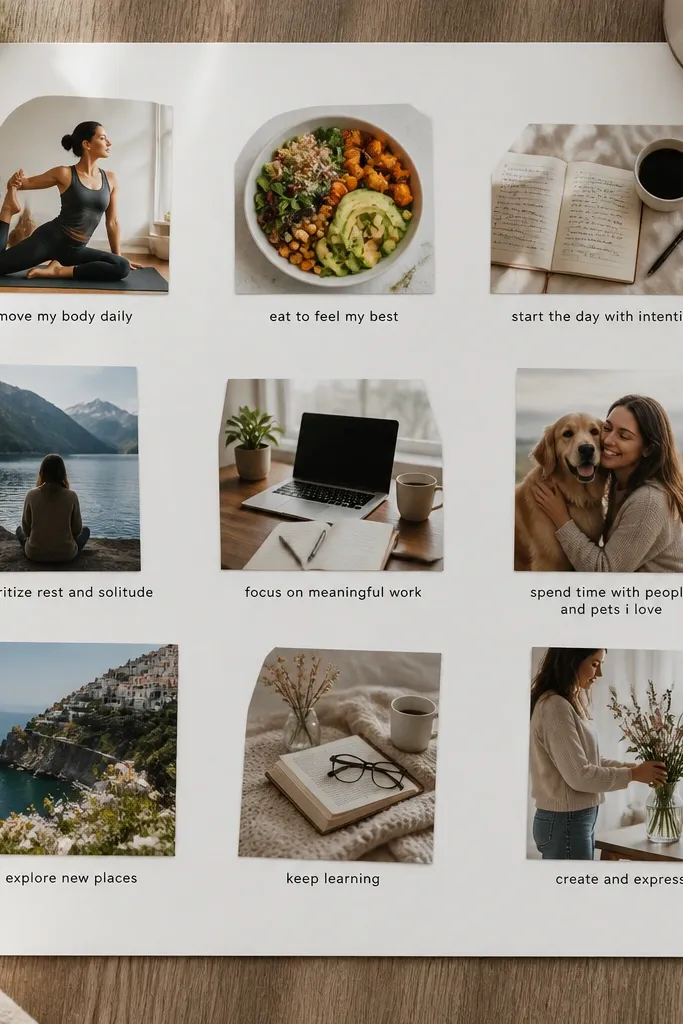
Magazine cutouts can look modern when you control the typography and the margins. The biggest mistake is mixing random fonts, but you can fix it by using one style for captions: one line, lowercase or title case consistently. Add generous white space so the board doesn’t feel like a scrapbook. This format is best for goals that need clarity and motivation: applying for jobs, starting a side project, or planning a healthier routine. It photographs well because the layout is structured and high-contrast.
Use a white or cream base (12x16 inches works well). Cut 8-12 images from one or two magazines with similar color tones. Glue images in a grid with 1-2 inch margins between them. Write one caption under each image on a small strip of white paper: “Next action: ___” with the blank filled by a behavior. Keep all captions the same length so the board looks balanced.
Use a ruler to keep caption strips aligned — straight edges make it look professional.
Avoid full-bleed glue across the entire image. Use small dots or thin glue to keep edges crisp.
11. Washed Denim + Twine "Habit Ladder" Board
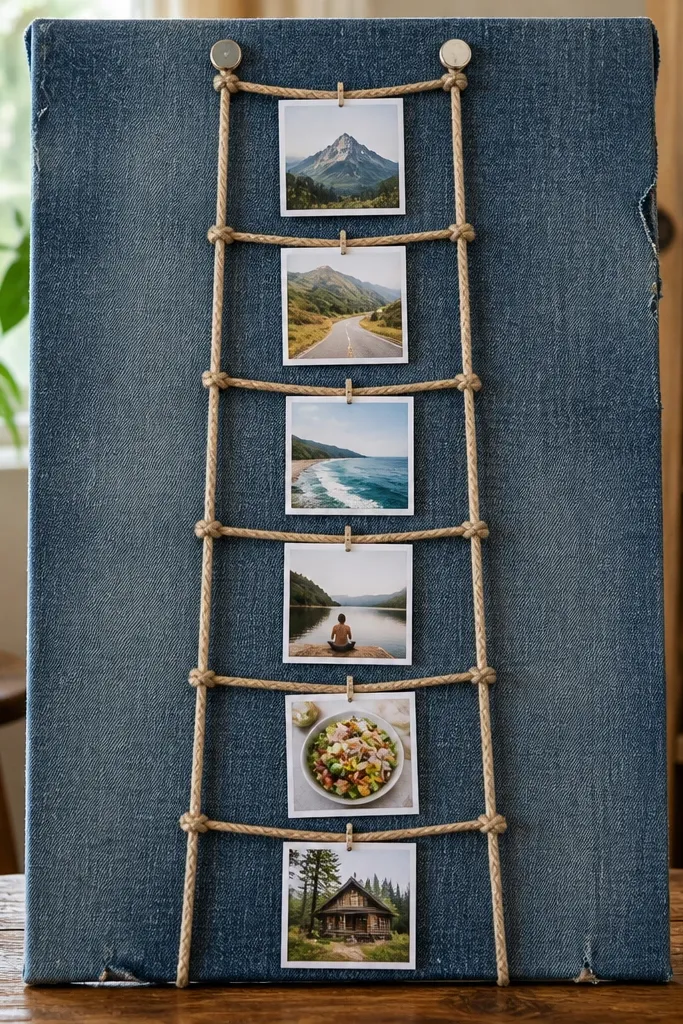
Denim makes a vision board look grounded and modern, especially for habit goals. A ladder layout also turns goals into steps, so it feels achievable instead of dreamy. Twine rungs create a clean structure, and pinned cards keep it flexible. This is great for learning goals, fitness progression, or building a daily routine you can stick to. Hang it where you see it mid-day, like near your kitchen or a bathroom mirror.
Cut a piece of denim or denim-like fabric to 12x18 inches and frame it with a strip of burlap or canvas for stability. Stretch two vertical twine lines from top corners and tie 4-6 horizontal rungs across with knots spaced evenly. Write one step per rung on small cardstock cards (about 2x3 inches) and pin or tie them to the twine. Add one anchor image at the top rung and one proof item card at the bottom rung. Trim loose threads so the board looks intentional, not messy.
Pro tipUse binder clips temporarily to hold twine knots while you tighten them evenly.
AvoidSkip stretchy knit fabrics. They sag and make the ladder look crooked.
12. Kraft Paper Envelope "Goal Pods" Board
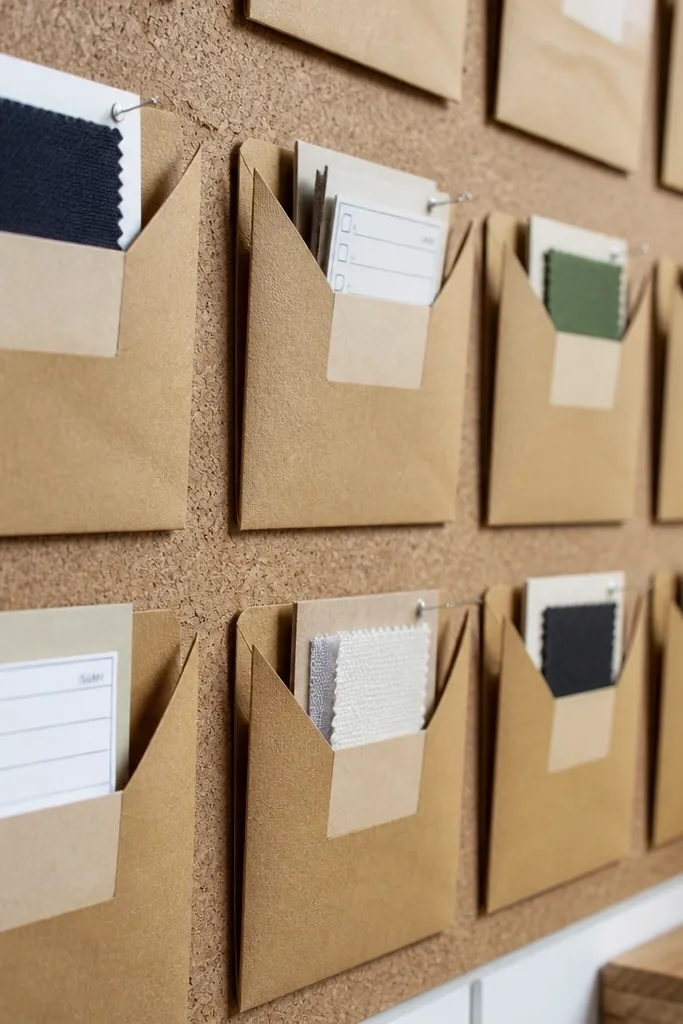
Envelope compartments make your board feel like a system, not a collage. Kraft paper looks warm and modern, and it hides imperfect edges better than bright paper. Each envelope can hold a proof item or a tiny checklist, so the board is interactive. The look is clean because envelopes create consistent rectangles, and labels keep it readable. This works well on a desk wall or inside a notebook cover where you want to pull items out and replace them.
Cut a base to 11x14 inches from thick cardstock. Make 6-8 small kraft envelopes (about 3x4 inches) using kraft paper or buy pre-made mini envelopes. Arrange them in a grid and glue them down with matte glue. Add one photo cutout on the outside of each envelope and a label strip with a short next action. Inside each envelope, place a proof item like a printed appointment, a checklist, or a small swatch.
Label before you glue. It’s easier to keep spacing consistent when nothing is attached yet.
Don’t use tiny fonts. If the caption can’t be read from a few feet away, it won’t feel real.
13. Wood Slat Mini Vision Board with Clothespins
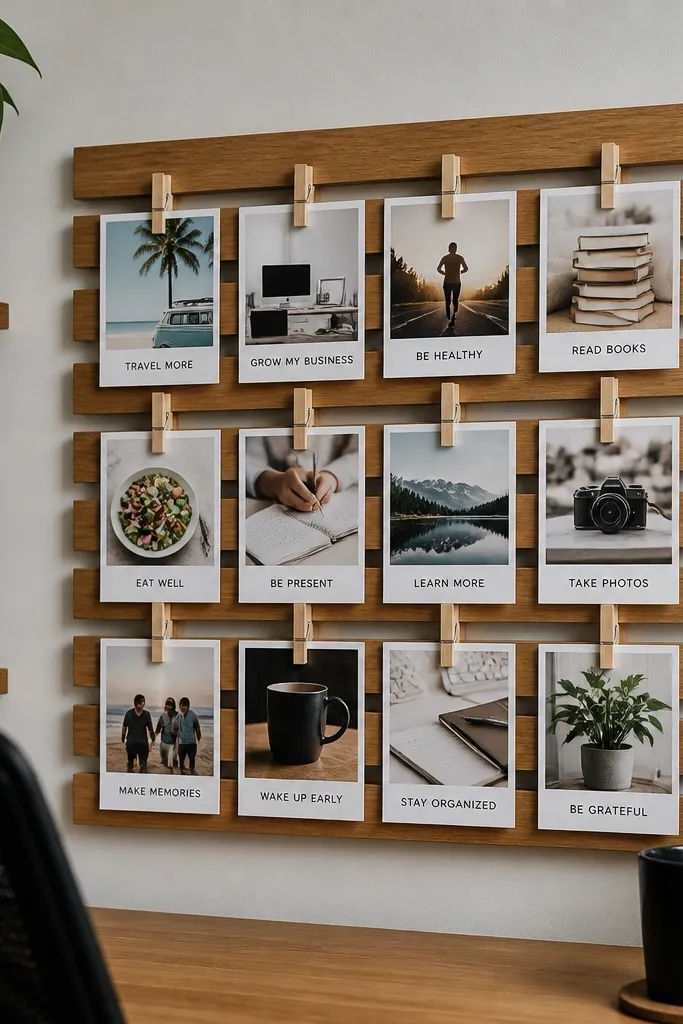
Clothespins add a modern, functional look that screams “this is used,” not just displayed. Wood slats provide a horizontal rhythm that looks good in photos and in real life. This format is ideal for goals you want to swap frequently, like weekly plans, rotating classes, or rotating creative prompts. It also makes your proof items easy to replace without damaging paper with glue. Use it in a kitchen, craft corner, or near your planner where you check it daily.
Cut or buy a small wood slat board (about 10x20 inches). Sand lightly and wipe clean. Attach two rows of small screws or hooks evenly spaced, then hang 6-10 clothespins. Clip photos and proof cards on the clothespins using small cardstock tabs so edges stay aligned. Add one title card at the top with a short behavior caption, then keep all clips in the same left-to-right order.
Pro tipPaint the slats matte white or keep natural wood — both read clean under daylight.
AvoidAvoid chrome clothespins. They reflect glare and ruin the modern, calm look.
14. Sticky-Note Color Blocks Board for One-Week Focus
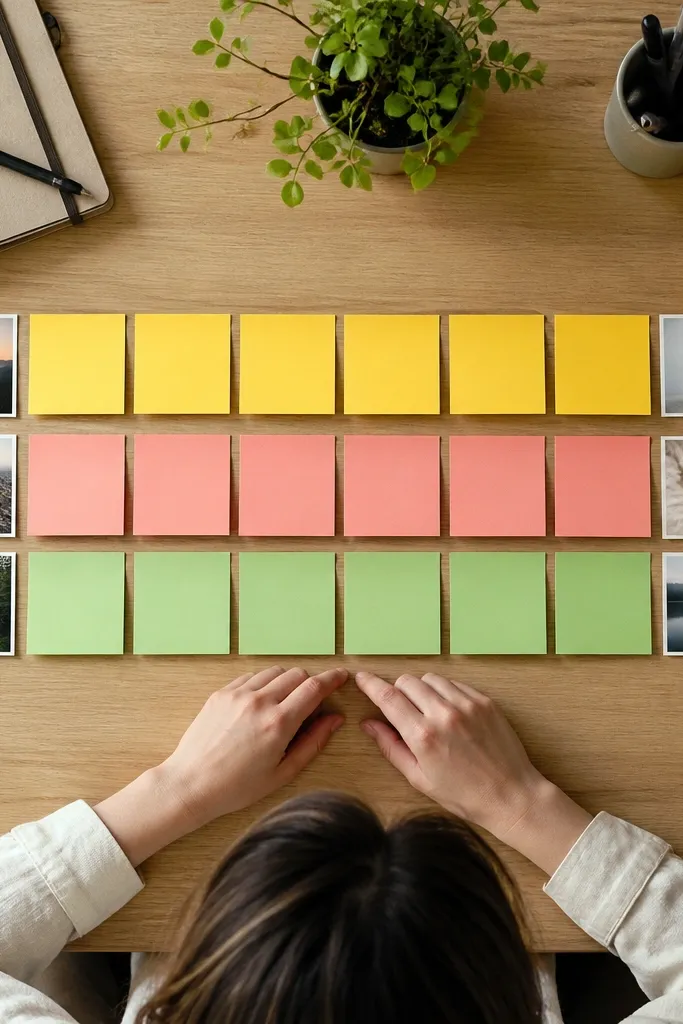
If you keep abandoning vision boards, this is the fix: it’s built for a short window. Sticky notes create bold color blocks, and that makes the board look graphic and modern. Add small photo squares at the edges so the board stays visual without becoming messy. This is best for people who need momentum and want to see progress weekly. It’s also easy to update, so you won’t dread maintaining it.
Use a sheet of matte poster board as a base. Choose 5 sticky note colors in one palette and write one goal per color block using black marker. Add small photo squares (2x2 inches) on top of the sticky notes with tiny glue dots at corners. Create a title strip with a label maker or handwriting at the top. Replace the sticky notes every week instead of trying to keep everything permanent.
Pro tipUse the same handwriting size for every caption. Consistency makes it look designed.
AvoidDon’t mix too many colors. Five colors is the limit for a modern look.
15. Polaroid-Style Tape Frames with Upcycled Paper Prints
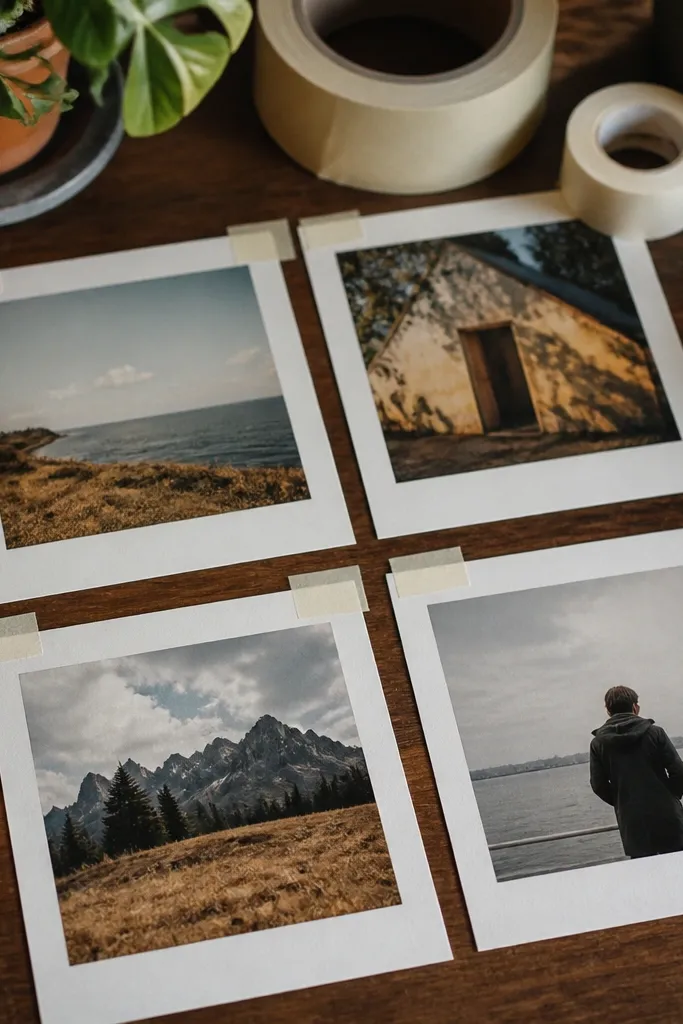
This style looks modern because the frames are consistent and the spacing is intentional. Tape frames also let you layer images without heavy glue, and upcycled paper prints keep the board from looking generic. It’s perfect for goals that need “proof in progress,” like learning, building confidence, or creative output. You can swap in new prints as you go, which keeps the board feeling alive. Put it in a hallway or above your desk where you’ll see it while you work.
Print or cut 10 photos and trim them to a consistent size like 2.5x3.5 inches. Cut a strip of off-white paper to create a polaroid border (about 0.75 inch wide) under each photo. Tape each photo and border onto your base using strips of washi tape at the top and sides. Add a small caption under each frame with a single behavior sentence. Arrange frames in a gentle grid with 1 inch gaps.
Use matte tape, not glossy tape. Glossy tape catches light and makes the frames look cheap in photos.
Don’t overlap frames randomly — overlapping kills the clean, modern rhythm.
16. Notebook Cover Vision Board with Laminated Goal Cards
If you want your vision board to actually get used, put it on something you carry. This cover style turns daily motion into daily seeing. Laminated cards keep the look crisp and wipe-clean, so the board stays photogenic even after handling. It’s great for students, remote workers, and anyone who lives out of a planner. The aesthetic is modern because laminated cards have uniform edges and the background stays matte.
Choose a notebook with a cover you can glue to, or use a separate cover sheet. Cut your base to match the notebook cover size and choose a matte background paper. Make 5-7 goal cards from cardstock and laminate them with clear laminating sheets. Glue one card near each corner and one in the center, leaving space between cards for a clean layout. Write one short caption on each card with a fine-tip permanent marker.
Pro tipRoughen the notebook cover lightly with sandpaper so glue sticks without peeling.
AvoidAvoid glossy photo paper directly under lamination. It creates glare and feels less modern.
17. Old Calendar Page Board with Month-by-Month Proof
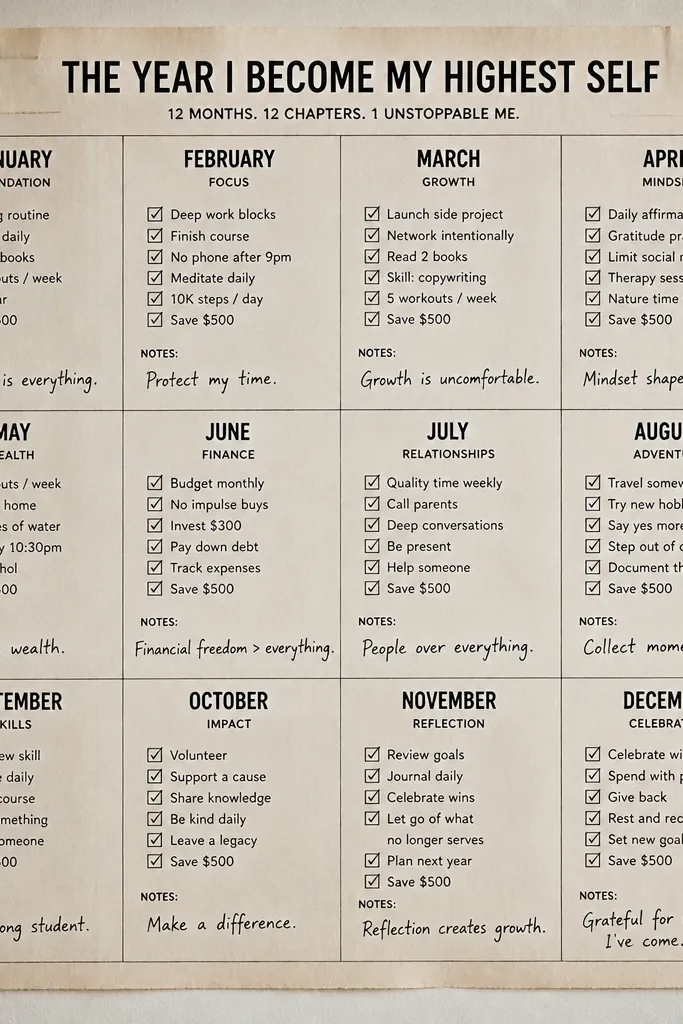
Calendar pages already have structure, and structure is what makes vision boards feel real. You’re not guessing where goals fit in time; the board has time printed on it. This style looks modern because the typography is consistent, and the proof checkboxes create a clean action layer. Use it for goals that need a timeline: deadlines, classes, or habit streaks. It’s great as a wall piece or for a side table where you plan weekly tasks.
Cut a base from thick cardboard and choose a single calendar style (one year or one consistent print). Cut 6-8 month blocks (about 3x4 inches each) and arrange them in a vertical column. Glue month blocks down and add proof checkboxes with a black marker. Place one photo cutout next to each month block and write one behavior caption under it. Finish by adding a small “this month” label at the top in a bold font style.
Use only one marker color for checkboxes. It keeps the board cohesive.
Don’t use multiple years. Different typography styles clash and look messy.
18. Button + Thread "Identity Words" Board
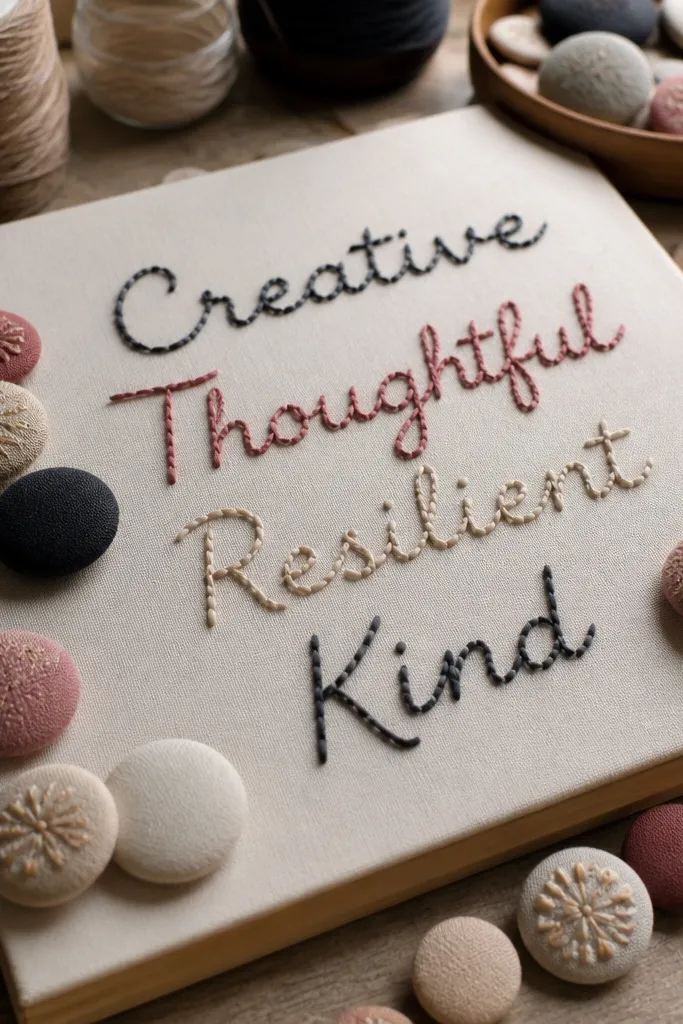
This is a modern tactile board that makes identity goals feel tangible. Buttons and thread create crisp shapes, and stitched word outlines give you a strong visual anchor. It’s best for goals like confidence, creativity, or rebuilding routines where you need a personal mantra. The look is photogenic because thread lines catch soft light and the buttons add tiny pops of texture. Use it in a creative space or bedroom wall where you want calm focus.
Cut a fabric or felt base to 12x16 inches. Choose 3 identity words and print them in a simple font, then trace around the letters lightly with pencil. Stitch over the traced words with a contrasting thread color using a basic running stitch. Place small photo squares near each word and glue them down with fabric-safe adhesive. Add 6-10 buttons as accents along the stitched lines, then label each photo with one next action.
Pro tipUse a hoop for stitching if you have one. It keeps tension even and letters cleaner.
AvoidAvoid too many button colors. Stick to one accent color plus the thread color.
19. Photo-Strip + String "Proof Wall" Board
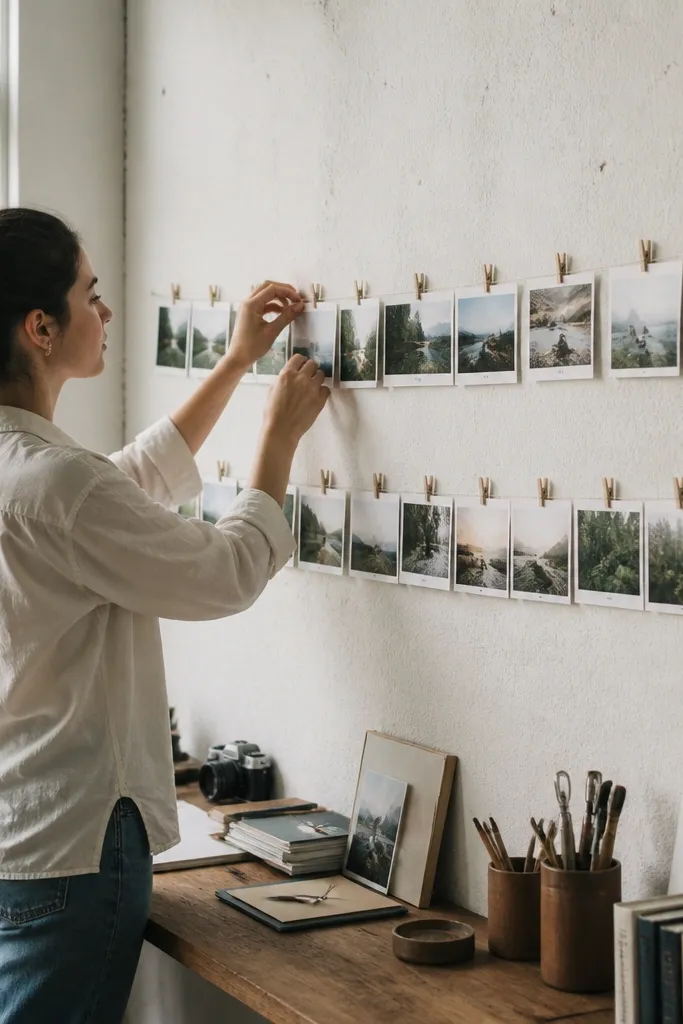
This turns your vision board into a living proof wall. Photo strips are easy to read at a glance, and string lines create a modern, airy feel. The clothespins let you swap proof items without tearing paper. This is great for creative output, fitness check-ins, or any goal where you want to see a sequence of progress. It’s also one of the most photogenic setups because it naturally creates diagonals and layered depth.
Use a cork tile or sturdy backing board. Stretch a piece of thin twine across two anchor points (top corners) and secure it tight. Print 8-12 small photos as strips and clip them onto the twine with mini clothespins. Add a checklist card under every second photo and write one next action on it. Keep the cards small and aligned so the wall looks clean, not crowded.
Clip photos so the top edge lines up. That one alignment choice makes the whole board look designed.
Don’t use thick rope. It makes the look heavy and less modern.
20. Minimal "One Goal, Five Proofs" Board on Black Cardstock
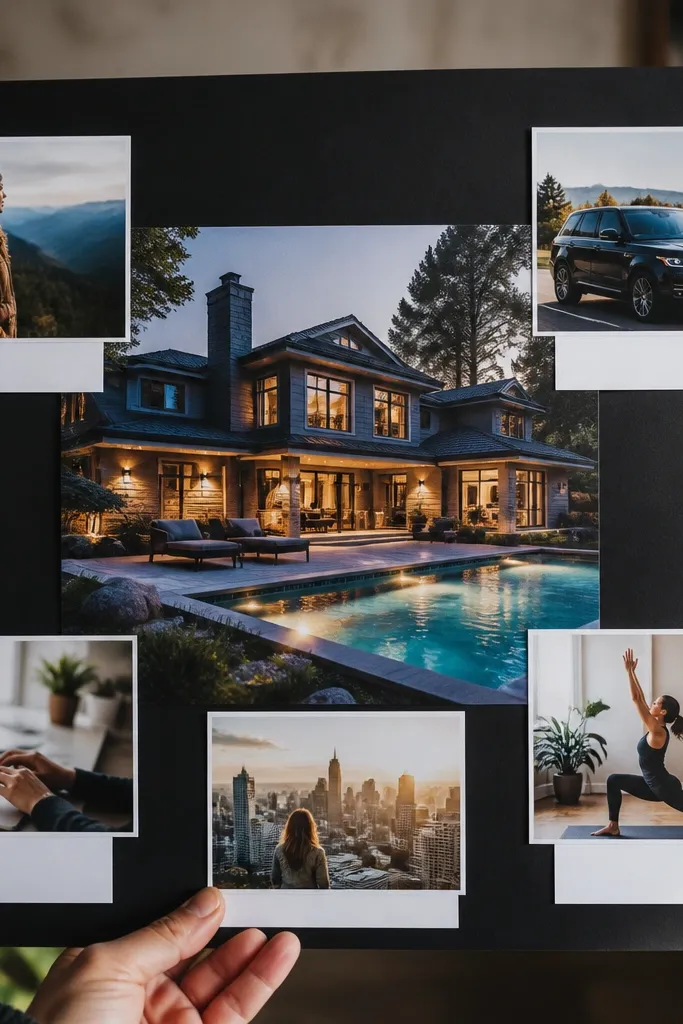
Black cardstock makes everything look high-contrast and modern, and it forces you to keep the layout tight. This board format is built for focus: one central goal image, five proof cards that show what you’re doing, and white labels for readability. It’s ideal if you feel overwhelmed by big boards or you keep changing your mind. The look is sleek and photogenic because the background absorbs glare while the labels pop. Place it on a desk wall so you see it during planning time.
Cut black cardstock to 12x18 inches. Glue one central goal image at the top middle and leave a clean margin around it. Create five proof cards from white cardstock (about 3x4 inches) and label each with a behavior sentence. Arrange the proof cards in a neat arc or row beneath the central image. Finish with one title strip at the top using white gel pen or paint pen.
Use a white paint pen for labels. It stays readable and looks crisp on dark backgrounds.
Avoid too many colors. Two neutrals plus one accent photo color is enough.



